












What a distribution box is and why it is needed in an apartment
A distribution box is a junction where the supply cable and outgoing lines converge, and the connections are made according to the rules. Without it, the wiring throughout the apartment turns into chaos of twisted splices hidden behind wallpaper.
Purpose of a distribution box and its place in the wiring diagram
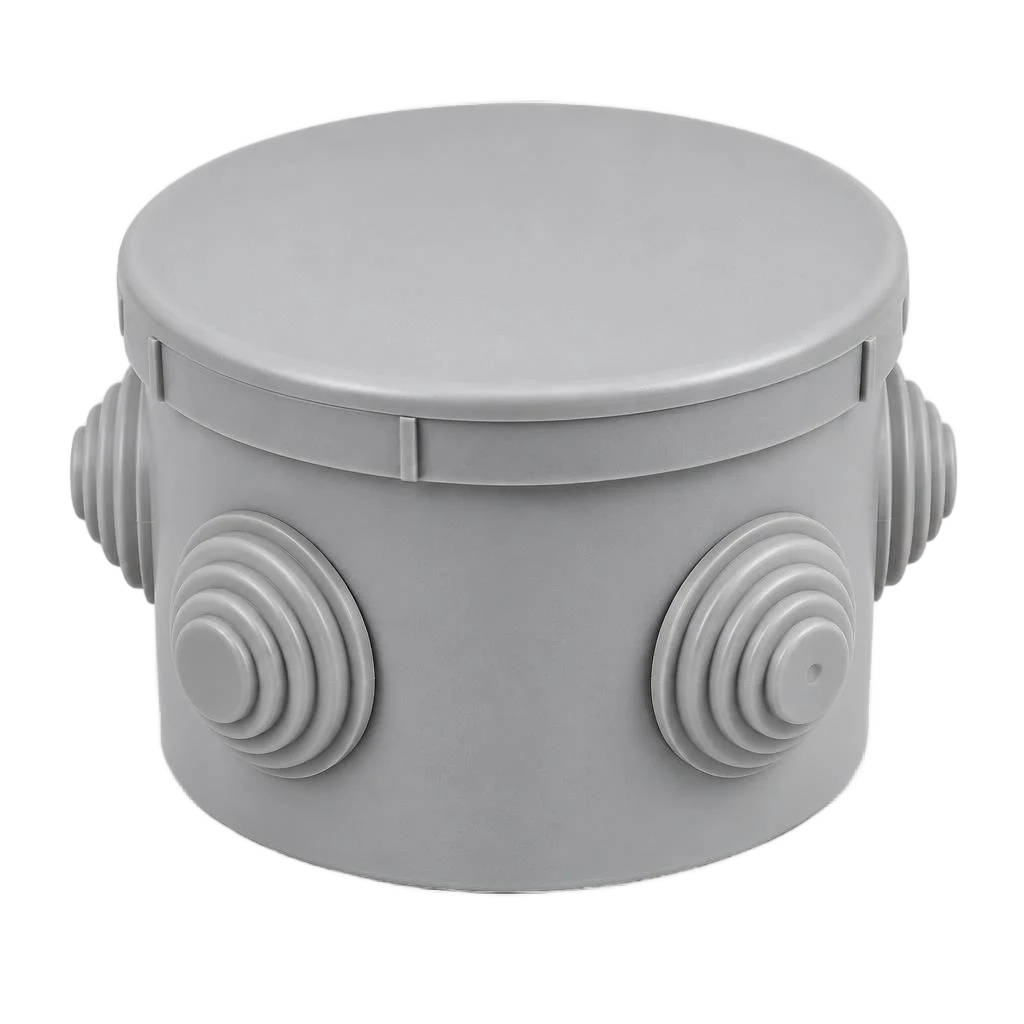
A distribution (junction) box is a junction in which the supply cable and outgoing lines to sockets, lighting and appliances converge, and the connections are made according to the rules. From the input circuit breaker in the panel, the cable comes into the enclosure, inside it branches into groups: socket group, lighting group, a separate line for the kitchen and for the boiler, and each group goes off with its own wire to the consumers. Installing a distribution box gives the point where up to six to eight conductors converge a protected enclosure and a removable cover — inspection and diagnostics of hidden wiring can be done without dismantling. If the box is not installed, every connection will have to be made right in the wall: at the first malfunction you will have to open up the finish rather than open the cover. Clients often search for "installation of a junction box price" — and land on this page, because the final cost depends on the type of enclosure, the number of groups and the wall material. In my opinion, this is the main argument in favor of the junction — emergency search for a break in the wiring without boxes drags on for hours.
Types of boxes: surface-mounted and concealed, for concrete and drywall
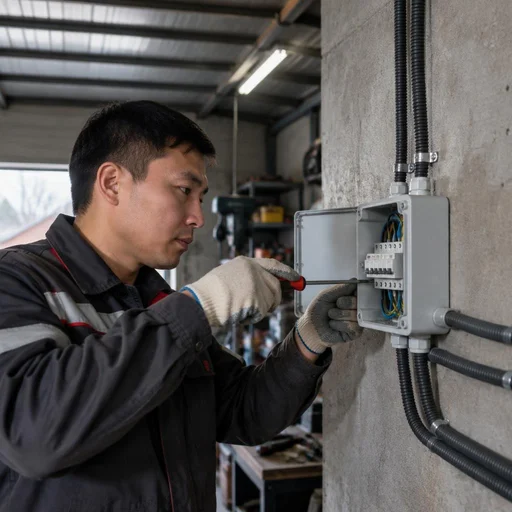
- Surface-mounted box: mounted on the wall surface, used for exposed wiring in a garage, on a balcony and in utility rooms.
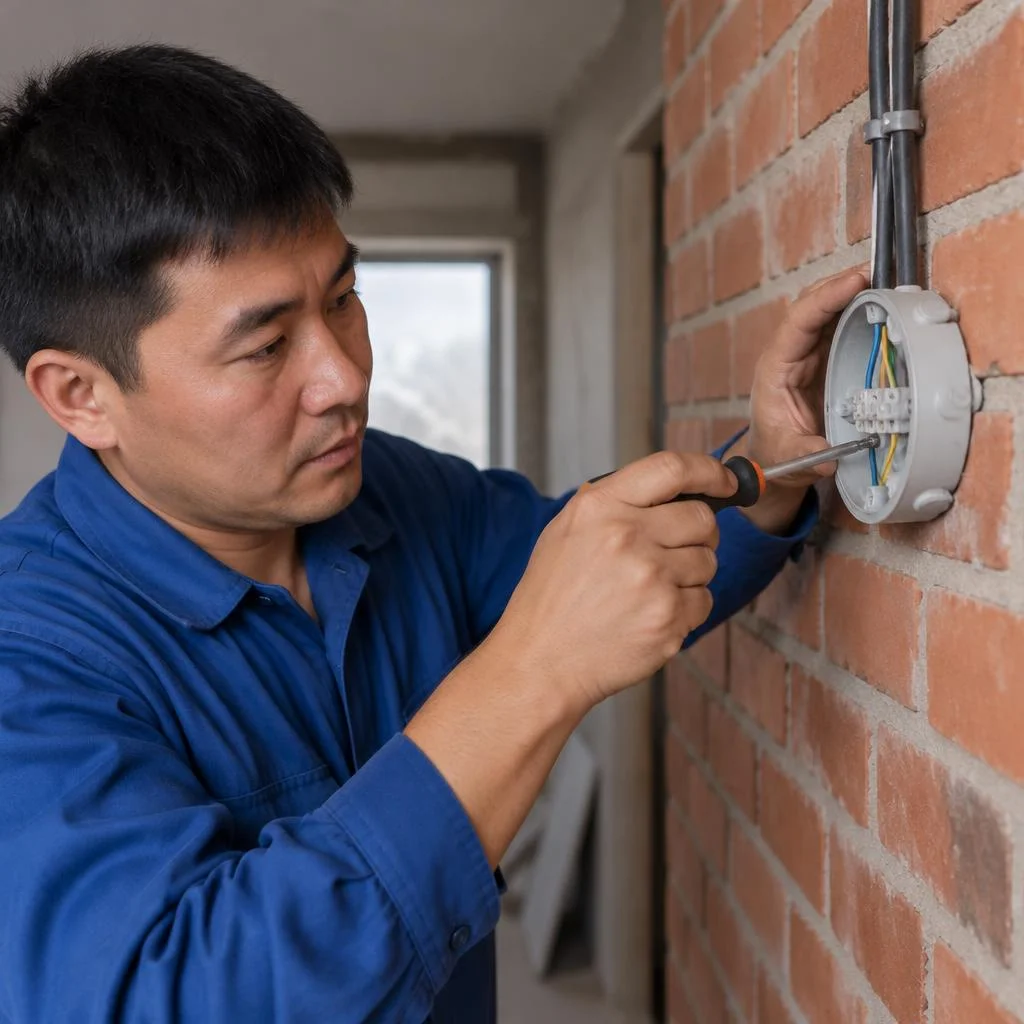
- Concealed for concrete and brick: an enclosure with ribbed corrugation sits in a socket on alabaster or gypsum mortar.
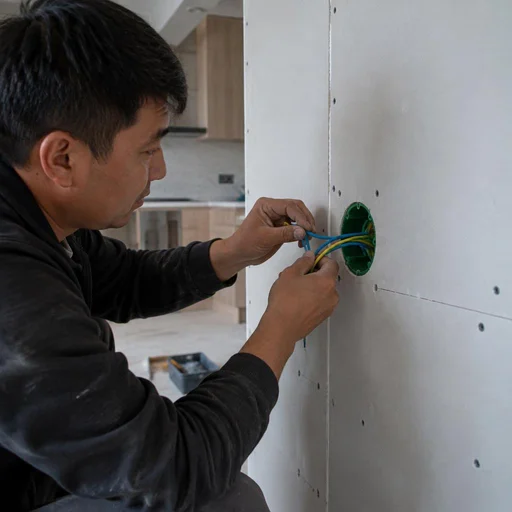
- Concealed for drywall: a model with expanding tabs is held in the sheet without mortar, secured with screws.
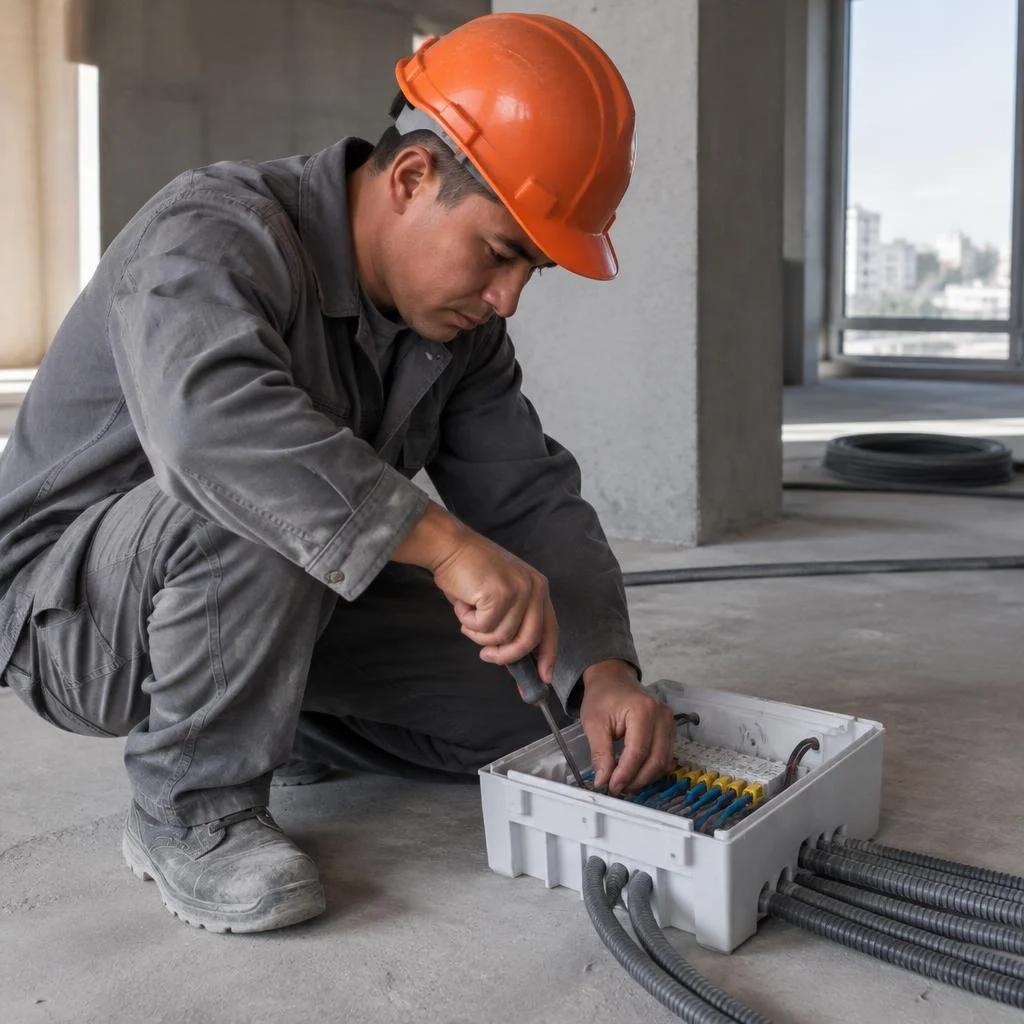
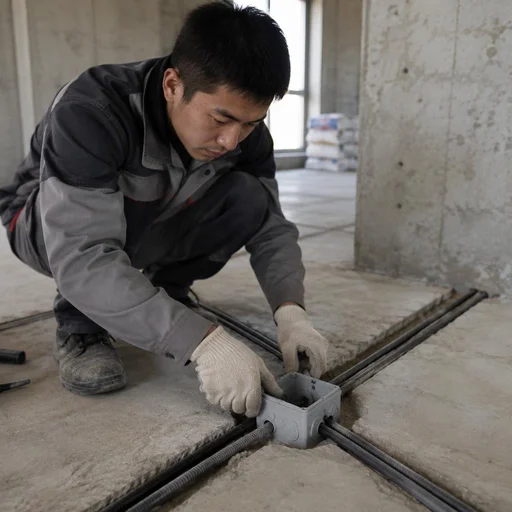
- Box for screed: a sealed enclosure with a reinforced cover, poured with concrete during the rough work stage.
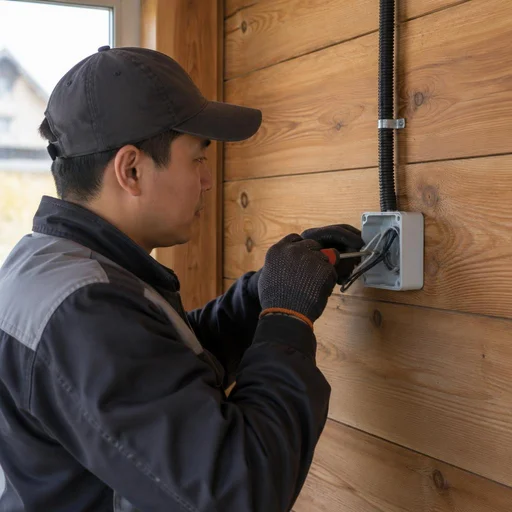
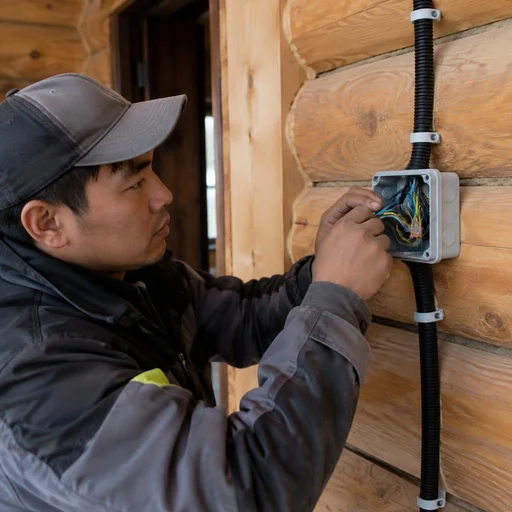
- Box for wood and log walls: a metal or self-extinguishing enclosure, mandatory for combustible bases.
Where the junction is placed in an apartment: hallway, kitchen, bathroom
Most often the box is placed in the corridor or entryway — from there it is convenient to run lines to the kitchen, bedroom, children's room and bathroom, and access to the junction remains open. In a two-room apartment of 60 square meters, there are usually two or three points: the main one in the entryway near the panel, one in the kitchen under the hood and one in the bedroom for the socket group. In the kitchen, the junction is hidden in a cabinet or behind the backsplash at a height of 20-30 cm from the countertop, in the children's room — behind furniture so that the child cannot reach the cover. In the bathroom, the box is raised no lower than 30 cm from the floor and is not placed above the shower or bathtub — moisture and splashes shorten the service life of the connections even with moisture-resistant terminal blocks.
Installing a junction box in different wall types: concrete, brick, drywall, wood
The fastening method and tools depend on the base: concrete requires a core bit and a rotary hammer, drywall only needs a bi-metal hole saw, and wood requires a non-combustible backing. Let's break down each wall type separately.
Installing a junction box in a concrete and monolithic wall
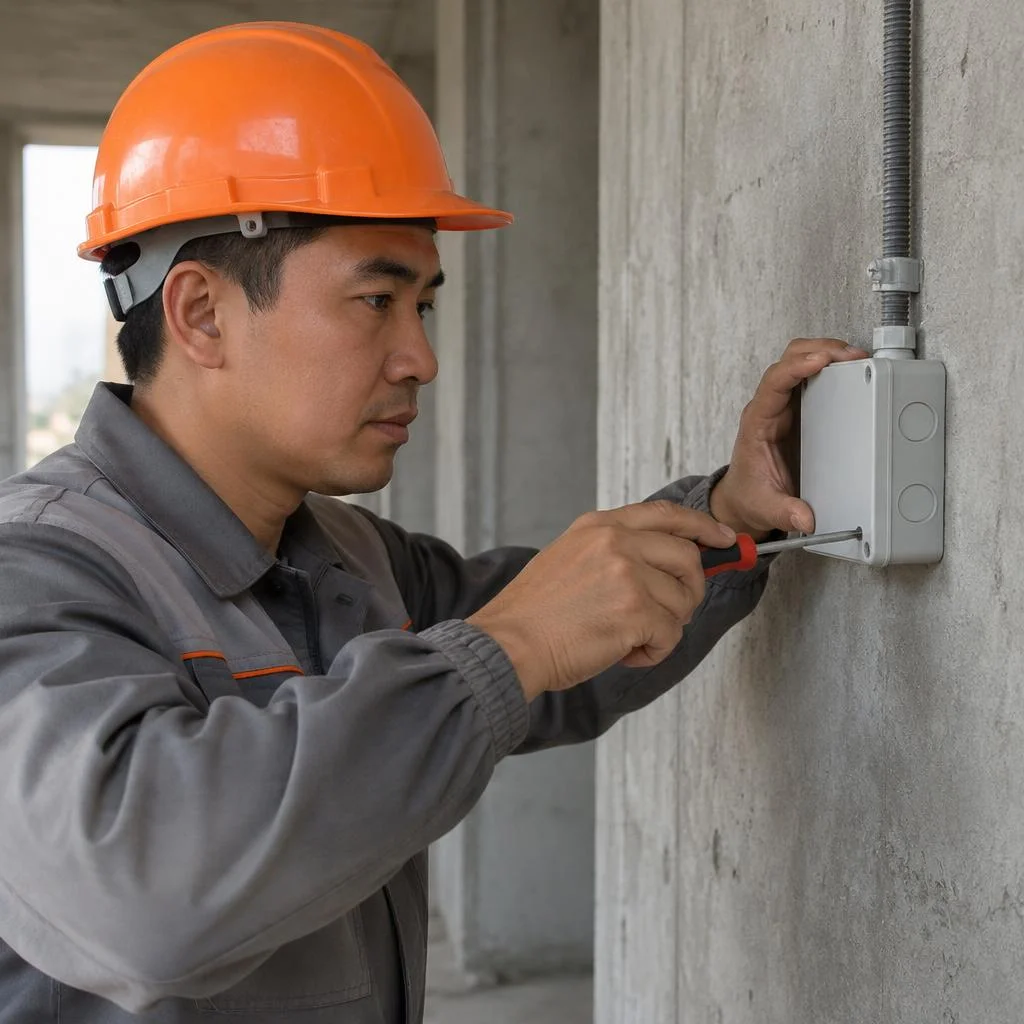
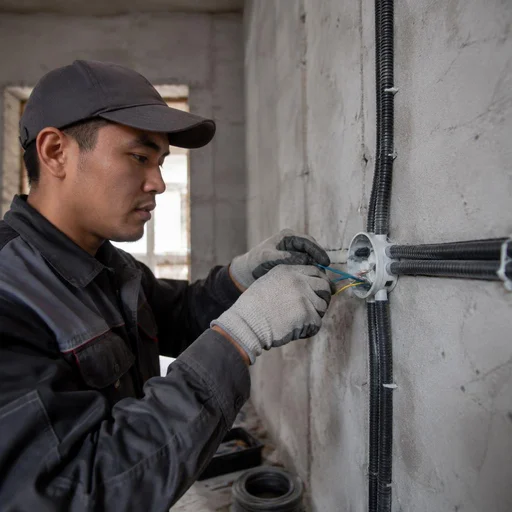
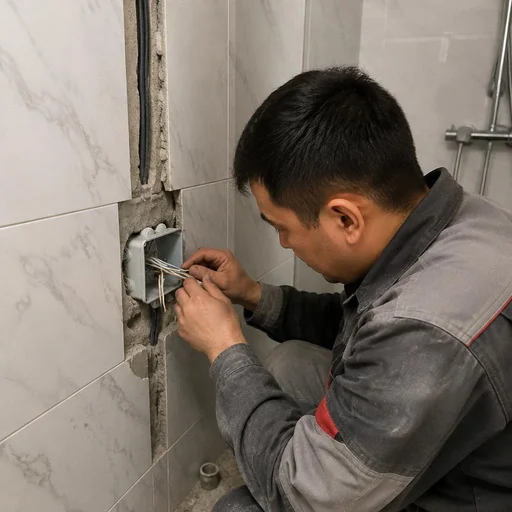
In concrete and monolithic walls, we drill a socket with a concrete core bit, knock out the core, and set the box on alabaster or gypsum mortar strictly level. We select the core bit diameter to match the body: for a standard 60×60 mm box we take 68 mm, for 80×80 mm — 85 mm, so that a gap remains for the mortar. We run the rotary hammer in drilling mode without impact for the first 20-30 mm, otherwise the finishing plaster around the hole will chip. In monolithic buildings in Bishkek, rebar often runs close to the surface — before drilling, the technician scans the wall with a metal detector to avoid hitting the load-bearing frame. If a rebar falls within the socket area, the point is shifted 30-50 mm to the side: damaging working rebar in a monolith is a matter of load-bearing capacity, not finish repair. Work in monolith takes us 40-60 minutes, accounting for navigating around the frame.
Installing a junction box in brick and panel buildings
In brick, the box is set on mortar after drilling a socket with a carbide-tipped core bit, while in a panel building the hollowness of the slab is taken into account and it is not drilled through. Solid brick drills evenly, while hollow brick chips on exit — the core bit is run without pressure and with dust extraction. In a panel, the hole for the box is made 2-3 mm deeper than the body — the extra depth is needed so the mortar fills the voids and the box doesn't "sink" after drying. The depth of a panel slab is usually 140-160 mm, and drilling through into the neighboring apartment is a real risk when working without a depth stop. Work in a panel building always proceeds with depth control: the technician marks the drill bit so as not to go through the slab.
Installing a junction box in drywall and a wooden wall
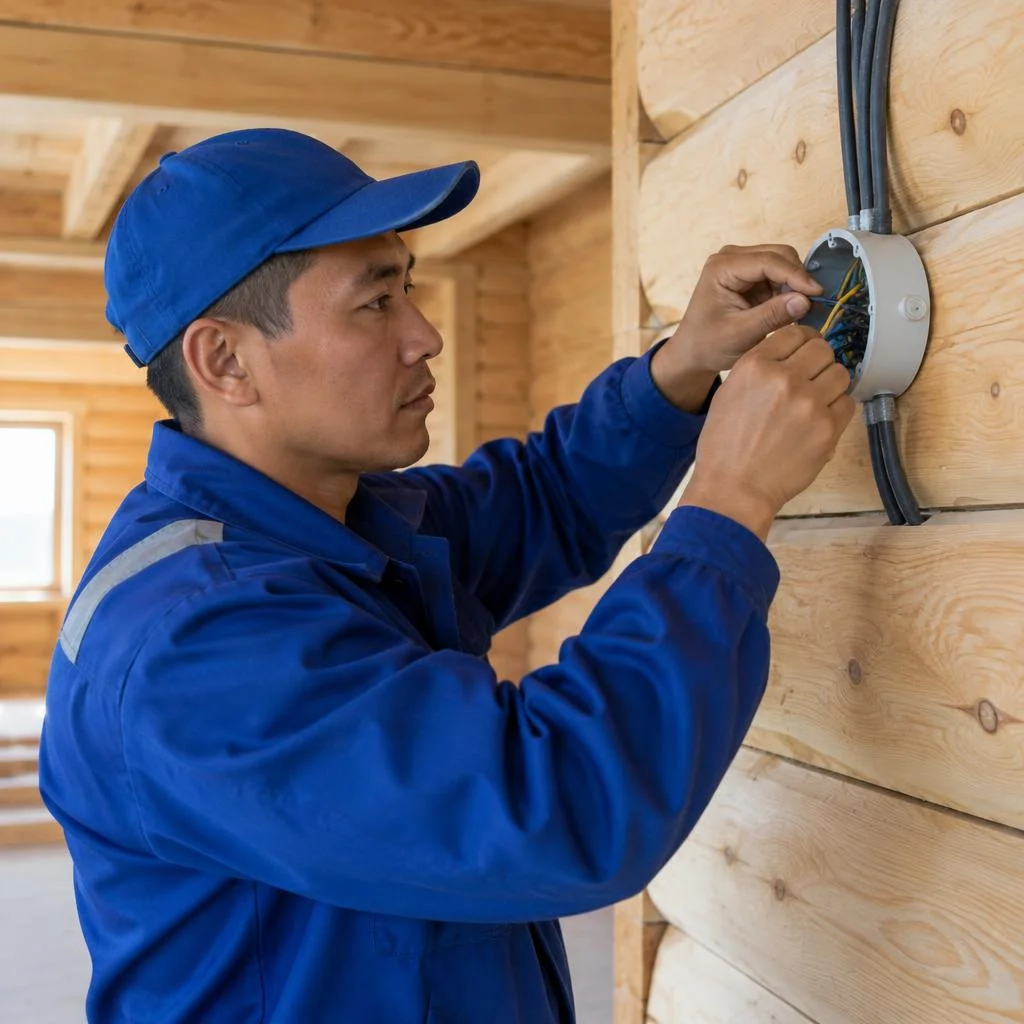
In drywall we install the box with expansion tabs without mortar, while in a wooden wall and log house — only in a non-combustible sleeve with a mineral wool backing. For drywall we use a 68 mm bi-metal hole saw: it cuts the sheet without ragged edges, and the box tabs are tightened with screws on both sides and hold it in a 12.5 mm sheet. In wood, the hole is drilled with a wood hole saw, a metal sleeve is inserted inside, and the gap between the box and the fibers is filled with mineral wool at a density of 30-45 kg/m³. In wood, you cannot set the box on alabaster right against the fibers — when heated, the contact gypsum cracks, and dry wood nearby ignites faster than the breaker trips. On a log house we add an asbestos cloth gasket under the sleeve: movement of the log courses over time loosens the fastening, and a rigid fit without compensation causes cracks in the body.
Comparison of installation by base type
| Base | Fastening | Tools | Special feature |
|---|---|---|---|
| Concrete | alabaster / gypsum | concrete core bit, rotary hammer | navigating around rebar |
| Brick | mortar | carbide-tipped core bit | void control |
| Drywall | expansion tabs | bi-metal hole saw | no mortar |
| Wood / log house | non-combustible sleeve | wood hole saw | mineral wool around |
| Panel | mortar | core bit, metal detector | do not drill through the slab |
| Monolith | alabaster | concrete core bit | rebar detector |
If the base is combined — drywall on concrete or wood on brick — the method is chosen based on the load-bearing layer, not the finish.
Installing a junction box: the stages of the technician's work
The work proceeds in four steps: marking, chasing and drilling, seating the box, feeding in and connecting the cable. The technician checks each stage with a level and verifies it with a tester — the price of installing a junction box depends on the number of steps and the complexity of the base.
Marking and chasing for the cable
We mark the route with a level and chase a channel 20-25 mm deep and wide enough for the cable bundle, so that the plaster completely covers the wire. From the box the route runs strictly vertically to the ceiling or to the floor, and we lay horizontal sections only along load-bearing structures below the level of the ceiling slab. A wall chaser with a diamond blade cuts concrete and brick; for panel buildings in Bishkek we take a model with a depth limiter — in the 1-464 and 1-335 series the wall panels are reinforced and are 200-250 mm thick. Clients often search for the cost of the work — and land on this section, where it is clear what the estimate is made up of. Horizontal chases in the load-bearing walls of Bishkek panel buildings are prohibited — the route is run vertically from the box to the ceiling or floor.
Drilling the socket and seating the box
We drill the socket with a core bit of the required diameter to the depth of the body, then seat the box on alabaster and set it level before the mortar sets. For a standard 68 mm diameter back box we take a 68 mm core bit with carbide teeth; for a block of two or three modules — a 68 mm core bit with a centre-to-centre distance of 71 mm, so that the frame sits without gaps. Alabaster sets in 4-6 minutes, so we press the box with a wedge and hold it until it is fixed, and remove excess mortar flush with a trowel. You can order seating with pre-drilling using a template — this way the sockets line up in a single row. The box is set so that its edge is flush with the future plaster — a recessed box will end up behind the finishing layer and the cover will not close.
Feeding in the cable and connecting the wires
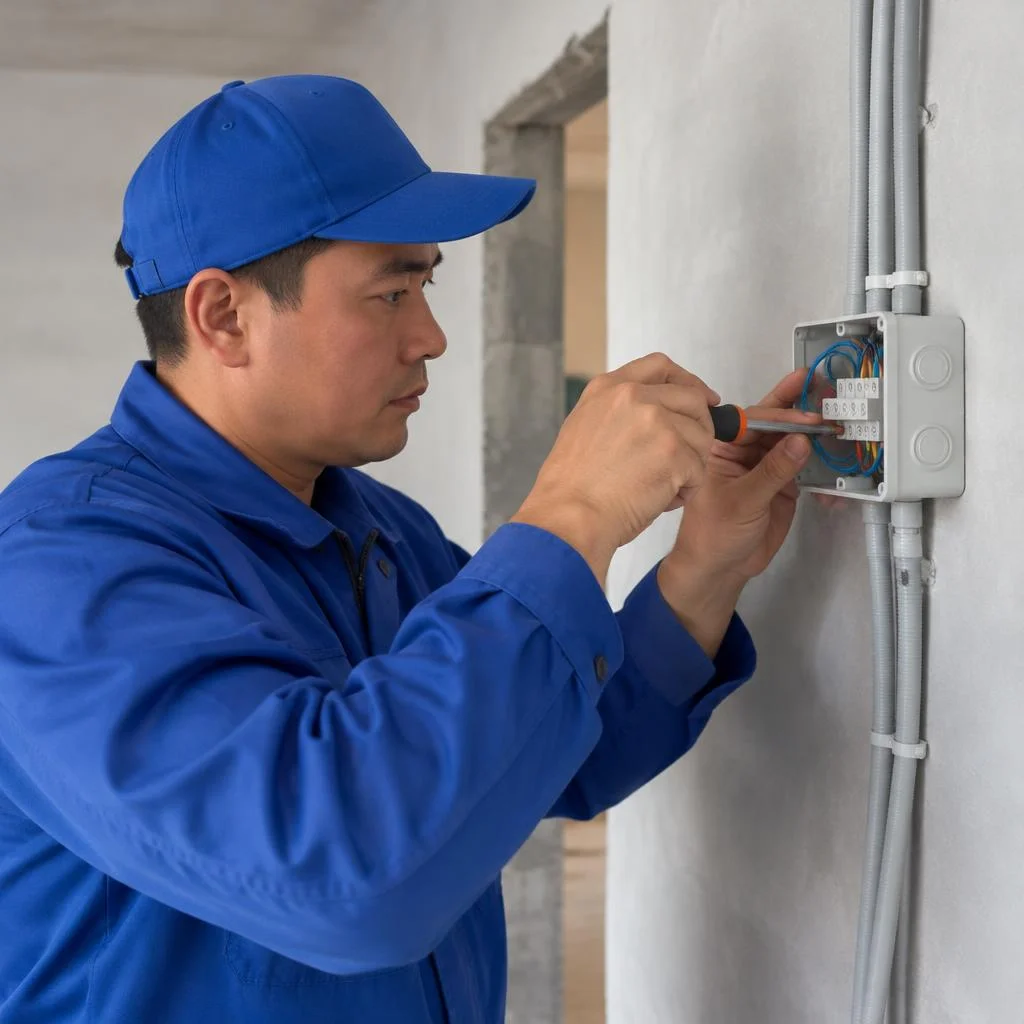
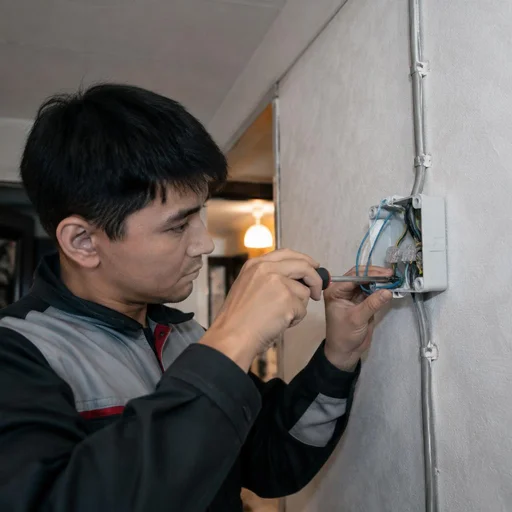
We feed in the cable with 10-15 cm of slack, strip the insulation and connect the cores with Wago terminals or ferrules — depending on the load and the cross-section of the line. For lighting circuits with a cross-section of 1.5 mm² and a current of up to 10 A we install Wago series 221 or 2273; for power lines of 2.5-4 mm² under a load of 16-25 A we crimp copper GML ferrules with a hydraulic press, and we leave twisting with a connector only on temporary sections. We connect aluminium cable to copper through terminals with paste — direct contact between the two metals causes electrochemical corrosion within 8-12 months. The cable slack in the box is not needed "just in case": when redoing the line, the technician cuts off the oxidised end and makes a new connection without extending.
Checking connections and marking the lines
- Continuity testing with a tester: we check each circuit for a break and a short circuit before applying voltage, and record the insulation resistance.
- Testing under load: we switch on the breaker and measure the current with a clamp meter — a deviation from the calculated value of more than 10% indicates a poor contact.
- Marking the circuits: we label the lines "kitchen sockets", "bedroom light" on heat-shrink tubing and stick a tag on the box cover.
- Photo diagram: we photograph the wiring layout before closing the box — during the next renovation the technician can see the connections without opening it up.
- Entry in the property passport: through Eco-Service the diagram goes into the client's archive, and the crew arrives at the property already with a ready line map.
Installation of distribution boxes in new buildings and older housing stock in Bishkek
In a new building, the wiring is done from scratch according to the design while the walls are still open, whereas in older housing stock the box is more often relocated or replaced together with the wiring: the approach, the amount of wall chasing, and the approvals differ fundamentally.
Installing a distribution box in a new building
In a new building, we install the boxes at the rough finishing stage, while the walls are still open — this is cheaper and allows all the wiring to be hidden under the plaster. In Bishkek residential complexes along Tokombaev and Akhunbaev streets, the walls are more often made of aerated concrete: it drills easily but crumbles at the edge, so the socket recess is made with a hole saw without hammer mode, and the mounting box is set on gypsum mix rather than alabaster — the latter sets in 3-4 minutes and doesn't allow the box to be leveled. We run the wiring in VVGng-LS copper with a cross-section of 2.5 mm² for socket groups and 1.5 mm² for lighting, and we label each junction by group. Installing a distribution box at this stage pays off because the ceiling and walls are not yet closed — redoing it after finish finishing costs three times as much.
Installing a distribution box in older housing stock and panel buildings
In older housing stock, we first check the condition of the existing wiring: if the aluminum is oxidized, the box is replaced together with the line rather than simply moved to a new location. In the blocks around Chuy Prospekt and in the five-story buildings of Osh, 2.5 mm² aluminum conductors often already show signs of overheating — the insulation hardens, the contact under the screw loosens, and any installation of a distribution box over such a line causes hidden heating under the plaster. In Bishkek panel buildings, load-bearing walls must not be touched: horizontal wall chasing and relocating a junction must be approved through the BTI, otherwise the fine falls on the owner, not on the electrician. We tell the client in advance which walls are load-bearing according to the technical passport and propose a bypass route along non-structural partitions.
Relocating a distribution box during renovation
During renovation, the box is often relocated to the hallway or kitchen — we disconnect the line, dismantle the old junction, extend the cable with sleeves, and install the box in the new location. We crimp the sleeve with a hydraulic press and cover it with heat shrink rather than insulating it with tape: the connection remains inside the enclosure and is accessible for inspection. A separate issue is the installation of a junction box — the price depends on the length of the new route and the number of groups that need to be rerouted, so we calculate the estimate after an inspection, not over the phone. Extending a cable with a twist in the wall is not allowed — the connection must remain inside the box, otherwise when heated it oxidizes and becomes a point of failure that is later hunted down by opening up the finish.
Installation of distribution boxes under stretch ceilings, screed, and in the bathroom
Certain areas require their own approach: under a stretch ceiling, the box is hidden behind the plane; under the screed, it goes in corrugated conduit; in the bathroom, it needs moisture protection. We break down three scenarios where standard installation doesn't work.
Installing a box under a stretch ceiling
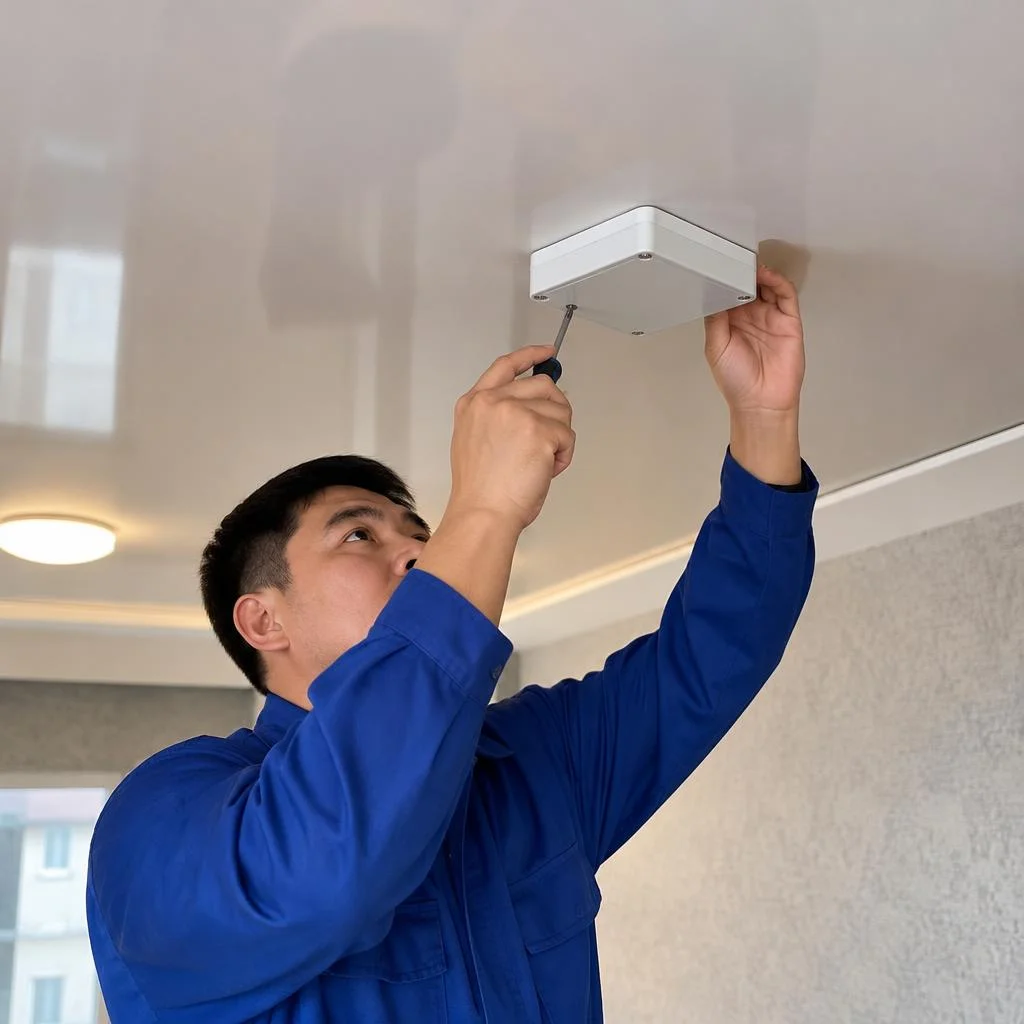
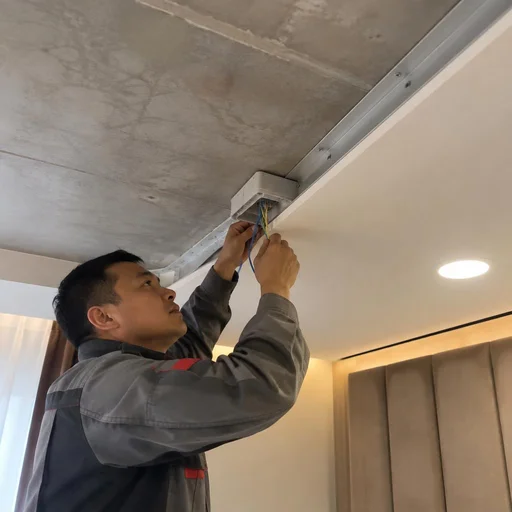
Under a stretch ceiling, we mount the box to the base slab on a bracket so that after the ceiling membrane is stretched, it remains accessible through a hatch or a removable cover. We select the bracket based on the weight of the bundle: for three to four lines, an adjustable suspension with a 40–60 mm offset is sufficient; for seven to eight, we use a reinforced one with two fixing points. We run the cable from the box to the light fixtures in 16 mm PVC corrugated conduit and route it into the technological gap between the membrane and the wall — the embedded hatch frame is installed during the frame assembly stage; it can't be cut in later. In our practice, installing a box under a stretch ceiling most often happens during the lighting preparation stage in the living room and bedroom. The box must not be left directly on the membrane — it will sag under the weight of the cable, so the mounting point is chosen on the load-bearing base, not on the frame profile.
Installing a box under concrete screed and in the bathroom
In the screed, the box is laid in corrugated conduit with a height allowance, while in the bathroom a moisture-resistant model with a sealed cover is used and mounted no lower than 30 cm from the floor. In the screed, we take a height allowance of 15–20 mm above the bundle — when pouring, the mortar presses on the corrugated conduit, and without the allowance it gets crushed together with the core insulation. In the bathroom, we seat the enclosure on silicone sealant around the perimeter and route the cable from bottom to top so that droplets don't run down the cores inside. In search queries, clients often type requests about installation in the bathroom — and end up here, although the topic is specifically the wet zone. Installation of distribution boxes in bathrooms through Eco-Service is carried out with a mandatory 10 mA RCD check — in a wet zone this is not an option but a requirement. In the screed, the box must not be walled in permanently — a hatch is left or it is brought out to the wall, otherwise in the event of a fault the entire floor would have to be opened up.
Box in the kitchen, garage, and on the balcony
- Kitchen: we separate the lines for the stove, refrigerator, and socket group onto individual terminals — the 32 A stove runs on its own 3×4 mm² cable.
- Garage: we use an enclosure with IP54 protection rating and install it above the possible flooding level; connections are made only with ferrules or Wago connectors in sealed caps.
- Balcony: a model with UV and temperature fluctuation protection; cable in corrugated conduit fastened to the wall every 30 cm.
- General rule: in the kitchen, garage, and on the balcony, we leave inspection access — the cover must be removable without dismantling the finish, and connections are inspected every couple of years due to condensation.
2-year warranty, on-site technician visits and Eco-Service in Bishkek
Direct provider of the service without intermediaries or subcontracting: a technician comes to the site, inspects the base and lines, and the completed installation comes with a two-year warranty. Below — how the warranty, on-site visits and service center work.
2-year warranty on box installation
All box installation work comes with a 2-year warranty — if a connection loosens or the box sinks in its seat, the technician will come and redo it free of charge. Coverage extends to crimping ferrules, soldering twists, seating Wago terminal blocks and fastening the enclosure in concrete, brick or drywall. A case is recognized as a warranty case if access to the unit is preserved: an inspection hatch, a removable panel or an open cover. The warranty is valid only if access to the box is preserved — if it has been walled in without a hatch, the technician will not be able to check the connection and the case will be recognized as non-warranty. Installing distribution boxes with a hatch under a stretch ceiling or in a wall costs more at the work stage, but saves on opening up during inspection.
On-site technician visit in Bishkek
The technician comes to the site, inspects the base and the condition of the wiring, after which he states the installation method and timelines — without pushing unnecessary work. During the inspection, the wall type is checked (monolith, panel, brick, drywall), the cross-section and material of the cable — copper or aluminum, the presence of grounding and the condition of the main circuit breaker. For diagnosing hidden wiring, a route finder is used, and load balancing is checked with clamp meters for each group. On the visit, the technician checks not only the wall under the box, but the entire line: if the breaker does not hold the load, installing the box will not solve the problem. It is convenient to schedule an inspection via Telegram or by phone — the technician arrives in the agreed window, and based on the inspection results provides an estimate with a list of works.
Own service center and direct provider
Eco-Service is a direct provider of the service: the work is performed by staff technicians, not contractors, and our own service center operates in Bishkek for in-person reception. The staff covers the entire cycle — from wall chasing and drilling the seat to routing the cable, connecting wires with ferrules or soldering and marking the lines. Clients often formulate the request as installing a distribution box — and end up here, although what is meant is the full cycle of work with the box. In a new building and old housing stock, different tools are required: in monolith, a diamond drill bit is needed, in panel — a concrete core bit, in drywall — cutting for the mounting box. A direct provider is responsible for the result as a whole — in a warranty case, there is no need to look for the subcontractor who did the installation. The customer gets one contract, one acceptance act and one point of contact for all matters.
Conclusion
We have covered what makes up a competent distribution box installation: from choosing the model for the wall material to checking connections and marking lines. Below — a short summary that will be useful before starting work.
Key takeaways
- The base decides everything: the fastening method and tool are chosen based on the wall material — concrete, brick, drywall and wood require different approaches and different tooling.
- The connection is the weak point: terminal blocks, ferrules or soldering must remain inside the box with access for inspection, and not hide in the wall without the possibility of revision.
- Zones with special conditions: bathroom, screed, garage and balcony require moisture-resistant models and protection of connections from condensation and accidental splashes.
- New building and old housing stock are different tasks: in the first case, the wiring is laid from scratch, in the second — the old wiring is checked and often replaced for new loads.
- Access matters more than aesthetics: the box is left open or under a hatch — otherwise any malfunction turns into opening up the finish and extra costs.


