








Which bathtub to choose: steel, acrylic, cast iron and hydromassage
The choice of the tub determines the installation technology, the weight of the structure and the requirements for the base. Let's look at how the types differ and what is important to consider when installing in a Bishkek apartment.
Steel, acrylic and cast iron bathtub: installation comparison
| Bathtub type | Empty weight | What it requires during installation | Retains heat |
|---|---|---|---|
| Steel | 25–35 kg | Base reinforcement, vibration isolation | 15–20 minutes |
| Acrylic | 20–40 kg | Frame assembly or leg installation | 30–40 minutes |
| Cast iron | 90–120 kg | Reliable support, checking the screed | up to 60 minutes |
A cast iron bathtub weighs 3–4 times more than an acrylic one, so the base must be reinforced underneath it — otherwise cracks appear in the screed over time and the tub becomes misaligned. We install all three types: for steel we lay a vibration-isolating underlay and adjustable legs, for acrylic we assemble a frame from profile, for cast iron we check the load-bearing capacity of the floor. In my opinion, for a panel building of the 105 series in Bishkek, cast iron on the second floor without reinforcement is a risky decision.
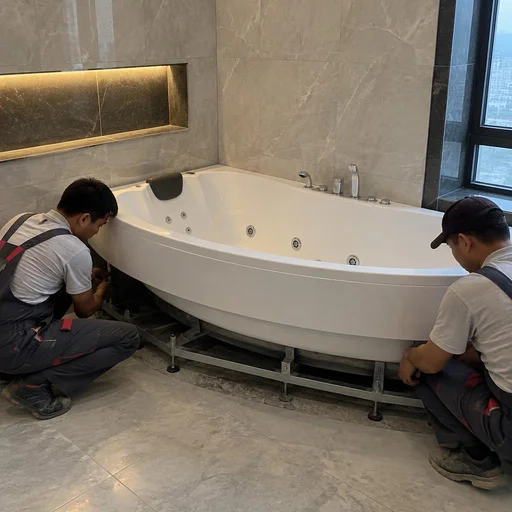
Hydromassage, corner and freestanding bathtub: what to consider
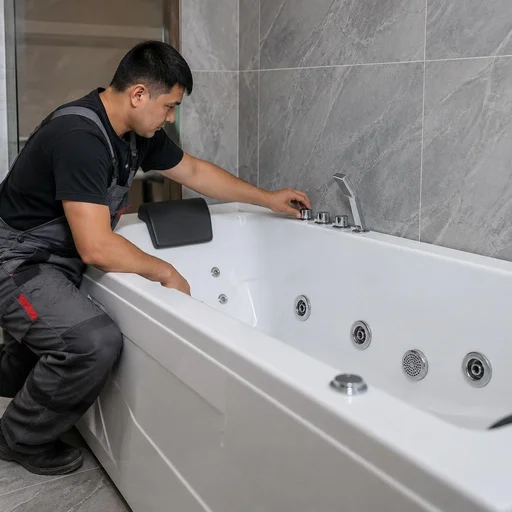
- Hydromassage bathtub: requires a separate 220 V power line with an RCD and grounding, as well as access to the pump through a service hatch.
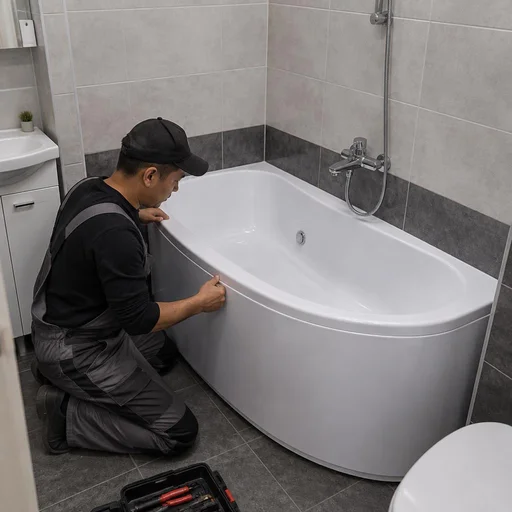
- Corner bathtub: saves space in cramped bathrooms, but is attached to two walls — perfect geometry of the corner is needed, otherwise gaps will remain.
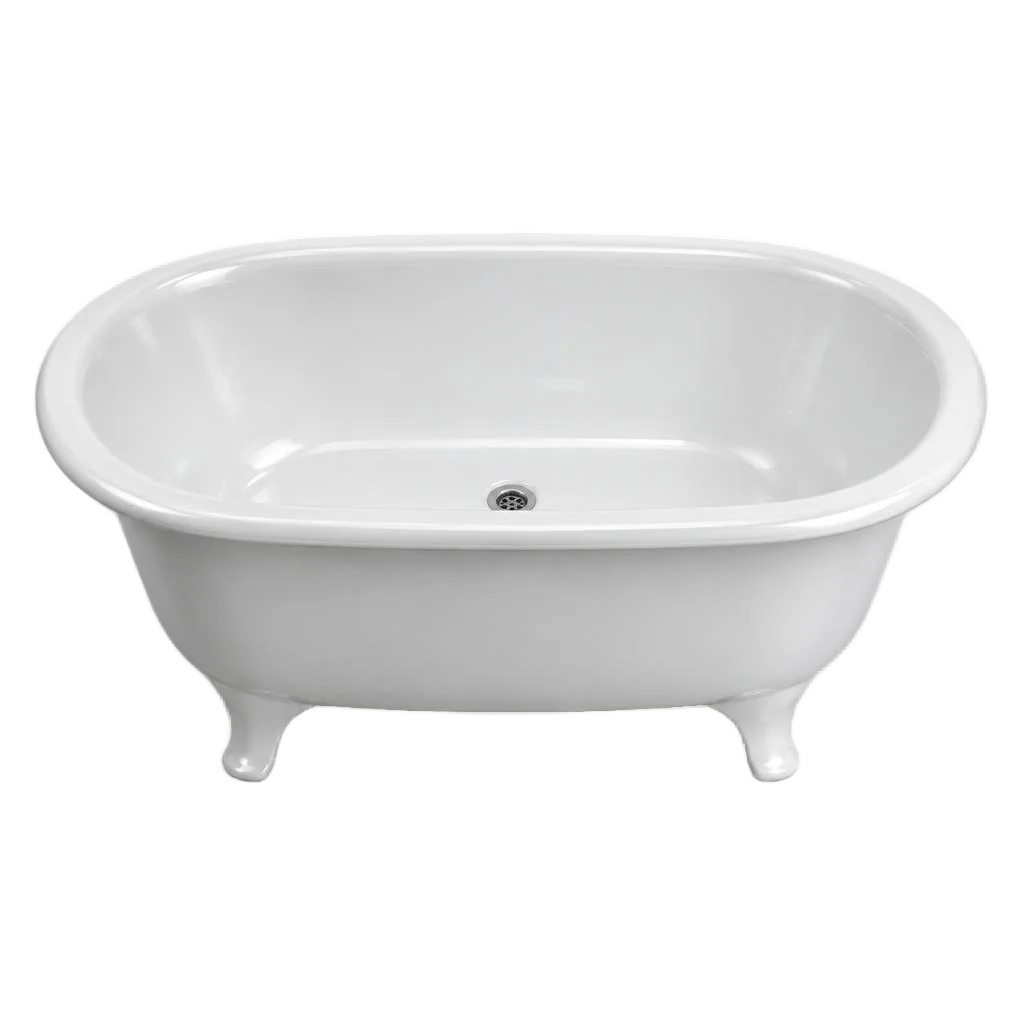
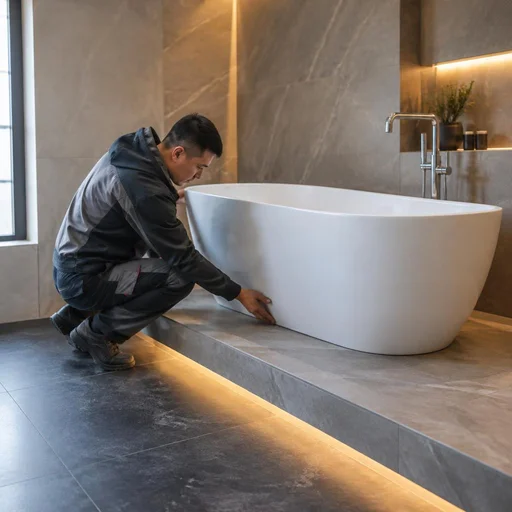
- Freestanding bathtub: is installed on a podium or directly on the tiles, with utilities routed from below rather than through the wall.
- Jacuzzi bathtub: combines hydro- and air massage, so it requires a reinforced base and drainage with an increased pipe diameter.
What bathtub installation includes and how the scope of work is formed
- Dismantling: removing the old tub, disassembling the screen, carrying the structure out of the apartment.
- Preparation: leveling the walls in the tub area, waterproofing, reinforcing the base if necessary.
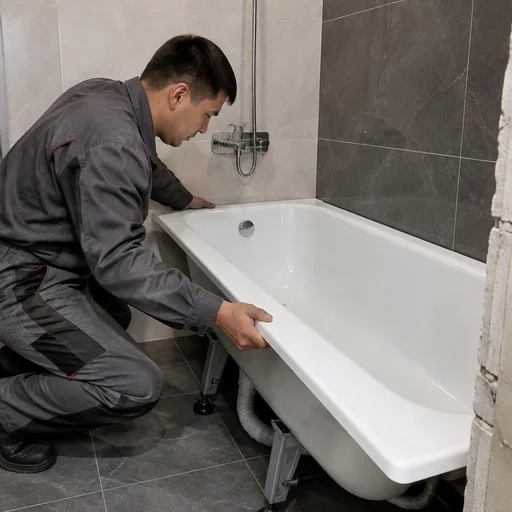
- Installation: assembling the frame or installing the legs, leveling the tub.
- Connection: drain and overflow, siphon, sealing the joints and checking for leaks.
- Finishing: installing the screen, tile cladding or mounting a ready-made panel.
Clients often search for bathtub installation prices — and land on this page, because the final sum is made up of a list of works rather than a fixed rate. In our practice, the scope is determined by five factors: the type of tub, the condition of the walls and screed, the need to reinforce the base, the length of the supply lines and the method of cladding the screen. The more preparatory operations there are, the higher the labor intensity. Eco-Service performs the full cycle — from dismantling to cladding the screen, and the estimate is made by a technician after inspecting the bathroom. Before ordering, ask for the estimate items to be listed line by line: this way you can see exactly what you are paying for, and it is easier to compare offers from different crews.
Dismantling the old bathtub and preparing the base
Preparing the base is the stage on which the durability of the installation depends: let's break down how dismantling, removal and leveling of the walls for the future tub are carried out.
Dismantling the old bathtub: how it goes and where it ends up
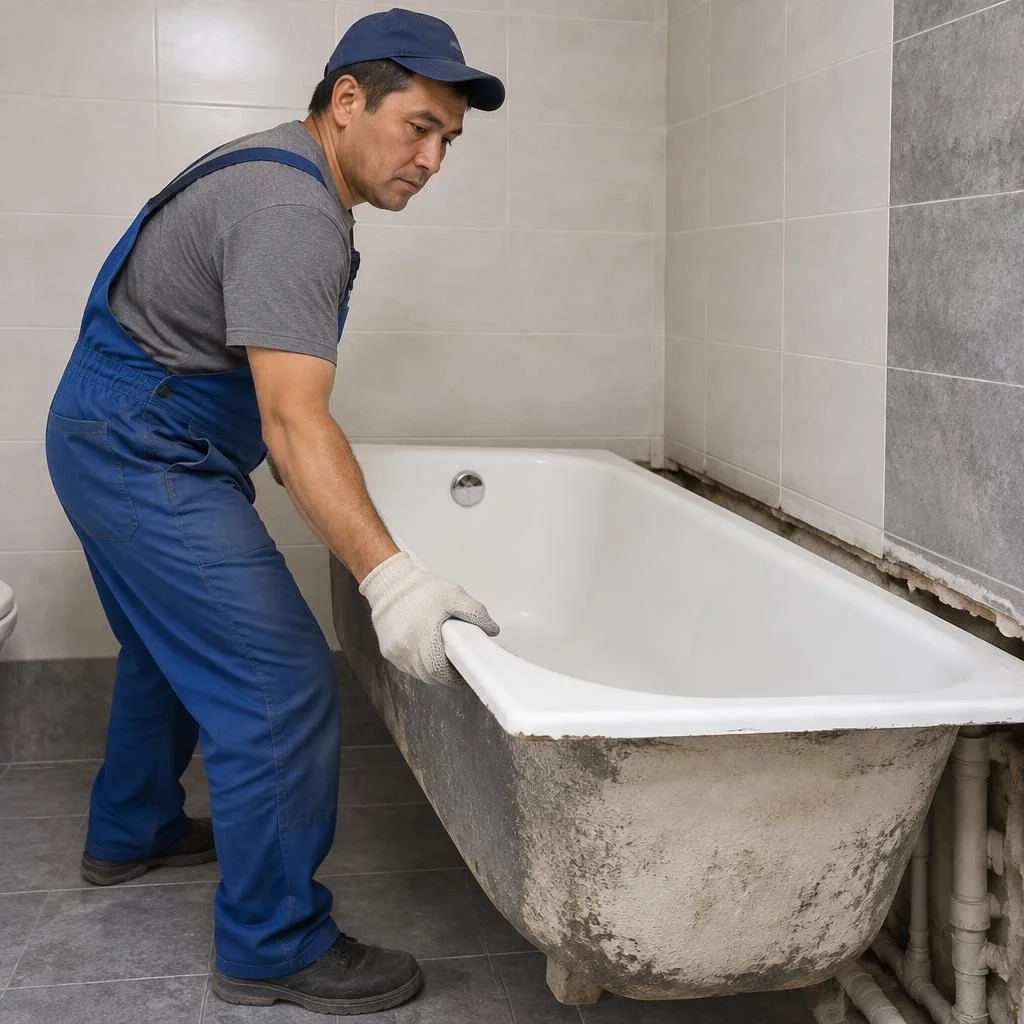
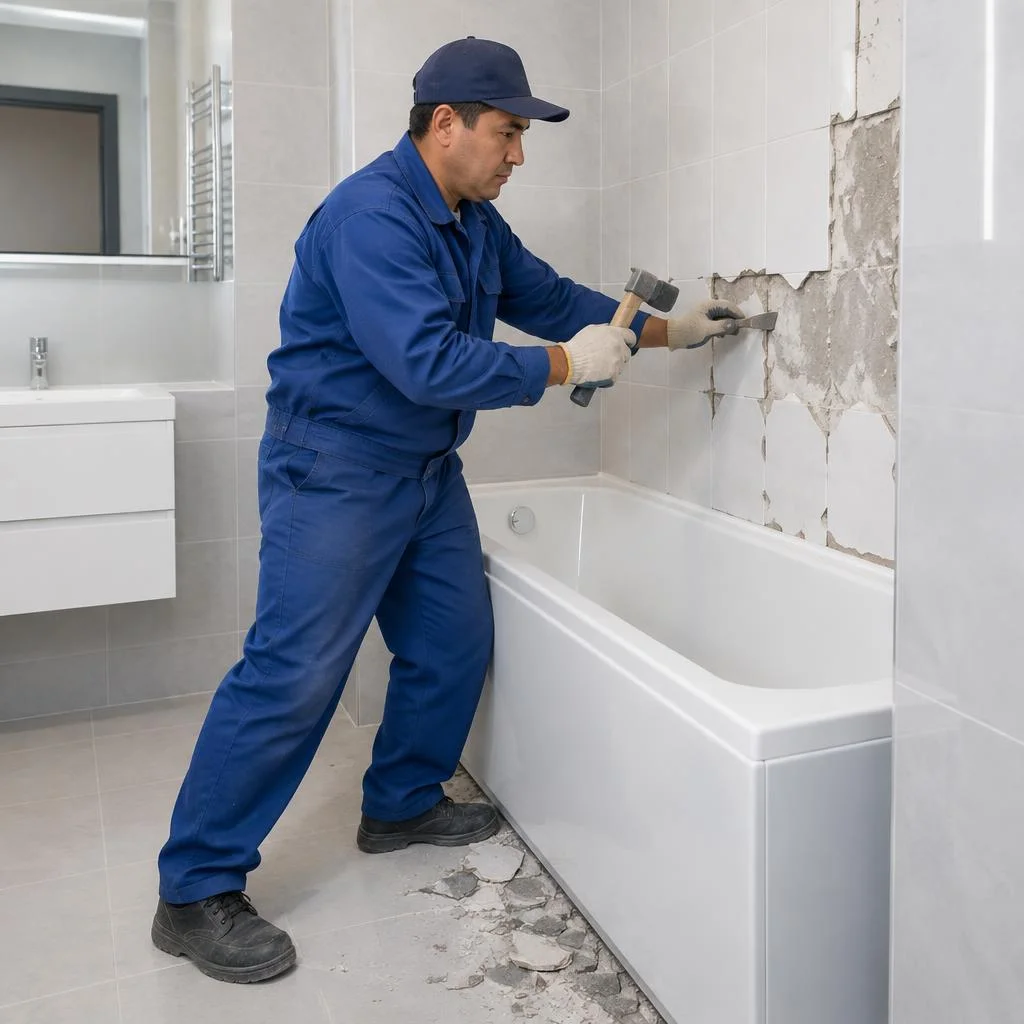
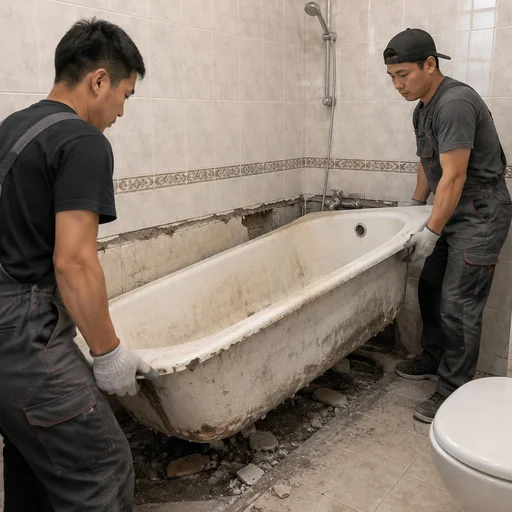
We dismantle the old bathtub and haul it away from the site — dismantling with removal saves you from having to find transport yourself. First, the technician shuts off the water, disconnects the drain-overflow and siphon, removes the faucet and the protective screen, then frees the tub from the fasteners to the wall. Steel and acrylic models come out through the doorway in one piece, while a cast-iron one is cut up on site with an angle grinder into 2-3 fragments — a standard 70-80 cm opening simply won't let it through. The debris is carried down the stairs or in the freight elevator, and the floor and walls along the way are covered with film so that neighboring surfaces aren't damaged. Before ordering installation in Bishkek, check whether removal is included in the scope of work — otherwise the dismantled tub will have to be kept in the stairwell until the movers arrive.
Removing the tiles and leveling the walls under the bathtub
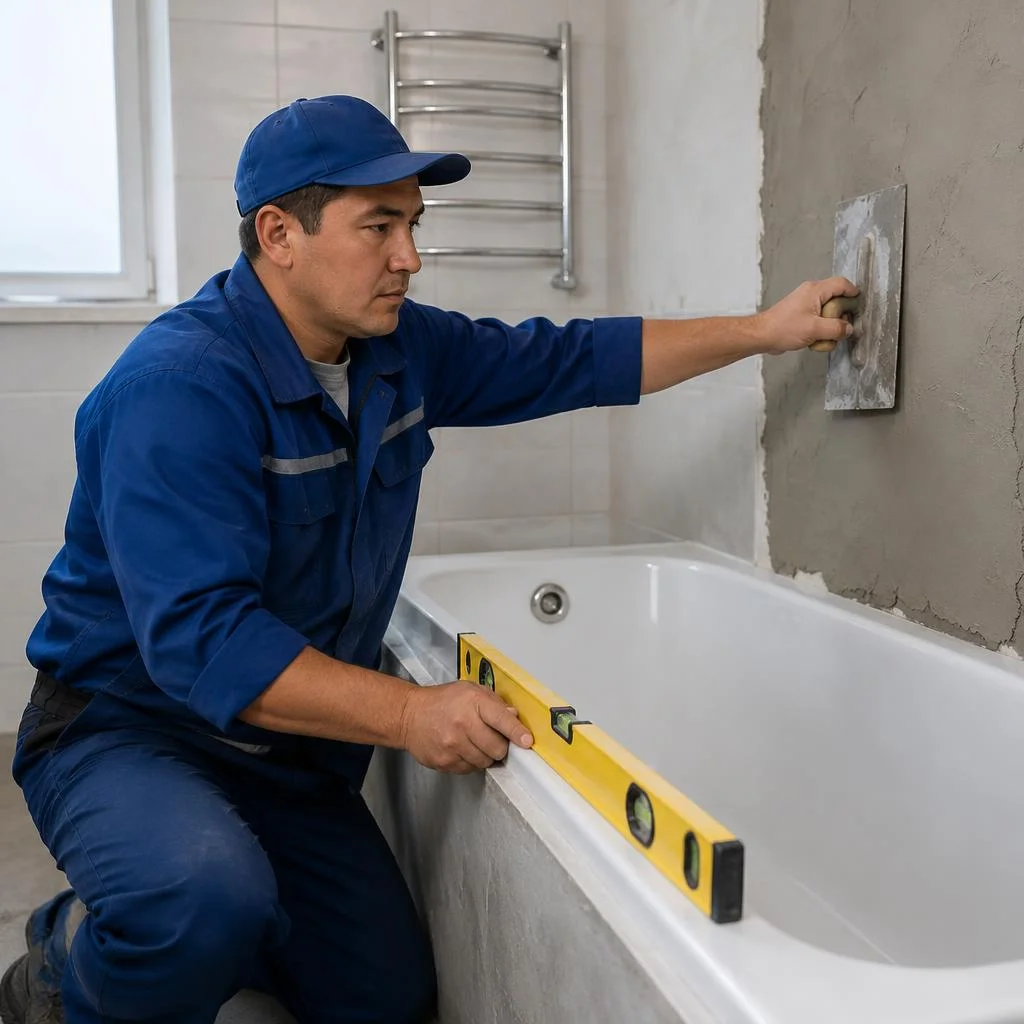
We remove the tiles in the bathtub area and level the walls — a flat surface is needed for quality waterproofing and a tight fit of the tub. A rotary hammer is used to remove the tiles and the old adhesive layer up to the height of the rim and in the adjoining area, then the plane is checked with a 2 m straightedge: a deviation of more than 3-5 mm per meter already requires plaster or tile adhesive. If the old tile holds firmly and doesn't sound hollow when tapped, it doesn't always need to be removed completely — the technician assesses the condition and decides whether the surface can be leveled right over the tile, saving time and the amount of debris. Cracks and delaminations are filled with a repair compound, and the corners and joints with the floor are prepared for waterproofing. The cost of installation is affected, among other things, by the area of dismantling — clarify this point before work begins so you don't overpay for unnecessary removal.
Reinforcing the base for heavy bathtubs
Eco-Service reinforces the base for cast-iron models, whirlpool baths and options with hydromassage — heavy structures require additional support. A cast-iron tub with water weighs 250-300 kg, a whirlpool with a hydromassage system — up to 350 kg, and the point load on the feet is distributed unevenly. A weak wooden floor or an old particleboard base sags under such weight, so the joists are reinforced with additional beams, and distributing plates are placed under the feet or a local screed is poured. Base reinforcement is done before installing the frame — if this stage is skipped, a misalignment after installation can only be corrected by complete dismantling. In Bishkek's panel buildings, the floor slabs usually support a cast-iron bathtub without any intervention, but in old private-sector homes or on wooden joists, a load-bearing capacity check is mandatory. Clients often find us by searching for how much bathtub installation costs — and in response they first receive an estimate that accounts for base reinforcement, because without it the final quote would be incomplete.
Bathtub installation technology: frame, legs, drain-overflow
Whether the tub will be stable and whether water will leak under the floor depends on proper frame assembly and drain-overflow connection. Let's break down the sequence of operations that craftsmen perform before final installation.
Frame assembly and installation of legs under the bathtub
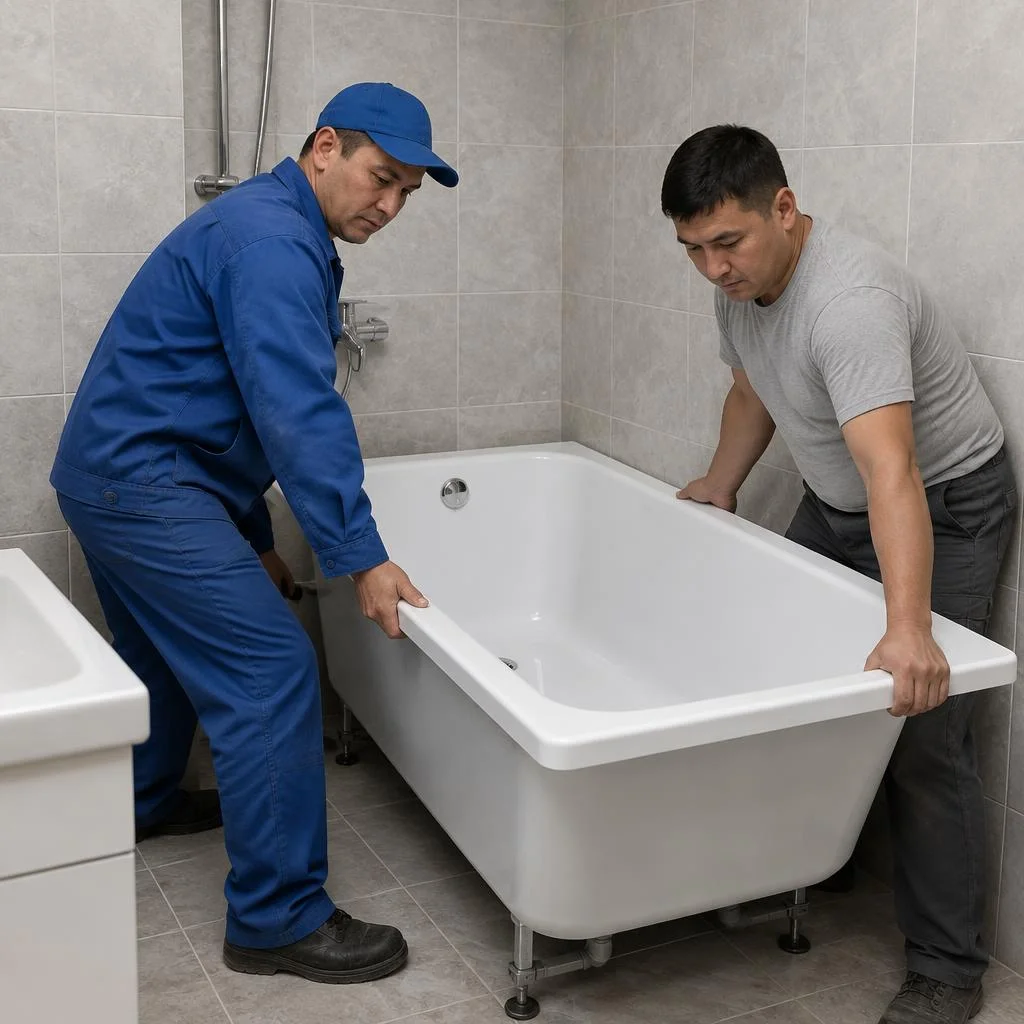
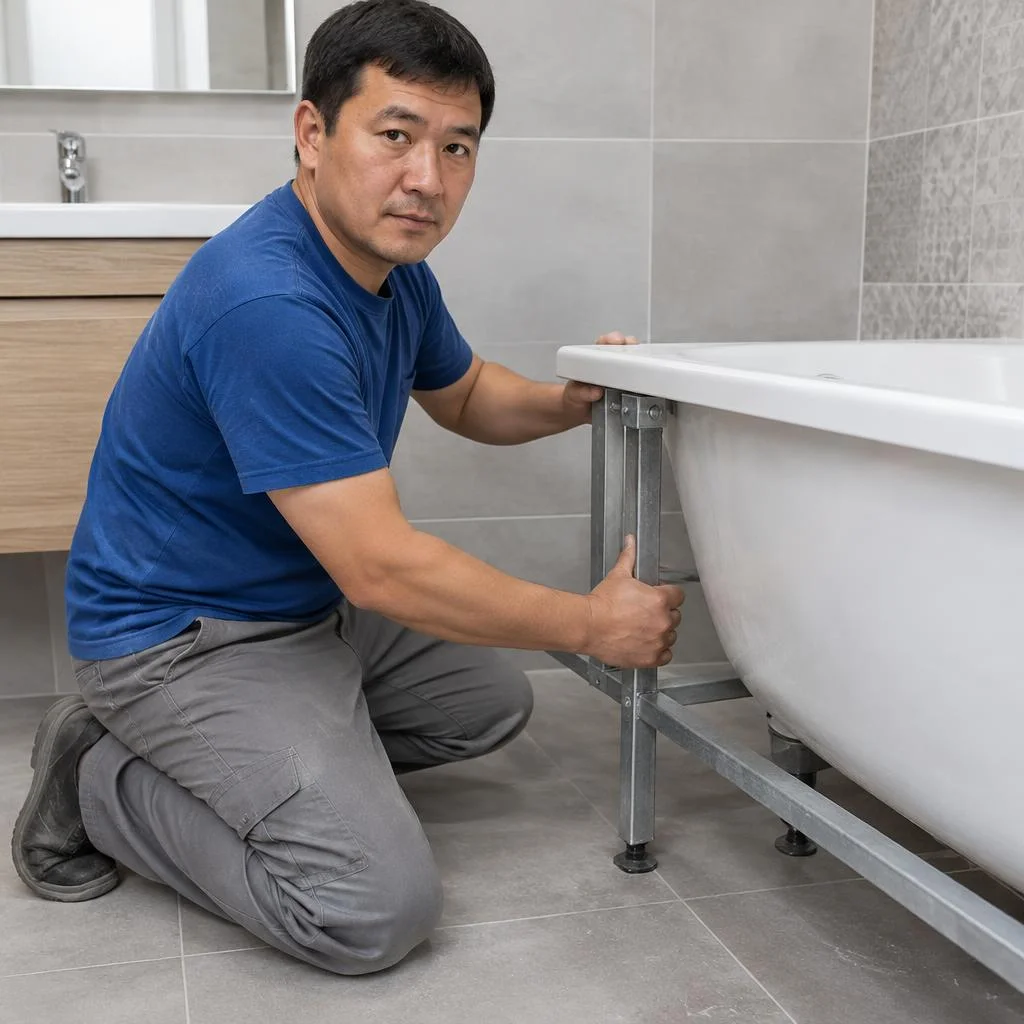
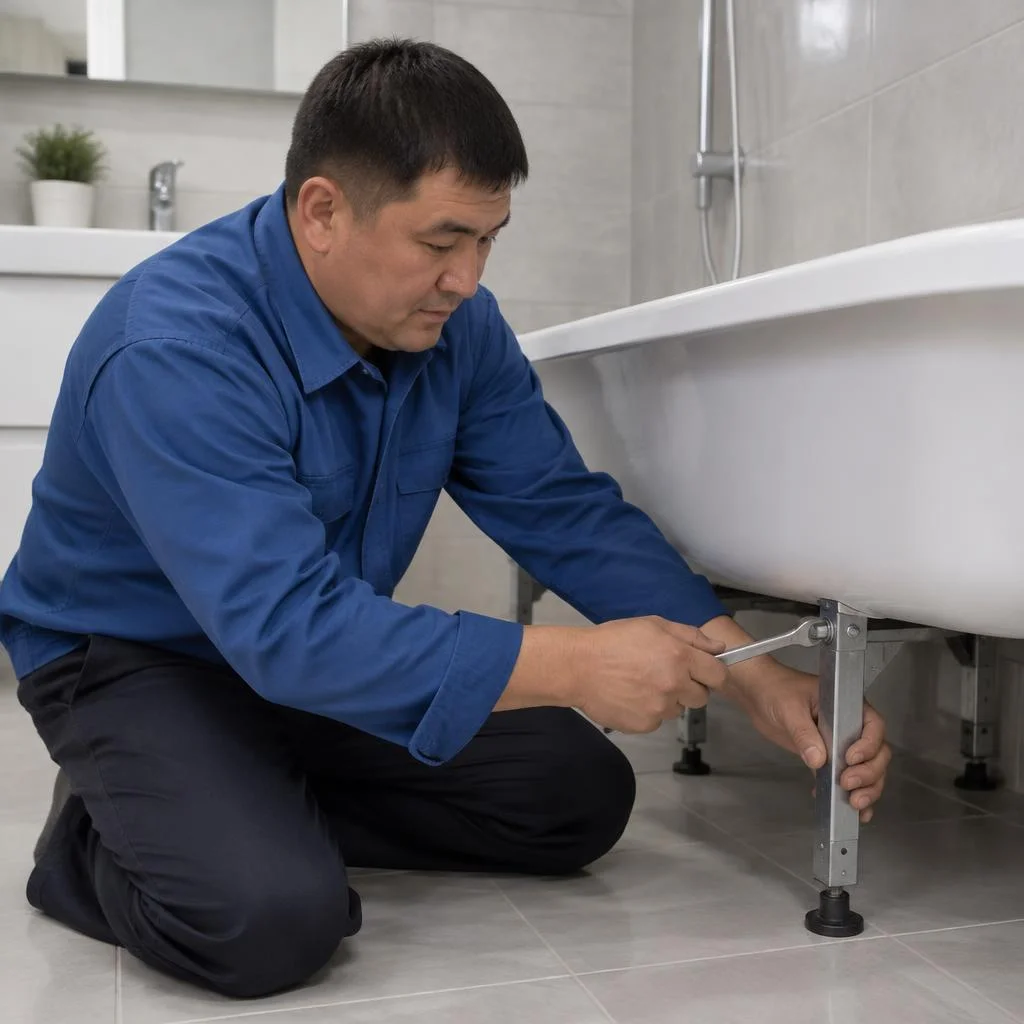
We assemble the frame under the bathtub and install the legs — frame models are more stable but require precise leveling. An acrylic tub 170 cm long gets 4 to 6 adjustable supports: two pairs at the edges and additional ones under the center if the rim flexes under a 120 kg load. The frame made of 40×40 mm steel profile is anchored to the floor, not to the walls — this way the tub doesn't transmit vibration to the tiles. Leveling takes 15-20 minutes and is done before connecting the drain — if you tighten the drain first and then level, you can damage the connection, so we always set the geometry first.
Connecting the drain-overflow and siphon
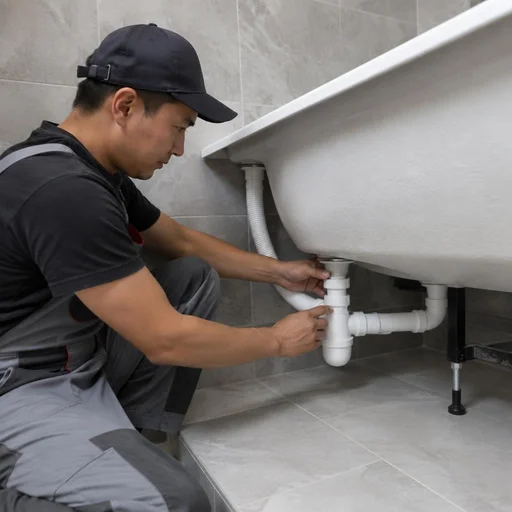
Eco-Service connects the drain-overflow and siphon to the sewer system — the tightness of the connections is checked before final installation of the tub. The 50 mm drain diameter is joined to the siphon via a corrugated or rigid pipe, the slope is maintained at 2-3 cm per meter, otherwise the water drains with gurgling. The overflow is connected to the main tub with a flexible hose and secured with a clamp so that when filled with 200 liters the flow doesn't tear off the hose. Clients often search for bathtub installation price — and land on this section, where installers explain: the final amount depends on the length of the route to the riser and the type of siphon, not on the tub model. The overflow protects against overfilling, but if connected incorrectly, water drains slowly — check the drain speed immediately after installation.
Sealing joints and leak testing
Eco-Service seals the joints between the bathtub and the wall with moisture-resistant sealant and checks the connections for leaks before handing over the work. Sanitary silicone is applied along the perimeter of the rim in a 5-6 mm strip, smoothed with a spatula at a 45° angle and left for 24 hours until fully cured — you can't fill water earlier. The check is done in two stages: fill 100 liters and inspect the siphon under the tub, then drain the water and look at the joint at the wall and on the floor. Bathtub squeaking is most often related not to the sealant but to insufficiently tightened frame fasteners — it's eliminated by adjustment, not by replacing parts.
Waterproofing and wall protection in the bathtub area
Waterproofing protects the walls and neighbors below from leaks, and the finish from mold and peeling. Let's break down why it's done and how it's performed in Bishkek apartments.
Why wall waterproofing is needed in the bathtub area
We perform waterproofing of walls in the bathtub area — it protects the walls from moisture and prevents mold and leaks to neighbors. Without it, water from the shower and through micro-cracks in the seams goes into the floor slab: in panel buildings of Bishkek (series 105, "brick" buildings along Chuy Prospekt and in the Asanbay, Kok-Zhar microdistricts) the slab joints absorb moisture, and within 2-3 months a dark spot appears on the adjacent wall with the corridor. Neighbors below usually come earlier — with stains on the ceiling. Waterproofing is done before installing the tub: if you install it first, access to the wall in the adjoining zone will be closed, and the layer will have to be applied blindly or the finished installation disassembled.
How waterproofing is done and what materials are used
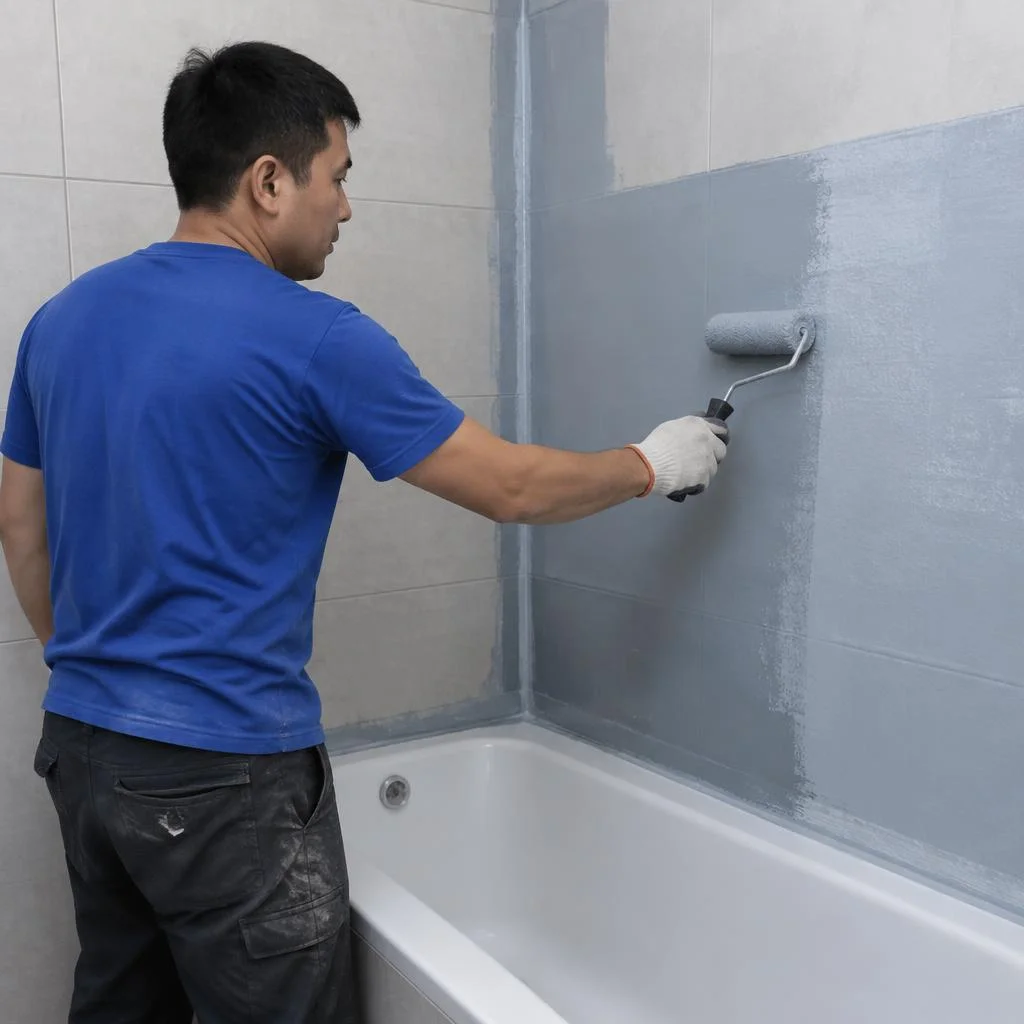
Eco-Service applies waterproofing to the leveled walls in the bathtub area — the material is laid in 2 layers with coverage of the junctions to the floor and the tub rims. It works like this: first the wall is plastered and primed, then the first layer is applied with a brush or roller, after 4-6 hours — the second layer crosswise to overlap the seams. Most often cement-polymer compounds or latex-based coating mastics are used — they are elastic and withstand panel movement. Tape-membrane is laid in the corners and along the perimeter of the junction. Waterproofing is brought up the wall at least 20 cm above the bathtub rim — otherwise splashes during bathing gradually destroy the finish, and the tiles come off at the seams. Clients often search for bathtub and toilet installation price — and in the estimate these items are usually listed as separate lines from waterproofing, so check whether it's included in the basic package or charged separately.
Bath screen: ready-made, brick or tile cladding
The screen closes the space under the tub and determines the appearance of the area. Let's look at ready-made models, brickwork and tile cladding, as well as the replacement procedure when installation in Bishkek is already underway.
Ready-made screen, brick screen or tile cladding
| Option | What it's made of | Access to utilities | When it's chosen |
|---|---|---|---|
| Ready-made screen | acrylic, PVC, MDF panels | removable panel or door | quick installation, even walls |
| Brick screen | masonry + plaster | inspection hatch | permanent, for tiles matching the wall |
| Tile cladding | frame or masonry + porcelain stoneware | inspection hatch | unified bathroom finish |
| Frame-mounted screen | aluminum + plastic | removed entirely | budget-friendly and removable option |
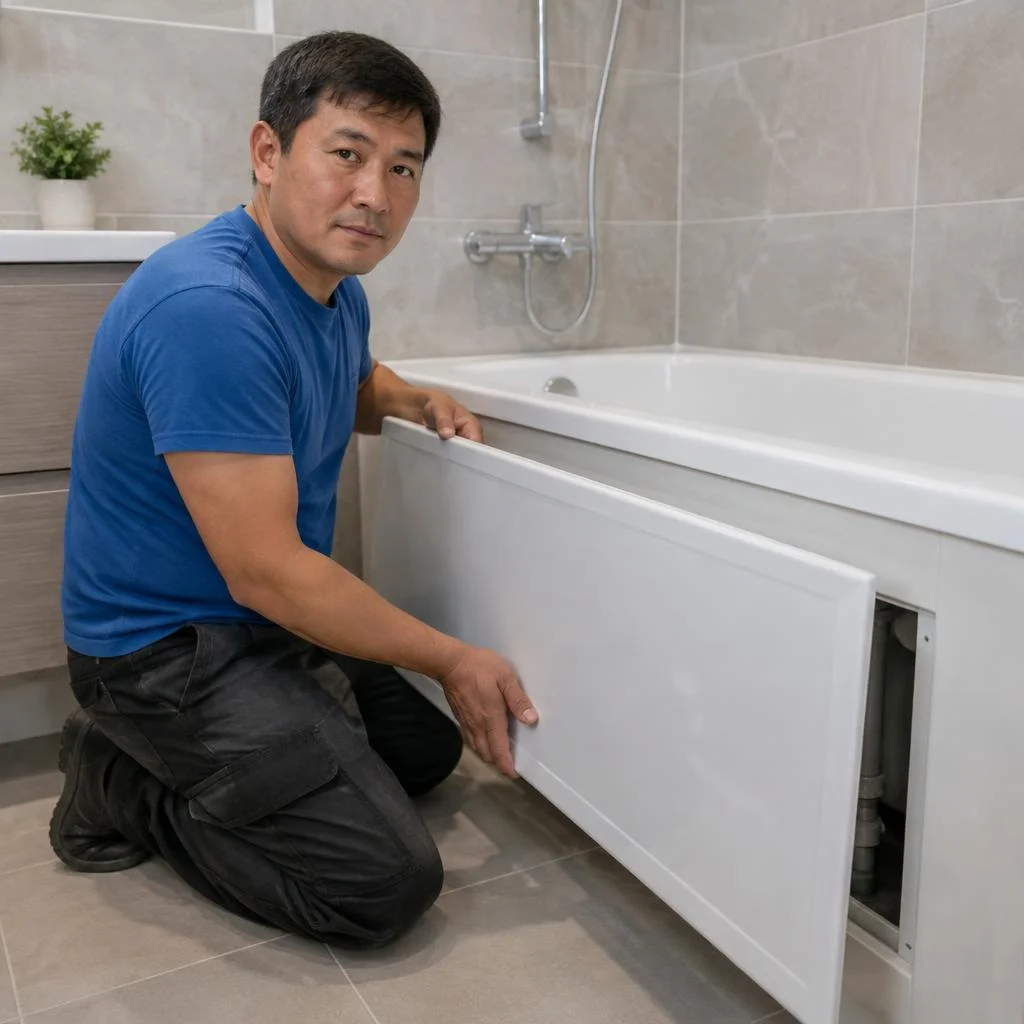
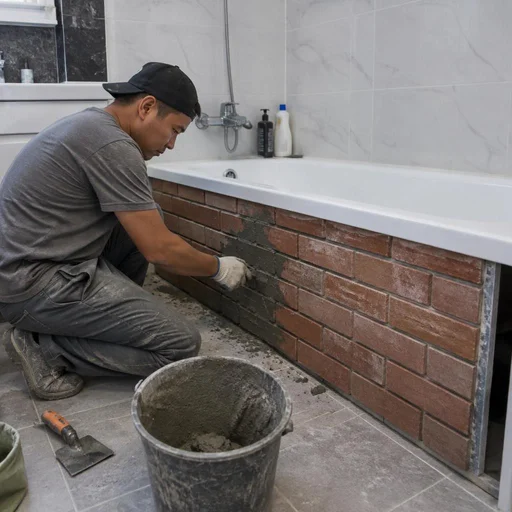
The difference shows up not in the cost of the material, but in access to the siphon and the overflow drain: a brick screen with tile cladding looks like a continuation of the wall, but without an inspection hatch any leak means breaking open the masonry. A bath screen through Eco-Service can be made in any of these designs — the technician selects the structure to match the geometry of the tub and the pipe layout.
Dismantling the old screen and installing a new one
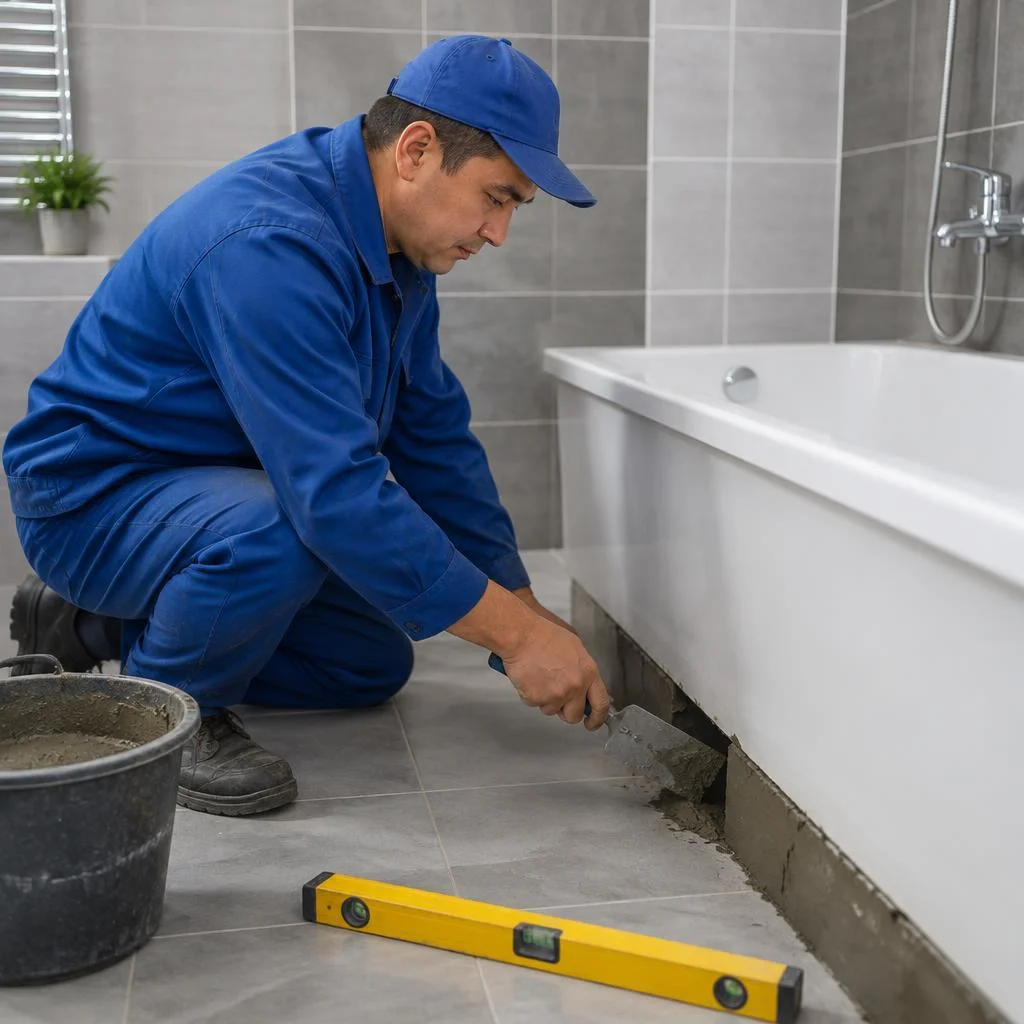
Dismantling the bath screen and installing a new one is a separate stage that often coincides with replacing the tub: the old panel or masonry is removed to get to the drain, the legs and the fasteners. A brick screen is taken apart with a rotary hammer along the seams, an acrylic panel is removed from the rails in 10–15 minutes, and an aluminum profile frame is dismantled together with the battens. When replacing the tub, the new screen is fitted on site: first the tub is leveled, then the frame or masonry is built up, leaving a gap for the inspection hatch. Bath installation in Bishkek often begins precisely with taking apart the old screen — that's how clients word it in their requests, and the technician immediately understands what is meant. Eco-Service dismantles the old design and installs the new one in a single visit, so the tub and the cladding go in without a second visit. If the screen is clad with tiles, the tiles are almost always damaged during dismantling — plan the replacement of the finish in this area in advance and take a supply of porcelain stoneware from the same batch, otherwise the shade of the new tile won't match the old one.
Warranty, timelines, and how the technician's work is carried out
Let's break down how the installation proceeds from request to signing the acceptance report, how long each stage takes, and what exactly the bathtub installation warranty covers.
2-year warranty on bathtub installation
Eco-Service provides a 2-year warranty on bathtub installation — it covers the installation, connection of the drain-overflow, and sealing of joints. The warranty period includes cases where the bathtub has sagged, the siphon has leaked, or the silicone has peeled away from the rim: the technician comes back and fixes the defect at no extra charge. This condition applies if the installation was performed by our crew and not a third-party specialist — otherwise, claims regarding the drain-overflow connection will not be accepted. The warranty applies to all types of bathtubs: steel, acrylic, cast iron, hydromassage, and freestanding models. The warranty card is issued together with the acceptance report; it records the date, bathtub type, and the list of completed works. Keep the report until the end of the term — it is used to file a claim if an installation defect appears. The warranty is valid provided the operating conditions are observed — for example, if the bathtub was not overloaded beyond the norm and no attempt was made to redo the connection independently.
Bathtub installation timelines and how the technician's visit is carried out
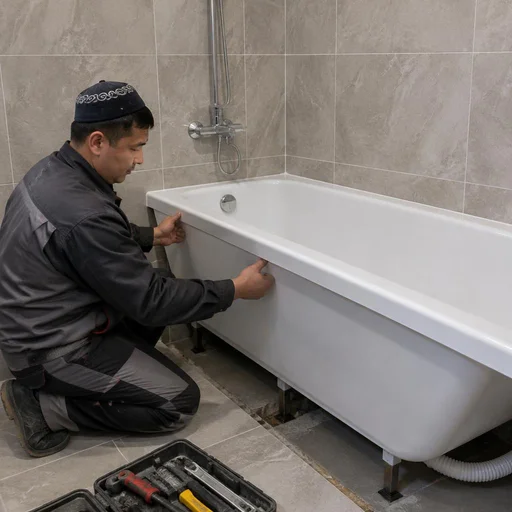
Eco-Service installs a bathtub in a single technician visit — a standard installation takes several hours, while complex models with a frame and hydromassage take longer. First, the technician inspects the opening, checks the geometry of the walls and the floor level, then dismantles the old bathtub and carries it out. Next comes assembling the frame or installing the legs, connecting the drain-overflow, sealing, and a test fill of water to check for leaks. If tile removal and wall leveling are required, the work is split into stages — first preparation, then installation, so that the waterproofing has time to dry. Such a schedule pushes back completion by a day or more, but it eliminates setting the bathtub on a damp base. The technician states the exact timeline after the inspection: the scope is influenced by the bathtub type, the condition of the walls, and the need to reinforce the base. Appointments for a visit are made through the service center in Bishkek — the technician arrives within the agreed time window.
In-house technicians and direct service provider
Eco-Service is a direct service provider: the work is performed by our own technicians, not subcontractors, which allows quality to be controlled at all stages. Many people wonder how much installation costs and compare offers by a single figure — but a low intermediary rate often hides a crew without specialized experience. Our technicians work with cast iron, steel, acrylic, porcelain stoneware, and various types of sealants, and they know the nuances of connecting hydromassage and siphons. When ordering from an intermediary, responsibility for defects is often shifted onto the technician — a direct provider is fully responsible for the result. Therefore, the query "bathtub installation Bishkek price" is more correctly compared not by the hourly rate, but by who is responsible for the sealing and drain-overflow after completion. We show a portfolio of completed works before signing the contract — the photos show exactly how the rim and the joint with the wall are finished.
Conclusion
Bathtub installation rests on four pillars: the right choice of model, a prepared base, a watertight drain-overflow connection, and a final leak check. Below is a short summary worth keeping at hand before starting work.
Key takeaways
- The model determines the installation: a steel bathtub requires base reinforcement, an acrylic one requires frame assembly, and a cast iron one requires reliable support for the weight.
- Preparation determines durability: wall leveling and waterproofing in the bathtub area are mandatory stages; without them, the work loses its resilience.
- Joints and the drain are checked before completion: the drain-overflow connection and sealing are tested by running water while access to the components is still open.
- The screen is chosen based on the task: a ready-made one is cheaper and faster, a brick one is sturdier, and tile cladding matches the wall finish.
- The 2-year warranty covers installation, connection, and sealing provided the operating conditions are observed and the receipt is available.


