








What toilet dismantling includes and which work the technician covers
Dismantling a bathroom is not just removing the toilet, but a set of works across the entire room: from the cistern and supply line to the sink, mixer tap and trap. Let's break down which points the technician covers in a single visit.
Removing the toilet and cistern: what the technician does
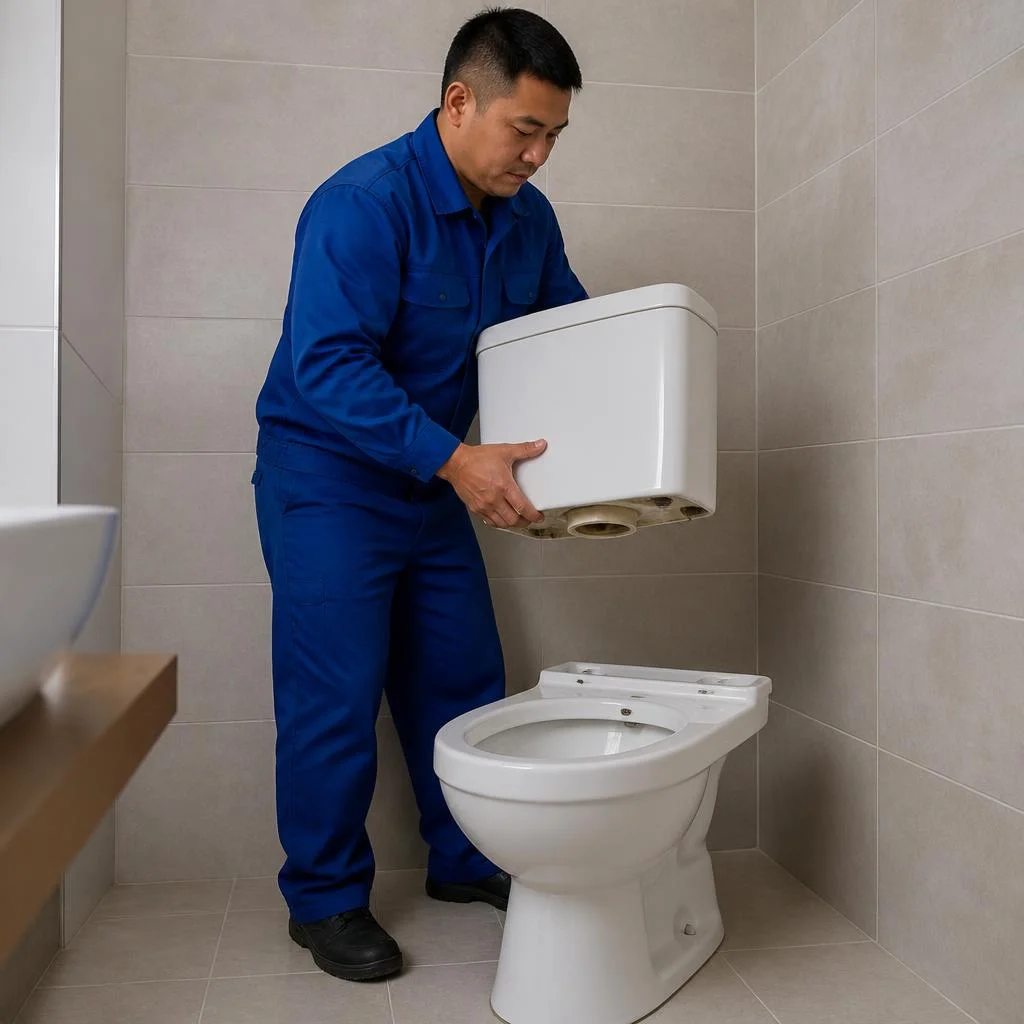
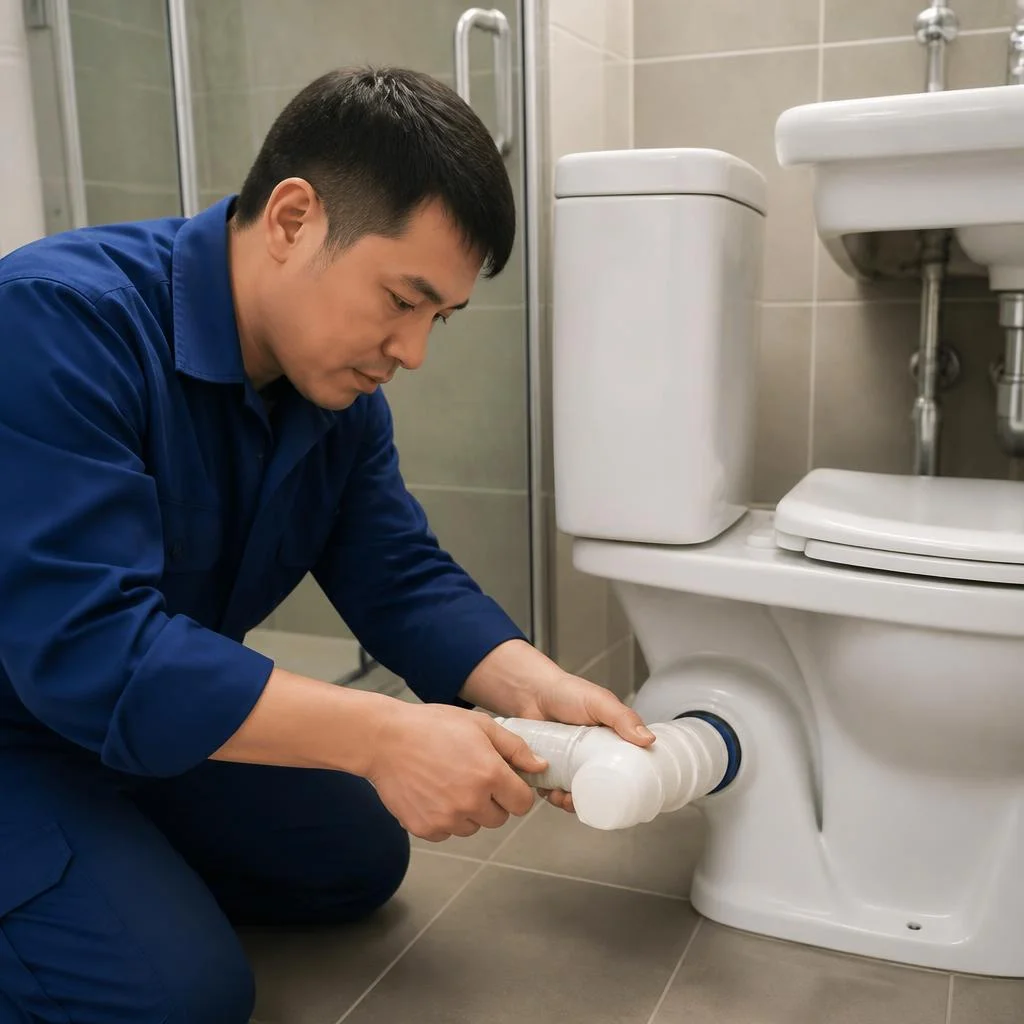
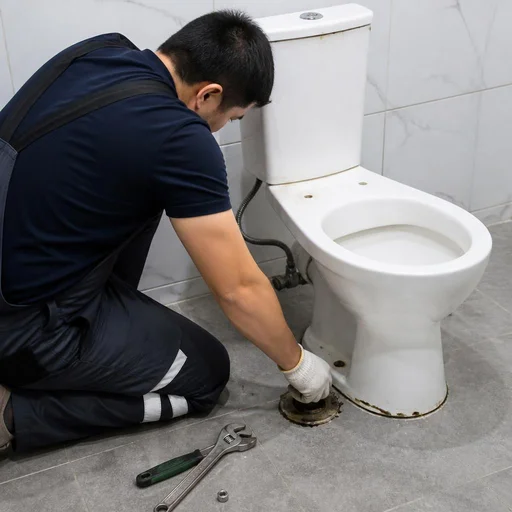
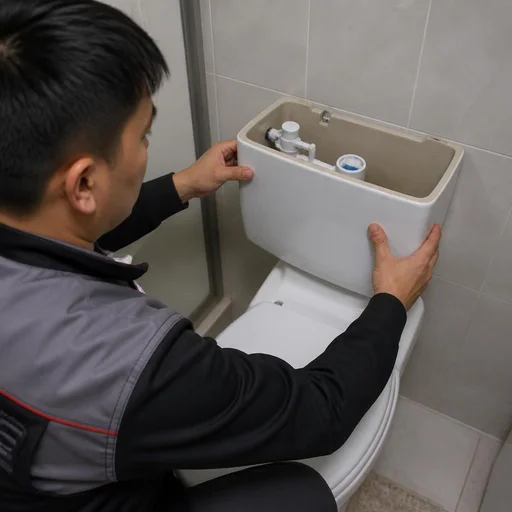
Eco-Service removes the toilet together with the cistern, fasteners and supply line — this is a single work cycle, not two separate services. The process begins with shutting off the water and draining the remaining water from the cistern, then the technician disconnects the flexible supply line from the inlet valve, unscrews the bolts fastening it to the floor or to the installation frame and removes the bowl entirely — together with the outlet and the seal. If the cistern is mounted to the wall separately from the bowl, it is removed first — otherwise, when dismantling the bowl, the ceramic can be damaged and chips left on the tiles. Clients often describe the task as toilet dismantling and installation, although in fact only the removal of the fixture before renovation is involved. Many people search for "toilet dismantling price" and end up here — essentially they want to know what the cost of removing the fixture consists of. It depends on the type of construction, so the technician inspects the fastening before starting work — on a wall-hung model with an installation frame the cycle takes more time than on a floor-standing close-coupled unit.
Removing the bidet, urinal and hygienic shower
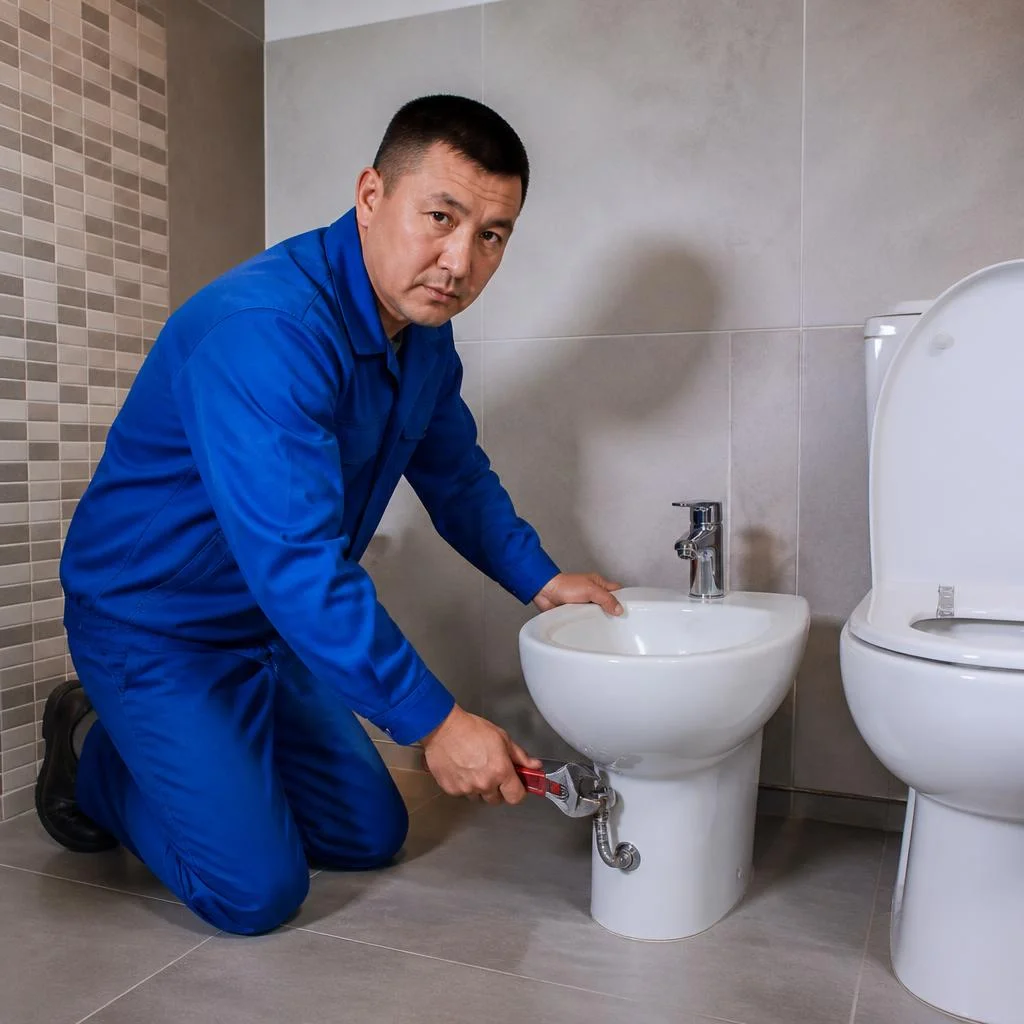
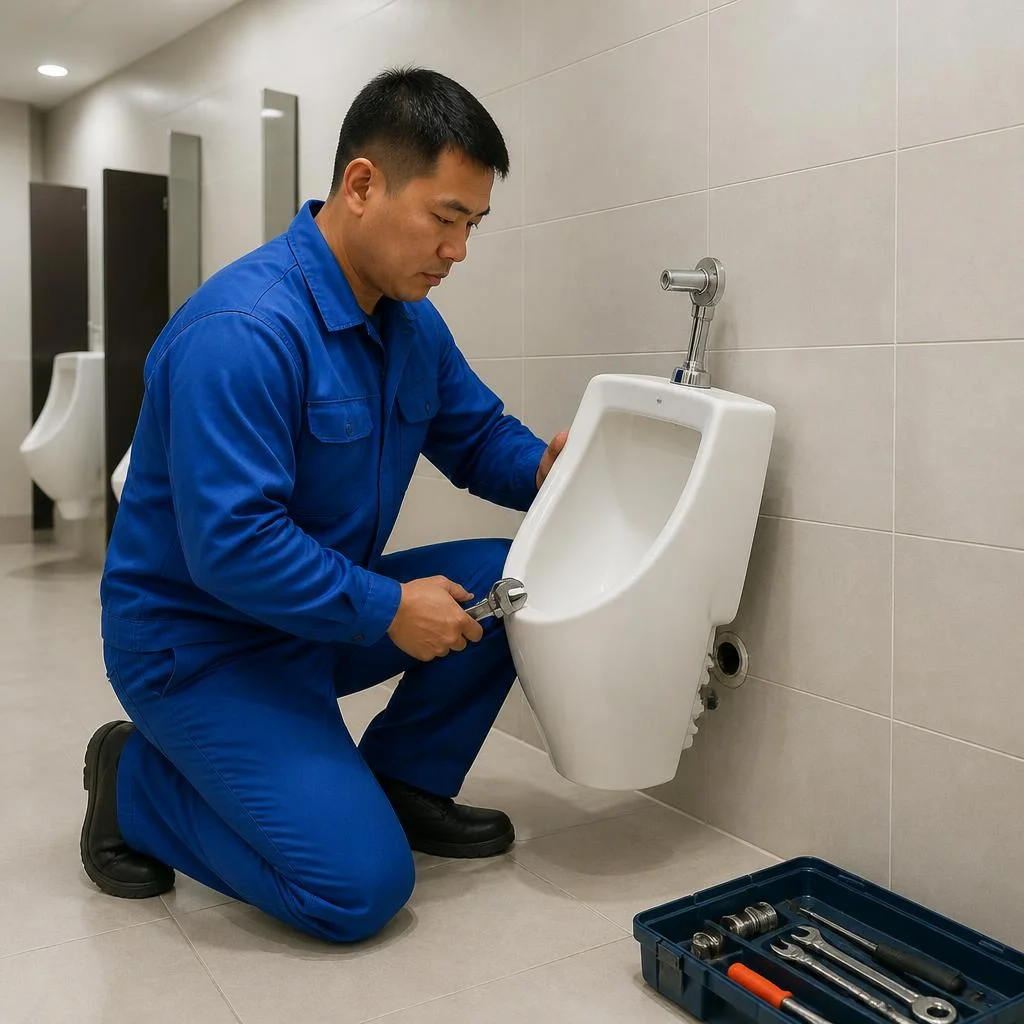
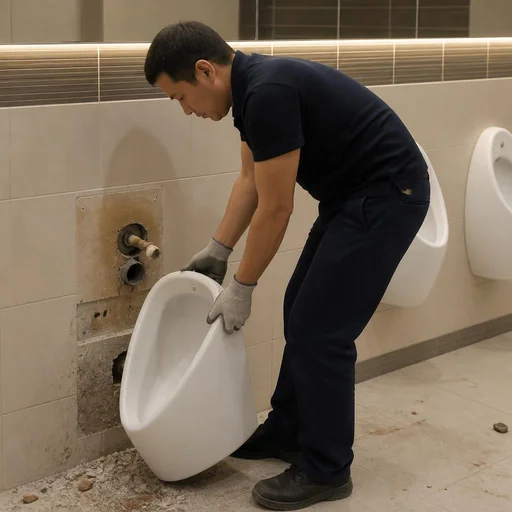
A bidet, urinal and hygienic shower are dismantled according to the same scheme as a toilet: shutting off the water, disconnecting from the sewer, removing the fasteners. Eco-Service dismantles these fixtures together if the bathroom is being fully dismantled for renovation: first the inlet valves on the manifold are shut off, then the flexible supply lines are removed, the bottom outlet is unscrewed and the bowl is taken out of its fastening. A urinal and hygienic shower most often have concealed supply lines in the wall — the technician checks whether there is residual water in the hose, otherwise it will flood the floor when removed. A wall-mounted urinal is removed together with the trap: if it is left in the wall, it will cause a sewer smell the next time it is connected.
Removing the sink, mixer tap and trap
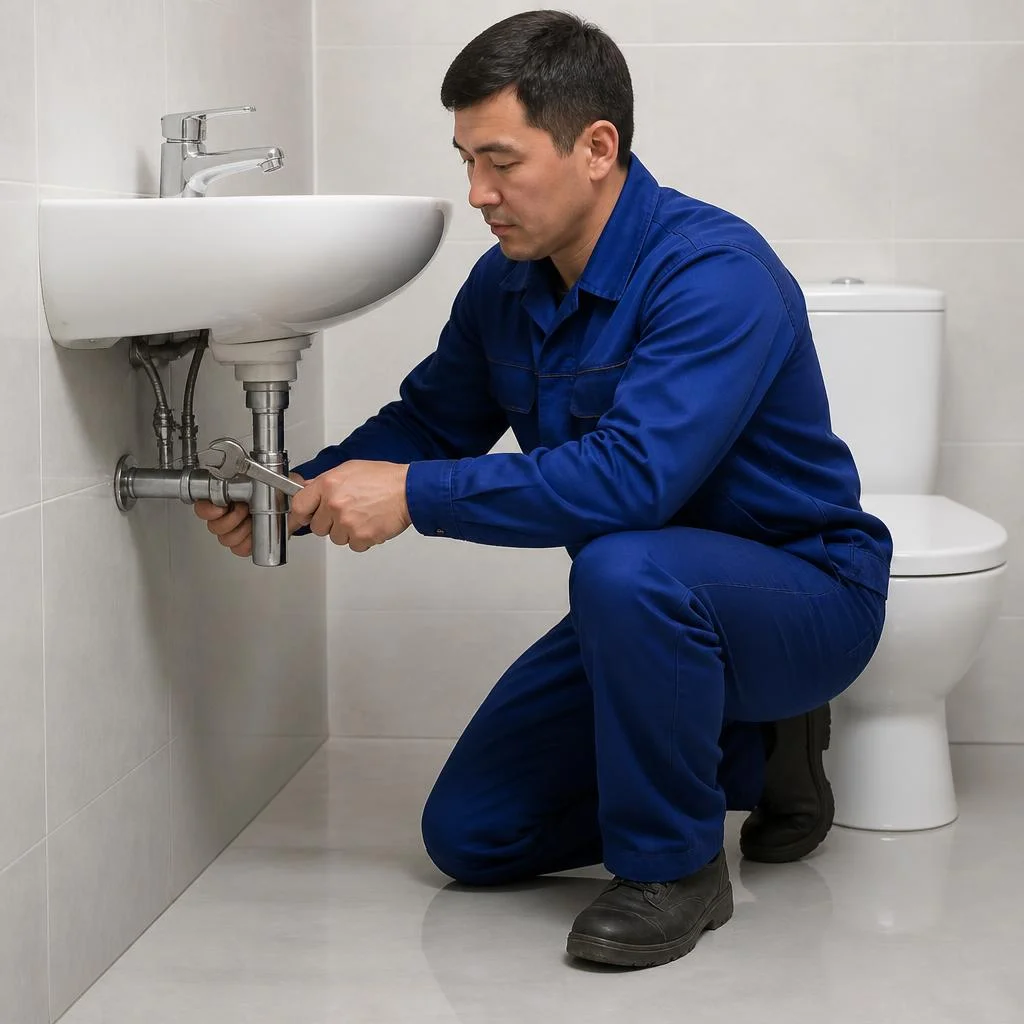
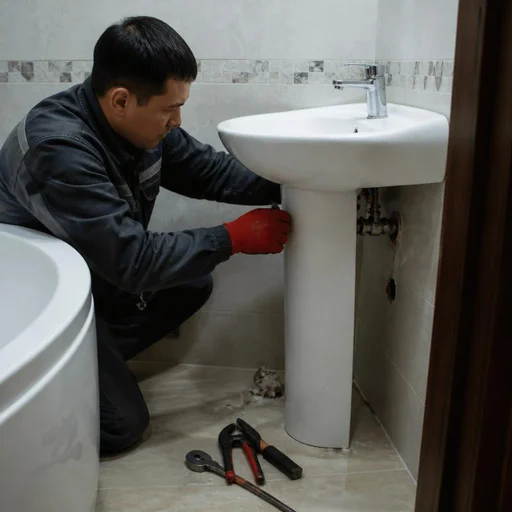
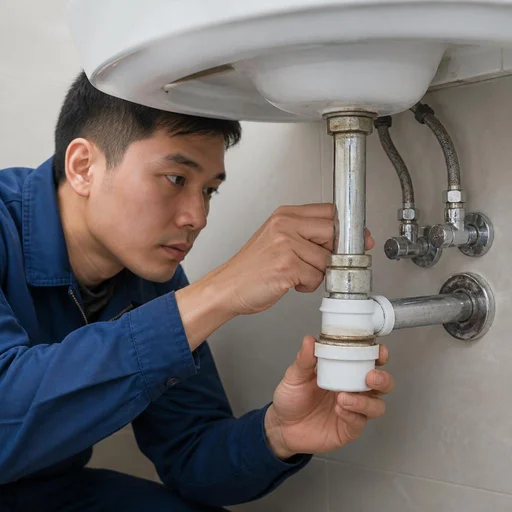
- Dismantling the trap: removed first, placing a container underneath — water remains in the bend, which would otherwise spill onto the floor and furniture.
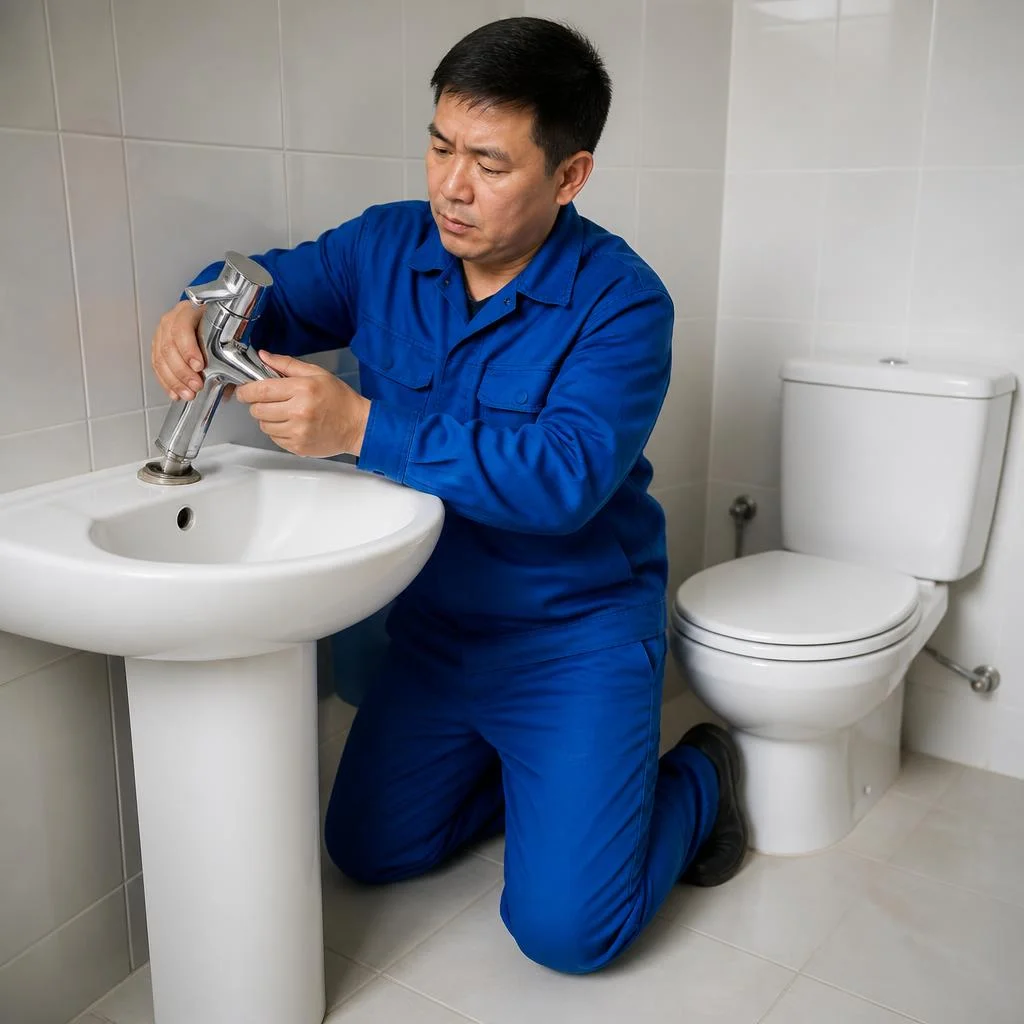
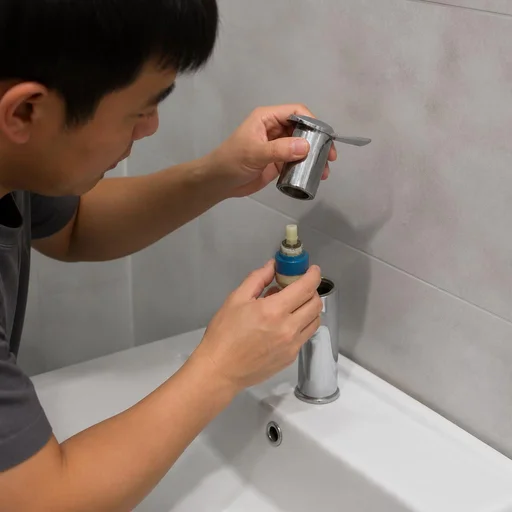
- Dismantling the mixer tap: unscrewed after shutting off the valves, the flexible hoses are disconnected and the cartridge is removed so that no parts are lost.
- Dismantling the sink: the bowl is removed last — from the brackets or from the pedestal, together with the fasteners and the sealant along the edge.
- Inspecting the pipes: while the sink is removed, the condition of the outlet and the wall behind it is checked — this saves a separate plumber visit later.
How toilet dismantling works: stages, tools and leak protection
We break down the process step by step — from shutting off the water to hauling out the old plumbing fixtures. We show where leaks most often occur and how the bathroom is protected from water and sewer odors.
Shutting off the water and the riser: the first step before dismantling
An Eco-Service technician shuts off the water at the apartment inlet and, if required, coordinates shutting off the riser with the management company — without this, toilet dismantling cannot begin. In Bishkek's Khrushchyovkas and panel nine-story buildings on the 12th and 7th lines or in Asanbay, the inlet valve often dates from the 1980s and doesn't seal properly, so after shutting it off, the remaining water is drained from the tank and the threads on the coupling are checked for dryness. If the valve leaks even in the closed position, the water is shut off at the riser — coordination takes from 30 minutes to a couple of hours according to the management company's schedule. Before dismantling the toilet, check that the valve holds: it's better to replace an old tap in advance, otherwise water will run across the floor at the worst possible moment. Clients often search in the browser bar for "toilet installation dismantling price" — and land on this page, although the technician only makes an exact estimate after inspecting the bathroom.
Pipe plugs and disconnection from the sewer
During the work, Eco-Service installs a plug on the pipes and hermetically seals the sewer outlet — this eliminates odor and leaks while there are no plumbing fixtures in the bathroom. To shut off the water, a 1/2″ threaded plug is used on the flexible supply line, or a polypropylene cap if the pipe has been cut for soldering; the outlet is closed with a rubber plug sized for a 110 mm diameter or a plug with a seal. Disconnection from the sewer is done last: first the flexible supply line is removed, then the toilet outlet is unscrewed from the socket and the opening is immediately closed. If the work stretches over several days before renovation, the plug is left in place until the new bowl is installed — otherwise sewer odor enters the apartment around the clock.
Removing the fasteners and taking off the toilet bowl
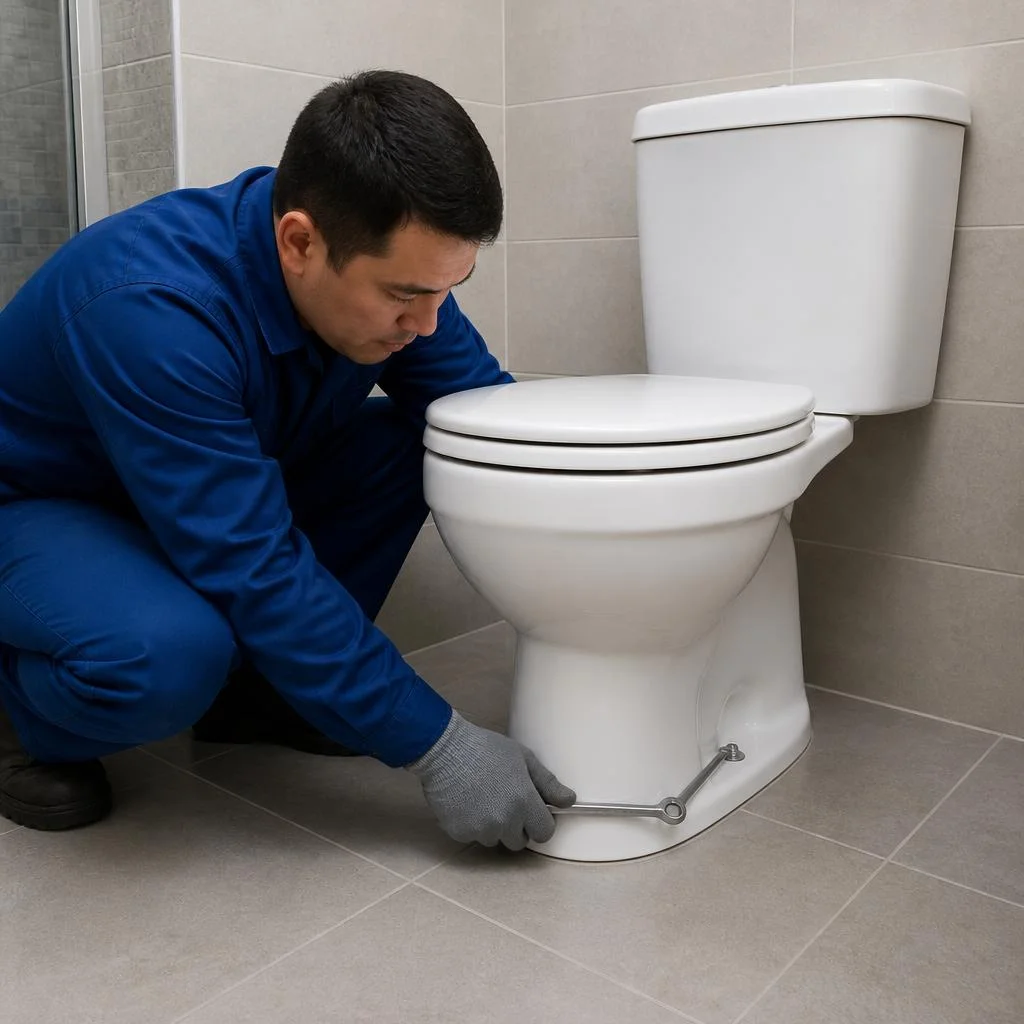
The fasteners are removed after the water is shut off: the technician works on seized bolts with penetrating lubricant so as not to crack the bowl or damage the tiles. On "Santek", Sanita, Turkish Vitra and Creavit compact models, the bolts seize up within 5-7 years — WD-40 or a kerosene mixture lets them loosen in 15-20 minutes, after which the nut is broken loose with a wrench without jerking. A seized toilet set on silicone or cement mortar is detached from the floor carefully: the seam is cut around the perimeter with a knife and the bowl is pried up with a crowbar through a wooden pad. If the bolts are completely seized, the bowl is cut along the sealant seam — this is safer than pressing on the ceramic and risking a crack that spreads into the tiles underfoot. In search, this is most often phrased as "dismantling the old toilet and installing a new one" — and with such a query the technician immediately understands that a full cycle of work is needed.
Hauling out and disposing of old plumbing fixtures
Eco-Service hauls the old toilet, tank and remaining plumbing fixtures out of the apartment and arranges waste removal — the client doesn't need to figure out where to put cast iron and ceramic. In Bishkek, construction waste is accepted at the landfill near the village of Lebedinovka, but hauling it there with private transport requires paperwork and payment at the tariff — it's easier to hand the task to a contractor with a removal contract. Ceramic weighs 20-25 kg, a cast-iron toilet — more than 40 kg: it is carried out by two people and not dragged down the stairs, so as not to damage the steps and walls of the stairwell. The tank and fittings are stacked separately — plastic and brass can be taken to a recycling collection point, while ceramic and cast iron are hauled to the landfill. If plumbing replacement is planned, the old bowl is dismantled right away rather than accumulating on the balcony for months.
Toilet types and difficult cases: close-coupled, wall-hung, one-piece, cast iron
Different types of toilets are removed differently — from a standard close-coupled model to a wall-hung model with a concealed cistern frame. We break down the nuances for each type and show where a technician most often runs into problems.
Removing a close-coupled and one-piece toilet
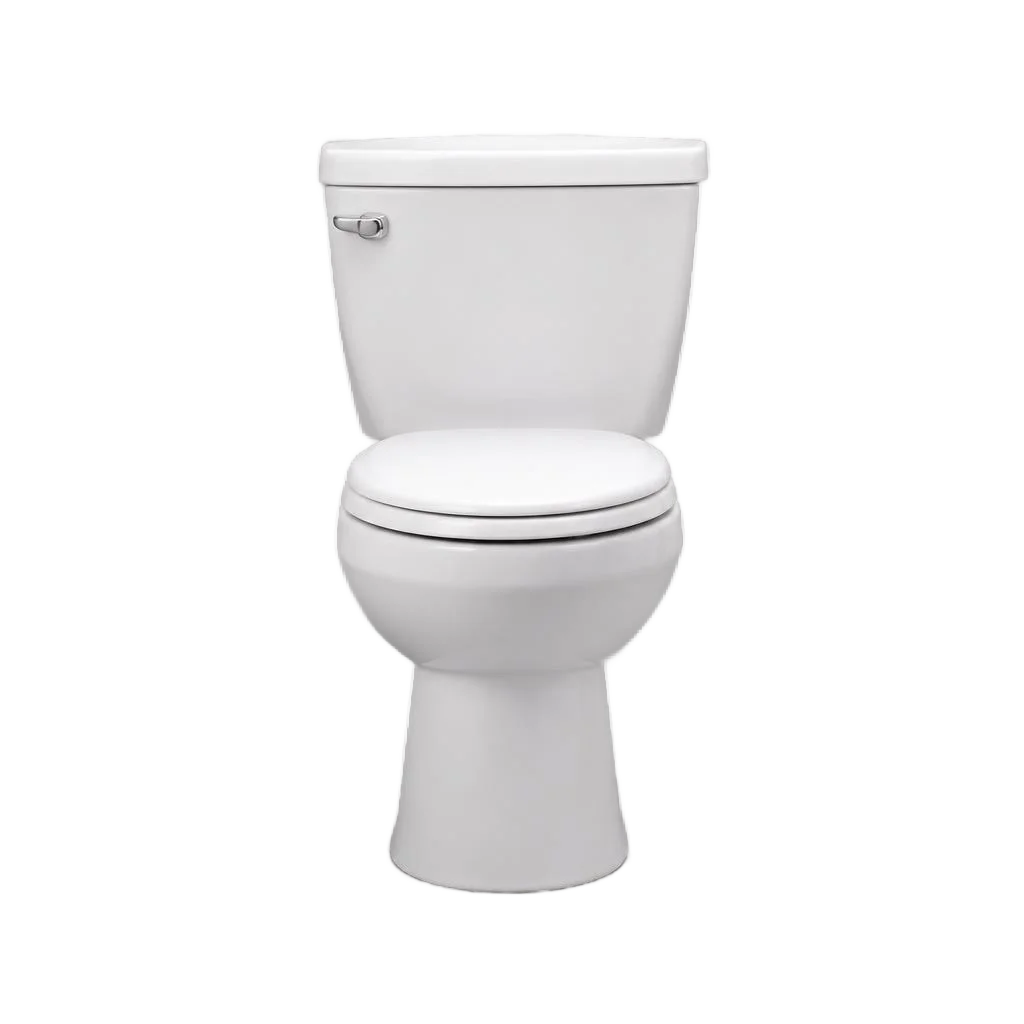
On a close-coupled toilet, the cistern is attached to the bowl with bolts; on a one-piece, it is a single ceramic body — a technician removes them differently, but the water and sewer connections are shut off the same way. On a close-coupled toilet, the cistern is unscrewed first, then the bowl is detached from the floor; a one-piece is removed as a whole, without taking it apart into pieces. A one-piece is 15-20 kg heavier than a close-coupled toilet and has no play between the cistern and the bowl — it must not be tilted during removal, or it will crack along the seam. Clients often phrase the task as toilet removal and installation — essentially it is two operations: remove the old fixture and put a new one in its place. Eco-Service removes both types: the bolts of a close-coupled toilet seize up after 5-7 years of use, and the technician cuts the fasteners rather than wrenching them off by force. It is more convenient to remove a one-piece with two people — one holds the body upright, the other disconnects the supply line. Before removing a one-piece, the water must be drained from the internal cavity — a remaining 3-4 liters shifts the center of gravity and drops the bowl onto its side.
Removing a wall-hung toilet with a concealed cistern frame
A wall-hung toilet is removed from the concealed cistern frame via hidden studs: the bowl separates from the frame, and the frame itself stays in the wall if it is not being replaced. The studs are usually covered with decorative caps — the technician removes them and unscrews the nuts with a 10 or 13 mm wrench. The weight of the bowl on wall-hung models is 20-30 kg, and it must not be held suspended while unscrewing the last nut: a second pair of hands or a support is needed. Before removing a wall-hung bowl, the technician shuts off the water at the concealed cistern frame — on some models the flush button is combined with the inspection hatch, and the valve cannot be reached without removing the panel. Removing a wall-hung toilet without dismantling the panel is possible if access to the fasteners is open: then the stud holes are covered with caps after the bowl is removed, so that dust does not get into the frame during repairs. If the owner plans to replace the frame itself, the toilet will have to be fully dismantled together with the concealed cistern frame — that is a different estimate and a different scope of work.
Cast iron and plastic sewer pipes: what's the difference during removal
| Sewer pipe type | How it is removed | Risk | What the technician does |
|---|---|---|---|
| Plastic (PP, PVC) | Joints on rubber gaskets, removed by hand | Gasket displacement when yanked | Cuts the sealant, pulls the pipe stub smoothly |
| Cast iron, old housing stock | Socket packed with resin or cement | Crack in the socket further down the riser | Places a support under the pipe, loosens it carefully |
| Plastic with a glued joint | The pipe stub is cut off at the socket | Damage to the branch | Leaves a 3-5 cm margin for the new connection |
| Cast iron with a rubber adapter | The adapter is removed as a whole | Depressurization of the joint | Secures the pipe with a clamp before removing the bowl |
A cast iron socket must not be loosened — when removing a toilet in old buildings of Bishkek, the technician places a support under the pipe so as not to depressurize the joint further down the riser. In series 1-464 and 1-335, cast iron risers are rarely replaced, and a crack in the socket means calling a welder and coordinating with the neighbors.
A seized toilet and other problem cases
- Stuck toilet: bolts and sealant set over the years so that the bowl can only be removed without chipping with penetrating lubricant and cutting the seam.
- Set on cement mortar: if the fixture sits on mortar rather than sealant, it is removed by cutting the base — otherwise a piece of tile will come off with the bowl.
- Crack in the bowl at the outlet: the bowl is removed whole into a bag so that fragments do not get into the sewer and clog the riser.
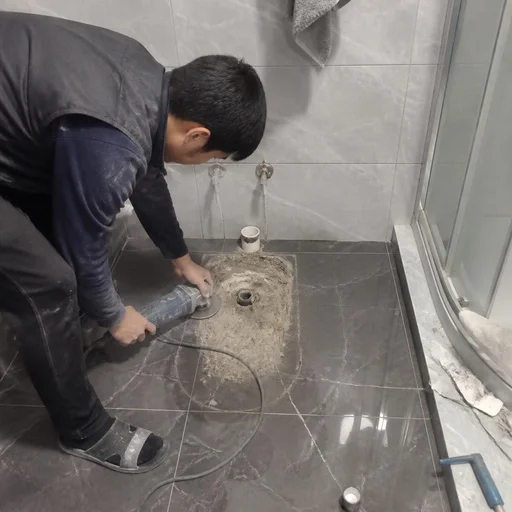
- Joint painted over with tile: the seam is cut with an angle grinder with a diamond blade at a 15-20 degree angle so as not to touch the pipe under the tile.
Toilet removal and installation: a comprehensive service and what it gives you
Removing old plumbing fixtures and installing new ones logically go together in one request — the technician removes the bowl and immediately installs a new one, without leaving the bathroom dismantled for days and weeks.
Removing the old toilet and installing a new one
Eco-Service performs the removal of the old bowl and the installation of a new one in a single visit: the technician inspects the outlet, sets the fixture on sealant and connects the water. Before installation, he checks the condition of the gasket and replaces it if necessary, cleans the sewer socket of old putty and buildup, and measures the distance from the wall to the outlet axis — the standard is 30 or 40 cm, otherwise the new model will not fit in place. The height of the supply connection is checked separately: the flexible hose must not be twisted, otherwise a leak will appear at the joint within a few weeks. When searching, clients often type "toilet installation and removal price" — and land on this page, so the cost of such work is calculated as removal and installation of the bowl, and the total depends on the type of model and the condition of the outlet. Before setting the new model, the technician checks the evenness of the floor — if the screed is sloped, the bowl will sit crooked and will leak at the gasket.
What the "toilet removal and installation" package gives you instead of two separate calls
- One visit: removal of the old bowl and installation of the new one go back to back, the bathroom does not sit dismantled between two visits.
- Plug once: the sewer outlet is closed during the work and opened already for the new fixture, rather than twice.
- Matched dimensions: the technician checks toilet removal and installation in advance, the price depends on the center-to-center distance and the supply height of the old model, so that the new one fits without rework.
- Less downtime: with separate calls, the bathroom remains without a toilet for a period of several days while the new model is being sourced and delivered.
Related work in the bathroom during toilet removal
| Work | When it is done | What is important to consider |
|---|---|---|
| Bathtub removal | Before removing the tile | The drain is disconnected, otherwise water will go under the screed |
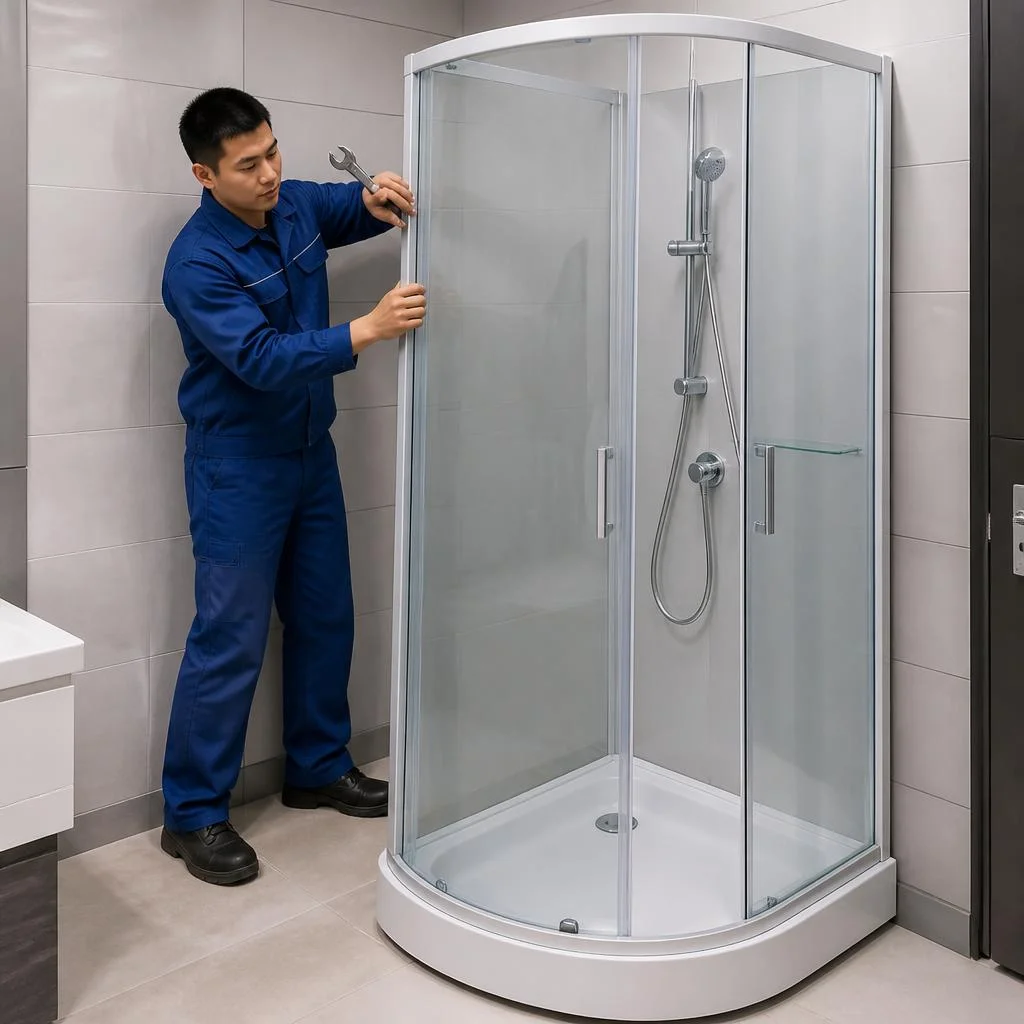
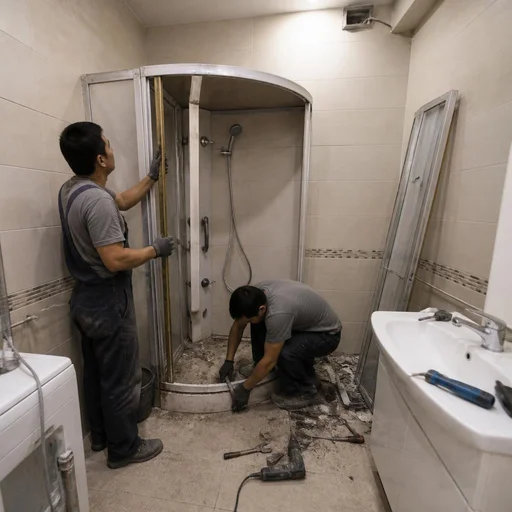
| Shower cabin removal | Before the tile | Dismantled unit by unit, the tray is removed last |
| Tile removal | After the plumbing fixtures | Fragments must not get into the open outlet |
| Floor screed removal | After the tile | Check whether pipes in the body of the screed have been damaged |
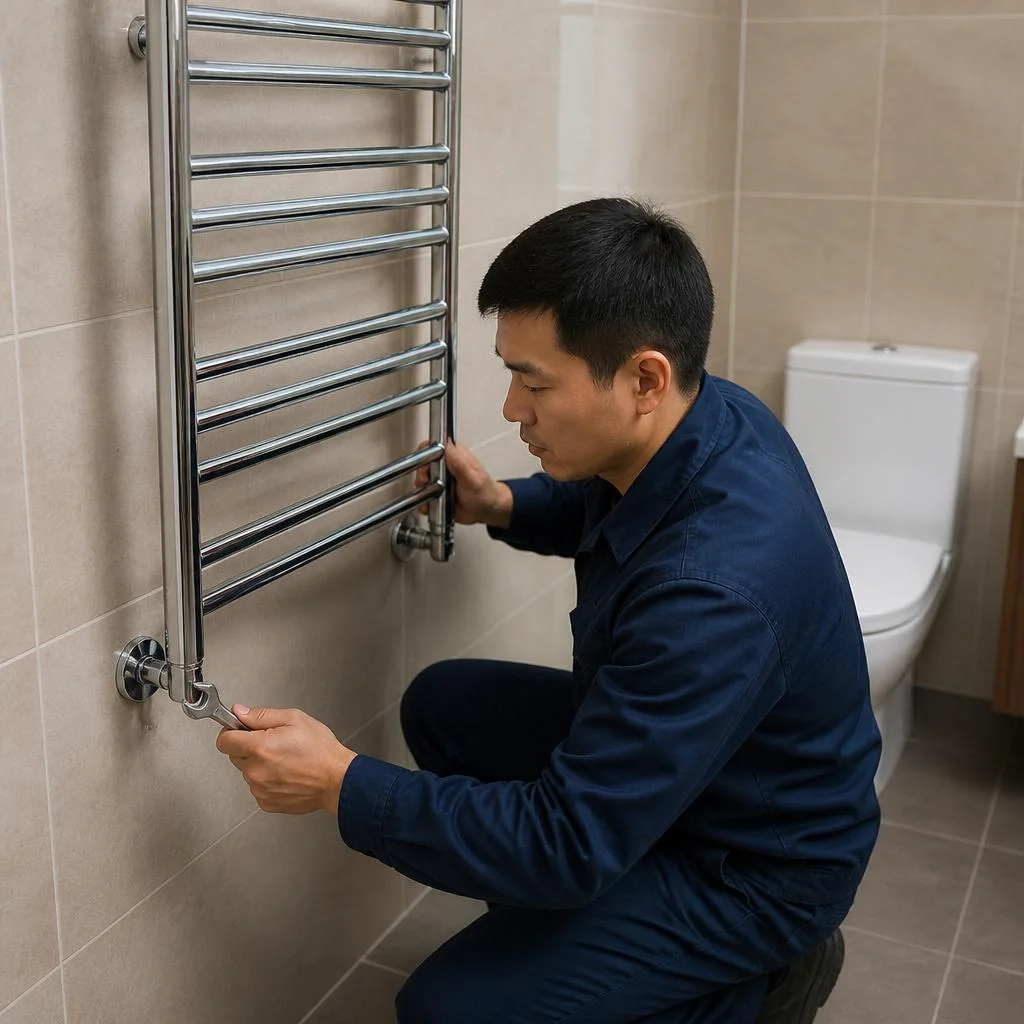
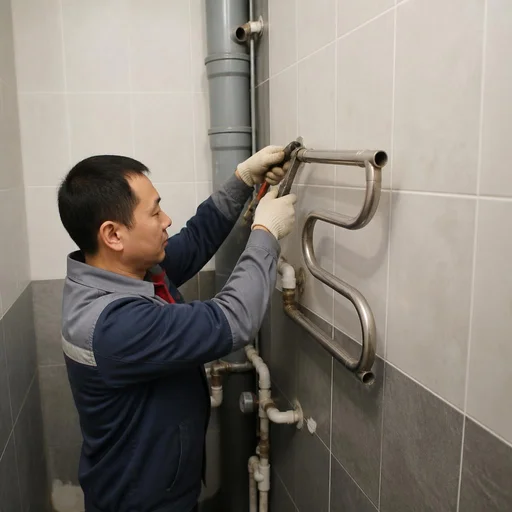
| Towel warmer removal | Before draining the riser | Drain the water from the riser, otherwise it will flood the neighbors |
If the bathroom is being prepared for renovation, Eco-Service, along with removing the toilet, dismantles the bathtub, shower cabin, tile, screed, towel warmer and washing machine. Tile and screed are removed after the plumbing fixtures — if you start with the tile, fragments will clog the sewer outlet and it will have to be cleaned before installation.
Timelines, 2-year warranty and how to book a technician in Bishkek
We break down how long it takes to remove a toilet, what exactly the 2-year warranty covers and how to call a technician — taking into account the floor, the type of bowl and a convenient payment channel.
How long it takes to remove a toilet
A standard toilet removal takes 30-60 minutes, a full dismantling of the toilet with the cistern, sink and mixer — 2-3 hours, and the technician confirms an urgent visit on the day of the request. Clients often search for "toilet removal price" — and land on this page, although the exact estimate is always calculated on site. With a wall-hung installation, dismantling the panel is added: plus 20-40 minutes for the concealed fastening and the inspection hatch. In buildings of the K-7 series on Kievskaya and Toktogul streets, the cast-iron outlet has to be cut with an angle grinder — that's another 15-25 minutes, but the bowl comes off without chipping the ceramic. A toilet that has seized up or is set on cement mortar stretches the work to 4 hours: the technician warns about this on site and does not leave the work until the next day. If you plan to install a new fixture the same day, book the visit for the morning — an evening visit pushes the installation to tomorrow.
2-year warranty on removal and installation
Eco-Service gives a 2-year warranty on the removal and installation of plumbing fixtures: if after installing a new toilet a leak appears at the seal or connection, the technician will come and fix it. The coverage applies to the tightness of the joint between the bowl and the outlet, the fit on the seal, the connection of the flexible supply line to the cistern and the fastening to the floor with a dowel screw. Clients often search for "toilet removal cost" — and land on this page, although the final estimate is always calculated on site. It also includes the removal of the old ceramic, so a repeat warranty visit is not charged separately. There is one condition: the installation of the new fixture must have been done by the same technician — if you have your plumbing installed by a third-party specialist, the connections are not covered. Keep the completed work report: with it, a warranty case is processed without having to find the receipt for the plumbing fixture itself. In requests, toilet removal is often written in one line without details — the technician will still clarify the type of bowl and the floor by phone.
How to call a technician and what to prepare
- Request channels: phone or messenger of the service center; the technician clarifies the type of toilet, the floor and the availability of an elevator, after which he gives the visit time in Bishkek.
- Reference points for search: the listing of our own service center in 2GIS and Google Maps with the address and schedule — this makes it easier to call a technician to the right district.
- Payment: in cash on site or by transfer via MBANK or O!Деньги; the technician hands over the receipt and report immediately after the work.
- Preparation: clear the approach to the toilet, remove the rug and towels — carrying out the bowl goes faster when nothing is in the way.
- Access to water: check that the valve on the supply line to the cistern opens, otherwise shutting off the riser will take additional time.
Why it is better to entrust toilet dismantling to a professional rather than doing it yourself
Dismantling a toilet yourself seems simple: take off the tank, unscrew the nuts, carry out the bowl. In reality, mistakes at the stage of shutting off the water and removing the ceramic cost more than calling a professional — repairs to tiles, floor and sewage system.
What most often gets broken during DIY dismantling
- Stripped threads on the inlet: a seized valve won't budge, the force is transferred to the threaded connection — the inlet has to be repacked from scratch.
- Cracked bowl: ceramic does not forgive misalignment when unscrewing the mounting bolts — a chip runs from the hole to the rim.
- Chipped tiles: the bowl is dragged out, its edge catches the tiles at the base — chips along the wall and floor up to 0.5 sq. m.
- Damaged drain: the siphon and corrugated pipe tear when disconnected carelessly, water from the trap pours onto the floor.
When you can't do without a professional
You can't do without a professional with cast-iron sewage pipes, a wall-hung toilet with an installation frame, and seized fasteners — this requires tools and experience working with fragile ceramic. Dismantling an old cast-iron toilet weighs more than 40 kg and has no convenient grip points: when carrying it out with two people and no experience, the bowl is easy to drop and damage the floor, steps or doorway. A wall-hung model is attached to the installation frame with anchors — to remove it without deforming the studs, the panel is first disassembled and the outlet disconnected, otherwise the ceramic cracks along the mounting holes. Seized fasteners are soaked with penetrating lubricant and heated, not wrenched off with a wrench and extension bar. In old buildings of Bishkek, pipes from the 1960s-1980s often already have cracks: a sharp jerk when removing twists the socket and requires replacing a section of the riser. A professional assesses the condition of the inlet and fasteners before starting work — this is cheaper than an emergency call to a plumber and repairs for the neighbors below.
Conclusion
Dismantling a bathroom is a job where the cost of a mistake is measured in flooded neighbors and stripped threads. We've gathered the main things worth keeping in mind before starting.
Key takeaways
- Comprehensive work: one request covers the toilet, tank, bidet, urinal, sink, faucet and siphon, without repeat visits.
- Order of stages: first shutting off the water and riser, then plugging the pipes, disconnecting from the sewage system, removing fasteners, carrying out and disposal.
- Complexity depends on the type: a close-coupled unit is removed faster, a wall-hung one with an installation frame and cast-iron sewage pipes require experience and special tools.
- Dismantling and installing a toilet in a single visit saves time and doesn't leave the bathroom with an open sewage outlet.
- Risk of DIY dismantling: seized fasteners, cast-iron sockets and old valves most often lead to chipped bowls and leaks.