













What turnkey sewer installation includes: stages and scope of work
Sewer construction work is a sequence of excavation, installation and commissioning stages, where each subsequent one relies on the quality of the previous one. Let's break down exactly what the crew does on site — from the first mark on the ground to the test run.
Trench marking and soil excavation for the pipeline
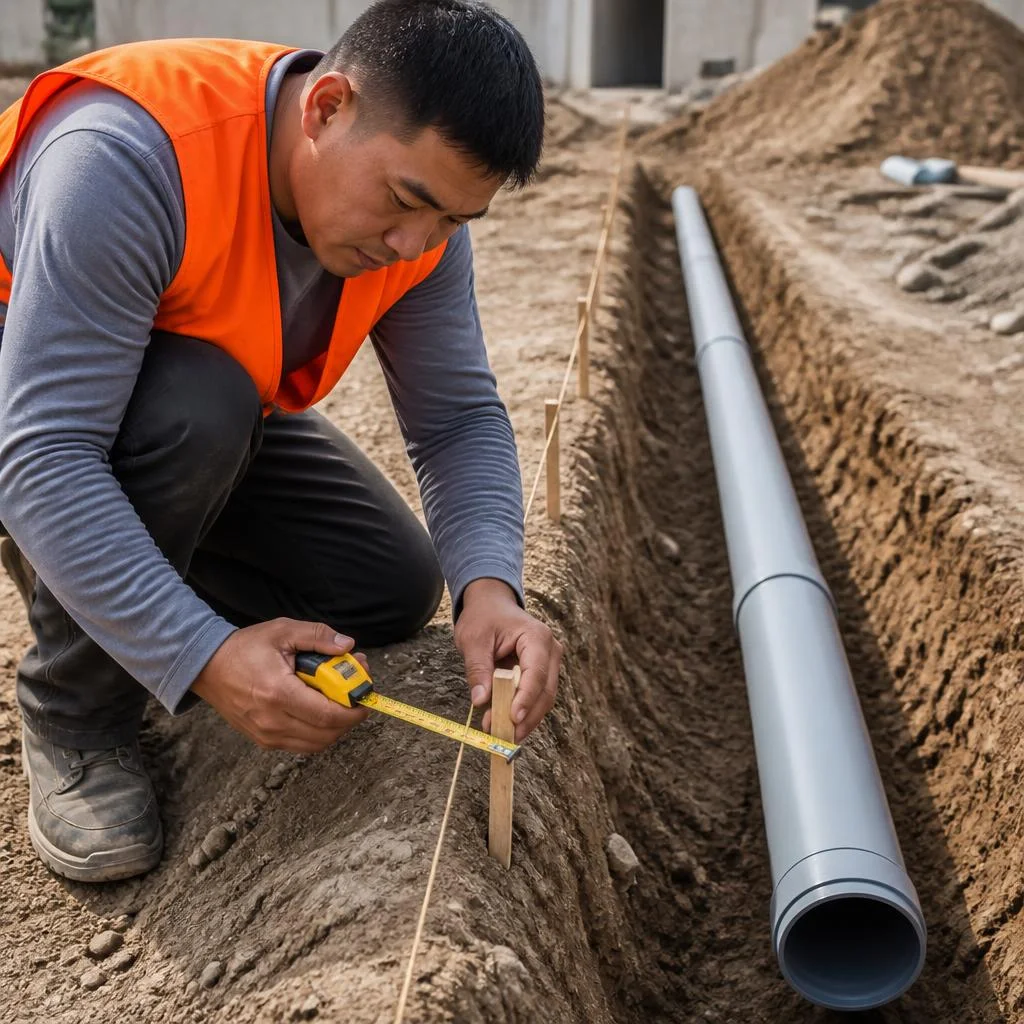
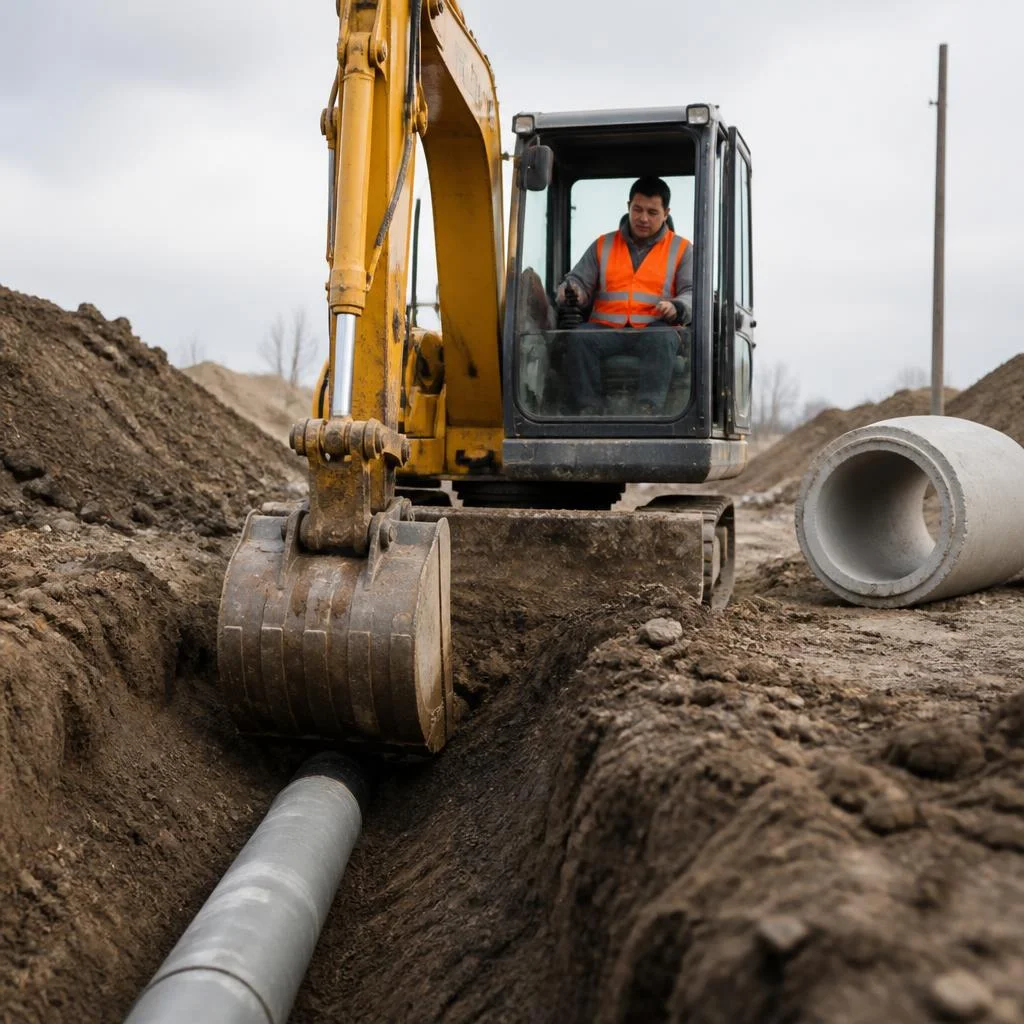
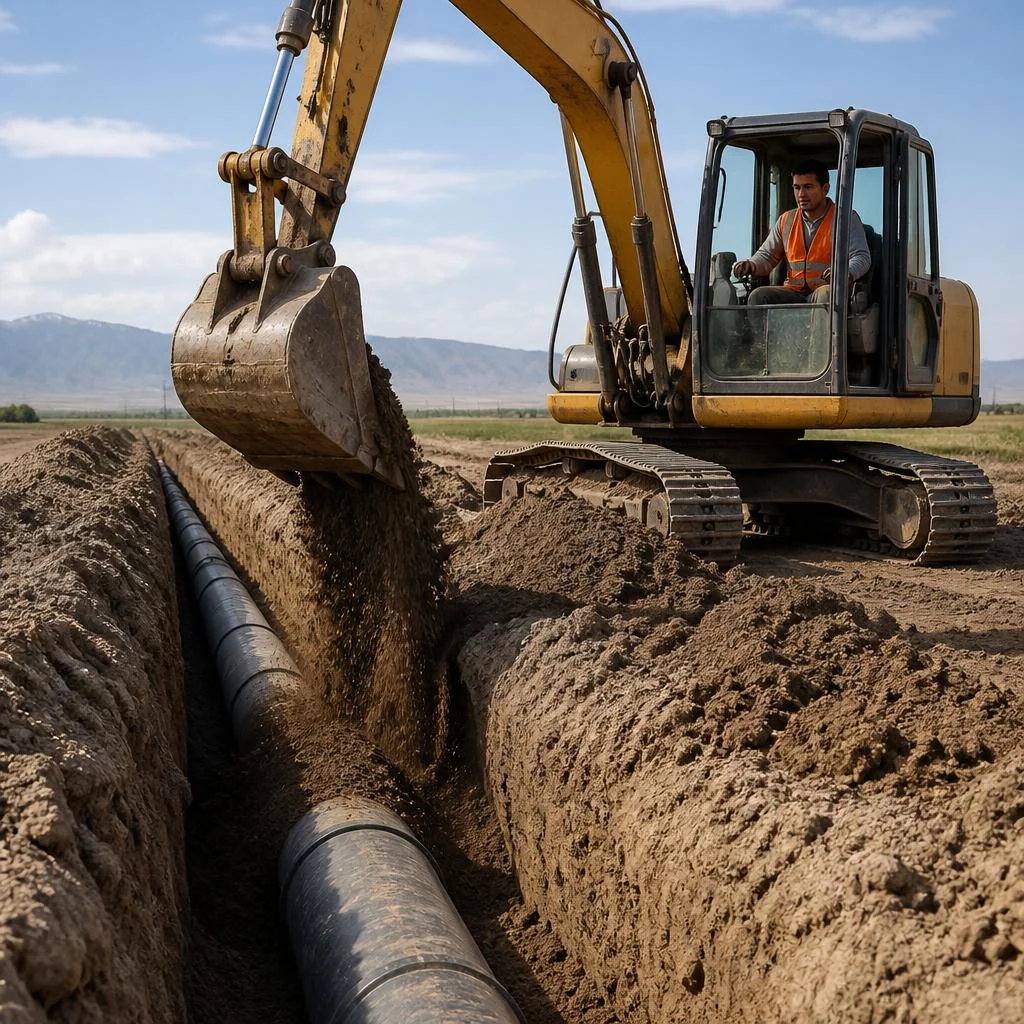
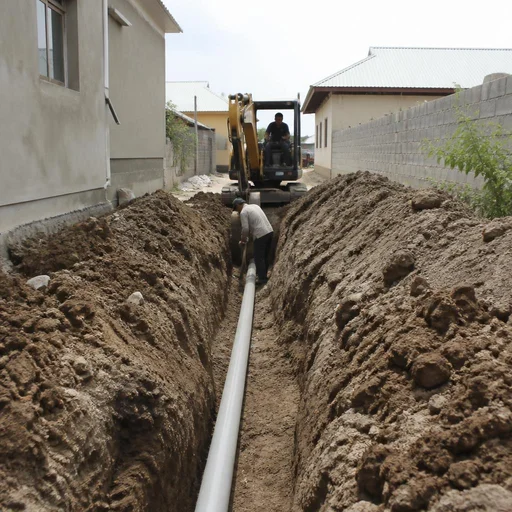
We start by marking the route according to the design and digging a trench to a depth below the soil freezing level in Bishkek. The route is laid out with pegs and cord, checking the elevation with a level every 5–7 meters: the height difference over such a stretch must not exceed a couple of centimeters, otherwise the slope will drift before laying even begins. The freezing depth for Bishkek loams and gravel deposits ranges within 0.8–1.1 meters, so the trench for the outdoor line is laid at 1.2–1.5 meters with a margin for insulation. Excavation is done by hand in areas with existing utilities and with a mini-excavator on open runs — this speeds up earthworks threefold. On clay soils, the walls are braced with panels, otherwise caving shifts the slope before the pipe is even laid.
Pipe laying, sand bedding and backfilling
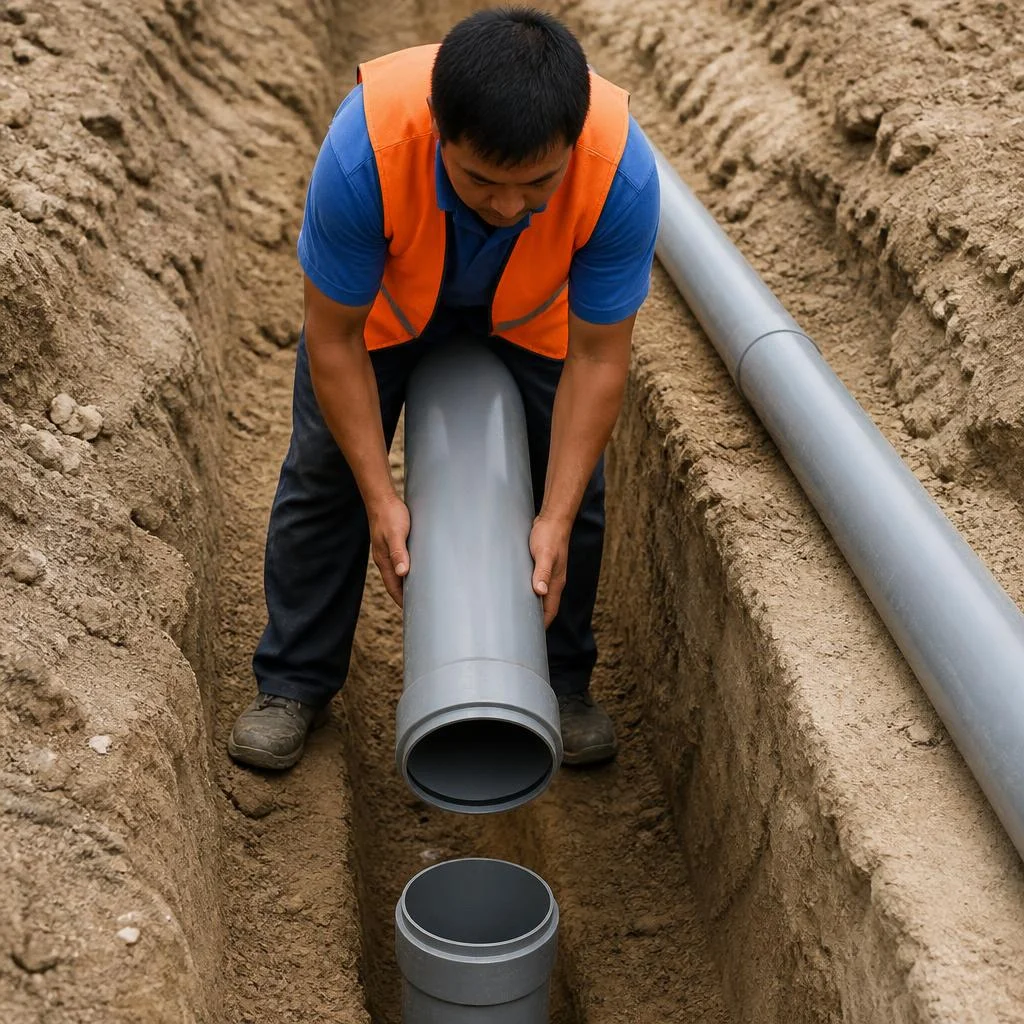
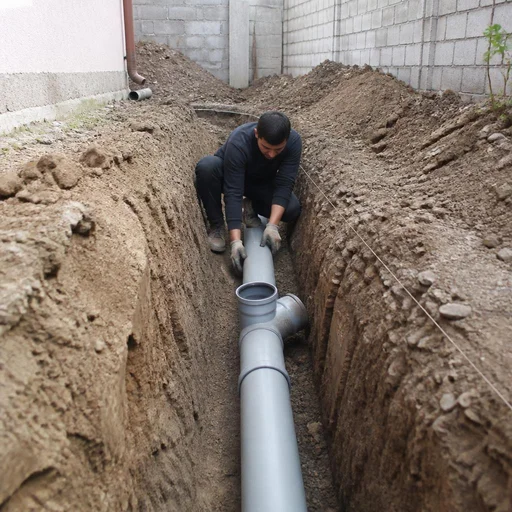
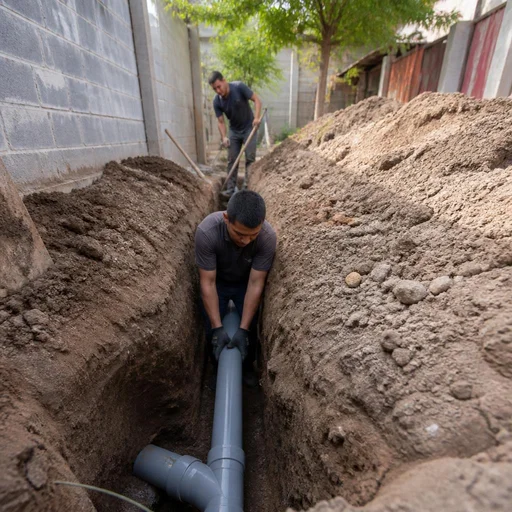
Eco-Service lays the pipe on a sand bedding 10–15 cm thick and backfills it in layers with compaction so the pipe doesn't sag under the weight of the soil. The bedding is made of medium-grained sand without stones or crushed stone, leveled to the design elevation and watered for initial settlement. For the outdoor network, orange PVC or PP pipes with a diameter of 110 mm, class SN4–SN8, are used; for branches inside the building — gray 50 and 110 mm. Backfilling is done in layers of 20–25 cm with layer-by-layer compaction: the first layer uses the same sand up to 30 cm above the pipe, then excavated soil without large inclusions. The sand bedding compensates for seasonal soil movement — on loams without it, socket joints come apart in the very first winter.
Building outlet construction and connection to the central network
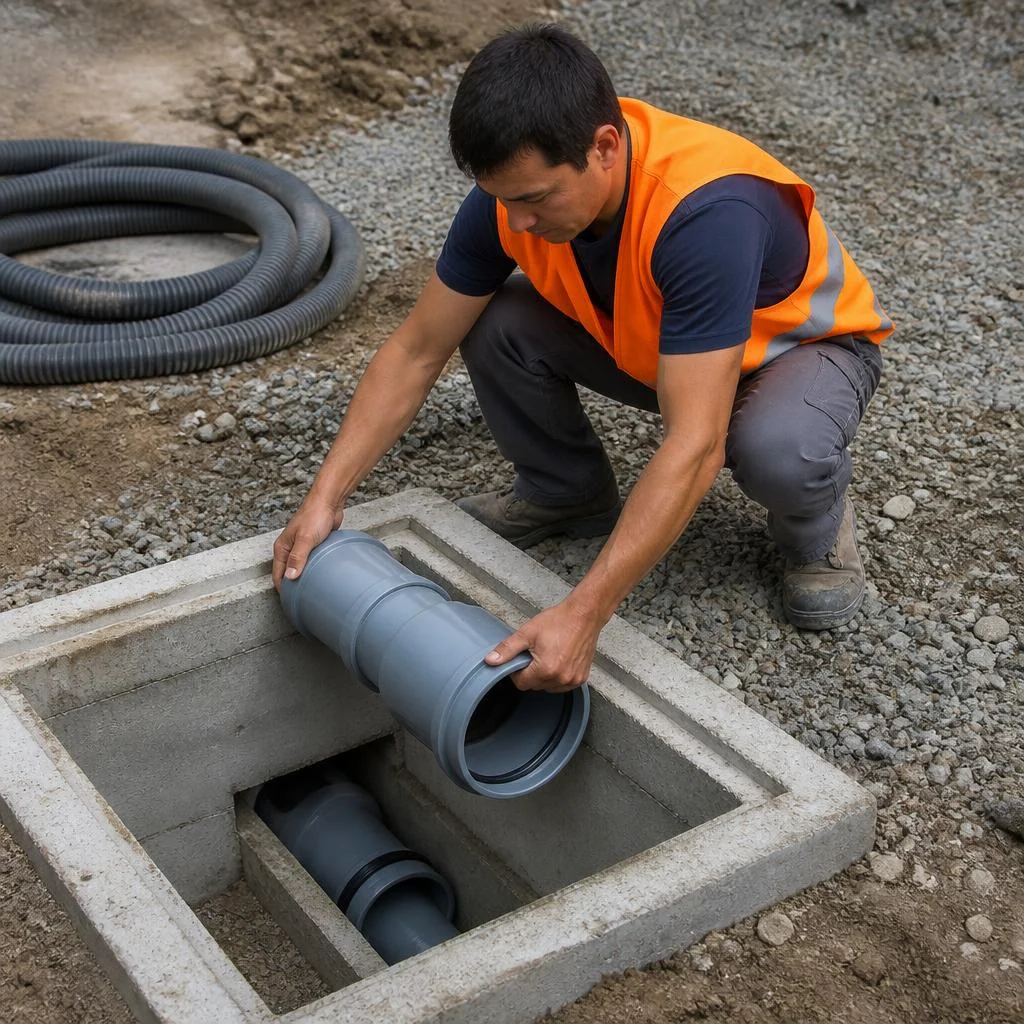
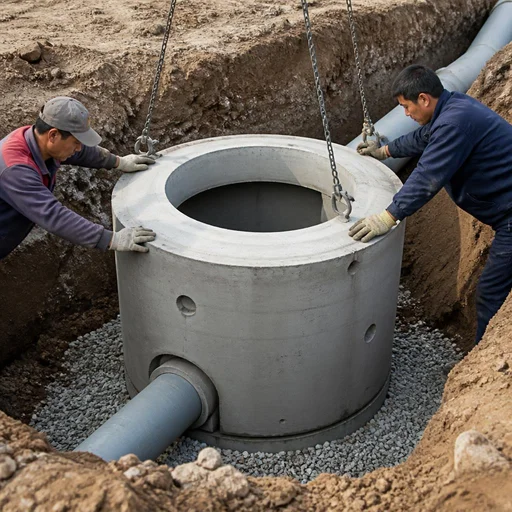
We construct the building outlet and connect the pipeline to Bishkek's central network through a inspection manhole, maintaining the slope and sealing the tie-in. The outlet is brought through the foundation in a sleeve with a gap for building settlement; the slope from the fixture to the manhole is kept in the range of 2 cm per meter for a 110 mm pipe. Inspection manholes are placed at turns and every 15–20 meters of a straight section — through them the network is cleaned with a cable without opening the ground. The tie-in to the city line is made at an angle of 45–90 degrees depending on the collector diameter, the joint is sealed and caulked, and the connection point is recorded in the as-built diagram. The tie-in point is coordinated with the water utility in advance — unauthorized connection risks disconnection and a fine.
What turnkey sewer installation includes
- Earthworks: route marking, trench digging, wall bracing on weak soils, preparation of the sand base.
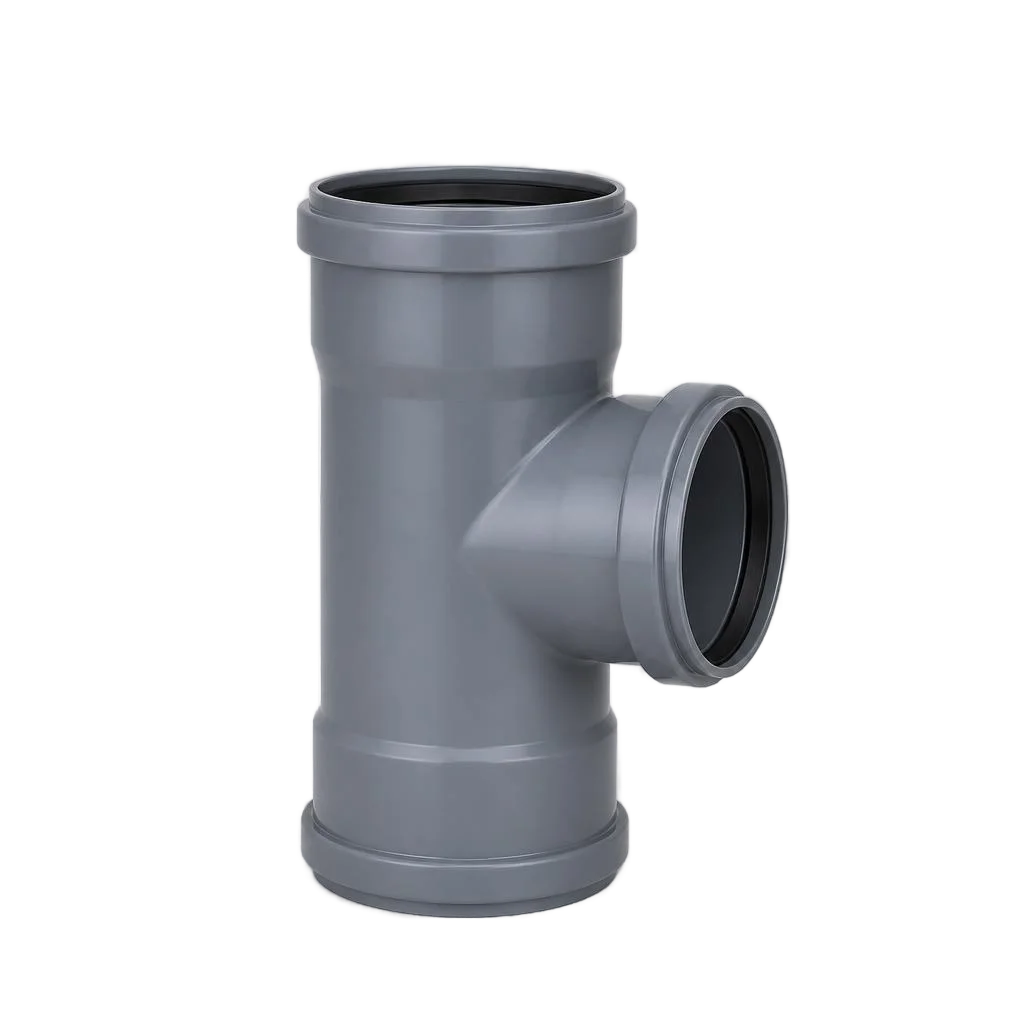
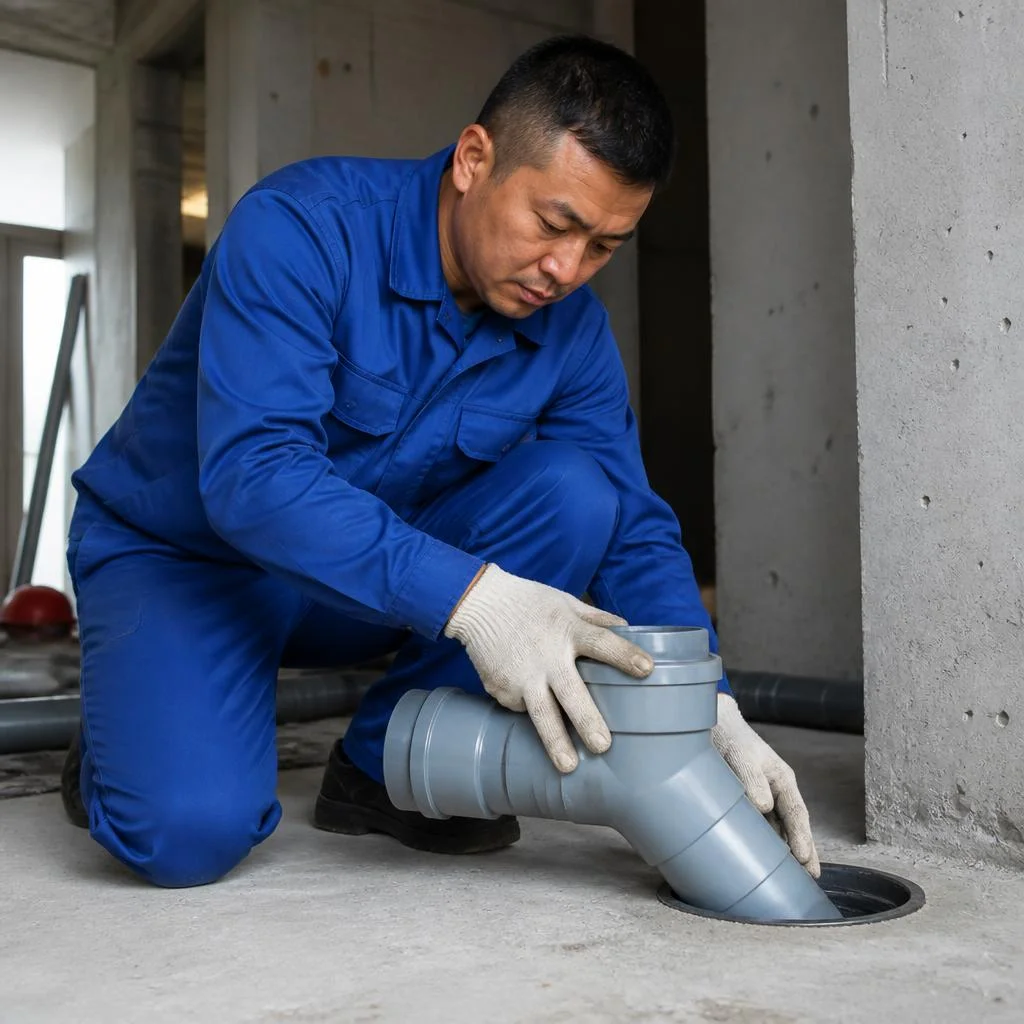
- Pipe laying: outdoor and indoor lines, installation of tees, branches and inspection hatches.
- Manholes and outlet: assembly of inspection manholes, construction of the building outlet, tie-in to the central network.
- Plumbing connection: toilet, sink, bathtub, shower cabin, washing machine, floor drain.
- Commissioning: flushing the system, checking slopes and joints, eliminating leaks, handover of the facility with an as-built diagram.
- Documents: as-built route diagram, concealed work act, 2-year warranty on the entire scope of work.
Scope of work and how to read the estimate
- Sewer pipe installation price is based on the linear meters of the external and internal runs, not on the number of drainage points.
- Cost of sewer work includes excavation, laying, manholes and commissioning — check whether soil removal is included.
- Laying pipes in a trench depends on the trench depth and soil type: on rock and gravel, labor intensity is higher.
- Installation of a drainage system is calculated by estimate sections: pipes separately, manholes separately, plumbing connections separately.
- Turnkey work is fixed as a single sum before work begins, so that excavation and installation stages are not paid for twice.
- What to check: the estimate must specify trench wall shoring, sand bedding and backfilling — these are often listed as additional work.
Sewer layout in an apartment: schemes, pipes and plumbing connections
In an apartment, the sewer system is the internal layout from the riser to each drainage point. Let's look at which schemes are used, which pipe diameters are installed, and in what order the plumbing fixtures are connected.
Manifold and tee sewer layout schemes in an apartment
| Scheme | When to use | Pros | Features |
|---|---|---|---|
| Tee | Compact bathroom, points close together | Minimum material, simple assembly | A blockage blocks the entire branch |
| Manifold | Points spread across the apartment | Cleaning of a single section | More pipes and fittings |
| Combined | Kitchen and bathroom at opposite ends | Balance of material and maintainability | Requires precise calculation of slopes |
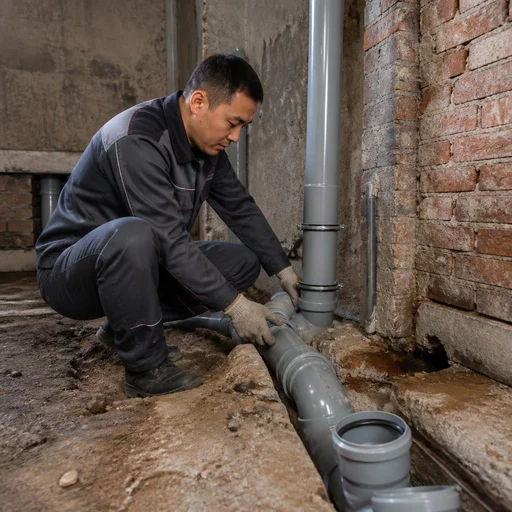
The sewer layout in an apartment is built according to one of two schemes: the tee scheme is suitable for compact bathrooms, the manifold scheme is used when the drainage points are spread apart. In a tee branch, tees and bends connect the fixtures in series; in a manifold branch, each fixture runs to a common manifold as a separate line. The manifold scheme is more expensive in materials, but when there is a blockage, only one section needs to be cleaned rather than disassembling the entire branch. An inspection fitting is installed at turns and at the points where the lines converge — through it, cleaning is done without dismantling the pipes.
Which pipes and diameters to use for installing a sewer system in an apartment
For installing a sewer system in an apartment, diameters are selected according to the fixture: 50 mm — for the sink, bathtub and shower, 110 mm — for the toilet and riser. Pipes are taken in PP or PVC with a socket and rubber seals — they hold the joint without glue and allow the assembly to be disassembled during repairs. The query "sewer installation in an apartment price" is analyzed after an inspection: the cost depends on the number of points and the footage of the route. In our practice, the assembly of the internal layout in an apartment most often begins with marking the route for the slope, rather than with cutting blanks — this way there are fewer cuts and less waste. When assembling sewer pipes in an apartment, the socket is always directed against the flow — otherwise the seal is pushed out by the water, and the joint begins to leak.
Sewer layout in the bathroom and connecting plumbing fixtures
- Floor drain: installed before pouring the screed, the body is set level with a slope of 2 cm per meter toward the riser.
- Bathtub connection: the siphon is installed with an inspection cover, the outlet is brought out at 50 mm with a slope toward the common branch.
- Shower connection: the tray is set on sealant, the drain is connected to the floor drain or a separate outlet.
- Sink: the bottle siphon is placed with access for cleaning, the outlet is kept at a height of no less than 50 mm from the floor.
- Main line in the bathroom: hidden in a chase or box, maintaining the slope and access to the inspection fitting.
- Toilet connection: the outlet is joined to the 110 mm branch through a collar, the bowl is fixed to the floor with anchors.
Laying the sewer system in an apartment: riser, vent pipe and inspection fitting
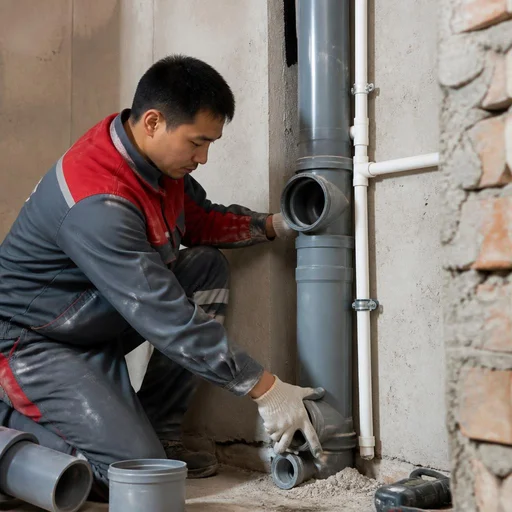
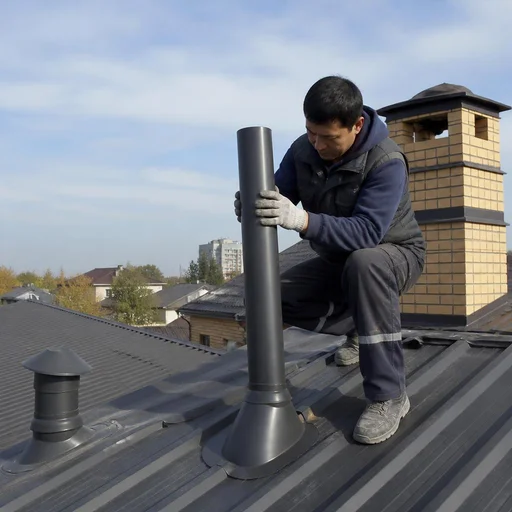
Laying the sewer system in an apartment is completed by assembling the riser, the vent pipe for ventilation, and the inspection hatch for cleaning. The riser is assembled from 110 mm pipes with sockets facing up against the flow, the joints are fixed with clamps every 1-1.5 meters, and on the lower floor the assembly is connected to the building's outlet. The vent pipe continues the riser above the roof by 0.3-0.5 meters: it equalizes the pressure in the system, and without it, when water is drained from the upper floors, an odor appears in the apartment. The inspection hatch is installed at a height of 1 meter from the floor at a turn or tee — through it, a blockage is cleared without opening the walls. The riser is inspected before sealing the box: after finishing, access to the inspection fitting remains only through the hatch.
Sewer installation in a private house: outdoor network, trench and slope
The outdoor network of a private house is a pipe in the ground from the building outlet to the inspection manhole or septic tank. Three parameters decide everything: slope, burial depth and protection from freezing.
Slope of a 110 mm sewer pipe and trench depth
We set a slope of 2 cm per linear meter for a 110 mm pipe and bury the trench below the soil freezing depth in Bishkek. The standard freezing depth for the capital is about 80-90 cm, so we lay the invert of the 110 mm pipe at 1.0-1.2 m from the surface. In areas with a high groundwater level (in the Ala-Archa and Alamedinka floodplains the water stands at 1.2-1.5 m), we reduce the burial depth to 0.7 m and compensate with insulation. We monitor with a level or laser level every 5 meters: the drop is checked at two points, not by eye. A smaller slope causes stagnation and grease blockages, a larger one breaks the water seal: 2 cm/m remains a workable compromise for a gravity system.
Laying sewer pipes in the ground: technology and insulation
Laying sewer pipes in the ground is done in a trench on a sand bed with insulation in sections above the freezing depth. We level the bottom with a 10-15 cm layer of sand, lay the 110 mm PP or PVC pipe with the socket facing against the flow, and lubricate the joints with silicone. We insulate not the entire route, but only the building outlet and the section up to the entrance to the inspection manhole — that is where the pipe is closest to the surface. We use a 9-13 mm foamed polyethylene sleeve or PPU shells; at turns we install 45° bends rather than 90° — they slow the flow less. Backfill is sand with layer-by-layer compaction every 20 cm, with soil on top. The price of laying sewer pipes in the ground depends on the length of the insulated section and the volume of backfill, so we calculate it after marking out the route.
Installation of outdoor sewerage and inspection manholes
Installation of outdoor sewerage at Eco-Service includes the installation of inspection manholes at turns and every 15 meters of a straight section. We assemble the manholes from KS 10-9 concrete rings with a diameter of 1 m or ready-made plastic bodies with an inspection hatch; we concrete the bottom under the pipe invert. On long straight branches we place intermediate points every 15 m, at turns — mandatory, and we make the entry into the septic tank as a separate manhole. The price of outdoor sewerage installation depends on the number of inspection points and the length of the route, so we calculate the estimate after marking out. A manhole at every turn is not overcaution: cleaning is only possible through inspection points, otherwise the ground will have to be dug up.
Sewer installation in a private house: central network or septic tank
| Option | When it fits | What is installed | Maintenance |
|---|---|---|---|
| Central network | Main line within 25 m | Outlet, trench, connection to the manhole | Subscription fee, inspection once a year |
| Septic tank with drainage field | Plot without a main line nearby | Storage tank, filtration field, inlet | Sludge pumping 1-2 times a year |
| Advanced treatment station | High groundwater level, small plot | Station body, electrics, outlet | Pumping less often, a 220 V socket is required |
| Storage tank | Dacha, seasonal residence | Sealed tank, inlet | Calling a sewage truck as it fills |
If the central network is more than 25 meters from the plot, connecting in terms of cost and time often loses to a septic tank with a drainage field.
Factors that increase the cost of the route and the volume of earthworks
The cost of work depends on the depth of the trench, the type of soil and the number of wells — we calculate the exact estimate after marking the route. The top layer in Bishkek is loess-like loam, which loses its bearing capacity when wet, so we reinforce the walls of trenches deeper than 1.2 m with shields. Rock inclusions in the foothills (Ala-Archa, Kok-Zhar) require a hydraulic hammer — a separate line item in the estimate. Every turn, entry into a well and change of diameter adds an inspection point. Sewerage installation in a private house price and sewerage distribution in a private house price are fixed in the estimate before work begins — after the soil is opened, adjustments are possible only based on the actual volume.
Installation of storm sewerage and site drainage
Storm sewerage diverts rainwater and meltwater away from the foundation, yard and blind area. Let's break down its elements, the assembly scheme and how it connects with the domestic sewerage and wells.
Storm sewerage installation: elements and scheme
- Rainwater inlet: a grated container under a downpipe or at the lowest point of the yard, receives the flow from the roof and the area.
- Channel: a linear channel along paths and the driveway, collects water from hard surfaces and leads it to the collection point.
- Sand trap: a receiving chamber, retains sand, leaves and gravel before they enter the main line.
- Discharge into drainage or the city network: a storage well with a pump or a connection into the storm main line as agreed.
- Storm sewerage installation is calculated by the length of the channels, the number of rainwater inlets and the laying depth — we make the calculation after visiting the site.
How storm sewerage connects with domestic sewerage
We connect storm sewerage as a separate branch: combining it with the domestic sewage network is not allowed by regulations. Storm runoff carries sand, leaves and petroleum products from the site, while domestic runoff carries fats and organic matter; mixing overloads the treatment facilities and disrupts the operation of the septic tank. On sites in Bishkek where groundwater stands high, the storm branch is routed to a separate storage tank with a sewage pump, and the domestic branch to a septic tank or the central network. Connection into the city storm sewer is agreed with the water utility: without a design and connection point, an unauthorized connection risks a fine. Separate branches simplify maintenance: storm sewerage is cleaned in spring and autumn, domestic as needed, without mixing the maintenance schedules.
Sewer ring installation and well installation
Sewer ring installation is calculated by the number of rings, the depth of the well and the volume of earthworks. We place concrete rings on a crushed-stone base 15-20 cm thick, level them and seal the joints with mortar on the outside and inside. We make the inspection well at turns and elevation changes with a diameter of 1 m — this is enough for inspecting a 110-160 mm pipe. Ring installation for sewerage price includes preparation of the base, installation, waterproofing and backfilling. We seal the joints outside and inside — with the high groundwater level in Bishkek, otherwise the well fills with groundwater and erodes the base.
Connecting plumbing fixtures and installing equipment
The final stage of the work is connecting the appliances to the finished pipework. Let's go over the procedure for connecting plumbing fixtures, the nuances of individual branches, and the case when gravity flow is impossible and a sewage pump is needed.
Connecting a toilet, sink, bathtub and shower cabin
| Fixture | Branch diameter | Connection specifics |
|---|---|---|
| Toilet | 110 mm | Outlet at finished floor level |
| Sink | 50 mm | Bottle trap, slope 2 cm/m |
| Bathtub | 50 mm | Overflow included, sealant along the rim |
| Shower cabin | 50 mm | Dry trap, drain below the tile |
The installation of the sewer system in an apartment is completed by connecting the toilet, sink, bathtub and shower cabin, with a check of the slope and tightness of every joint. The fixtures are connected in order from the farthest to the riser: first the bathtub and shower cabin, then the sink, and the toilet last. For the sink and bathtub a bottle trap is sufficient; for the shower a dry trap with a membrane is used. The toilet is connected last — its outlet must align with the finished floor, otherwise the height will have to be adjusted with an adapter.
Installing a washing machine and mounting a floor drain
We install the washing machine on a separate 50 mm branch with a trap and mount a floor drain for the shower area. A separate line eliminates water hammer in the shared trap and backflow of water when the machine and shower cabin drain simultaneously. The drain is laid during the rough screed stage: the body is fixed in the floor slab, the water seal is brought below the tile level, and the grate is selected to match the finish flooring. The washing machine is connected through a trap with a check valve and a flexible hose with a loop — the loop prevents odors from reaching the drum. A separate branch for the washing machine eliminates backflow of water from the shared trap when draining in the shower area, which is why the drain is installed before pouring the screed — breaking open the concrete after laying the tile will cost more.
Installing a sewage pump with a low outlet
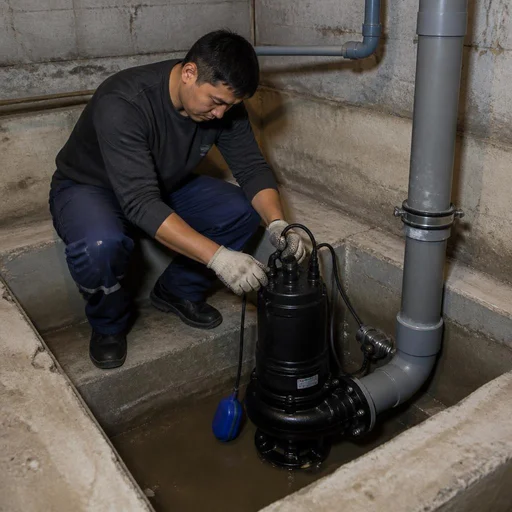
Installing a sewage pump is necessary when the building's outlet is below the level of the central network or septic tank. This situation is typical for basement bathrooms, ground floors, and properties on plots with a reverse slope toward the main line. The pump is placed in a receiving tank, into which the wastewater from all fixtures flows by gravity, and from there it is fed under pressure into the network. Two parameters are measured: the height difference between the outlet and the discharge point, and the volume of wastewater per day — the model and power depend on them. The pump is selected based on the lifting height and the volume of wastewater — if the power is underestimated, it runs non-stop and fails within a season. The laying of water supply pipes and the installation of the sewer system are calculated separately for each section — clarify both items before starting earthworks, so as not to overpay for a repeat visit by the crew.
Eco-Service warranty, timelines and service maintenance
Let's break down how the warranty, timelines and service support work after the project is handed over: what is recorded in the documents, how long the work takes and who is responsible for the result.
2-year warranty on sewer installation
Eco-Service provides a 2-year warranty on sewer installation — from laying pipes in the trench to connecting the plumbing fixtures. The warranty period covers the tightness of joints, correct slopes, the operation of inspection wells and access hatches, and the absence of leaks at the building outlet. A claim is filed using the acceptance report and receipt: the crew comes out, diagnoses the section and fixes the defect at its own expense if the cause is the work performed rather than mechanical damage or a blockage from household waste. The warranty remains valid if the customer has not opened the trench or changed the layout configuration on their own — record this in the acceptance report right at handover.
Work timelines and a technician visit with an estimate
We come to the site for measurements and an estimate within 1–2 days, and laying sewer pipes in an apartment takes from 2 to 5 working days. The timeline is affected by the scope of the layout, the wall material and whether wall chasing is needed: in a panel apartment with existing risers, the crew finishes in 2–3 days; in a private house with an external network, trench and inspection well — up to 5–7 working days. A technician visit in Bishkek is free when a contract is signed, and measurements take 40–60 minutes. The estimate is fixed before work begins — if a hidden defect is uncovered during the process, changes are agreed in writing, not "after the fact."
In-house service center and direct provider
Eco-Service is a direct provider of services: the work is performed by its own service center in Bishkek, without subcontracting or intermediaries. The center takes the request, the crew comes to the site, and the same team provides warranty support — not a third-party organization under a one-off contract. A direct contractor is fully responsible for the result: with an intermediary, quality claims are often redirected to a third party, and the customer is left looking for someone to blame between the dispatcher and the subcontractor. In our practice, disputed cases were resolved in a single visit, because the technician who did the layout comes back to the same site. When choosing a contractor, ask who exactly will come out on a warranty call — an in-house crew or a subcontractor.
Conclusion
Sewer installation rests on three pillars: correct pipe geometry, a well-chosen layout scheme and a thoughtfully designed external network. Below are brief takeaways worth keeping in mind before work begins.
Key takeaways
- Two parts of the system: the work is divided into internal layout and external network — each has its own diameters, standards and slope tolerances.
- Basic conditions for gravity flow: a slope of 2 cm per meter for a 110 mm pipe and laying below the frost depth — without these, wastewater will not flow by gravity.
- A scheme to match the layout: a tee layout suits compact bathrooms, while a manifold layout works when fixtures are spread across a wall or rooms.
- Where to route the external network: either to the central well or to a septic tank — the choice depends on the distance to the main line and the terrain of the plot.
- Warranty matters more than savings: service support and a two-year warranty outweigh a one-time discount — redoing a trench costs more than the initial work.


