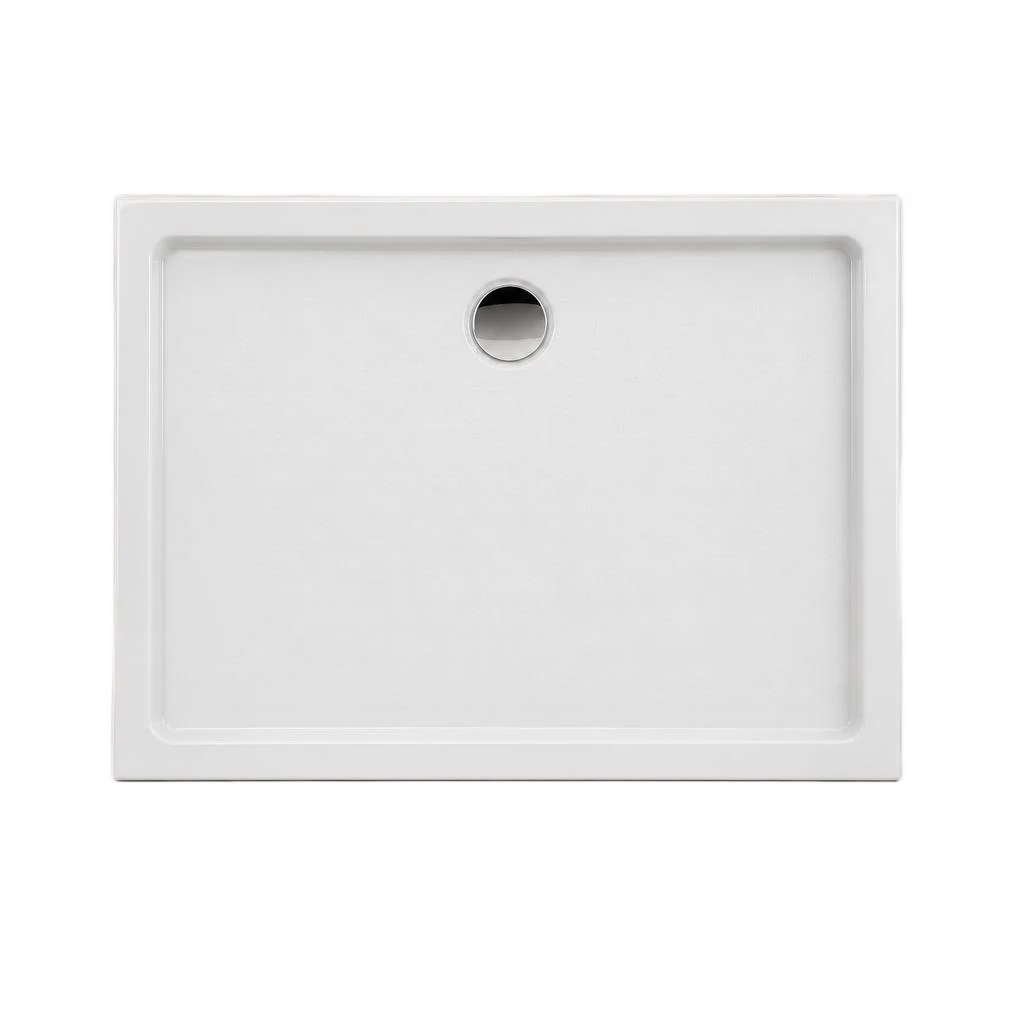
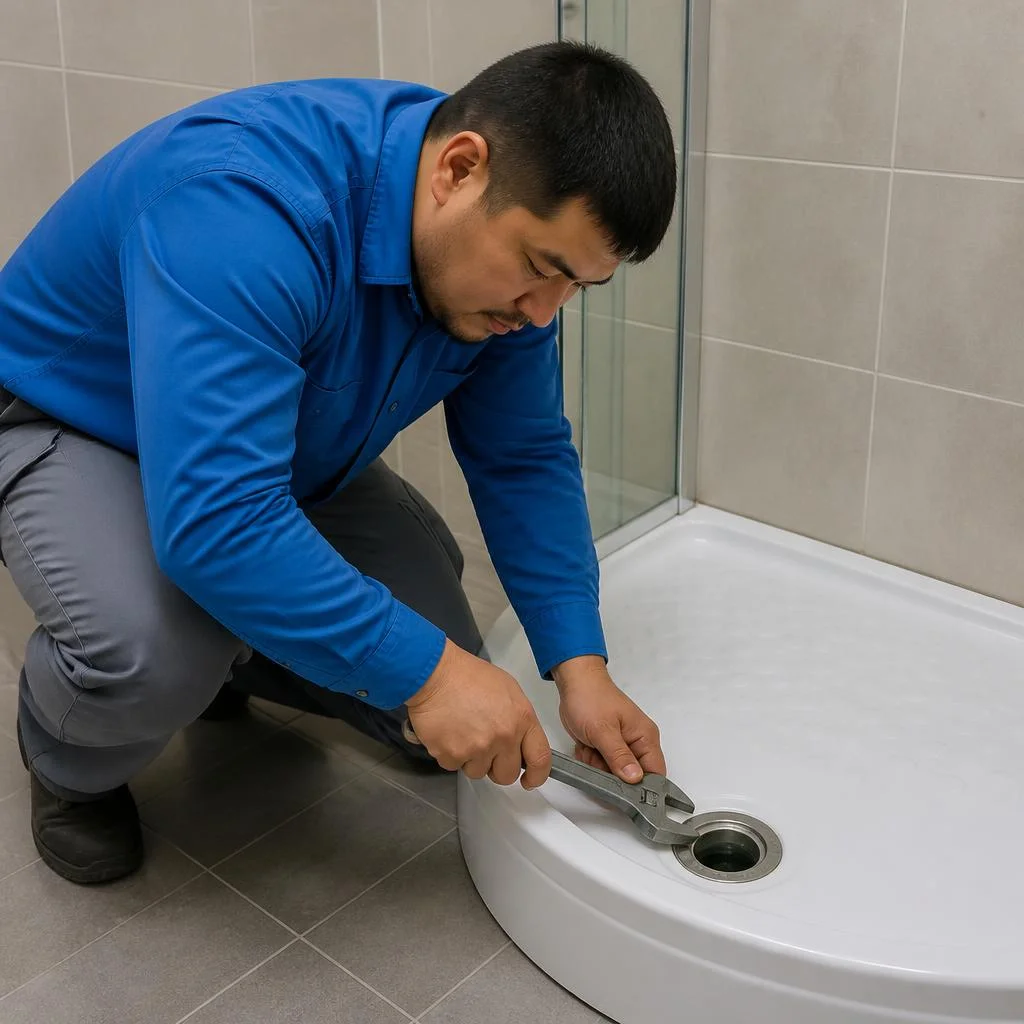
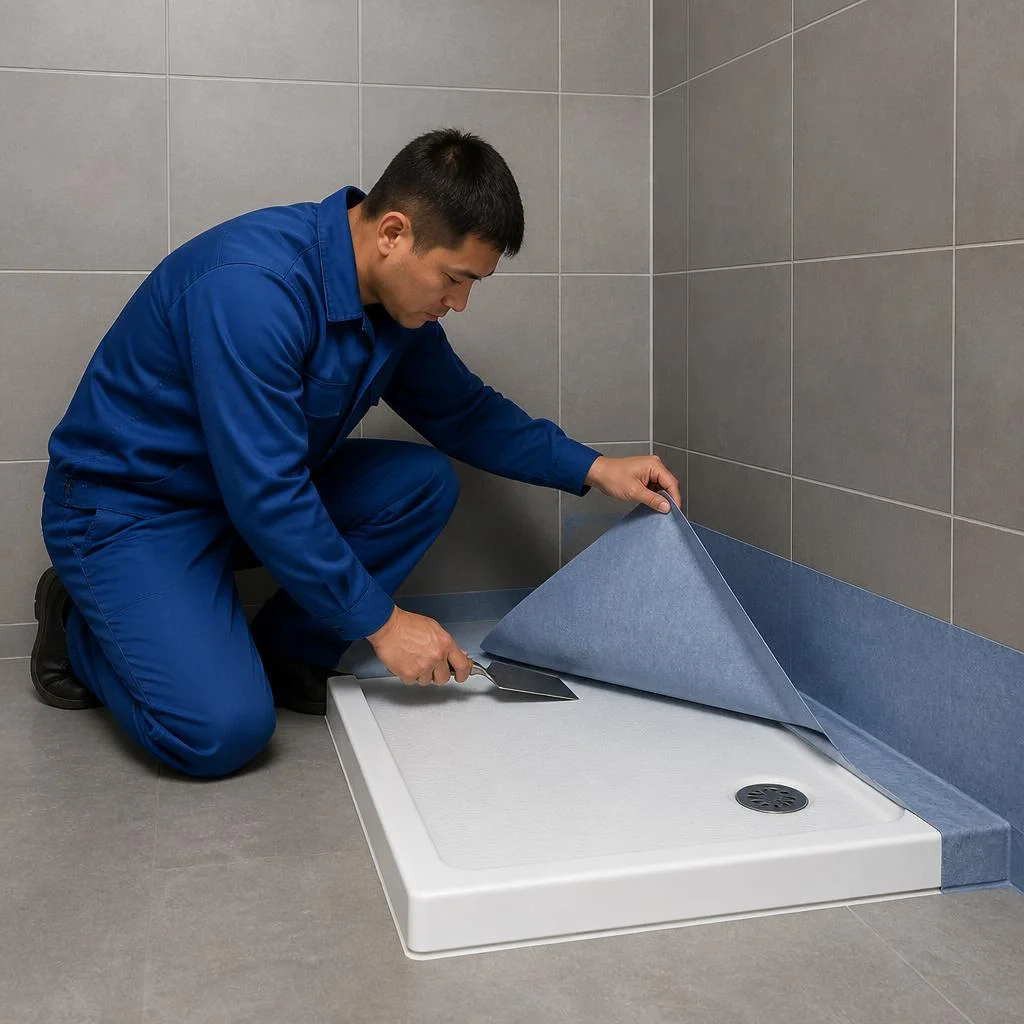








Which trays we repair: acrylic, plastic, enamel, ceramic
A tray made of different materials is restored differently — from the choice of compound to the method of fixing a crack. We break down what we fix and how, and when it is more honest to install a new one.
Restoring an acrylic shower cabin tray: cracks, chips, loss of colour
Eco-Service carries out work on an acrylic shower cabin tray using repair acrylic and epoxy compound: the crack is sanded, reinforced with fibreglass cloth and fused, after which the surface regains a uniform colour. Clients often phrase the request as repair of an acrylic shower cabin tray — and the technician immediately understands what is meant. We work with a sander with grit from 400 to 2000, fill chips up to 2 mm deep with a two-component paste, and remove scuffs from soap and limescale by polishing with a cerium oxide-based paste. In everyday speech such requests also sound like repair of acrylic shower cabin trays — the essence does not change, the technician arrives with the same set of compounds. In our practice, restoration takes one visit, because we check the curvature of the basin and the slope towards the drain with a level before starting work. Acrylic cannot be treated with ordinary enamel — it does not provide the necessary adhesion and peels off after 2-3 months of use, so we use only compatible compounds.
Work on a plastic shower cabin tray: what can be saved
Restoration of a plastic shower cabin tray is possible with cracks up to 3 mm and local chips — large fractures across the body require replacement. Composite trays made of sanitary acrylic reinforced with fibreglass are the most common: they have a thin working surface, and cracks run from the drain hole or from pressure points under the heel. We apply the epoxy compound layer by layer, dry each layer, and treat the edge with a sander at low speed. Plastic is sensitive to overheating — when sanding it is important not to overheat the edge, otherwise the crack will spread further; we work with cooling and short passes.
Comparison of tray materials: what can be repaired and what must be replaced
| Tray material | What we repair | When replacement is needed | Specifics of the work |
|---|---|---|---|
| Acrylic | cracks, chips, loss of colour | through fracture of the body | repair acrylic + reinforcement |
| Plastic / composite | cracks up to 3 mm, chips | fracture across the body | low sanding speeds |
| Enamelled | enamel chips, scuffs | enamel peeling over the entire surface | restoration of the tray enamel |
| Ceramic | — | through crack | tray replacement only |
Work on a shower tray begins with checking the base: if the basin moves underfoot, the problem is not in the coating but in the base. First the base under the tray is levelled, otherwise any crack repair will recur in the same place after a few months. With an enamelled tray, restoration of the tray enamel gives a result only with local chips — when the enamel peels over the entire basin, it is cheaper to install a new tray.
Crack repair and coating restoration: how we bring a shower tray back to life
A crack and worn enamel are the two most common reasons for a service call. We show how we fix each one: from edge preparation to final polymerization, and why the order of work here matters more than speed.
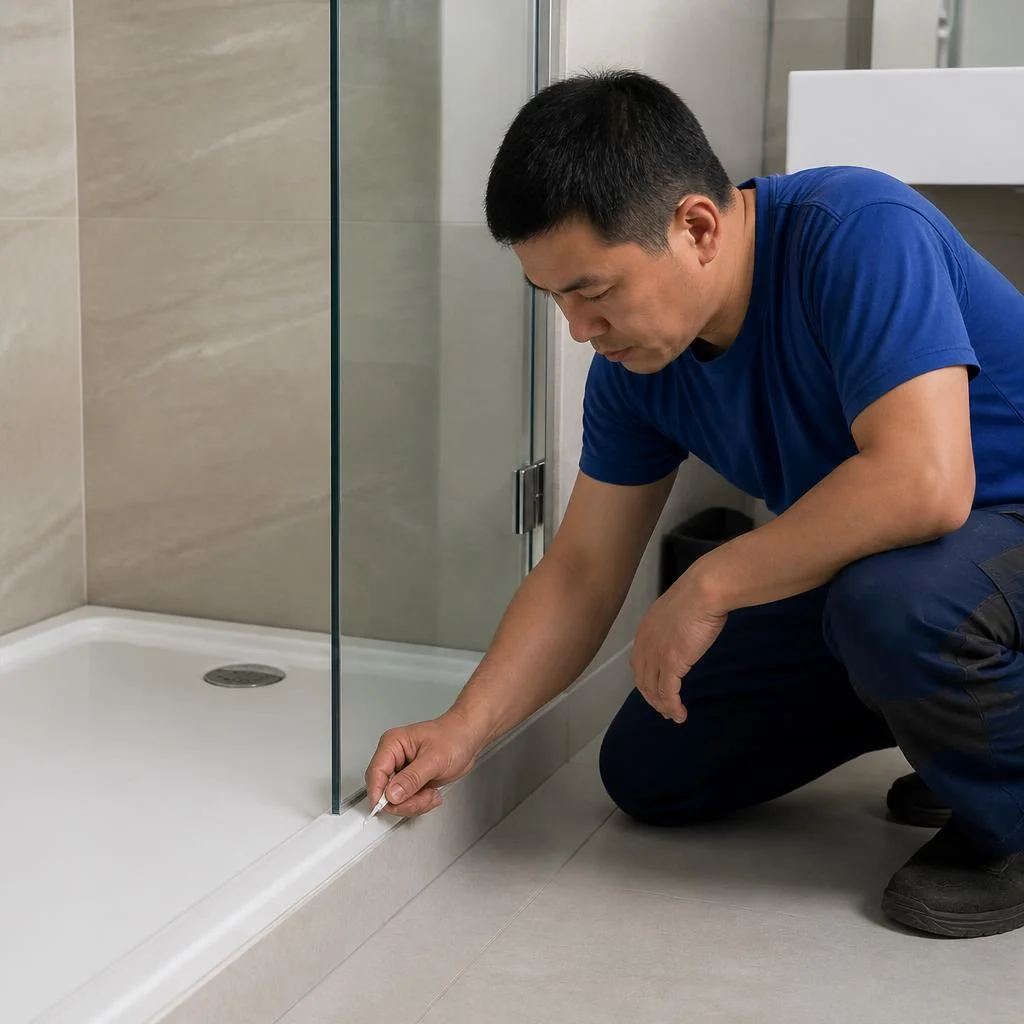
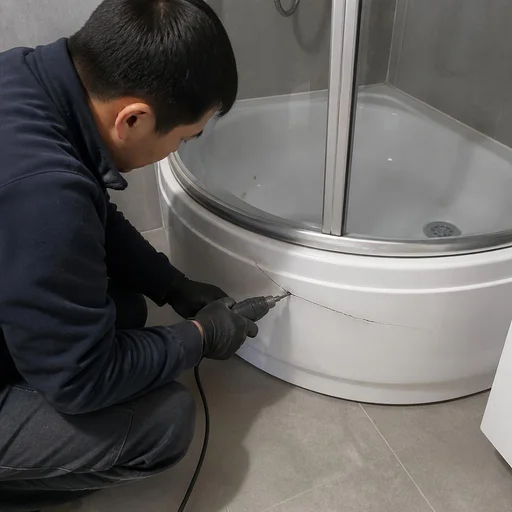
Shower tray crack repair: preparation, reinforcement, fusing
- Edge preparation: we widen the crack along its entire depth so the compound penetrates inside rather than sitting on top.
- Reinforcement: we lay a reinforcing layer into the cavity that takes the load from body weight.
- Fusing: the epoxy compound fills the cavity and polymerizes to the hardness of the base material.
- Sanding: using a sander we bring the surface flush, without a step or height difference.
- Testing: we pour water over the area and check for leaks before handing over the work.
Restoring shower tray enamel and painting a shower cabin tray
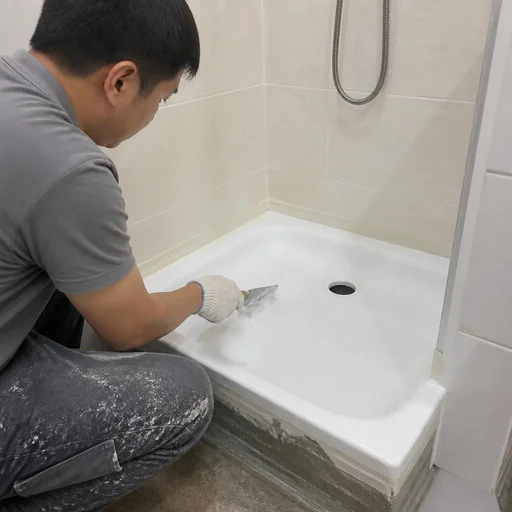
We restore shower tray enamel using repair enamel with mandatory matting: the coating holds on acrylic and enameled bases and does not peel at the edges. First we remove the gloss with an abrasive of P240-P400 grit, then degrease the surface, dry it and apply a primer-adhesion layer. The repair enamel polymerizes from 12 to 24 hours depending on the temperature in the bathroom — at +18 °C the process goes slower than at +25 °C. We go over the drain area and the junction with the rim separately: there the coating is in constant contact with water. Painting a shower cabin tray without matting is the main cause of peeling after a season: gloss prevents adhesion, and the enamel comes off in sheets from the center to the edges, so we remove the shine and degrease before application, even if the tray looks matte to the eye. In requests, clients often write briefly: acrylic shower tray repair — and the technician immediately understands that what is needed is not a replacement but a renewal of the coating over the entire basin.
Shower cabin tray restoration: when to restore and when to replace
Restoration of a shower cabin tray is justified for damage up to 30% of the area: if more is destroyed, it is cheaper and more reliable to replace the tray entirely. We fix restoration of acrylic trays with local chips and a network of small cracks by fusing and renewing the enamel — such a tray continues to serve with careful use. Restoration of a shower tray with destruction across the entire basin, coating peeling off in sheets or a crack through the drain hole makes no economic sense: the new surface will lie on a tired base. Replacing a shower tray in such cases goes together with leveling the base under the tray — if the basin has "sagged" and wobbles, the new surface will crack along the old load lines, and the work will have to be started over. That is exactly why in searches people type shower cabin tray repair, although in fact what is meant is a complete replacement of the basin with leveling of the base.
Waterproofing and sealing: why the tray leaks and how to stop it
A leak under the tray is the most expensive mistake in a bathroom: water goes into the floor slab and onto the neighbours' walls. We break down exactly where it leaks and how we seal every joint.
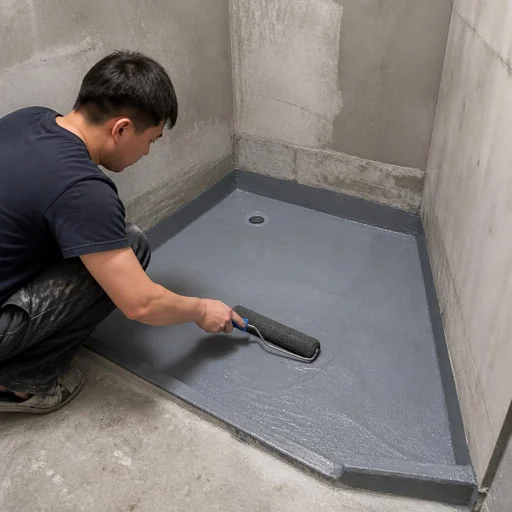
Liquid-applied waterproofing of the tray: protecting the base from water
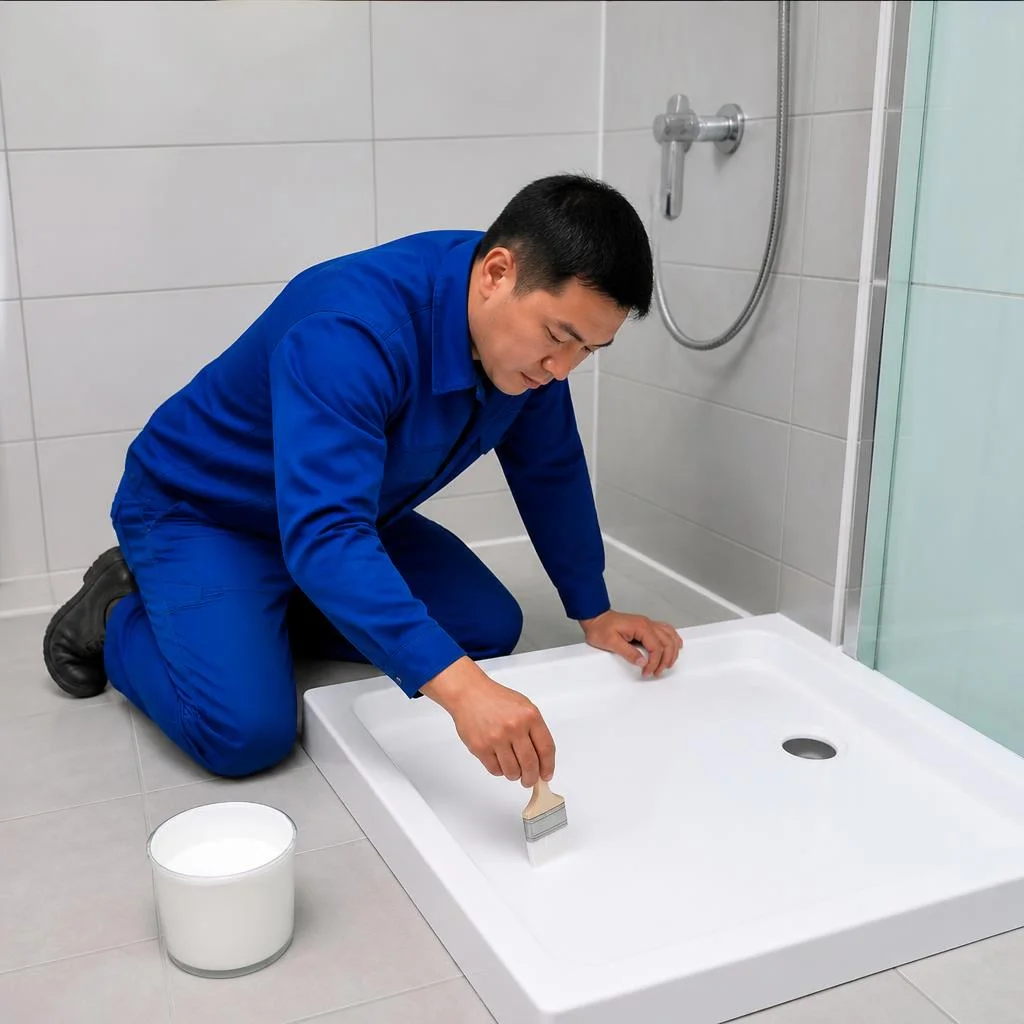
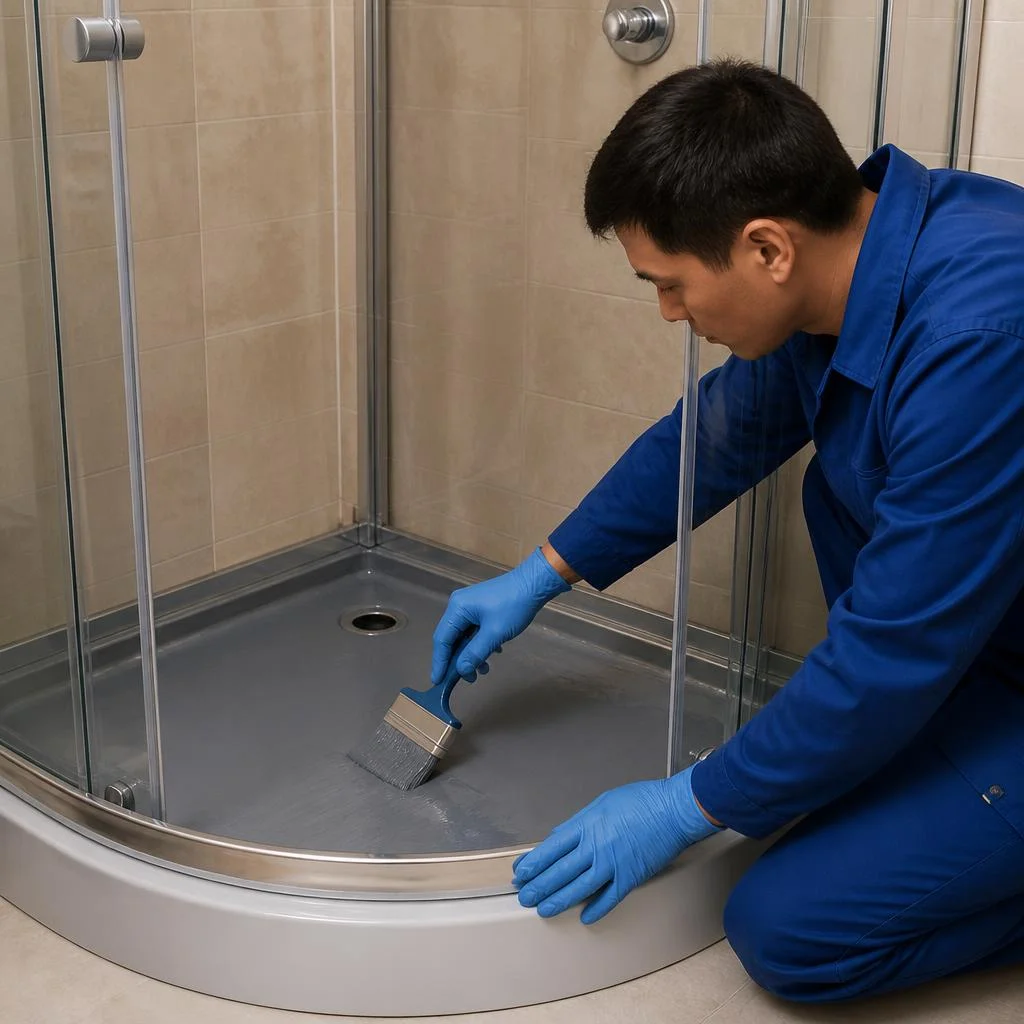
Eco-Service applies liquid-applied waterproofing to the tray in two coats with reinforcement of the corners — this seals the base from the water that goes under the tray every time the shower is used. The compound is applied to the concrete and to the levelled base under the tray in a continuous layer with a 15-20 cm overlap onto the walls, and the corners and junctions are reinforced with tape so that the layer does not tear when the body shifts. When we open up the waterproofing under the tray, we see a typical picture: the old layer has cracked along the seams, and for years water has been running down the wall into the next room. The compound must not be applied to a damp base — moisture will remain under the film and travel down the wall, so before work the surface is dried and the moisture level is checked with a moisture meter. In our experience, it is cheaper to do two-layer waterproofing right away during installation than to later open up the tiles and redo the screed.
Waterproofing of the tray-to-wall joint and sealing of junctions
- Joint preparation: the seam is cleaned of old sealant and tile adhesive down to the base.
- Waterproofing layer: liquid-applied waterproofing is applied to the joint with an overlap onto the wall and onto the tray.
- Corner reinforcement: tape is laid into the corner so that the layer does not tear when it shifts.
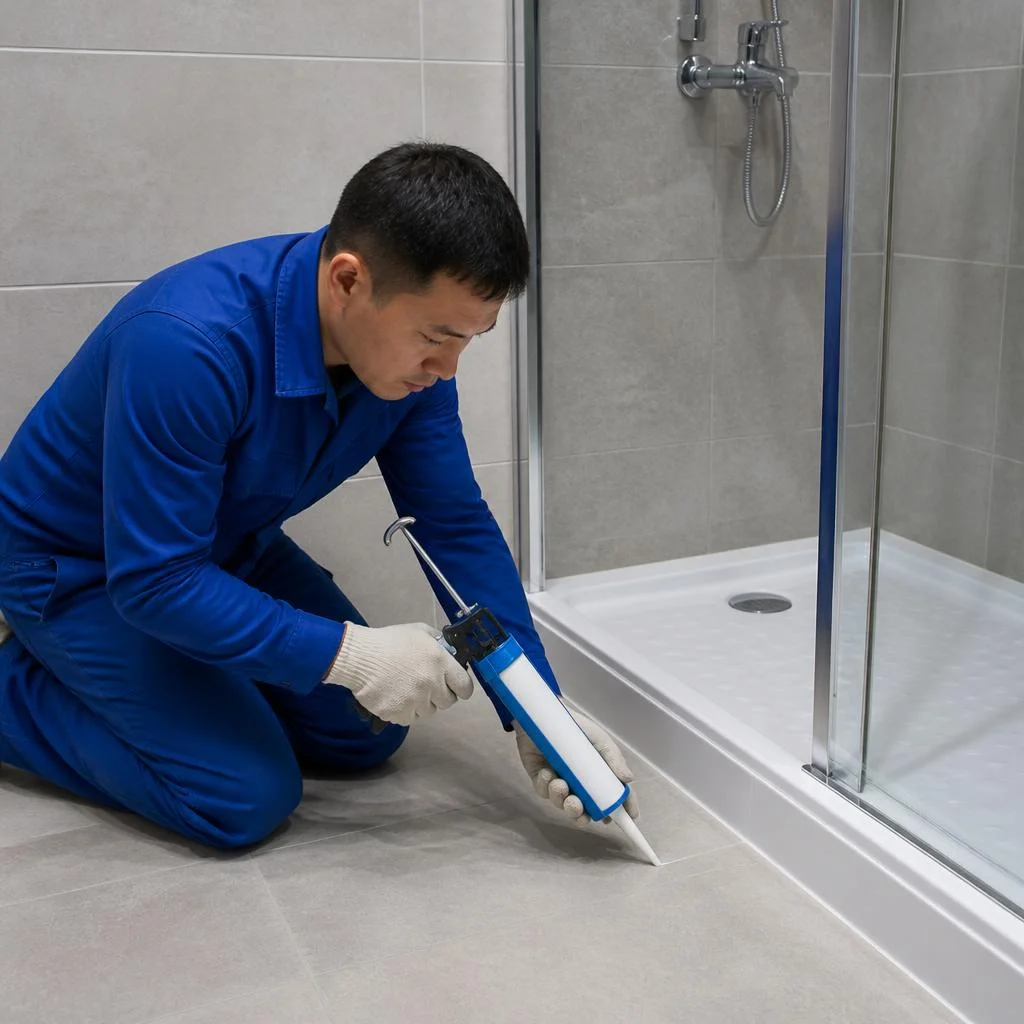
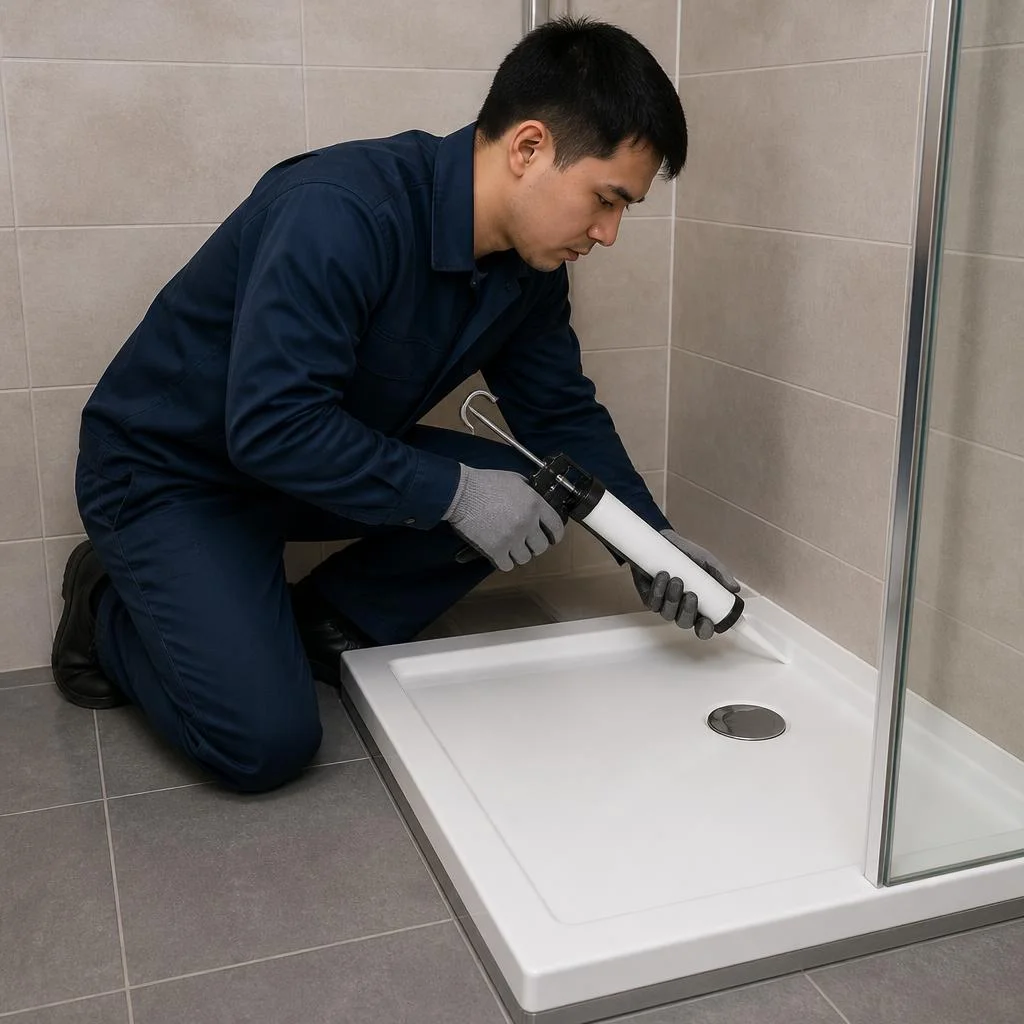
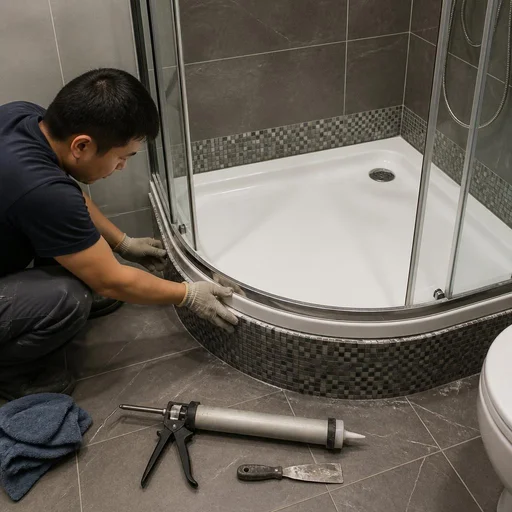
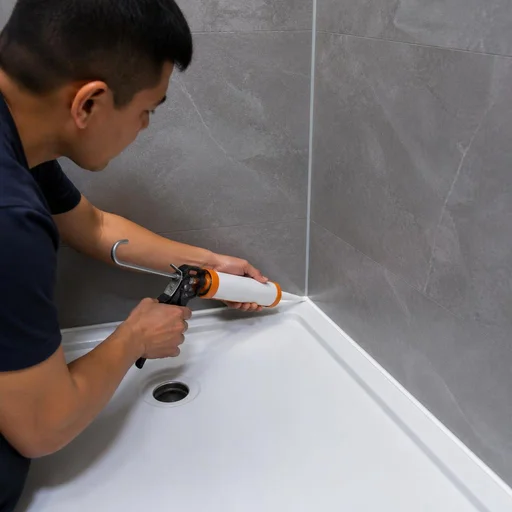
- Sealing: a silicone sealant resistant to moisture and household chemicals is applied on top.
- Check: the joint is poured with water and inspected for leaks.
Checking the tray for leaks: how we find the source of the water
Eco-Service checks the tray for leaks by pouring water and inspecting the joints, the drain and the drainage system — this way the source is found in a single visit, without randomly opening up tiles. The technician fills the tray with water, lets it stand for 15-20 minutes and goes around all the joints with a torch: the tray-to-wall joint, the junctions to the sides, the drain, the drain corrugated pipe and the siphon. Shower tray repair begins precisely with such diagnostics, and more often it is not the basin itself that leaks but the joint between the drain and the body or the drain corrugated pipe — before opening up the waterproofing, we check these joints, because replacing them can be done without dismantling the base. Clients often phrase the request as acrylic tray repair — and from such a request the technician immediately understands that diagnostics of the basin are needed, not just sealant. If pouring water gives no result, we check the slope and the joints from the neighbours' side below.
Which scope of waterproofing work is chosen most often
| Situation | What we do | Timeframe |
|---|---|---|
| The tray is new, we are installing it again | Liquid-applied waterproofing + reinforcement of corners | 1 day |
| The joint with the wall is leaking | Waterproofing of the tray-to-wall joint + sealant | 3-4 hours |
| Traces of water on the ceiling below | Pouring water, opening up, restoration of shower trays | 1-2 days |
Restoration of shower cabin trays with full replacement of the waterproofing layer takes more time than spot sealing, but it fixes the cause, not the consequence.
Drain system: trap replacement, re-soldering the opening, corrugated hose replacement
The drain is the second most frequent source of problems after cracks in the basin. Below we break down which components we replace, why a leak from under the tray often comes from here, and what is serviced without replacement.
Drain trap replacement and re-soldering the drain opening
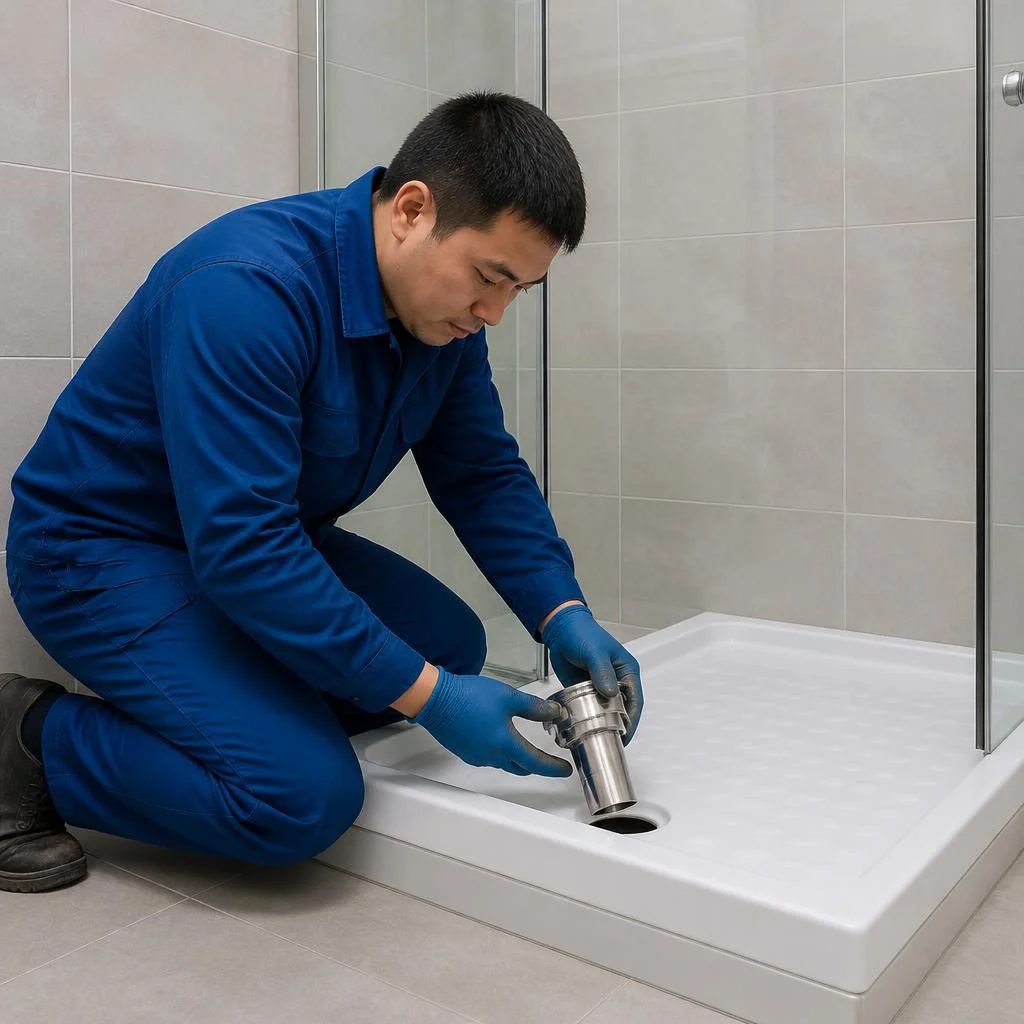
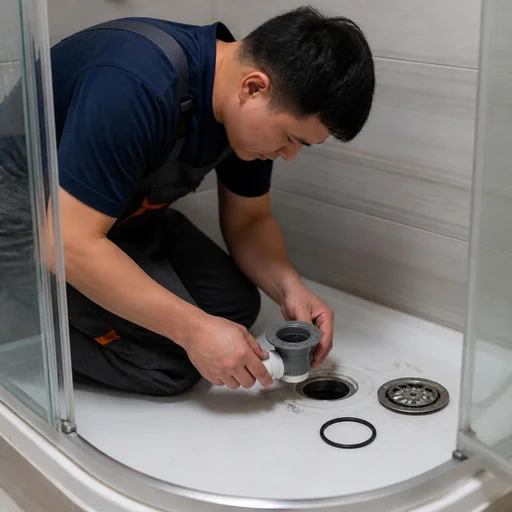
Eco-Service replaces the drain trap and, if necessary, performs re-soldering of the drain opening — if the seat is damaged, a new trap won't sit hermetically without re-soldering. The trap is the component that receives the entire flow of water from the basin and connects it to the siphon: a crack in the body or a loosened seat produces that very leak from below that is easily mistaken for a waterproofing problem. Re-soldering is needed when the old opening is worn out, overgrown with mineral deposits, or deformed after removing the previous trap — then we restore the seating contour and only after that install the new element. The work involves complete disassembly of the drain assembly, checking the flatness of the seat, and reassembly with a new sealing ring. The trap is replaced together with the sealing ring and sealing of the seat — if a new trap is installed on an old ring, the leak will return within a month.
Drain corrugated hose replacement and connecting the tray to the sewer
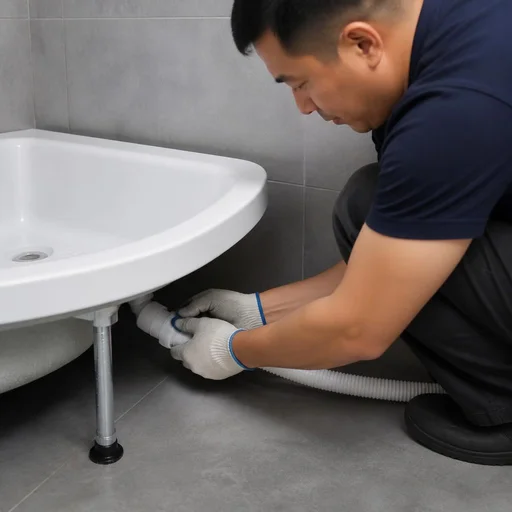
Eco-Service replaces the drain corrugated hose and connects the tray to the sewer with a slope — without a slope, water stagnates in the corrugated hose and an odor appears from the water seal. The corrugated hose is the flexible section between the trap and the siphon: soap film and hair settle on its inner folds, the passage narrows, drainage slows down, and the joints begin to seep. When connecting to the sewer, we set the slope toward the riser, cut the corrugated hose to the required length without extra loops, and secure the joints with clamps — a sagging loop acts as a second water seal and itself becomes a source of odor. Clients often formulate the task more broadly than it actually is: repair of a plastic shower cabin tray — that's how the request sounds, although in fact only the drain assembly is replaced, and the basin remains intact. Another common wording from clients — Shower tray repair: behind these words there is almost always a corrugated hose replacement or re-soldering of the seat, rather than restoration of the basin itself. We check the assembly by running water under pressure and inspecting the joints after 10-15 minutes to catch a micro-leak immediately. The corrugated hose is a consumable: even a quality one lasts 3-5 years, so when working on the tray it makes sense to replace it right away rather than coming back to it a year later.
Drain system components: what is replaced, what is serviced
| Component | What we do | When it's needed |
|---|---|---|
| Drain trap | replacement | crack in the body, doesn't hold water |
| Seating opening | re-soldering | seat under the trap is damaged |
| Drain corrugated hose | replacement | clog, odor, loss of tightness |
| Siphon | servicing | dirt accumulation, weak drainage |
| Water seal | inspection | odor from the tray without a leak |
If there's a smell from the tray but no water on the floor — the problem is a dried-out water seal, not a clog; we check it before calling a plumber for cleaning.
Dismantling, base and installation: how we reinstall a shower tray
If the tray has to be removed, the work begins not with laying a new one, but with dismantling and preparing the base. We show the full sequence — from opening up the waterproofing to grouting the joints and handing over the completed job.
Dismantling the shower tray and opening up the waterproofing underneath
Eco-Service dismantles the shower tray carefully, preserving the tiles around the perimeter, and opens up the waterproofing under the tray to assess the condition of the base. First we remove the drain grate and disconnect the corrugated hose from the trap, then we cut through the sealant along the rim and lift the tray out as a whole — the tiles on the walls and floor remain untouched, and re-laying them is not included in the estimate. After removing the tray, we open up the coating layer and inspect the screed: cracks, traces of mould, separated joints between the floor slabs. The old waterproofing must not be left under the new layer — if it has delaminated, the fresh compound will lie on top of it and come away with it, so opening it up is mandatory, not optional. From experience: under acrylic trays that were installed on expanding foam, we find delamination in almost every third case.
Levelling the base under the tray: why the tray "rocks"
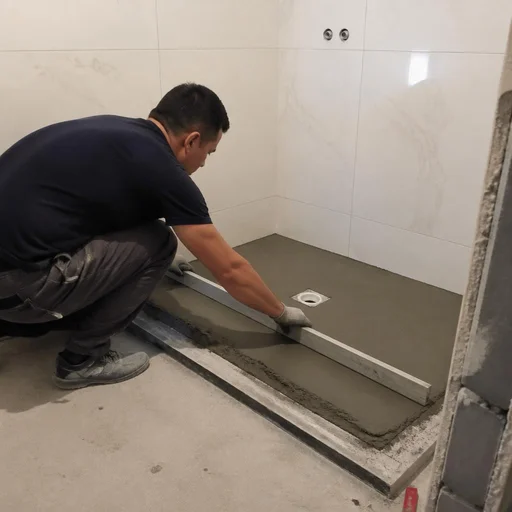
Eco-Service levels the base under the tray using a spirit level — if the base has a slope or subsidence, the tray "rocks", and any crack returns within a season. A difference of 3-4 mm per metre already creates play: the tray rests on one corner, flexes under load, and the sealant joint along the rim tears. We check the plane with a straightedge and a laser level, fill dips and hollows with a hard cement-based repair compound, and for large differences we assemble a tray frame from profile with adjustable supports. The tray must not be placed on a "cushion" of expanding foam — it shrinks under a person's weight, the tray sags, and water starts to seep under the rim. A separate case is a shower in an apartment without a tray, where the drain is routed directly into the floor: there, levelling is done with a slope towards the trap, not strictly to the horizontal.
Installing the tray on a frame and fitting the tray onto tiles
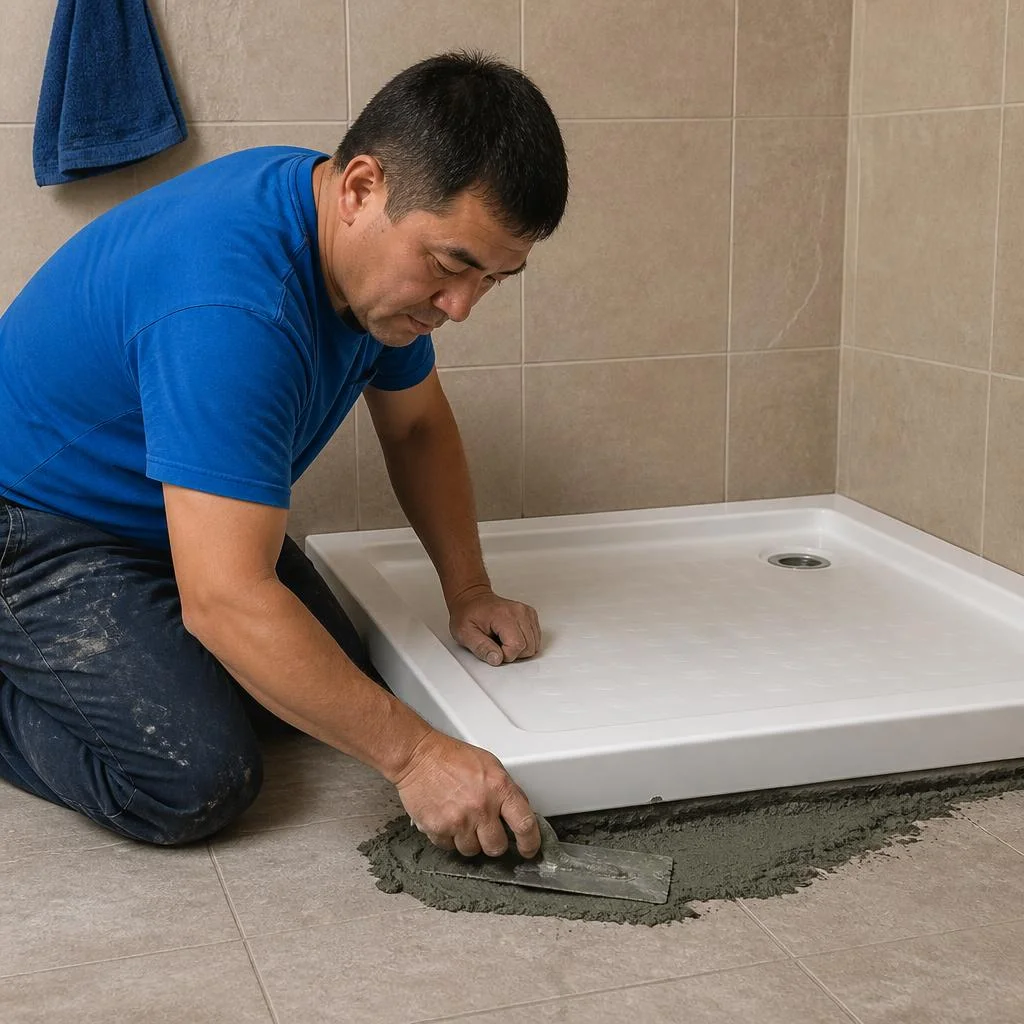
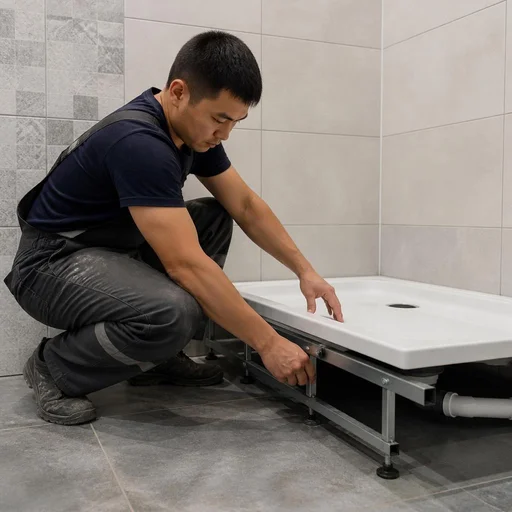
Eco-Service mounts the tray on a frame or installs the tray onto tiles depending on the type of base — a frame provides rigidity, tiles require a level base and sealing around the perimeter. On a frame, we fix the tray on adjustable supports, set it level in two planes, and only then connect it to the sewer — this way the drain slope is set precisely, without skewing. When installing onto tiles, we bed the tray on sealant around the entire perimeter, not just at the corners: without a continuous bead, water seeps under the rim and gets into the floor structure, and a stain appears on the ceiling of the neighbours below. In search, clients often type "shower tray repair" — and end up here, although this query covers not only replacing the tray but also preparing the base. Assembling a Triton shower tray, which is often brought in as a replacement, follows the same scheme: frame, adjusting the supports, connecting the drain, sealing the tray's abutments. Check the rigidity of the supports under load before filling the joint — redoing the sealant after it has set will no longer be possible.
Grouting the joints around the tray and cleaning up after the repair
Eco-Service grouts the joints around the tray with moisture-resistant grout and cleans up after the work — the job is handed over ready for use, without construction dust or leftover materials. Ordinary cement grout in a wet area cracks within a season — we use moisture-resistant epoxy-based grout, which withstands constant contact with water and does not darken. We fill the joint between the rim and the tiles with sanitary silicone over the grout, not instead of it: the grout handles the mechanics, the silicone handles the water. In our practice, such work almost always ends at exactly this stage, because clients value being able to turn on the shower immediately after the technician leaves. After grouting, we take out the construction waste, wipe down the tiles and leave the job dry.
Sequence of work and what each stage includes
| Stage | What we do | What to look at |
|---|---|---|
| Dismantling | We remove the tray, grate, corrugated pipe | Integrity of the tiles around the perimeter |
| Opening up | We remove the old waterproofing | Detachment of the coating layer |
| Base | We level it to the level | Deviation greater than 3 mm per meter |
| Installation | Frame or mounting onto the tiles | Rigidity of the supports, drain slope |
| Sealing | Seam around the perimeter and joint with the wall | Continuous contact, without gaps |
| Finishing | Grouting the seams, cleaning up | Dry surface upon handover |
| Saving | They remove the tray with broken tiles | Re-laying cannot be avoided |
Warranty, timelines and how a technician's visit works in Bishkek
We explain how the work is structured from request to warranty service, and how a direct service provider differs from an intermediary who merely passes the order to a contractor and is not responsible for the result.
2-year warranty: what it covers
Eco-Service provides a 2-year warranty on shower tray restoration — it covers cracks, enamel detachment, leaks at the joints and in the drain system, if the defect appeared through our fault. A warranty case includes elimination of cracks, restoration of enamel and sealing of the abutments: the technician comes again and fixes the problem free of charge. The obligation also extends to replacement of the drain trap and to re-soldering of the drain hole — the components that most often leak after careless installation. The warranty is valid only when used without any independent intervention: if the client has re-sealed the joint themselves or filled a crack with household sealant, the case is removed from the warranty — a repeat visit is then processed as new work.
Our own service center and technician visits to your home
- Request: accepted by phone or in a messenger, without intermediaries or being forwarded along a chain.
- Diagnostics: the technician comes to your home, inspects the tray and identifies the cause of the leak or crack.
- Approval: the scope of work and timelines are fixed before the start, without "surprises" during the process.
- Work: performed on site, with cleanup after completion.
- Warranty: 2 years on the completed work, servicing — through our own service center.
Shower cabin tray repair in Bishkek districts: where we travel
Eco-Service travels to all districts of Bishkek — Alamedin, Dzhal, Vostok, Asanbay and others — the technician arrives with their own tools and materials. In our practice, shower cabin tray restoration in the new buildings of Alamedin and Dzhal is more often associated with foundation settlement, while in the houses of Vostok and Asanbay — with wear of the drain component and old waterproofing. Clients often phrase the request as shower tray repair — and with such a request the technician immediately understands what is meant, without clarifying questions. Elimination of shower tray defects on site closes cracks, coating detachment and leaks at the joint with the wall in a single visit, if access to the drain is open. If the tray leaks into the floor slab, the visit cannot be postponed — the water goes down to the neighbors below, and the cost of work grows along with the area of damage.
Conclusion
Restoring a shower tray is work with four layers: the coating, the base, the waterproofing, and the drain. Below are the main conclusions that determine exactly what needs to be done in a specific case.
Main conclusions
- The material determines the strategy: acrylic and enamel are restored locally by reflowing and painting, while ceramic with a through crack cannot be restored and is replaced entirely.
- The base is more important than the coating: if the tray "moves" underfoot, the base is leveled first, otherwise the crack will return within a few weeks of use.
- Waterproofing is two levels: a coating layer under the basin plus sealing of the tray-to-wall joint; skipping either level results in a leak into the floor structure.
- The drain is a common source of leaks: the drain, corrugated pipe, and sealing rings are checked before opening the tiles, because water often escapes right there.
- A 2-year warranty makes sense only with a direct contractor: an intermediary between the craftsman and the client is not responsible for a repeat leak.