







How to tell that the toilet needs repair: symptoms and causes of breakdowns
A malfunction rarely happens suddenly — usually it is preceded by noticeable symptoms. Let's look at what to pay attention to so as not to let it come to an emergency.
The tank leaks: why water drains away and what it means
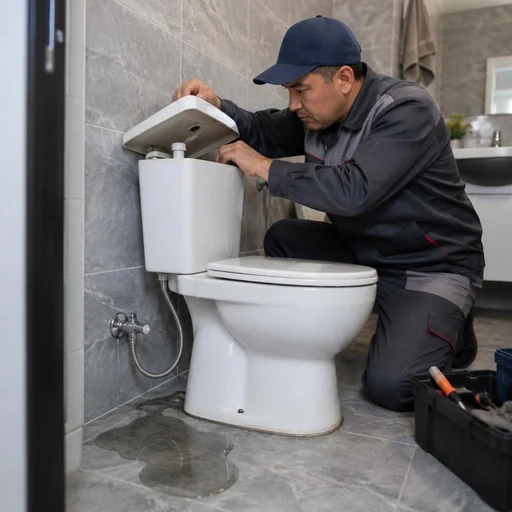
The most common cause of a tank leak is wear of the flush gasket or the tank-to-bowl seal: water constantly drains into the bowl, and the meter racks up litres for nothing. An EPDM or silicone gasket loses its elasticity after 3-5 years, becomes covered with limescale and stops fitting tightly against the flush valve seat — then even serviceable fittings will not hold the water. The tank-to-bowl gasket dries out faster if the tank is tightened with a skew: a 1-2 mm gap causes a constant leak along the outer wall. If the leak appeared after the water was shut off, most likely the gasket was simply forced out by pressure — in this case the part is replaced, not adjusted. In our practice, what is most often brought in is precisely the forcing out after a water hammer in old buildings. People land on this page when the leak is already noticeable on the meter.
Constant sound of water and a tank that does not fill with water
- Inlet valve: a whistling or humming means the valve membrane is clogged with sand and does not seat properly.
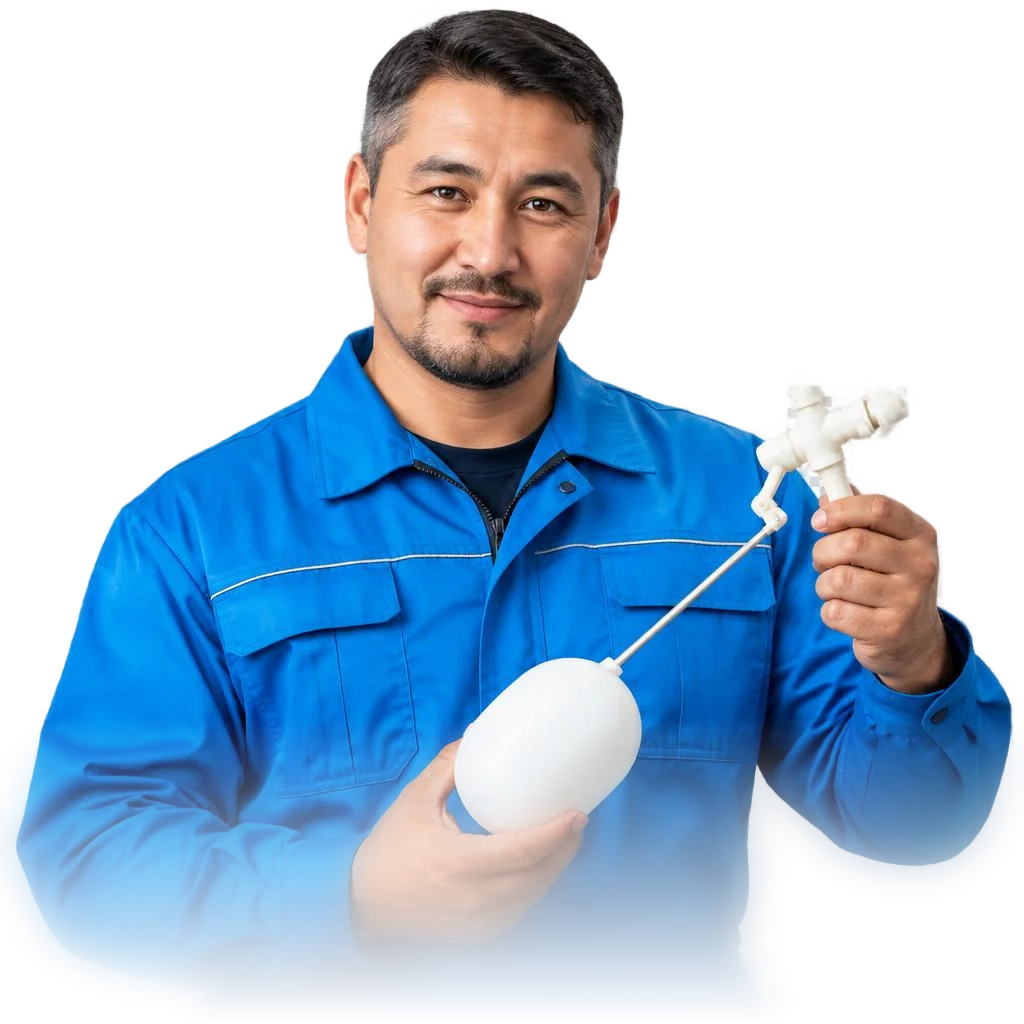
- Float mechanism: lever-type or with a chamber — if it sticks, water does not fill or overflows over the edge of the tank.
- Constant sound of water: humming with the valve closed is a sign of wear of the sealing ring, not a clog in the supply line.
- Water does not fill: the valve is closed, but the supply is shut off — the inlet hose and the shut-off valve are checked.
- Adjusting the float: helps temporarily; if the valve has been noisy for more than a week, it no longer holds pressure and needs replacement.
Leak at the connection point and a clogged outlet: how not to confuse them
| Symptom | Where the water is | Probable cause |
|---|---|---|
| Leak under the tank | by the wall, on the floor | flexible supply line, inlet hose |
| Water around the bowl | at the base | clogged outlet, sealing of the joint |
| Water constantly in the bowl | in the bowl itself | flush gasket, flush valve |
| Noise without a leak | inside the tank | inlet valve, float |
A clog and a breakdown of the fittings are easy to confuse: if the water drains slowly, but the tank fills normally, the problem is in the outlet, not in the valves. But a breakdown of the toilet tank with constant noise and no water on the floor almost always means wear of the inlet assembly. The difference is fundamental: a clog is treated by clearing the outlet, not by replacing the valves. The work begins with identifying the assembly: the technician shuts off the valve and checks every connection, rather than replacing everything indiscriminately. Professional servicing is built precisely on such diagnostics — first the source is found, then the part is selected. Most often, the request about the cost is made after the diagnostics, when it is clear which assembly is being replaced.
Toilet repair in Bishkek: what the service includes and how a technician's visit works
The work begins with an on-site diagnosis: the technician identifies the fault and immediately states what work is needed. This is how every service call is structured. Let's break down how a visit works and what the service includes.
How a technician diagnoses the fault on site
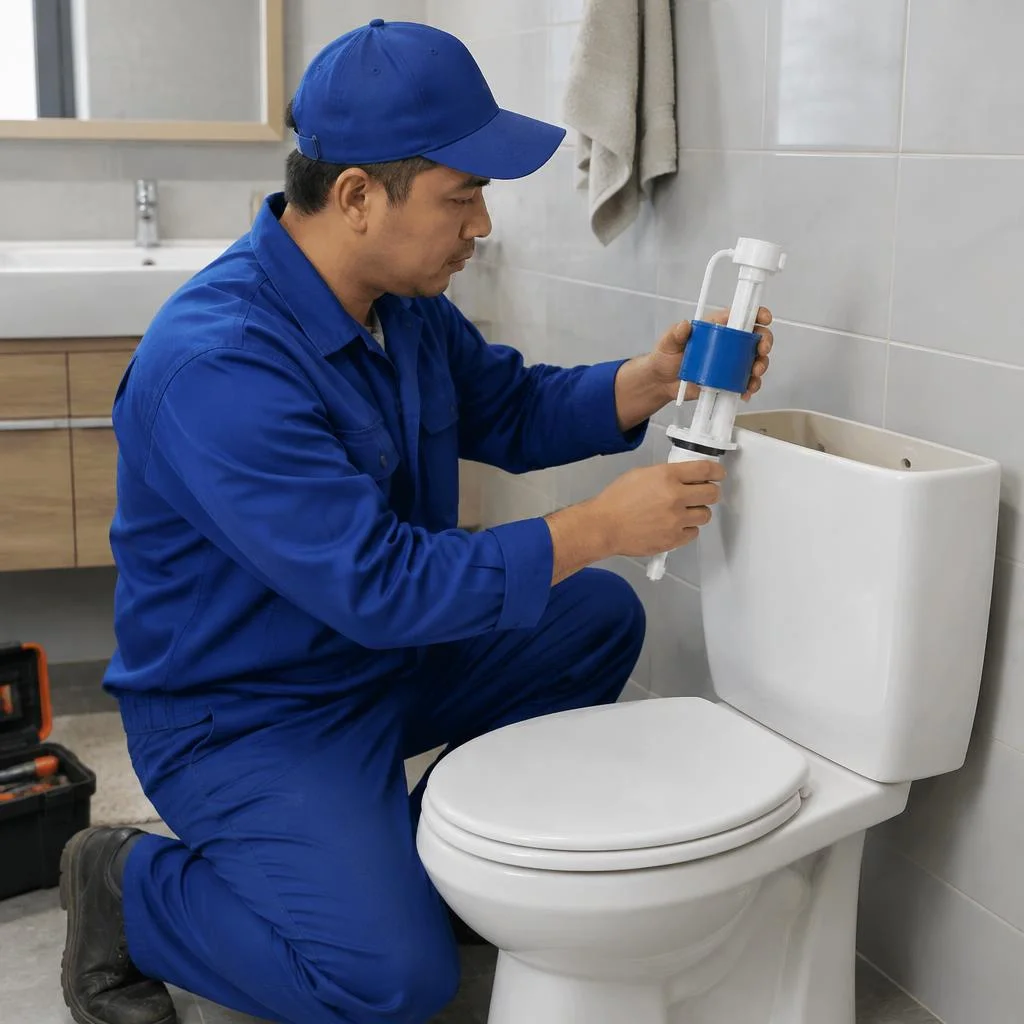
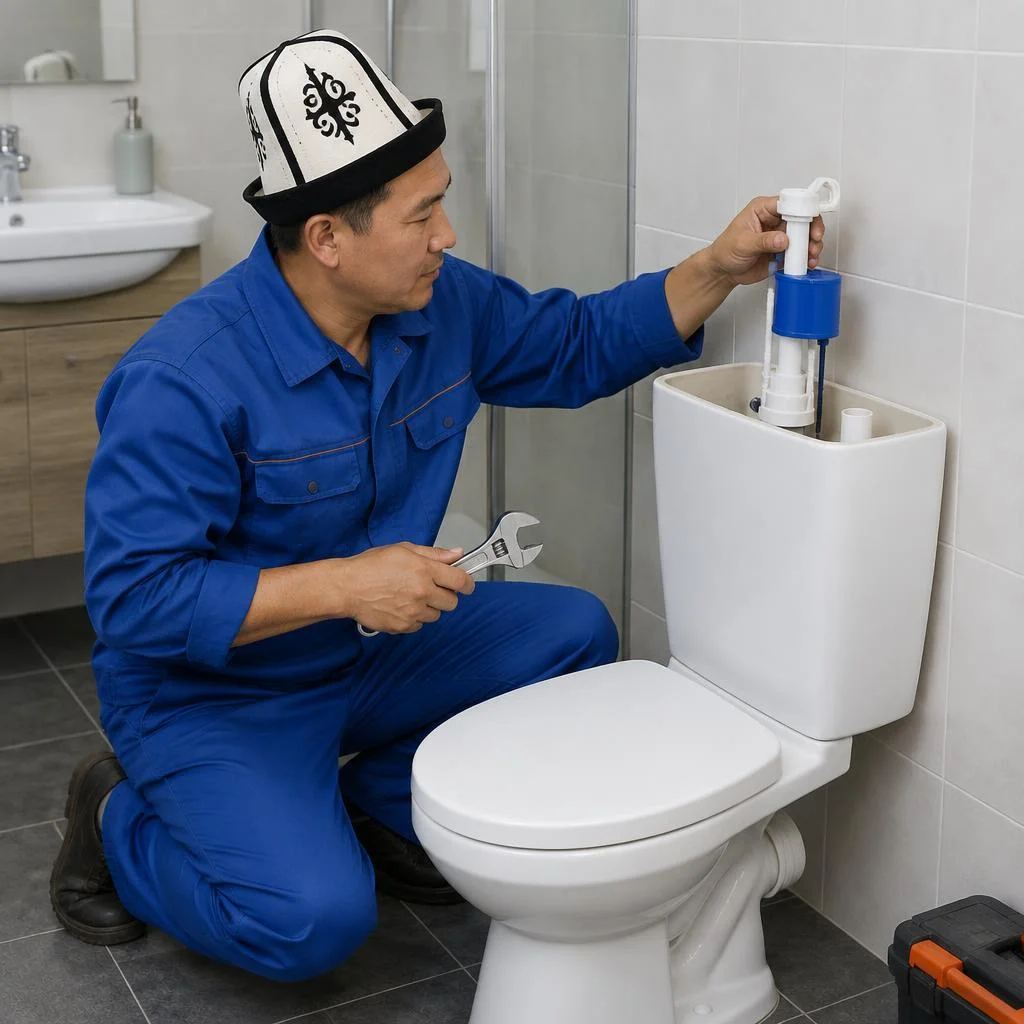
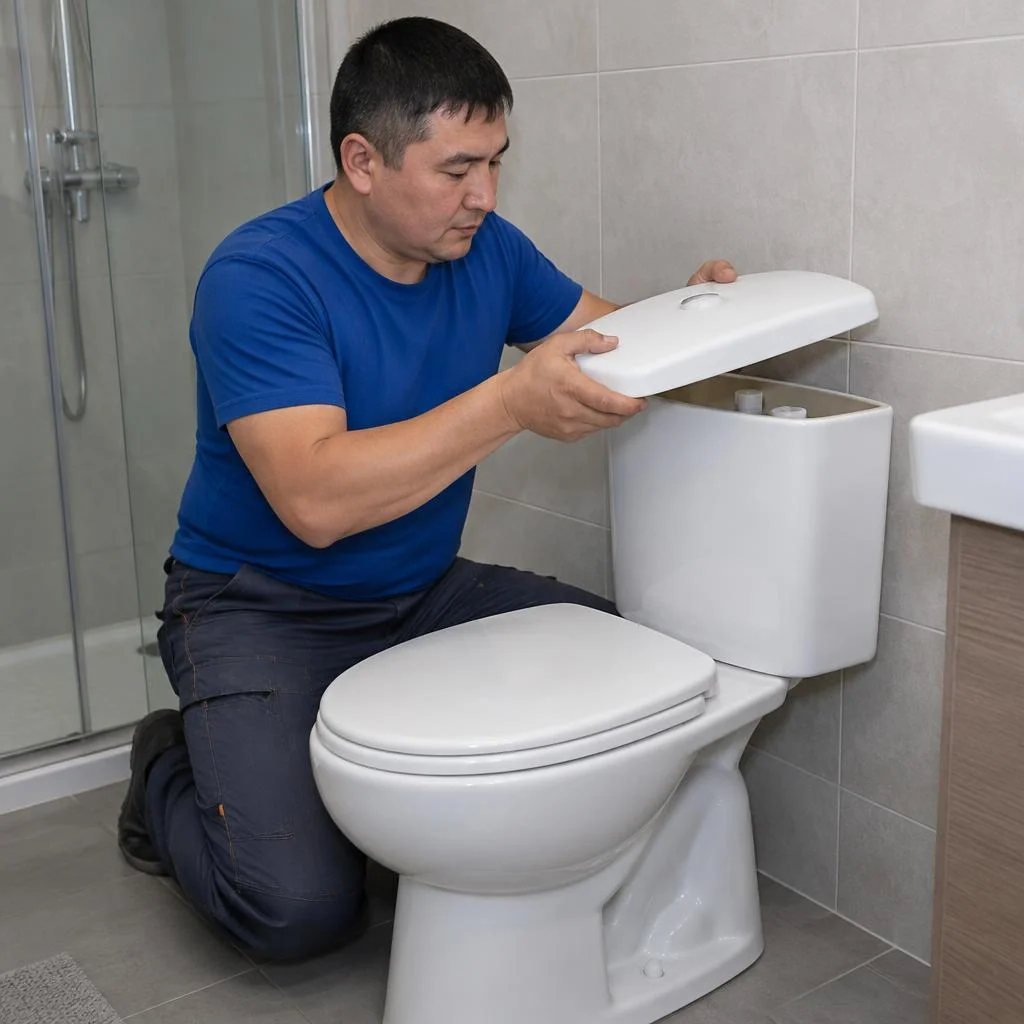
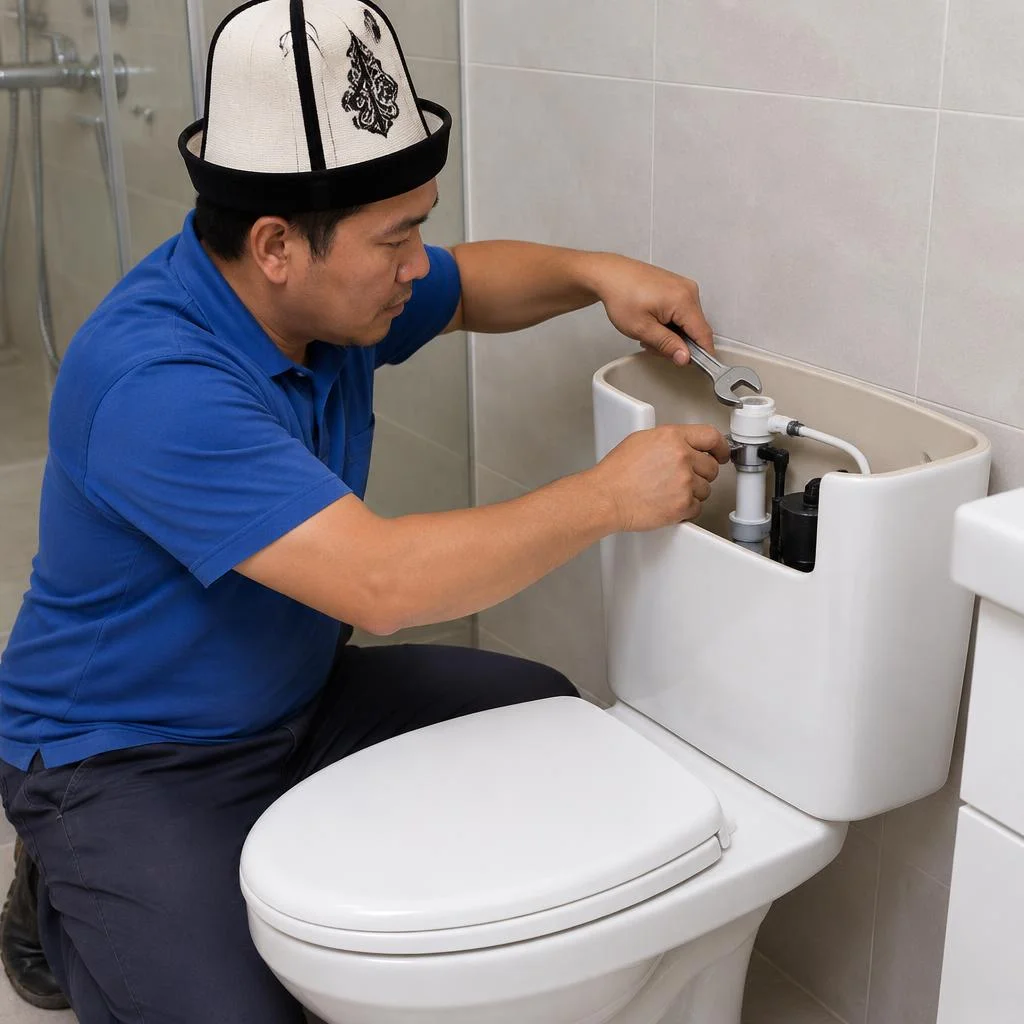
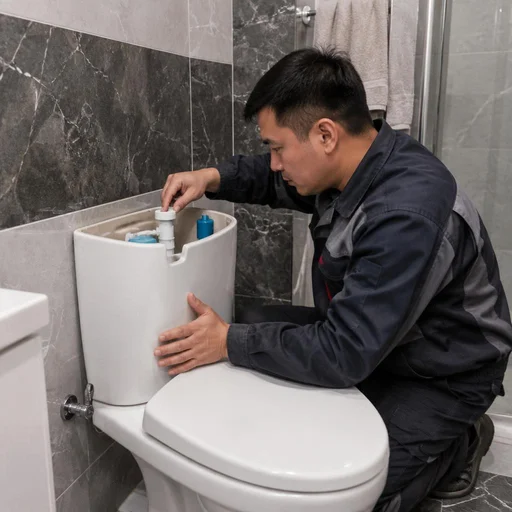
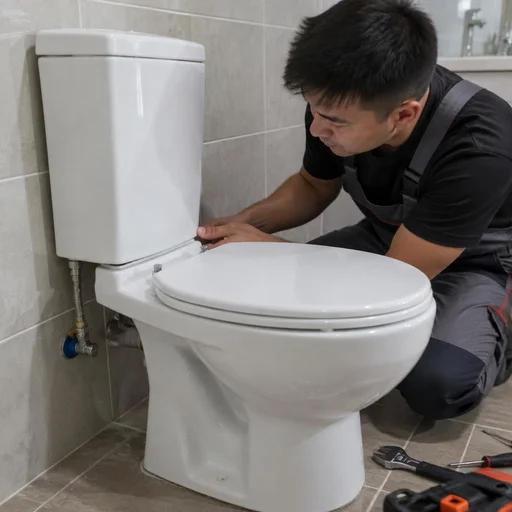
The specialist arrives with a set of fittings and consumables, inspects the tank, checks the flush and fill valves, and states the exact cause of the fault before work begins. The vehicle carries flush gaskets, tank-to-bowl seals, flexible supply lines, inlet hoses, and float mechanisms for various models — from compact floor-standing units to wall-hung ones with concealed cisterns. Diagnosis takes 10-15 minutes: the technician removes the tank lid, checks the float travel, listens to the sound of the tank filling, and inspects the joint between the bowl and the floor. If a part is available from stock, the tank fitting work is done right away, without a second visit. Clients often search for "toilet repair Bishkek" — and the technician on site immediately understands what they're dealing with, because they carry consumables for both designs. On-site diagnosis saves time: if the right consumable is available, everything is done in a single visit rather than stretching over two.
What the list of works includes
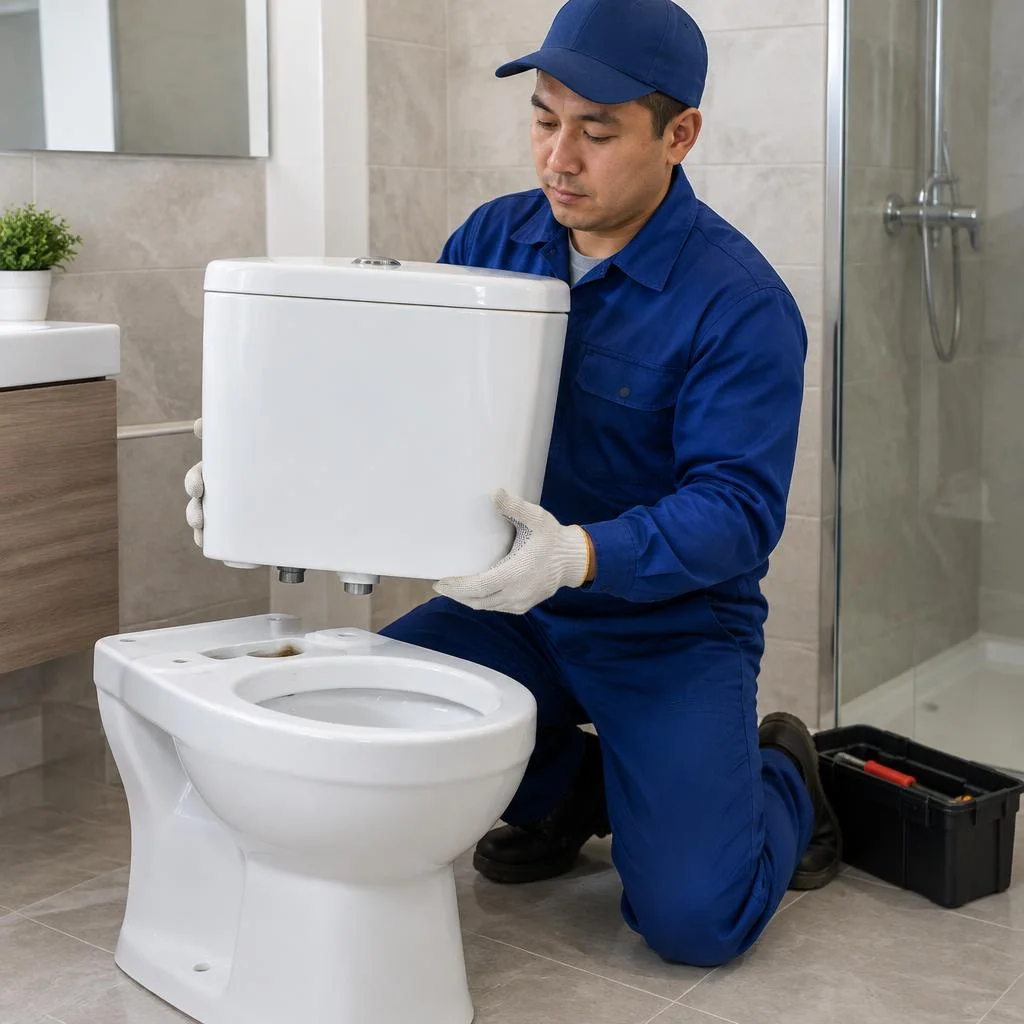
- Disassembly and reassembly: removing the bowl and tank to access the fittings, reinstalling them with checking the tightness of all joints.
- Valves and float: replacing the flush and fill valves, the float mechanism, the flush button, and the tank lid.
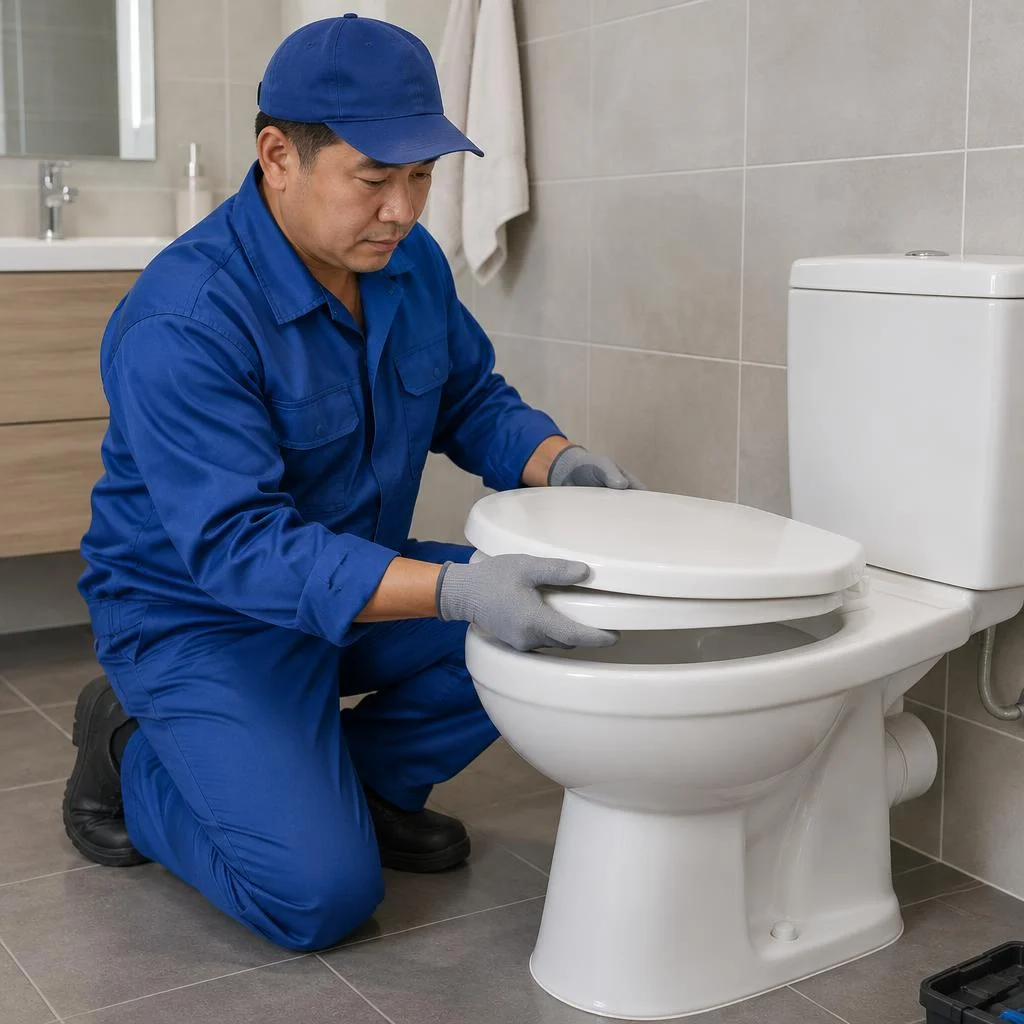
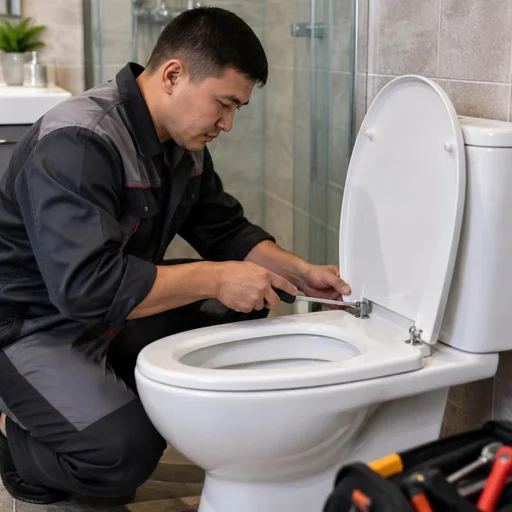
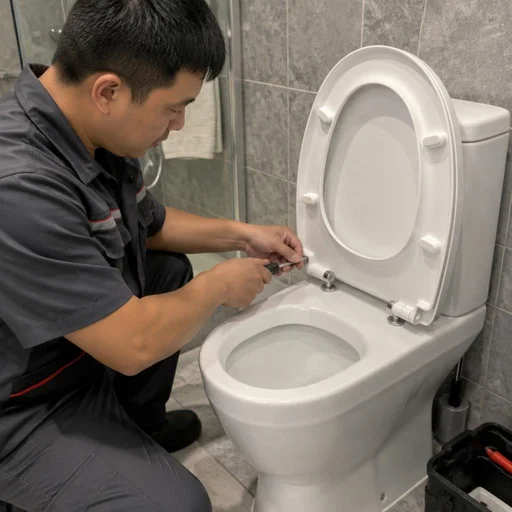
- Seat and fasteners: replacing the toilet seat, the fasteners, and repairing the soft-close hinge with smooth lid lowering.
- Leaks and seals: eliminating tank leaks, replacing the flush gasket, the tank-to-bowl seal, the flexible supply line, and the inlet hose.
- Outlet and joint: cleaning the outlet, replacing the toilet outlet, sealing the bowl joint, installing a check valve.
- Complete tank: replacing the tank as a whole when the body is cracked or the fittings are completely worn out.
Visits across Bishkek districts: Pervomaysky, Sverdlovsky, Oktyabrsky, Leninsky
The specialist travels to all four districts of Bishkek — Pervomaysky, Sverdlovsky, Oktyabrsky, and Leninsky — as well as to the suburbs. The Eco-Service company maintains its own center in Bishkek, so consumables and fittings are always at hand rather than ordered from a warehouse in another city. In new buildings with concealed cisterns, wall-hung toilet repair is more often needed, while in older housing stock it's the replacement of tank fittings and seals: the technician carries consumables for both cases. The service also covers the private sector on the outskirts, where the water is hard and gaskets wear out faster. Before the visit, specify the floor and the type of toilet — this saves time on selecting fasteners and supply lines.
Toilet tank repair: fittings, valves and leak elimination
The tank is the most heavily loaded unit of the toilet: this is where the fittings break most often. Let's look at which parts fail and how they are replaced.
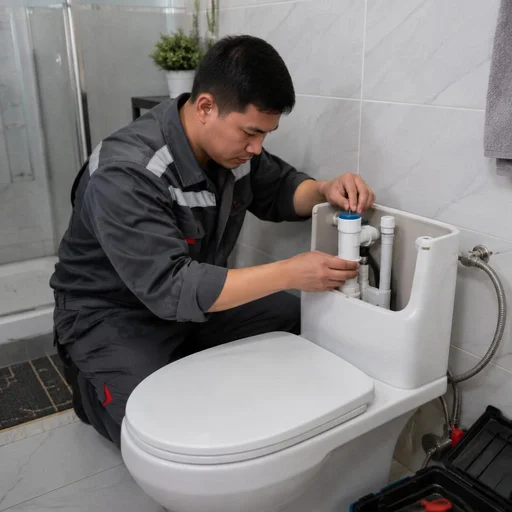
Tank design: flush valve, fill valve, float
- Fill valve: draws water from the supply line up to a set level and closes when the float rises to the mark.
- Float mechanism: regulates the fill level — when worn, the tank either underfills or overflows over the edge.
- Flush valve: holds water in the tank and releases it into the bowl when the flush button is pressed.
- Flush gasket: a rubber seal on the flush valve disc that, when worn, lets water pass into the bowl.
- Valve seat: the seating surface for the gasket — it becomes encrusted with scale, and then even a new part won't hold water.
Replacing the flush and fill valve: when it's needed
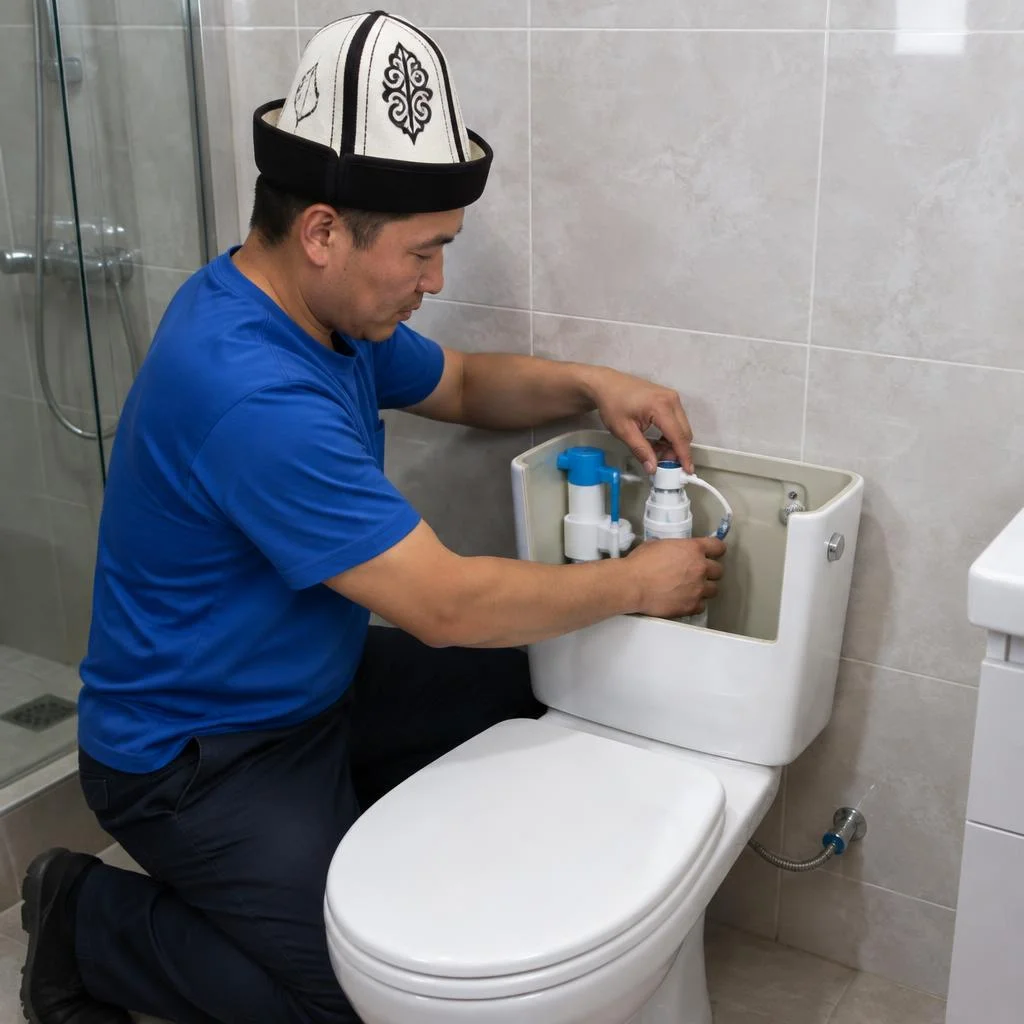
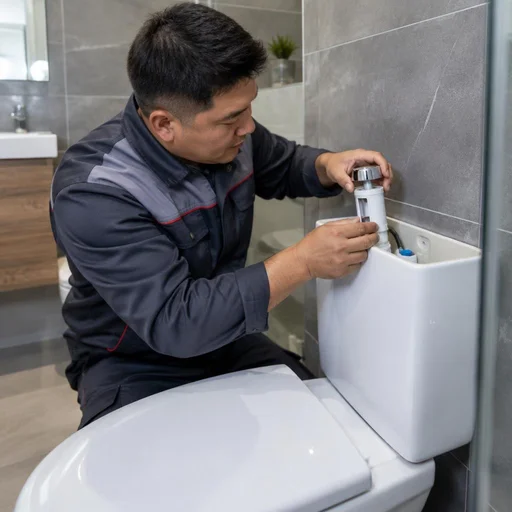
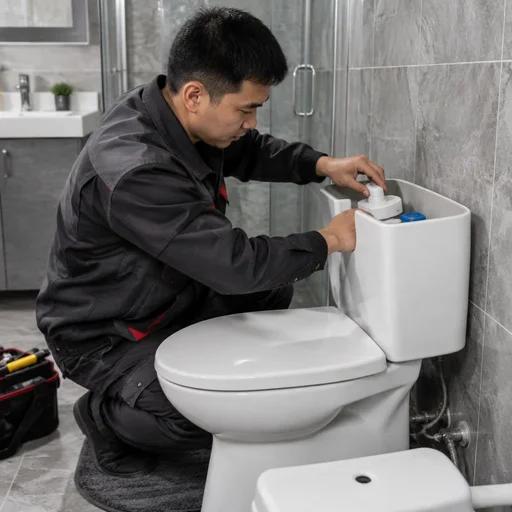
The flush valve is replaced when water constantly drains into the bowl, and the fill valve when the tank is noisy, overflows or doesn't fill with water to the level. In our practice, replacing the flush and fill valve takes 40-60 minutes: the technician drains the water, disconnects the flexible supply line, removes the old fittings and installs new ones with float adjustment. Through Eco-Service you can order this work with a visit anywhere in Bishkek — the service works with tank models with bottom, side and rear supply connections. Replacing the tank fittings does not require removing the bowl: the entire unit is accessible through the lid. Valves are replaced as a pair: if one is worn out, the second is usually the same age and will fail within the next few months. Clients often phrase the request as plumber toilet repair — and the technician immediately understands that diagnostics of the fittings are needed.
Eliminating tank leaks and replacing seals
Eliminating a tank leak means replacing the flush gasket, the tank-to-bowl gasket or the flexible supply line: the technician determines which seal is letting water through. At Eco-Service, this work begins with inspecting all joints — from the inlet hose to the outlet. The gasket and seal are replaced together with cleaning the valve seat — otherwise the new part will quickly become encrusted with scale and start leaking again. In their requests, clients often write briefly about the flush system — and from this wording the technician immediately understands that diagnostics of the seals and seat are needed. Our technicians check each joint one by one: first the flush valve gasket, then the gasket between the tank and the bowl, then the threaded connections of the supply line. If the leak is at the tank-to-bowl joint, the gasket is replaced with full disassembly of the unit and cleaning of scale from the porcelain. If several seals are worn at once, they are replaced as a set — this is more reliable and cheaper than calling the technician again a month later.
Toilet tank repair: flush button, lid and fasteners
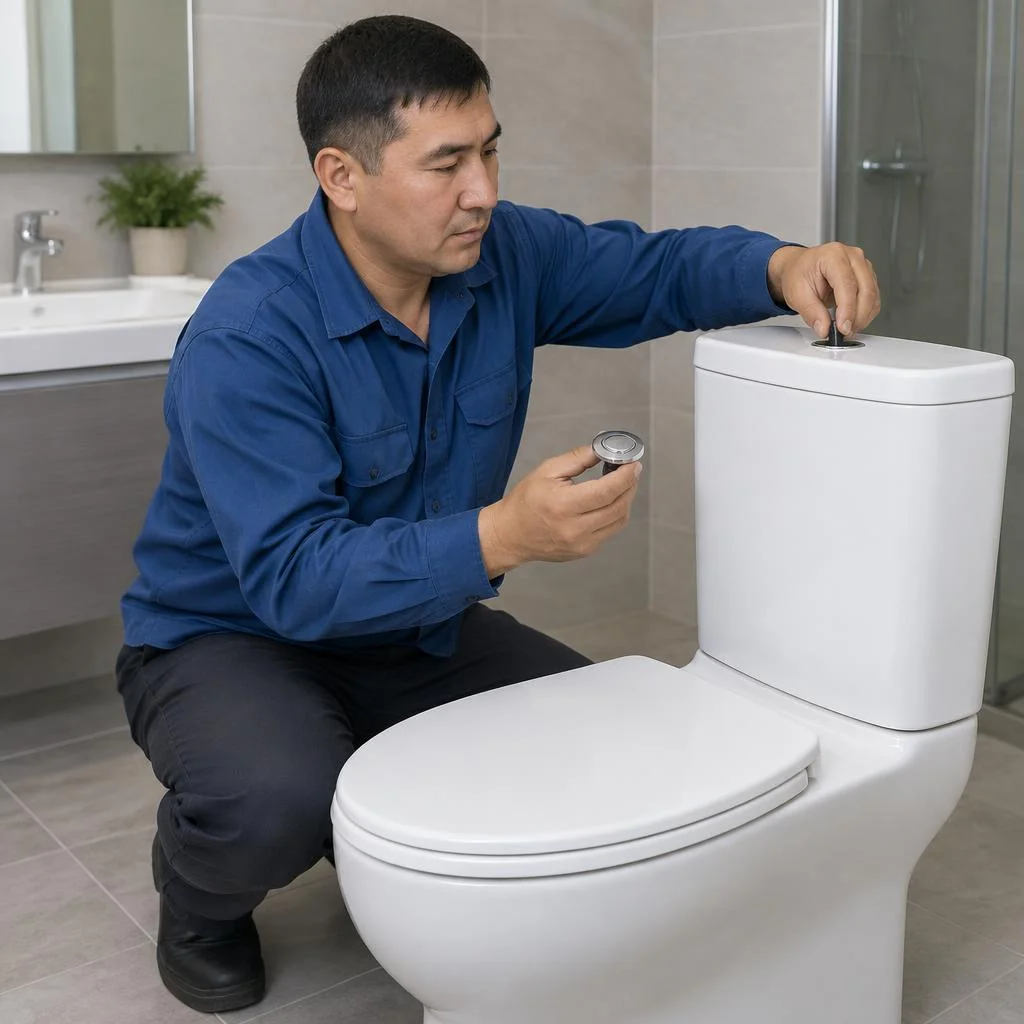
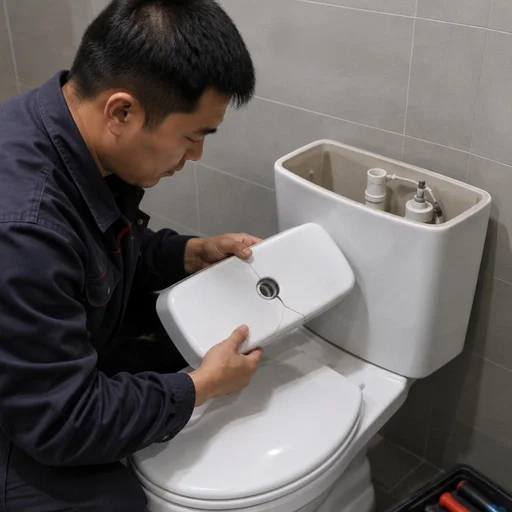
Toilet repair, as far as the tank is concerned, includes replacing the flush button, lid and fasteners — these parts break from mechanical wear and do not affect the water supply. Toilet tank fixing at Eco-Service begins with checking the button stem: on dual-flush models with double flush, the plastic push rod cracks after 3-5 years of use, and then the button sinks down without flushing. The lid is replaced when there is a crack near the button hole — water gets inside through it. The fasteners of the seat and tank lid are mounted on new bolts with rubber washers so as not to overtighten the ceramic. The flush button on wall-hung models is replaced through the installation access panel — without dismantling the bowl, which saves time and preserves the finish. In their requests, this work is often described briefly: toilet flush repair — although in fact only the button and push rod are replaced.
Replacing the flexible supply line, inlet hose and check valve
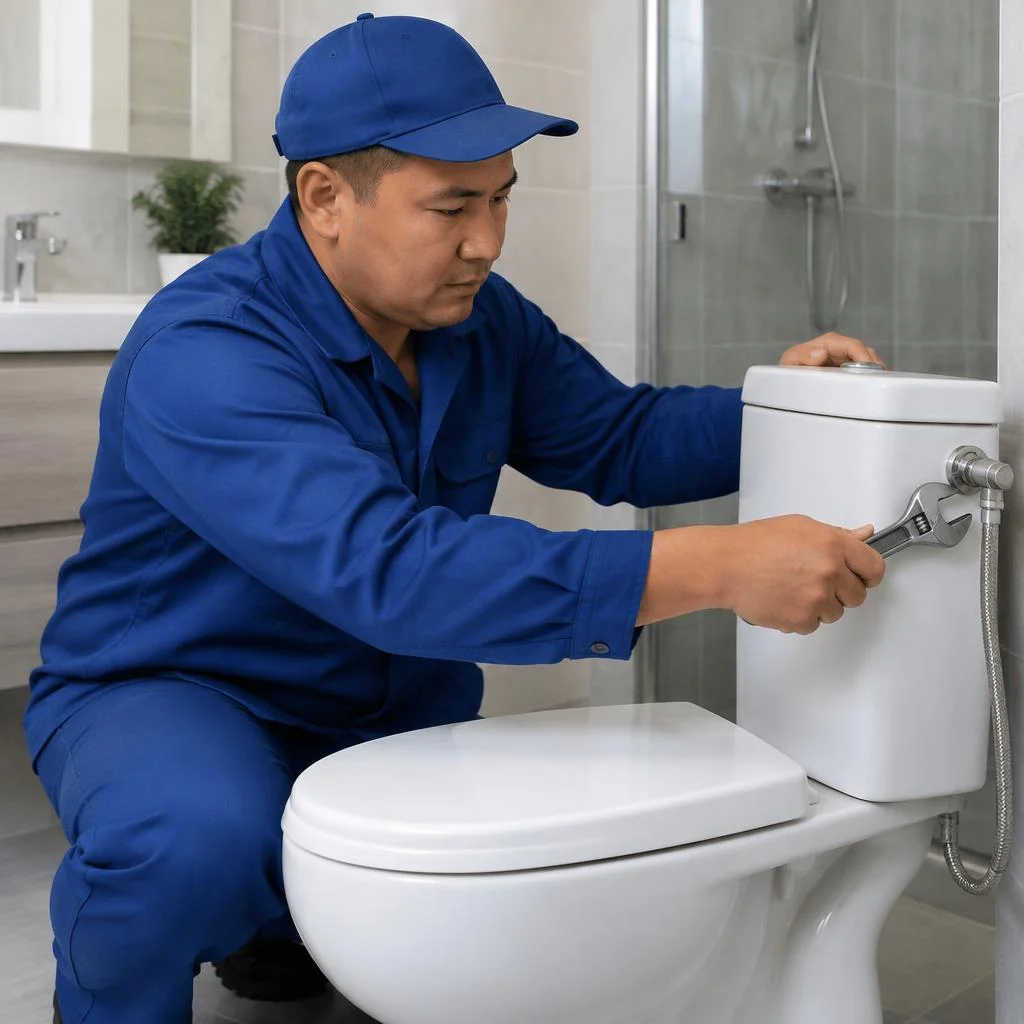
Replacing the toilet flush and supply units means replacing the flexible supply line, the inlet hose and installing a check valve in case of backflow of water. The flexible supply line is replaced when drops or bulging appear on the braiding: the rubber tube inside ages within 5-7 years and bursts under pressure. The inlet hose from the filter or tee is replaced together with the thread gaskets. A check valve is installed if water from the tank can flow back into the riser — this is noticeable by humming and by smell. Such work with the replacement of these parts takes 30-40 minutes, and the units themselves are inexpensive. Before replacing the supply line, shut off the valve on the supply line and release the pressure — otherwise, when you unscrew the nut, water will go onto the floor.
Wall-hung and built-in toilet: installation specifics
A wall-hung and built-in toilet are designed differently from a floor-standing one: the cistern is hidden in the installation frame, and restoring functionality requires different access. Let's look at the specifics of each type.
Wall-hung toilet: access to the fittings without removing the bowl
In most cases, work is carried out through the service hatch of the installation frame — the bowl is not removed, so the tiles on the wall remain intact. Through the hatch, the technician reaches the flush and fill valves, the float mechanism and the flush button, checks the gasket and the flexible supply line. If the hatch is tiled over, access is carefully cut out along the seam — this is cheaper and faster than dismantling the bowl from the wall and re-mounting it on the studs. Through the hatch, the work takes about an hour, whereas a full dismantling with re-hanging the bowl stretches over two or three visits. In our practice, most often people come with models whose flush button is stuck or whose water fill is noisy. Clients often phrase the request as wall-hung toilet repair — and from that the technician immediately understands that access to the valve is needed, not a bowl replacement. Before the visit, remove the decorative button frame and check whether the push rod is pinched — sometimes that is enough to make the flush work again.
Built-in toilet: working with the installation frame
A built-in toilet requires access to the hidden cistern inside the installation frame: the technician removes the flush button, extracts the fittings through the opening and replaces the valves. In installation frames with a check valve, it is important to check that too — otherwise after the work a smell from the sewer will remain in the cistern. In models with dual flush, both chambers are tested separately: the partial and full flush work from different sections of the membrane, and wear on one is not always noticeable during inspection. The specific challenge is that all the work is done through a single opening the size of a palm, so the technician prepares in advance a set of thin wrenches and replacement gaskets for the specific installation frame. In search, such cases are often described briefly — built-in toilet repair — and from that phrase it is clear that the bowl is already mounted in the wall and there are no plans to remove it. If after flushing you hear a hum in the wall, check the fastening of the installation frame to the rail — vibration is transmitted to the drywall and amplifies the noise.
How a floor-standing toilet differs
| Toilet type | Access to the cistern | Repair feature |
|---|---|---|
| Floor-standing | open, lid removal | checking the cistern-bowl joint |
| Wall-hung | through the installation hatch | the bowl is not removed |
| Built-in | through the flush button | checking the check valve |
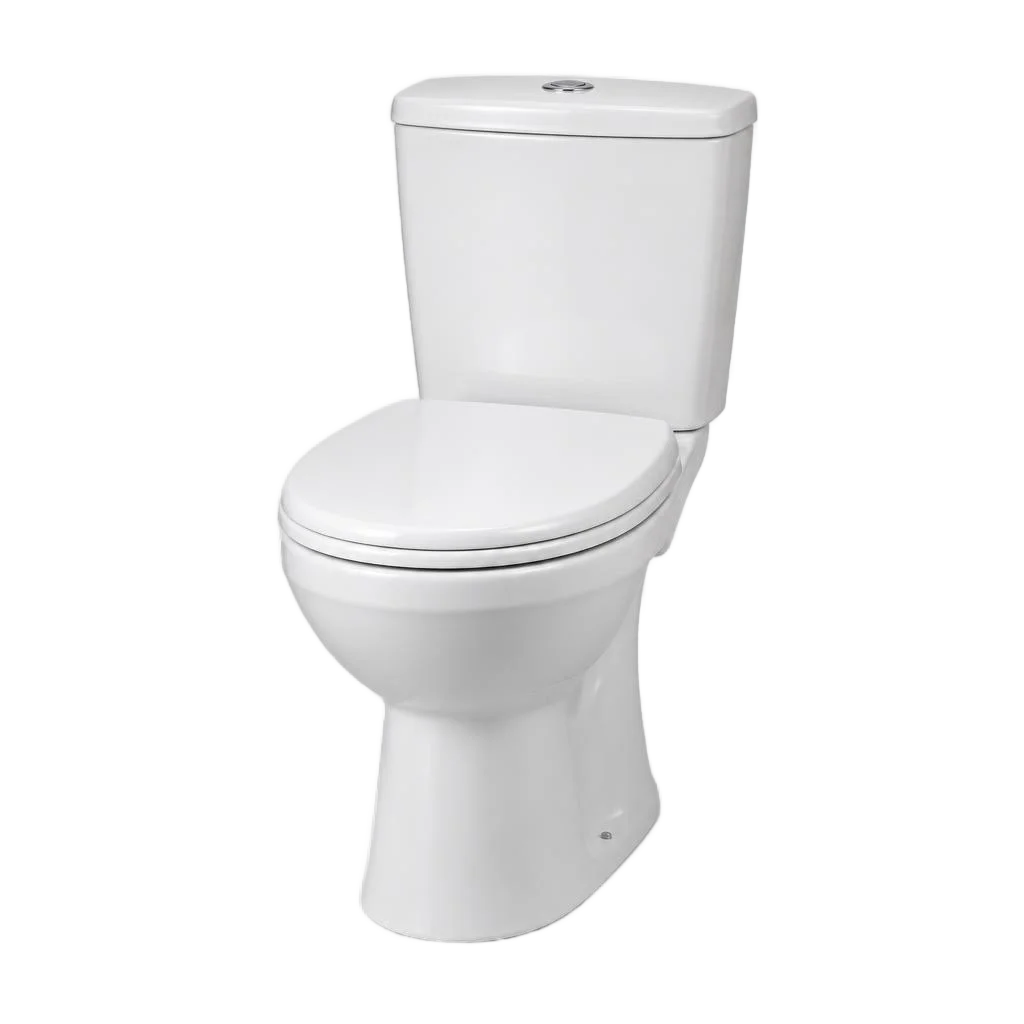
With a floor-standing toilet, the cistern is open, so access to the fittings is simpler: the technician removes the lid and replaces parts without dismantling the bowl. At the same time, floor-standing models more often suffer from leaks at the cistern-bowl joint, and during work it is worth checking the sealing of the bowl joint right away — otherwise in a month the leak will return. The request toilet repair with installation frame is usually left by those whose bowl is already secured to the rail and hidden behind the finish — for such cases, the floor-standing access scheme is not suitable; a hatch or an opening under the button is needed.
Clog or breakdown: how to tell the difference and what to do
A slow drain and water at the base of the toilet are not always a broken flush mechanism. Let's break down how to distinguish a clog from a malfunction and in which cases to call a technician.
Clearing the toilet outlet: when water drains slowly
If water drains slowly but the tank fills normally, it's a clogged outlet, not a broken flush mechanism: the technician clears the outlet with a plumbing auger. A sign that the clog is specifically in the outlet: the flush drains in spurts, the water rises in the bowl for a second, and no hissing is heard from the tank. In such cases, the bowl is first removed and the outlet is inspected from the inside — mineral scale builds up on the walls, narrowing the passage. Clearing the outlet takes 20-30 minutes and does not require replacing parts if the plastic is intact. This is exactly how people often write to the service: fix the toilet — and the technician immediately understands that it's a clogged outlet, not a cracked bowl. A frequent clog in the same spot indicates a narrowed pipe — then the outlet should be checked and replaced if necessary. If the auger doesn't reach the plug, a specialist comes out and removes the bowl for a full clearing.
Replacing the outlet and sealing the bowl joint
Replacing the outlet is needed when the old part has cracked or no longer holds the joint, and sealing the bowl joint eliminates a leak at the base. The crack is visible after removing the bowl: the plastic splits along the edge, and water seeps under the base even with an intact gasket. The fix here comes down to three operations — remove the bowl, install a new outlet with a seal, and seal the joint with plumbing sealant. The bowl joint is sealed after checking the slope: without a slope, water stagnates and the clog returns. A common cause in Bishkek apartments is an old cast-iron floor outlet that doesn't match the diameter of the new plastic, so an adapter is selected. Replacing the outlet and sealing the bowl joint are jobs that Eco-Service performs on-site.
When you can handle it yourself and when you need a technician
- Replacing the tank lid: remove the old one and install a new one per the instructions — 10 minutes without tools or disassembling the flush mechanism.
- Seat fasteners: tightening the bolts or replacing the bushings is doable yourself if the threads in the bowl are intact.
- Tank leak: requires disassembling the flush mechanism and new gaskets — a mistake in reassembly causes a worse leak than before.
- Valve noise: the fill valve needs replacing, you can't do it without removing the tank lid, and the float adjustment gets thrown off.
- Clogged outlet: if the auger doesn't reach the plug, a plumbing auger and removal of the bowl are needed — in this case a technician does it.
- Toilet breakdown: don't tackle a tank leak or clogged outlet with your own hands without spare gaskets — the old seal won't sit watertight again after removal.
- Risk to threads and ceramic: fixing it without stripping threads or chipping the bowl isn't always possible, and re-buying parts costs more than calling a technician.
Warranty, timelines and terms of the technician's work
This kind of work requires a warranty and predictability. Let's go over what terms apply for the client, how to pay for the service and leave a review.
2-year warranty on all work
Eco-Service provides a 2-year warranty on all work — from replacing valves to clearing the outlet. The two-year term covers replacement of the flush and fill valve, the float mechanism, the flush button, the tank lid, the tank-to-bowl gasket and seal, as well as sealing the bowl joint and replacing the outlet. The warranty applies when parts installed by the technician are used: if the client replaces the seal themselves after the visit, the warranty on that assembly is voided. So don't tighten the fittings yourself right after the visit — if in doubt, it's better to call the specialist back; this is covered by the warranty obligations and requires no extra payment. Clients often phrase the request briefly — toilet repair — and for such a request the dispatcher immediately clarifies the address and the assembly.
Our own service center and direct provider of the service
Eco-Service is a direct provider of the service with its own service center in Bishkek: the technician arrives from the company's warehouse, not from an intermediary aggregator. Work is carried out according to the service's internal regulations, not the terms of a third-party crew, so the company itself is responsible for the result. A direct provider resolves disputed situations itself: if something goes wrong, the service center handles the issue, not an outside contractor. For a Bishkek resident this means an in-person reception and a clear point of contact. When a plumber is needed for toilet repair — that's how this task is most often searched for — it's handled by a center employee, not a random technician from a classifieds platform: on a repeat request, the same person knows the history of the assembly and the parts already installed. Clients also write more briefly — and for such a request the dispatcher immediately clarifies the address and the assembly.
How to pay and how to leave a review
- MBANK: transfer by phone number or card — the money is credited immediately, the technician confirms payment on site.
- O!Деньги: a wallet for cashless payment, convenient when the technician travels to remote districts of Bishkek.
- Bank cards: Optima Bank, Demir Bank and Bakai Bank are accepted for payment with no commission for the client.
- Cash: payment after the work is completed, the amount is fixed before the work begins.
- Review: you can leave one on 2GIS or Google Maps — the service uses it to process warranty claims faster.
What affects the price
The cost is made up of the assembly and the condition of the fittings: disassembly and reassembly, valve replacement and fixing a tank leak are priced under different line items. The technician inspects the tank, checks the flush and fill valve, the gasket and the tank-to-bowl seal, assesses the wear of the float mechanism, and only after that quotes the amount before the work begins. If during disassembly a crack in the bowl or stripped threads on the fasteners is discovered, the scope changes — the client has the right to decline additional work and pay only for the diagnostics. So before calling, it's worth checking with the dispatcher whether diagnostics is included in the call-out cost — this removes any dispute about the amount once on site.
Conclusion
We've covered how to recognize a malfunction, how a clog differs from a broken fitting, and why wall-hung models are repaired through the installation frame. We've gathered the main points to rely on when choosing between fixing it yourself and calling a technician.
Key takeaways
- Three signs of a breakdown: a leaking tank, constant valve noise and slow draining indicate a malfunction, not stretched fasteners.
- Fittings are a common cause: the flush and fill valve, the gasket and the tank-to-bowl seal account for most leaks and noise.
- Wall-hung and built-in models: work is done through the installation frame, the bowl is not removed and the tiles are not destroyed.
- Clog or breakdown: with a clog, water drains slowly, but the tank fills normally — these are different scenarios and different jobs.
- With a warranty: disassembling the fittings yourself without spare seals makes the leak worse instead of fixing it.