








What underfloor heating systems Eco-Service installs in Bishkek
We install four electric subsystems and a water circuit. The choice depends on the finish flooring, the heating area and the heat source in the house — we break down each option separately.
Electric heating: cable, section, mat, infrared film
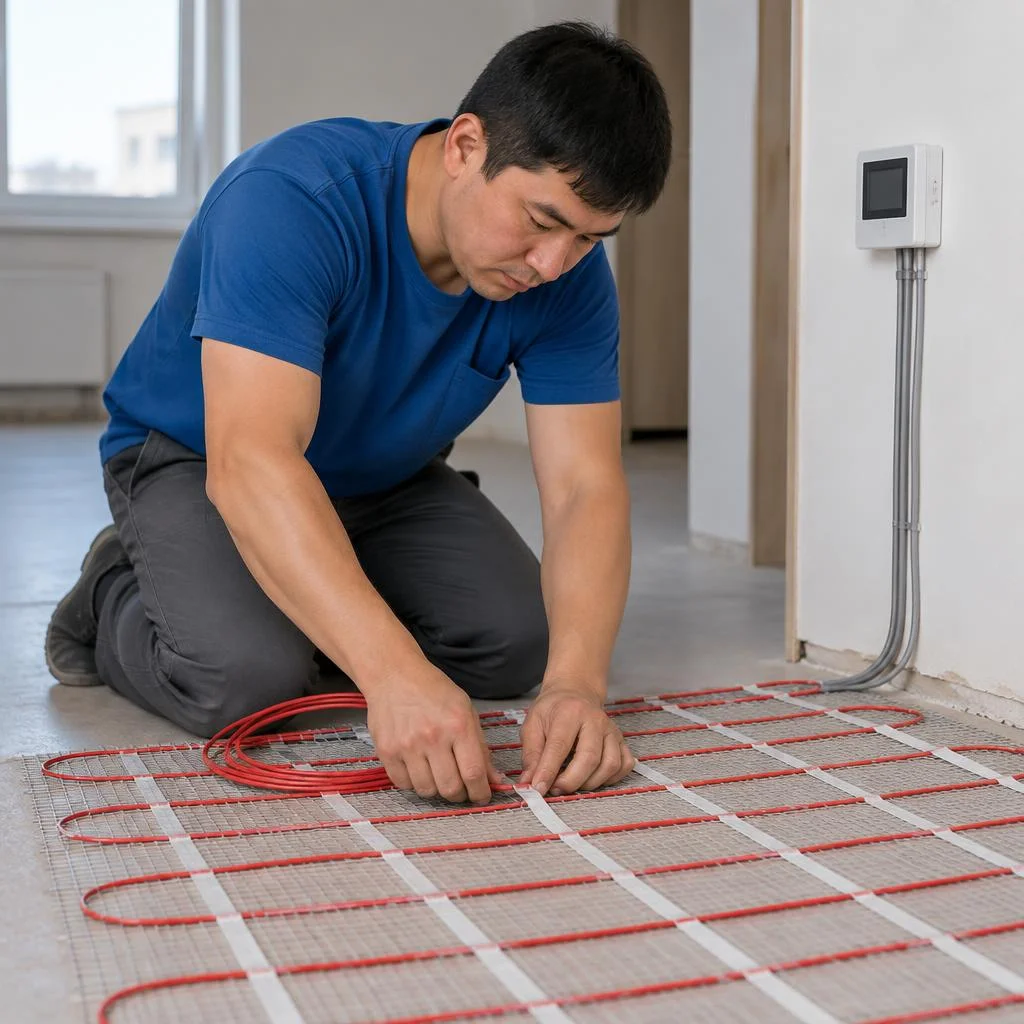
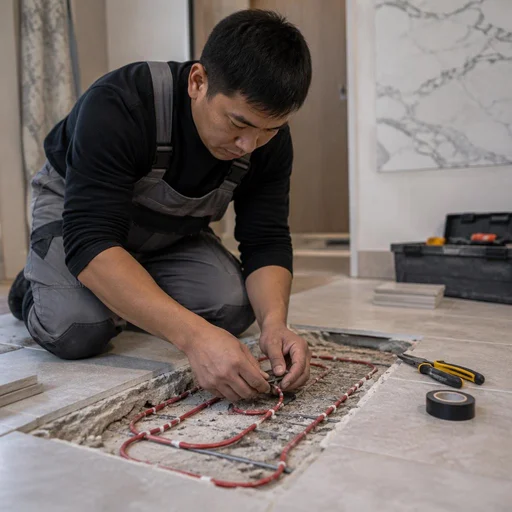
- Heating cable: single-core or twin-core wire into the screed; we select the laying pitch for the power per square meter, and cut only at the factory markings.
- Heating section: a ready-made length of cable with a coupling and cold lead — convenient for bathrooms and small kitchens, where an exact footage matters.
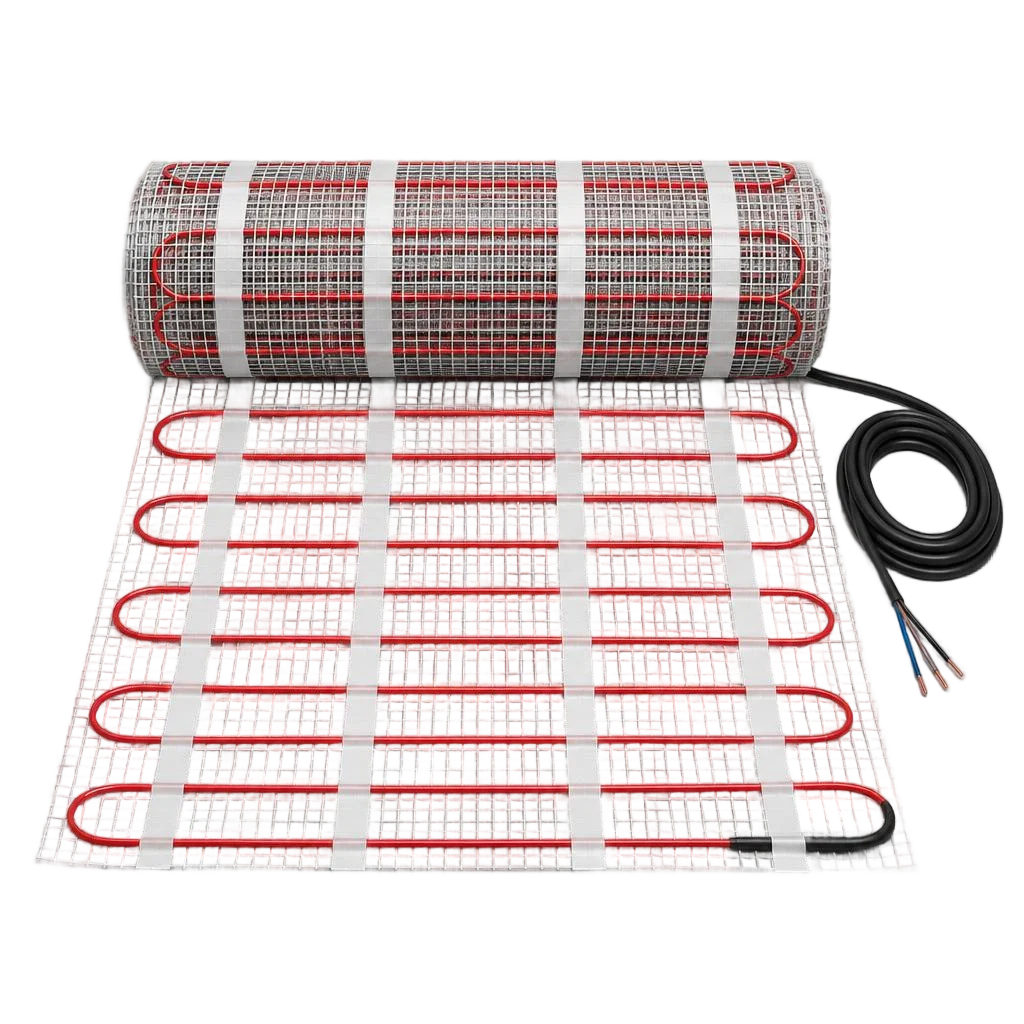
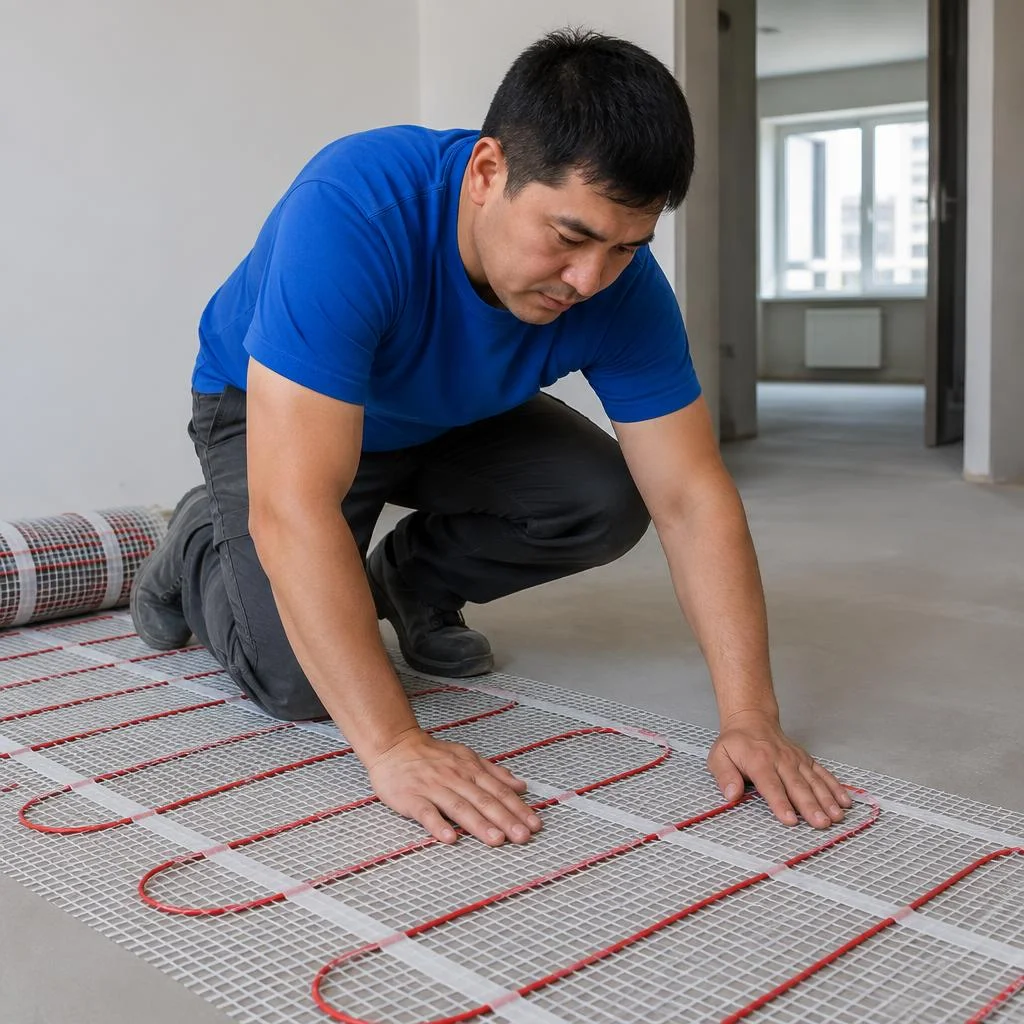
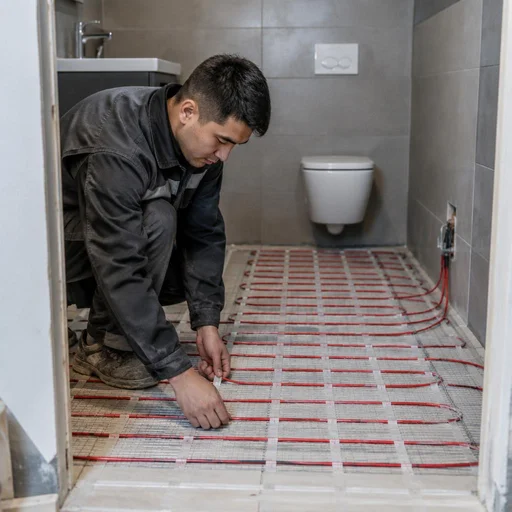
- Mat: a thin cable on a fiberglass mesh, rolled out in a roll; the floor build-up grows by 3-5 cm, so the mat is used under tiles and porcelain stoneware.
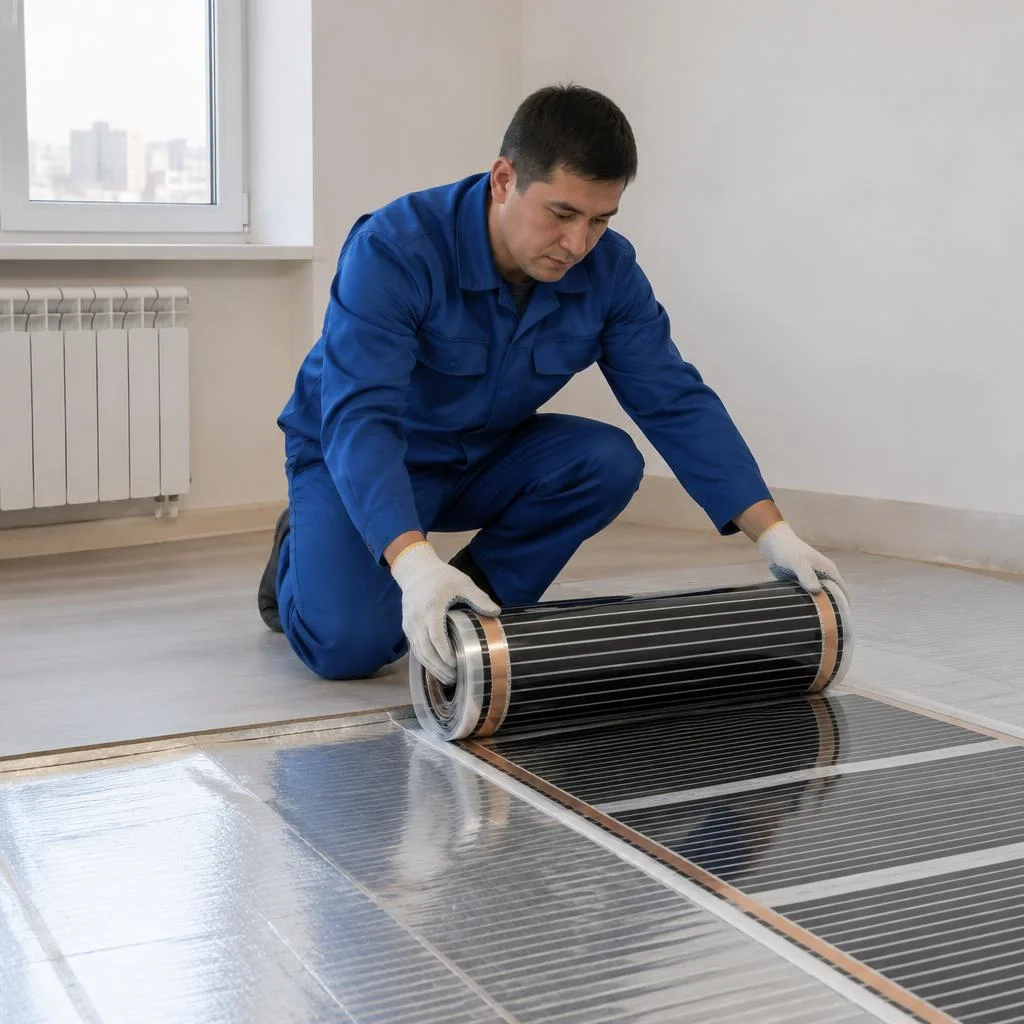
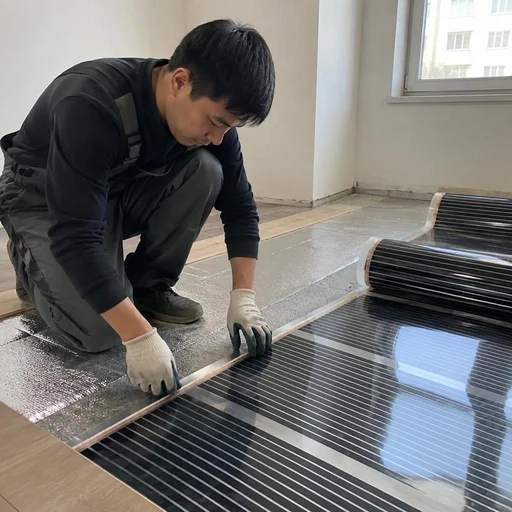
- Infrared film: a lay-on option under laminate and parquet board, it does not raise the floor level and does not require a wet screed — installation takes one day.
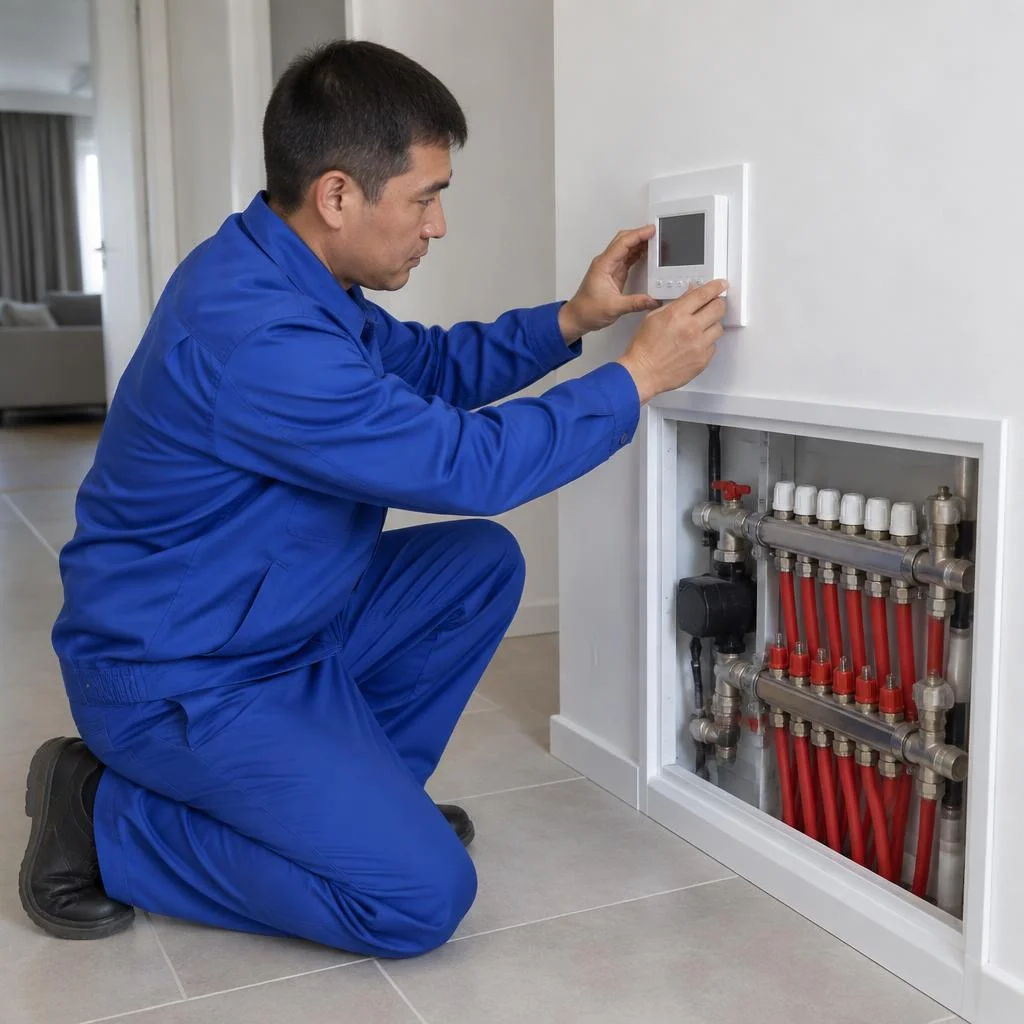
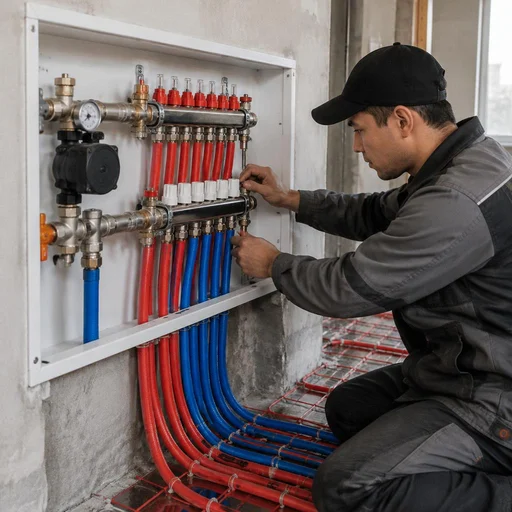
Water circuit: manifold, connection to the boiler
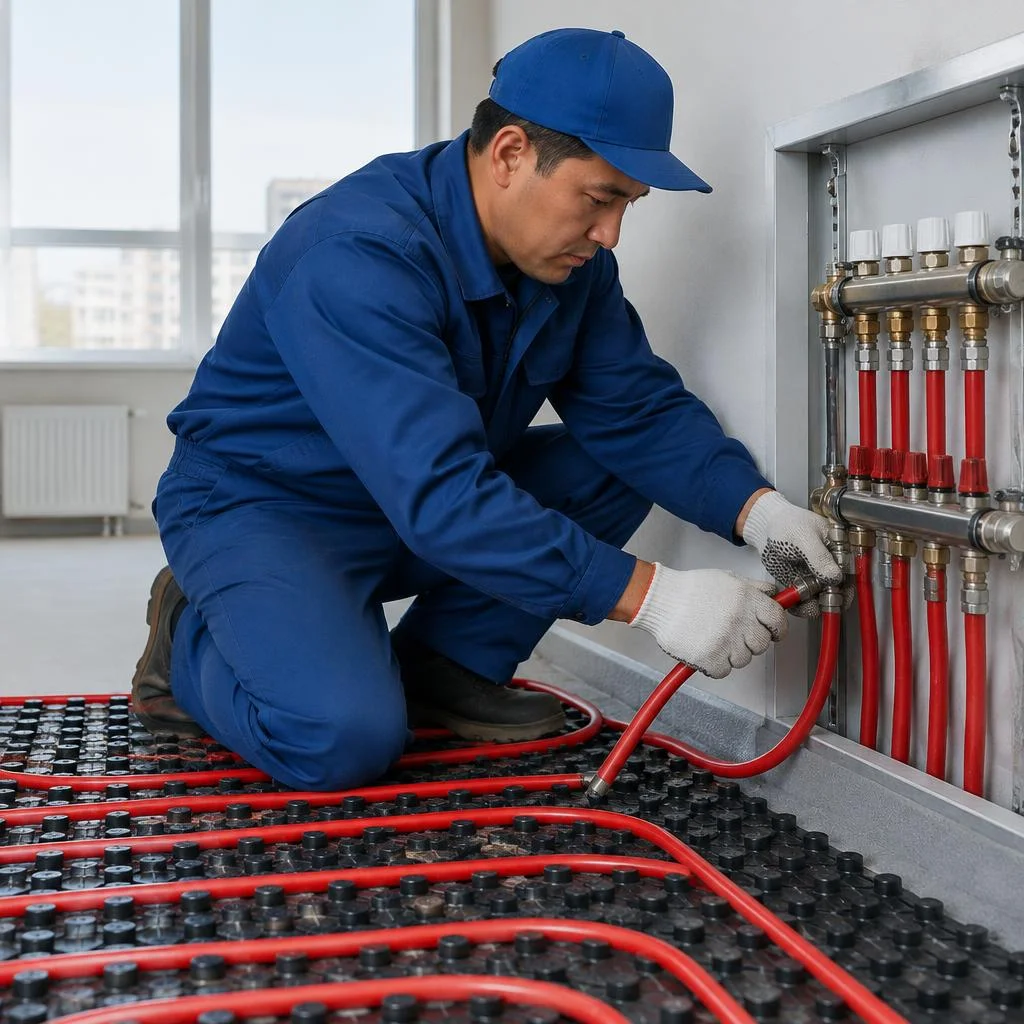
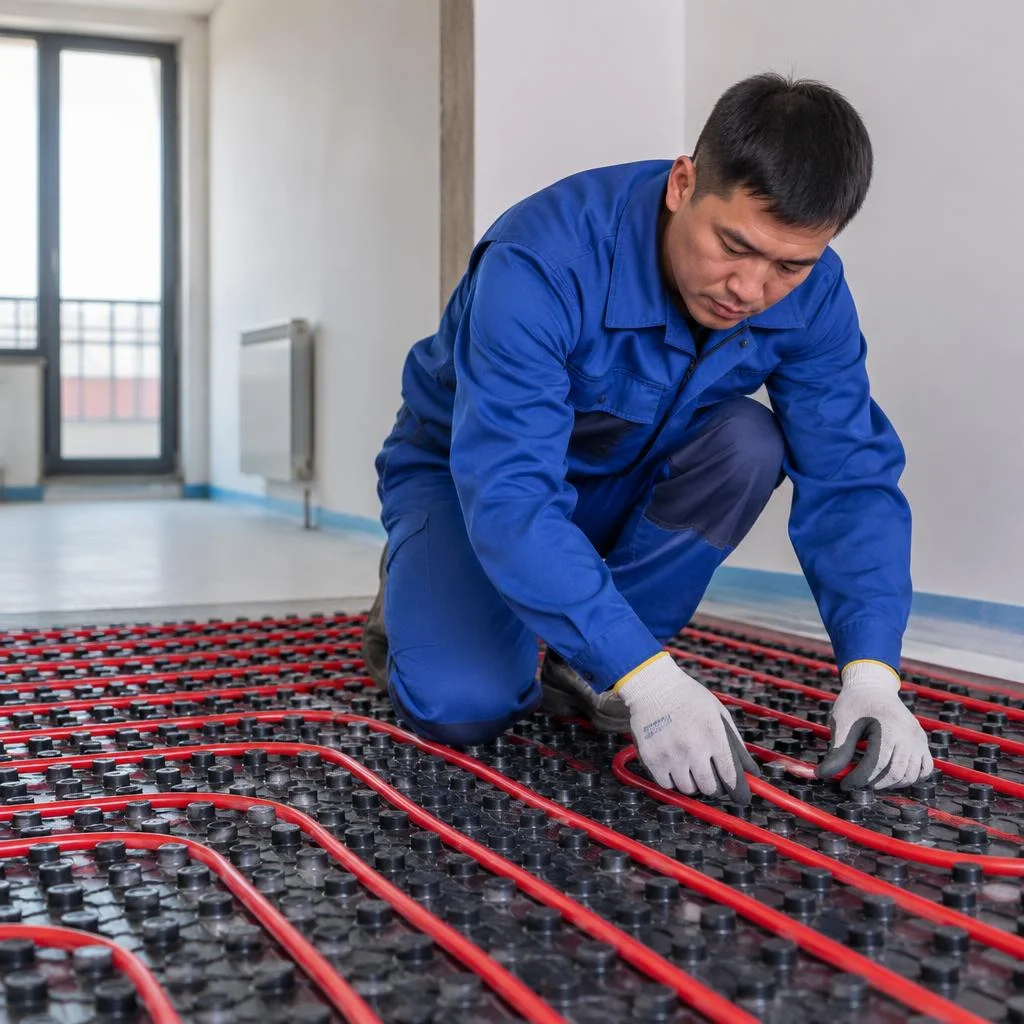
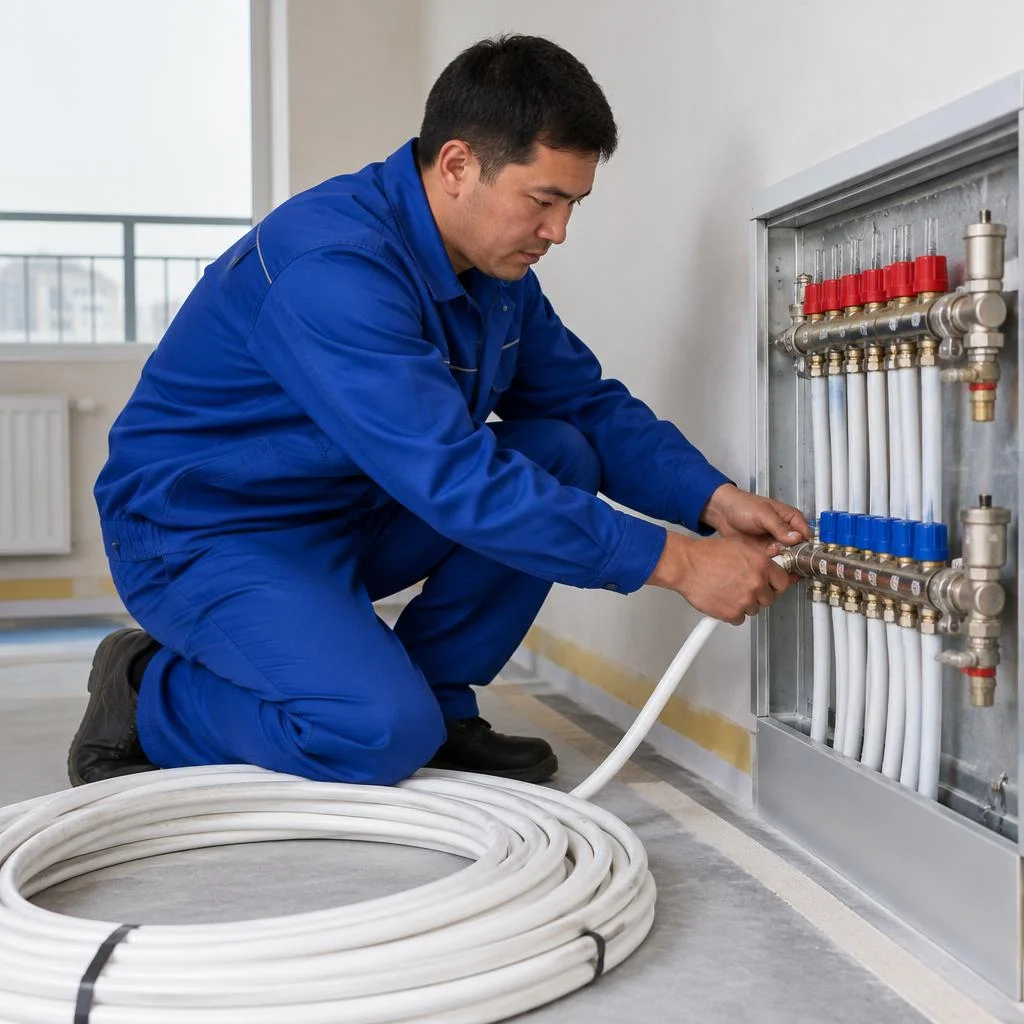
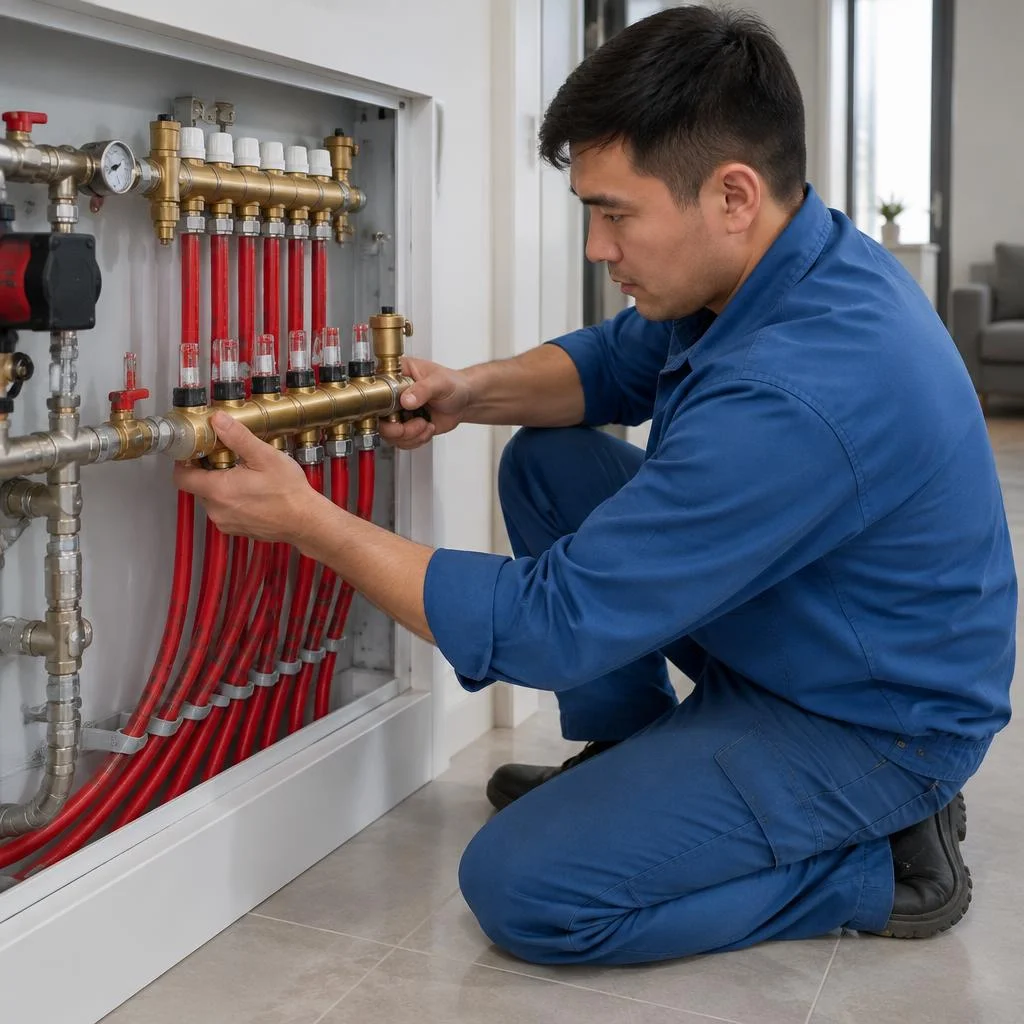
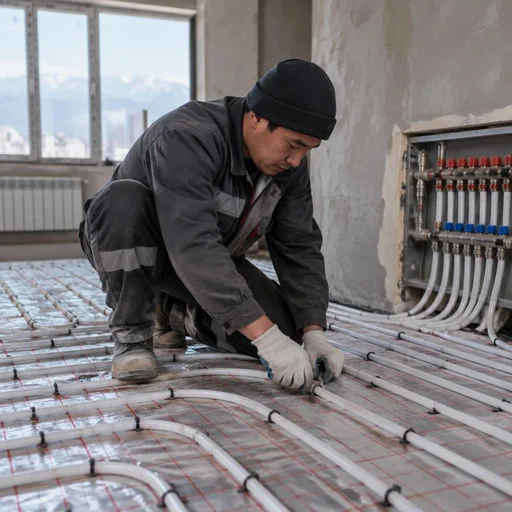
In Bishkek we assemble the water system from PEX or metal-plastic pipes, a manifold unit, and connect it to a gas boiler. We lay the circuit in a serpentine or spiral pattern with a pitch of 150-200 mm, and we mount the manifold on a comb with flow meters so that each circuit can be adjusted separately. We make the connection to the boiler through a mixing unit with a three-way valve — it keeps the supply temperature within 35-45 °C, otherwise the screed cracks. In a private house near Bishkek, where a gas boiler is already installed, a water circuit is worthwhile for an area of 40 m² or more, while in a khrushchevka with a thin screed, electric is more often chosen. At Eco-Service, on sites with a boiler, we usually advise first calculating the house's heat losses and then deciding on the circuit — otherwise the manifold is selected at random. Clients often ask about warm water underfloor heating price per m2 — but the total depends on the circuit footage, the laying pitch and the screed thickness, not on a single figure.
Comparison of systems: what to choose for the flooring and area
| System | For which flooring | Floor build-up | Where it is appropriate |
|---|---|---|---|
| Heating cable | Tiles, porcelain stoneware | Screed 3-5 cm | Bathroom, kitchen, hallway |
| Heating section | Tiles, porcelain stoneware | Screed 3-5 cm | Small areas up to 6 m² |
| Underfloor heating mat | Tiles, porcelain stoneware | Screed 3-5 cm | Bathroom, balcony, loggia |
| Infrared film | Laminate, parquet board | No screed, 0.5 cm | Bedroom, children's room, study |
| Water circuit | Any, most often tiles | Screed 5-8 cm | House from 40 m² with a boiler |
The choice of system is determined by the finish flooring, the heating area and the presence of a boiler: a mat in the screed adds 3-5 cm, film under laminate — 0.5 cm. If you need an underfloor heating system under tiles over a large area, a water circuit with a boiler more often wins; under laminate in a bedroom — film without wet work. In our orders for a bathroom up to 6 m², a mat or section is almost always cheaper to install than running a circuit from the boiler. Many clients search for underfloor heating price m2 — but it is only correct to compare options by the finished build-up, not by the meter of the heater. In my opinion, for a house with a boiler and an area of 40 m² or more, a water circuit pays off faster, while in an apartment with a thin screed, electric is simpler and more predictable in terms of timelines.
What to consider before choosing a system
The cost per square meter depends not only on the type of heater, but also on the thickness of the insulation, the laying spacing, and the complexity of the wiring. We calculate the estimate after taking measurements: we look at ceiling height, the material of the floor slab, whether there is a boiler, and the finishing floor covering. Clients search for underfloor heating cost of work and underfloor heating price — but there is no universal figure here: 4 m² in a bathroom and 80 m² in a private house are two different projects with different logistics. Likewise, clients often enter underfloor heating calculation into search as a single line — and land on this page, although behind that phrase lies a whole sequence: heat loss, power per square meter, laying spacing, choice of heater. People often type underfloor heating price into the search bar — and through that phrase they come to us for a measurement, because the final total is still calculated per property. Such systems in Bishkek are a seasonal story: there are more requests in autumn, so allow 5-7 days for installation and commissioning. Check the cost after measurement, not over the phone — the variation between properties is too great. The price per m2 when converted to a finished system is always higher than the price of one meter of heater: insulation, edge insulation tape, reinforcing mesh, and labor are added.
Underfloor heating calculation: power, installation spacing, material consumption
The calculation starts not with the room's area, but with the building's heat losses. Before installation, we calculate the power per square meter, the installation spacing, and material consumption — these figures determine whether the system will reach its operating mode or will only heat at half strength.
How to calculate power and installation spacing
We base the power calculation on heat losses: for residential rooms in Bishkek we take 120-150 W/m², for bathrooms and balconies — up to 180 W/m². These figures are influenced by wall thickness, the quality of the glazing, the floor, and whether the ceiling slab is insulated — a panel nine-story building in the Jalal microdistrict loses heat differently than a brick house in the center. The installation spacing of the heating cable is directly related to power: halve the spacing — double the watts per square meter. That's why you can't lay it out "by eye" — you'll end up either with overheating and a risk of insulation breakdown, or with underheating and cold zones near the windows. Eco-Service calculates power and installation spacing based on the room plan, taking furniture placement into account. Clients often find us with the query "underfloor heating Bishkek" — and through it they land on the page with this calculation. In my opinion, an honest heat calculation saves more than any savings on cable: redoing the screed will cost more.
What is included in the underfloor heating calculation per 1 m2
- System power: watts per square meter for the specific room — from 120 W/m² for a bedroom to 180 W/m² for a bathroom.
- Length of heating cable or pipe: calculated from the usable area minus the zones under furniture and appliances.
- Installation spacing: for cable — 8-12 cm, for the pipe of a water circuit — 15-20 cm with tighter spacing near exterior walls.
- Underfloor thermal insulation: expanded polystyrene or a foil mat; the thickness depends on whether the room below is heated.
- Edge insulation tape and reinforcing mesh: they compensate for screed expansion and hold the circuit; consumption is calculated along the perimeter and by area, respectively.
Electricity consumption and time to reach operating mode
Electric heating in Bishkek consumes on average 0.1-0.15 kWh per m² per hour of operation, and reaches its operating mode in 20-40 minutes. The range depends on the screed thickness: under 5 cm tile, warm-up starts faster than under 8 cm porcelain stoneware. A programmable thermostat reduces consumption more noticeably than changing the system: nighttime heating on a two-rate meter is cheaper, and the screed retains heat for 2-3 hours after switching off. Eco-Service installs thermostats and temperature sensors — programmable models pay for themselves within a single heating season. In our practice, a 45 m² apartment with a sensor in the screed and a nighttime mode consumes less than the same area without automation. Place the sensor in the coldest zone — by a window or the entrance door, not in the center of the room.
What makes up the calculation per 1 m2 and the overall project budget
In an estimate, an underfloor heating system breaks down into three variables: the type of circuit, the installation area, and the thickness of the layers. An electric cable for 12 m² will cost less than a water circuit for the same area, but a water circuit is more economical in operation for permanent residence. The water circuit has a higher price per m2 because of the manifold unit, the pump mixing unit, and the connection to the boiler — these items are not divided by meters, but calculated per project. The cost of work also depends on complexity: installation on a level slab is one scenario, installation on the ground with pouring a rough screed is another. Clients enter "underfloor heating cost" and "cost of underfloor heating per square meter," and in the estimate they see a breakdown into materials and labor. The queries "underfloor heating price per m2" and "underfloor heating price per square meter" bring us those who are comparing the project budget. Another frequent input is underfloor heating system price: this is how those who need a reference point for the whole kit, rather than for an individual item, search. You shouldn't skimp on thermal insulation: the centimeters saved on the underlay will come back as heating bills.
Underfloor heating installation in Bishkek: work stages from the base to commissioning
Installation follows strict stages: base preparation, thermal insulation, laying the heating element, connecting the automation, pressure testing, screeding and commissioning. The order must not be broken — each subsequent step relies on the quality of the previous one.
Base preparation, thermal insulation and edge insulation strip
- Base leveling: the level deviation must not exceed 5 mm per 2 meters — otherwise the heating element will lie with gaps and overheat.
- Underfloor thermal insulation installation: Eco-Service employees lay extruded polystyrene foam 30-50 mm thick, with a foil layer on top and joints sealed with aluminum tape.
- Laying the edge insulation strip: we fix it along the perimeter of walls and around columns; it absorbs the thermal expansion of the screed during the first heating.
- Fixing the screed guides: we set them to the level of the future screed so that the thickness above the heating element is uniform across the entire area.
Laying the cable, mat or pipe: spacing and fastening
We lay the heating cable, mat or pipe at the calculated spacing with fastening to the reinforcing mesh. The spacing is set by the system calculation: for cable it is 8-12 cm in areas of constant occupancy and 15-20 cm near furniture, for a water circuit — 15-20 cm, reduced to 10 cm along external walls and glazing. The mat is laid as a ready-made section with a fixed spacing; it is enough to roll it out and secure it. We fix pipes to the mesh with plastic clips or a mounting rail with a fastening spacing of 30-40 cm, and at bends we maintain a radius of at least five diameters. The cable must not be laid flush against itself or cross itself — at crossing points local overheating and insulation breakdown occur.
Connecting the thermostat, sensor and circuit breaker
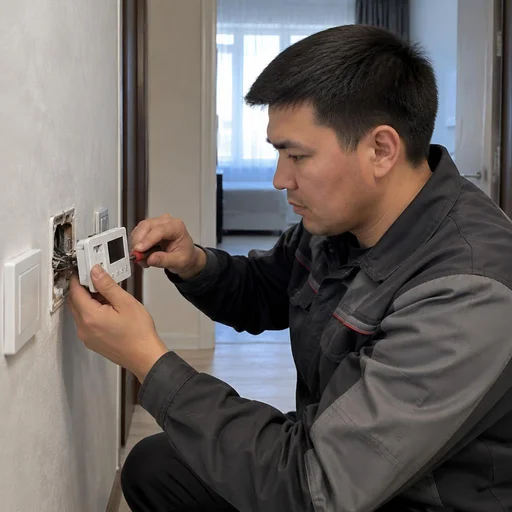
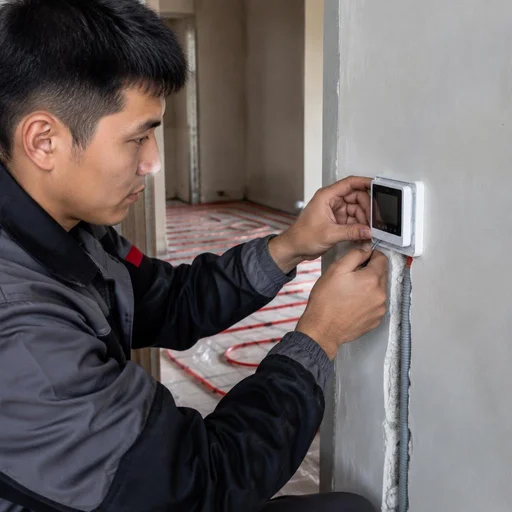
- Thermostat: we install it in a wall box at a height of 1.2-1.5 m from the floor, outside the heating zone and away from heat sources — oven, radiator, sunny side.
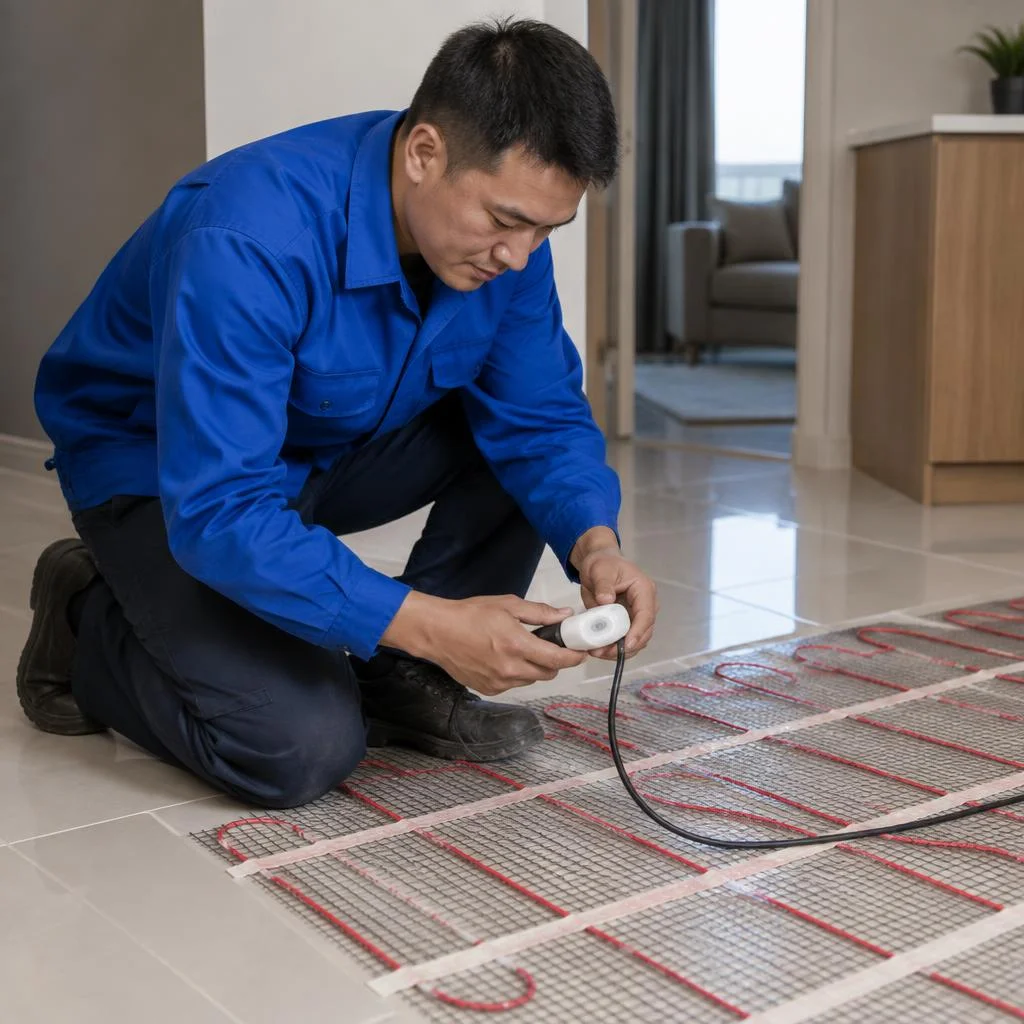
- Temperature sensor: we run it into a corrugated conduit in the heating zone between the cable turns, and seal the end of the conduit so that moisture does not get into the screed.
- Circuit breaker and RCD: we install a separate breaker rated for the power on the heating line and a 30 mA RCD — leakage protection is mandatory for wet areas.
- Power cable: we run copper with a cross-section of 2.5 mm² for a line up to 3.5 kW; connections are made only in the wall box, there are no twists in the screed.
Pressure testing, screeding and system commissioning
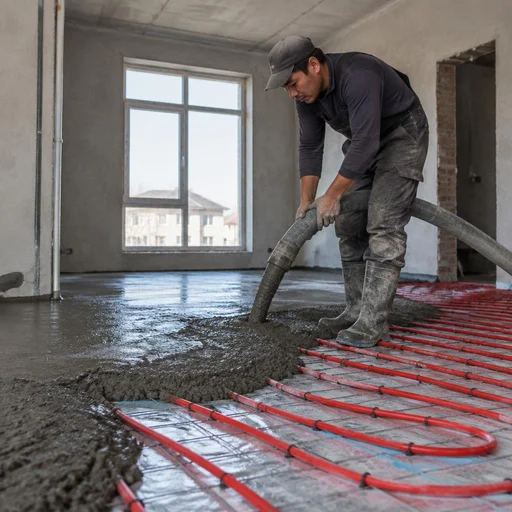
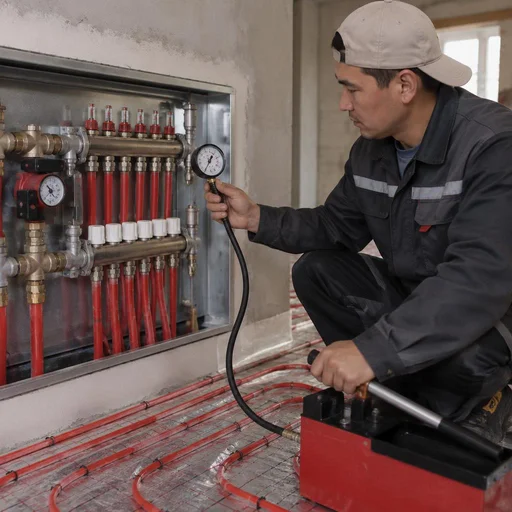
Before screeding we pressure-test the system, pour the screed and start it up after drying. We pressure-test the water circuit at one and a half times the working pressure and hold it for a day — a pressure drop reveals leaks before the circuit is encased in concrete. We pour the screed with cement-sand mortar or a semi-dry mix to a thickness of 40-60 mm above the pipe, and observe the screed drying time: 7 days for each centimeter at normal humidity and temperature. In search, clients often type "underfloor heating Bishkek" — that is how they find our installation and order turnkey commissioning. Commissioning includes a gradual ramp-up to operating mode in steps of 5 °C per day — this way the concrete gains strength without thermal shock. Turning on the heating in a fresh screed is not allowed: if heating is started immediately, cracks will form and tear the tiles off.
Balancing the water underfloor heating circuits
We balance the circuits at the manifold unit, equalizing the coolant flow rate along the length of each loop. We assemble the manifold unit with flow meters on the supply and balancing valves on the return: the flow meters show the actual flow through each loop, and we adjust it with the valves. The difference in loop lengths within one system must not exceed 20% — otherwise the short loop takes most of the coolant. We connect to the boiler through a mixing unit with a three-way valve so that the temperature in the circuit does not exceed 45 °C. Without balancing, the circuit closest to the boiler takes most of the heat — the far room stays cold even though the system is running.
What is included in the cost of underfloor heating and how the estimate is calculated
The estimate is made up of the scope of installation work and the consumption of materials for a specific area. For specific rates, see the price list on this page — here we'll explain the logic of the calculation.
What makes up the cost of underfloor heating per m2
- Type of system: electric cable, section, mat, infrared film or water circuit — each has its own materials and labor intensity of installation.
- Scope of work: base preparation, thermal insulation, edge insulation tape, reinforcing mesh, laying the heating element, screed, connection, commissioning.
- The price of underfloor heating per square meter increases with the thickness of the layer cake: on soil or above an unheated basement, a reinforced layer of insulation is needed; on a floor slab between heated floors — a lightweight one.
- Laying spacing and power calculation: for 15 m² in a bedroom and 15 m² in a kitchen with floor-to-ceiling windows, the cable spacing differs, which means the length of the heater also differs.
- Material consumption per area: the more square meters, the higher the total consumption, but the share of preparatory operations per meter decreases.
Cost of installation work: what is included in the service
- Laying the heating cable or pipe: laying out at the calculated spacing, fastening to the mounting tape or mesh, bringing the cold leads out to the thermostat.
- Installation of the thermostat and sensor: mounting the back box, connecting the temperature sensor in the conduit, running the power cable to the circuit breaker.
- Pressure testing of the system: checking the water circuit under pressure before pouring the screed, with the result recorded in a report.
- Pouring the screed for underfloor heating: maintaining the thickness above the heating element, reinforcement, monitoring strength gain before the first start-up.
- Commissioning: running through the modes, setting the thermostat program, balancing the water floor circuits using the flow meters.
Cost of water underfloor heating per m2 and what it depends on
The cost of water underfloor heating per m2 depends on the length of the circuits, the type of pipes, the manifold unit and whether the system needs to be connected to a boiler. In new buildings in Bishkek with a gas boiler, one configuration applies; in older housing stock with central heating, another — there, a pump mixing unit and a separate manifold cabinet are more often installed. The length of the circuit is affected by the geometry of the room: in a narrow galley kitchen, pipes are laid in a serpentine pattern with a smaller spacing; in a spacious living room — in a spiral, and the pipe consumption for the same 20 m² differs by one and a half times. A manifold unit with flow meters and balancing valves adds several line items to the estimate, but it allows you to even out the temperature across rooms without rework. Connecting to the boiler requires a separate branch in the piping: if the boiler is already at its limit, a hydraulic separator is added. Clients often search for "underfloor heating cost m2" — and land on this page, although for a water circuit what matters more is not the square meterage but the pipe length and the number of circuits. The search query "price of underfloor heating per square meter" also appears — it shows that the person has not yet decided on the type of system and is comparing options by area. The cost of the water type is higher at the start, but for areas from 60 m², operation turns out cheaper — count not only the installation, but also the annual consumption.
How the estimate is calculated per project: turnkey cost
The cost and timelines are not determined by a template, but after a site measurement: the specialist records the area of each room, the type of flooring, the ceiling height and the connection point. Two apartments of the same area produce different estimates: the laying spacing, the thickness of the screed and whether underfloor thermal insulation is needed all have an effect — that is why the calculation is done per project. An underfloor heating system in a new building in Bishkek without a screed requires one set of works, while in an apartment with a finished floor covering it requires dismantling and a new layer cake. The calculation includes the layout by room, the selection of the thermostat and circuit breaker, and the price per m2 varies depending on the floor and the presence of a balcony. It is convenient to assemble the estimate in three blocks: rough works, materials, commissioning with a 2-year warranty. Request the calculation before starting work — changes to the design at the measurement stage are free, while rework after the screed costs more.
Warranty, timelines and service: how Eco-Service manages a project after handover
The warranty on installation is 2 years, timelines depend on the type of system, and maintenance is handled by our own service center in Bishkek. Let's break down how a project proceeds after handover and where to turn if something fails.
Warranty on underfloor heating installation — 2 years
Eco-Service provides a 2-year warranty on underfloor heating installation — covering laying, connection and commissioning. The warranty period covers the crew's work: fastening the cable or pipe, assembling the manifold unit, installing the thermostat and temperature sensor, pressure testing and startup. If a project has a system from another contractor, we also take on diagnostics, but the warranty applies only to the work we performed. The warranty is valid provided the operating regime is observed: overheating due to independently reconfiguring the thermostat is a common cause of failures, which is visible from the sensor. Before changing the setpoints, check the system's data sheet — a temperature spike above the design value shortens the service life of the cable and pipe several times over. Clients often find us with the query "cost of underfloor heating" — and land on this page.
Installation timelines and when the system can be turned on
- Electric cable or mat: laying and connection in a room of 15-20 m² takes 1-2 days, including pouring a thin screed.
- Infrared film: installation under laminate or parquet without screed — one working day, and it can be turned on immediately after checking the resistance.
- Water circuit: laying pipes and the manifold — 2-3 days, then the screed cures for 21-28 days until it reaches strength.
- Commissioning: the first warm-up and balancing of the circuits — a separate visit after the screed has fully dried.
Repair and maintenance: cable, thermostat, water circuit
Repairing the heating cable, replacing the thermostat and restoring the water circuit are the three main requests we receive. We travel throughout Bishkek, and we start diagnostics with the thermostat and temperature sensor: most "breakdowns" of the system are a failed control unit or sensor, not the cable under the screed. If the problem is in the heating section, we locate the damage with a thermal imager and repair it without fully dismantling the flooring. We check the water circuit with a pressure test: a pressure drop will reveal a leak at the manifold connections or in a pipe joint. Start diagnostics with the control unit — opening up the screed for nothing is more expensive than replacing the thermostat. In requests, people often just write "underfloor heating calculation" — that's how we understand that the person needs a preliminary estimate before the visit.
Our own service center in Bishkek
Eco-Service has its own service center in Bishkek — you can bring equipment here for diagnostics or call a crew out to the site. The installation crew travels to addresses within the city, and we accept thermostats, sensors and manifold units on the test bench. In-person drop-off at the center speeds up diagnostics: the control unit and sensor are checked in minutes, rather than by opening up the floor on site. In messages, clients phrase their request as "underfloor heating cost" or "price of underfloor heating" — and based on such a request we immediately calculate an estimate. The cost per square meter with servicing once every two seasons is lower than emergency repair, and the final price depends on whether only the thermostat is being replaced or a section of cable is being restored. People also specifically ask about "underfloor heating price per m2" and "cost per square meter of underfloor heating" — we provide these figures after measurement. Sometimes a request simply says "underfloor heating 1 m2" — from such a request the technician understands that a calculation for a specific area is needed, and clarifies the room's square footage before the visit.
Typical mistakes when installing underfloor heating and how to avoid them
Most often, three things break the system: the wrong laying spacing, the absence of thermal insulation underneath, and starting it up on a wet screed. Let's go through each scenario — how it manifests itself and what to do so you don't have to redo it.
Why the system heats unevenly
Uneven heating is most often caused by the wrong laying spacing or the absence of loop balancing. When the coils are laid at different intervals, the dense sections overheat while the sparse ones stay cold: the difference across the surface reaches 8-12 degrees, and your foot feels it immediately. In a water circuit, loops of different lengths add to this — the loop closest to the manifold unit runs 40 meters, the farthest one 90, and without flow adjustment the heat goes into the short loop. A normal difference between supply and return on the farthest loop is within a couple of degrees; anything greater indicates an unbalanced system. Balancing the loops evens out the heating across the area: the fittings on the manifold are adjusted so that each loop receives its share of the heat carrier. Start by measuring temperatures by zone with a thermal imager — this shows exactly where a sparse spacing was laid, and corrections are made before pouring, not after. Almost every service call starts with this complaint: underfloor heating Bishkek is a frequent request from those who have already encountered cold zones.
Overheating and breakdown of the heating cable
The cable overheats and breaks through the insulation when it is laid with overlaps or without thermal insulation underneath. Overlapping coils are the most common cause of local overheating: at the point of overlap the temperature rises above the design value, the insulation loses its elasticity and cracks within one or two seasons. The second cause is skimping on the underlay: without a reflective layer, some of the heat escapes into the floor slab, the cable runs at its limit and ages faster. Thermal insulation under the floor protects the cable from overheating and reduces electricity consumption. Before pouring the screed, check the section's resistance with a multimeter and photograph the layout — during repairs this saves hours of searching for the damage. When talking to an installer, clients often switch to numbers and search for underfloor heating Bishkek — and from that wording it's immediately clear that the person wants to compare offers, not understand the layout.
Starting up on a wet screed and cracks in the covering
- First day: set the thermostat to the minimum setpoint and let the system warm up without load.
- Second to third day: increase by 5 degrees per day — this way moisture escapes evenly through the entire thickness.
- Moisture control: before starting up, measure the residual moisture of the screed with a moisture meter, not by eye.
- Water circuit: supply the heat carrier with a gradual increase — a sharp jump tears the seams and tile joints.
What to check before pouring: an acceptance checklist
- Section resistance: measure with a multimeter before and after laying — a discrepancy with the data sheet signals damage.
- Coil spacing: go over the entire area with a tape measure — a 3-4 cm variation isn't noticeable by eye, but it changes the heating.
- Thermal insulation: check that the reflective layer is laid continuously, without gaps at the walls or at the joints.
- Fastening: make sure the cable or pipe is held on the mounting tape and won't float up during pouring.
- Sensor: check the thermosensor sleeve — it should sit in the corrugated tube between the coils, not rest against the reinforcement.
What the estimate shows with typical mistakes
A conversation with an installer about how a system is calculated per 1 m² helps to spot weak points in advance: the wrong spacing and the absence of an underlay are baked in already at the layout stage. When a client asks about the price, an honest contractor first shows the heat calculation and only then the estimate — saving on the underlay will come back as having to break open the screed. When comparing costs across different offers, check whether loop balancing and commissioning are included: these are the items most often left out of cheap estimates. The final cost per m² depends not on the length of cable, but on how many mistakes were avoided at the installation stage. For residents of Bishkek, installation begins not with the price but with the calculation: without it, any estimate is a lottery with a screed redo. In search, people phrase it in different ways: underfloor heating cost — behind this query is the simple question of how much a square meter turnkey will cost.
Conclusion
We've gathered the main things worth keeping in mind before ordering: what the result depends on, where mistakes are most often made, and what to look for in the estimate.
Key takeaways
- System matched to the covering: mats and cable are laid under tiles, film — under laminate, a water loop — over a large area with a boiler.
- Calculation based on heat loss: the power and laying spacing determine how evenly the floor heats, not the square footage of the room, and it is these that determine the cost per m².
- Estimate by scope of work: the price per square meter is made up of material consumption and the list of operations, not a single figure.
- Warranty and service: a two-year warranty and access to diagnostics after handover matter more than installation speed, and a price without service is a risk.
- Two mistakes: starting up on a wet screed and laying without thermal insulation negate the entire system, which is why in Bishkek people order with calculation and pressure testing, not "by eye."