
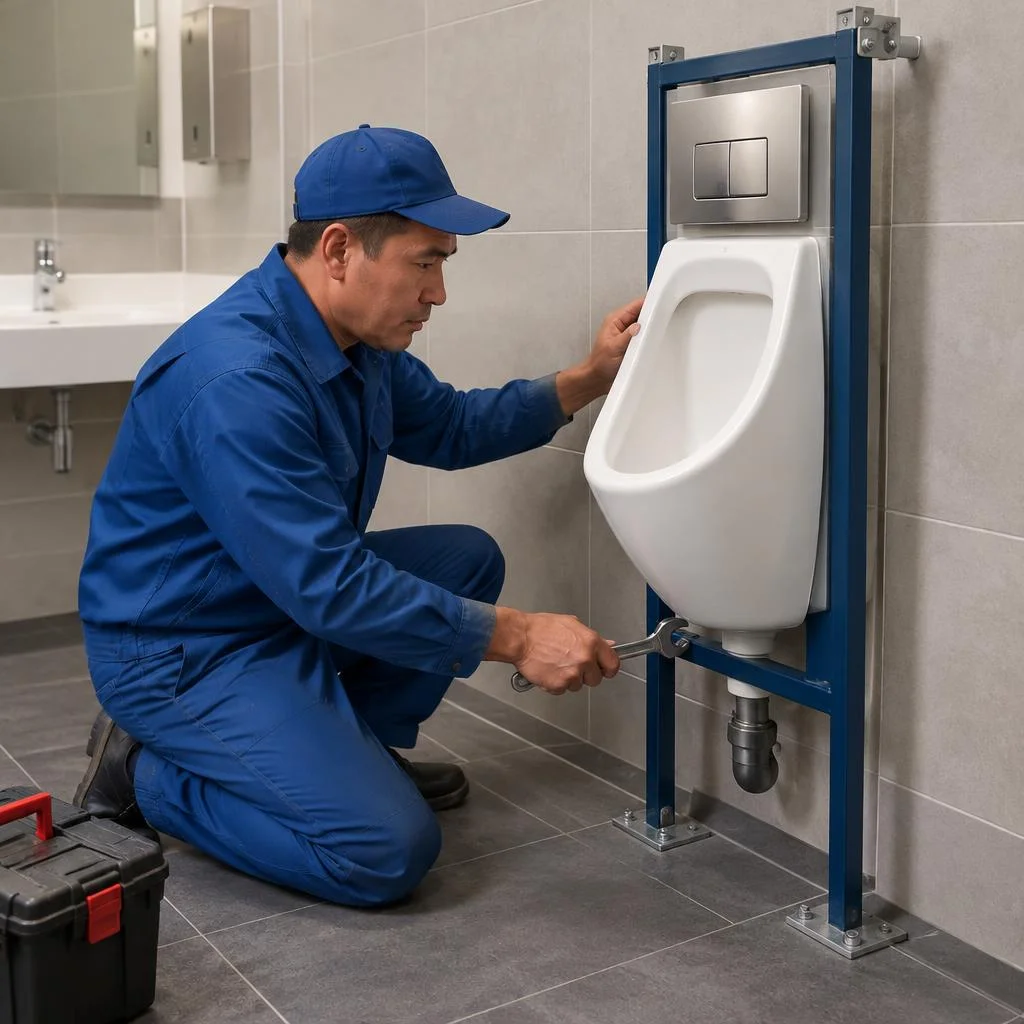
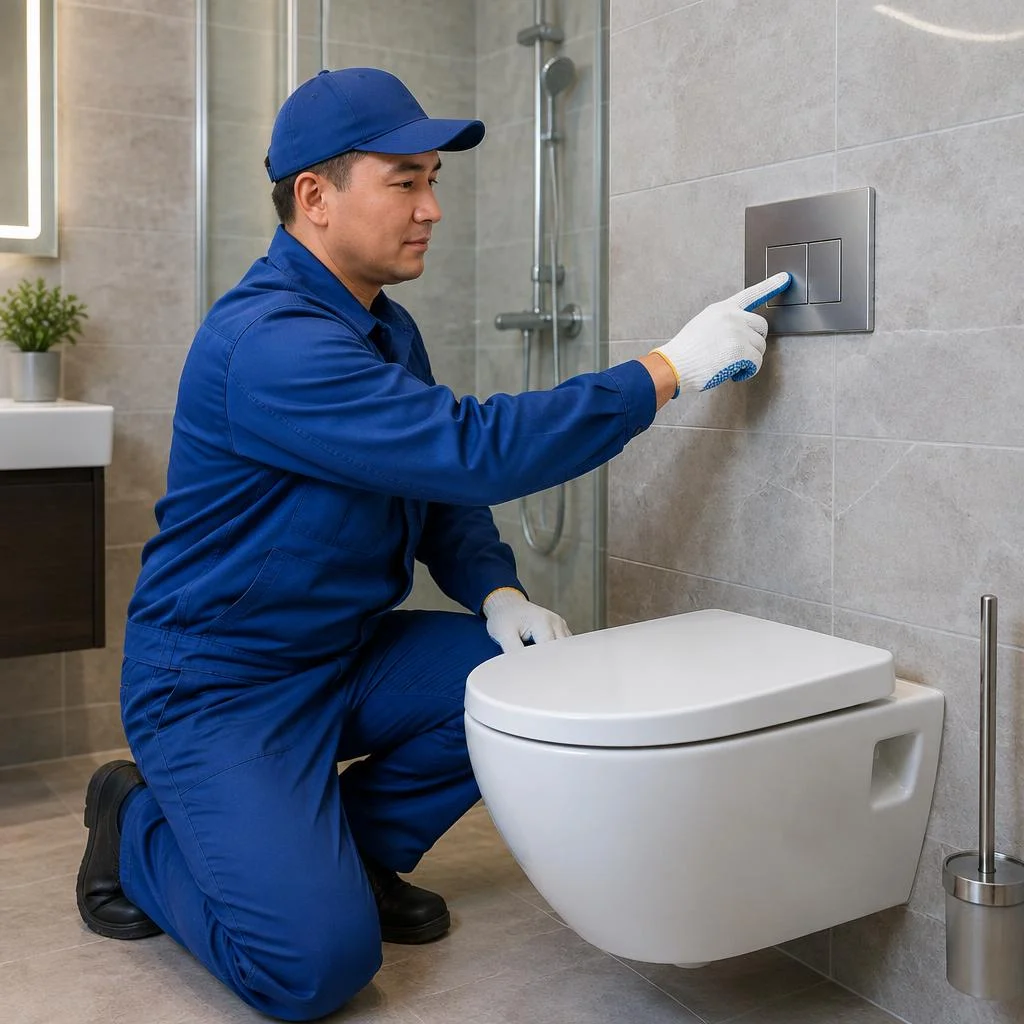
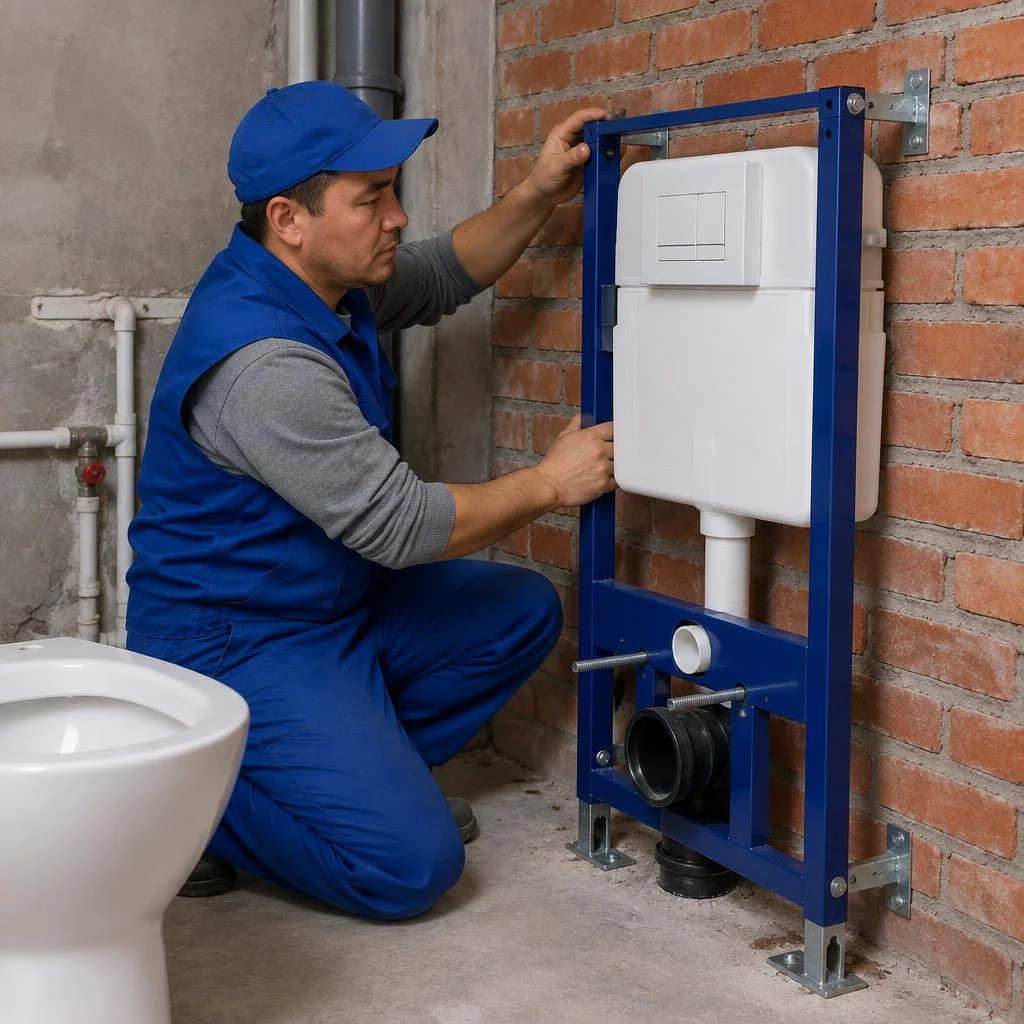
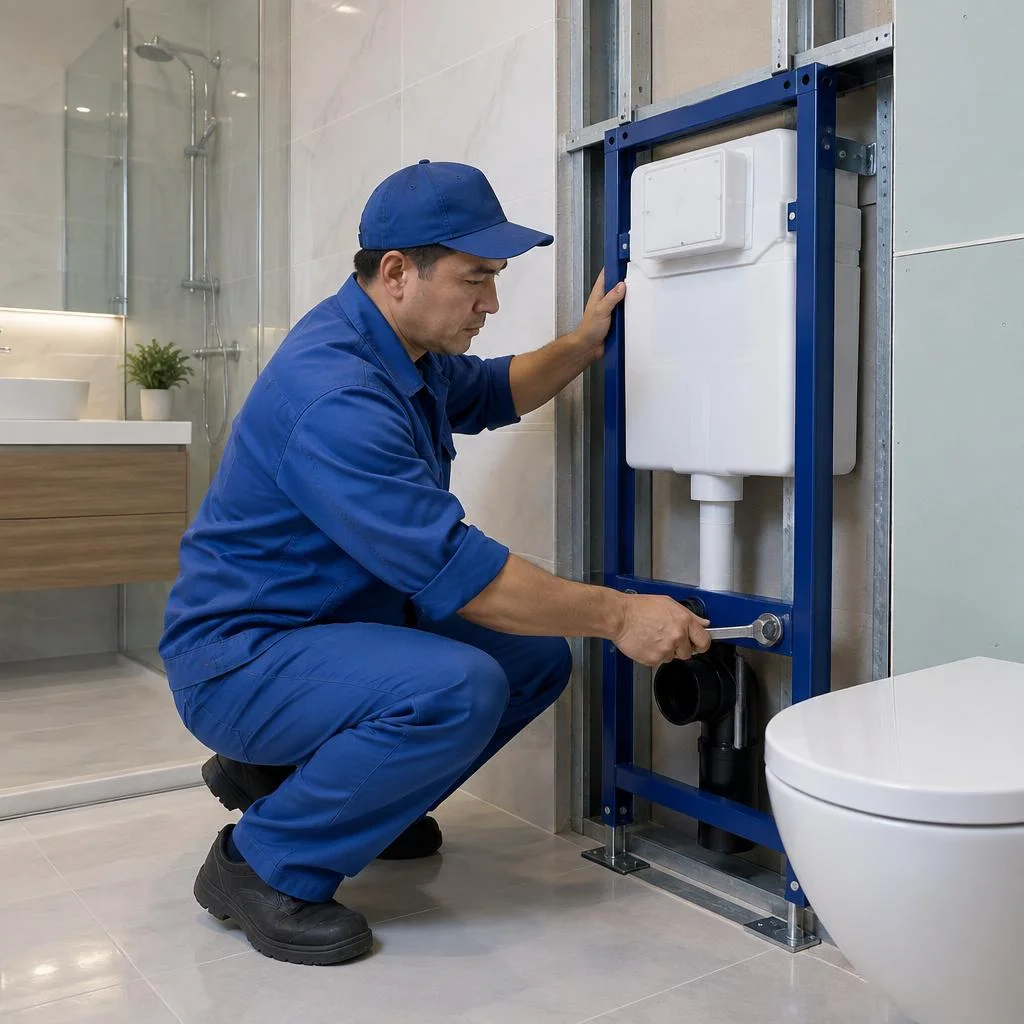








What is a concealed cistern frame and what tasks does it solve
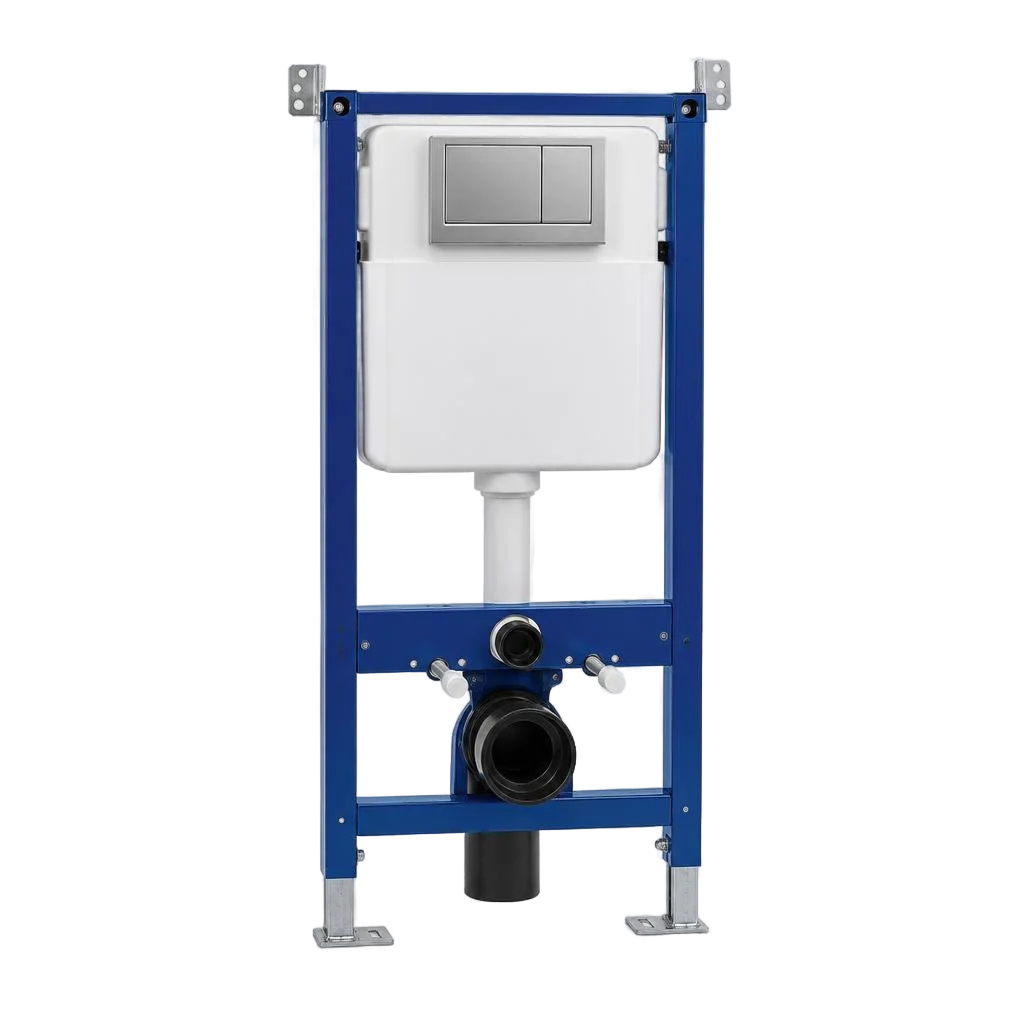
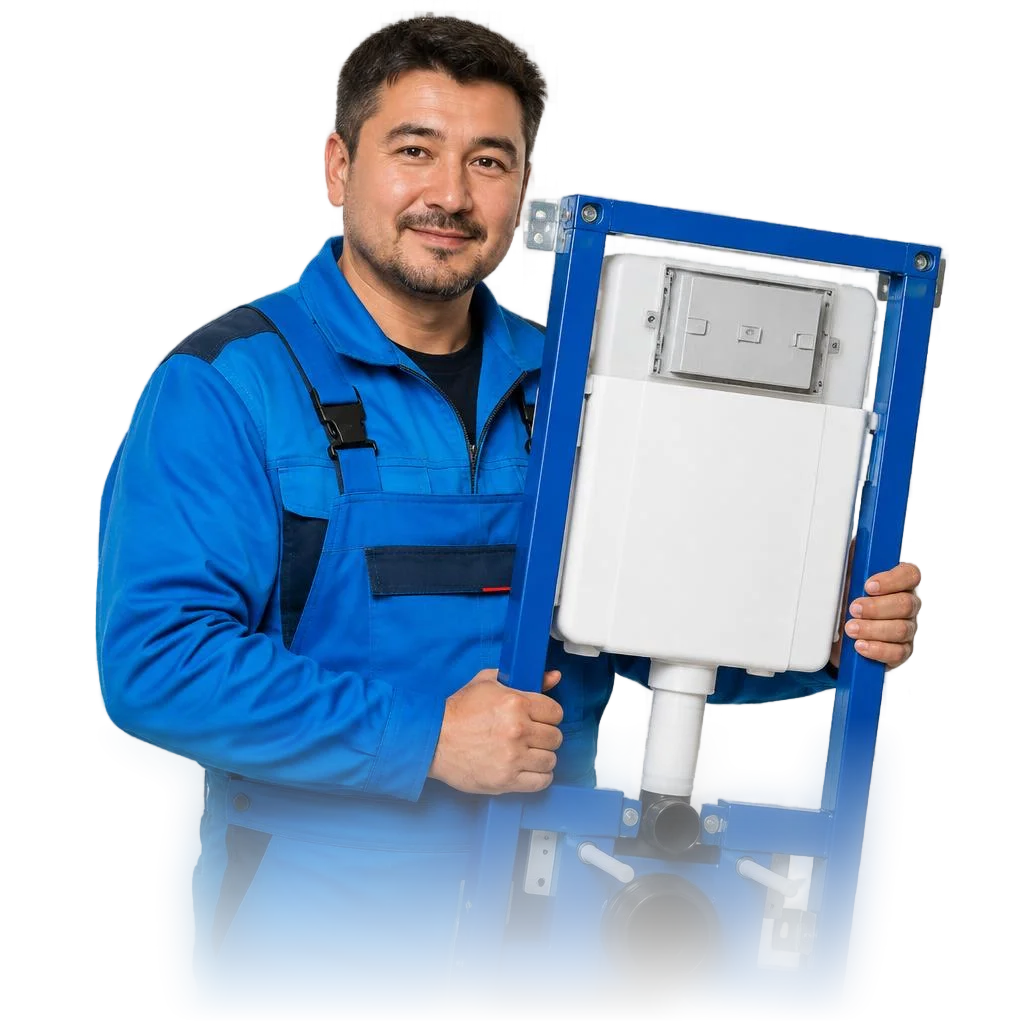
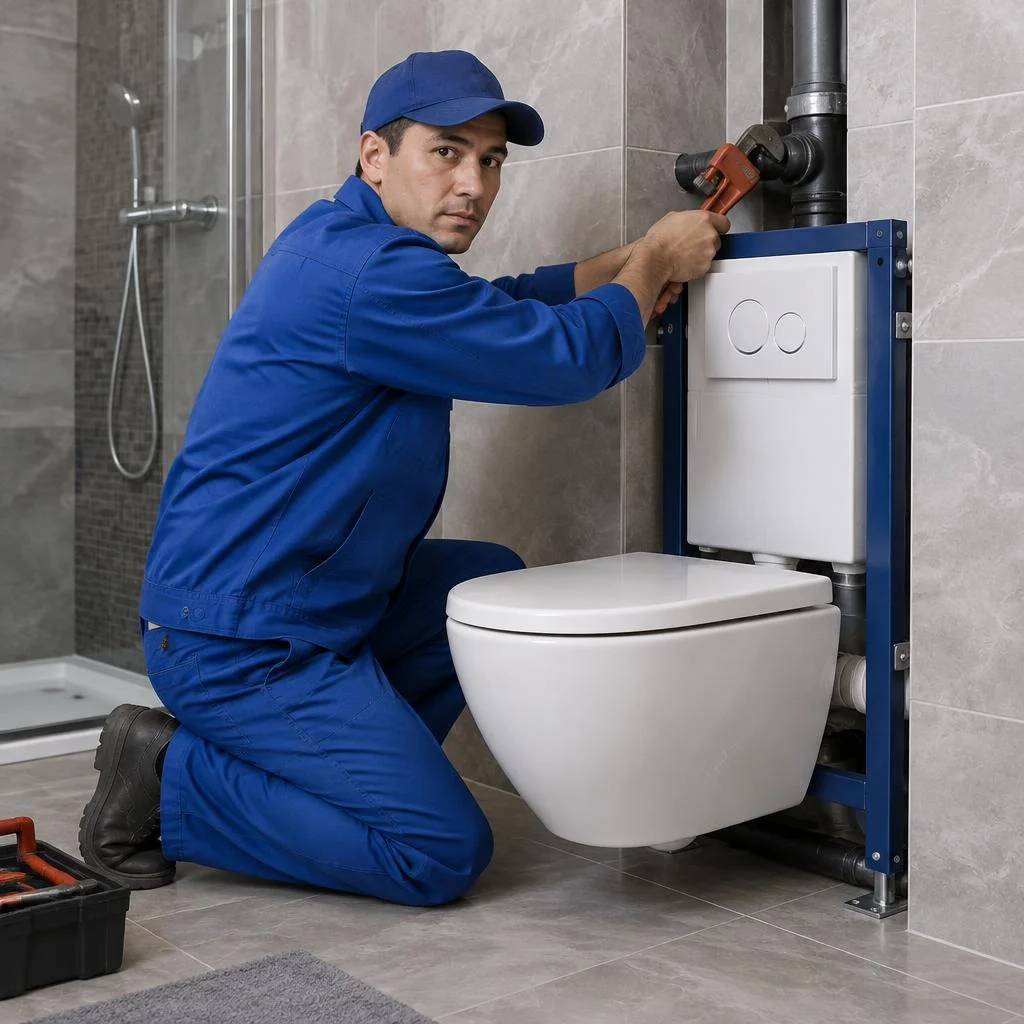
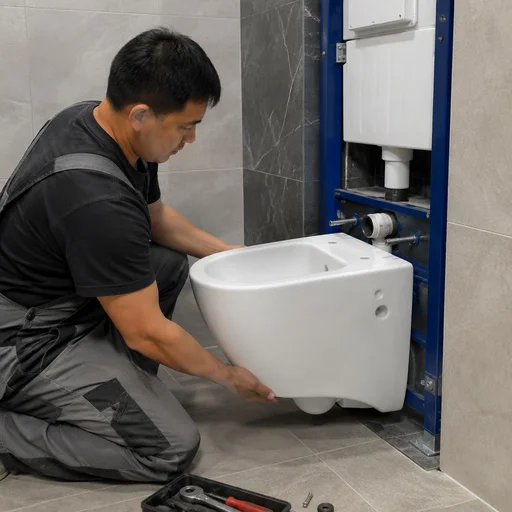
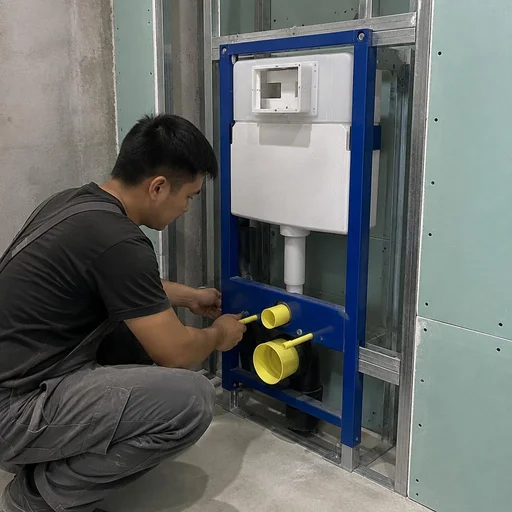
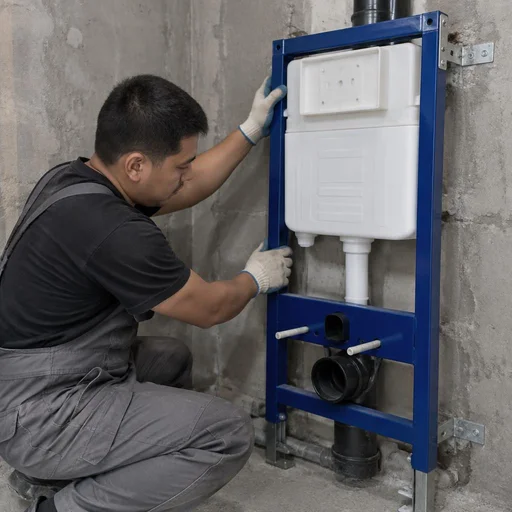
A concealed cistern frame is not a "toilet mount", but a load-bearing frame with a cistern, fasteners and connection units that is hidden in the wall or a box. How long the toilet will hang without sagging depends on it.
What a toilet concealed cistern frame consists of
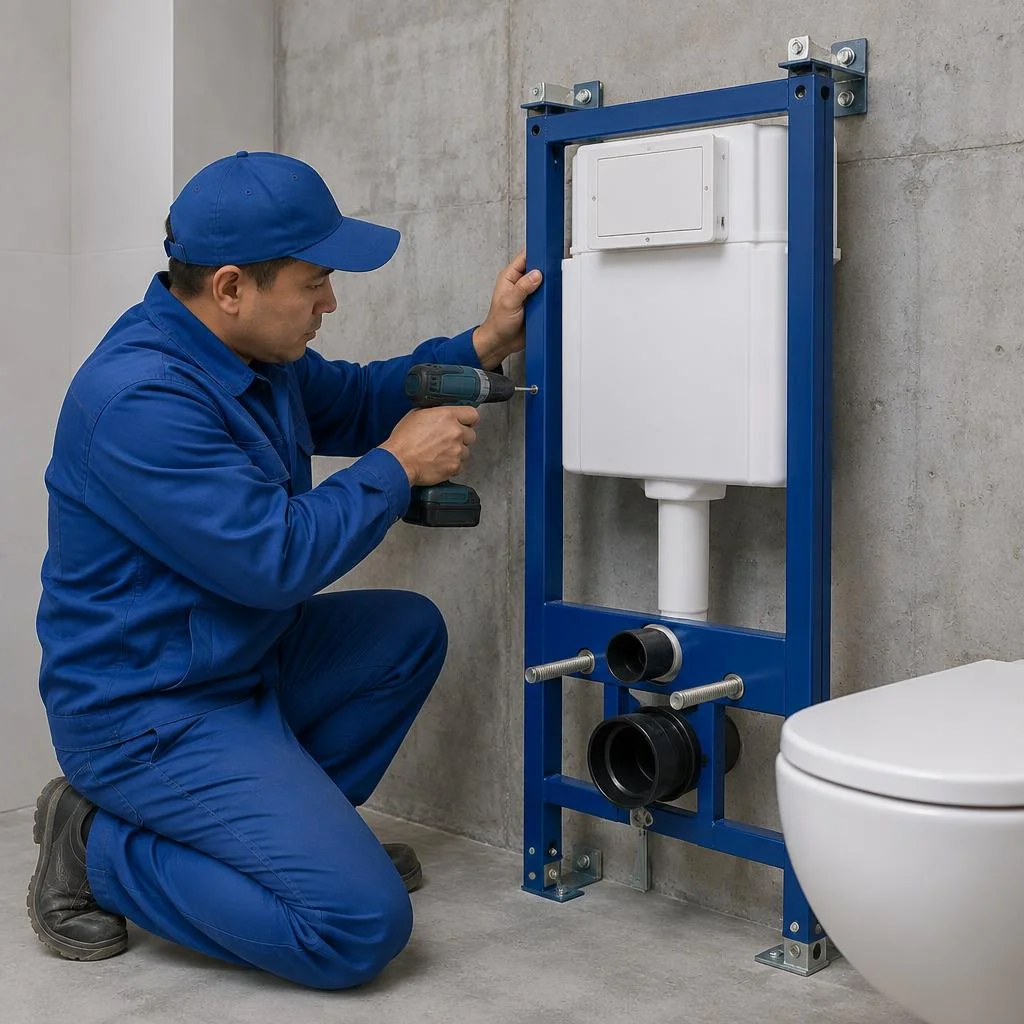
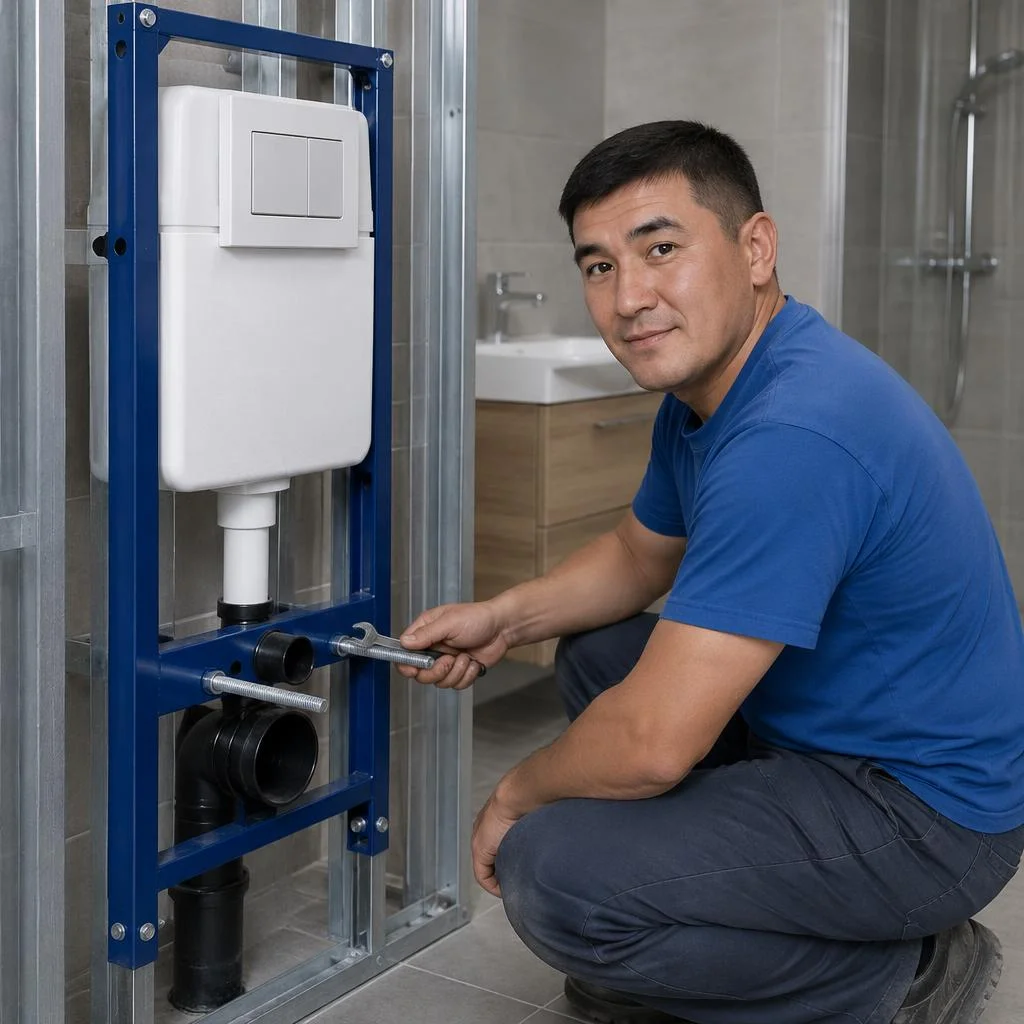
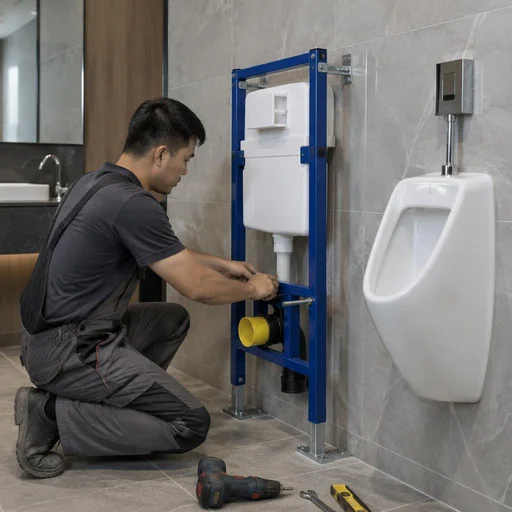
- Frame of the concealed cistern: a steel carcass with stiffening ribs and adjustable supports, bearing the weight of the bowl and the person, not just the plumbing fixture itself.
- Cistern: a hidden tank with a dual-flush valve at 3 and 6 litres, mounted inside the frame before the wall is clad.
- Mounting studs: threaded studs with washers and caps; through them the bowl is fixed with an offset for the thickness of the tiles.
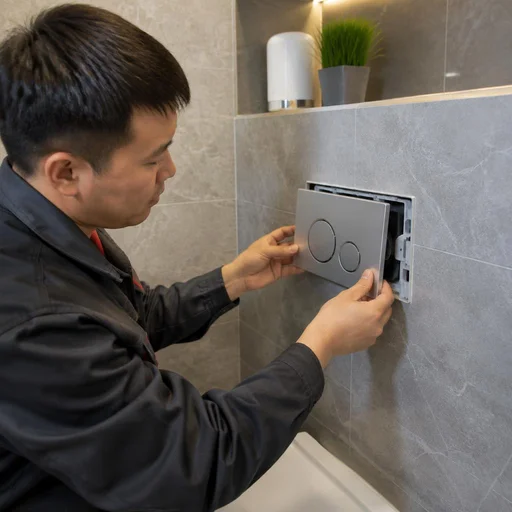
- Flush button: a pneumatic or mechanical button, brought out onto the wall and connected to the cistern valve by a flexible rod.
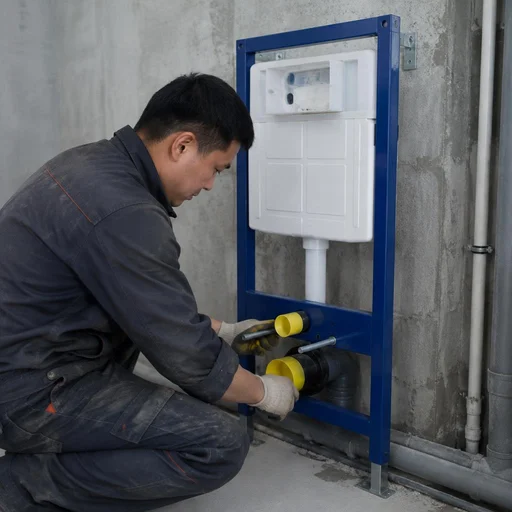
- Corrugated pipe: an outlet for joining the cistern to the sewer discharge, selected for a diameter of 110 mm and the pipe slope.
What tasks the installation of a concealed cistern frame solves
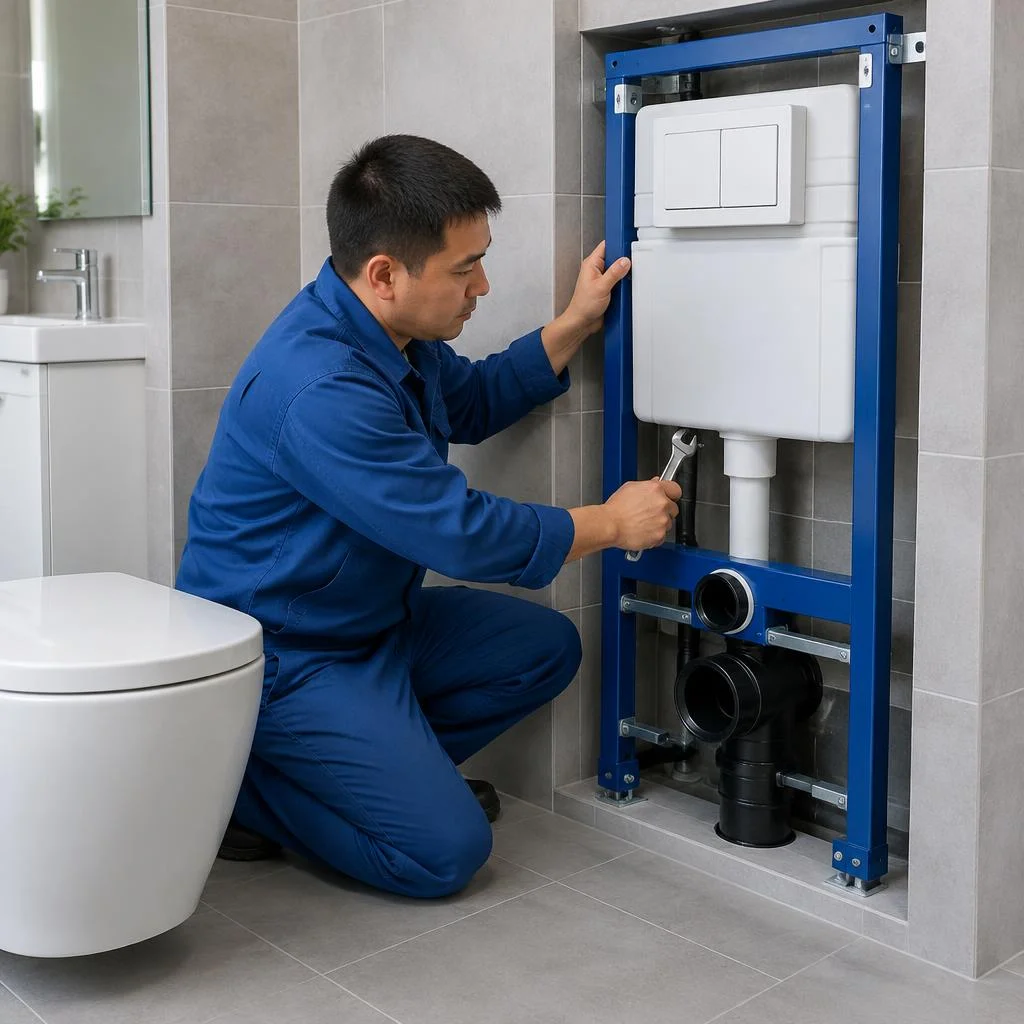
Installation frees up the floor in the bathroom, hides the cistern and pipes, simplifies cleaning and allows the toilet to be moved to a convenient point without being tied to the floor. In typical Bishkek apartments of series 105 and 106 with a bathroom of 2.4-2.8 m², the gain in area reaches 0.3-0.4 m² — that is enough for a washing machine or a sink next to it. When relocating the riser, the frame is fixed to a load-bearing wall or to a reinforced partition, and the sewer discharge is laid with a slope of 2-3 cm per metre. Clients often phrase the request as installation of a concealed cistern frame, although what is meant is a full cycle: levelling the frame, fixing it to a load-bearing wall, connecting water and sewerage, cladding the box with an inspection hatch. For owners who renovate once and for a long time, a built-in toilet solves three tasks at once: saving space, a single level of finish and access to the shut-off valves through the inspection hatch. In small bathrooms, moving the point 30-40 cm from the riser frees up a corner for a dryer or a cabinet — plan the pipework before pouring the screed, otherwise you will have to break open the fresh tiles. When a specialist takes an order for installation of a concealed cistern frame, the first thing he checks is the load-bearing capacity of the wall under the future cladding. This is exactly how clients type it into search: installation of a concealed cistern frame for a toilet — and the specialist immediately understands what is meant. In the search bar people often write briefly: wall-hung toilet installation price — and the specialist immediately understands that the person needs a budget guideline before the site visit.
Toilet concealed cistern frame: buy or assemble on site
You can buy a toilet concealed cistern frame in plumbing showrooms in Bishkek or order it through marketplaces, but before paying, check the contents: some budget models do not include an adapter for the sewerage or fasteners for the bowl. Geberit and Grohe supply frames assembled from the factory; with Roca and Am.Pm you sometimes need to buy a button with the required offset for the thickness of the cladding. Clients search for toilet concealed cistern frame installation and do not always understand that the frame arrives in factory packaging, and that assembling the toilet concealed cistern frame on site is a separate stage with its own labour intensity. If you order toilet concealed cistern frame installation through Eco-Service, the work proceeds in one stage: the frame is levelled, fixed to the wall, after which water and sewerage are connected. In search people often write briefly: concealed cistern frame installation price — and the specialist immediately understands that the person needs a budget guideline before the site visit. A homemade frame made of profile is a risk of the bowl sagging after a year or a year and a half, so take a factory kit, and the option with replacing pipes on site will take more time — clarify this in advance. Before installing the concealed cistern frame into a finished wall, check that the inspection hatch will line up with the cistern valve and the flush button.
Types of installations: block, frame, low
The type of installation determines how it fits into the wall, how much space it takes up, and what load it can withstand. We break down the three main options we work with in Bishkek.
Block and frame installation — what's the difference
A block installation is a monolithic body with a cistern, while a frame installation is a steel frame with a separate cistern; for heavy toilets and high loads, the frame type is suitable. The body of a block model is cast from expanded polypropylene and holds up to 200 kg, whereas a steel frame 1.5–2 mm thick withstands up to 400 kg — the difference is critical if the bathroom is used by a person weighing more than 100 kg or the toilet is in a passage area. Geberit and Grohe block kits take up 12–15 cm of depth behind the wall, frame ones — 8–12 cm, so in a narrow bathroom the frame saves centimeters. Serviceability also differs: with a block model, the fittings can only be accessed by opening up the cladding, while with a frame model — through a service hatch with the flush button. Clients often phrase the request as toilet installation mounting — and from it, it's immediately clear that the person needs not just a body, but a full cycle of work with cladding. When a person searches for toilet installation installation price, they usually haven't yet chosen the frame type — and at this stage it's more important to explain the difference in load and access to the cistern than to quote figures. Clients type in the request toilet installation with installation price when they have already compared bodies and want to understand the total for the work. When choosing, focus not on the cost of the kit, but on access to the cistern: if there is no service hatch, any breakdown of the fittings turns into opening up the tiles.
Low installation for a toilet: when it's needed
A low installation for a toilet is needed under a window, in a bathroom with a sloped ceiling, or under a ready-made countertop — its height is 15–20 cm less than standard. A standard frame raises the cistern 1 meter from the floor, a low one — 75–82 cm, and this is enough for the installation of a wall-hung model to fit under the windowsill without moving the window. In Bishkek's khrushchyovkas with a bathroom height of 2.4–2.5 m, the low model is often the only option in which the installation of a built-in toilet doesn't hit the ceiling. Under a window, a low installation is only placed if there is no radiator: a hot appliance dries out the plastic of the cistern and accelerates wear of the seals. If you are looking for installation of a wall-hung toilet in a narrow bathroom, a low frame solves the task without moving the window or remodeling. Before ordering, measure the distance from the floor to the windowsill — if it is less than 85 cm, a low frame is mandatory, otherwise the flush button will end up at countertop level.
Comparison of installation types by mounting parameters
Toilet installation with an installation, the price of which consists of the frame type and the scope of work, begins with choosing between these three options. Mounting a wall-hung model into a brick or concrete wall requires a frame construction: a block one is not walled into a load-bearing wall due to the difficulty of repair. When mounting is done into a drywall partition, reinforcement of the studs with a profile is required — otherwise the vibration from flushing will loosen the fasteners within six months. Another argument for a service hatch: through it, the flush mechanism is adjusted without dismantling the tiles, and this saves time in case of any leak. A separate line in the estimate is connecting the installation to the water supply: clients type this request when they want to understand whether the plumbing connection is included in the general cycle of work or is considered a separate operation. People often enter into the search bar the cost of installing a toilet installation — and from such a wording, the specialist immediately understands that the person needs a full calculation for the work, not just the price of the body. In our practice, the estimate is always broken down into dismantling the old appliance, assembling the frame, connecting to the sewer, and cladding — the total amount depends on each stage.
Installation by wall type: brick, drywall, concrete, partition
The wall type determines the fasteners, the need for chasing, and the overall scope of work. We install concealed cistern frames in brick, drywall, concrete, and partitions — each material has its own technology.
Installation in a brick wall
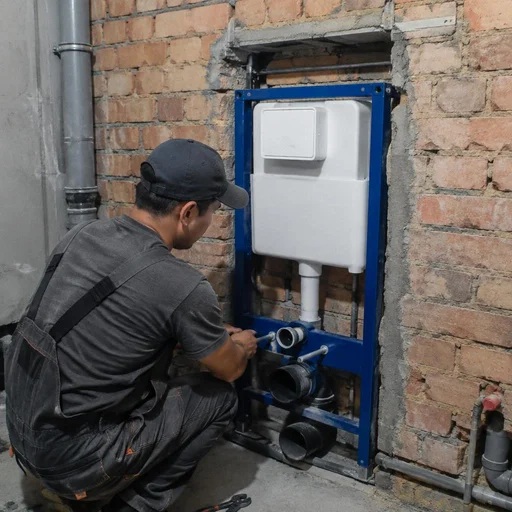
Installation in a brick wall is the most predictable option: the frame is secured with anchors into the load-bearing material, and chasing for pipes runs through the brick without risk to neighbors. In Eco-Service projects we work with Geberit Duofix, TOTO, Roca, and Grohe systems — each frame has its own marking scheme, but the principle is the same: four anchors into the brick, vertical alignment by level, and the drain pipe laid at a slope of 2 cm per meter. Brick in old Bishkek buildings can be silicate and crumbly — before installation we check the load-bearing capacity: if the material crumbles under the drill bit, the fasteners are moved to the floor and ceiling. Clients most often ask about installing a concealed cistern frame in a wall specifically when it comes to brickwork — here it's important not to confuse solid brick with silicate brick.
Installation in drywall
Installation in drywall is only possible with reinforcement: the frame is secured to the floor and ceiling, and the drywall serves as cladding, not as a load-bearing element. In our projects the frame is anchored into the floor slab, and vertical studs made of 50×50 mm profile are added on the sides at 40 cm spacing — such a frame supports a wall-hung toilet and prevents the cladding from shifting under load. If a handyman suggests "just screwing the frame to the profile" — that's a mistake: a wall-hung toilet with a person on it creates a load of up to 150 kg, and the profile can't hold it.
Installation in a concrete wall
Installation in a concrete wall requires diamond drilling or a powerful rotary hammer: concrete doesn't forgive marking mistakes, and chasing for pipes follows a strictly calculated route. Eco-Service specialists drill holes for anchors with a 12 mm bit to a depth of 80 mm, and cut grooves for the supply lines with a wall chaser with a diamond blade — impact tools on monolithic concrete cause chips and cracks. In monolithic concrete, you must not chase horizontal grooves longer than 1 meter: this reduces the wall's load-bearing capacity and can cause cracks.
Installation in a partition
Installation in a partition is possible if the partition is solid or reinforced with a frame: thin gypsum structures of 80-100 mm are not suitable for load. In Eco-Service practice, such partitions are reinforced: the frame is extended to the floor and ceiling, a horizontal lintel made of 40×40 mm steel angle is added, and only after that is the structure sheathed with drywall in two layers. Before installation we tap the partition: a hollow sound means there is no load-bearing frame inside, and the frame will have to be secured to the floor and ceiling.
Do you need to chase the wall for a concealed cistern frame
You don't always need to chase the wall for a concealed cistern frame: if the frame is placed in a drywall box, chasing is not required — the pipes and cistern are hidden behind the cladding. Installation in a brick or concrete wall more often involves chasing: grooves of 40×40 mm are cut for the water supply and drain pipe, while the cistern itself remains in the frame behind the cladding plane. Chasing in a load-bearing wall in Bishkek does not require approval, but the groove depth must not exceed one third of the wall thickness — otherwise cracks may appear at the neighbors'. Based on Eco-Service experience, in new buildings with a monolithic frame, chasing for a concealed cistern frame takes 2-3 hours, while in brick buildings of older construction it takes up to 5 hours due to the dense masonry.
How to choose fasteners for the wall material
| Wall material | Frame fastening | Chasing (grooving) | Installation nuance |
|---|---|---|---|
| Solid brick | Anchor 10×80 mm | Yes, 40×40 mm | Holds the frame firmly, drill without impact |
| Loose sand-lime brick | Chemical anchor | Yes, 40×40 mm | Load-bearing capacity check is mandatory |
| Drywall | Anchors into floor and ceiling | No | Reinforcement with 50×50 mm profile |
| Monolithic concrete | Anchor 12×80 mm | Yes, wall chaser | Horizontal run no longer than 1 m |
| Partition 80-100 mm | Angle bracket + frame into the slab | No | Tap-testing before installation |
| Load-bearing partition | Anchor 10×80 mm | Along the pipe route | Frame inspection is mandatory |
Common mistakes when installing into different walls
- Fastening the frame only to the facing: drywall and a thin partition cannot bear the load, and the toilet sags within 2-3 months.
- Chasing a horizontal groove longer than a meter in monolithic concrete: reduces the wall's load-bearing capacity and causes cracks in neighbours' units along the riser.
- No sewer slope: the drain must run at strictly 2 cm per meter, otherwise blockages and odours in the bathroom.
- Installing the frame without a level: even a 3 mm skew is visible at the flush button and where the bowl meets the facing.
- Skimping on anchors: fasteners are chosen for the wall material, not "whatever was on hand" — loose brick requires a chemical anchor.
How long installation takes depending on the wall
We complete installation into a brick or concrete wall with chasing within one working day, while installation into drywall with frame reinforcement takes 4-6 hours. Installation into a partition with frame inspection and a lintel takes 5-7 hours, and into monolithic concrete with diamond core drilling — up to 8 hours due to careful marking. Clients often search for toilet installation on a concealed cistern price — and land on this page, where the timelines are laid out for each material. Installing a toilet into a ready-made box is the fastest — 3-4 hours, if the supply and drain connections are already in place. Installation in a bathroom from scratch adds time for marking and fitting the route. The price depends on the wall material and the amount of chasing — we provide an exact quote after inspecting the bathroom.
Connecting the installation frame: water, sewerage, electrical
Connecting the installation frame involves three independent circuits: water, sewerage and electrical. A mistake in any of them does not show up immediately, but after months — as a leak, a sewer smell or a short circuit.
Connecting water to the installation frame
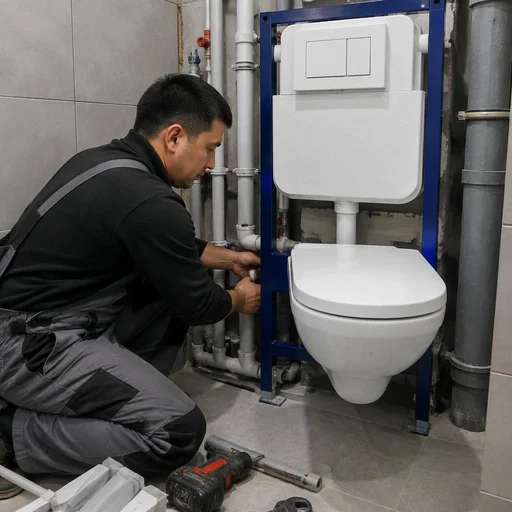
We connect water to the installation frame via a flexible supply line with a shut-off valve on each circuit — this allows the water to be shut off without draining the cistern. The supply line to the water main runs from a tee on the cold line: we install a 1/2" ball valve, then a 30-50 cm supply line in a metal braid, and only then the cistern inlet valve. With Bishkek's hard water, an inlet filter on the supply line extends the life of the inlet valve by 2-3 times — without it the valve scales up within a year. Clients often ask about the cost of installing a wall-hung toilet even before the technician's visit, and we calculate it after inspecting the connection point. On the upper floors of old buildings in the centre, the pressure drops to 1.5 bar, and then the valve hums while filling. Before closing the box, check the supply line for micro-leaks with a paper napkin under the thread: a trace of moisture is visible immediately, whereas a month later it is already a damp patch on the wall.
Connecting the installation frame to the sewerage
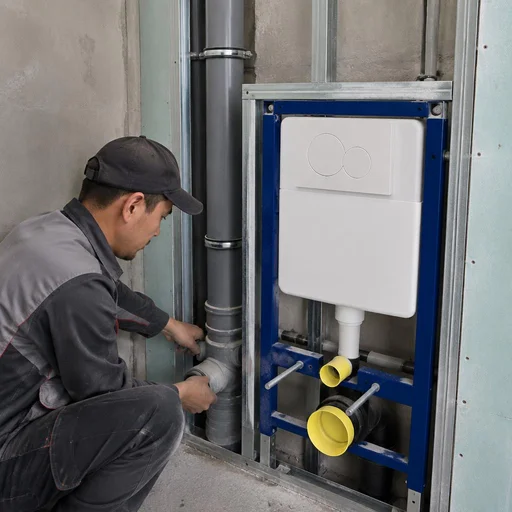
Connecting the installation frame to the sewerage runs through a corrugated or rigid outlet with a slope of 2-3 cm per metre — with a smaller slope, odours and blockages appear. Connecting the toilet to the installation frame starts with the cistern outlet: it exits at a 45° angle, and from it the run goes into the riser through a tee. A corrugated pipe is convenient during installation, but it collects deposits on its ribs — on a long run it is better to install a smooth PP outlet, as it does not silt up. In Khrushchyovka buildings the riser is often recessed into the wall, and then we use a 110×50 adapter with two seals: one fits onto the cistern outlet, the second goes into the riser socket. Installing a wall-hung toilet's installation frame with the discharge point relocated requires a slope towards the riser without any counter-slope — even 5 mm of sag over a two-metre section causes water to stagnate in the bend. If the run is longer than 1.5 metres, install an inspection hatch under the tiles: otherwise it will be impossible to clear a blockage without opening up the tiling.
Electrical connection of the installation frame
An electrical connection for the installation frame is needed if a heated bidet, a hygienic shower or an electronic toilet is being installed — we run a separate line with an RCD. Installing and connecting an installation frame with an electronic unit requires a VVGng 3×2.5 mm² cable from the consumer unit and a 10 A circuit breaker: the bidet control unit consumes up to 1.4 kW when the water heater is running. A socket in a bathroom must not be placed lower than 60 cm from the floor or closer than 60 cm to the shower — this is a PUE requirement, and it is checked during acceptance. In Bishkek's new-builds, the developer often provides a single socket for the whole bathroom, and it is not enough: installing an installation frame for a toilet with a heated seat requires its own point. For wet zones we use a socket with IP44 protection rating and a cover — an ordinary IP20 a couple of metres from the shower will short out from condensation. A 10 mA RCD trips faster than a circuit breaker and protects a person in the event of leakage through the appliance body.
Sealing connections and adjusting the flush button
- Thread sealing: anaerobic sealant or flax with paste on all threaded connections of the supply line, except for conical fittings with a gasket.
- Pressure testing: after assembly, open the valve for 10 minutes and inspect the joints — a micro-leak shows up as a drop within 3-5 minutes.
- Adjusting the pull rod: we set the flush button travel so that both stages operate — the small one at 3 litres and the full one at 6 litres.
- Smooth operation: the button must not click or jam; a skewed pull rod means that if there is a leak, the tiling will have to be opened up.
- Final acceptance: we finish installing the toilet on the installation frame with a triple flush and an inspection of the bowl — this shows that the full volume of water drains away, without a double press.
Sequence of work and typical connection mistakes
| Stage | What we do | What we check |
|---|---|---|
| Water | Tee, valve, supply line | Pressure, micro-leak |
| Sewerage | Outlet, slope, gaskets | Odor, stagnation in the trap |
| Electrical | Line, RCD, IP44 socket | Grounding, installation height |
| Sealing | Threads, joints, draft | Button travel, flush volume |
Installing a toilet frame almost always goes in one pass: first water and sewerage, then electrical, and finally sealing and adjustment. A wall-hung toilet whose installation is postponed for later is a common mistake: the box is closed up before connection, and the supply line has to be pulled through the finished cladding. Installing a wall-hung toilet with an already assembled box takes twice as long as the work before cladding. Installing a wall-hung toilet, installing a frame for a toilet, and installing a toilet frame are all the same cycle, and the order of stages in it does not change: the wrong sequence costs you opening up the tiles.
Specifics of installation in panel buildings and Khrushchevka apartments
Panel buildings and Khrushchevka apartments in Bishkek impose limitations: thin walls, old risers, cramped bathrooms. Let's break down how we adapt installation to these conditions.
Installing a concealed cistern frame in a panel building
Installing a concealed cistern frame in a panel building is possible, but requires reinforced fastening: the panel is often thinner than brick, and we additionally secure the frame to the floor and ceiling. In buildings of series 1-464 and 1-335, which make up the Asanbay, Alamedin-1 and Vostok-5 microdistricts, the load-bearing panel has voids, so we tighten the anchor through a steel backing plate — it distributes the load and prevents the concrete from chipping. Clients often find us by searching "installing a concealed cistern frame in a panel building" — and the technician immediately understands what kind of wall they'll be working with. Such work through Eco-Service includes a preliminary wall inspection: a specialist checks the direction of the voids and selects the drilling point. In Bishkek panel buildings from the 1970s-80s, the sewer risers are cast iron and fragile — when relocating the toilet, they must not be tilted without clamps, otherwise a crack will run along the entire riser. Many people search for wall-hung toilet installation — and end up here, although it's the same frame installation into a panel.
Installation in a Khrushchevka: cramped bathroom
In a Khrushchevka, installing a concealed cistern frame in the toilet most often involves a drywall box: chasing a load-bearing wall in a cramped bathroom is risky. We assemble the box on galvanized profiles with a stud spacing of 40 cm, place the frame and plumbing connections inside, and finish the outside with moisture-resistant drywall (GKLV) in two layers under the tiles. In a Khrushchevka, the bathroom is often combined, and the box takes up 15-20 cm — if space is critically tight, consider a low-height concealed cistern frame or relocating the sink. Clients search for "built-in toilet installation" — and land on this page when they're planning to hide the cistern in a box. Replacing a toilet's concealed cistern frame in such bathrooms takes longer than usual: dismantling the old box and hauling out debris adds several more hours to the standard installation, so we schedule the work for a full day. A separate story is when the query sounds like toilet concealed cistern frame installation: it usually reflects a decision to install a frame in an already finished bathroom without remodeling, and then we first check whether the box depth is sufficient for the bowl. Some people just type concealed cistern frame installation — and from such a query the technician immediately understands: the person needs a box for the frame in a cramped bathroom, not a remodel.
Relocating the riser and replacing pipes during installation
Replacing a toilet's concealed cistern frame with riser relocation or pipe replacement is a separate scope of work: we coordinate it with the management company and do it before installing the frame. Concealed cistern frame toilet installation with relocation requires re-welding the cast iron or replacing the plastic section with polypropylene of 110 mm diameter, and we run the water supply with a 16 mm pipe in a corrugated sleeve. Clients often search for the cost of concealed cistern frame installation — and end up here when a riser needs to be relocated in a panel building. Relocating a riser without coordinating with the neighbors below is a direct path to conflict: even if everything is technically done correctly, a complaint to the management company will halt the work. Plan toilet installation with a concealed cistern frame so that you can seal the joints in one go — disassembling the box for re-access will cost more than installing an inspection hatch right away.
Choosing a model for the walls of a panel building and Khrushchevka
- Wall-hung toilet with concealed cistern frame installation: in a panel building, a frame-type concealed cistern unit 112-130 cm high with fastening to the floor and a solid wall will work.
- Wall-hung toilet installation: in a Khrushchevka with a combined bathroom, choose a compact model with a bowl projection of 48-52 cm.
- Wall-mounted toilet installation: for a thin partition, choose a block-type concealed cistern unit — it mounts to its own load-bearing frame without stressing the wall.
- Wall-hung toilet installation: in panel buildings of series 1-464, check the panel thickness — at 14-16 cm a chemical anchor is needed, at 20 cm a mechanical one will suffice.
- Wall-hung toilet installation: in a Khrushchevka with a cast iron riser, provide clamps at the joint in advance — without them, the vibration from flushing gradually loosens the connection.
- Installing a concealed cistern frame in the toilet: in both a panel building and a Khrushchevka, it's equally important to leave access to the shut-off valves — a hatch of at least 20×30 cm above the flush button.
Timelines, Warranty and Work Acceptance
Timelines and warranty are what distinguish a service center from a private handyman on Lalafo. We break down how the work is organized by stages, what the two-year warranty covers, and which components to inspect upon acceptance.
How long does installation of a concealed cistern frame take
Standard installation of a concealed cistern frame takes 4-6 hours; work involving relocating a riser or replacing pipes takes 1-2 days, and we warn about this before starting. Breakdown by stages: marking and chasing for the supply lines — 1-1.5 hours, assembling the Geberit or TOTO frame with leveling — 40-60 minutes, anchoring to the wall — 30 minutes, running water and drainage with slope verification — one hour, connecting the tank and adjusting the flush button — 30-40 minutes. The final figure depends on the wall material: the frame goes into drywall faster than into concrete, where chasing takes almost twice as long. Clients often search for buy toilet installation frame — and land on this page, although this is about the technician's work, not about buying a kit. If a technician promises "turnkey in 2 hours" — he either doesn't chase or doesn't seal: saving time on these stages results in a leak six months later.
What the 2-year warranty covers
- Frame installation: the warranty covers correct leveling, anchoring, and structural stability under loads up to 400 kg.
- Water connection: leak-tightness of supply line joints, quality of seals, and absence of leaks at connections throughout the entire term.
- Drainage connection: correct slope of the outlet, sealing of sockets, and absence of odor from behind the cladding.
- Flush button adjustment: smooth operation, accurate setting of flush volume, and functioning of the dual-flush tank valve.
- Warranty retention condition: report any independent tampering with the tank valve or tightening of connections before the technician arrives — otherwise the 2-year warranty on that component does not apply.
Work acceptance: what to look at
- Frame stability: press on the studs by hand — the structure should not wobble or spring in the wall.
- Flush button: check both modes, smooth operation, and that the valve closes without residual trickling into the bowl.
- Supply lines: inspect tees, flexible hoses, and soldered joints for drips 15-20 minutes after water is turned on.
- Outlet slope: ask the technician to show the angle with a level before closing the box — after cladding, correcting the slope without demolition is impossible.
- Acceptance report and receipt: sign the document only after checking all components; it will be needed for a warranty claim.
Our own Eco-Service service center in Bishkek
Eco-Service is a direct provider of the service: we have our own service center in Bishkek, in-person intake of requests, and staff technicians rather than Lalafo contractors. The team works with Geberit, TOTO, Roca, Grohe, and Am.Pm systems, so for each model there is a proven installation sequence and a stock of consumables — from sealing gaskets to fasteners for a specific frame type. In-person intake means the request is taken by a technician, not a dispatcher: he clarifies the wall material, installation type, and connection method before even going on site. A direct provider is responsible for the result as a whole: if something goes wrong, you return to the same center rather than looking for a technician who "no longer works."
How the estimate is formed
The cost of installing a toilet installation depends on the scope: basic work, relocating the stack, replacing pipes, and electrical connection are counted as separate line items. In the estimate, we break down each operation — chasing, frame assembly, water outlet, tank connection — so the client can see the composition and understand why the price of a wall-hung toilet differs from the base price. A separate line — rates change if the wall is concrete rather than drywall, or if the stack needs to be relocated in a panel building. The final amount is fixed in the contract before work begins, and for a set with electrical connection it is higher due to running the cable to the outlet. The master gives the exact figure after inspecting the bathroom: on site it is clear whether pipe replacement is needed and whether the niche depth under the frame is sufficient. Clients type toilet installation price into search — and land on the price page, where line items are broken down by wall type and connection method. For customers comparing offers, we separately list toilet installation installation price and toilet installation installation price: this way it is clear what is included in the base rate. If the bathroom already has wall-mounted plumbing and only relocation is needed, the wall-hung toilet installation price is calculated using a shortened list of operations. To replace an old floor-standing fixture with a wall-hung set, the wall-hung toilet installation price is selected — it includes dismantling, preparing the niche, and installing the frame. The final wall-hung toilet installation price depends on the wall material, the length of the supply line, and whether concrete needs to be chased for the cable. We separately clarify the wall-hung toilet installation installation price — clients enter this query when comparing the full set of work with the installation of the frame and bowl. Some phrase the query as installation installation price — and for that line too we show the scope of work so the person can see what they are paying for.
Conclusion
Installing an installation is a sequence of decisions where a mistake at any stage costs more than an initially wrong choice of set. Below are the key principles to keep in mind before starting work.
Main takeaways
- Construction type: a block or frame model is selected based on the load on the bowl and access to the tank, not on the cost of the set in the store.
- Wall material: brick and concrete reliably hold anchor fasteners, drywall requires a reinforced frame made of profile and embedded supports.
- Three connection circuits: water, sewer, and electrical are routed independently, each with its own standards for slope, diameter, and protection.
- Old housing stock: in panel buildings and Khrushchevka apartments, the scheme is adapted to thin partitions, crooked stacks, and limited space.
- 2-year warranty: it remains valid only provided that the fittings and connections were not subjected to third-party interference after the work was handed over.


