







When a new cistern is needed rather than a repair of the fittings
A client calls with one phrase: "the cistern is leaking." Then comes the fork in the road — replace the whole unit or get by with repairing the internals. The answer depends on the condition of the ceramic, the fasteners and the geometry of the seat, not on the age of the plumbing.
Signs that the tank needs to be replaced entirely
- A crack in the body: a hairline across the ceramic eventually turns into a leak; it cannot be sealed with sealant — only a complete replacement of the unit.
- Deformation of the valve seat: the seating surface of the flush valve wears unevenly, the new gasket does not seat tightly and lets water into the bowl.
- Worn fasteners: bolts and studs corrode and crumble when unscrewed, and drilling out the ceramic for new fasteners is risky.
- A crack at the base: a chip in the area where the cistern meets the bowl breaks the seal of the joint, and the gasket does not hold for long.
- Displacement of the seating plane: the bowl is deformed or chipped, and a new tank will not sit level without adjustment.
- The leak returns after repair: if after replacing the gasket and seal water again runs into the bowl within a month, the problem is in the geometry of the body, not in the seal.
When it is enough to replace the fittings inside the cistern
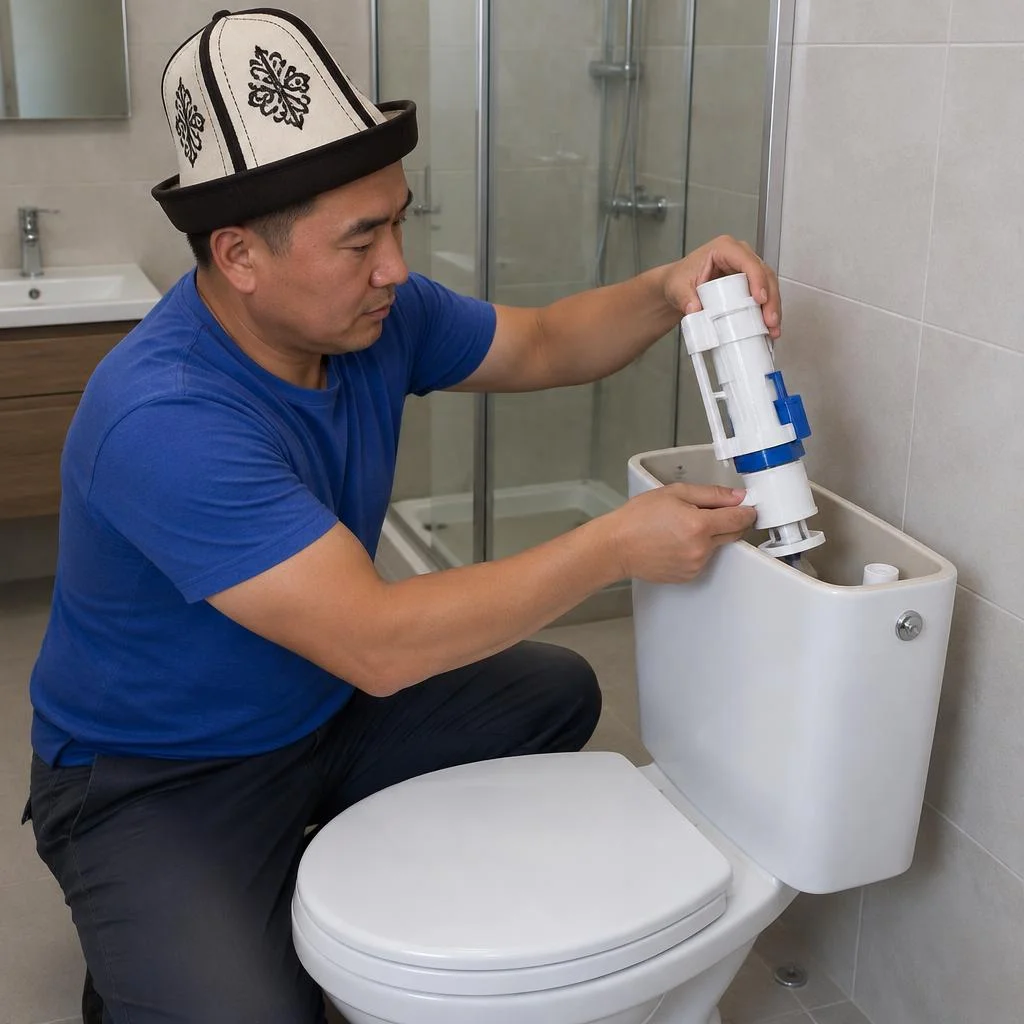
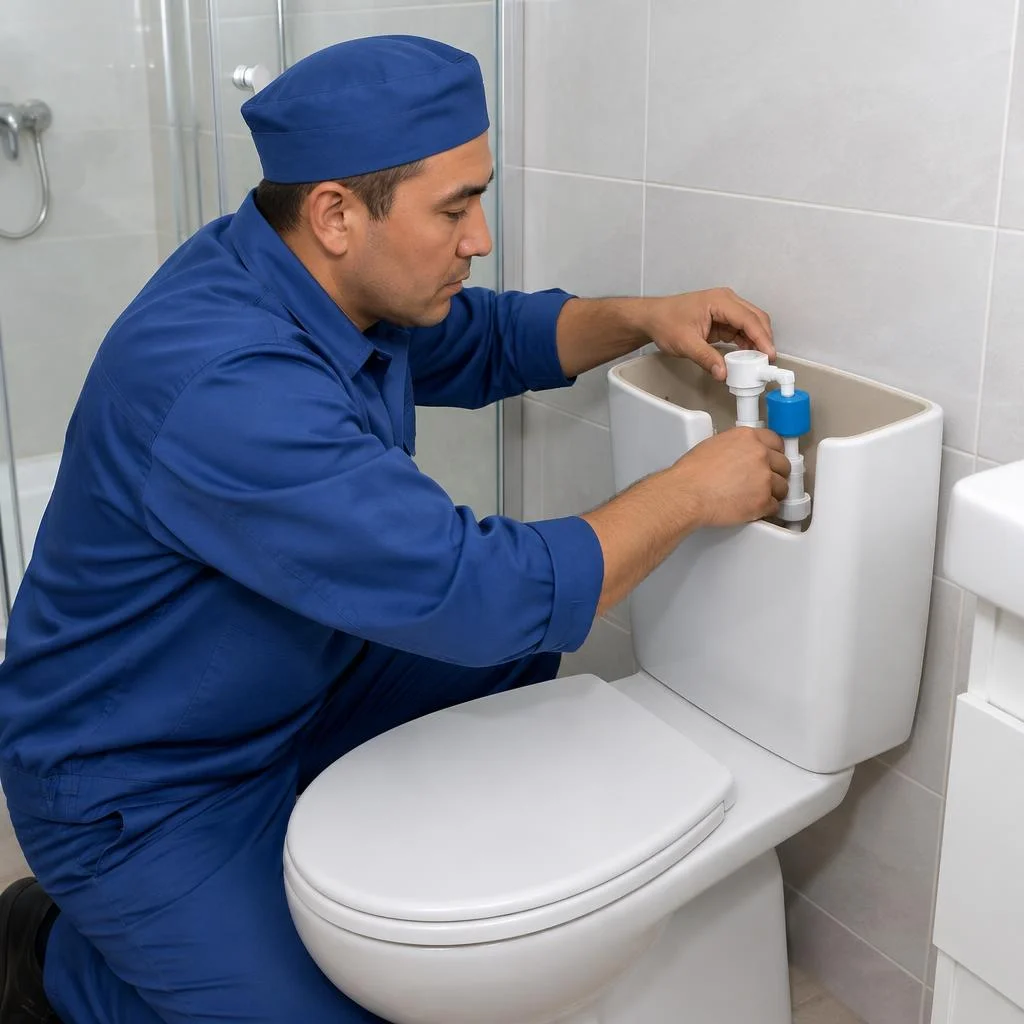
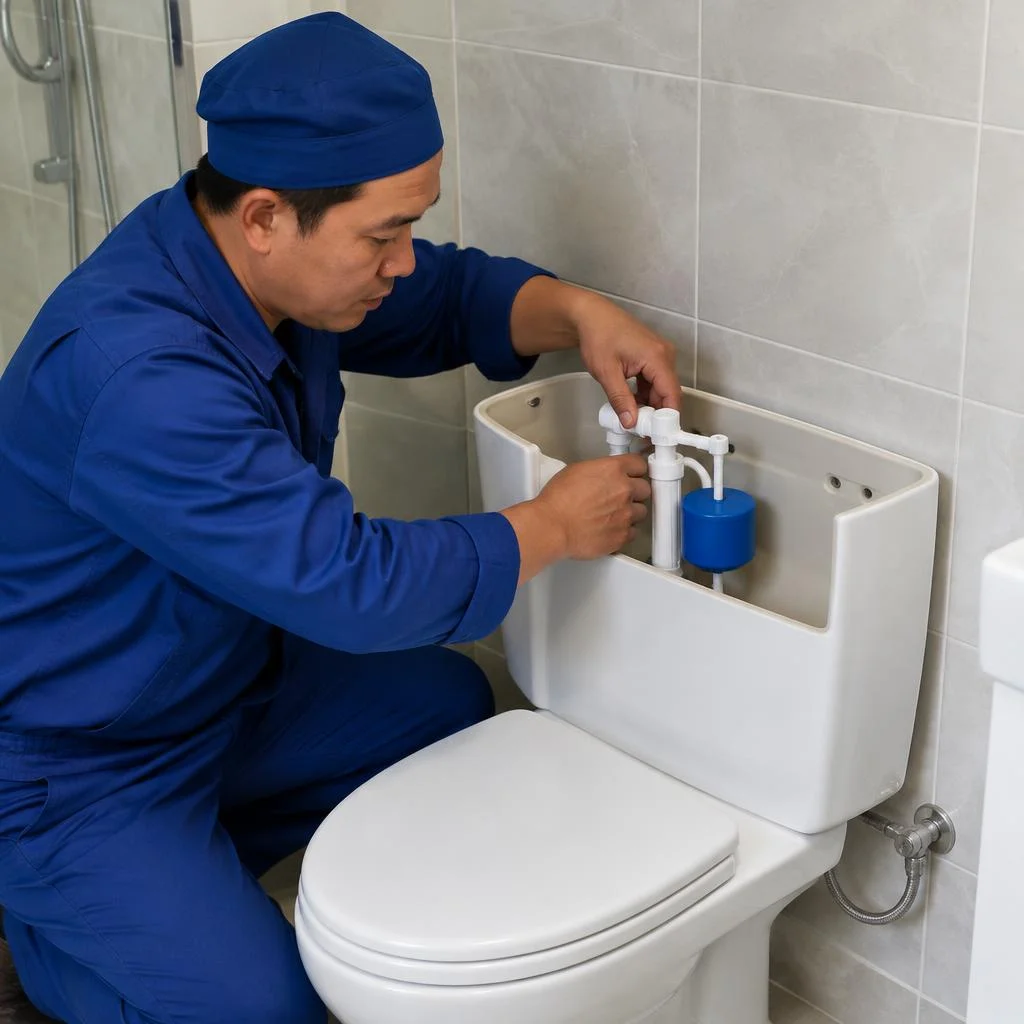
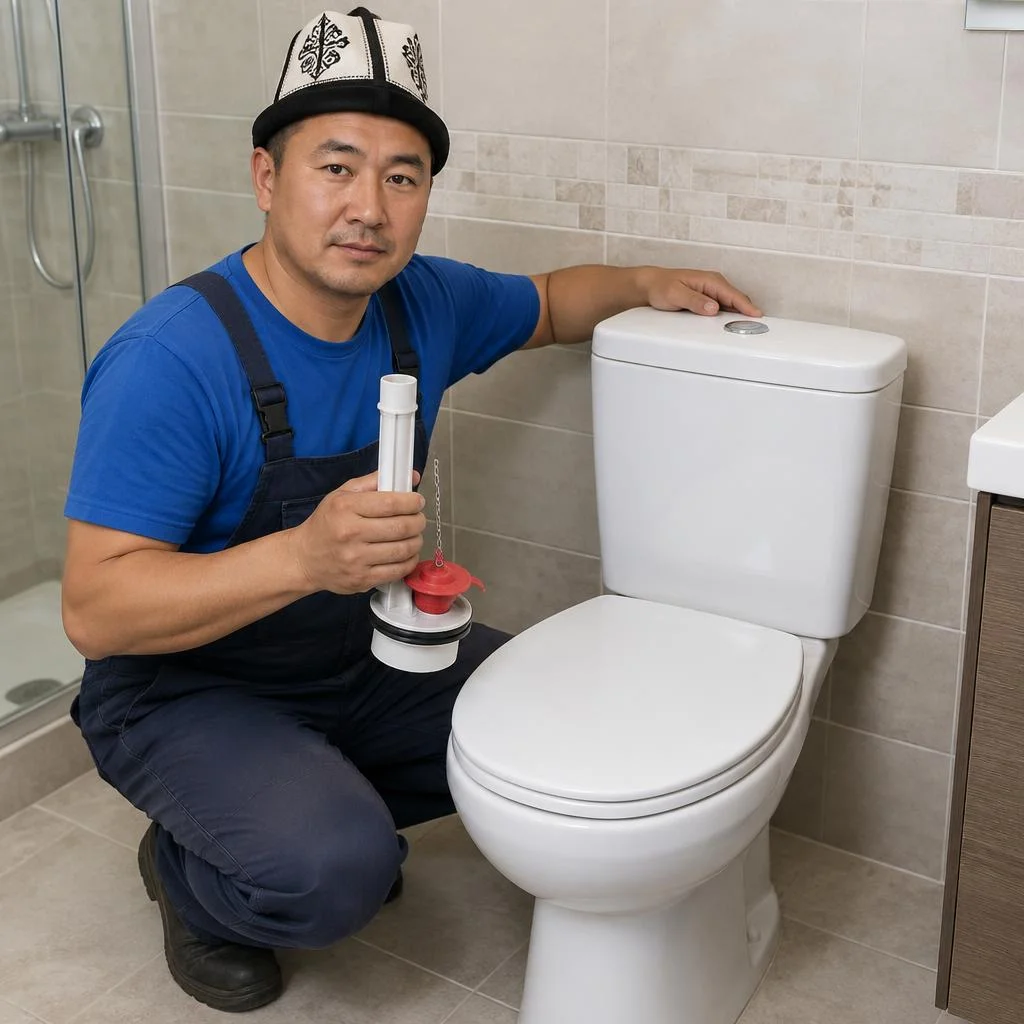
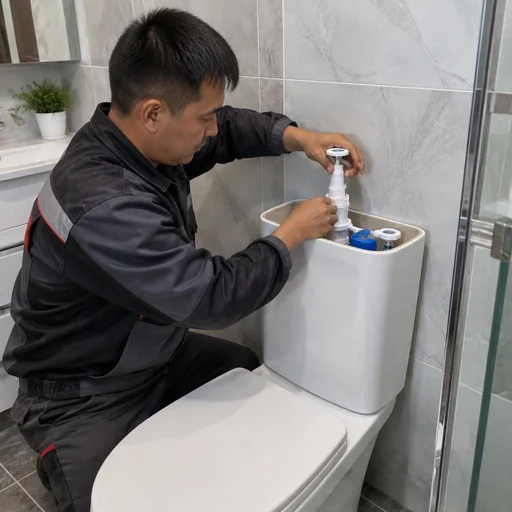
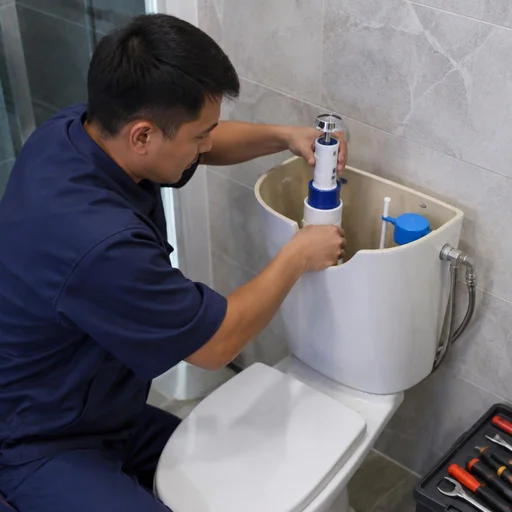
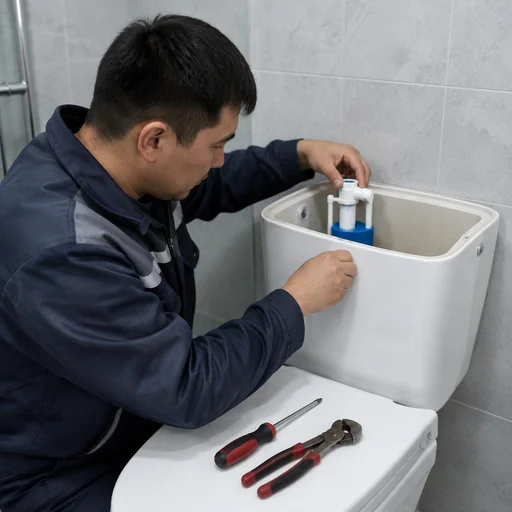
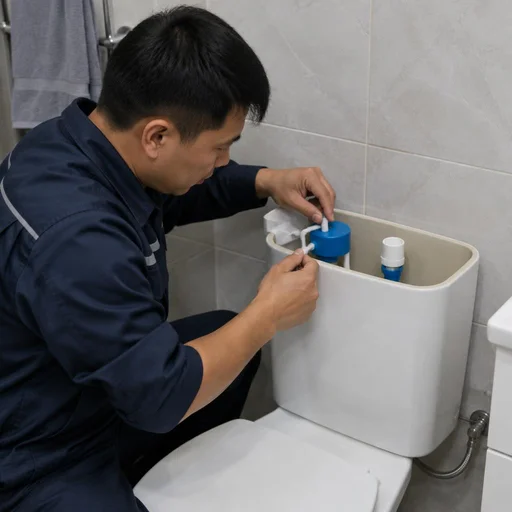
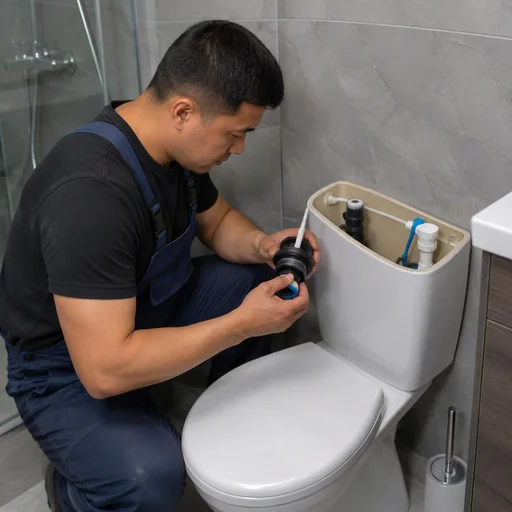
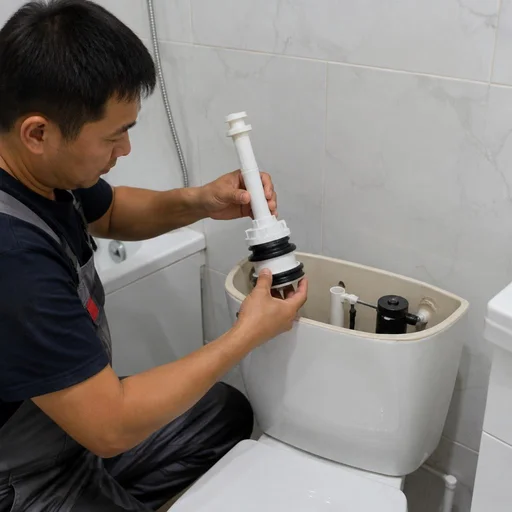
In most cases we replace the fittings without removing the cistern: the flush valve, the fill valve, the float and the gasket are replaced in a single visit. The internal components are consumables; the ceramic lasts for decades with careful use. Replacing the fittings costs less than a complete replacement of the unit and takes less time: the technician shuts off the water, drains the remainder, removes the old mechanism and installs a new one on the same seat. Installing a flush valve solves the problem of spontaneous flushing, fitting a fill valve — of the constant noise of water, replacing the float — of overflowing over the rim, replacing the flush gasket — of leaking into the bowl. Fittings wear out 3-4 times faster than ceramic — if the body is intact, replacing the whole tank is not economically viable.
How replacing a cistern differs from replacing a toilet
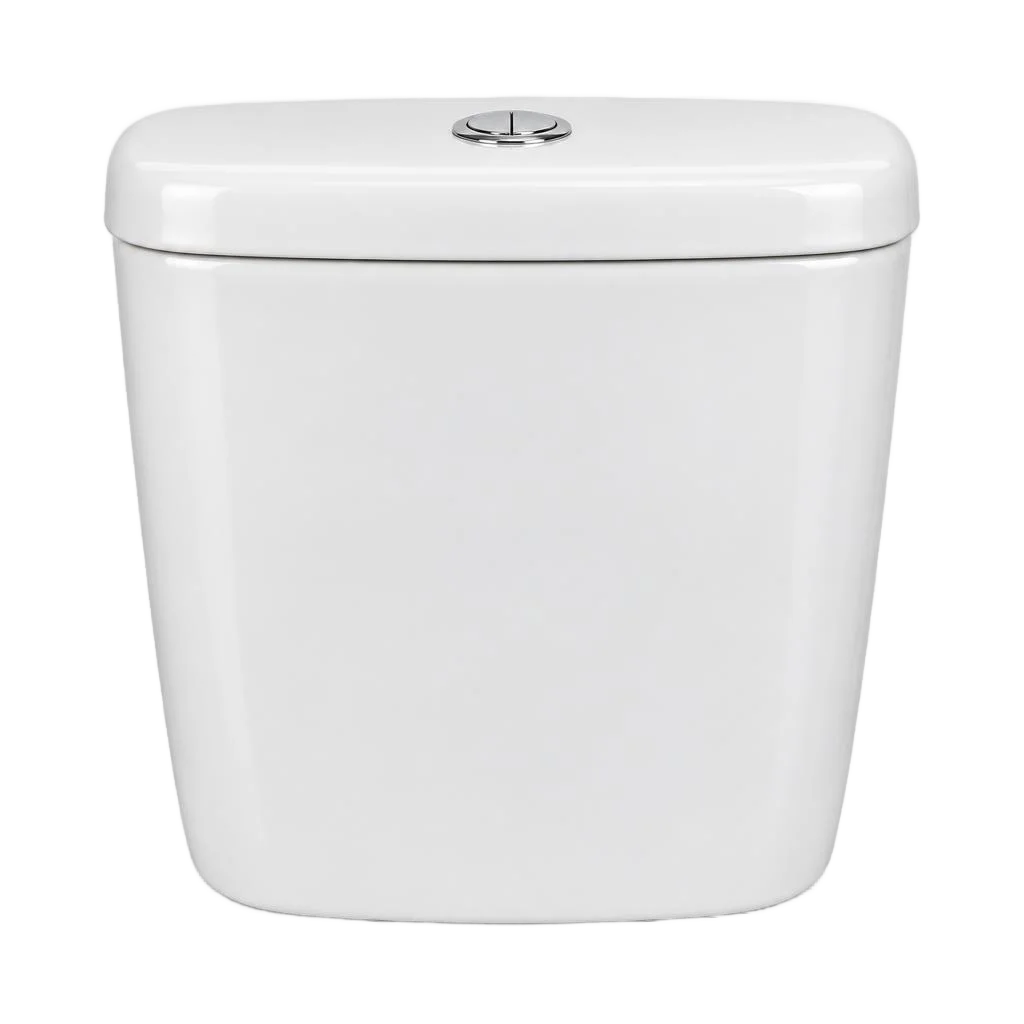
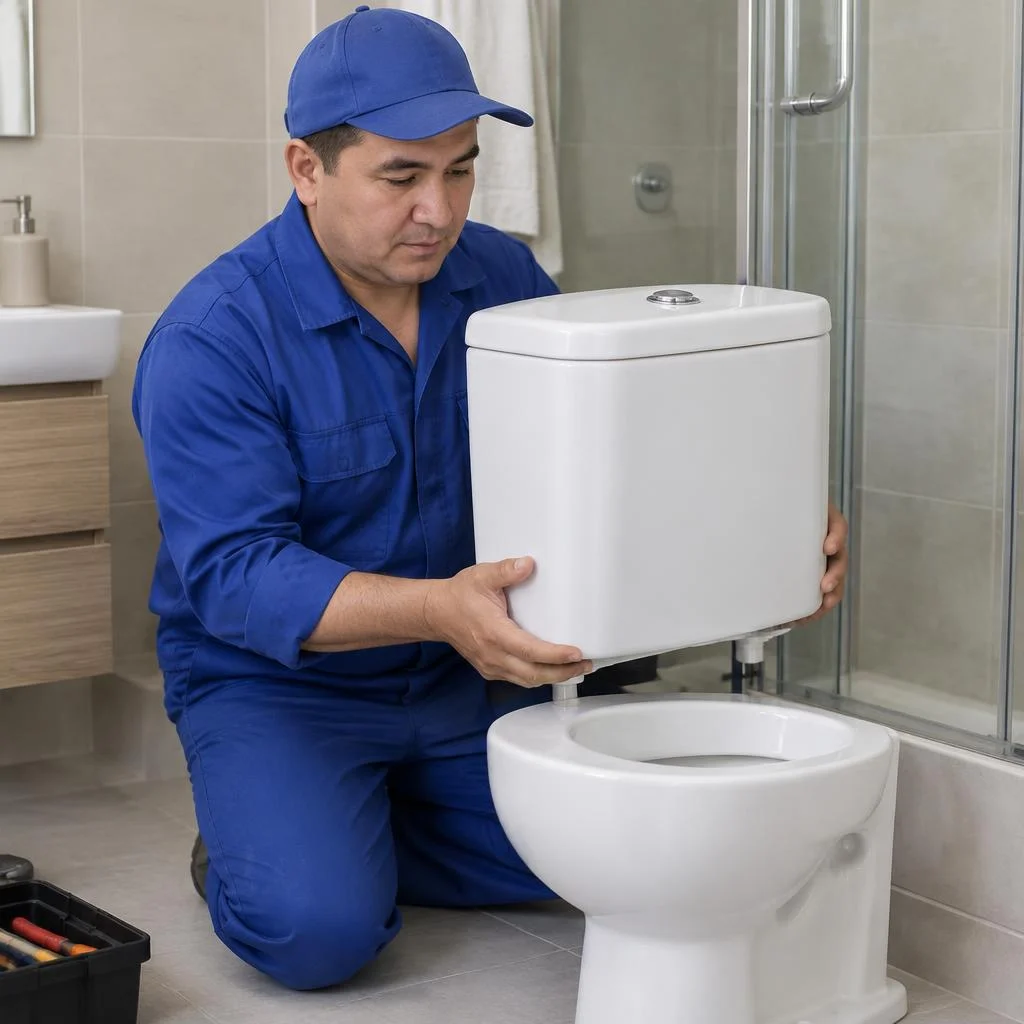
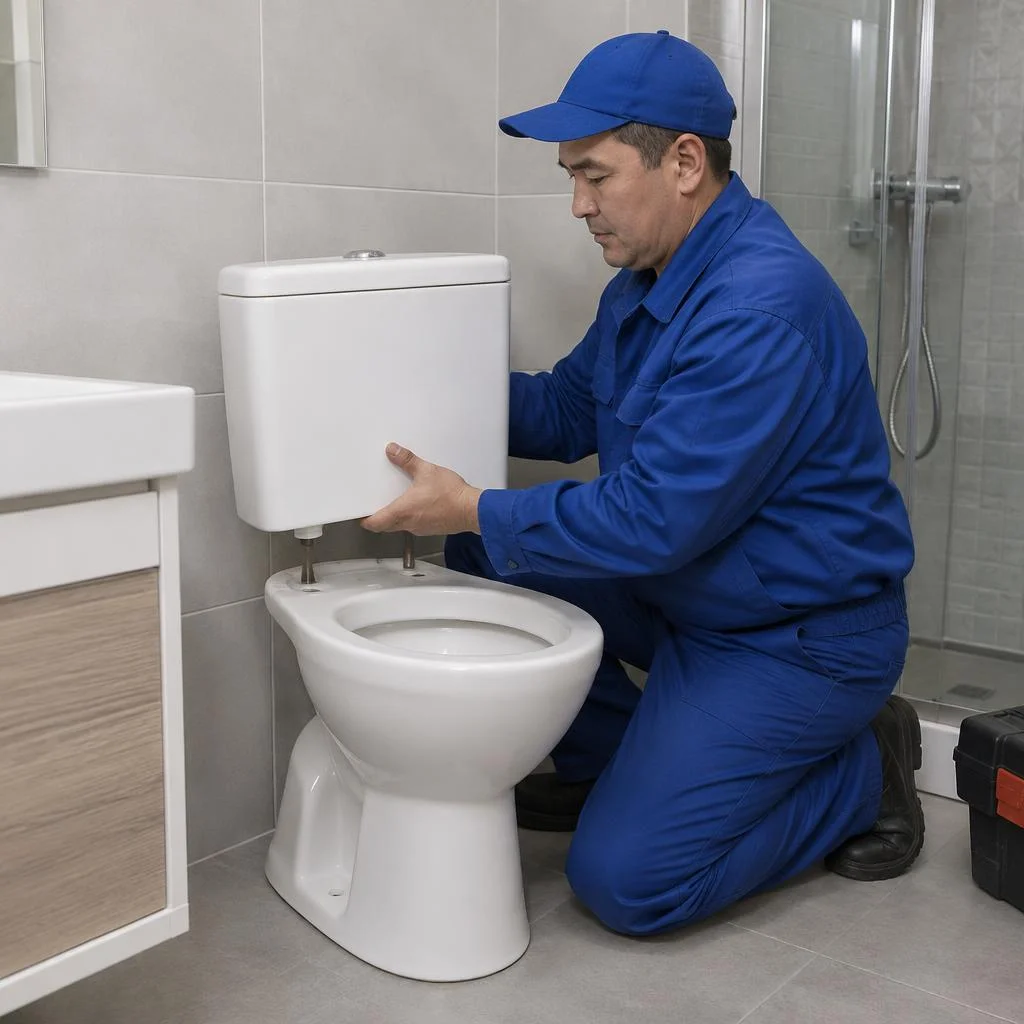
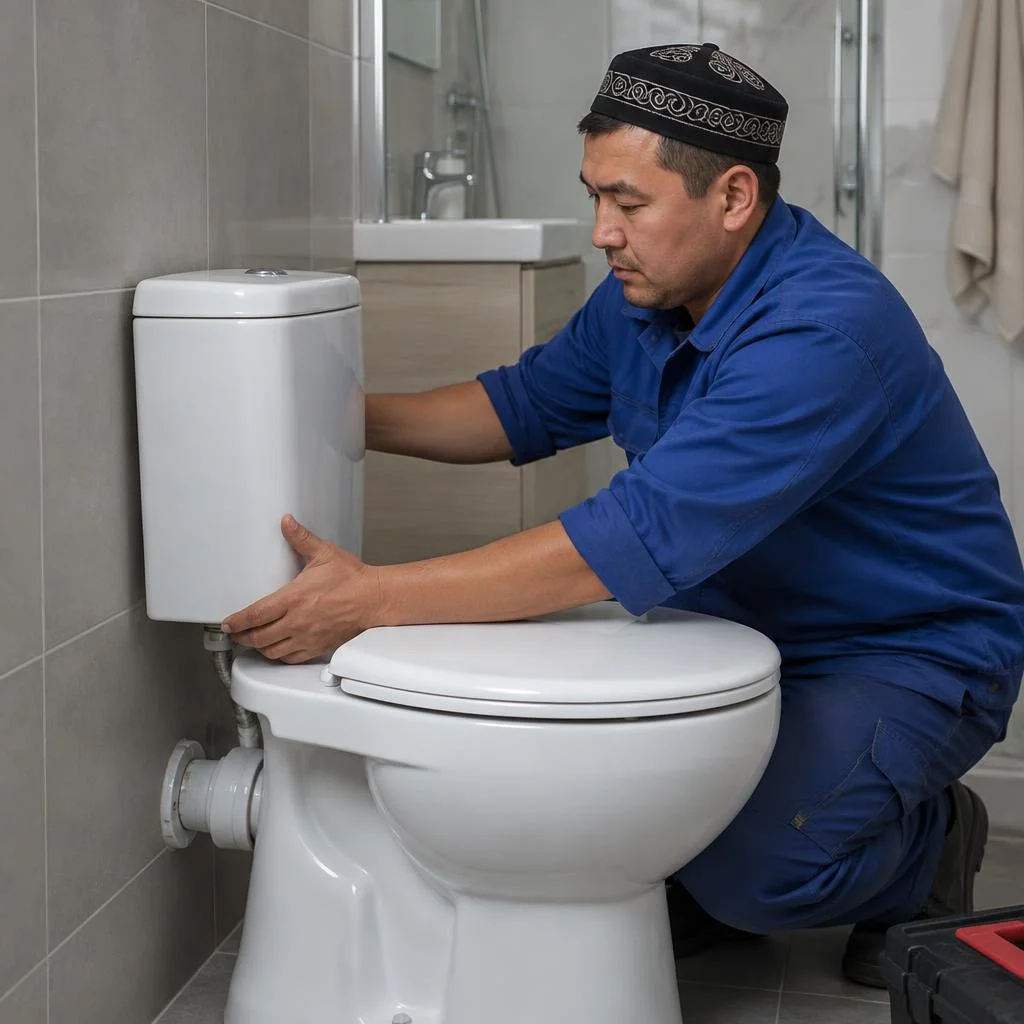
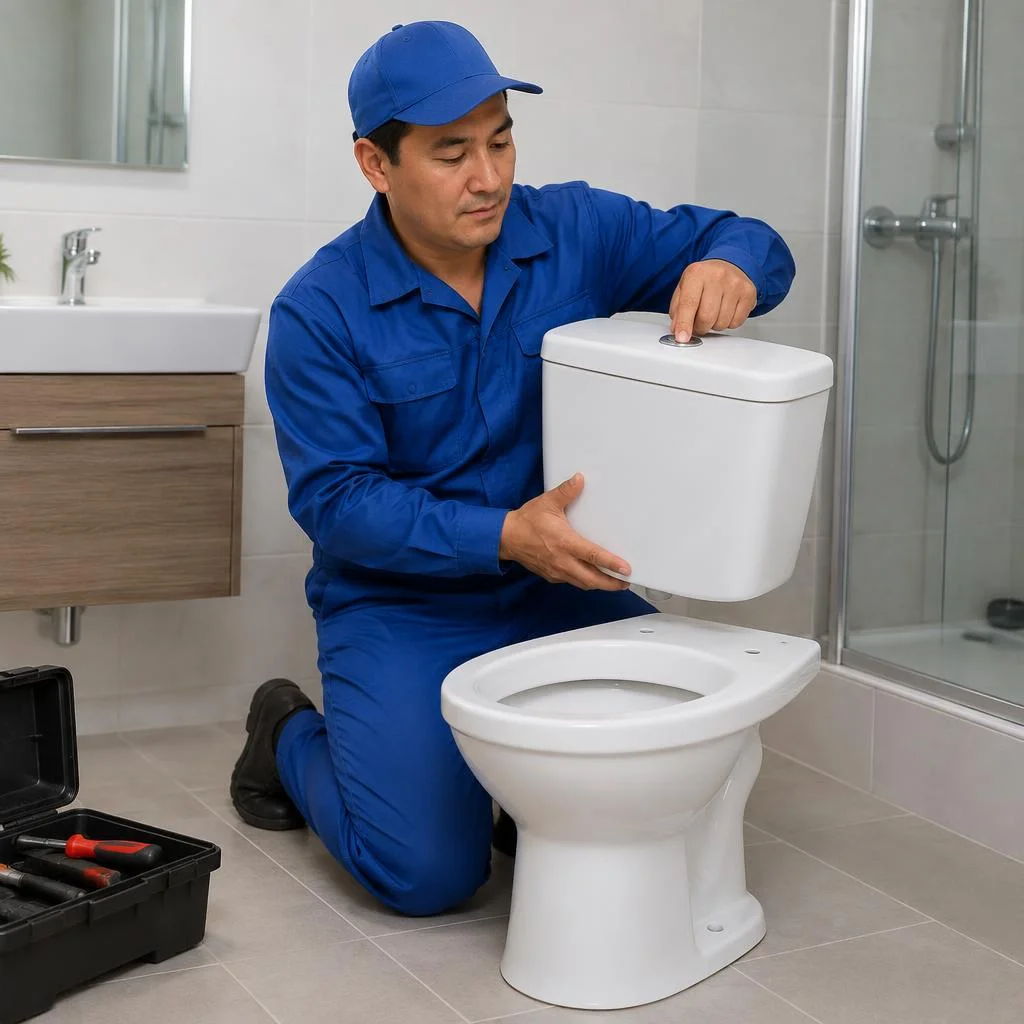
The cistern is a removable unit: it is replaced separately from the bowl if the mounting holes and the seating plane of the toilet are not damaged. Replacing a toilet cistern is a 40-60 minute operation: the supply line is unscrewed, the old tank is removed, a new one is installed and the joint is sealed. A complete toilet replacement requires dismantling the bowl, disconnecting it from the sewer and re-installing it, and that is already 2-3 hours of work with the risk of damaging the tiles. When replacing only the cistern, it is important that the centre-to-centre distance of the fasteners matches — otherwise the ceramic will have to be drilled, and that is already a risk of chipping.
Which tanks Eco-Service replaces: compact, side and bottom inlet
In Bishkek practice, a technician encounters three structural types of tanks, and each requires its own set of works. Let's break down how they differ in water inlet, mounting, and fitting compatibility.
Comparison of tank types by design and connection
| Tank type | Where the water inlet is | What is replaced most often | Installation specifics |
|---|---|---|---|
| Compact | Hidden, inside the body | Fittings, gasket, flush button | Removed together with the lid |
| With side inlet | On the side of the body | Flexible supply line, float | Access to the supply line without disassembly |
| With bottom inlet | From below, behind the bowl | Inlet hose, gasket | Partial disassembly required |
| With overflow | Built-in overflow | Drain pipe, valve seat | Requires checking the slope |
We replace compact tanks, models with side and bottom inlet, as well as designs with overflow. With a bottom inlet, the flexible supply line is hidden behind the bowl — replacing it requires partial disassembly, so it is better to replace it together with the fittings so as not to take the assembly apart twice.
How to select a tank for an existing toilet
- Center-to-center distance of the mounting: measure the distance between the studs with a tape measure — a discrepancy of 5-10 mm will already prevent seating a new tank in the old place.
- Drain hole diameter: for domestic models it is 45-50 mm, for imported ones 40 mm is found — the adapter is selected separately.
- Water inlet side: a side inlet is more convenient for replacement without disassembly, a bottom one is more compact but hides the hose behind the bowl.
- Body height and width: the tank must not rest against the wall or a shelf — check the clearance to the flush button.
- Material and weight: ceramic lasts longer than plastic but requires sturdy mounting — on old toilets the studs are often replaced together with the tank.
Compatibility of fittings with different tank models
Universal valves fit most models, but for imported tanks selection by part number is needed. Replacing the fill valve and replacing the float with universal parts covers about 70% of leak calls, however on tanks of European brands the seating dimensions differ by 2-4 mm, and standard fittings do not seat tightly. Replacing the flush tank with selection of original fittings takes the technician more time to find the part, but the assembly works without leaks. Universal fittings cost less but last less: the plastic of the float loses elasticity and starts letting water through after just 1.5-2 years, so with repeated leaks it is wiser to install the original by part number once.
How a toilet cistern replacement is carried out: the technician's work stages
A technician's visit from the call to the flush check follows a clear sequence: inspection, shutting off the water, dismantling, installing the new cistern, connecting it and a test run. Below is exactly what happens at each step and what determines the duration.
Removing the old cistern and diagnostics
- Shutting off the water: the technician closes the valve on the supply line or the main tap, and drains the remaining water from the cistern into a bucket through a flexible hose.
- Inspecting the fasteners: the studs, nuts and gaskets between the cistern and the bowl's shelf are checked — seized metal is visible by its rusty coating.
- Removing the cistern: if the bolts are in good condition, it is lifted off its seat; if they are stripped, Eco-Service carefully cuts the studs with a hacksaw.
- Leak diagnostics: the technician inspects the valve seat, the flush gasket and the bowl's seating surface to determine whether the fittings were replaced or new fasteners are needed.
- Plumber's tools: an adjustable wrench, a set of open-end wrenches, a hacksaw, pliers, screwdrivers, silicone, rags and a multimeter for checking grounding.
- Defect assessment: the client is told which components need replacing — the gasket, the corrugated pipe, the supply line or the entire cistern.
Installing the new cistern and connecting it to the water supply
Eco-Service installs the new cistern, connects the flexible supply line and adjusts the water level in the fill valve so that the flush works on the first press. The technician seats the body on a new gasket, levels it, tightens the fasteners without over-compressing the ceramic, then installs the flexible supply line and inlet hose — sealing the threaded connections with tape or paste to prevent dripping under pressure. When installing with an overflow, the height of the overflow tube relative to the float is set separately: on close-coupled units with a bottom inlet, adjustment is done with a screw on the fill valve; on models with a side inlet, with the float lever. The water level is set 2-3 cm below the overflow: if filled higher, water will flow into the bowl by gravity during pressure surges in the municipal network.
How long a toilet cistern replacement takes
Eco-Service completes the work in a single visit: a standard installation takes 40-60 minutes, replacing the cistern fittings without removing the body takes 20-30 minutes. The time varies depending on the type of connection and the condition of the fasteners: on cisterns with a bottom inlet, unscrewing the old studs adds 10-15 minutes, and if the threads are seized and have to be cut off, installing the new body is delayed by another quarter of an hour. A technician's home visit in Bishkek is scheduled on the day of the request; work without removing the toilet is faster because it does not require disconnecting the bowl from the sewer. The longest part is not the installation but the preparation: draining the water, disconnecting the supply line and drying the seating surface — this takes up to a third of the time.
What changes inside the tank: fittings, valves, seals
The tank is simpler than it seems: inside, two valves, a float, a flapper and several seals do the work. We break down each component — what it does, how wear shows up, and when a replacement is needed in the toilet tank rather than of the whole unit.
Flush and fill valves: how they work and when they are replaced
Eco-Service installs a new flush valve when there is a constant leak into the bowl, and a fill valve when the tank stops filling with water or makes noise while filling. The flush assembly opens every time the button is pressed and lets the entire volume of water through the seat, so its rubber seal wears out faster than the other parts. The fill valve only activates during the filling stage: the diaphragm shuts off the supply when the float rises to the required level. The valve seat is considered separately — the plastic socket where the seal sits — along with the button seal, which cushions the travel of the push rod. The flush valve wears out faster than the fill valve: its seal comes into contact with water on every flush, whereas the fill valve only activates during filling. Clients often phrase the request as a replacement in the toilet tank — and the technician immediately understands that this refers to the internal fittings, not a replacement of the entire fixture. Checking for wear is simple: tint the water in the tank with food coloring — if after 20 minutes the color appears in the bowl without pressing the button, the flush seal is no longer holding.
Float, flapper and gaskets: small components with a big effect
- Float replacement: the plastic body cracks or loses its seal, the water is not shut off and runs into the overflow.
- Flush flapper replacement: the rubber ring between the tank and the bowl hardens, and a thin trickle appears between the parts.
- Tank gasket replacement: the seal under the fittings lets water through during filling, and a puddle accumulates on the floor around the toilet.
- Button seal replacement: the thin rubber under the push rod dries out, and water seeps along the button body onto the lid.
- Valve seat replacement: the plastic socket becomes covered with cracks, the valve no longer seats tightly and lets water through constantly.
Flush button, lid and fasteners: what else is included in the replacement
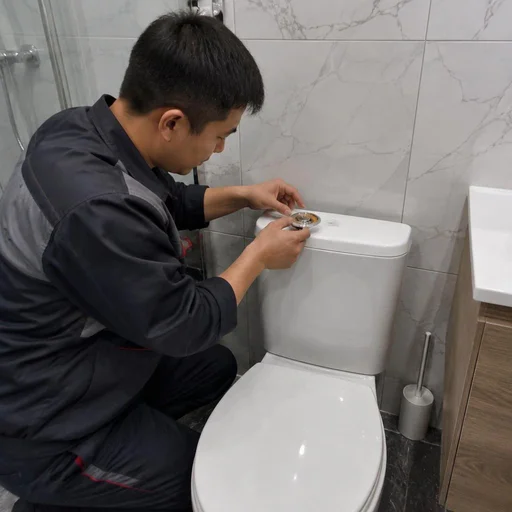
Eco-Service replaces the flush button, tank lid and fasteners — these parts break from mechanical wear, not from water. A dual-flush button breaks more often than a regular one: the plastic push rod wears against the valve stem, and pressing it stops working on the first try. The lid cracks from an impact or sags if the mounting studs have come loose, and the tank fasteners — bolts and washers — corrode and stop holding the body level. The service life of a tank with careful use is 10-15 years, but the button and fasteners require attention earlier: their lifespan is 4-6 years of active use. When there is no reason to replace the toilet tank entirely, but there is a leak from below, start with the flapper — it is cheaper than the valve and is renewed in 15 minutes. Inspect the fasteners during every repair of the fittings: a bolt tightened in a minute saves you from a misaligned body and a future leak along the seam.
Replacing a toilet cistern without removing the bowl: when this is possible
Removing the bowl is not a mandatory step when installing a new cistern. The decision depends on access to the fasteners, the condition of the supply line and the seating surface under the cistern.
Conditions for replacing the cistern without dismantling the toilet
- Access to the fasteners from above: the cistern mounting bolts can be unscrewed without removing the bowl if they are not hidden by tiles or a boxed enclosure.
- Exposed supply line: the flexible hose and inlet assembly are accessible for disconnection and reconnection to the water supply.
- Intact seating surface: the ceramic under the cistern has no chips or cracks — the new gasket will sit evenly and will not leak.
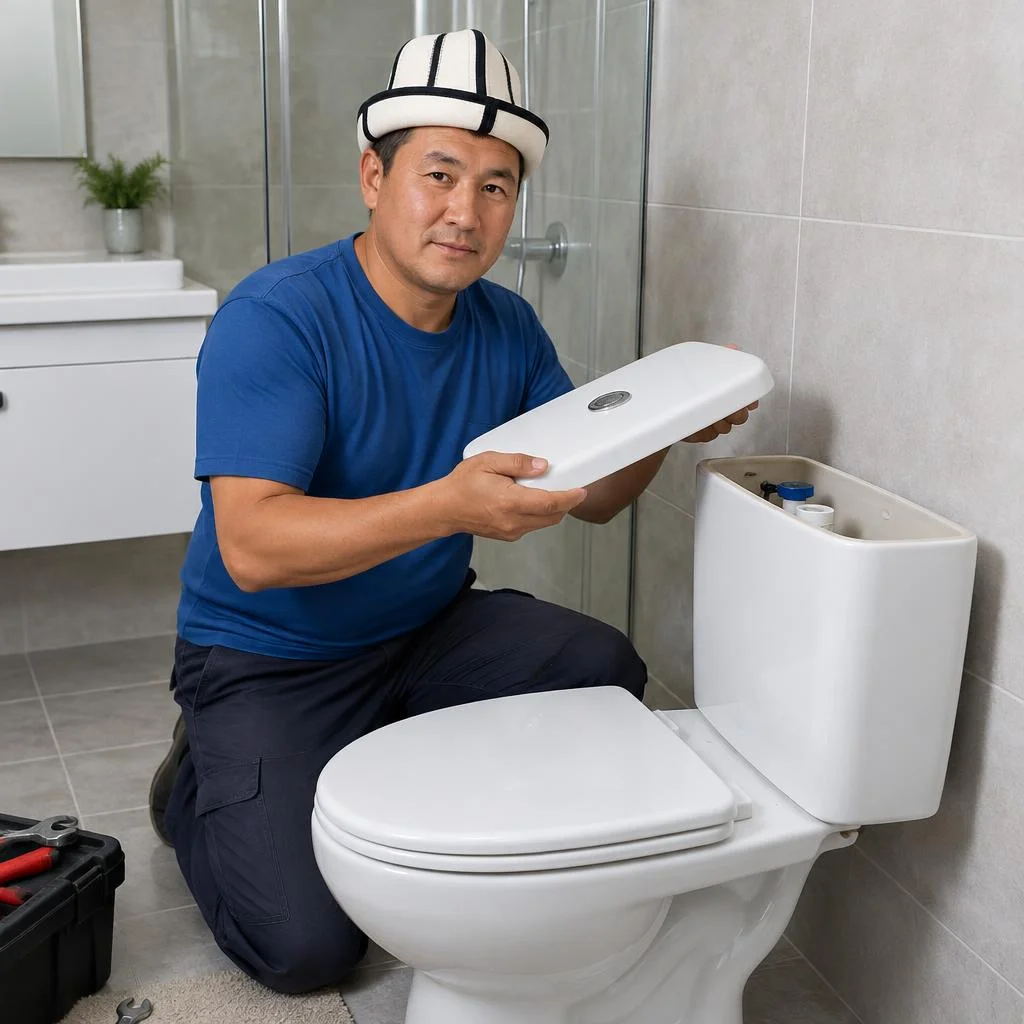
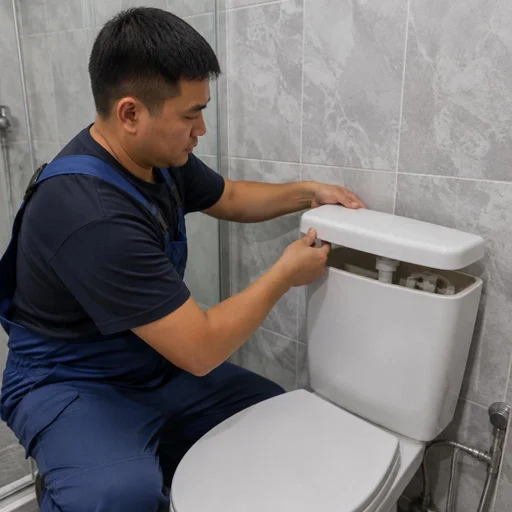
- Removable cistern lid: the flush button and the fittings can be taken out through the top, without disassembling the bowl.
- Eco-Service replaces the cistern without removing the bowl if the fasteners are accessible from above, the supply line is not walled in and the seating surface is not damaged.
When you cannot do without dismantling the bowl
Eco-Service removes the bowl if the supply line is walled into the wall, the fasteners have seized up, or a new flush pipe needs to be installed under the cistern. Seized bolts cannot be unscrewed in place — they are cut off only after the bowl has been removed, otherwise there is a risk of cracking the ceramic with a jerk. Installing a flush pipe and renewing the flexible supply line almost always go together with dismantling: the old thread in the bowl does not hold the new part, and the joint starts leaking within the first day. A walled-in supply line is replaced with a flexible one in a corrugated sleeve: this allows you to do without dismantling next time and avoid opening up the tiles again. If the owner is unsure whether such a scope of work is needed, it is worth comparing the cost of installing the cistern with the price of opening up the tiles again — saving at the installation stage turns into wall repairs.
Can you replace a toilet cistern yourself
Replacing a toilet cistern yourself is feasible if you have the tools and a compatible model, but without experience it is easy to damage the ceramic or strip the thread. You will need an adjustable wrench, a set of screwdrivers, a new gasket and sealant; the question of the price to replace a toilet cistern is resolved more easily when the technician arrives with his own fasteners and does not waste time searching for parts for a specific model. The main risk of doing it yourself is not the installation but the selection: a mismatch of fasteners is discovered only after the old cistern has been removed, when the water is shut off. Most often, the centre-to-centre distance of the bolts and the diameter of the flush opening differ between models from different years of manufacture. Before buying, remove the old cistern and measure these two parameters — that way the new part will fit without modifications.
Warranty, payment and Eco-Service service in Bishkek
In addition to the work itself, the client receives warranty obligations, a clear payment scheme and service availability. Let's look at how the warranty for tank replacement works, how to call a technician and how the work of a direct provider differs from a private contractor.
2-year warranty on tank and fittings replacement
Eco-Service provides a 2-year warranty on tank replacement and on fittings replacement — including original spare parts installed by the technician. The two-year term covers the flush and fill valves, float mechanism, gasket, seals and fasteners that the technician installs during the visit. The warranty card is issued on site: it records the tank model, the list of replaced components and the date of work. If within two years a component fails due to the contractor's fault, the repeat visit and part replacement are performed free of charge. The warranty remains valid if the client has not disassembled the tank themselves: any intervention in the fittings after the technician's visit voids the obligations for that component.
How to call a technician and pay for the work
- Request: Eco-Service accepts requests by phone, in Telegram and via the form on the website; the technician arranges a convenient time during the day.
- Technician visit to your home: the specialist arrives from their own service center in Bishkek with a standard set of fittings and consumables.
- On-site diagnostics: the technician determines whether a full tank replacement is needed or whether replacing a single component is sufficient, and agrees on the scope of work.
- Payment: possible via MBANK and O!Деньги — in cash or by transfer after the work is completed; the receipt and warranty card are issued immediately.
- Checking the result: the client flushes 2-3 times and makes sure there are no leaks or drips — only after that is the request closed.
Why a direct provider is more advantageous than a private technician
Eco-Service works as a direct provider of the service: the technician arrives from their own service center in Bishkek, without dispatchers or intermediaries between the client and the contractor. The request, warranty card and spare parts come from a single organization, so in the event of a warranty case you don't have to figure out who exactly is responsible for the defect. The cost of work and parts is agreed upon before installation begins. If compared with a private technician, whose obligations are more often based on a verbal agreement, a direct provider documents them. The price of toilet tank replacement from a direct contractor is usually more predictable, since it does not include an intermediary's commission, and the work history can be verified through a single request rather than a chain of subcontractors.
Conclusion
We have gathered the main things that determine the result of toilet tank replacement: what determines the decision to replace the entire unit, which parts cause leaks most often and what to look for when choosing a contractor.
Main conclusions
- Body or fittings: tank replacement is justified when there are cracks in the body and deformation of the seat; if the body is intact, replacing the internal fittings is sufficient.
- Connection type: a close-coupled unit, a tank with side or bottom inlet determines the set of work and access to the supply line — this also affects disassembly time.
- Source of the leak: in most cases water is let through by the float, gasket and seal, not by the tank body itself.
- Bowl disassembly: it is possible to avoid removing the toilet if the fasteners are accessible from above and the supply line is not walled into the wall.
- Contractor's terms: a 2-year warranty and original spare parts are basic requirements to look for when choosing a technician.