










Types of electric underfloor heating and what suits your space
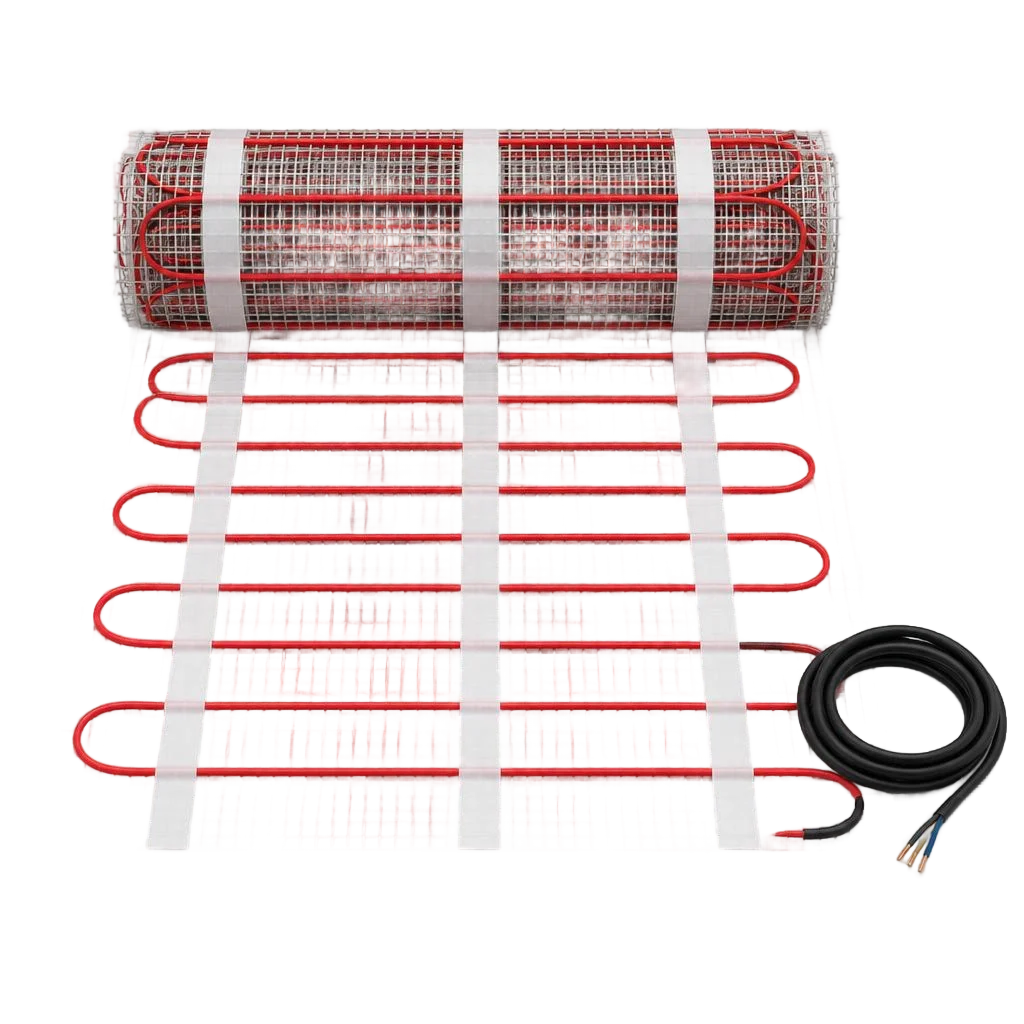
Electric heating systems fall into three types: cable, mat, and infrared film. Let's look at their differences, the required power per square meter, and the principle of selecting a system for a specific room and finish flooring.
Cable, mat, and film floor: how they differ
For tiles, cable or mat is more often chosen; for laminate and parquet — film, because it doesn't raise the floor level. At Eco-Service, before selecting a system, the base level differences are measured: if they exceed 2 mm per meter, film cannot be laid without preliminary leveling. The query "installation of electric underfloor heating price" is entered by those who have already decided on the type of system and want to calculate an estimate. Another common variant is "price for installation of electric underfloor heating": this is how people search when comparing offers from different contractors for the same property. And the phrasing "installation of electric underfloor heating price per m2" is typed by those who calculate the budget by room area rather than for the entire property as a whole. Separately, clients clarify "installation of electric underfloor heating price" — that's how the query sounds when a person wants to understand the range of sums even before choosing a specific system.
What power should an electric underfloor heating have per 1 m²
For comfortable heating, 120–150 W/m² is selected; for primary heating — 160–180 W/m²; and on a balcony the power is reduced to 100–120 W/m²: a glazed loggia loses heat faster than a solid-walled room, and a reserve here doesn't help but harms. In a corridor and hallway, 100–120 W/m² is enough; in a bathroom with constant humidity — 140–150 W/m²; in a children's room and bedroom — 130–150 W/m² under laminate. Clients often type "installation of electric underfloor heating" — and land on this page, although here we're only talking about power calculation for now. Installation of electric underfloor heating in the kitchen requires accounting for furniture: the heating circuit is not laid under cabinets and the refrigerator, so the calculation is done based on the free zone. If the power is overstated, the thermostat will switch off frequently and electricity consumption will increase without any gain in heat.
Can electric underfloor heating be laid under tiles without a screed
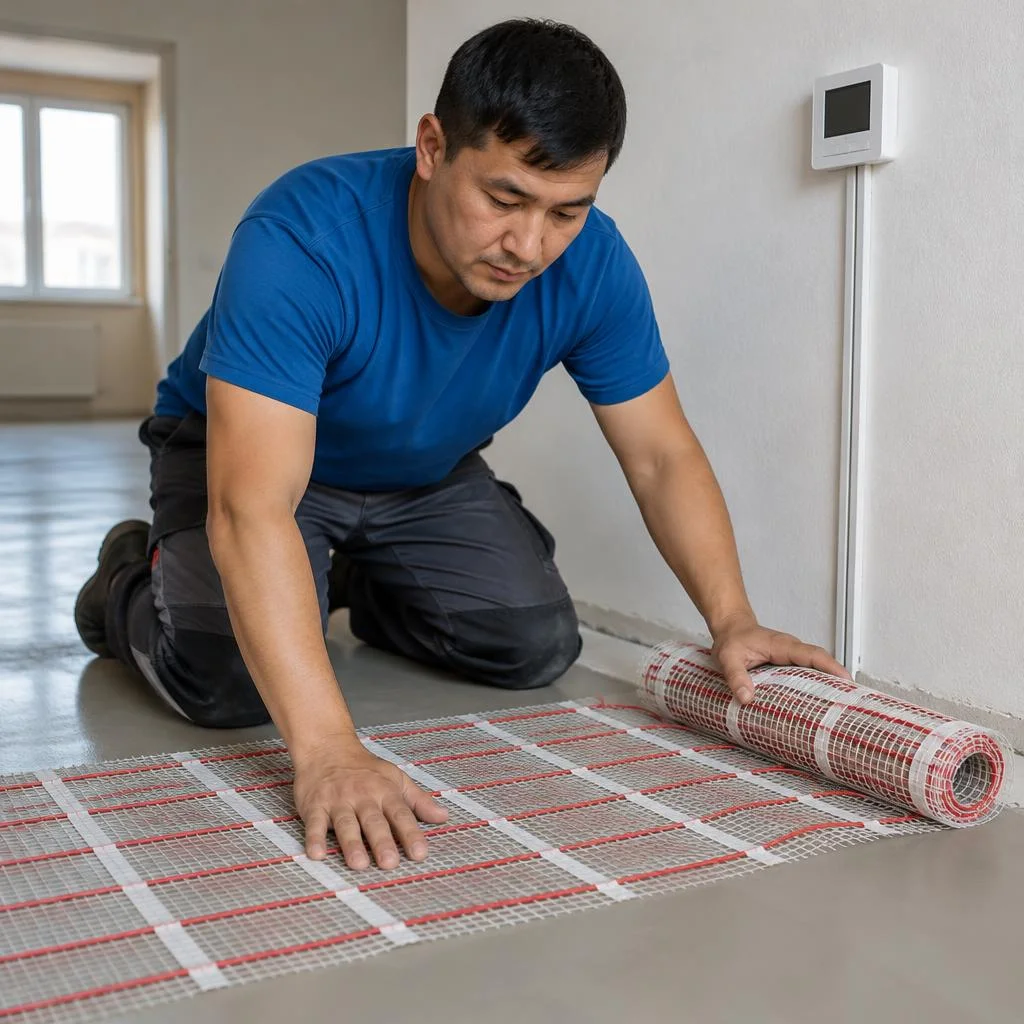
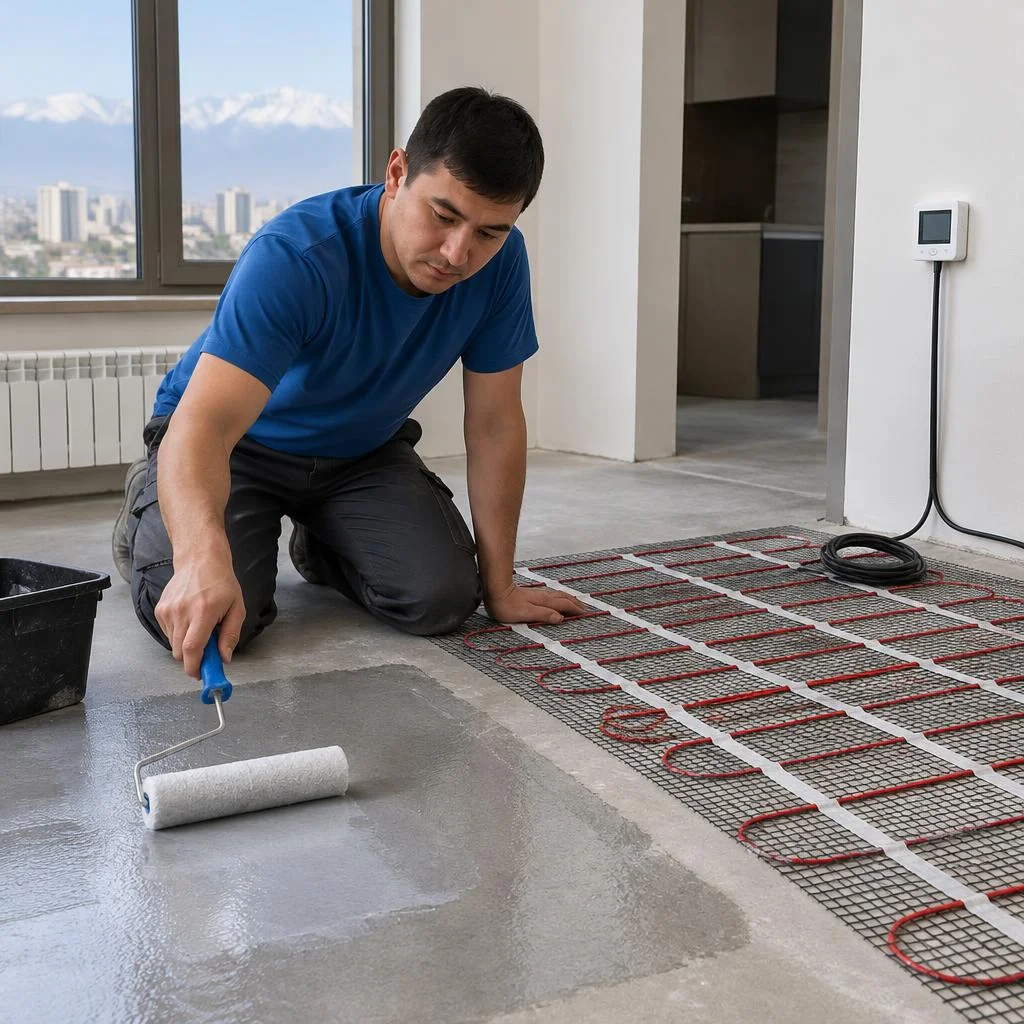
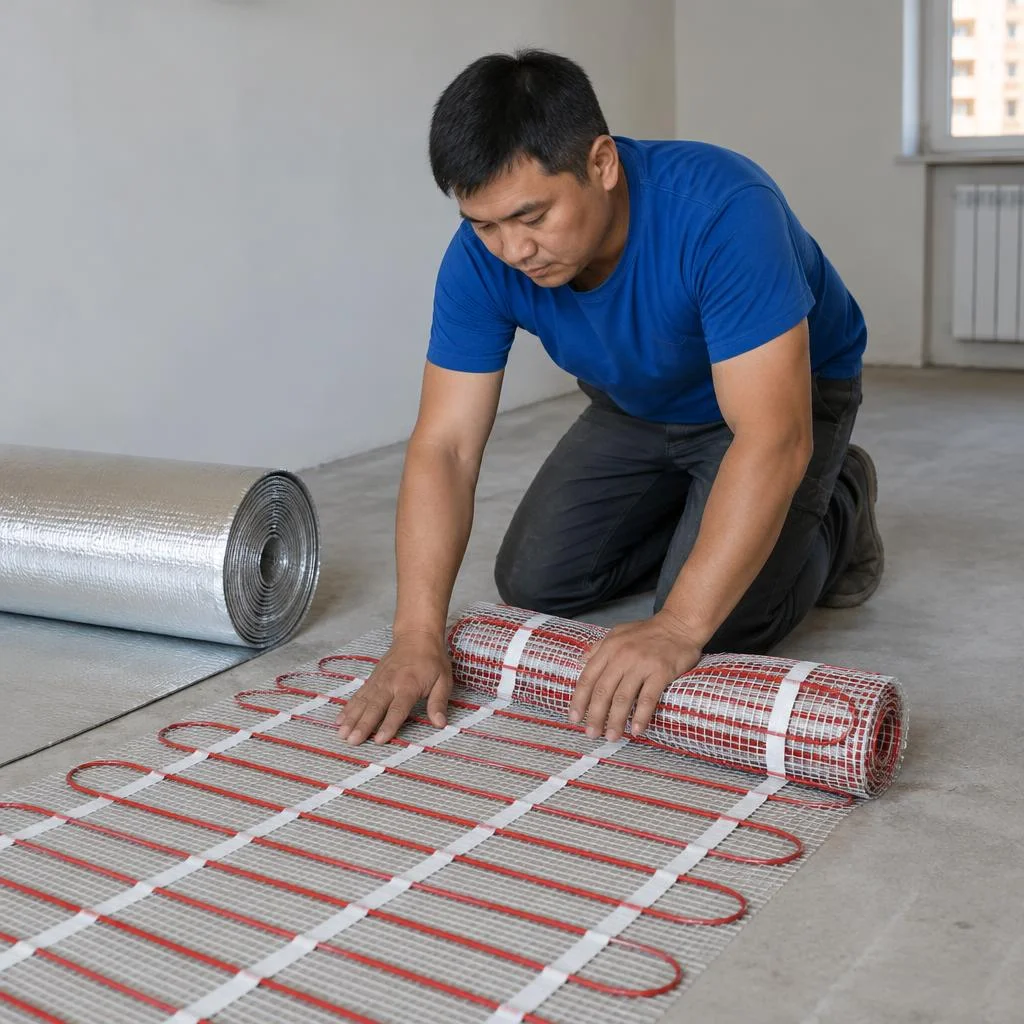
Yes — a heating mat is laid directly into the layer of tile adhesive, without a wet screed, and this is the fastest option for a bathroom. Laying electric underfloor heating of this type takes one day: the mat is rolled out over the prepared base, secured, covered with adhesive, and tiles are laid immediately. This format avoids wet processes, so tiles are laid on the same day rather than waiting 28 days for the screed to gain strength. Without a screed, large base level differences cannot be leveled — preparation is done first, otherwise the mat will lie with air pockets. In search, the query "installation of electric underfloor heating price" appears most often — that's how clients clarify the budget before starting work. Another popular variant is "electric underfloor heating installation": that's how people search for a specialist when they've already bought the kit and only need installation.
What is taken into account when choosing a system for a room
- Heating area: the calculation is based on the free zone without furniture and plumbing — it is usually 30–40% less than the total room area.
- Finish flooring: for porcelain stoneware and ceramics, cable or mat is suitable; for laminate, parquet, and linoleum — only infrared film.
- Ceiling height: a cable system in a screed takes up 3–5 cm, a mat — 1–2 cm, film — up to 1 cm, which is critical in Khrushchev-era buildings.
- Heating mode: for comfort, 120–150 W/m² is enough; for full heating without radiators — from 160 W/m² with base insulation.
- Type of room: in wet zones, waterproofing and a 30 mA RCD are mandatory; on a balcony — insulation of the slab and reduced power.
- Electric underfloor heating installation under laminate requires a 2–3 mm thick underlay — without it, the film will be pressed through by furniture legs within a few months.
How the installation of an electric underfloor heating system proceeds: stages from marking to commissioning
We break down the sequence of work that every project goes through, step by step — from marking the laying zones to setting up the heating system and control resistance measurements.
Marking the laying zones and preparing the base
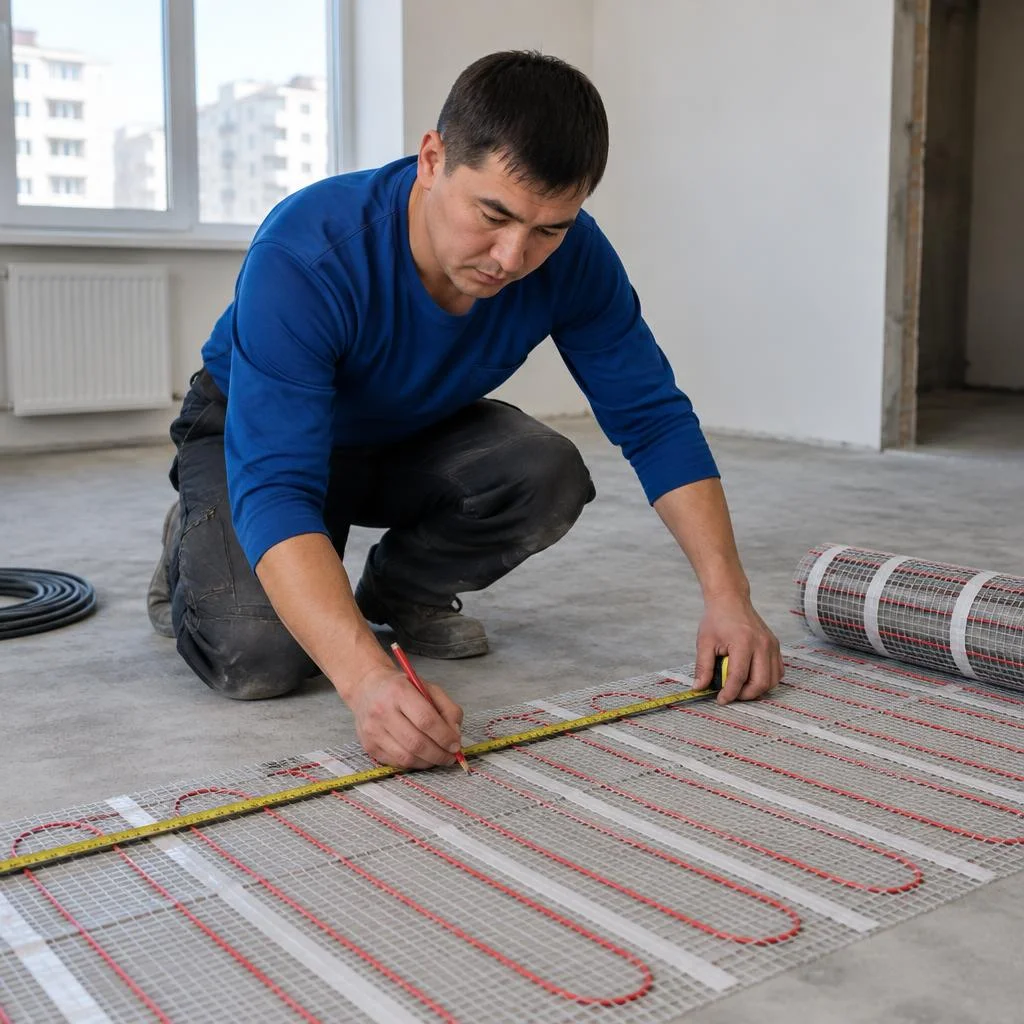
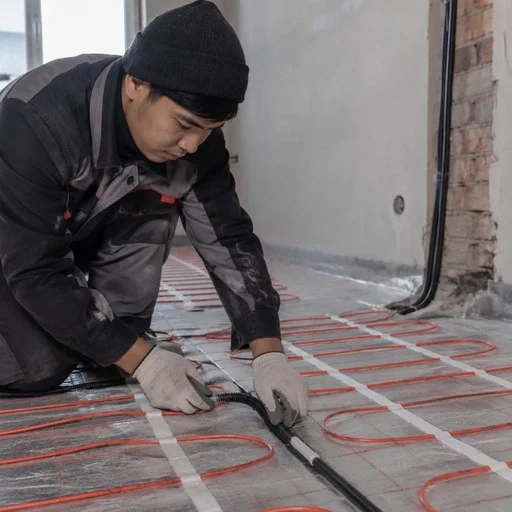
The installation of electric floors begins with marking the laying zones and preparing the base — the Eco-Service technician cleans the surface, levels out unevenness and applies primer. First, the contours where the heating circuit will lie are marked on the floor, and the areas under cabinets, the refrigerator and the washing machine are left free. Then the old screed or loose layer is removed, cracks are filled with repair compound, and any unevenness greater than two millimeters per meter is leveled with self-leveling floor. Priming the base binds the dust and improves adhesion — on loose concrete without it, the screed peels off in layers. The marking is done with an offset from walls and furniture: heating under cabinets and appliances is not allowed, otherwise the system will overheat and fail prematurely.
Laying thermal insulation and edge insulation tape
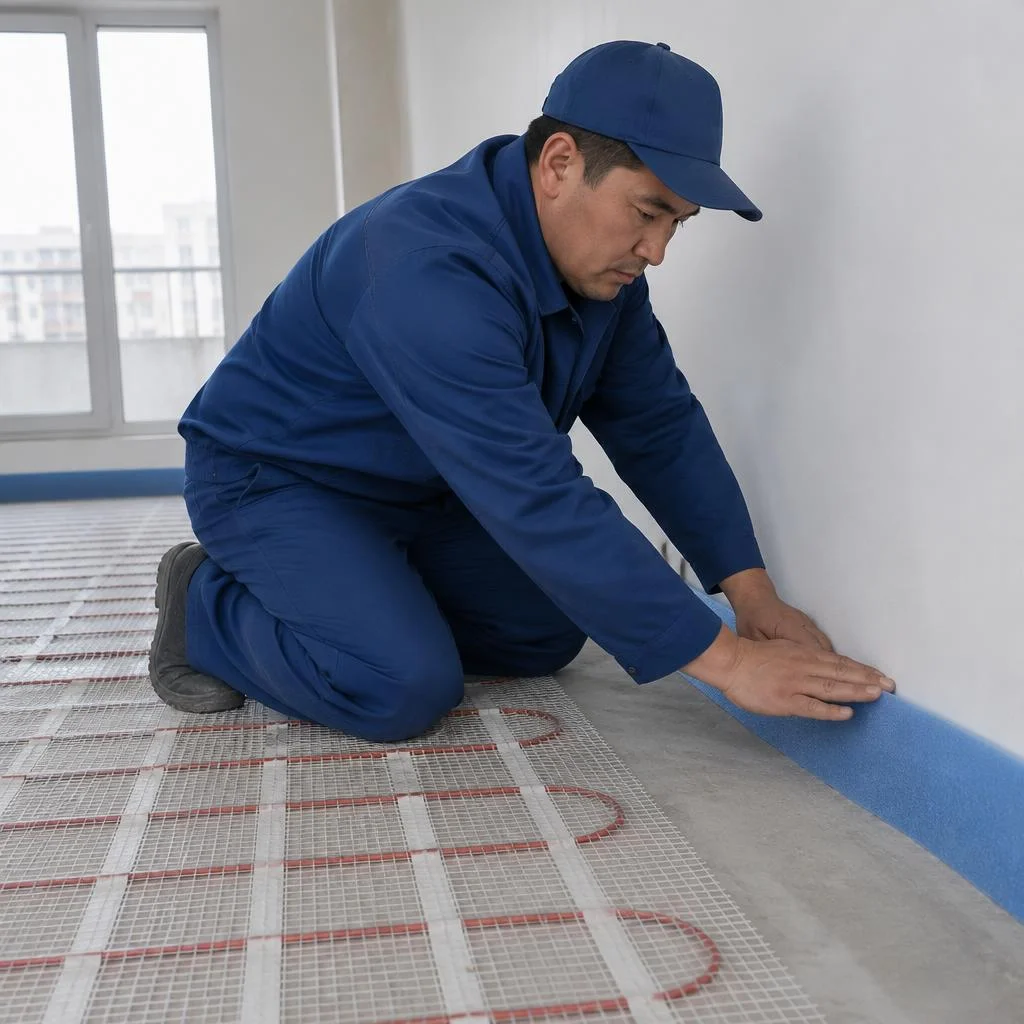
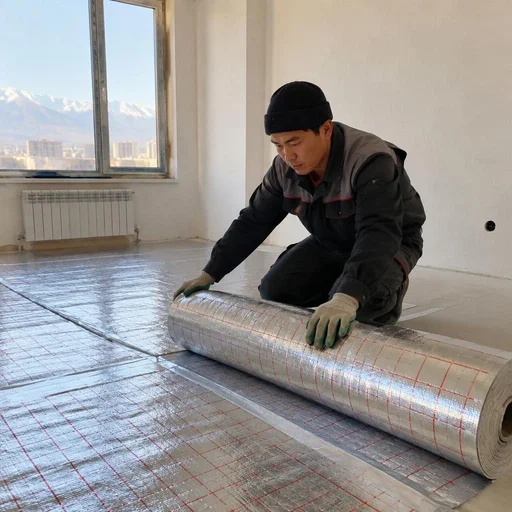
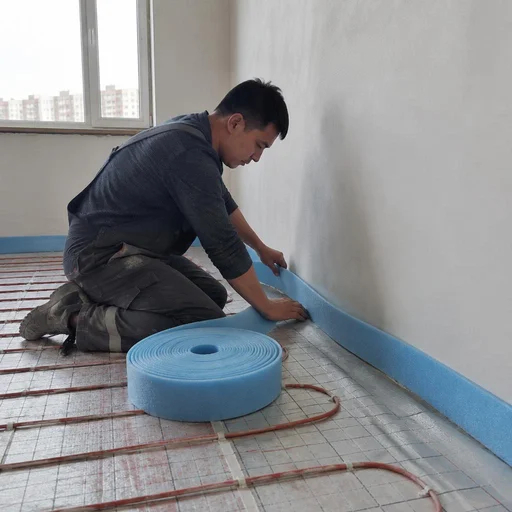
Thermal insulation is laid over the base, and edge insulation tape is laid around the perimeter so that the screed does not press against the walls when heated. Extruded polystyrene foam with a thickness of 20 to 50 mm or a foil mat with markings is used — it is more convenient to maintain the coil spacing on it. The edge insulation tape is fastened along the entire contour of the room and around columns; its upper edge should protrude 10–15 mm above the future screed. A screed 3–5 cm thick expands by several millimeters when heated and, without a compensation gap, presses against the load-bearing structures. Without edge insulation tape, the screed cracks at the corners when it expands — this is one of the common reasons for requests for rework. Thermal insulation is laid butt-jointed, the seams are taped with foil tape, otherwise the heat goes downward instead of into the room.
Laying out the heating cable and fastening
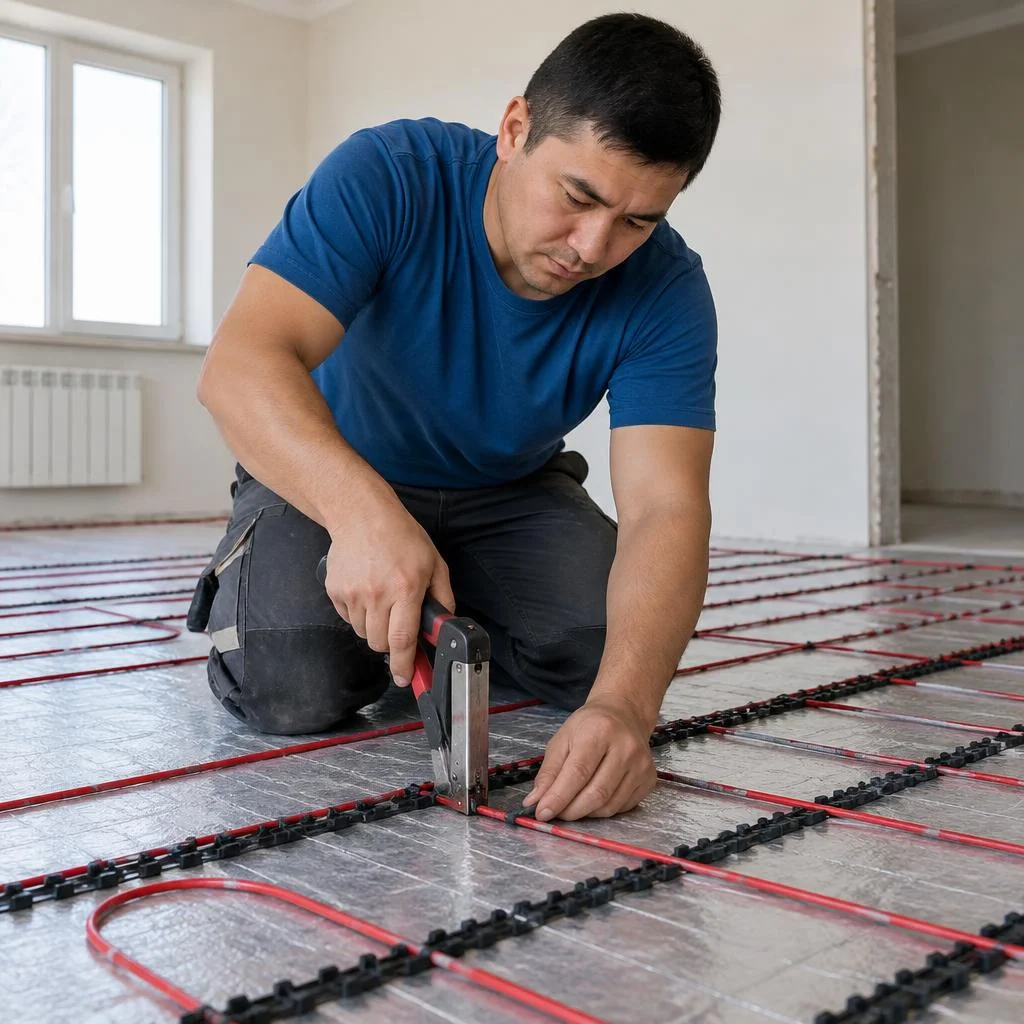
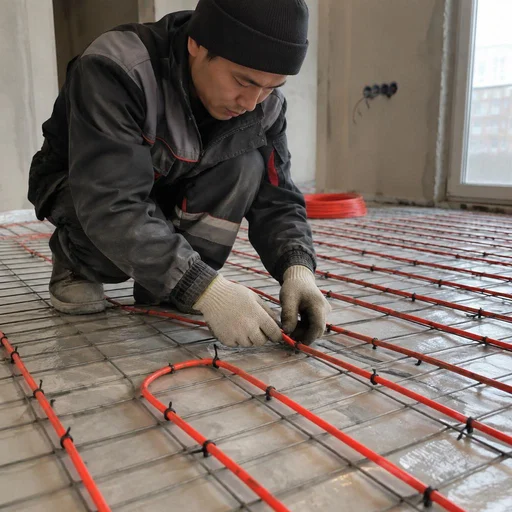
Electric underfloor heating installation involves calculating the coil spacing for a specific power: for 150 W per square meter, the coils run every 10–12 cm, for 100 W — every 15 cm. The cable is laid out with equal spacing and fastened with mounting tape so that the coils do not shift when the screed is poured. Fastening is done with a fastening spacing of 25–30 cm, and the loops at the thermostat are brought out into the mounting box. The laying spacing must not be changed on one section — where the coils are brought closer together, the floor will heat in a spot, and where they are stretched apart, a cold zone will remain. Before pouring, the technician once again checks the circuit length against the data sheet: shortening or lengthening the heating cable is prohibited, as this changes the resistance and voids the warranty. In our practice, we have seen projects where the circuit was stretched by extra meters for the sake of even laying — the floor heated unevenly, and the screed had to be opened up.
Installing the temperature sensor and connecting to the thermostat
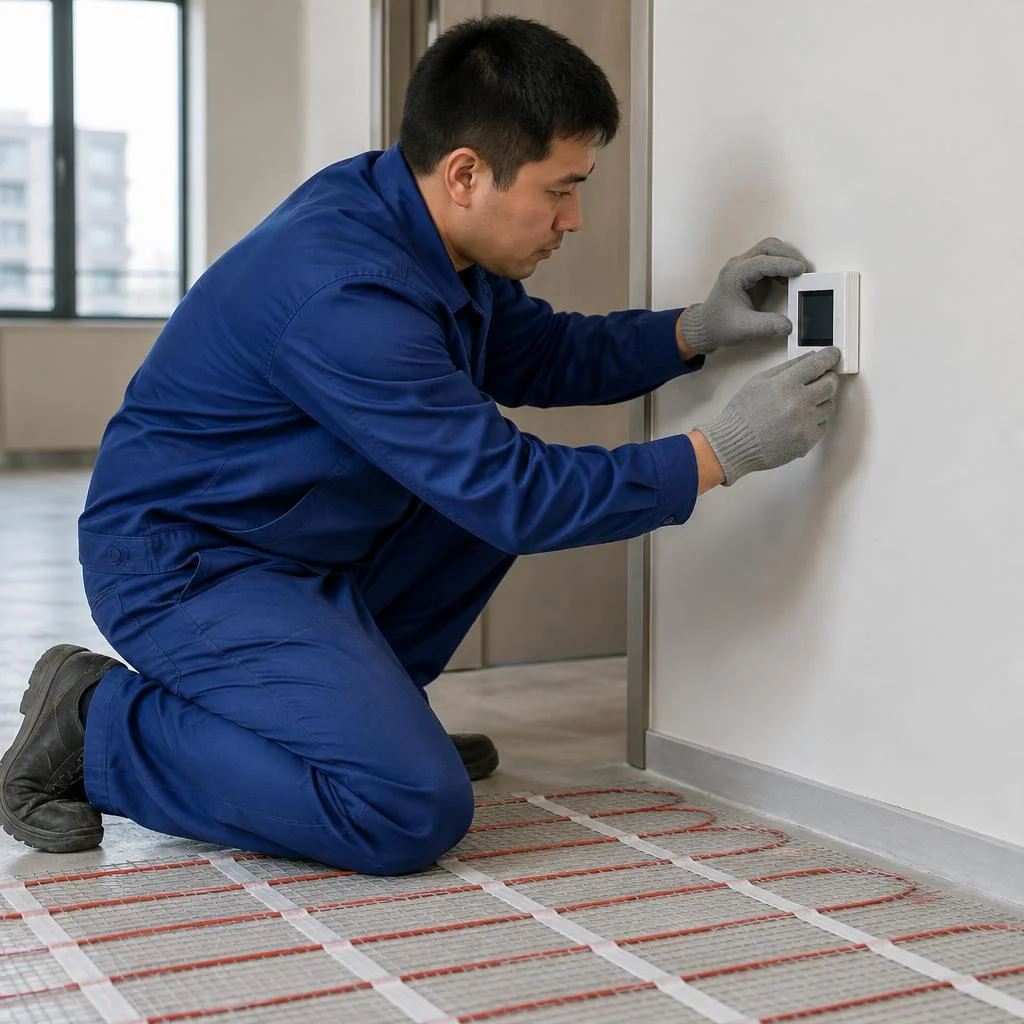
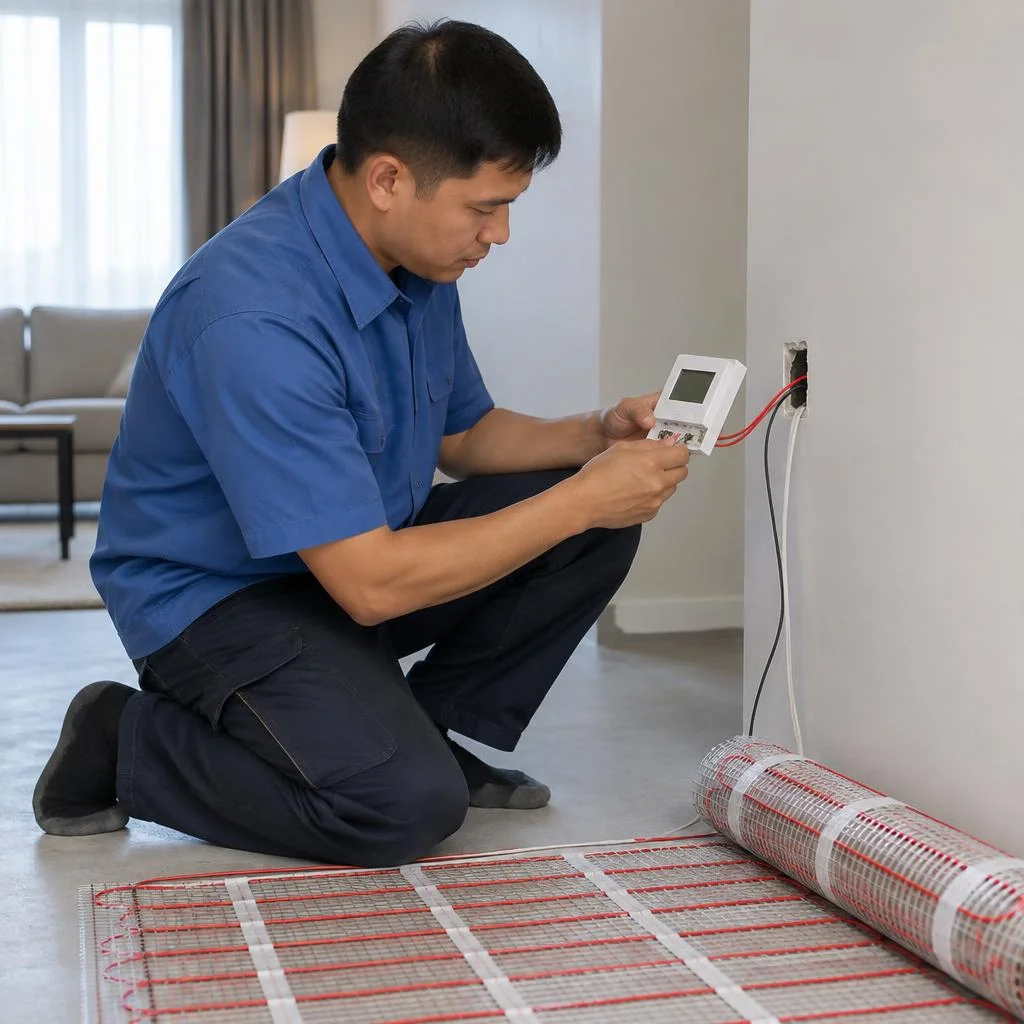
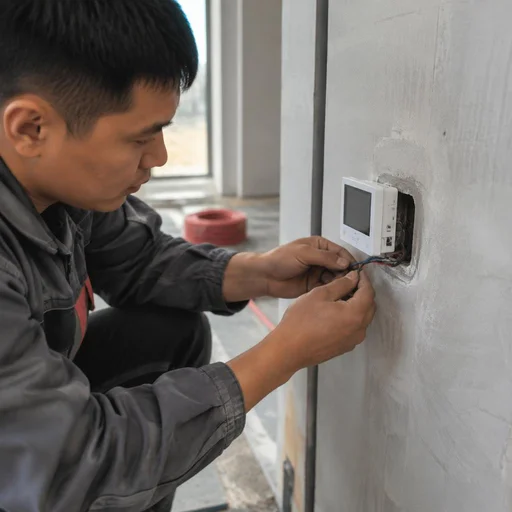
The temperature sensor is routed into a corrugated conduit between the cable coils, and the power is connected to the thermostat through a 30 mA RCD. The corrugated conduit is laid in a groove or directly in the screed with a plugged end, and the sensor is placed at an equal distance from two adjacent coils — this way it reads the average temperature rather than local overheating. The cable is connected to the thermostat according to the manufacturer's diagram: phase, neutral and ground are wired to the terminals, and the line is protected by a 30 mA RCD against current leakage. The corrugated conduit is needed so that the sensor can be replaced without opening the screed — this is cheaper than redoing the entire floor. The connection of the floor temperature sensor and the power cable is checked by continuity testing before being connected to the mains, so as not to damage the thermostat on first startup.
Setting up the heating system and checking with a multimeter
Before handover, the technician checks the resistance with a multimeter and sets up the heating system for the room's mode. Electric underfloor heating installation ends with two measurements — before pouring the screed and after — the discrepancy shows whether the cable was damaged; the normal deviation is no more than 10% of the data sheet value. Setting up the heating system includes selecting the mode (comfort or primary heating), setting a daily or weekly schedule on a programmable thermostat, and limiting the floor temperature within 27–30 °C for tile. Checking the installation quality takes about an hour: the system warms up, the sensor is compared with pyrometer readings, and consumption is compared with the calculated value. The installation of electric floors is completed with a report with resistance measurements before and after the screed — this document will be needed for a warranty claim.
Acceptance of the facility and handover of documents to the customer
Clients often ask how the price for installing an electric underfloor heating system is calculated, and they clarify it after inspecting the facility. The work is considered complete after warm-up and signing of the acceptance report, not after pouring the screed. The screed gains strength over 28 days, but the first test warm-up is done no earlier than after 7 days — the cable must not be switched on earlier, the concrete has not yet set and will crack. The installation of an electric underfloor heating system is recorded in the acceptance report: the length of the circuit, the resistance before and after pouring, the model of the thermostat, and the date of commissioning are specified. The customer is given a 2-year warranty card, a cable layout diagram with references to the walls, and instructions for setting up the thermostat. In search, clients type "installation of electric underfloor heating" — and using this diagram, the technician finds the route in minutes instead of opening up the screed at random. Keep the diagram together with the thermostat's data sheet — when drilling into a wall or installing a new cabinet, it saves the cable from being punctured.
Installation specifics of cable, mat, and film systems
Each type of system has its own installation technology: the cable is fastened to the reinforcing mesh, the mat is rolled out as a ready-made sheet, and the film is assembled from strips on a backing. We break down how working with each option differs.
Laying the heating mat and cutting to size
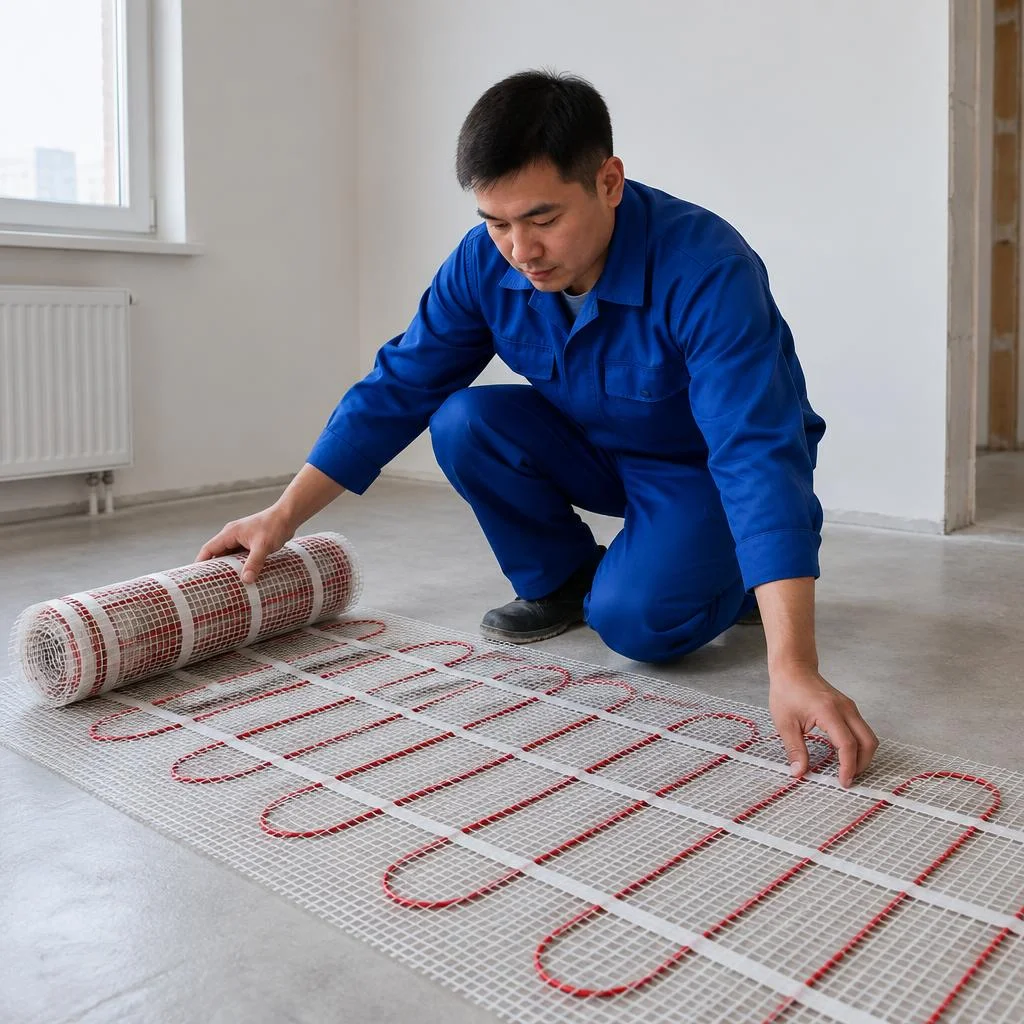
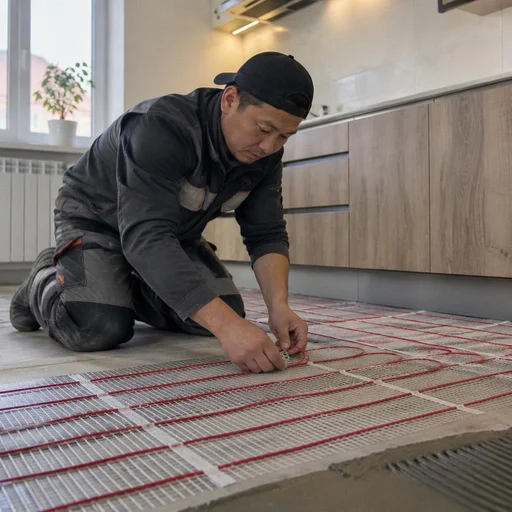
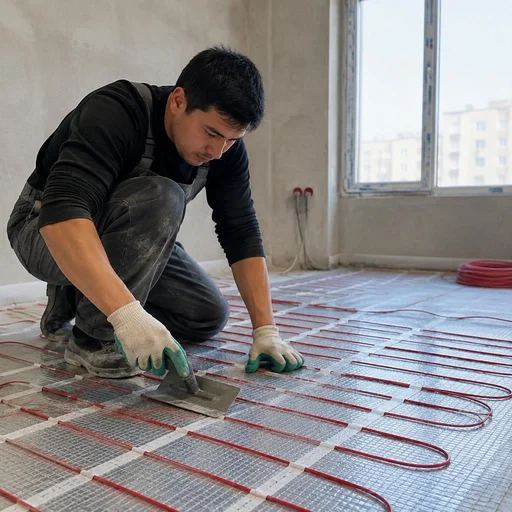
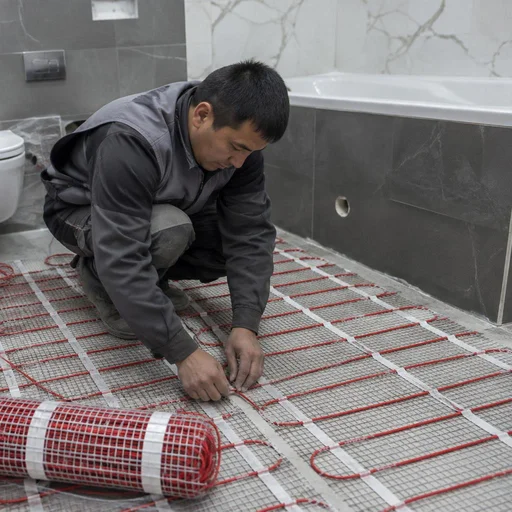
The mat is rolled out over the area as a ready-made sheet, and cutting the mat to size applies only to the mounting mesh — the heating cable itself must not be cut anywhere. In a standard-layout bathroom, a 1.5-2 m² sheet is laid from the far wall toward the exit, going around the toilet and furniture legs so the loops don't go under the plumbing fixtures. The mesh is cut along the line between the loops, the edge is freed, and the strip is turned in the opposite direction — this is how 30-40 cm wide niches at the threshold are covered. The joint between two mats is laid in a single line, not overlapping. The mat must not be laid with overlapping loops: at the point where two cables cross, the temperature rises locally, the insulation overheats, and the system fails in the very first season. In the search bar, clients often type it briefly: electric underfloor heating installation price — and from such a query we immediately understand that the person needs both a calculation by area and the full work cycle. Laying an electric mat-type underfloor heating in a 4 m² bathroom takes us 3-4 hours without a screed.
Laying out infrared film and installing conductive clamps
The infrared film is rolled out onto a heat-reflecting backing with the copper busbars facing down, conductive clamps are mounted on the busbars, and each connection point is insulated with bitumen tape. The strips are cut strictly along the cut lines marked by the manufacturer — the conductive coating runs between them, and an arbitrary cut breaks the circuit. Installing a film electric underfloor heating in a 12-15 m² room takes one day: the strips are laid with a 10-15 mm gap, parallel to each other, with a protective film and the finished flooring on top. A clamp is placed on each busbar on both sides of the strip and crimped with pliers until tight, otherwise the contact heats up under load. The film strips must not be cut along a solid line — only along the cut lines marked by the manufacturer, otherwise the entire segment is de-energized.
Laying and connecting electric underfloor heating: what the work includes
| System type | Laying work | Connection |
|---|---|---|
| Cable | laying and fastening the cable, pouring the screed | cable to the thermostat |
| Mat | laying the mat, cutting the mesh | mat to the thermostat |
| Film | backing, laying the film, clamps | film to the thermostat |
Laying and connecting electric underfloor heating at Eco-Service is done in a single cycle: laying out the electric underfloor heating, fastening, installing the sensor, and running it to the thermostat. The cost of laying electric underfloor heating depends on the area and the number of circuits, and installing electric underfloor heating in one day is realistic for mat and film systems. When the laying and the connection are done by different contractors, it is difficult to prove at which stage the circuit was damaged if a breakdown occurs. Laying electric underfloor heating by one crew removes any dispute about a warranty case — proven on our projects in Bishkek. In their requests, clients often write it briefly: electric underfloor heating installation — and from such wording we immediately understand that a full cycle from laying to the thermostat is needed.
Thermostat, temperature sensor and line protection: what we install and how we configure it
How a conventional thermostat differs from a programmable one, why a temperature sensor is placed in the circuit and how the line is protected against current leakage — we break this down at the sites where we have carried out work.
Conventional thermostat or programmable one
Eco-Service installs a conventional thermostat for bathrooms and lavatories, where the floor heats up in short bursts, and a programmable thermostat — where a schedule-based mode and night tariff matter. A simple device maintains a single setpoint and heats the circuit until it is switched off manually, whereas a model with a weekly schedule automatically reduces heating during the hours when no one is at home and brings the system to a comfortable temperature by the time the owners return. For a bedroom and a children's room, a thermostat with two sensors is usually chosen — an air sensor and a floor sensor. In search, clients often type in electric underfloor heating installation price — and land on our page, although this subsection is about choosing a device. A programmable thermostat pays for itself at sites where the floor is not heated around the clock — it reduces monthly electricity consumption, so at a country house and in offices with a regulated schedule such a device is more cost-effective than a mechanical dial. A separate line in the estimate that clients clarify in advance is electric underfloor heating installation cost of work: it depends on the area and the number of circuits, not on the class of the device.
Why a temperature sensor and a 30 mA RCD are needed
The temperature sensor measures the floor temperature and transmits it to the thermostat, while a 30 mA RCD protects the line against current leakage. The sensor is laid in a corrugated conduit between the turns of the cable at an equal distance from two adjacent runs — this way it reads the average temperature of the screed rather than a local overheating near a wall or furniture. The RCD is installed separately on the underfloor heating line, not combined with the kitchen socket group: if the protection trips on the circuit, the rest of the apartment will remain with electricity, and you will immediately understand that the problem is specifically in the heater. At Eco-Service, for each circuit they install an RCBO or a 30 mA RCD plus a circuit breaker rated for the cable. Check the sensitivity marking before buying the distribution board — a 100 or 300 mA RCD is useless for human protection, it only trips on gross insulation breakdown. When a client asks about electric underfloor heating installation price, we first clarify the distribution board layout and the length of the run — this determines whether a separate RCBO will be needed.
How to configure the heating system after installation
After the work, Eco-Service brings the system into operating mode gradually — the first start-up is done at minimum temperature. Time must pass between pouring and start-up for the 3–5 cm screed to gain strength, otherwise heating will cause microcracks and the service life of the system will be reduced. During the first day the circuit is held at 20–25 °C, then the setpoint is raised by 5 °C per day until comfortable values for the specific room are reached. Clients formulate the request as electric underfloor heating installation — and receive a calculation for their area. The cost of electric underfloor heating installation and the price of electric underfloor heating installation depend on the area and the number of circuits, while commissioning is included in the overall calculation. A sharp first start-up at maximum is harmful for a fresh screed — it must gain strength before full heating.
What to clarify before buying a thermostat
- Circuit power: add up the watts of all sections connected to one device, and choose a thermostat with a current margin of at least 20%.
- Sensor type: for tiles and screed — a sleeve-type floor sensor, for film under laminate — a film sensor with a flat contact pad.
- Control method: a mechanical dial is cheaper, but has no schedule; a touch panel and Wi-Fi provide control from a smartphone.
- Availability of neutral: in old buildings in Bishkek there is sometimes none in the entrance distribution boards, in which case a model without a neutral wire is needed.
- Device warranty: for most manufacturers it is 2 years, the same as for installation work.
- Price of electric underfloor heating installation: clarify before purchasing so you can compare the estimate with the price of work and not overpay for unnecessary device options.
Installation in an apartment, bathroom, Khrushchevka, and on a balcony: specifics of the sites
Every room dictates its own conditions: in some places ceiling height gets in the way, in others it's humidity and plumbing, and on a balcony it's the insulation of the envelope that decides. Below is practice for four typical sites.
Installation in the bathroom and toilet
Laying an electric floor in a bathroom most often goes through a heating mat under the tile — it doesn't raise the floor level and reaches operating temperature in 15-20 minutes. The area of a typical bathroom in a Bishkek apartment is 3-4 m², of which 60-70% is heated: the mat is laid out on the free zone, going around the toilet, sink, and washing machine. Marking the laying zones takes into account a 10-15 cm offset from the plumbing fixtures and 5 cm from the walls — heating under a cast-iron bathtub or shower tray is pointless. Clients often search for "electric floor installation" — and land on this page, although the topic here is specifically the wet zone. On such sites, Eco-Service installs a mat with a thermostat in a wall box by the door, and hides the sensor in a corrugated conduit between the coils. Before applying tile adhesive, check the mat's resistance with a multimeter — a deviation of 10% or more from the datasheet value signals damage during laying.
Installation in a new building and a Khrushchevka
Laying an electric heated floor in a new building goes onto a level slab without leveling, while in a Khrushchevka the base is prepared first — unevenness there is often 5-10 mm over 2 meters, which is above the 2 mm allowed for a mat. Preparing the base in a panel Khrushchevka takes an extra day: self-leveling compound in a 3-5 mm layer dries for 24 hours. In Bishkek new buildings, the screed is usually already poured by the developer, and the work comes down to priming and laying. Ceiling height in a Khrushchevka is 2.5 m, so instead of a cable with a 5-7 cm screed, a heating mat or infrared film with a 1-2 cm rise is used. Clients often search for "electric heated floor installation" — and land on this page, although the topic here is the specific type of base. Measure the unevenness with a laser level before buying materials — whether pouring is needed depends on that number.
Installation on a balcony and loggia
Laying a warm electric floor on a balcony is almost always infrared film under laminate: it withstands temperature swings from -30 to +40 °C and doesn't require a screed. The balcony envelope is insulated around the perimeter and under the screed — extruded polystyrene foam 30-50 mm, otherwise the system will heat the street, and the electricity bill will double. On a loggia with an area of 6 m², the film is cut to a width of 50 or 80 cm, laid on the underlay, and covered with class 32-33 laminate — it withstands heating cycles without deformation. The query "electric floor installation" is refined here to the film option, because a screed on a balcony is unacceptable due to load. The thermostat is installed with an air sensor, not a floor sensor: the film heats up quickly, and with a surface-temperature sensor the system cycles too frequently. Before laying the laminate, let the film warm up for 30 minutes — that way you'll check the uniformity of heating across the entire area.
Winter work and permission for installation in an apartment building
Laying an electric floor in an apartment building requires written approval from the management company or the homeowners' association, and Eco-Service performs the work itself, the price of which depends on the scope, year-round. Laying an electric heated floor does not require cutting into the heating riser or the building's common utilities, so the permit is processed in 2-3 days — versus 2-4 weeks for a water-based floor with a design and redevelopment approval. In winter, work is carried out with windows closed and the indoor temperature not below +5 °C: compounds and adhesive don't set in the cold, and the film becomes brittle during laying. Clients often search for "electric floor installation" — and land on this page, although the topic here is approval and winter restrictions. In winter, electric heated floor installation is planned with a time buffer: delivering materials in a snowstorm adds a day, and heating the concrete under the mat takes longer than usual. If the building's heating is already on, chasing for wiring is done with a rotary hammer with a vacuum — neighbors on the riser won't be affected. Check with the management company about the permissible load for the apartment — with a total power above 10 kW, a separate breaker in the panel may be required.
2-year warranty, master documents and a service center in Bishkek
After the project is handed over, the client receives a working system, a two-year warranty, a package of installation documents and access to a service center. Let's break down exactly what these obligations include and how they protect your investment.
What the 2-year warranty covers
Eco-Service provides a 2-year warranty on electric underfloor heating — it covers the laying of the heating cable or mat, connection to the thermostat, installation of the temperature sensor and configuration of the heating system. Acceptance is carried out with a multimeter: the technician records the resistance of the circuit and insulation and checks the readings against the product data sheet. The warranty period remains valid if the finishing floor covering after installation was laid by the same crew or an approved contractor — third-party tilers often damage the cable when cutting, and this case appears in the statistics of claims more often than factory defects. In their requests, clients often write briefly: installation of electric underfloor heating — and the technician immediately understands the scope of work involved. In practice, the warranty terms are discussed before work begins: the contract must include a clause on preserving the obligations when an approved crew is involved.
Documents and qualifications of installers
Eco-Service technicians work with confirmed qualifications and draw up a work completion certificate after handing over the project. The package includes an as-built layout diagram with dimensions tied to the walls, a protocol of resistance and insulation measurements, and a warranty card with the commissioning date. Master documents are not a formality: in a dispute with the cable or thermostat manufacturer, it is the certificate with the measurements that proves the system failed through no fault of the installation. In practice, there are cases when a factory defect in the temperature sensor appeared after 8-10 months, and without an acceptance protocol it would have been impossible to prove the cause. Keep the certificate together with the receipt for the equipment — this is your argument if the cost of work is disputed as part of a warranty case.
Our own service center in Bishkek and technician visits
Eco-Service has its own service center in Bishkek — the technician visits the site, and warranty claims are resolved in person, without shipping equipment to another city. Thermostats, temperature sensors and heating cables for replacement are kept in stock, so diagnostics and repair take one or two visits rather than weeks of waiting. A technician visit within the city is arranged by phone or via messenger; when making a claim, you need the work completion certificate and the warranty card. If the thermostat breaks down, having your own center is critical: a replacement device is installed on the day of the request, not after delivery from a third-party contractor. If you are interested in electric underfloor heating installation with a price that includes subsequent servicing, check the service area in advance — outside Bishkek, logistics are arranged separately.
How to file a warranty claim
- Phone or messenger: call the service center or write on Telegram, describe the symptom — cold zones, relay clicking, an error on the thermostat display.
- Documents: prepare the work completion certificate, warranty card and receipt for the equipment — without them, diagnostics are chargeable.
- On-site diagnostics: the technician checks the circuit resistance with a multimeter, tests the temperature sensor and thermostat, and determines the cause — installation, equipment or operation.
- Resolution: warranty repair or replacement of the unit is carried out free of charge; in a non-warranty case, electric underfloor heating is agreed upon, with the price calculated after fault detection.
- Closing the claim: after the repair, a new certificate with measurements is drawn up — the 2-year warranty period for the replaced unit starts anew.
Why documents matter when reselling an apartment
- Quality confirmation: a report with resistance measurements removes the buyer's concerns about hidden defects in the heating system.
- Transparent history: the warranty card shows the installation date and the contractor — this distinguishes professional work from amateur work.
- Insurance for the bank: with a mortgage, the appraisal commission sometimes requests documents for engineering systems, including electric underfloor heating, the price of which has already been paid.
- Transfer of obligations: the 2-year warranty remains valid when the owner changes, unless otherwise stated in the card — clarify this during paperwork.
- Repairability: the as-built layout diagram allows the new owner not to break open the screed blindly during future repairs.
- Fast sale: having a complete package reduces haggling — the buyer sees that the electric underfloor heating, the price of which was included in the renovation cost, was installed according to technology.
Conclusion
We have gathered the main things that determine the result: choosing a system for the covering, calculating power, the order of stages, and resistance monitoring at two points. Below is a short checklist for self-verification before starting.
Main conclusions
- System type for the finish: for porcelain stoneware and tiles, use a cable or mat; for laminate, parquet, and linoleum — infrared film.
- Power by task: 120–150 W/m² for comfortable heating, 160–180 W/m² — if the floor works as the main heating.
- Order of stages: marking the zones, preparing and priming the base, laying thermal insulation, laying out the heater, installing the thermal sensor, connecting, commissioning.
- Protection and sensor: the thermal sensor is run into a corrugated conduit with a sealed end, the line is protected by a 30 mA RCD, and the circuit breaker rating is calculated based on the heater current.
- Resistance measurement: the resistance of the core and sensor is checked before pouring and after complete drying — a discrepancy with the datasheet signals damage.


