












What turnkey electrical wiring installation includes
A full installation cycle — from measurement and wiring layout to connecting the panel to the incoming cable and testing the lines under load. We break down the stages, the differences by property type, and the moment when replacement is needed.
What stages turnkey electrical installation consists of
- Measurement and wiring layout: the technician marks the locations of sockets, switches and lighting, calculates the load and draws a plan of the lines before work begins.
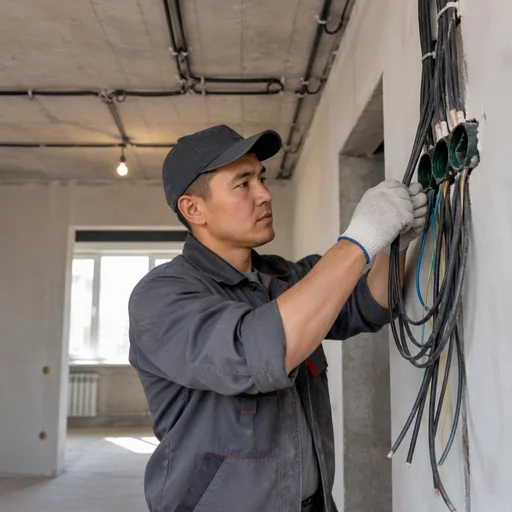
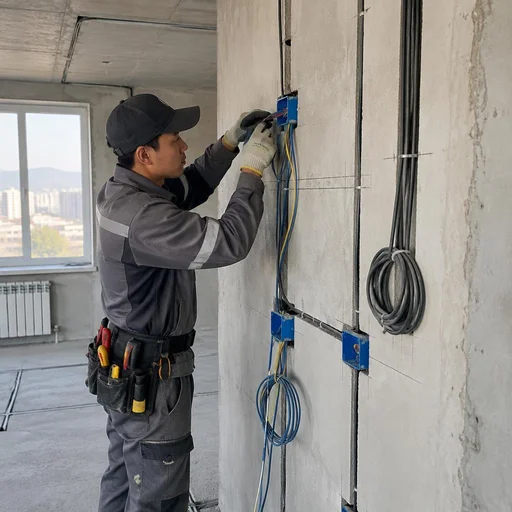
- Chasing and routing: the walls are prepared for concealed wiring, the cable is laid in the chases observing the bending radii according to the Electrical Installation Code.
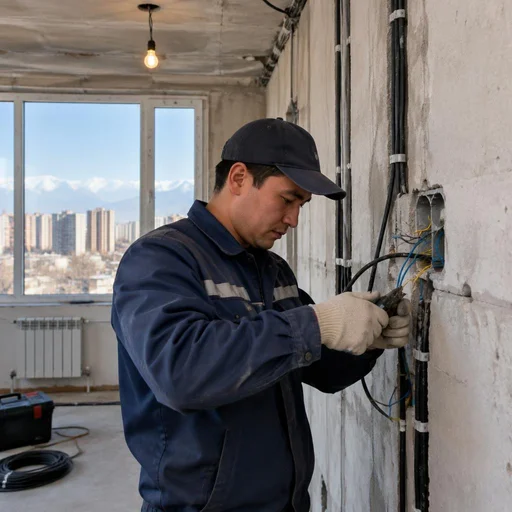
- Installation of mounting boxes and junction boxes: the boxes are set by depth for the finishing work so that the socket mechanisms sit flush.
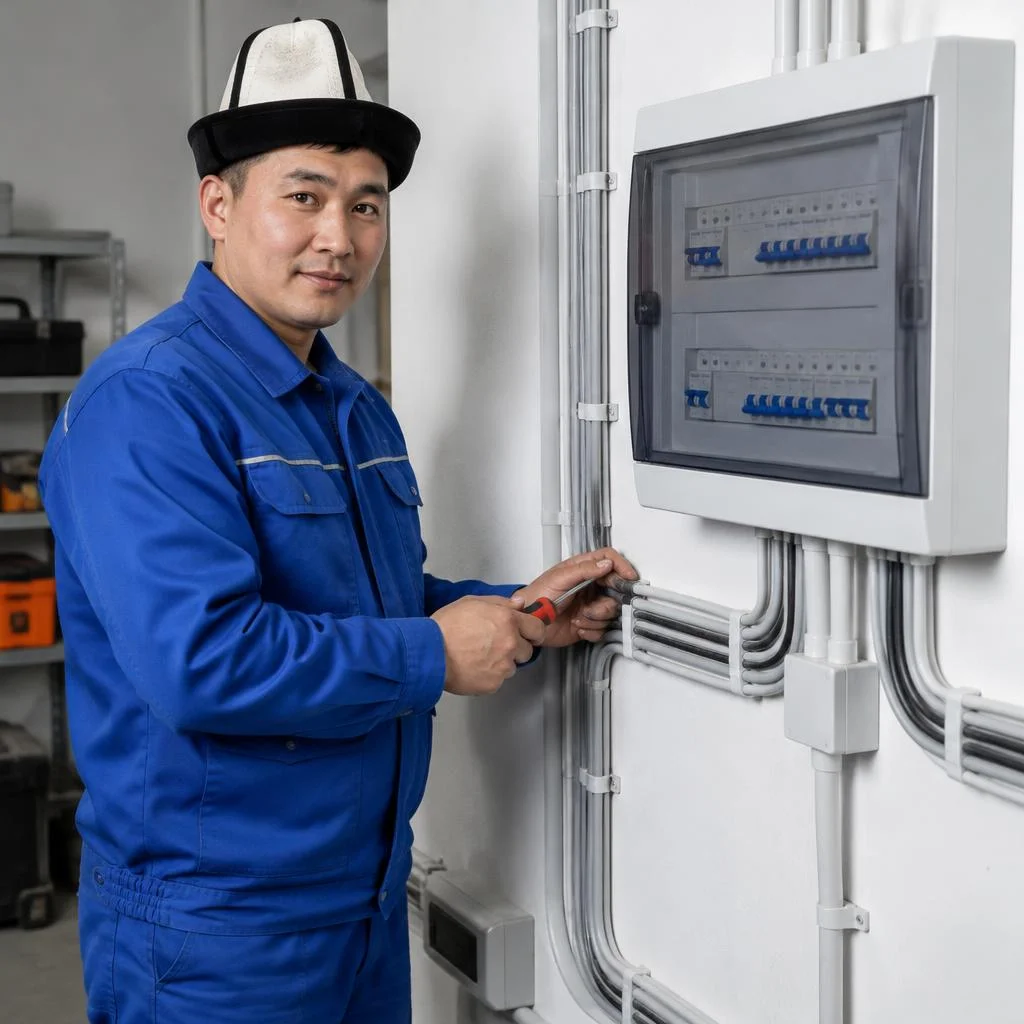
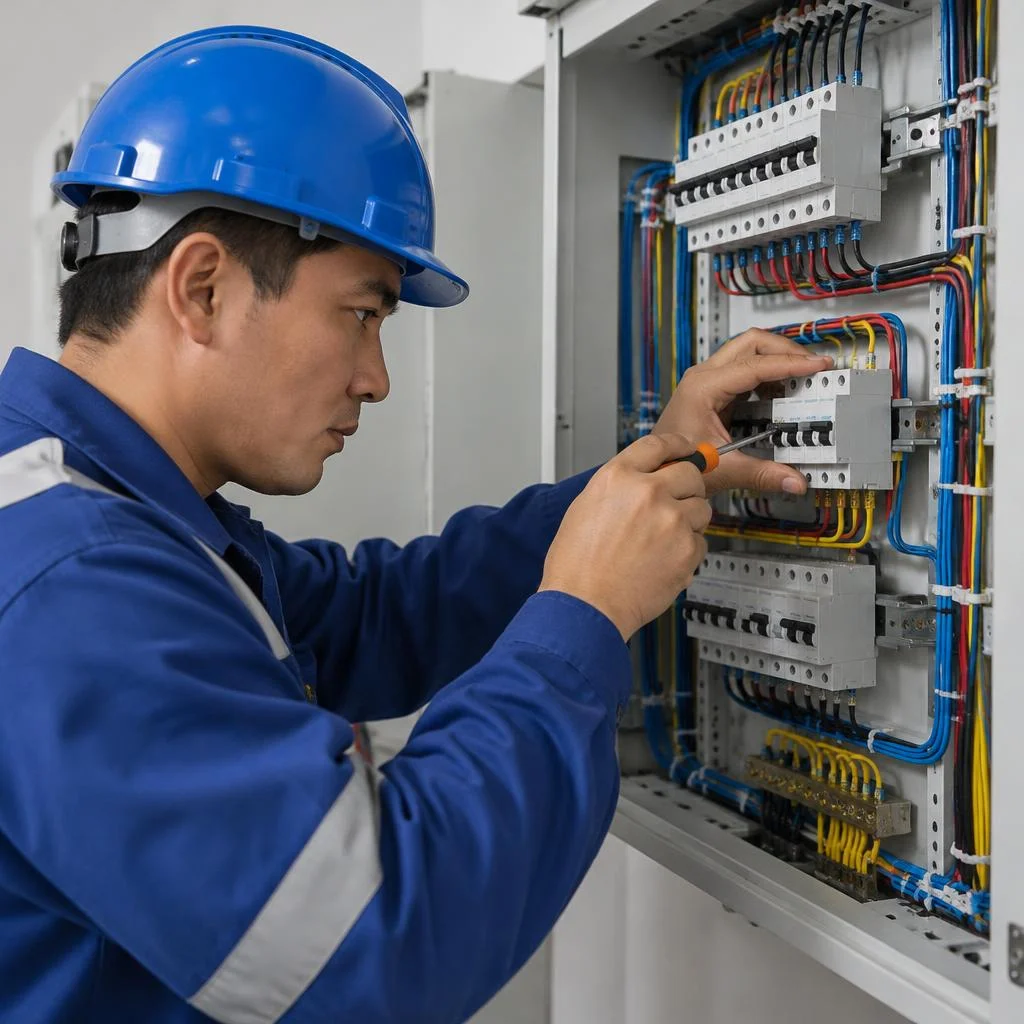
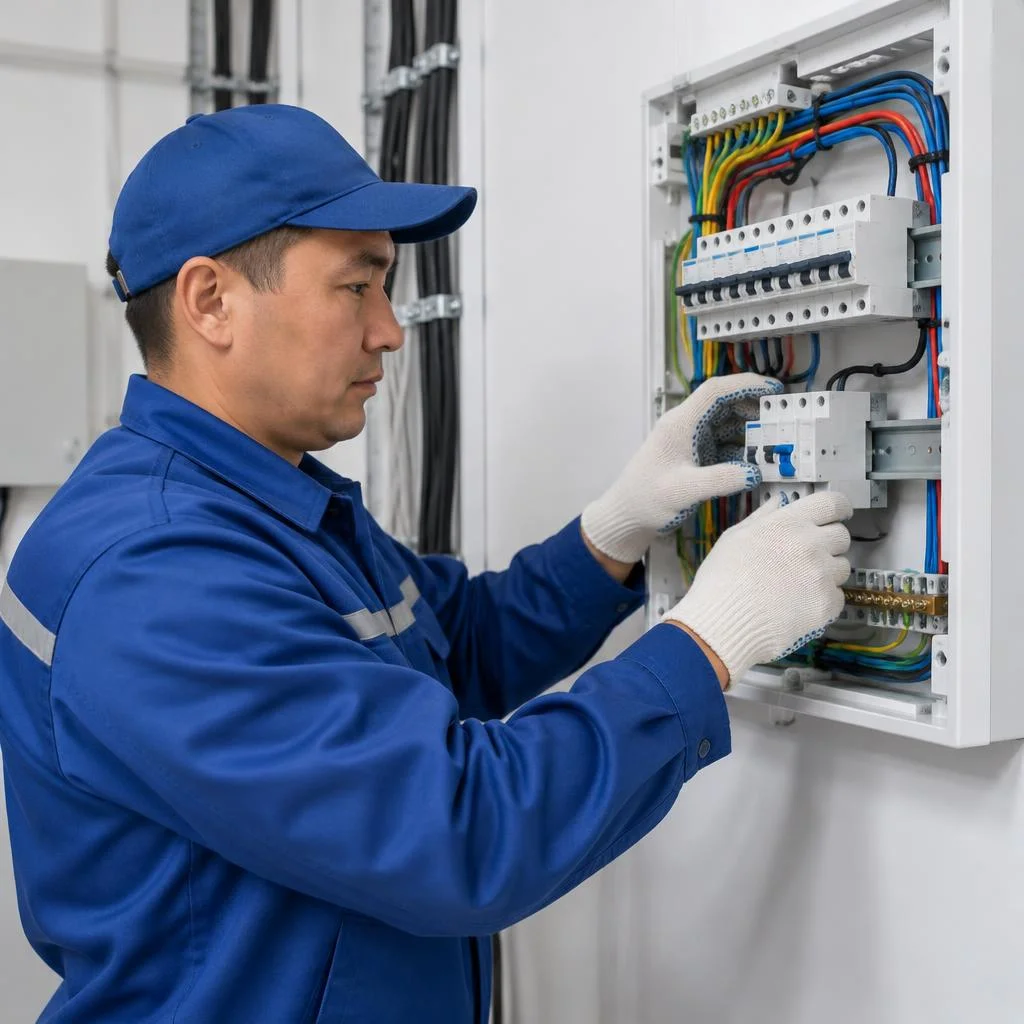
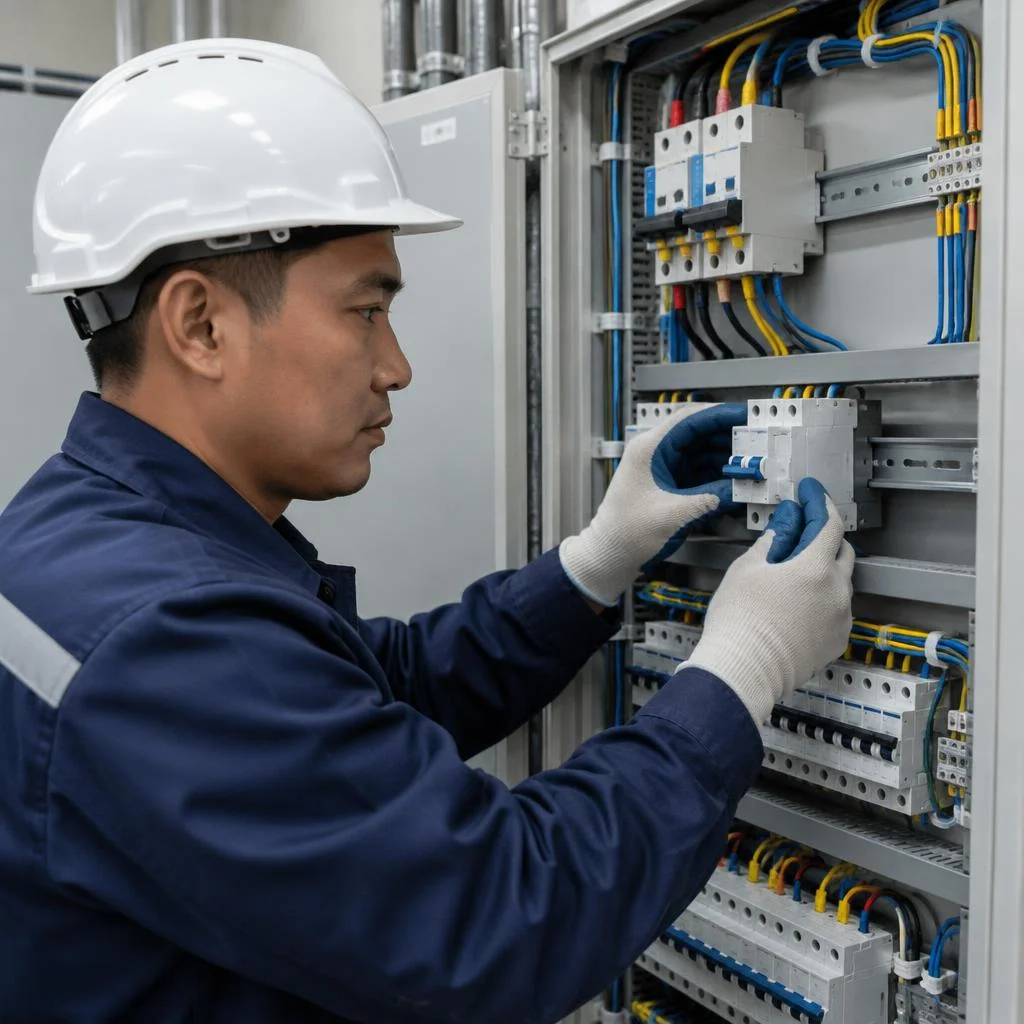
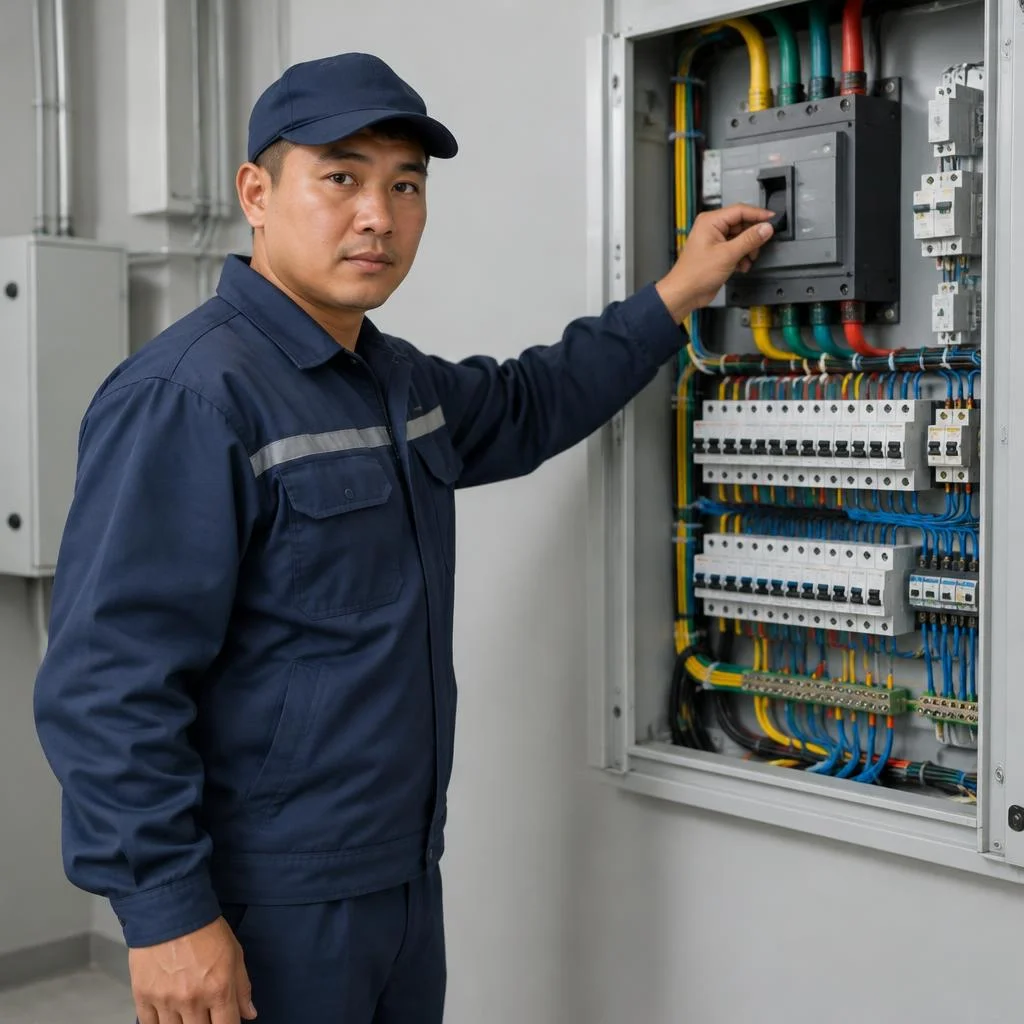
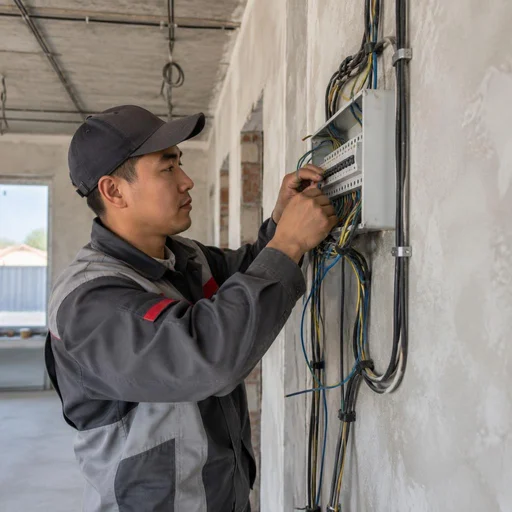
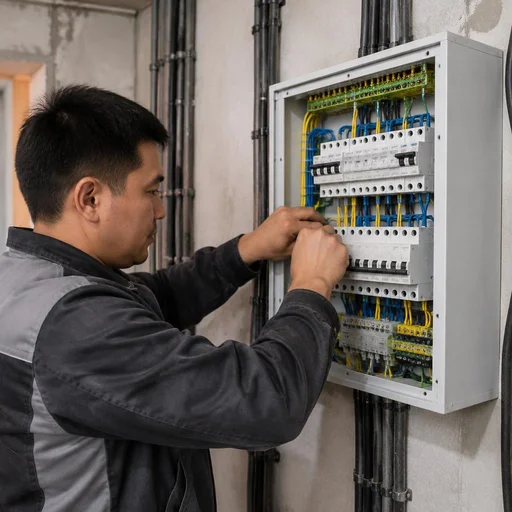
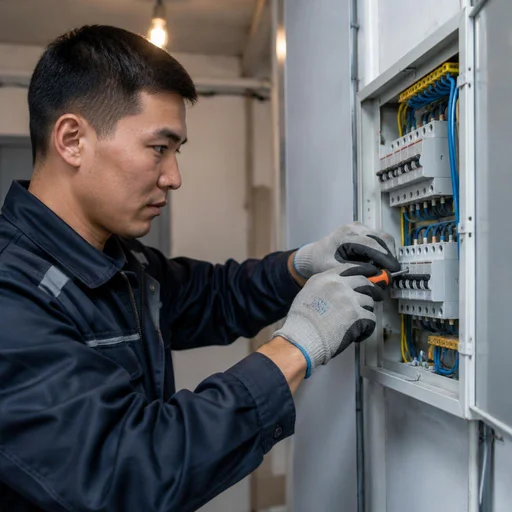
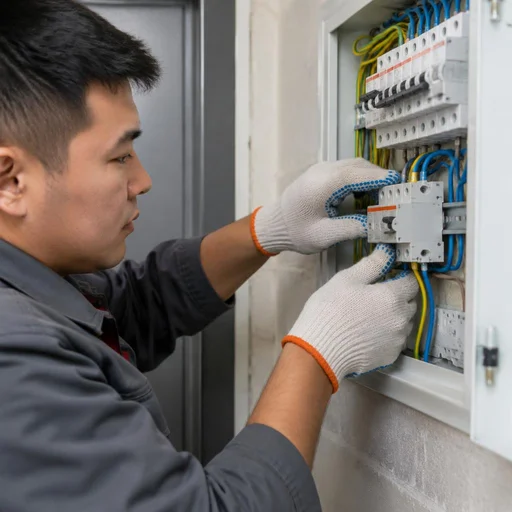
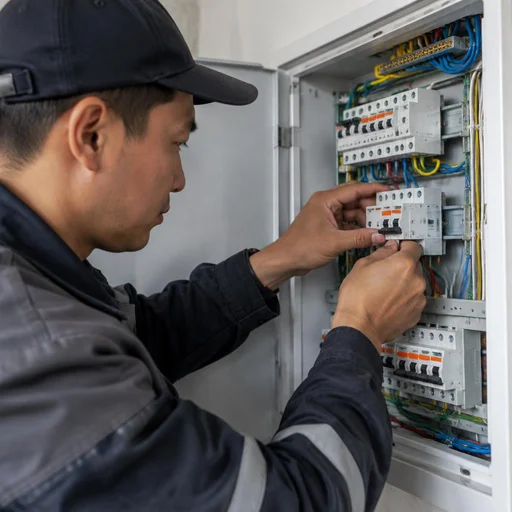
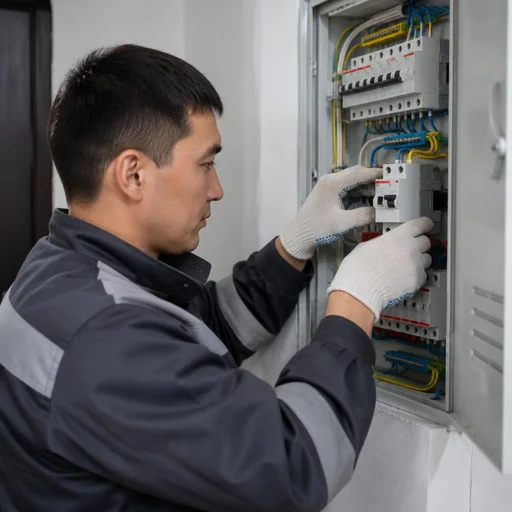
- Assembling the electrical panel: circuit breakers, RCDs and RCBOs are grouped by line, and the incoming cable is connected.
- Continuity testing and load check: each line is tested for insulation resistance and the operation of the protective devices.
How installation differs in an apartment, a private house and a new build
| Property type | Wiring type | Key stage | What we check |
|---|---|---|---|
| New build | Concealed, before finishing | Wiring before plastering | Aerated concrete and panel fastening |
| Apartment with old wiring | Concealed, full replacement | Removal of aluminium | Condition of the incoming cable |
| Private house | Concealed and exposed | Grounding and incoming supply | Grounding loop, incoming cable |
| Office | Exposed in cable trays | Grouping of lines | Load on socket groups |
We select the type of work to suit the property: in a new build we run the lines before the finishing work, in an apartment with old wiring we replace everything completely, in a private house we add grounding and an incoming cable. In new builds in Bishkek the walls are often made of aerated concrete — chasing goes faster, but the fastening for the panel requires special anchors rather than ordinary dowels.
When old electrical wiring needs replacement rather than a new installation
We recommend a full replacement if the aluminium wiring is more than 20 years old, the circuit breakers do not trip under overload, or there is no RCD in the panel. Aluminium loses its ductility and oxidises at the contacts, copper withstands the load from modern appliances, and an old-style circuit breaker does not cut the current in time. Partial replacement of one line in an old panel without inspecting the others is a common cause of fires: the old insulation does not withstand the new load from household appliances. The cost of work is calculated after an inspection — the number of lines and the condition of the panel matter more than the square footage of the apartment.
When electrical repairs are chosen instead of a full installation
This format is chosen when the routes are already laid but do not meet the load: lines, circuit breakers and points are changed without fully dismantling the finishing. In such a situation, work begins with an inspection of the existing lines rather than with chasing. Electrical repairs in an apartment, the price of which is made up of the number of lines, points and the condition of the panel, are calculated after an inspection — otherwise the estimate diverges from reality. A separate matter is turnkey electrical work in a new build, the price of which depends on the stage of renovation: before plastering, the wiring runs along clean walls and is done without dismantling. If electrical work is postponed until the walls are already plastered, chasing and restoring the finishing add more to the estimate than the installation itself.
Turnkey apartment electrical wiring: diagram, cable, circuit breakers
We break down how to select cable and protective automation for the actual load of an apartment and why the wire cross-section and the breaker rating are directly linked.
Which cable and cross-section to choose for an apartment
| Line | Cross-section | Purpose |
|---|---|---|
| Lighting | 1.5 mm² | Chandeliers, spotlights, wall sconces |
| Socket groups | 2.5 mm² | Rooms, kitchen, hallway |
| Electric stove | 4-6 mm² | Separate line from the panel |
| Incoming cable | 6-10 mm² | From the riser to the apartment panel |
We install VVGng copper cable: 1.5 mm² for lighting, 2.5 mm² for socket groups, 4-6 mm² for the electric stove and the incoming line. Aluminum cable is cheaper, but requires a larger cross-section for the same load and holds contact in terminals worse — over a long distance this causes heating at the connection points. Wiring on aluminum in panel buildings in Bishkek older than 30 years almost always ends in a re-pull: the old wire loses its plasticity and breaks at the very first tightening of the terminals.
Breaker, RCD or RCBO — what to put in the panel
We install a circuit breaker on each line, an RCD on wet zones, and an RCBO on the washing machine and boiler as combined protection. A 16 A breaker handles a socket group with 2.5 mm² cable, a 10 A one handles a lighting line with 1.5 mm², a 25-32 A one handles an electric stove with 4-6 mm²; the rating is always below the current load of the wire, otherwise under overload the cable will burn rather than the protection tripping. A 30 mA RCD is installed on the bathroom and kitchen groups and on the incoming line, and for a children's room a separate 10 mA one is sometimes added. An RCD without a breaker does not protect the cable from overload: if the panel has only an RCD for the whole apartment, during a short circuit it will not disconnect the line in time. Clients often look for a full cycle of work — and from that wording we immediately understand that installation is needed from the diagram and wall chasing to panel assembly and line testing. The final cost depends on the number of groups and devices — count not by footage, but by the number of lines with separate protection.
Electrical panel assembly: what's inside and how we test
- Line labeling: each group is labeled on the panel — "kitchen," "bathroom," "lights," so a fault is localized within a minute.
- Rating labeling: next to the breaker the current and purpose are indicated, so the technician on the next visit doesn't have to sort through options.
- Spare slots: we leave 2-3 free modules for future groups — air conditioner, dishwasher, underfloor heating.
- Terminal tightening: after assembly we tighten all connections with a torque screwdriver; a weak contact heats up more than any breaker.
- Load testing: we test each line with a multimeter and check that the RCD trips using the "Test" button.
Turnkey electrical systems in a private house: grounding and service entrance
A private house differs from an apartment in three key assemblies: its own service drop from the utility pole, a mandatory grounding loop, and wiring distributed across several buildings. Let's break down each assembly with local specifics.
Is grounding necessary in a private house in Kyrgyzstan
We always install a grounding loop in a private house: without it, RCDs and RCBOs do not trip correctly, and the housings of household appliances remain under dangerous voltage. We assemble the loop from three vertical electrodes 2.5-3 meters long, connected by a 40×4 mm strip; for soil with high resistivity in the foothills of Bishkek, we add a fourth rod or deepen the burial. The standard resistance is no higher than 30 Ohms for the loop to which the house's electrical panel is connected. In older buildings, grounding is often "imitated" by connecting to the neutral in the panel — this is dangerous if the neutral breaks, and during work we always check the actual loop resistance with an instrument, not by eye. Clients look for a turnkey electrician for the house, and end up getting the full cycle: from the loop to the outlets. If the house is already connected via a TN-C scheme without a separate PE conductor, the loop is installed anew and connected to the panel with a separate core.
Service entrance cable and connecting the panel to the grid
Eco-Service connects the panel to the service entrance cable after coordinating the capacity with the power supply organization — the cross-section of the service entrance and the rating of the main circuit breaker depend on this. For a typical house at 10-15 kW, we use 4×10 mm² or 4×16 mm² cable with copper conductors; for underground service entrance — armored AVBbShv in a trench 0.7 meters deep, below the frost line. We perform the connection only after obtaining the technical specifications: the capacity, metering scheme, and connection point are recorded in the documents, and without them, tapping into the line is considered unauthorized. If the service entrance cable runs along the facade without protection from UV and mechanical damage, the insulation breaks down within a few seasons — lay it in corrugated conduit or a cable duct. Separately, check the cross-section from the pole to the panel: on old service drops, 2×6 mm² aluminum cannot handle the modern load with a boiler and electric stove.
Wiring throughout the house: floors, outbuildings, outdoor lighting
- Laying electrical wiring in a private house begins with a design: first we fix the circuits, then we purchase cable for each line.
- First floor: separate lines to the kitchen (electric stove, boiler), outlet circuits for the living room and bathroom, lighting.
- Second and attic floor: its own outlet circuit and lighting, a separate breaker for each room or a block of two.
- Outbuildings: garage, summer kitchen, sauna — separate lines from the main panel with their own breaker.
- Outdoor lighting: a separate circuit with a breaker and RCD, cable in corrugated conduit or armored for underground sections.
Sockets, switches and lighting: the final stage of installation
When the lines are laid and the chases are plastered, the final stage begins: installing the points, connecting the lights and testing each load group. Here mistakes are immediately visible — and cost the most.
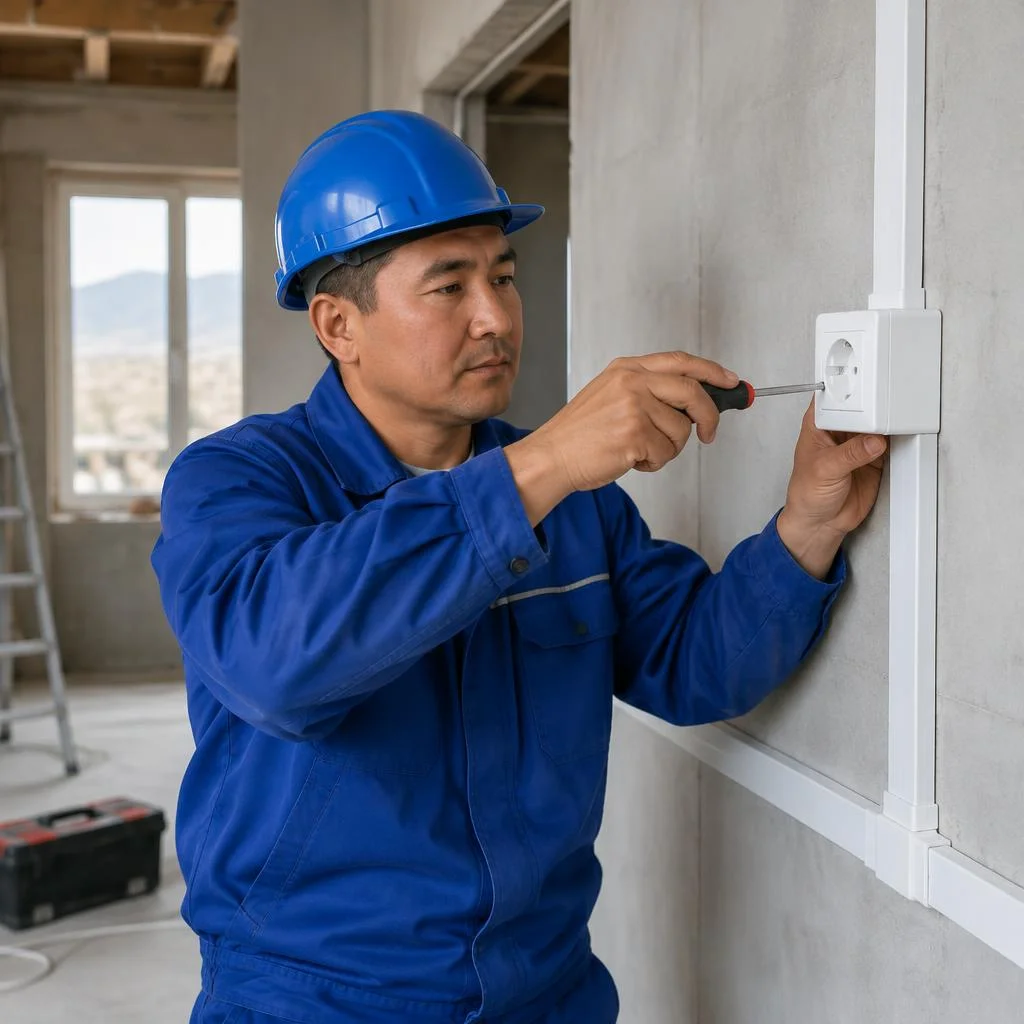
Installing sockets and switches: types and points
| Point | Type | Installation feature |
|---|---|---|
| Living rooms | Single socket | Height 300 mm from the floor, 2.5 mm² line |
| Kitchen | Socket block | Separate 16 A group, IP44 moisture protection |
| Bathroom | Socket with RCD | Only via 10 mA residual current protection |
| Electric stove | Power socket | 6 mm² cable, its own circuit breaker |
| Corridor | Two-way switch | Two-gang, two lighting directions |
Eco-Service installs sockets and switches according to this scheme, and runs a separate line with a larger cross-section cable to the electric stove. A socket block in the kitchen is more convenient than single sockets, but the total load on the group increases, so we calculate it in advance and do not put the stove, microwave and kettle on one breaker.
Lighting: chandeliers, spotlights, track, wall lights
- Chandelier: connection via three-core cable with grounding, mounted to a backing or ceiling beam, not to drywall.
- Spotlight: series circuit per group, transformer power reserve, clearance from insulation of at least 50 mm.
- Track lighting: busbar with total load calculation, a separate circuit for each zone, connection via dimmer.
- Wall light: outlet for a wall-mounted fixture at a height of 1700-1800 mm, concealed wiring in a chase before finishing work.
- Wiring scheme: each circuit on its own circuit breaker — in the event of a short circuit, one zone goes out, not the whole floor.
Moving sockets and replacing breakers during redevelopment
Moving a socket is the most common job after demolishing a wall or rearranging furniture: the old point is dismantled, a blanking plate is installed in its place, and the new one is connected either with a solid wire from the junction box or via a terminal block in an accessible place. Replacing a breaker in the panel is needed when a load is added to an existing group — a washing machine, dishwasher, convector: the old rating no longer protects the cable, and it is changed to one calculated according to the cross-section. In search, clients often type "turnkey electrical work in a private house price" — and land on this stage, although this is about point work, not a full cycle. Eco-Service performs such work with a check that the new line does not overload the existing group, and rings out the electrical panel after each replacement. A concealed socket connection via a terminal block in the wall without access for inspection is a typical failure point: after six months to a year the contact heats up, melts the insulation and gives off a smell. The connection is either made with a solid wire or left in the mounting box with access.
Timelines, documents and a 2-year warranty on electrical installation
We explain how an electrical installation order is placed, how long the work takes at different sites, what the two-year warranty covers, and whether work can be carried out during the cold season.
How long electrical installation in an apartment takes
| Type of property | Timeline | What affects the timeline |
|---|---|---|
| One-room apartment | 3-5 working days | Number of points, length of runs |
| Two-room apartment | 5-7 working days | Volume of wall chasing, ceiling height |
| Three-room apartment | 6-8 working days | Number of circuits in the panel |
| New build without finishing | 2-4 working days | Open walls, ready-made channels |
| Resale with replacement | 7-10 working days | Removal of old wiring |
Eco-Service completes electrical wiring installation in an apartment in 3-5 working days for a one-room apartment and in 5-8 days for a two- or three-room apartment — the difference is determined by the volume of wall chasing and the number of points. The timeline is stretched most of all not by cable laying, but by chasing concrete: on the panel walls of Bishkek this stage can take up to half of the total time. When ordering turnkey electrical wiring, check in advance whether wall chasing and sealing of the chased grooves are included in the estimate — these works add two to three days to the schedule.
Contract for the work and a 2-year warranty
Eco-Service draws up a contract for all work and provides a 2-year warranty — it covers line laying, panel assembly, installation of circuit breakers, RCDs, RCBOs, sockets and lighting. The contract records the wiring diagram, the list of electrical panel circuits, the brand and cross-section of the cable, as well as an acceptance certificate with the results of insulation resistance measurements. The warranty is valid only if the wiring diagram and the panel are kept in their original form — if the owner changes circuit breakers themselves or adds lines, warranty obligations for those sections are voided. In our practice there was a case: the owner of an apartment on Ibraimov replaced a circuit breaker with a higher rating himself, the line overheated, and the restoration of the panel was already done outside the warranty. Before making any changes to the panel, check against the diagram in the contract.
Can electrical wiring be done in winter
Eco-Service carries out work in winter in heated premises without restrictions; at unheated sites, the cable is kept in the warm before laying. In freezing temperatures the cable insulation becomes brittle — if it is pulled straight in from outside, microcracks may appear when bending it at corners, and these will only show up after a season. We bring the coils indoors at least a day before the work and warm them to room temperature, and at sites without heating we work during the daytime window when the air is milder. Concealed wiring in a wall behaves predictably in winter if the chased grooves are dry: moisture in the channel expands when it freezes and pushes out the plaster. Clients often find us by searching for turnkey electrician price — and the first thing they ask is whether the estimate will increase because of seasonal conditions. When planning electrical installation in a private house for the cold season, allow a day for the cable to acclimatize — it is cheaper than redoing the line in spring.
Why clients order from Eco-Service: technicians, contract, service center
We explain who exactly performs the work, how in-person reception works in Bishkek, and how this differs from private listings on classifieds — where a single phone number often represents a crew with no legal entity behind it.
Our own electrical installers, not subcontractors
Eco-Service performs work with its own electrical installers — without passing orders to third-party crews, so one company is responsible for quality. Our technicians work with concealed and exposed wiring, assemble distribution boards, connect circuit breakers and RCDs, and diagnose overloads and short circuits. Experience ranges from apartments in new buildings to private houses with three-phase input; the same specialist handles the project from marking routes to connecting chandeliers. A frequent client request goes like this: turnkey electrical work for a country house — and for that we assign a dedicated technician certified for three-phase inputs. When working through an intermediary, responsibility for defects is blurred between the dispatcher and the crew, and a warranty visit turns into a back-and-forth of messages. A direct contractor is fully responsible for the result — ask at the measurement stage for the name of the technician who will come to the site, and record it in the work contract.
Service center and in-person reception
Eco-Service accepts requests at its own service center — you can come in person, discuss the wiring layout, and sign a work contract. In-person reception is convenient for complex sites: photos and phone calls don't always show the condition of an old distribution board and incoming cable, but on site this is assessed in a few minutes. At reception, the specialist clarifies the number of circuits, the presence of an electric stove and water heater, the planned power, and then states the scope of work and timeline. For a typical apartment, one meeting is enough; for a house with outbuildings, a site visit may be needed. If the site is in Osh or Jalal-Abad, the layout is agreed remotely, and work is scheduled for the date the crew arrives. Bring a floor plan — this way the circuit-by-circuit wiring is agreed faster and without rework.
Reviews and photos of completed work
- Photos of distribution boards: look at circuit labeling, neatness of wire routing, and breaker labels — this is the main indicator of a technician's skill level.
- Client reviews: read them on 2GIS and Google Maps, where the rating is tied to a specific site rather than an anonymous profile.
- Photos of routes before plastering: they show how lines were marked, walls were chased, and back boxes were mounted.
- Timelines per site: compare dates in reviews — they show whether the contractor stays within the stated time.
- Warranty cases: ask how a warranty visit under the 2-year guarantee was handled — the answer shows whether service works after the site is handed over.
Conclusion
We've gathered the key takeaways on electrical wiring installation — from circuit design to the contractor's warranty obligations. Below is what determines the reliability of your electrical system for years to come.
Main takeaways
- Layout before chasing: the wiring plan determines cable cross-section, breaker ratings, and connection points — changing these parameters after the work is more expensive.
- VVGng copper cable: a cross-section of 1.5–6 mm² for the actual load is more reliable than aluminum and easier to service during remodeling.
- Three levels of protection: a circuit breaker on each line, an RCD for wet zones, an RCBO for high-power appliances — without this combination, the board doesn't protect.
- Grounding in a private house: the grounding loop and incoming cable are mandatory steps, otherwise protective automation trips incorrectly.
- Contract and warranty: they fix the contractor's responsibility for wiring, board assembly, and point installation for the entire warranty period.


