



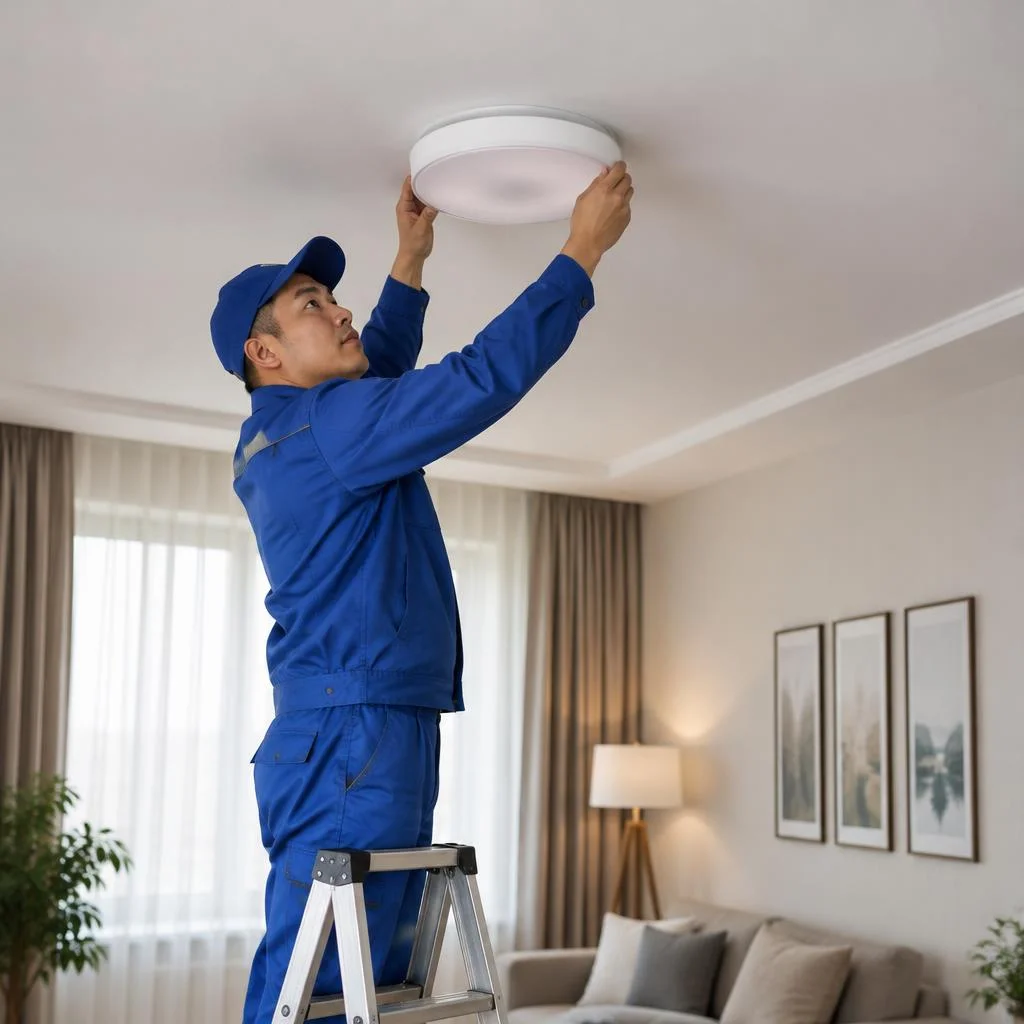
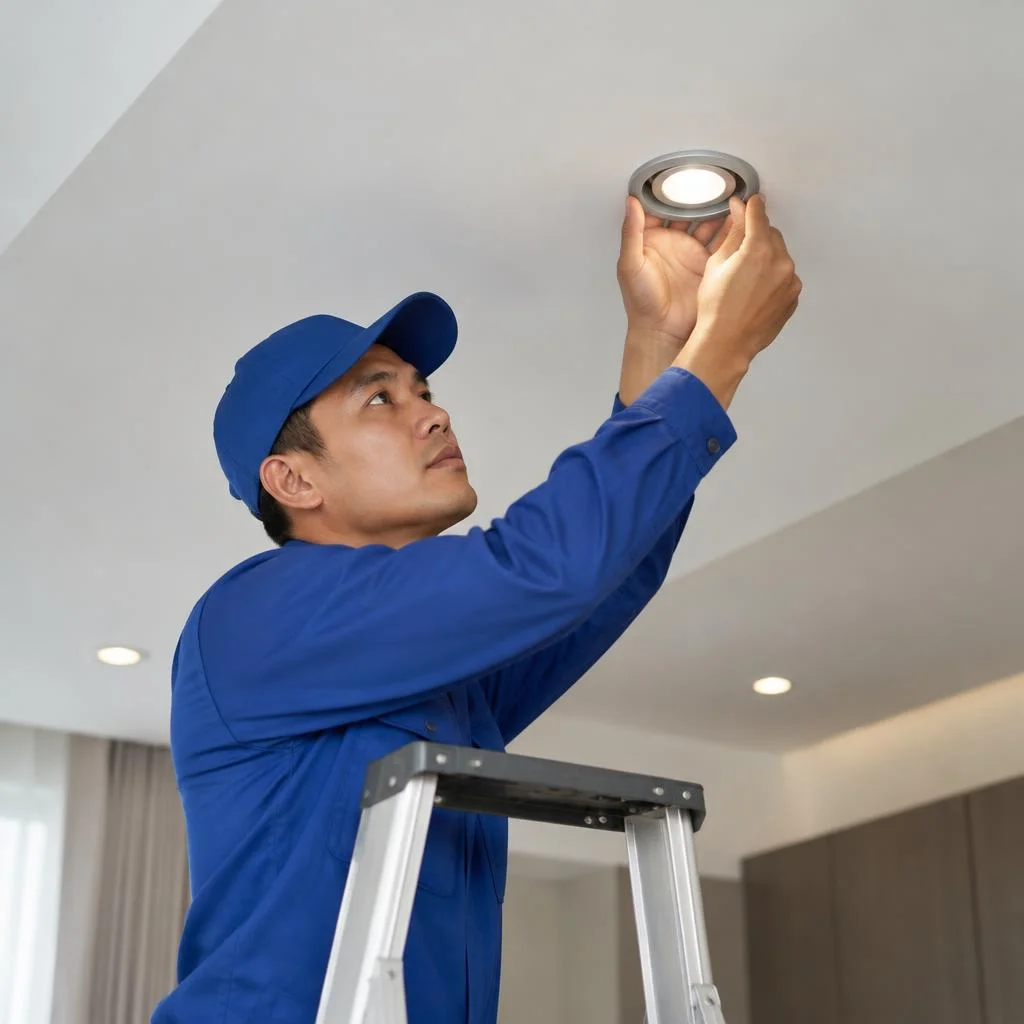










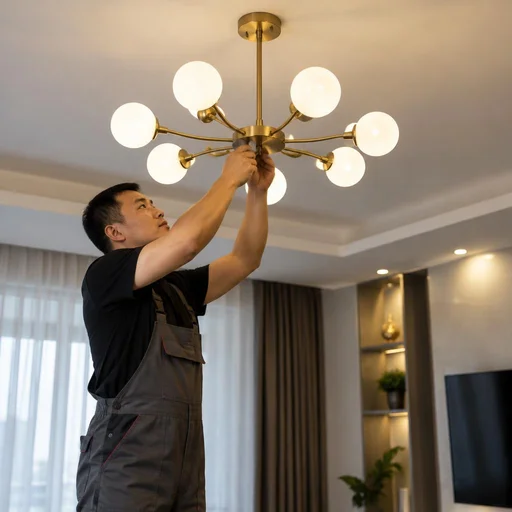
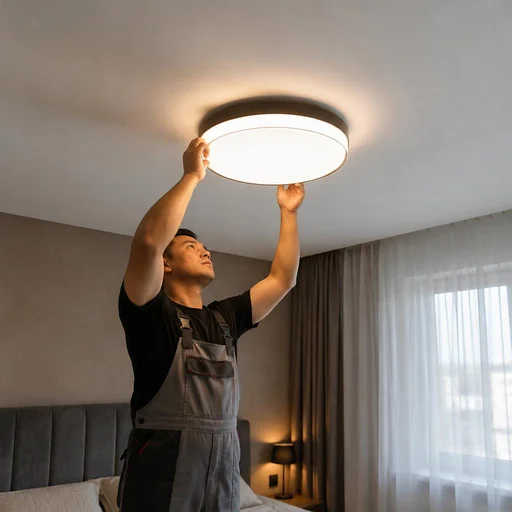
What types of lighting installation does Eco-Service perform
Lighting installation is not just a chandelier in the center of a room. The range of work covers ceiling, spot, track and recessed fixtures, LED strips, accent lighting and outdoor systems — for every type of property.
Chandeliers and ceiling fixtures: basic and premium installation
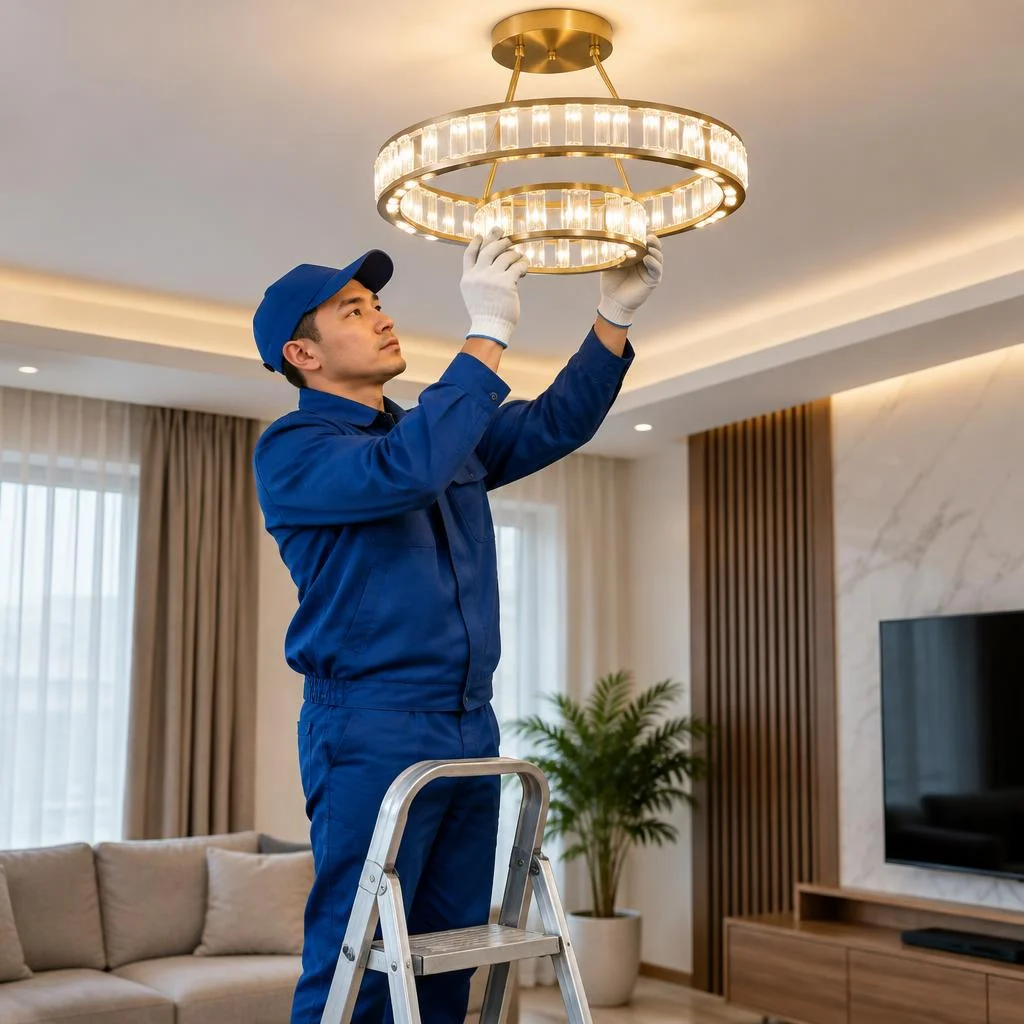
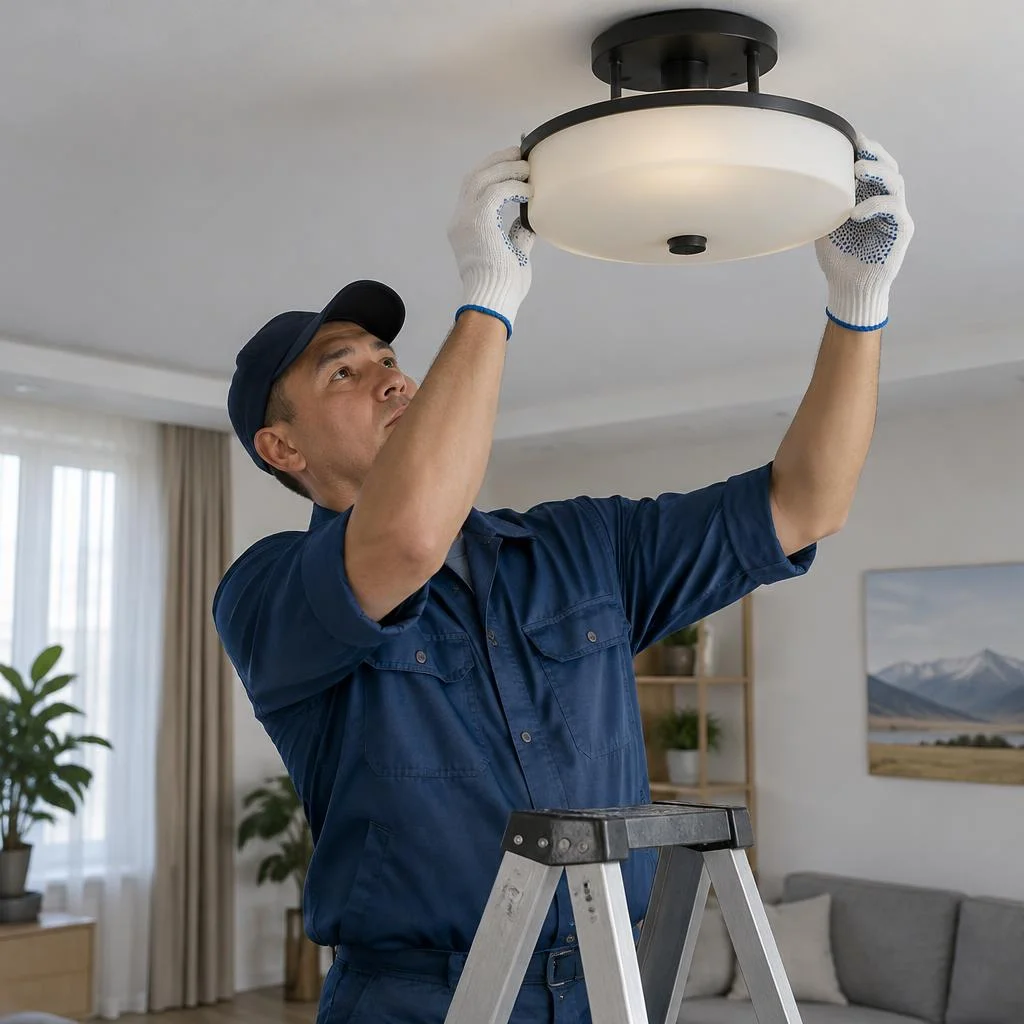
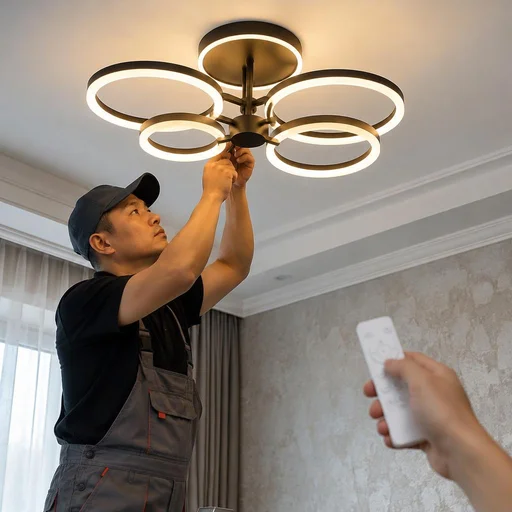
We install chandeliers, ceiling fixtures and chandeliers with a remote control — from classic models to systems with remote control. Installing a chandelier on a concrete ceiling is done via an anchor hook or mounting bar, and on drywall — via a backing plate fixed behind the sheet before it is secured. Installing a ceiling fixture with a shade with 3-5 arms takes us 40-60 minutes, while working with a chandelier with a remote control also requires checking the receiver: a signal at 433 MHz does not pass through reinforced concrete, so the unit is placed in the line-of-sight zone. For a chandelier with a remote control, it is important to check in advance the compatibility of the receiver with the existing wiring — otherwise the remote control works unstably.
Spot, track and recessed fixtures
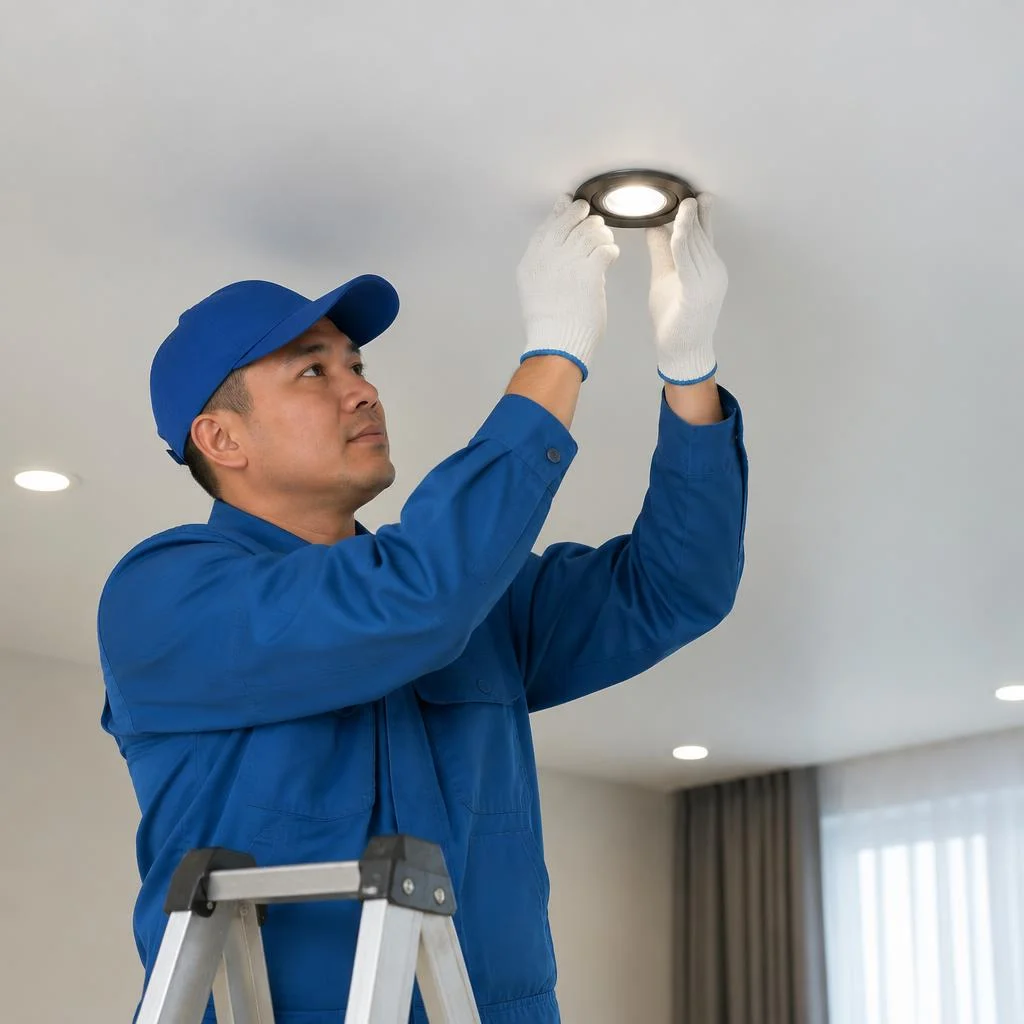
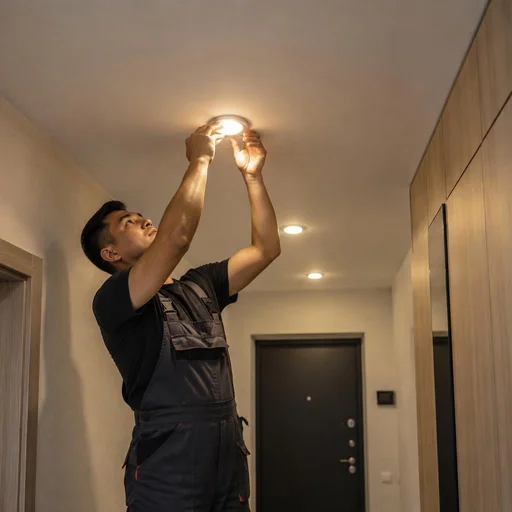
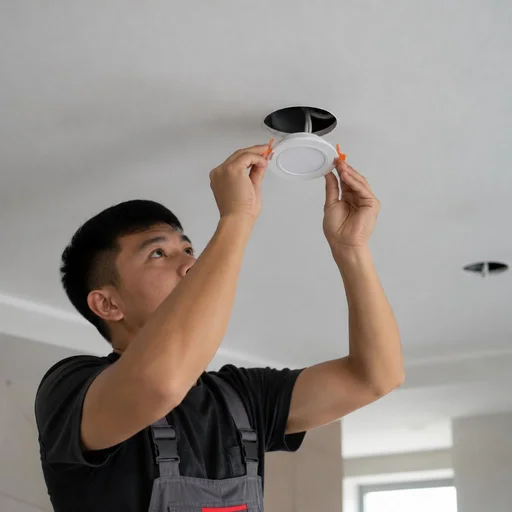
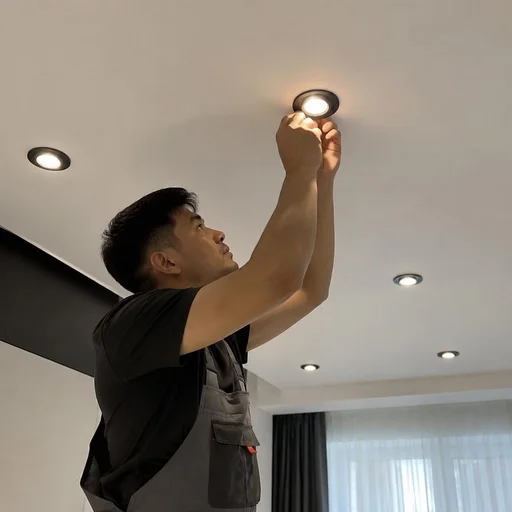
- Installing a spot fixture: takes 15-25 minutes per point with a ready-made hole and up to 40 minutes if the hole is cut on site.
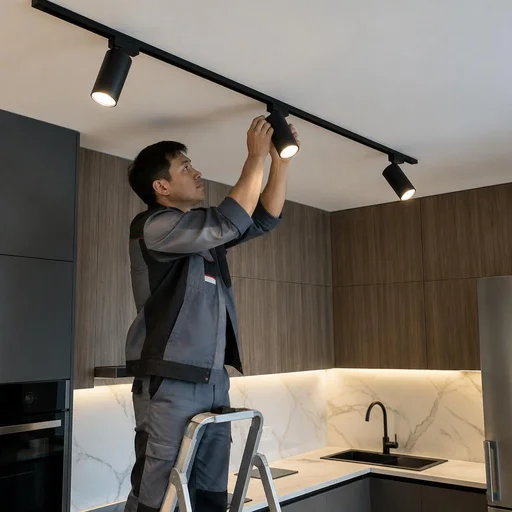
- Installing a track fixture: we place up to 8-10 heads on a single-phase busbar, and up to 20-24 on a three-phase one with distribution into groups.
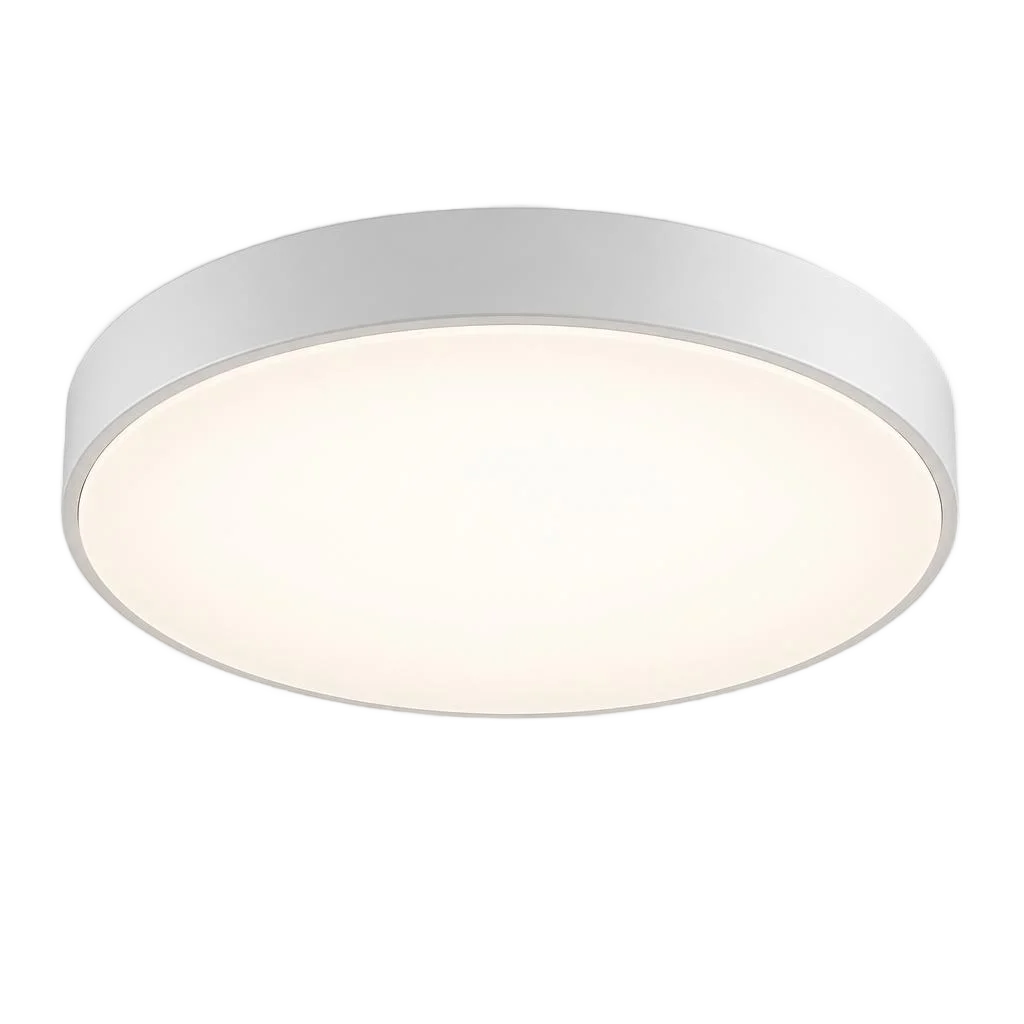
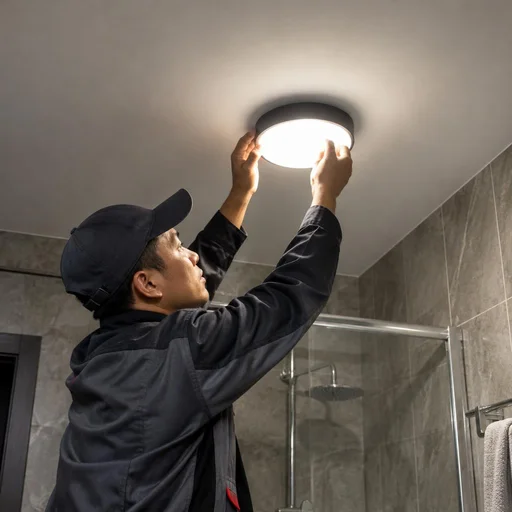
- Installing a surface-mounted fixture: used on concrete ceilings without backing plates, the mounting goes directly into the floor slab.
- Installing a recessed fixture: requires a mounting depth of 40-90 mm, so we check the gap between the stretch ceiling and the base ceiling for it.
- Installing a group of spot fixtures: includes loop wiring, driver selection and connecting WAGO terminal blocks for each line.
- Installing spot fixtures around the perimeter: we calculate the spacing between points for even illumination — usually 60-90 cm for ceilings 2.7-3 m high.
LED strips and accent lighting: ceiling, walls, furniture, work area
- Installing an LED strip: on an aluminum profile with a diffuser — without it the diodes produce spot hotspots on a glossy surface.
- Installing ceiling contour lighting: the niche for the strip is provided at the frame stage, a depth of 50-70 mm hides the profile and gives an even wash of light.
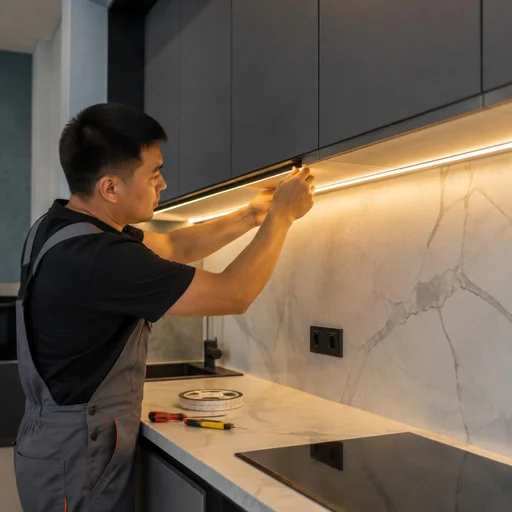
- Installing work area lighting: under wall cabinets we use a 12 V strip at 1200-1500 lumens per meter with IP44 protection.
- Installing furniture lighting: in cabinets and niches we run 0.35-0.5 mm² wire with end connectors and a door opening sensor.
- Installing contour wall lighting: on drywall cornices and battens, with a profile fastening spacing of 300-400 mm.
- Connecting the strip power supply: we take the power with a 20-30% margin over the total load — a unit in a closed niche heats up more.
- Connecting a dimmer for the strip: we install the PWM controller in the break on the low-voltage side, not on the 220 V side, so the strip does not hum.
Outdoor and facade lighting
We install outdoor lamps and mount facade floodlights for private houses and commercial properties in Bishkek. Installing an outdoor lamp on a pole or bracket is done with VVGng-LS cable in a corrugated conduit, and the underground entry — in an HDPE pipe at a depth of 0.7 m below the frost line. Working with a 30-100 W facade floodlight is done with a swivel bracket so that the pool of light falls on the wall and not into the neighbors' windows. Outdoor lighting requires moisture-proof connections and a separate circuit breaker in the panel — otherwise the first rainy season will reveal the weak points.
How lighting system installation works: stages and preparation
Lighting installation is a sequence from measuring the room to testing each line under load. Each stage builds on the previous one, and a mistake at the beginning is the most expensive.
Layout marking and wiring diagram
We start work with layout marking and drawing up a wiring diagram for the specific room. On site, the technician marks the points for chandeliers, recessed and track models, plots the cable routes and the locations of switches and sockets on the plan, tying them to the walls and furniture. For stretch ceilings, the marking is done according to the level of the mounting plate; for drywall, according to the frame, so that the fixtures don't land on a profile. The diagram fixes the groups: a separate line for the main lighting, a separate one for the work area accent lighting and the decorative contour. The diagram should be agreed upon before wall chasing — moving a switch at the marking stage is cheaper than after the finish work.
Load calculation and cable selection
We calculate the load on the lighting line and select the cable cross-section for the total wattage of the fixtures. For a group of 10-12 recessed LED points with a total wattage of up to 120 W, a 1.5 mm² copper cable is sufficient; for a line with a chandelier and ceiling accent lighting, 2.5 mm² is used, and the main circuit breaker is selected with a 20-30% margin over the calculated current. The inrush current of the drivers and the strip's power supply is calculated separately — with a contour length over 10 meters, the voltage drop is noticeable, so power is supplied from both ends. A margin in cable cross-section allows adding fixtures later without re-laying the wiring — especially relevant for groups of recessed lights.
Calculating the number of fixtures for the room
We calculate the number of fixtures based on the area and purpose of the room — for even light without dark zones. The basic guideline is 1 recessed fixture per 1.5-2 m² with a ceiling height of up to 2.7 m; for a 14 m² bedroom, that's 8-9 points, for a 20 m² living room — 12-14. The spacing between points is kept within 80-120 cm, the setback from the wall — no less than 50 cm, otherwise a light spot will appear on the wall. The wattage of LED models is taken at 5-7 W per point for living rooms and 10-12 W for areas with high visual load. For the kitchen and home office, the norm should be increased by 20-30% relative to living rooms — the lighting requirements there are higher.
Wall chasing or installation without chasing
Eco-Service performs both wall chasing for cables and installation without chasing — in cable ducts or through the ceiling space. Wall chasing is suitable during the renovation stage: a chase 20-30 mm deep runs from the panel to each group, the cable is laid in corrugated conduit and covered with plaster. Without chasing, the route is run in plastic channels along the walls, under the baseboard or in the above-ceiling space — this method is chosen when the renovation is already finished. In apartments with a finished renovation, the ceiling option is more often chosen for installation without chasing — the cable goes into the above-ceiling space and doesn't spoil the walls.
Lighting installation in stretch ceilings and drywall
A stretch fabric and drywall set different logic for the work: in the first case, everything is decided by the stage before stretching, in the second — by reinforcing the frame and the embedded supports. Let's break down how lighting installation proceeds on each type of surface.
Fixtures in a stretch ceiling
Eco-Service installs fixtures in a stretch ceiling with embedded supports and thermal rings before the fabric is stretched. At sites in Bishkek, we first assemble the layout of points, attach wooden or metal platforms to the base slab, run the cable with a 15-20 cm reserve, and only then call in the stretching crew. For a group of 6-8 recessed lights, we install a common embedded frame so that each fixture doesn't require its own separate fastener. The thermal ring protects the fabric from heat: LED models up to 10 W generate little heat, but a 35 W halogen without a ring causes local deformation within 2-3 months. Embedded supports for fixtures must be installed before stretching — after the fabric is stretched, adding a point without dismantling is no longer possible.
Fixtures in drywall
Eco-Service installs fixtures in drywall with reinforced fastening for the weight of the fixture and cable routing inside the frame. A drywall sheet 9.5 or 12.5 mm thick supports a recessed fixture weighing up to 1.5 kg via spring clips, but surface-mounted models and chandeliers require a profile embedded support between the stud profiles. We route the VVGng 3×1.5 cable along the inner side of the frame in a corrugated sleeve, leaving a 20 cm lead at the point — this way it won't be pinched when the second layer is attached. For a group of recessed lights around the perimeter of an 18-20 m² room, 8-10 points are needed with a spacing of 80-100 cm. For heavy chandeliers in drywall, a separate embedded support in the slab is needed — fastening only into the sheet won't hold the weight.
Table: surface type and work specifics
| Surface type | What we account for | Fixture type |
|---|---|---|
| Stretch ceiling | Embedded supports and thermal rings before stretching | Recessed, built-in, chandeliers with a platform |
| Drywall | Reinforcement for weight, cable in the frame | Built-in, surface-mounted, lightweight chandeliers |
| Concrete / slab | Chasing or cable channel | Surface-mounted, track, chandeliers with fastening into the slab |
| Combined (drywall + stretch) | Embedded supports are planned at the frame stage | Recessed along the contour, hidden lighting |
For combined ceilings, embedded supports are planned at the frame assembly stage — this saves time and materials, because after the fabric is stretched, access to the slab is closed.
Lighting scenarios and automation: dimmers, sensors, remotes
Installing lighting today is not just about points and switches, but also brightness control, automation, and scenarios. We break down which devices we install, how we select them for the load, and what to consider before starting work.
Dimmers and brightness control
Eco-Service connects dimmers for strips and light fixtures — brightness control works both for individual zones and for the entire line. For LED strips we install a dimmer with low-voltage support and PWM control, for 220 V chandeliers — a rotary or push-button one, for spot groups — a DIN-rail module in the panel. If the dimmer is rated for resistive load and a driver is on the line, flickering and humming appear: the total power of the fixtures must be at least 20% below the dimmer's rating. The device is selected for the load type: for LED strips you need a module with low-voltage support, otherwise flickering appears. In our practice, at sites with a strip around the perimeter of a hall, we install a separate power supply and a dimmer for each line so that one zone does not dim the neighboring one.
Motion sensors and automation
Eco-Service installs motion sensors and connects them to lighting lines in stairwells, corridors, and outdoors. We use infrared sensors at 180° for passage areas, microwave ones — for rooms with partitions where the IR beam does not reach the corner; we install outdoor models with IP65 protection and an ambient-light activation threshold so the light does not turn on during the day. We wire the sensor through a breaker in the panel, on a separate line from the main lighting — then if the automation fails, the light turns on manually. A motion sensor in a living room is often annoying — it is better to install it in passage areas where light is needed for short intervals. For stairwells and parking garages we set a delay of 3-5 minutes: shorter — the light goes out while the person is still on the floor, longer — energy consumption grows with no benefit.
Remotes and smart lighting control
Eco-Service installs chandeliers with a remote and connects lighting control systems for several zones. In apartments we most often install a chandelier with a 2-3 channel remote and a separate receiver in the mounting box, in country houses — a DIN-rail relay with Wi-Fi control and "evening," "movie," "cleaning" scenarios. Lighting scenarios are conveniently grouped: ceiling light, work area lighting, wall sconces and floor lamps — each group on its own channel, then one remote does not interfere with another room. With several remotes in the house, it is worth distributing the channels by zone in advance — otherwise one remote will turn on the light in someone else's room. At sites with track systems we add a dimmable module to the track — this way brightness is adjusted without replacing the fixtures.
Electrical installation of lighting: related works and wiring replacement
Light fixtures are rarely installed in an empty apartment: a new line requires cable, a circuit breaker, and switches. Let's break down the related works that most often go hand in hand with the main installation.
Wiring replacement for a new lighting line
Eco-Service performs wiring replacement for a new lighting line when the old wiring can't handle the load of modern light fixtures. In Bishkek's panel buildings — series 1-464 and 1-335 — lighting is usually wired with 2.5 mm² aluminum, but an LED group of 12-18 points with drivers requires a 3×1.5 mm² copper cable as a separate line from the panel. Twisted connections in the junction box are replaced with WAGO terminals or ferrules: aluminum and copper oxidize and heat up when connected directly. Clients often write a short request — need light in a new room — and the technician on site clarifies whether a full line replacement is needed or whether it's enough to run a new group from the panel. Full electrical installation of lighting is planned before the stretch ceiling and finish work — after the ceiling membrane is installed, opening it up leaves marks and costs more.
Switches, sockets and circuit breakers for the lighting line
Eco-Service installs switches, sockets and circuit breakers for the lighting line, including assembly and connection in the panel. For track systems and zone lighting, two- and three-gang switches are installed, two-way switches for corridors, and a separate socket is run for the LED strip's 12 or 24 V power supply. The circuit breaker for the lighting line is selected based on total power: for 16-20 LED points this is usually 10 A, for a chandelier with incandescent lamps and a powerful floodlight — 16 A. A separate circuit breaker for the lighting line simplifies diagnostics: when it trips, you can immediately see that it was the lighting that shut off, not the socket group, and you don't have to search for the cause in the apartment.
Eliminating LED flickering after installation
Eco-Service eliminates LED light fixture flickering after installation — the cause is most often an incompatible power supply or dimmer. Cheap drivers without stabilization produce pulsation at the 50 Hz mains frequency, which the eye barely catches, but a phone camera shows it as bands; during work this is checked immediately by filming the active line with a smartphone. The second source is a dimmer designed for incandescent lamps: with LED it doesn't cut the entire half-wave, and the light flickers at low brightness. The solution is a driver marked "flicker-free" and a dimmer compatible with the specific model of strip or fixture. Another common cause is a weak contact in the terminal or an overloaded line: before replacing the driver, the technician checks the input voltage with a multimeter.
Warranty, contract and work with properties in Bishkek
The customer reviews the legal formalization of the order and the warranty obligations before signing, not after the property is handed over. Below is how the contract, warranty and work with different types of properties are structured.
2-year warranty on installation work
Eco-Service provides a 2-year warranty on lighting installation — including connections, fastenings and connection of power supply units. The two-year term covers terminal clamps, ferrules, dowel fastenings in drywall and stretch ceilings, as well as commissioning of dimmers and motion sensors. Clients often find us through the search query cost of work — and in the estimate they immediately see what makes up the total: the more power points and transitions, the higher the labor costs. The warranty also covers work with drivers for LED strips — provided that the power supply unit is selected for the total power of the strip with a reserve of at least 20%. The warranty is valid as long as the connection scheme is preserved — if the client themselves changes the light fixture to a different type of load, the case becomes non-warranty.
Contract and transparent terms
Eco-Service formalizes the work with a contract containing a fixed list and deadlines. The document specifies the number of points, the type of light fixtures, the cable brand, the installation method — exposed or concealed in a chase, as well as the stages: rough wiring, finish installation, commissioning. A connection diagram agreed with the customer before the start of work is attached to the estimate. The contract should record the type and number of light fixtures — this eliminates disputes during acceptance if the customer added points during the work. A separate clause covers the warranty period and the procedure for filing a warranty case: by act and receipt, without verbal agreements.
Own service center in Bishkek
Eco-Service operates through its own service center in Bishkek — requests are accepted and coordination takes place in person. This distinguishes the format from mobile crews without an office: the customer comes in, discusses the scope, sees samples of light fixtures, drivers and profiles for strips. In-person acceptance allows showing samples of light fixtures and power supply units before installation — the client sees exactly what will be installed. Customer reviews are collected for specific properties, indicating the type of premises and scope of work, rather than with general wording. The reception schedule is agreed in advance — the specialist sets aside time to go over the diagram and calculate the load.
Properties: apartments, houses, commercial premises
- Apartments and houses: spotlights, chandeliers with remote control, perimeter ceiling lighting, strips in the work area and kitchen.
- Commercial premises: track systems, linear light fixtures, industrial floodlights, emergency lighting.
- Facades and grounds: street lamps, floodlights, contour wall lighting with IP65 protection and above.
- Work schedule: for commercial properties, work is planned during pauses in operations or outside working hours.
- Commissioning: lighting scenes, motion sensors and dimmers are configured after the work is completed.
Conclusion
Five takeaways that will save time and budget during lighting installation: from load calculation to acceptance of work by act.
Main takeaways
- Marking and load calculation: before drilling, determine how many light fixtures the line can handle and what cable cross-section is needed for the total power.
- Surface type: a stretch ceiling requires embedded supports before stretching, drywall requires reinforced hangers, concrete requires core bits and dowels for the weight of the fixture.
- LED strips and accent lighting: the power supply unit is chosen with a 20-30% power reserve, and the dimmer must be compatible with the driver, otherwise flickering appears at low brightness.
- Related electrical installation: wiring replacement, circuit breakers and switches are done before installing the light fixtures, otherwise the line will have to be opened up again.
- Warranty and contract: the list of works, the 2-year term and the acceptance act record the scope and protect the customer if defects appear.


