














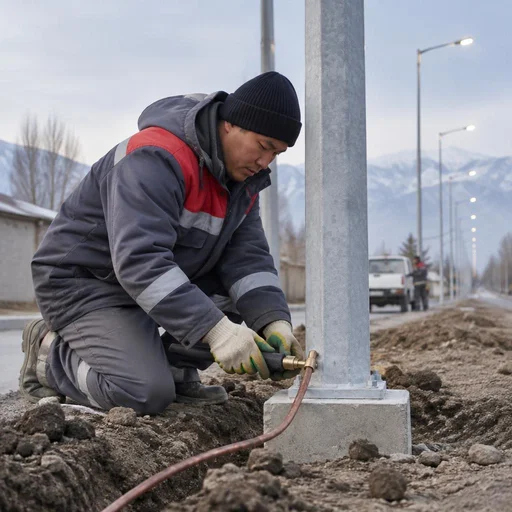
What turnkey outdoor lighting installation includes
Outdoor lighting installation is not just mounting a luminaire on a pole, but a connected chain from design to commissioning. Let's break down what stages the work consists of and what remains outside the boundaries of a standard estimate.
Full work cycle: from design to commissioning
- Scheme design: illuminance calculation, selection of luminaire power and cable cross-section for the route length.
- Marking on site: setting out the installation points of poles and brackets on site, tied to the terrain and existing networks.
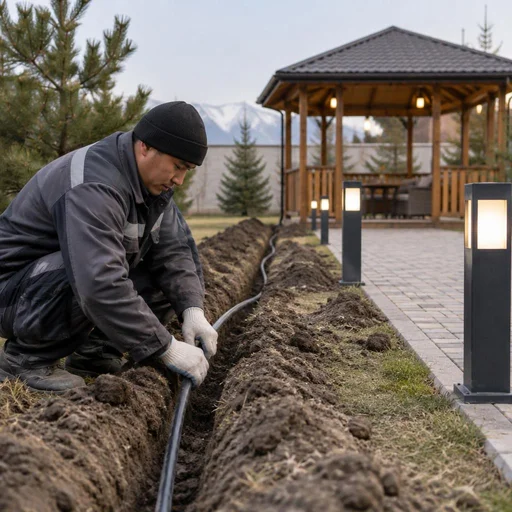
- Preparation of cable routes: trench digging, laying corrugated conduit or preparing an overhead line between poles.
- Installation of poles and brackets: concreting posts, anchoring to the facade, setting the tilt angle for the luminaire.
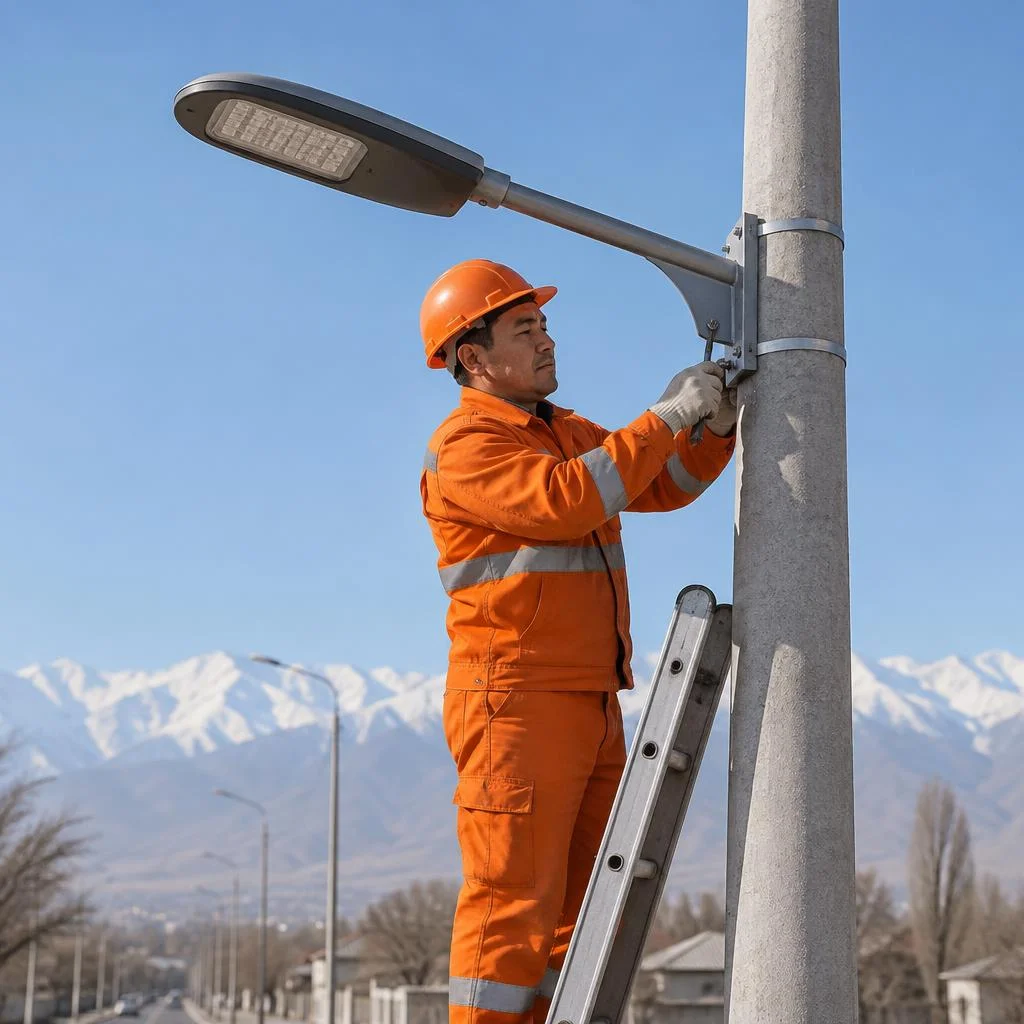
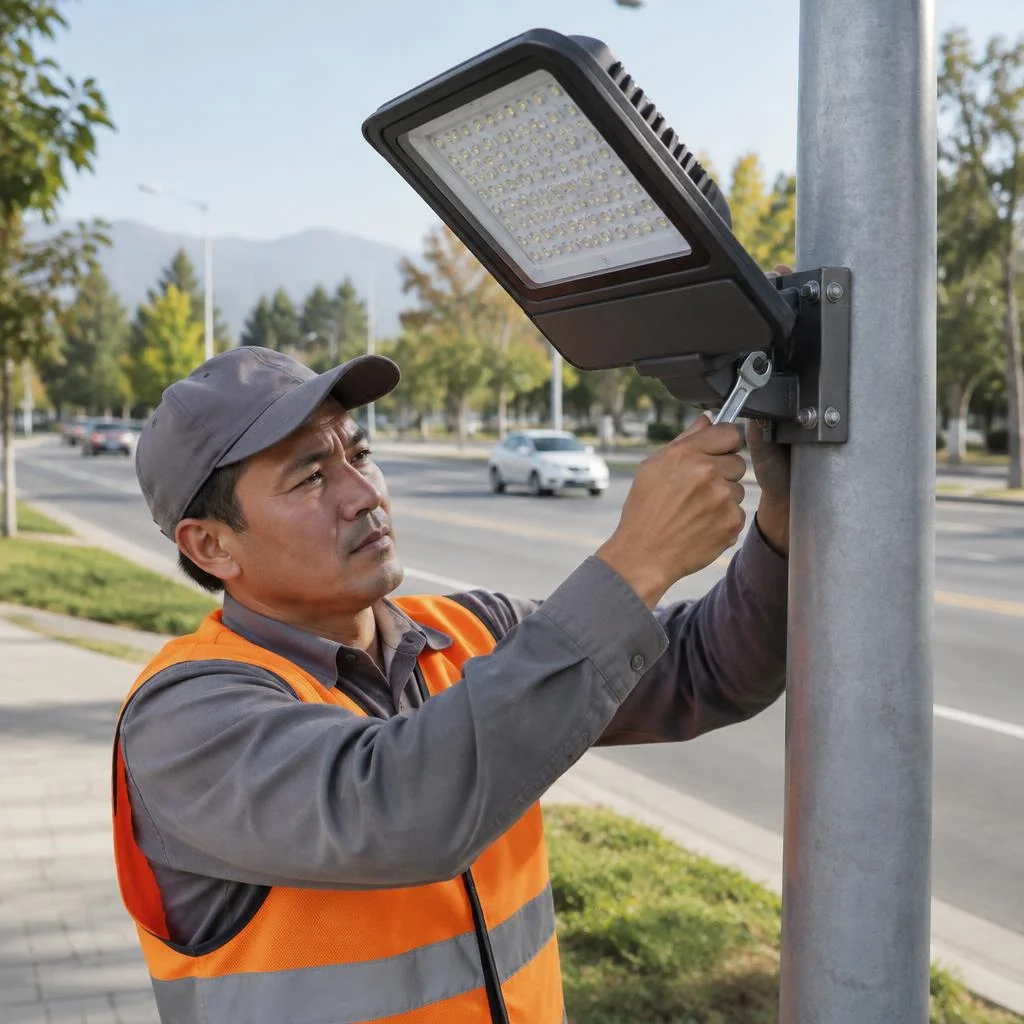
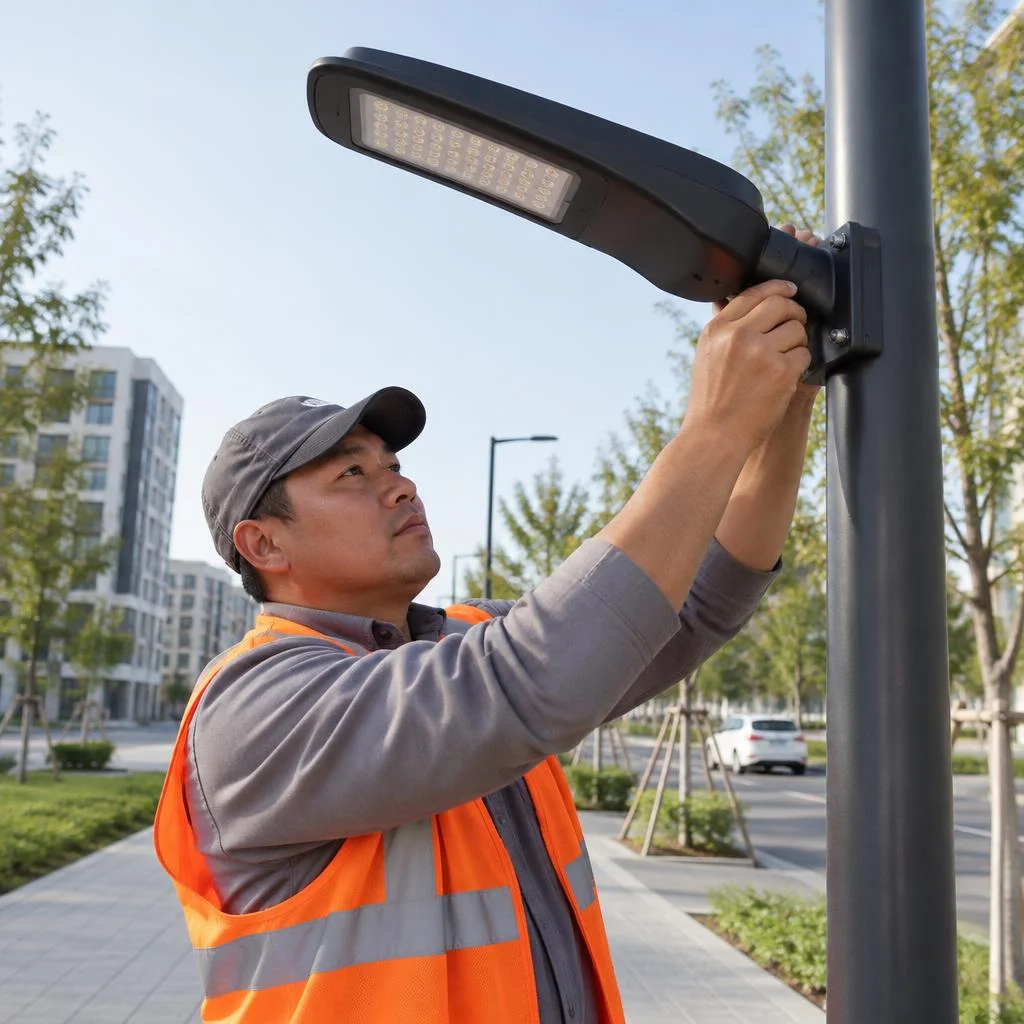
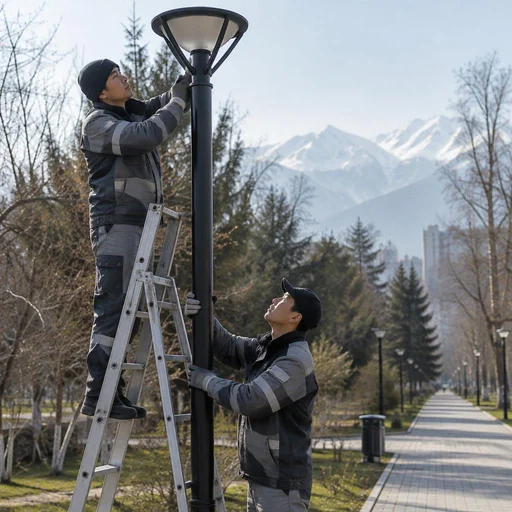
- Installation of luminaires: cantilever, park, suspended models and LED floodlights — according to the design scheme.
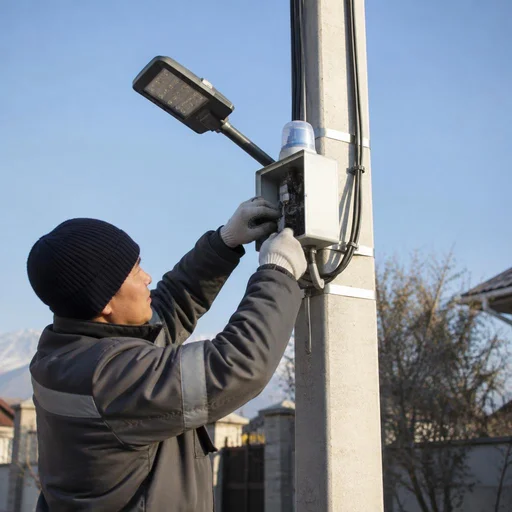
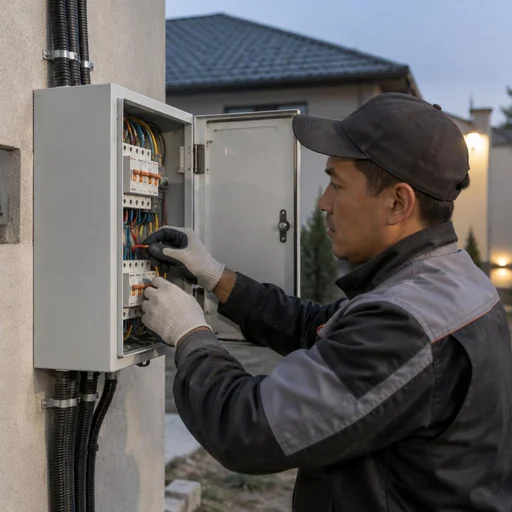
- Outdoor panel assembly: circuit breakers, RCD, magnetic starter, line grounding loop.
- Commissioning: testing under load, setting up the photocell and timer, handover of the project.
Which sites we service: courtyards, parks, highways, private plots
| Site | Luminaire type | Installation height | Installation specifics |
|---|---|---|---|
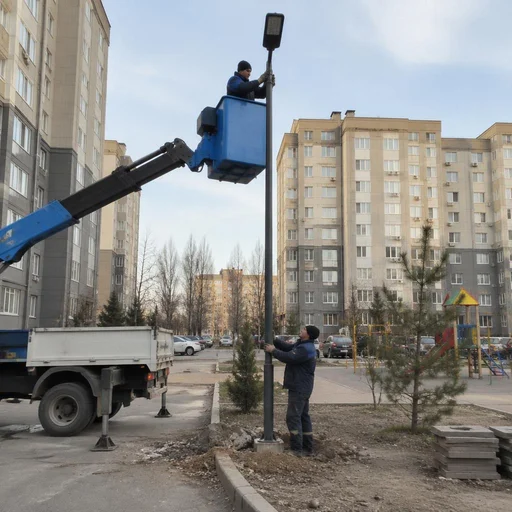
| Courtyard area | Cantilever, suspended | 4-6 m | Poles closer to driveways, vandalism protection |
| Park, alley | Park, garden | 3-5 m | Decorative poles, spacing 15-20 m |
| Highway, road | Cantilever, LED floodlight | from 8 m | Spacing calculated to meet road illuminance standards |
| Private plot | Garden, floodlight | 2.5-4 m | Connection from the home panel, overhead line or trench |
We install outdoor lighting on four types of sites — courtyard areas, parks and alleys, highways and roads, private plots. The type of site determines the pole class and suspension height: for a courtyard, 4-6 m is enough; for a highway, from 8 m. Installing outdoor luminaires on a highway without calculating pole spacing creates dark zones between spans — the scheme has to be recalculated after the work is done.
What is not included in standard installation and why it matters
- Approvals with the akimat and city grid operator: permits for connection to the city line and earthworks are arranged by the customer.
- Supply of poles and luminaires: equipment is purchased separately — the crew installs what has been agreed in the design.
- Earthworks with heavy machinery: excavator, pile drilling and soil removal — a separate contractor service.
- Emergency repair of an existing line: restoration of someone else's cable or pole is not included in the estimate.
- Connection to the metering device: work on the side of the energy supply organization is performed by its personnel.
Designing the scheme and layout: where street lighting installation begins
Before the first stake goes into the ground, calculations come first: how many points, what power, what cable cross-section. We break down how the scheme is designed and the route is marked out before street lighting installation begins.
Calculating illuminance and selecting luminaire power
We calculate illuminance based on the area and purpose of the site: for courtyards — 4-6 lux, for pedestrian alleys — 6-10 lux, for roadways — from 15 lux. The standard is taken from the building codes and refined based on the actual geometry: roadway width, pole height, spacing between them. At a height of 8 meters, a 100 W cantilever luminaire covers a spot about 20 meters in diameter; at 6 meters, the same spot already requires 60-70 W. Luminous flux is calculated not in watts but in lumens: a 100 W LED produces 12-14 thousand lm, while a sodium lamp of the same power produces half that. Understated power on paper results in "patchy" lighting on the ground — and it's not the luminaire that has to be redone, but the entire pole placement scheme.
Marking out the route and installation points on site
We visit the site and mark out the cable route and pole installation points, taking into account underground utilities and property boundaries. In Bishkek, before digging, network maps are requested from the water utility, municipal power grid, and telecom companies — in the old central districts the maps are incomplete, so the route is additionally checked with a cable locator. Pole points are spaced so that light isn't blocked by tree crowns: in parks in Kyrgyzstan, poplars and elms cast dense shade, and the pole is shifted 1-2 meters away from the trunk. Marking "by eye" without accounting for existing pipes and cables is the most common cause of damage during digging; it's better to spend an hour coordinating the route than a day on repairs.
Selecting cable cross-section and protective automation
We select the street cable cross-section based on the total line load and route length, and install a circuit breaker and RCD in the panel. For ten 100 W luminaires on a 150-meter line, a 3×2.5 mm² copper cable is sufficient, but at 300 meters the same number of points already requires 3×4 mm². The circuit breaker is chosen with a 20-30% margin over the rated current, and the RCD at 30 mA: outdoors, leakage protection matters when the cable lies in the ground or in corrugated conduit. In requests, clients often write briefly — installation of street luminaires — and from that single line it's already clear that a line calculation is needed for the specific length. On a long route, voltage drops even with the "correct" cross-section: it's not just the load that needs checking, but also the line length, otherwise the last poles in the chain shine dimmer than the first.
Installation of street lighting fixtures: poles, brackets, luminaires
Load-bearing structures and the luminaires themselves determine how the light falls on the site. Below we break down how a pole is installed, how a pole-mounted bracket differs from a facade-mounted one, and which types of fixtures we install.
Installation of a lighting pole: concreting and anchoring
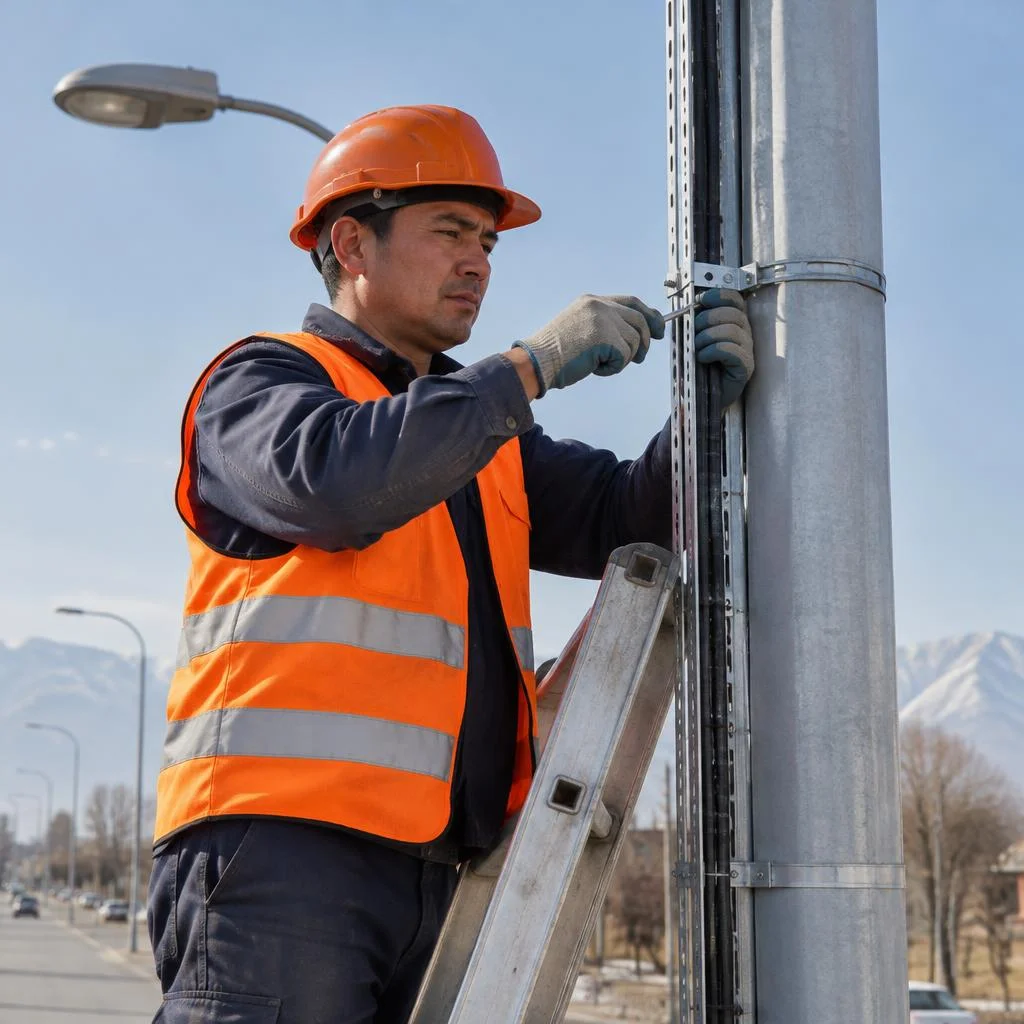
At Eco-Service, the installation of a lighting pole is carried out in two ways — concreting into the ground or onto anchor bolts to a ready-made foundation. For main networks we use poles 8-12 m high with concreting to a depth of 1.5-2 m and a crushed-stone backfill; for park alleys — 4-6 m with anchoring according to the layout. In Bishkek soils with a high groundwater level, concreting without a drainage cushion causes the pole to subside within a single season: the post tilts to the side by 2-3°, and the luminaire stops hitting the design zone. In areas near the Alamedin and Ala-Archa collectors, we add a crushed-stone cushion of 20-30 cm and only after that pour the concrete.
Pole-mounted and facade-mounted brackets: which to choose
| Bracket type | Where it is used | What is taken into account | Installation specifics |
|---|---|---|---|
| Pole-mounted | Main roads, parks, squares | Reach 0.8-2 m, tilt angle | Drilling the pole using a template |
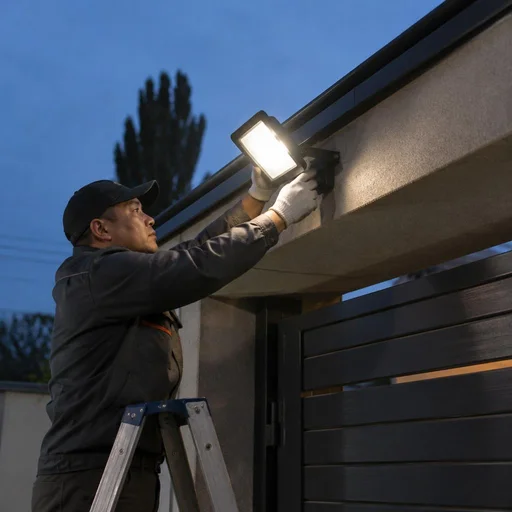
| Facade-mounted | Courtyards, narrow driveways, arches | Load-bearing capacity of the wall | Wall inspection, reinforcement of fasteners |
| Cable-mounted | Courtyard driveways without poles | Tension, wind load | Installation of two anchors |
| On the cantilever of an L-shaped pole | Roads, interchanges | Luminaire suspension height | Adjustment of the tilt angle |
A facade bracket is cheaper than a full-fledged pole, but on old panel buildings in Bishkek the load-bearing capacity of the wall is sometimes reinforced — without this, the fastening is torn out in winds above 15 m/s.
Installation of street luminaires of various types: cantilever, park, suspended, LED floodlights
| Luminaire type | Where it is used | Mounting method | Installation height |
|---|---|---|---|
| Cantilever | Roads, main roads | Bracket on a pole | 8-12 m |
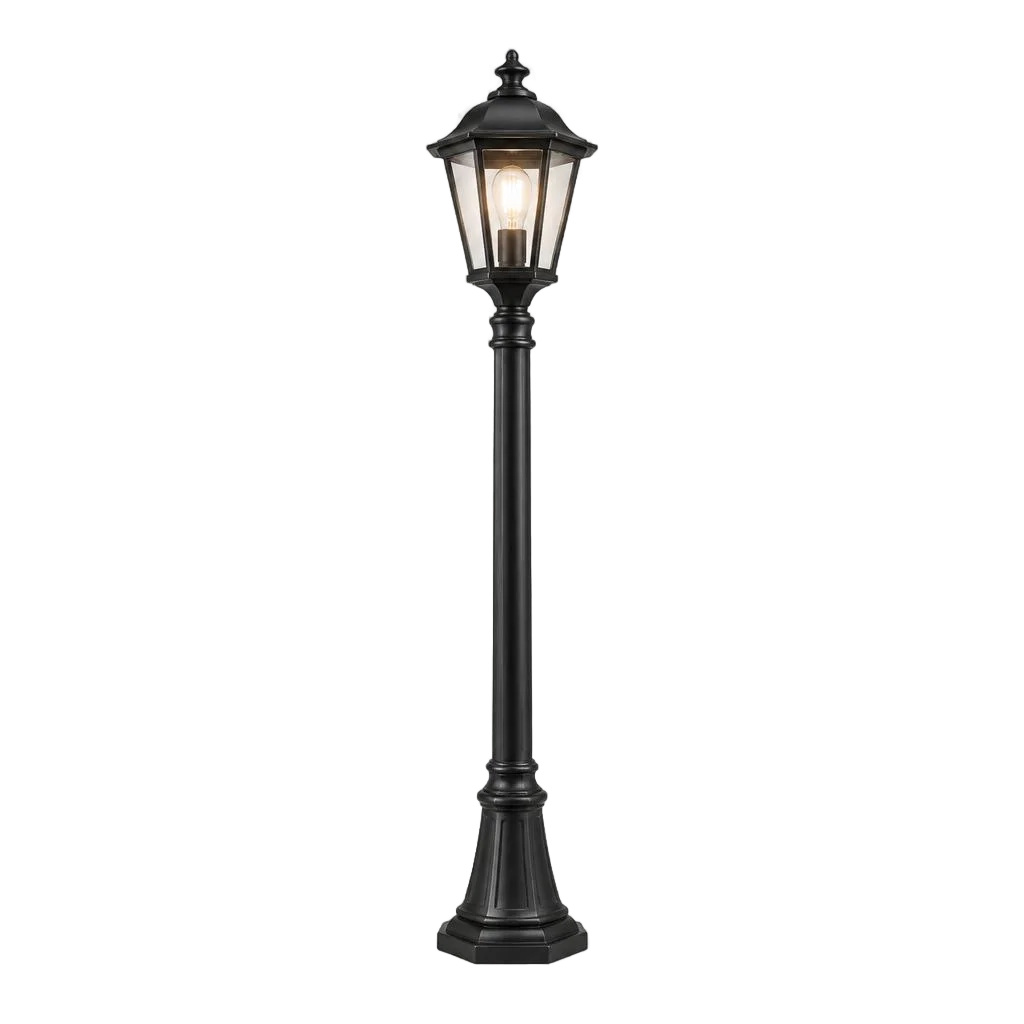
| Park | Alleys, public gardens, boulevards | Directly on the pole or flange | 3-5 m |
| Suspended | Canopies, platforms, crossings | Cable or rigid suspension | 4-6 m |
| LED floodlight | Sports grounds, parking lots, facades | Bracket on a pole or wall | 6-10 m |
We carry out the installation of street luminaires of various types following one principle: first we check the design illuminance on the project, then we select the mounting for the specific height. A suspended luminaire on a low pole produces a blinding effect, while a cantilever one on a park alley produces uneven patches of light with dark gaps.
Installation of garden luminaires on a private plot
At Eco-Service, the installation of garden luminaires on private plots involves laying cable in corrugated conduit at a depth below the frost line and connecting it to a separate line in the panel. For pathways and flowerbed lighting we install fixtures on a low-voltage 12-24 V line with a transformer in the panel; for the entrance area — on 220 V with a separate circuit breaker. We lay the corrugated conduit in a trench 60-70 cm deep with a sand bedding, and we make the leads for each luminaire with sleeves so that the connection point does not get wet during watering. Garden luminaires on a low-voltage line are safer in operation, but require a transformer in the panel — this is included at the design stage, otherwise the line will have to be redone.
Installation of street lighting fixtures at different sites: what changes in the work
Installation of street lighting fixtures differs by site: on a highway the priority is mounting height and uniformity, in a courtyard it is the absence of light spill into windows. We carry out the installation of street lighting fixtures on a park alley with a pole spacing of 20-25 m and a height of 3-4 m, so that the light falls softly and does not glare into pedestrians' eyes. In the courtyards of residential buildings in Bishkek we install fixtures with shielding and direct the beam downward — otherwise residents of the first floors complain about light spill into bedrooms. Lighting for a sports ground requires floodlights with a beam angle of 60-90° and a height of 8-10 m for uniform coverage of the field without harsh shadows. At entrance areas and shopping center parking lots we add a separate control circuit — light sensors and a time relay reduce electricity consumption by 25-30% in the winter period.
Laying the cable and assembling the outdoor panel
The cable links scattered luminaires into a single line, while the outdoor panel controls its power supply and protection. We break down how the route-laying method is chosen, what connects the sections, and what is installed in the power node.
Laying outdoor cable: in corrugated conduit, in a trench, overhead
| Laying method | Where it is used | Depth or height | What is taken into account |
|---|---|---|---|
| In corrugated conduit in a trench | Courtyards, parks, private plots | 0.7–1.0 m | Protection from groundwater, sand bedding |
| Open in a trench | Trunk lines along roads | 0.7–1.0 m | Armored cable, warning tape |
| Overhead on a cable suspension | Between supports across roads, ravines | 4.5–6 m | Sag, wind load, UV resistance |
Overhead laying is faster and cheaper than underground, but in exposed sections cable in corrugated conduit in the air is destroyed by ultraviolet radiation within 3–5 seasons — a UV-resistant material is needed. Installing outdoor luminaires on long routes almost always combines two methods: an underground entry to the support and an overhead transition between spans.
Connecting cable with a splice and sealing the joints
We connect sections of outdoor cable with sealed splices designed for humidity and temperature fluctuations. On the lighting line in Bishkek, joints fall in zones with seasonal flooding, so heat-shrink splices with an adhesive layer are more reliable here than clamp terminal blocks: they compensate for the linear expansion of the wire in winter and do not let moisture through during a thaw. Each splice is marked by support number — during line maintenance there is no need to open up the entire route to find the problem joint. A twist connection in an outdoor junction box is the most common point of failure: contact oxidation shows up after a season, and the cause has to be traced along the entire route.
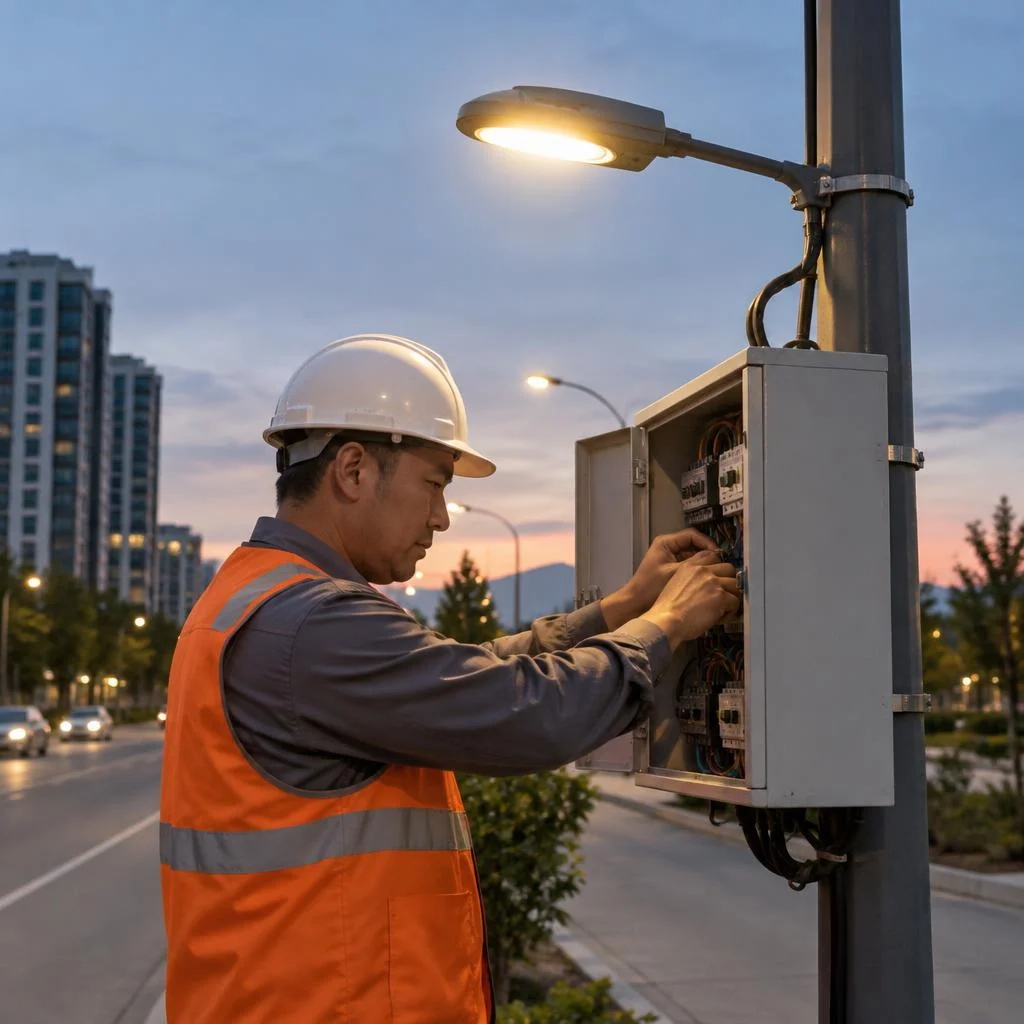
Assembling the outdoor panel: circuit breakers, RCD, magnetic starter
- Main circuit breaker: protects the line from overload and short circuit; the rating is selected based on the total power of the group of luminaires.
- RCD: cuts off the power supply when current leaks to ground — a mandatory element for a network operating in a damp environment.
- Magnetic starter: switches the load on a signal from a photocell relay or timer, withstands frequent switching without contact wear.
- Terminal groups: separate the outgoing lines by direction, so that one street can be switched off without stopping the entire network.
- Panel enclosure: IP54 and higher, with a gasket and protection from direct sunlight.
Grounding loop and line protection
Eco-Service installs a grounding loop for the outdoor lighting network — this is a mandatory element of protection against leakage and electric shock. At sites in Bishkek, the loop is assembled from vertical rods 3 m long, connected by 40×4 mm strip steel at a depth of 0.5–0.7 m, with a spreading resistance of no more than 10 ohms for a 380 V network. When searching, clients often phrase the request as outdoor lighting installation price — and land on this section, although grounding is counted as a separate line item in the estimate. Installing outdoor lighting on metal supports without grounding formally passes commissioning, but at the first dampness the support body ends up energized. Without grounding, the RCD in the panel may not trip when insulation breaks down on a wet support — and that is already a risk to people, not to equipment.
Lighting automation: photocells, timers, commissioning
Automation removes manual switching from the operator and extends the service life of the luminaires. We explain how photocells, timers and line commissioning are set up at facilities of various scales.
Photocell: turning on lighting when it gets dark
Eco-Service installs a photocell that turns on street lighting when natural light decreases and turns it off in the morning. The light sensor is mounted in an outdoor panel or on a separate post and is wired to a magnetic contactor that carries the current of the entire network — from 6 to 40 luminaires depending on the facility. The trigger threshold is adjustable in the range of 5-50 lux: for courtyards in Bishkek we set 15-20 lux, for main road sections — 10 lux, so that the line turns on before the peak evening traffic. A separate topic is the installation of garden luminaires: on plots with trees the sensor often picks up reflected light and triggers chaotically, so here we move the photocell to a separate post away from the tree crowns. The sensor must be positioned so that light from its own luminaire does not fall on it — otherwise the line goes into an "on-off" cycle and the lamp's service life burns out in a single season.
Lighting timer: on schedule by the clock
Eco-Service sets up a lighting timer to operate the line on a schedule — for example, from 18:00 to 06:00 or in two shifts with a pause at night. An astronomical timer recalculates the switch-on time for the season itself: in summer the line starts later, in winter earlier, without manual reconfiguration of the panel. For parks and public gardens in Bishkek we often set two programs — an evening one until 23:00 and a morning one from 05:00; between them the lighting is switched off and saves up to 30% of electricity per month. The timer and photocell work together: the timer sets the time frames, the photocell adjusts the switch-on to the actual darkness — so the line does not burn during the day in cloudy weather.
Commissioning and testing the line under load
Eco-Service completes the work with commissioning — it checks every point under load, measures the line current and configures the automation. With clamp meters we take readings on each phase: when powered from a three-phase network, the difference between phases must not exceed 10-15%, otherwise the imbalance heats up the neutral conductor and the breaker trips under peak load. With a thermal imager we go over the panel terminals and couplings — a weak contact is visible by a temperature above 60 °C long before failure. Commissioning identifies phase load imbalance and weak contacts before the facility is handed over — after handover, finding such a fault costs more.
What is clarified before setting up the automation
- Facility type: for a courtyard one photocell is enough, for a main road with three feeders a separate control circuit is needed for each.
- Operating scenario: continuous burning all night or two shifts with a pause — the choice of timer depends on this.
- Sensor installation point: on the facade, pole or in the panel — it affects protection from stray light and precipitation.
- Backup control: we leave a manual switch on each panel in case the automation fails.
- Line parameters: cable cross-section, number of luminaires and power determine the settings of the breakers and contactor.
- Setup cost: we calculate according to the price list after inspecting the facility, separately for each type of work.
- Maintenance schedule: once a season we check the photocell threshold and the timer's accuracy — drifted settings cause extra consumption.
Warranty, timelines and service: how Eco-Service manages a project
The work doesn't end after the project is handed over: the warranty period, response speed to a request and scheduled maintenance of the line all matter. Let's break down what project support includes and how it looks in practice.
2-year warranty on installation work
Eco-Service provides a 2-year warranty on outdoor lighting installation work — from poles and cable routes to the panel and automation. The two-year period covers the installation of a lighting pole, assembly of cantilever and park luminaires, laying of outdoor cable in a trench and in corrugated conduit, assembly of an outdoor panel with circuit breakers and RCDs, and installation of the grounding loop. The boundaries are specified in the contract before work begins: the warranty does not cover consumables (lamps, couplings, fasteners) or damage from external causes — cable breakage during neighbors' excavation work, machinery striking a pole, or a voltage surge above the design value. In the event of a warranty case, a site visit is arranged based on a report and receipt, and the defect is documented with photos. If the project was handed over in winter, we conduct the first inspection after the ground thaws: soil movement sometimes changes the tension of the overhead line.
Installation timelines: what determines the duration of work
Eco-Service states the timeline after marking the route: a short line with 5-8 points takes 2-4 days, an extended main line takes from a week. The duration is influenced by the length of the route, the type of cable laying (slower in a trench, faster overhead), the number of poles and their concreting, and the scope of the panel and automation. In search, clients most often look for installation cost — and for such a request we calculate the estimate immediately after visiting the site, not over the phone. A courtyard line with 12 luminaires and one connection point is completed in 5-7 working days, while a main line along a road with a bore under the roadway takes longer — here approvals and excavation work are added. Winter installation is possible, but excavation work in frozen ground extends the timeline: it's better to plan outdoor lighting installation before sustained frosts, then the trench is dug without a breaker and stays within the estimated days. Another frequent request is a calculation by luminaire type: it shows that the person has already chosen the type of poles and wants to understand the order of figures before the site visit, so in response we ask for photos of the area and the approximate length of the route.
Lighting line maintenance after handover
- Scheduled panel inspection: once a year we check circuit breakers, RCDs, the magnetic starter and the photocell under load, and tighten the terminals.
- Inspection of contacts on poles: tightening of bolted connections and brackets, cleaning oxidized terminals on luminaires before the cold sets in.
- Cable insulation check: measuring resistance at the inputs and in couplings, searching for voltage drops on overhead sections after winds.
- Replacement of failed luminaires: selecting an LED model of the same wattage and color temperature so the section doesn't stand out in terms of light.
- Emergency call-out: fixing a break or short circuit on the line upon request within one working day.
Conclusion
Outdoor lighting is assembled as a single system, where a weak link devalues the rest. Below are the conclusions that help budget and plan timelines without rework on the project.
Key takeaways
- Chain of work: outdoor lighting installation is design, marking, poles, cable, panel, automation and commissioning — not just installing a luminaire.
- Calculation at the start: cable cross-section and illuminance are set at the schematic stage — reworking a finished route costs more than the design itself.
- Object type: a courtyard, park, main road and private plot dictate the pole class, suspension height and luminaire type.
- Automation: a photocell and timer eliminate manual control and extend the line's service life through a steady mode.
- Service after handover: a 2-year warranty and maintenance are part of the service, not a separate option.
- Pre-handover check: measuring the grounding loop resistance and a test run under load reveal weak joints before voltage is applied to the line.