










Where home electrical work begins: layout, load, and route selection
Electrical work begins not with wall chasing, but with a layout: how many circuits, what load, where the routes will run. Without this stage, any wiring turns into rework. Let's break down how we calculate the load, choose the route, and the type of installation.
How to calculate the load and choose the cable cross-section
At Eco-Service, the calculation starts with a list of appliances: for socket groups, a 3×2.5 mm² cable is used, for lighting — 3×1.5 mm², and the incoming line is calculated based on total power. In a Bishkek apartment with a 2 kW boiler, a 2.2 kW washing machine, a 2.5 kW air conditioner, and a 7 kW electric stove, the total load reaches 15-16 kW — for this, the incoming cable is taken as 3×6 mm² or 3×10 mm², and each high-power circuit gets its own circuit breaker. The cross-section is selected not by the socket's current rating, but by the cable's long-term permissible current with a 20-25% margin: 2.5 mm² copper handles 25 A, but the breaker on such a circuit is set to 16 A. If you calculate the load "by eye," the breaker will trip when the boiler, washing machine, and air conditioner are turned on simultaneously — redoing the panel will cost more than the initial calculation. If you're figuring out how much it costs to install electrical wiring in a house, a layout with pre-set ratings saves on redoing the panel.
Apartment electrical routing along the floor vs. the ceiling — which to choose
- Renovation stage: ceiling routing is cheaper at the wall-chasing stage — the route is shorter, and walls barely need to be opened up.
- Wet zones: in the bathroom and kitchen, the line to the boiler and washing machine is run along the floor — if there's a leak from above, the cable in the conduit gets wet and loses its insulation.
- Ceiling height: 4-5 cm of clearance is needed under a stretch ceiling, otherwise the conduit with the cable presses against the frame.
- Serviceability: floor routing in the screed is inaccessible without opening the floor, but it's protected from accidental drilling from above.
- Combination with underfloor heating: the route is laid along the floor below the heating cable, otherwise it overheats.
Concealed or exposed wiring: where each type of installation is appropriate
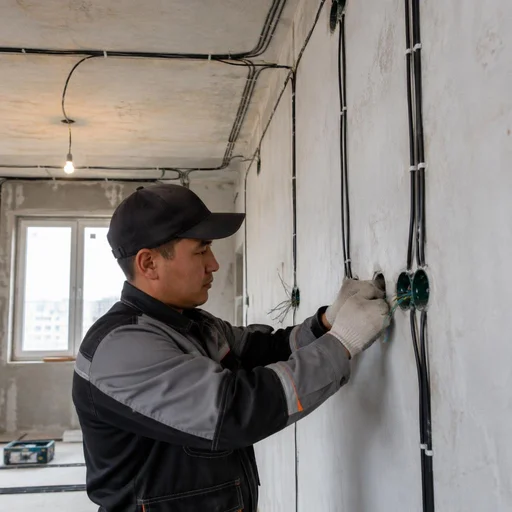
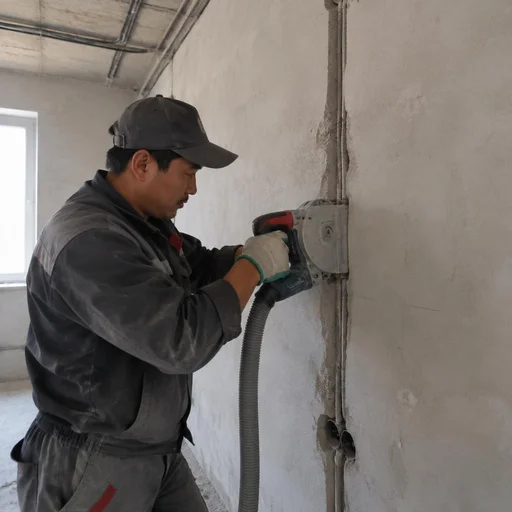
In new buildings in Bishkek, we run concealed wiring in chases under plaster, and in older housing stock without renovation — exposed wiring in cable ducts, so as not to chase load-bearing walls. A chase for a 3×2.5 mm² cable is 20×30 mm, up to 30 mm deep; in panel buildings 1-464 and 1-335, cutting load-bearing panels for horizontal chases is not allowed, so the route is run along the ceiling or floor in conduit. Exposed installation in a 25×16 mm cable duct takes 30-40% less time than wall chasing, but puts the line on display. Concealed wiring is cheaper at the finishing stage but more expensive to rework: if you want to add a socket, you'll have to open up the wall — that's why the point layout is agreed upon before chasing. When comparing how much it costs to install wiring in an apartment, the difference between concealed and exposed installation is already visible at the wall-chasing stage.
Design sequence: from the appliance list to an approved layout
- Appliance list: everything with its power in kW is written down — from the chandelier to the generator, including a future air conditioner and boiler.
- Grouping circuits: high-power consumers (stove, boiler, washing machine) get their own breaker, socket groups are combined by room.
- Cross-section calculation: based on the total power of each circuit, copper of 1.5-10 mm² is selected with a 20-25% current margin.
- Point layout: sockets, switches, lighting outlets, and their anchoring to walls are marked on the plan before chasing begins.
- Approval: the layout is signed off with the client — edits after chasing cost opening up finished finishes.
How the cost of wiring work is calculated
The cost of wiring depends on the number of lines, the footage of the runs, and the type of installation — concealed is more expensive than exposed due to wall chasing. The estimate is assembled from three parts: circuit design, rough-in installation (chases, corrugated conduit, pulling wires), and finish installation (sockets, switches, light fixtures). To the question of how much it costs to install electricity in an apartment, an exact answer is given after inspecting the site and counting the points — only a range is quoted over the phone. If they ask how much it costs to install electrical wiring in an apartment from scratch in a new building, each line is calculated separately: the service entrance, the panel, the socket and lighting circuits. The spread across projects is wide: a one-bedroom apartment with 30 points and a 200 m² house with a generator are different estimates, so a fixed price is not quoted without a site visit.
Electrical wiring in a new building and a private house: how the work differs
A new building, a resale apartment and a private house require different approaches: in some places the walls are already finished, in others a service drop from a pole is needed, and in others a single room is enough. We break down how the type of property changes the layout and the scope of work.
Electrical wiring in a new building: why it's more cost-effective to do it before renovation
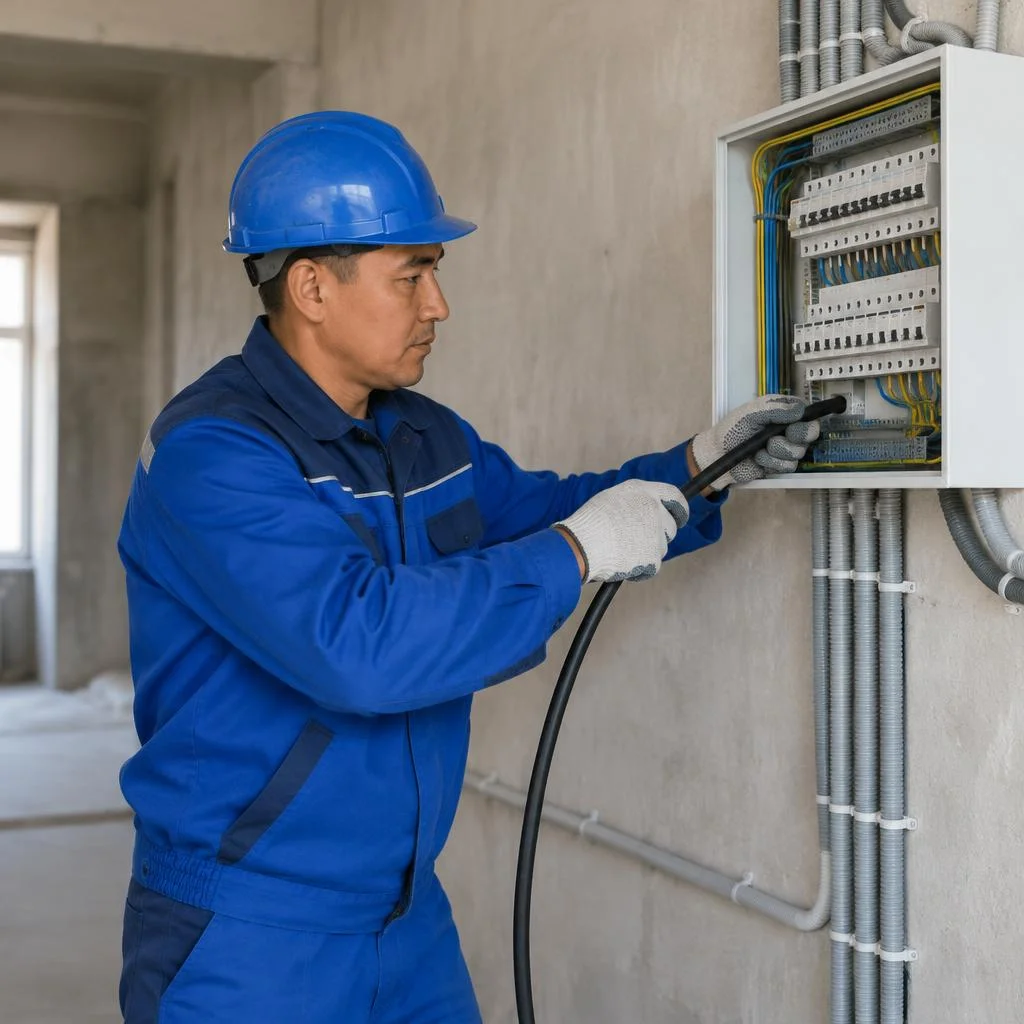
Wiring in a new building is done before the final finishing: we chase the concrete, run cable in corrugated conduit and assemble the panel while the walls are still open. In Bishkek residential complexes, the developer most often leaves only the incoming cable and one socket in the room — the owner finishes the rest themselves. In monolithic partition walls, chasing goes to a depth of up to 25 mm; in load-bearing walls — only vertically and no longer than a third of the floor height. We install a 12-18 module electrical panel in the hallway next to the service entrance. Clients often phrase their request as: wiring in an apartment price — and from that phrase it's immediately clear that the person needs a turnkey estimate, not a separate service. If the lines aren't laid before plastering, the cable will later have to be run in trunking on top of the walls — and that's already exposed wiring in a living room. Installation in a new building at Eco-Service is performed turnkey: from chasing to panel assembly.
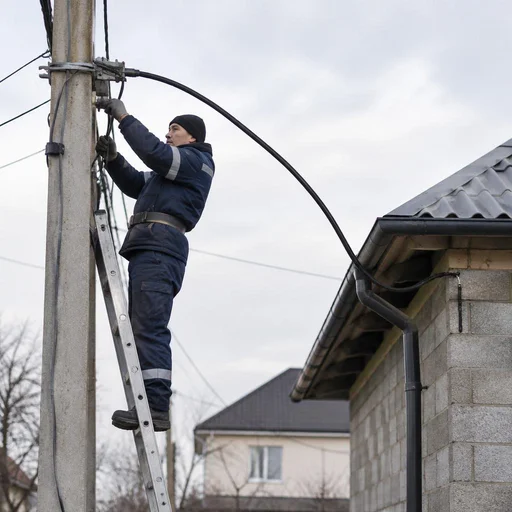
Electrical wiring in a private house: service drop, grounding, lines across the property
- Incoming cable: from the pole to the panel we run SIP or copper cable in a pipe, entering through a sleeve in the wall below the frost line.
- Grounding loop: three rods of 3 meters each, welded to a 40×4 mm strip, with resistance no higher than 10 Ohms — we lay it before pouring the apron.
- Wiring in a private house: lines to the kitchen, bathrooms, bedrooms and outbuildings run as separate groups from a 24-36 module panel.
- RCD: for wet areas and outdoor lines we install separate devices at 30 mA; at the service entrance — a fire-protection one at 100 mA.
- Outdoor lighting and pump: a separate line in corrugated conduit along the facade and the property, with a labeled breaker in the panel.
If you're interested in electrical wiring in a private house price, it's calculated after measuring the runs across the property and the number of groups.
Electrical wiring in a one-room apartment and in a room: how many lines are needed
Wiring in a one-room apartment usually fits into 4-6 groups: kitchen, bathroom, room, hallway, lighting and a separate line for the air conditioner. Wiring in a room is a minimum of two groups: socket and lighting, plus a separate branch for the air conditioner or heater. In the kitchen we allocate a line for the cooktop and oven; for the bathroom — for the washing machine and water heater with a 10 mA RCD. We take a 16 A circuit breaker for the socket group, a 10 A one for lighting, and cable — VVGng-LS 3×2.5 and 3×1.5 mm² respectively. Owners of resale apartments often ask how to run new wiring in an apartment without opening up all the finishes — and here the choice of route is what decides it. Even in a single room it's worth separating the socket and lighting lines: if they're on the same breaker, a short circuit in the chandelier will leave you without electricity in the entire room.
Comparison of work by property type
| Property type | What's included | Wiring type | Special feature |
|---|---|---|---|
| New building | Chasing, wiring, panel | Concealed | Do before plastering |
| Private house | Service drop, grounding, wiring | Concealed or exposed | Grounding loop |
| One-room apartment | 4-6 groups, panel | Concealed | Separate line for air conditioner |
| Resale without renovation | Exposed in trunking | Exposed | No chasing of load-bearing walls |
The estimate is calculated after measuring the footage of the runs and the number of groups: the price is affected by the linear meters of chasing, the number of points and panel modules.
Work stages: from wall chasing to lighting connection
After the agreed-upon plan, installation begins: first we mark and cut the routes, then we lay the cable, assemble the panel and bring out the points — sockets, switches and lights. The order of stages is strict: mixing them up means breaking open fresh plaster.
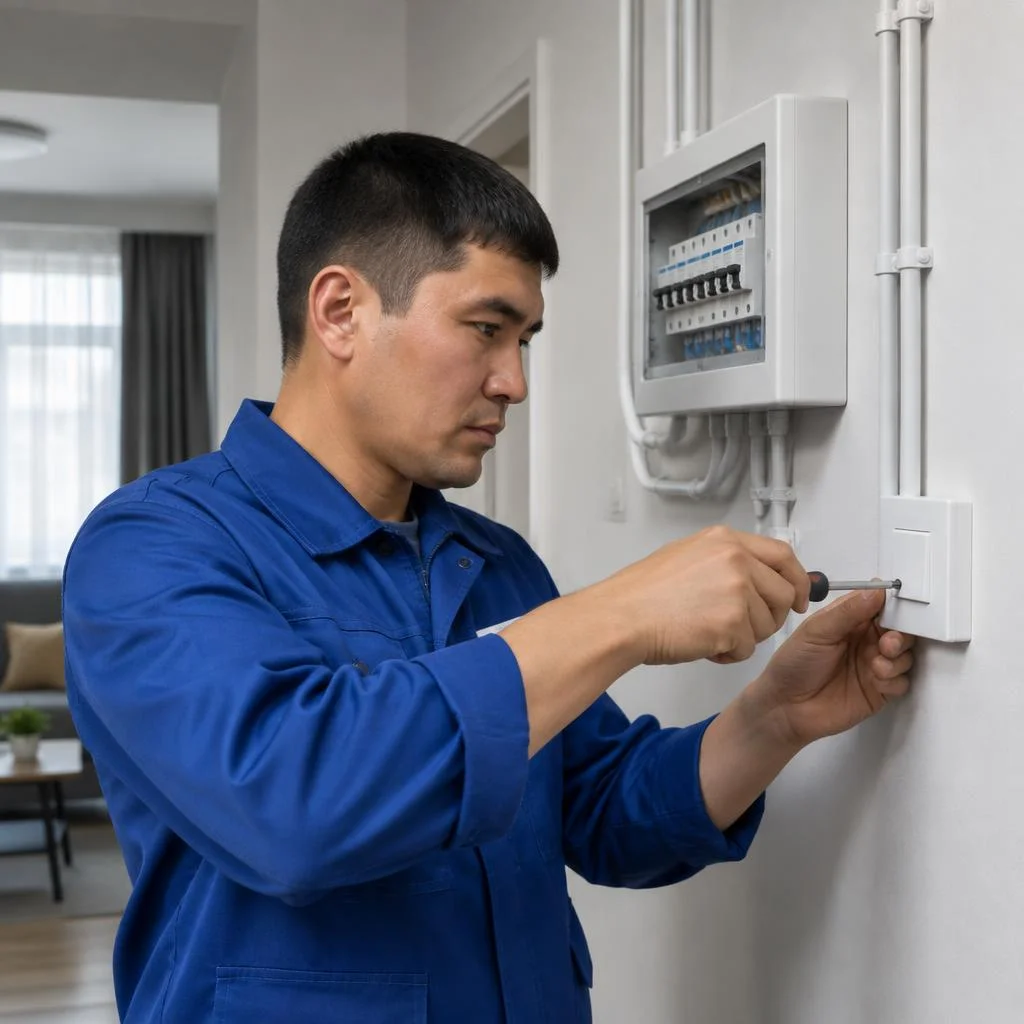
Wall chasing and cable laying: corrugated conduit, chase, pipe, cable duct
- Chase under plaster: the main method for concrete and brick inside an apartment — the cable goes into the wall and is covered with plaster flush.
- Corrugated conduit on the ceiling: we use it under stretch or drywall ceilings, where there is nothing to chase, and the cable must lie flat and not sag.
- Pipe outdoors and in the garage: for the service drop from a pole, lines along the facade and the plot — HDPE or metal pipe protects against moisture and UV.
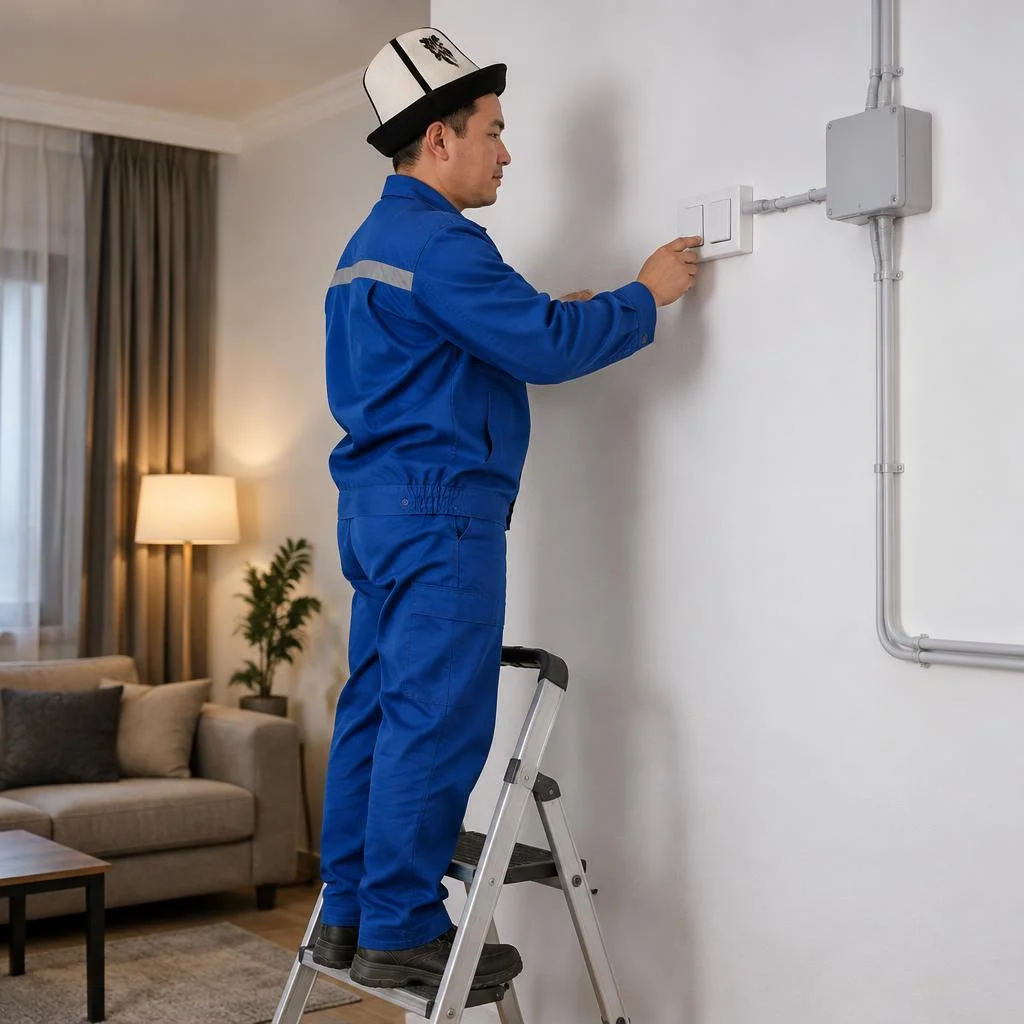
- Cable duct for open installation: we install it in utility rooms, country houses and rooms with concrete walls that cannot be chased.
- Pulling through a pipe: corrugated conduit and pipe allow pulling out the old wire and running a new one without opening the wall — this is how Eco-Service replaces the wiring in apartments in panel buildings in Bishkek.
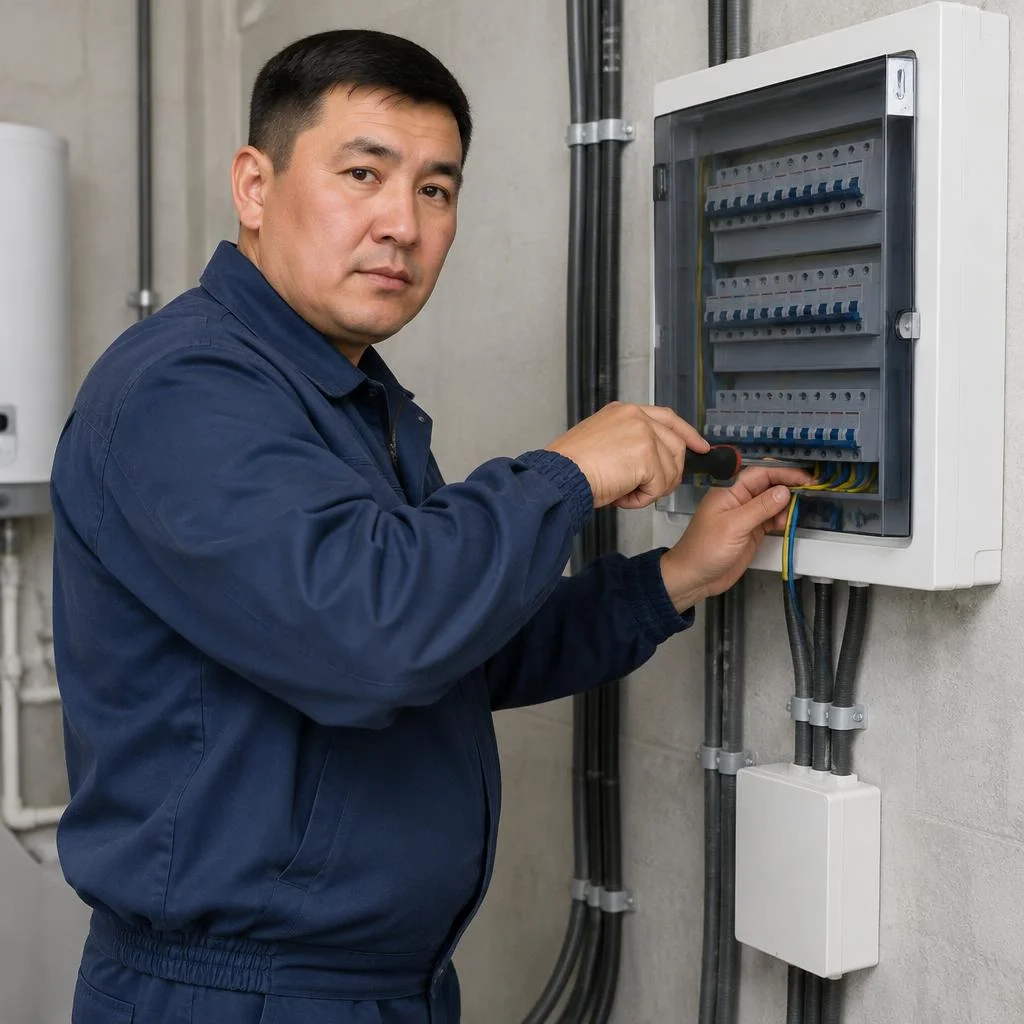
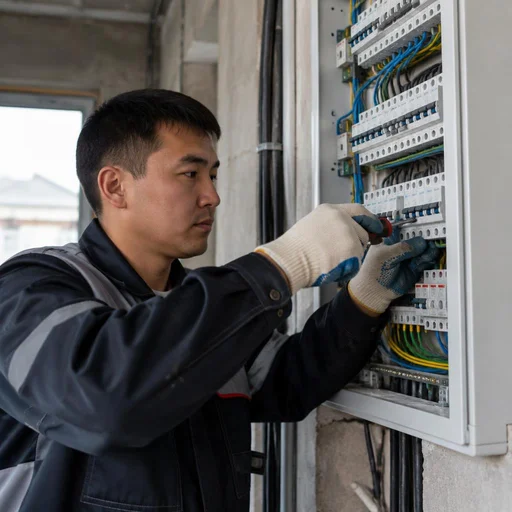
Assembling the electrical panel: circuit breakers, RCDs and distribution of groups
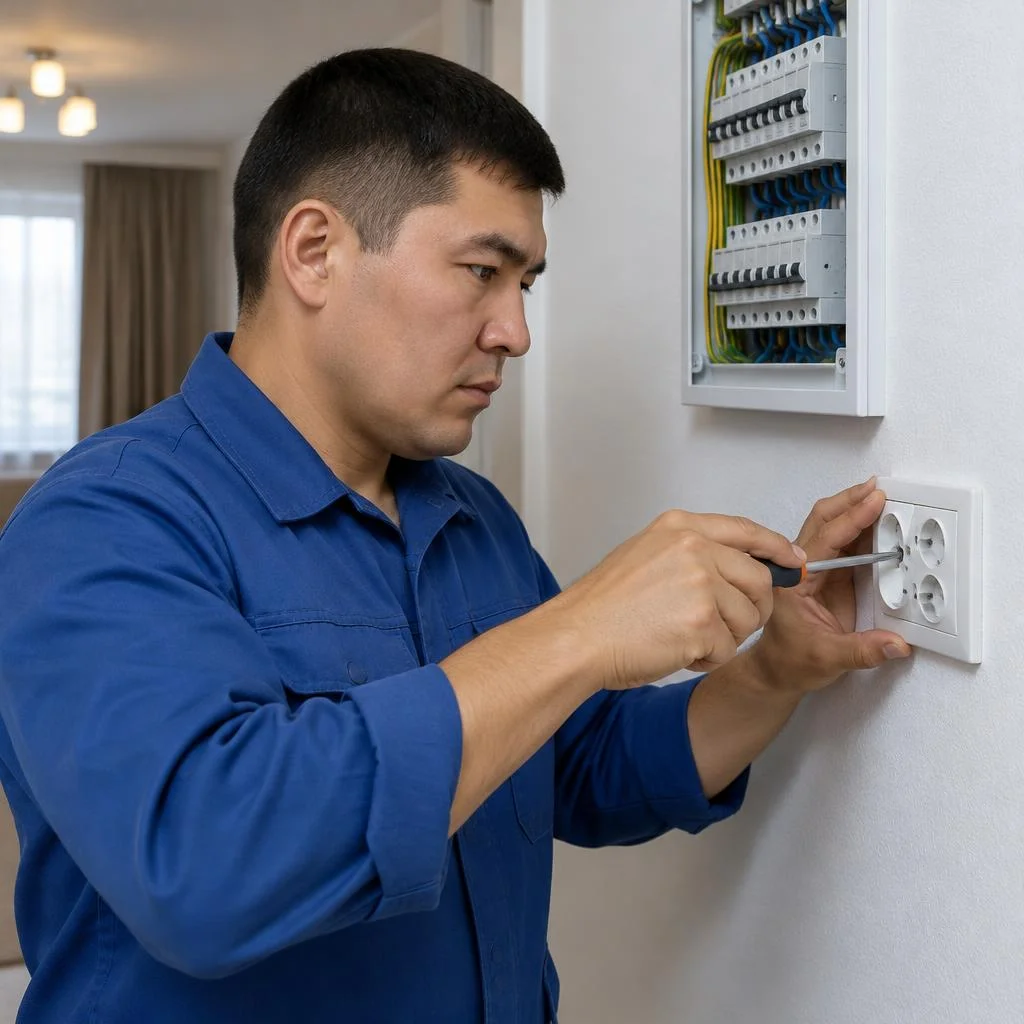
We assemble the electrical panel with a separate circuit breaker for each group and an RCD for wet zones — the kitchen, bathroom and outdoor lines. In a typical two-room apartment, this comes to 8-12 groups: lighting by room, socket lines, a separate kitchen line for the cooktop, a separate one for the boiler and washing machine. We calculate the main circuit breaker based on the allocated power, not on the rating of the old one — in Bishkek's panel series (104, 105, 106) the service entrance is often limited, and an inflated rating trips the neighbor's panel. We install 30 mA RCDs for socket groups and 10 mA for the bathroom, and RCBOs where space in the panel is limited. Clients often phrase the task like this: wiring an apartment price — and after calculating the groups it becomes a clear figure in the estimate. Do not put one circuit breaker on the whole apartment: in an emergency you will cut power to the entire home, and finding the faulty line without separating the groups is almost impossible.
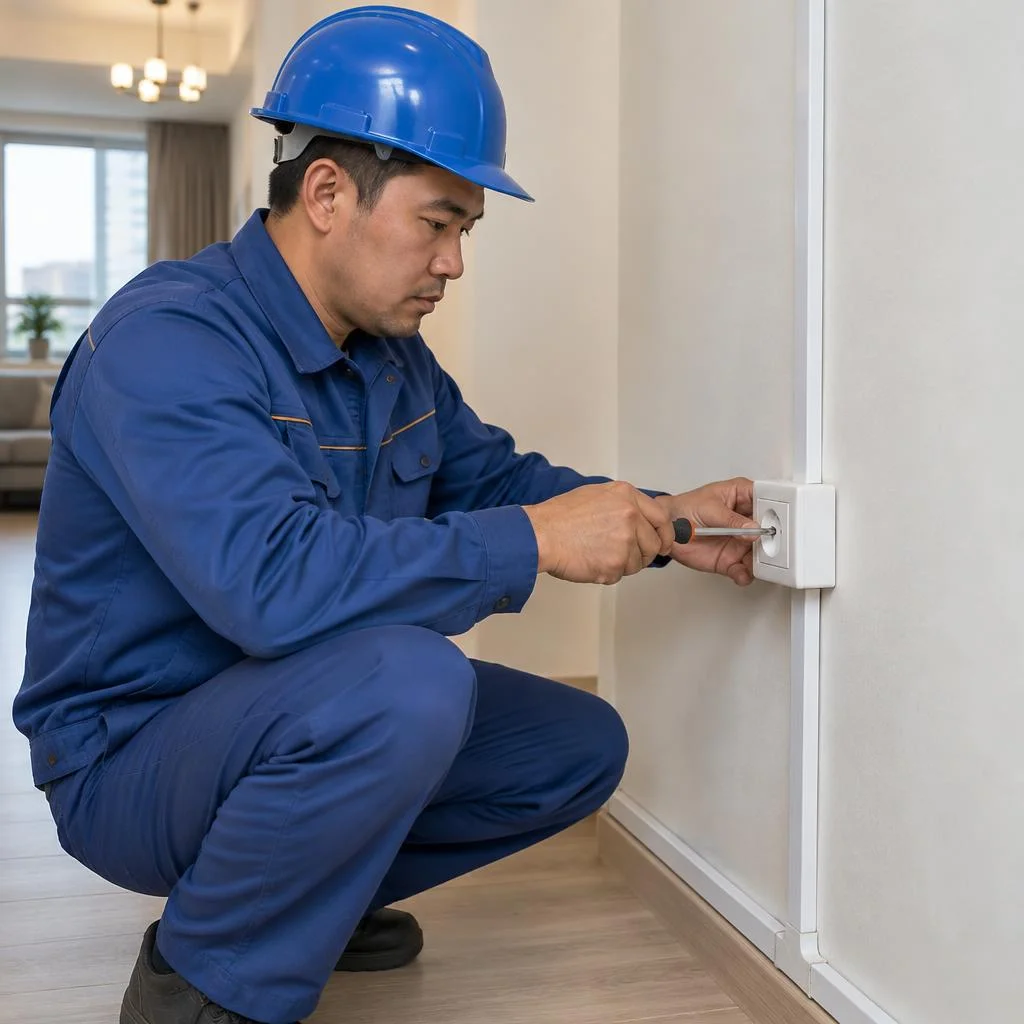
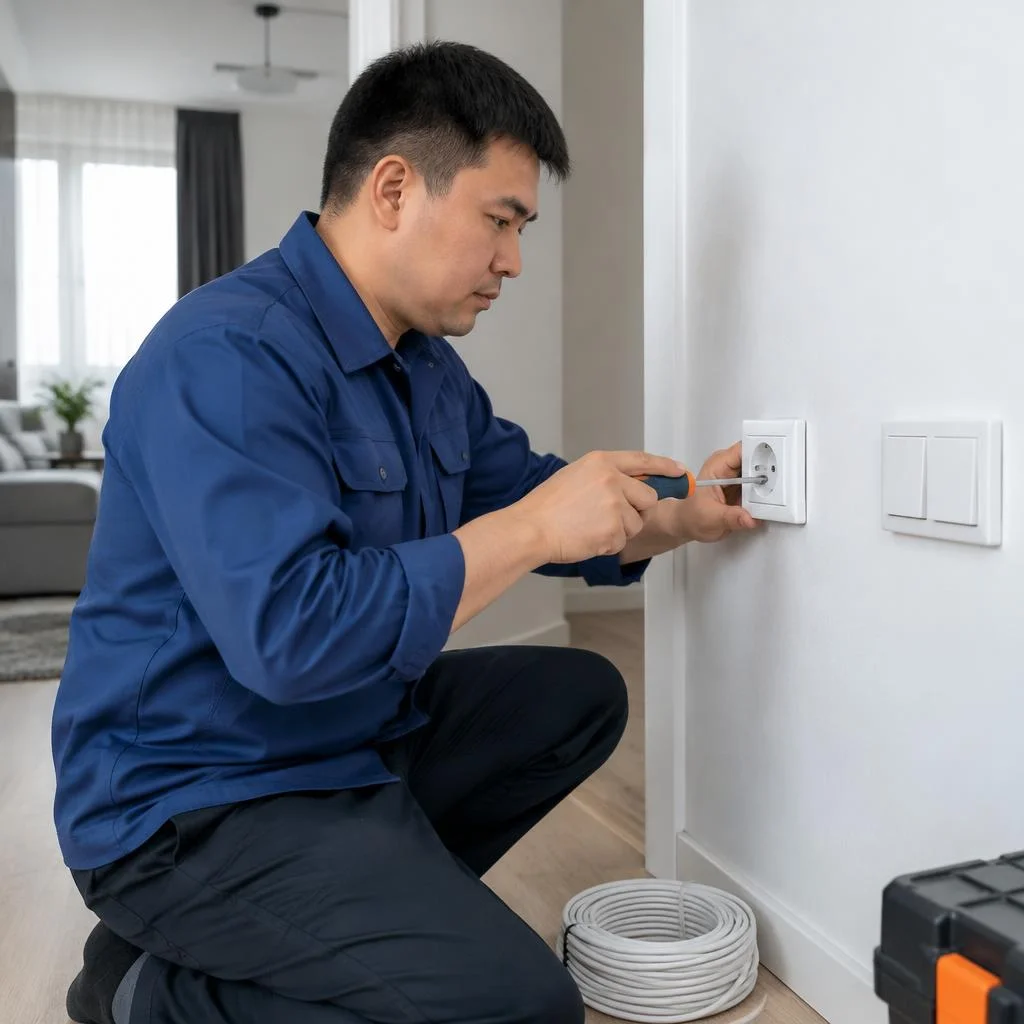
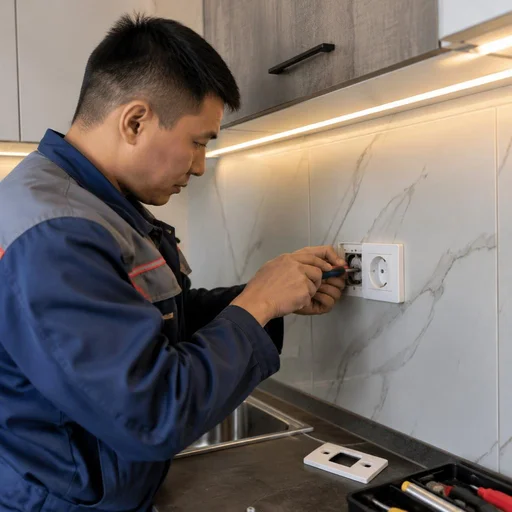
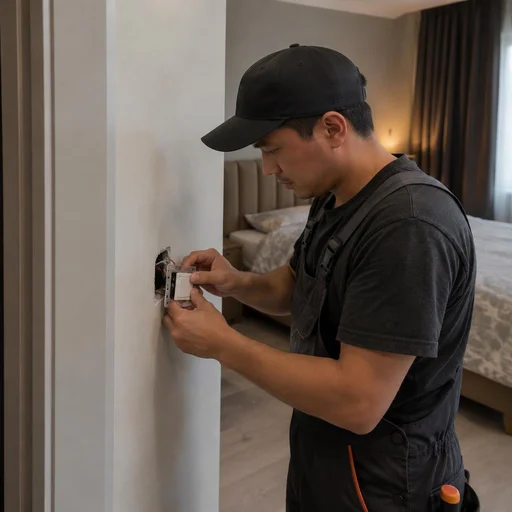
Installation of sockets, switches and two-way switches
- Single and double socket: basic points in living rooms — we put a double one at the desk and at the head of the bed so as not to multiply extension adapters.
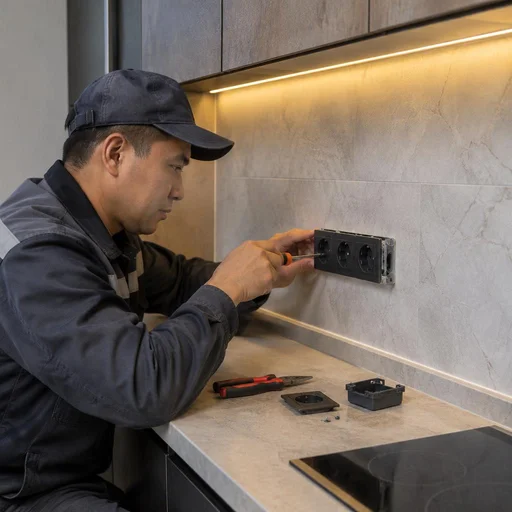
- Socket block: 3-4 points in one back box in the kitchen and in the workshop — appliances stand next to each other rather than being reached with extension cords across the room.
- Regular switch: one per room, we install it at a height of 90 cm from the floor at the entrance on the side of the door handle.
- Two-way switch: two on one line in corridors, on staircases and in bedrooms — the light turns on at the entrance and goes off at the exit.
- Hidden back boxes for drywall: a separate type of mounting for partitions where there is no concrete for a screw — on drywall we install only expansion models.
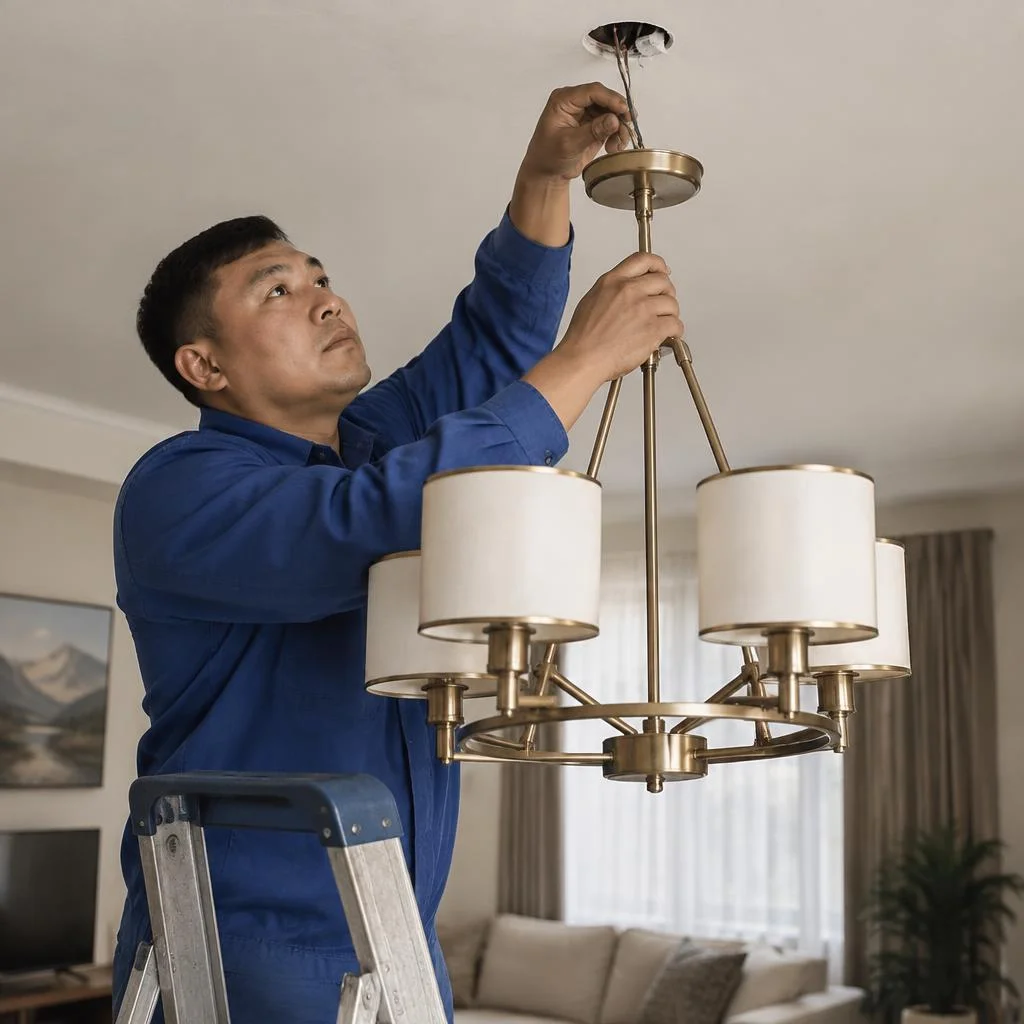
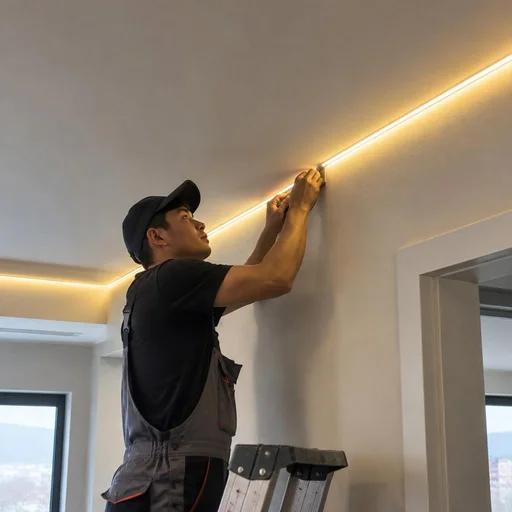
Lighting installation: chandeliers, recessed, track lights, wall sconces, LED
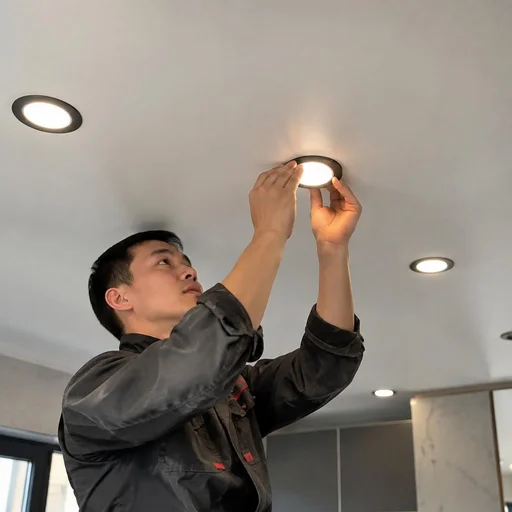
At the final stage we hang chandeliers, mount recessed and track lights, wall sconces and connect LED lighting — each lighting group goes to its own switch. We mount recessed ceiling lights on drywall on embedded supports or expansion legs, and we fasten track systems to the load-bearing slab, because a busbar with three or four lights weighs a fair amount. A wall sconce on a concrete wall requires a back box for the wire outlet — without it, installation ends up surface-mounted. LED lighting and track systems are best included in the plan in advance: they have a separate power supply, and without a prepared line it will have to be hidden in a surface-mounted box. In requests, clients write it in different ways, and one of the common phrasings is — wiring in an apartment price: behind it is the same scope of work as in a city apartment, only taking into account the service drop from a pole, outdoor lines and a separate panel for each zone of the plot. We break such a project into stages and close it out with a completion report.
How we control quality and what we check during acceptance
The quality of electrical installation is not visible after finishing — the cable goes under the plaster, and it can only be assessed with instruments. That is why we test every line before the walls are closed up, and record the result in a report.
Checking lines, grounding and PUE standards before handover
Most often, clients ask how much it costs to do the electrical wiring in an apartment, even before the technician's visit — and they get an answer after inspecting the panel and the routes. During acceptance, we check each group for breaks and short circuits, verify the actual connection against the panel diagram, and measure the grounding resistance with an instrument: for a private house, the norm is up to 30 Ohms with a contour made of angle steel or strip. We test the RCD under load, not only at idle, and compare the ratings of the circuit breakers with the calculated load of the groups, so that in the event of a short circuit at the sockets, the main incoming breaker does not trip. We photograph the wiring before plastering and hand it over to the client together with the report — when drilling into a wall a year later, this is the only way to avoid hitting a cable. We check PUE standards for the cross-section under load, the installation height of sockets, and the presence of a grounding conductor in every line. At Eco-Service, acceptance is documented with a report containing measurements: the client receives the diagram, the resistance protocol, and photographic documentation before the walls are closed up.
Typical wiring mistakes and how to avoid them
Twisted connections without soldering oxidize and heat up under load — switch to Wago terminals, ferrules or soldering, even if the connection has "worked" for years. One breaker for all groups means that in the event of a short circuit in the bedroom, the entire apartment goes dark, so we run lighting, sockets and high-power appliances on separate lines. Sockets without a third conductor cause electric shock when the insulation breaks down and cause washing machines with electronics to fail. A line with a boiler or a hob must not use 1.5 mm² instead of 2.5–4 mm² — the conductor heats up under load. A bathroom and kitchen without residual current protection are a direct risk in the event of leakage through water. When clients look for "do electrical wiring in an apartment," the price in their understanding is made up of points and the panel, but in reality it depends on the length of the routes and the wall material. A separate topic is the wiring of cables in an apartment: it determines how many lines can be brought to the panel without chasing load-bearing walls. In searches, people often type a similar query — and end up here, although the topic is an apartment: in a private house, the supply from the pole, the grounding contour and the outdoor route are added. Those who want to do the wiring in an apartment with their own hands most often underestimate the chasing of concrete and the selection of circuit breakers by group — it is at this stage that the mistakes we examine during acceptance come to light.
Warranty, timelines and request intake through the service center in Bishkek
We take responsibility for the installation and after the project is handed over: warranty, realistic timelines and in-person request intake at our own service center — without dispatchers or middlemen between you and the crew.
2-year warranty on electrical installation: what it covers
We provide a 2-year warranty on all electrical installation work: if a line fails through our fault, the crew will come and fix it at no extra charge. The coverage applies to wall chasing, cable laying in corrugated conduit and chases, panel assembly, installation of circuit breakers and RCDs, installation of sockets, switches and lighting points — that is, the entire cycle that is performed when you decide to have turnkey wiring installed in an apartment. The warranty remains valid as long as you do not redo our scheme yourself: if you replace a circuit breaker or socket on your own, responsibility for that specific unit is voided. If you want to modify a line later, invite our technician — he will preserve the warranty on the rest of the wiring.
Timelines for electrical wiring installation and what they depend on
We complete wiring in a one-room apartment in 2-4 days, in a private house — from a week; we give the exact timeline after inspecting the site. In a living area of 35-45 square meters with 25-30 points, a crew of two electricians finishes wall chasing and cable laying in the first two days, and another day or two goes into the panel, sockets and light fixtures. Clients often search for "electrical wiring installation in a private house price" and land on our page — in practice, the timeline here depends on the number of points and the condition of the walls: on bare concrete the work goes faster than in a resale property with old wiring. If you need to install electrical wiring in a house, timelines are calculated from the volume of runs: for a resale property, demolition of old lines and bypassing load-bearing walls are added — that is plus 1-2 days to the plan.
Our own service center in Bishkek: request intake without middlemen
Requests are handled by our own service center in Bishkek: you discuss the site directly with the crew, not through a dispatcher or middleman. The work schedule for apartment wiring is agreed upon during the inspection — the technician records the points, calculates the footage of wall chasing and selects the cable cross-section for your load. When ordering through a middleman, a different crew often arrives at the site: with a direct contractor, the technician who inspected the site continues to manage it, so disputed points along the route are resolved on site, without correspondence between contractors. If you are comparing offers and looking for where to install wiring in a house, where the price is calculated by actual volume rather than by a rough price list — request a quote after the inspection: it will show exactly what is included in the estimate. We will also clarify how the price is formed: it depends on the footage of wall chasing, the number of points and the type of cable — the technician records these parameters during the inspection.
How to order electrical installation: from request to handover of the facility
Ordering electrical installation is simple: you submit a request, we inspect the facility, agree on the layout and the estimate — and only then do we start work. Below is the path from the call to the signed acceptance certificate.
Request, facility inspection and layout approval
- Request: you submit an inquiry at the service center in Bishkek or via the form — we record the address, type of facility and the task.
- Electrician's visit to the home: the specialist measures the areas, counts the number of points and checks the condition of the incoming cable.
- Layout approval: we determine the routes, the number of groups, the location of the panel and the rating of the circuit breakers for your load.
- Scope calculation: the client receives a list of items showing how much it costs to do the electrical work in the house for each job.
- Contract: we fix the deadlines, the stages and a 2-year warranty — before the chasing begins.
Connecting the electrical system in an apartment and handing over the work
At handover, we connect the apartment to the panel, test each group under load and hand over the wiring diagram with photos of the concealed routes. Before acceptance, the wiring in the house is verified on site: we label the circuit breakers, ring out the lines, and measure the grounding resistance. Clients often ask how much it costs to run the wiring in a house — we answer already at the inspection, after measuring the routes and counting the points. If the wiring was done in a private house, we separately check the incoming line, the grounding loop and the lines across the plot. We test the socket groups under an iron and a kettle, and the lighting ones under chandeliers and spotlights. When connecting in an apartment, it is important that the incoming cable and the breaker on the panel match in cross-section — otherwise, under peak load, the protection will trip. The second common question is how much it costs to run the electrical wiring: the total depends on the meterage of chasing, the number of groups and the wall material. Clients often phrase it as: wiring throughout the house — and from that phrase the master immediately understands that a full cycle is needed from the panel to the last socket. Eco-Service hands over the facility with a certificate listing the tested lines. Do not order the finishing right after installation — allow a day to check all the lines under real load, in order to identify weak connections before plastering.
Conclusion
Electrical installation rests on three things: correct calculation, neat routing and honest acceptance. Below is a short summary that will help you avoid losing money and nerves on rework.
Main takeaways
- The layout matters more than speed. Load calculation and route selection are done before chasing — rework after renovation costs as much as new wiring.
- The type of facility determines the work. In a new building it is chasing and full wiring; in a private house, the incoming line and grounding are added.
- Separate the groups. A separate breaker for each line and an RCD for wet areas make troubleshooting easier.
- Check before finishing. Ringing out the lines, testing the RCD and photographing the concealed routes are a mandatory part of acceptance.
- Record the warranty. The period of responsibility for the installation and the conditions for maintaining it should be specified before work begins.


