
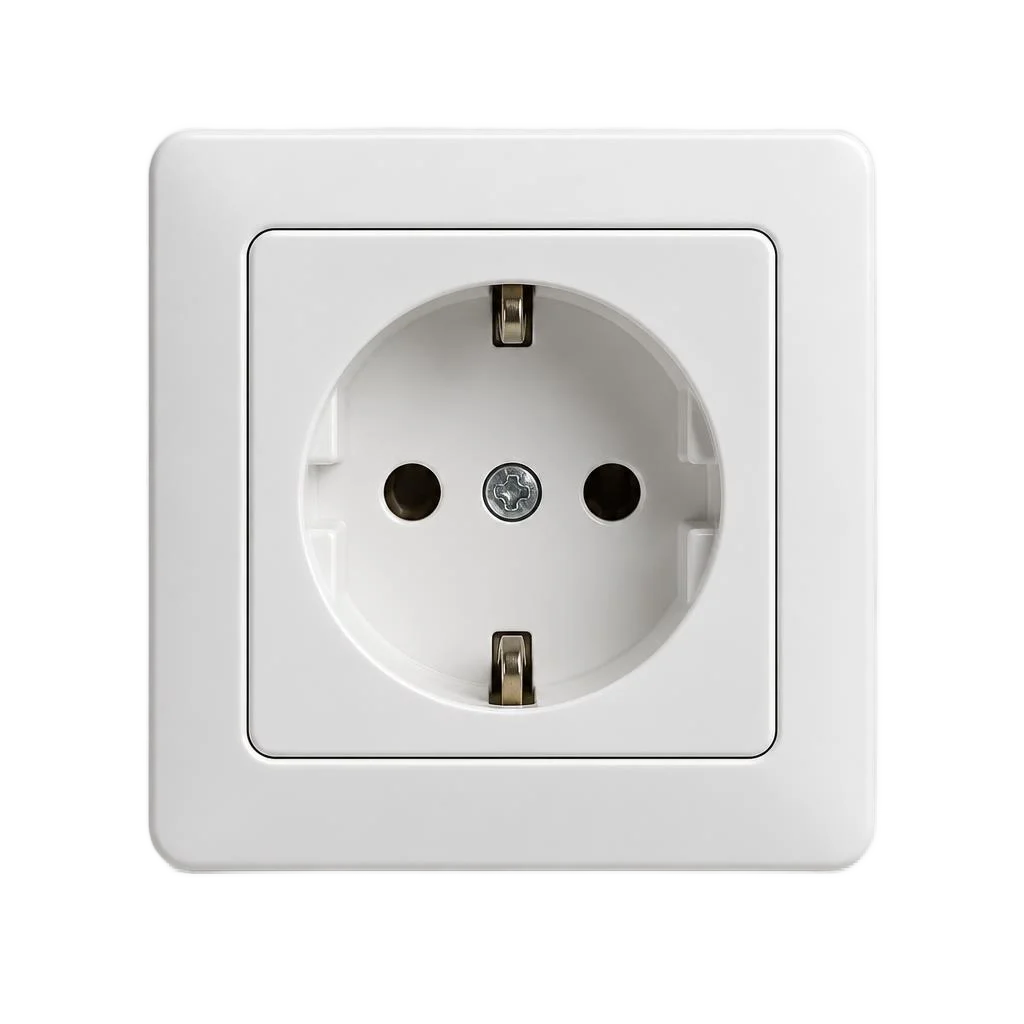

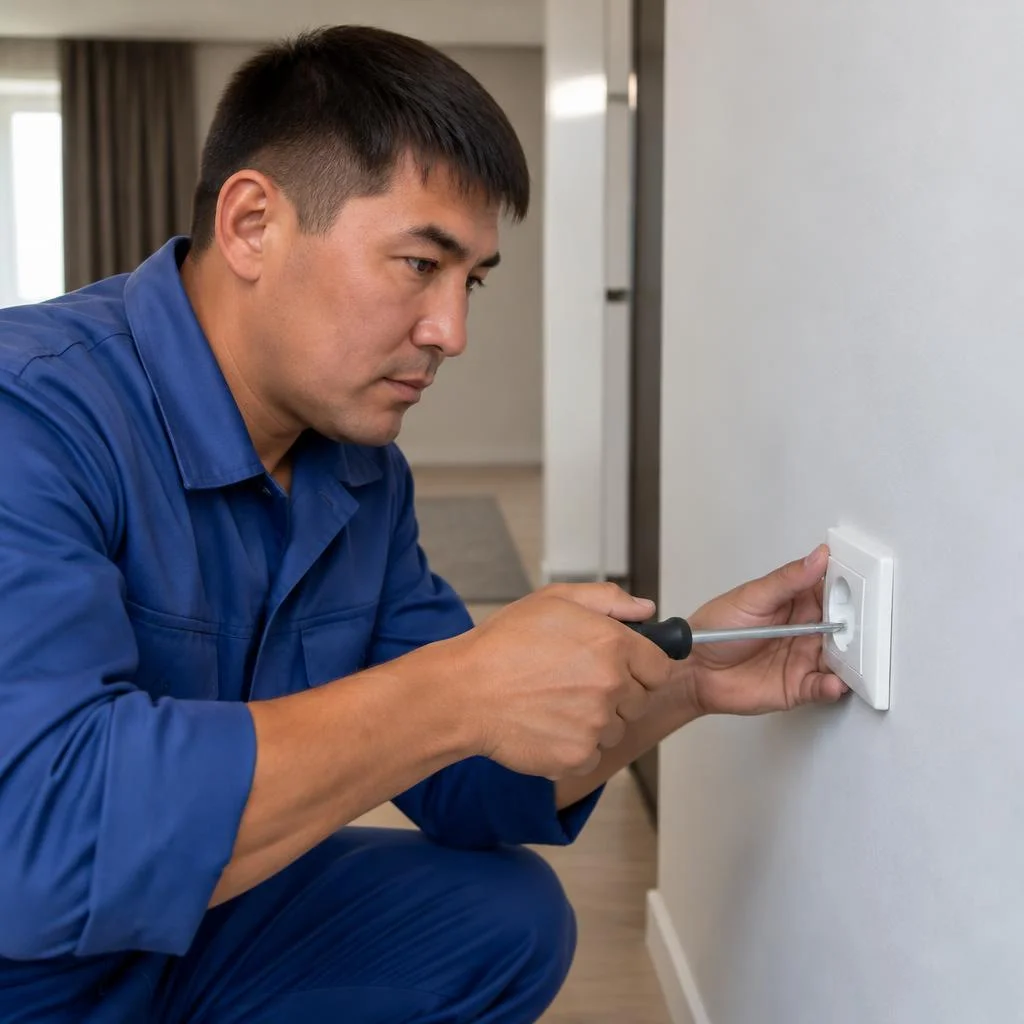
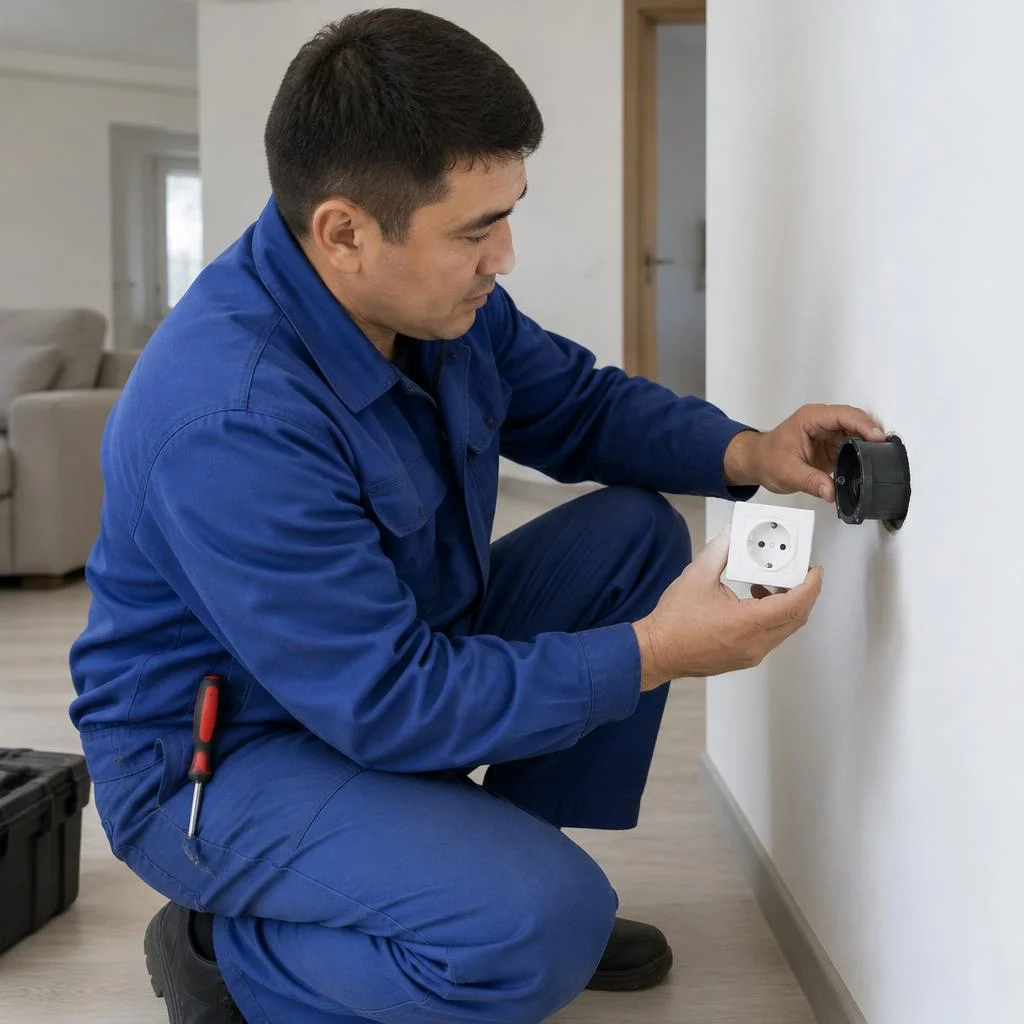
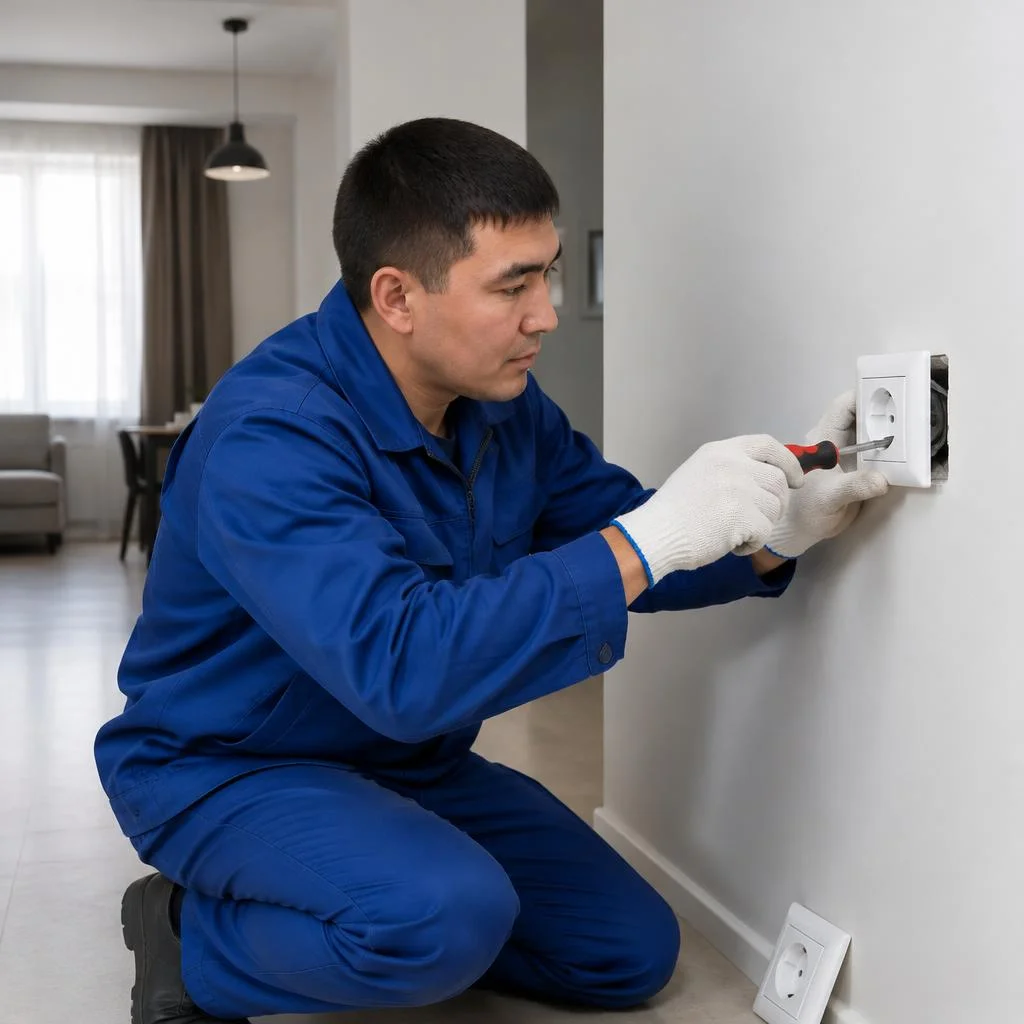
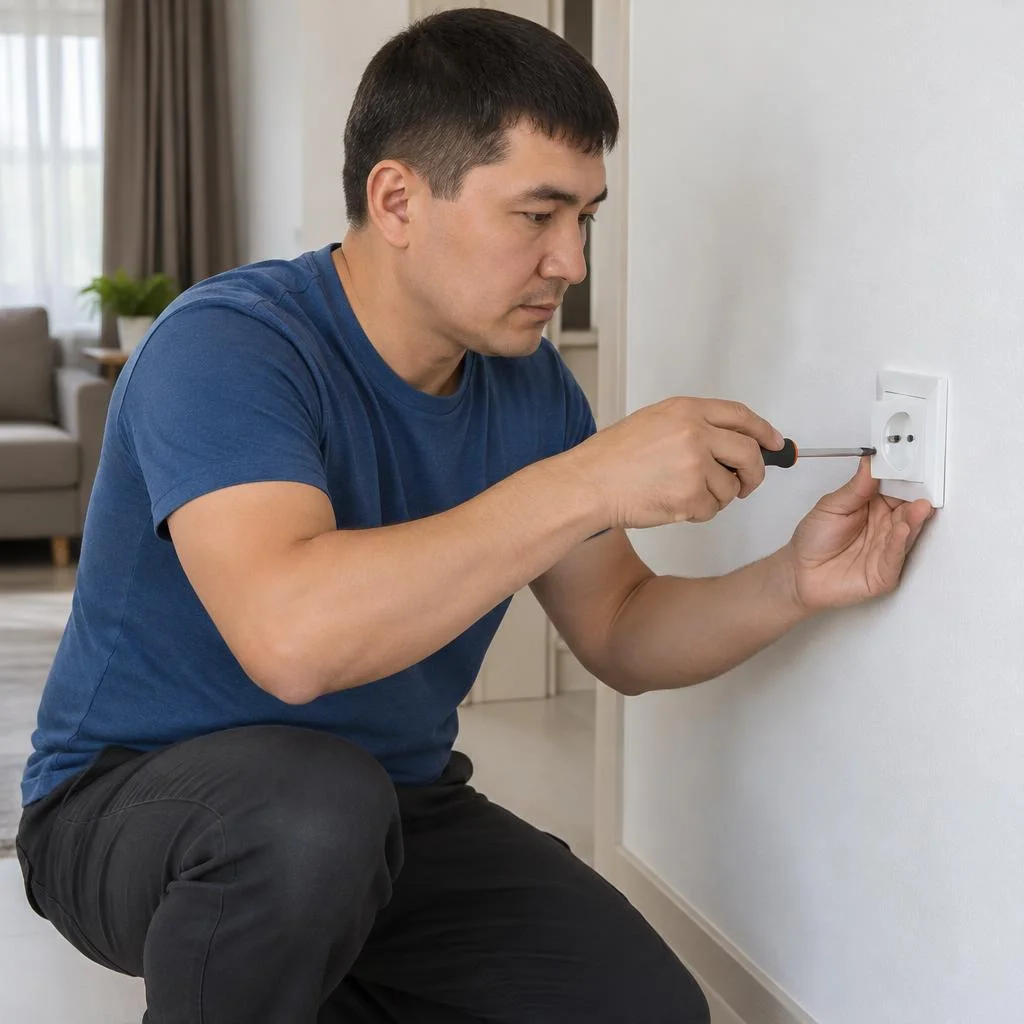
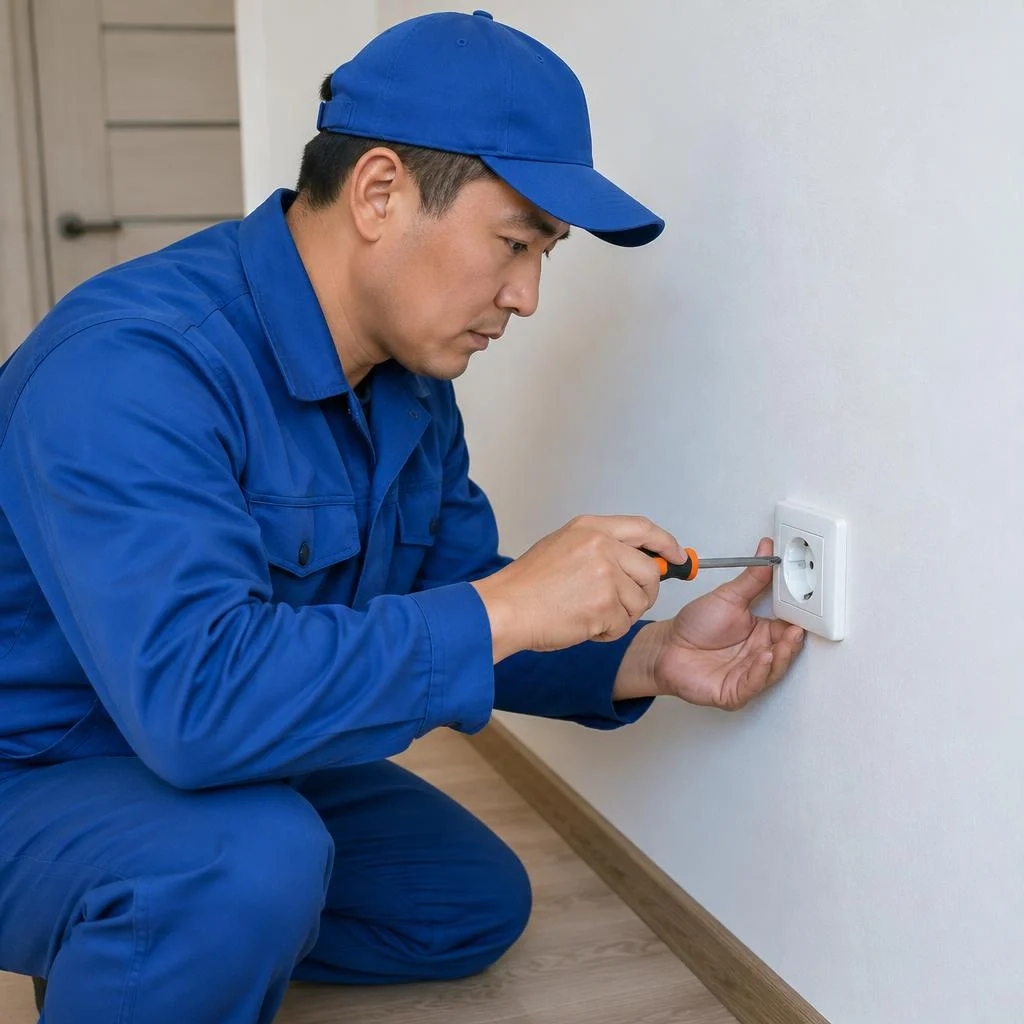
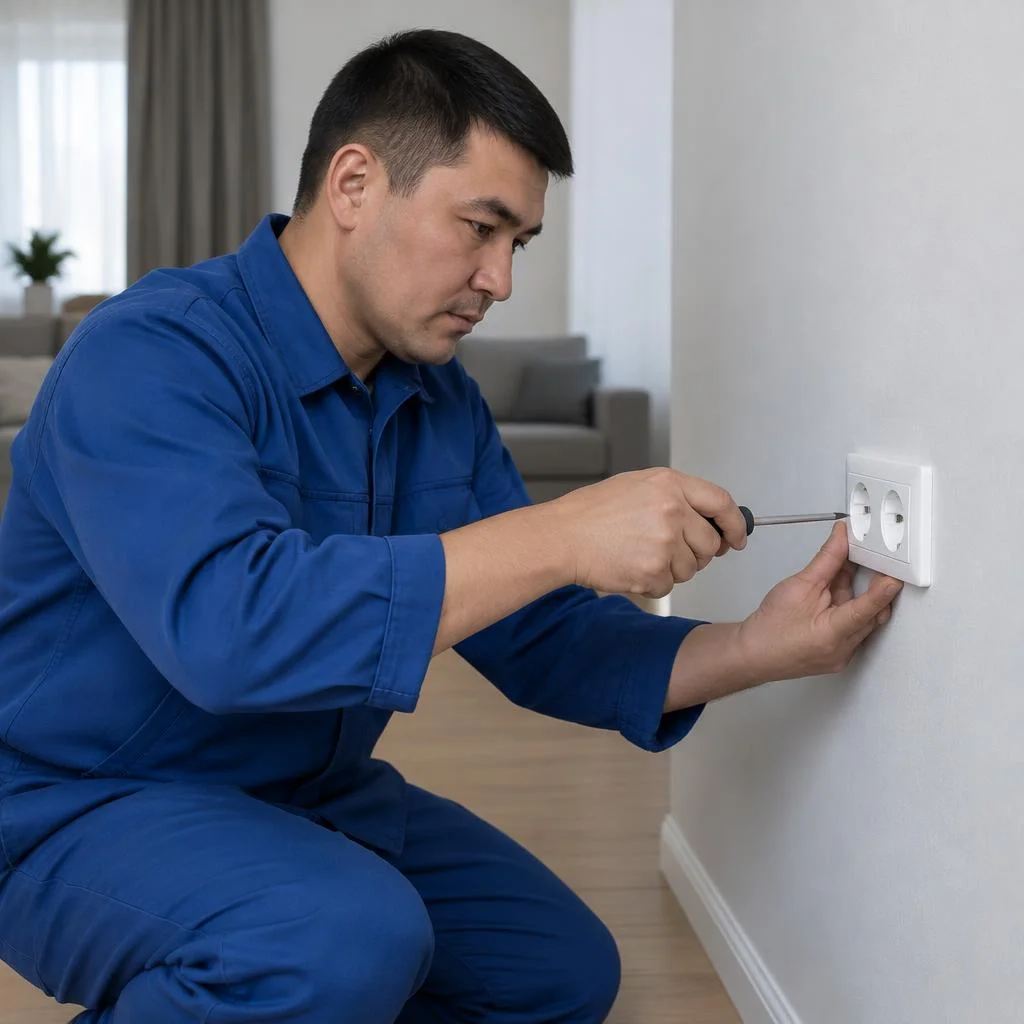
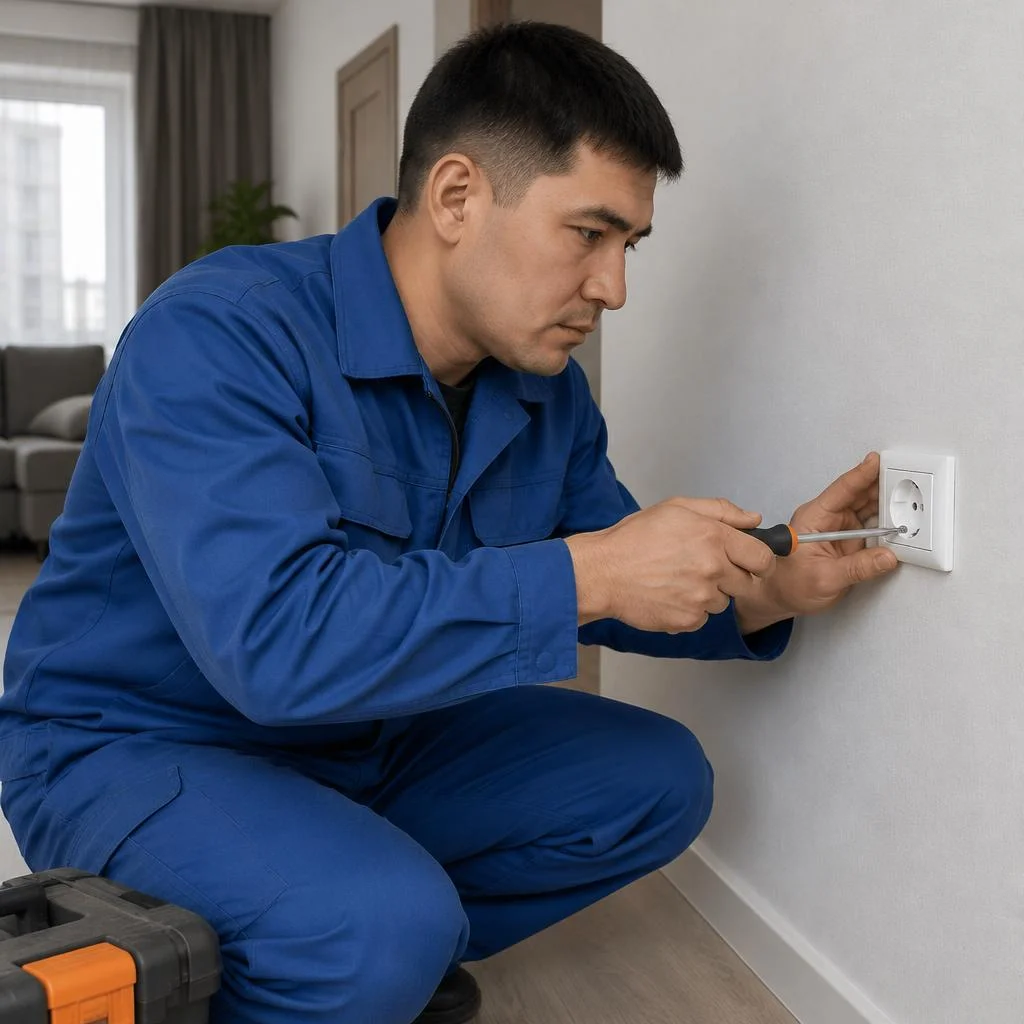








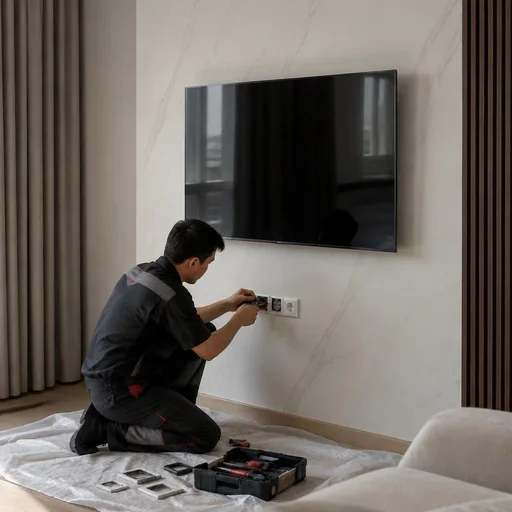
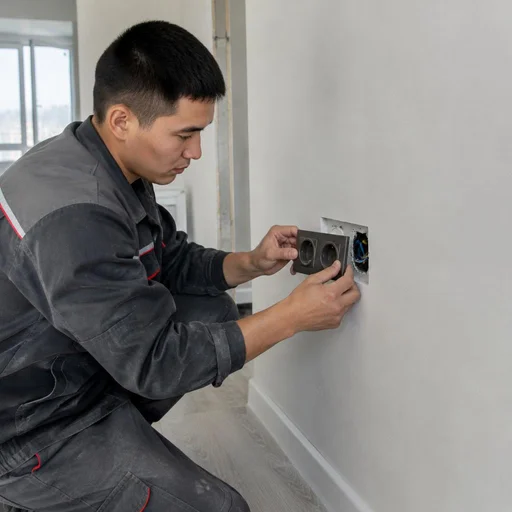
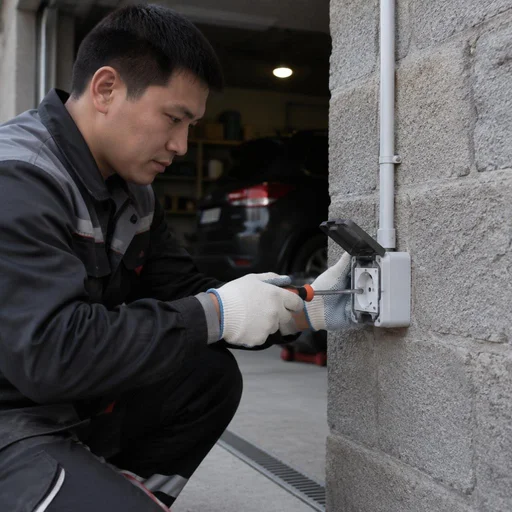
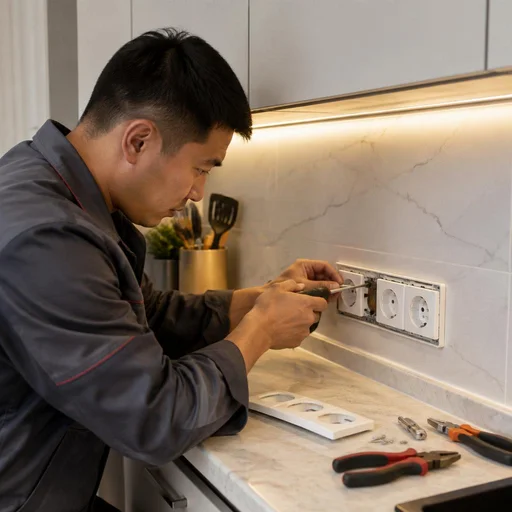
When it's time to replace an outlet: signs of wear and risks
An outlet is a consumable component: contacts wear out faster than they appear to from the outside. Let's look at the signals where putting off calling a technician is genuinely dangerous, and what exactly is checked before the work.
Signs that an outlet needs to be replaced urgently
- Sparkling: clicking and flashes at the plug when turning on an appliance — a direct sign of a burnt contact inside the mechanism.
- Heating of the housing: the plastic is warm or hot to the touch even at low current — the terminal connection has loosened and is heating up.
- Burning smell: a persistent smell of scorched plastic indicates melting of the insulation or the terminal block; you can't put it off.
- Loose fit of the plug: the plug falls out or wobbles — the spring lamellas have lost their elasticity and the contact area has decreased.
- Darkening and cracks: brown deposits around the holes, chips in the frame — traces of arcing; the component has served its time.
Why an old outlet is dangerous in a home with aluminum wiring
In older buildings of Bishkek, aluminum wiring often runs without a grounding conductor, so a new grounded outlet won't provide protection until the line is redone. Under load, aluminum creeps and gradually loosens the contact in the clamp, while the oxide film on the conductor adds resistance and heat. If you blindly replace the fittings on such a line, the new outlet will burn out just as quickly as the old one, and the heating will spread to the section of cable inside the wall. The technician must check the conductor cross-section, the condition of the insulation and the presence of a third wire before connecting. At the same time, the breaker in the panel is inspected: if it isn't rated for the actual load of the line, the protection won't trip during overheating.
Diagnostics before replacement: continuity testing and fault finding
We start with continuity testing and fault finding: the technician checks phase, neutral and ground with a multimeter before dismantling, so as not to blindly replace a working component. A voltage tester screwdriver shows the presence of phase, but not its quality, so the main tool is a multimeter with resistance and voltage measurement under load. Continuity testing shows whether the problem comes from the outlet itself or from the line to the panel, and only after that is it determined whether the fittings need replacing or the outlet group needs repair. Clients often phrase their request as outlet replacement price Bishkek — and from such a request the technician immediately understands that both an inspection and a calculation by scope are needed. Installing new outlets without diagnostics turns into guesswork: the housing is replaced, but the cause of the heating remains on the line. A request for such diagnostics through Eco-Service is placed before work begins, so that the technician arrives with the right set of terminals and back boxes.
Types of work: replacing, installing and relocating sockets
Socket replacement work is not a single operation, but a set of scenarios: from a simple swap of fittings to relocating a point with rerouting the line. Let's break down how each type of work differs and when it is needed.
How replacing a socket differs from installing a new one
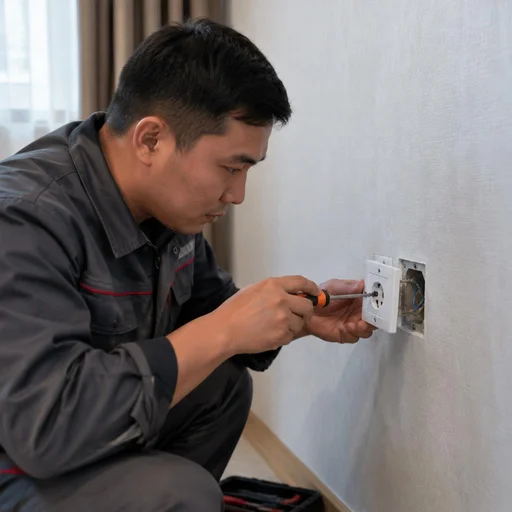
Replacing a socket means removing the old fittings and installing new ones in the existing location, while installation means installing from scratch, often with wall chasing and laying a line. In the first case, the technician removes the old mechanism, checks the condition of the mounting box and conductors, installs the new module and connects it to the already routed cable. In the second, the wall is first chased, the cable is pulled from the junction box, the mounting box is fixed with alabaster or gypsum, and only then is the socket itself installed. If the old mounting box is intact and the wiring is in good condition, replacement takes less time and costs less — installing from scratch requires opening up the wall and a separate connection to the panel. In our practice, in Bishkek's panel buildings the mounting boxes often crumble during removal — then a simple replacement turns into an installation with mounting box replacement, and this should be taken into account in advance.
Concealed and surface installation: which to choose
| Installation type | Base | Wall chasing needed | When it is chosen |
|---|---|---|---|
| Concealed socket installation | concrete, brick, drywall | yes, for the mounting box | renovation from scratch, flush with the wall |
| Surface socket installation | any, including concrete | no | panel buildings, temporary solutions |
| Installation in drywall | drywall wall | no, a butterfly mounting box is needed | partitions, office rooms |
| Installation in skirting board | any | no | along walls, minimal intervention |
A concealed socket is recessed into the wall and requires wall chasing; a surface one is mounted on top of the wall and is suitable for concrete, drywall and temporary solutions. In Bishkek's panel buildings, chasing load-bearing walls is restricted — surface installation or installation in the skirting board is often the only option without approvals. We select the installation type based on the wall material: where chasing is not allowed, the technician will suggest a surface-mounted enclosure or a skirting-board option.
Relocating a socket and installing a socket block
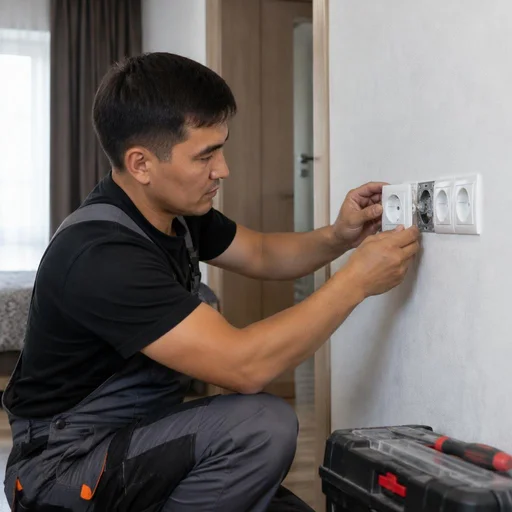
Relocating a socket means removing it from the old location and installing it in a new one with extension or rerouting of the line, while installing a socket block combines 2-4 points into one group. Relocation is in demand when furniture blocks the point or the socket is needed closer to the work area: the technician seals the old box, chases a new one and runs the cable from the junction box. A socket block is installed above the countertop, by the TV or by the desk — a single mounting box for several modules saves space and simplifies wiring. When relocating, it is important not to extend the wire with a twist connection — a joint in the wall is inaccessible for maintenance, so the line is run with a single solid cable from the junction box. In our orders, relocation almost always goes together with wall chasing for the socket — this way the line remains solid and the point is set exactly level.
Replacing a socket with a switch and repairing a socket group
We replace combined socket-switch blocks and repair socket groups when the problem affects several points or the junction box. Repair of a group begins with finding the weak link — often it is enough to replace the terminal block at one point rather than redoing the entire line. The price of socket replacement depends on which particular unit has failed: a burnt terminal block, a loose contact or a damaged conductor require different amounts of work. We diagnose the entire line so as not to replace working units.
Special scenarios: stove, air conditioner, moisture and USB
Some sockets operate under special conditions — high load, moisture, modern devices with ports. Let's break down what changes in installation for a stove, air conditioner, wet areas, USB models and drywall.
Connecting a socket for a stove and for an air conditioner
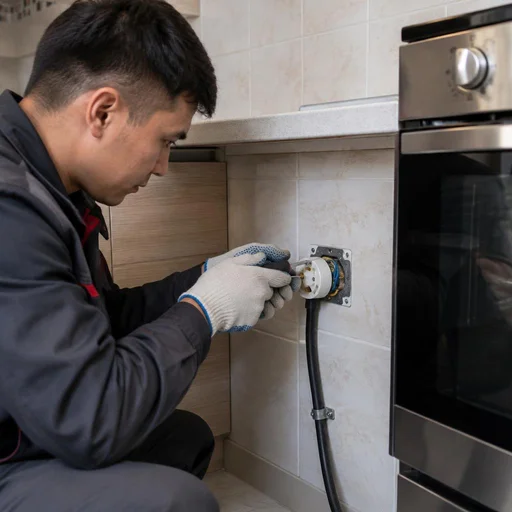
Connecting a socket for a stove and installation for an air conditioner is a dedicated line with its own breaker, designed for a long-term load, not a branch off a shared group. An induction stove draws up to 7 kW, an air conditioner at peak — up to 3.5 kW, so each appliance gets its own breaker in the panel and a separate cable from it. The core cross-section is selected by current: for a stove usually copper 4-6 mm², for an air conditioner — 2.5 mm², and the connectors are taken as power ones, with a ceramic block and brass contacts rated for 16-32 A. In Eco-Service practice, a common mistake is connecting the air conditioner to a socket group with lighting: when the compressor starts, the voltage drop trips the breaker. For a stove and air conditioner, the cable cross-section for the current matters, not just the type of socket — a thin core on a powerful appliance heats up in the wall, where it can't be seen.
Moisture-proof socket: where it's needed and how it differs
Installing a moisture-proof socket is needed in the bathroom, in the kitchen by the sink and on the balcony — the housing with a cover and IP protection keeps splashes and condensation away from the contacts. Models marked IP44 withstand water splashes, IP55 — a jet under pressure, IP66 — already for outdoors and high-pressure washing, and the spring-loaded cover closes by itself and cuts off moisture with a membrane. For a washing machine and boiler, a socket with a grounding contact and a separate 16 A breaker is used. Moisture protection works only in tandem with grounding and an RCD — the cover alone won't protect against electric shock if the line is assembled without protective devices. It's worth checking for a grounding wire in the box before buying the fittings: in old buildings of Bishkek it's often absent, and then the cover gives a false sense of safety.
Replacing a USB socket and installing in a baseboard
- USB socket: a built-in block with 2-3 ports at 2.4-3 A charges a phone and tablet without an adapter, but requires a box at least 45 mm deep.
- Installing a socket in a baseboard: mounting in a cable duct or floor baseboard takes the wires out of sight and frees up the wall — convenient behind a sofa, cabinet, desk.
- Checking the line: the USB port is sensitive to voltage drop — when the load on the group exceeds the norm, charging is interrupted, so the contacts are tested before installation.
- Housing compatibility: baseboard models are taken with a frame to match the baseboard color, USB blocks — with a current margin, otherwise the port heats up with two devices connected.
Installing a socket in drywall and replacing the box
Installing a socket in drywall is done on a special box with expansion tabs, and replacing the box is needed when the old one has crumbled and the fittings won't hold. A drywall wall is thinner than concrete — a standard 68 mm box won't hold here, so a model with clamping screws is used, which wedge behind the sheet from the back side. In concrete, the box is set on alabaster or gypsum plaster, and when replacing, the old socket is cleaned out and refilled. In thin drywall without a backing profile, a heavy block of sockets sags over time — the base should be reinforced for the fastening: a wooden block or metal profile is placed between the sheets, to which the box is attached.
Special scenarios and the general scheme
Socket replacement in Bishkek covers the full range of special scenarios — from a power line for a stove to a USB block in a baseboard. Before the visit, the technician clarifies the type of appliance and the condition of the wiring in order to take the right cable cross-section and a suitable box. An accurate load calculation saves nerves: a 10 A socket with a 7 kW stove will fail within a few weeks, and redoing the line will cost more than assembling it correctly right away. In Soviet-era urban buildings, 2.5 mm² aluminum wiring can't handle either a cooktop or an inverter air conditioner — such a group is replaced entirely, not just the tip. For wet areas and drywall, the rule is the same: first check the base and protection, then select the fittings.
How socket replacement works: stages and timelines
We'll show you what socket replacement looks like from request to inspection — so it's clear what exactly happens on site, in what sequence, and how much time it takes.
Stages of work: from power shutoff to inspection
- Power shutoff: the technician finds the breaker for the required circuit in the panel, switches it off, and uses a tester to make sure the line is de-energized.
- Removing the old socket: the faceplate and mechanism are taken off, the wires are inspected — burnt or brittle sections are cut back to healthy metal.
- Preparing the wires: stripping the insulation, straightening the ends, and if necessary, installing a new terminal block in place of the dried-out old one.
- Connecting the hardware: the wires are fed into the terminals, live and neutral are placed in their proper positions, and the tightness is checked for torque.
- Testing under load: the voltage is measured with a multimeter, then an appliance is switched on and the terminals are monitored for heating.
How long it takes to replace one socket
One point takes on average 20-40 minutes, while installation from scratch or relocation takes longer, because wall chasing and running a new line are added. The speed depends on the type of wiring: with concealed wiring, the back box has to be carefully cut out of the concrete, while with exposed wiring the work goes faster thanks to the cable channel. The condition of the old line also affects the time — short cut wires have to be extended through a terminal block, and that's a separate stage involving stripping and crimping. Installing a block of three or four points already takes about an hour, because wall chasing is added for each one. We usually estimate such work after an inspection: from photos and a description, the technician gives only a range, and the exact timeline is determined on site.
Safety: why you can't work with live voltage
You can't work on a socket while it's live — before any actions, the circuit breaker for the group is switched off and a voltage tester is used to confirm there's no current. Even a seemingly simple operation requires complete de-energization: accidentally touching a live contact with your hand or a tool causes an electric shock, and a short circuit burns out the terminals of neighboring points. A switched-off breaker doesn't always de-energize the right line: in old panels, the groups are mixed up, mislabeled, or connected with twisted splices, so checking with a tester at the socket itself is mandatory — both before and after removal. Separately, it's checked whether a second live wire from a neighboring group runs to the point: this occurs in buildings with partially replaced wiring. A voltage tester doesn't cost much, but a mistake when working with live voltage costs more than any tool.
Warranty, payment and Eco-Service service in Bishkek
Let's go over what obligations we take on after the work, how to pay for a technician's visit, and where to find us if you need to show old hardware or discuss order details.
2-year warranty on work and hardware
Eco-Service provides a 2-year warranty on socket replacement and installed hardware — if a unit fails through our fault, we'll redo it free of charge. We issue a warranty card for every item: the socket mechanism, the mounting box, the terminal block, WAGO connecting clamps, VVGng-LS cable and the technician's work itself. Our own technicians are certified in concealed and exposed wiring installation, so warranty rework is a routine procedure, not a one-off service. We accept claims based on the receipt and the completed work report, and we schedule visits within Bishkek within two business days. The warranty is valid provided the load on the line is observed: if a powerful appliance is plugged into a 16 A socket through an extension adapter, the failure is considered a violation of operating conditions.
Technician visit and payment via MBANK and O!Dengi
- Request: you leave your address and a description of the task in Telegram, Instagram or by phone — the dispatcher confirms the visit time.
- Payment: in cash to the technician or by transfer via MBANK and O!Dengi; we issue the receipt and warranty card immediately after the work.
- Supplies: the technician brings tools, terminals, insulating tape and fasteners — for a typical socket replacement you don't need to buy anything in advance.
- Cost: socket replacement price depends on the type of installation — concealed, surface-mounted, with grounding or in drywall, and on the condition of the mounting box.
Service center in Bishkek and customer reviews
Eco-Service has its own service center in Bishkek with in-person reception, and customer reviews are collected on 2GIS and Google Maps. An in-person visit helps when you need to show the technician old hardware, a photo of the panel or a wiring diagram — with these it's easier to select a compatible replacement before the visit and avoid sending the specialist twice. Socket replacement in Bishkek leaves a trace in the form of reviews: customers describe how the installation went, how long the work took and how a warranty case was resolved, if one arose. The reviews show what is ordered most often: replacement of several sockets in an apartment, installation of a block in the kitchen, connecting a socket for a stove. In-person reception is also convenient because here you can verify Schneider Electric, Legrand and ABB part numbers against real samples on display and avoid choosing the wrong series before ordering.
How to choose fittings and not overpay for extras
Let's break down how popular fitting lines differ and what to look at when choosing, so that the installation lasts a long time and doesn't require a repeat visit from the technician.
Schneider Electric, Legrand and ABB: what to choose
| Brand | Contact type | Compatibility | When it's chosen |
|---|---|---|---|
| Schneider Electric | Screw and spring | 60 mm back box, Unica series | Apartments and offices |
| Legrand | Screw | 60 mm back box, Valena frames | Living rooms, designer interiors |
| ABB | Screw and screwless | 60 mm back box, Basic 55 series | Loads up to 16 A, kitchens |
| Eco-Service | Selection for the project | Standard and non-standard | Installation with a 2-year warranty |
All three lines are compatible with standard back boxes and differ in price and design, not in contact quality — at equal rated current their service life is comparable. Expensive fittings do not compensate for weak wiring: with a worn line, any socket will heat up, so the cable is checked first, and then the series is chosen.
What to look at when choosing a socket
- Rated current: for household lines, 16 A is used; for a stove and boiler — a separate line from the panel.
- Grounding contact: mandatory in homes with a three-wire line, for washing machines and high-power appliances.
- Terminal type: a screw clamp is more reliable than a spring one on aluminum wiring; the spring weakens over time and the contact heats up.
- Compatibility with the back box: 60 mm diameter is the standard; for a non-standard box, an adapter or replacement of the back box is needed.
- Degree of protection: IP20 for dry rooms, IP44 and higher for the bathroom, balcony and outdoors.
Before buying fittings, the technician tests the line and inspects the back box — this way the final cost doesn't grow because of a repeat visit after an unsuccessful selection. Clients often search for the price of socket replacement — and end up here, although no one will give an exact figure before inspection: it is affected by the condition of the cable, the type of back box and the need for wall chasing. In our practice, at sites in Bishkek the estimate always comes after diagnosing the line, not over the phone. The final cost of work is calculated after inspecting the wiring and the box, not blindly from a price list.
Conclusion
We've gathered the main things worth keeping in mind before replacing sockets: from warning signals to choosing fittings. The short list below helps you quickly check the key points and not miss anything important.
Main takeaways
- Urgent replacement: sparking, heating of the housing, the smell of burnt plastic and darkened contacts — replace immediately, without waiting for a fire.
- Replacement, installation, relocation: replacement changes the mechanism in the old back box, installation adds a new point, relocation moves an existing one with new wall chasing.
- Special scenarios: a stove, air conditioner, moisture-proof and USB socket require separate fittings and a current margin, not a universal model.
- Stages and time: powering off, dismantling, installation, checking — one point takes on average 30-60 minutes; working under voltage is unacceptable.
- Choosing fittings: look at the current rating, terminal type, presence of grounding and brand — Schneider Electric, Legrand and ABB last longer than budget counterparts.


