
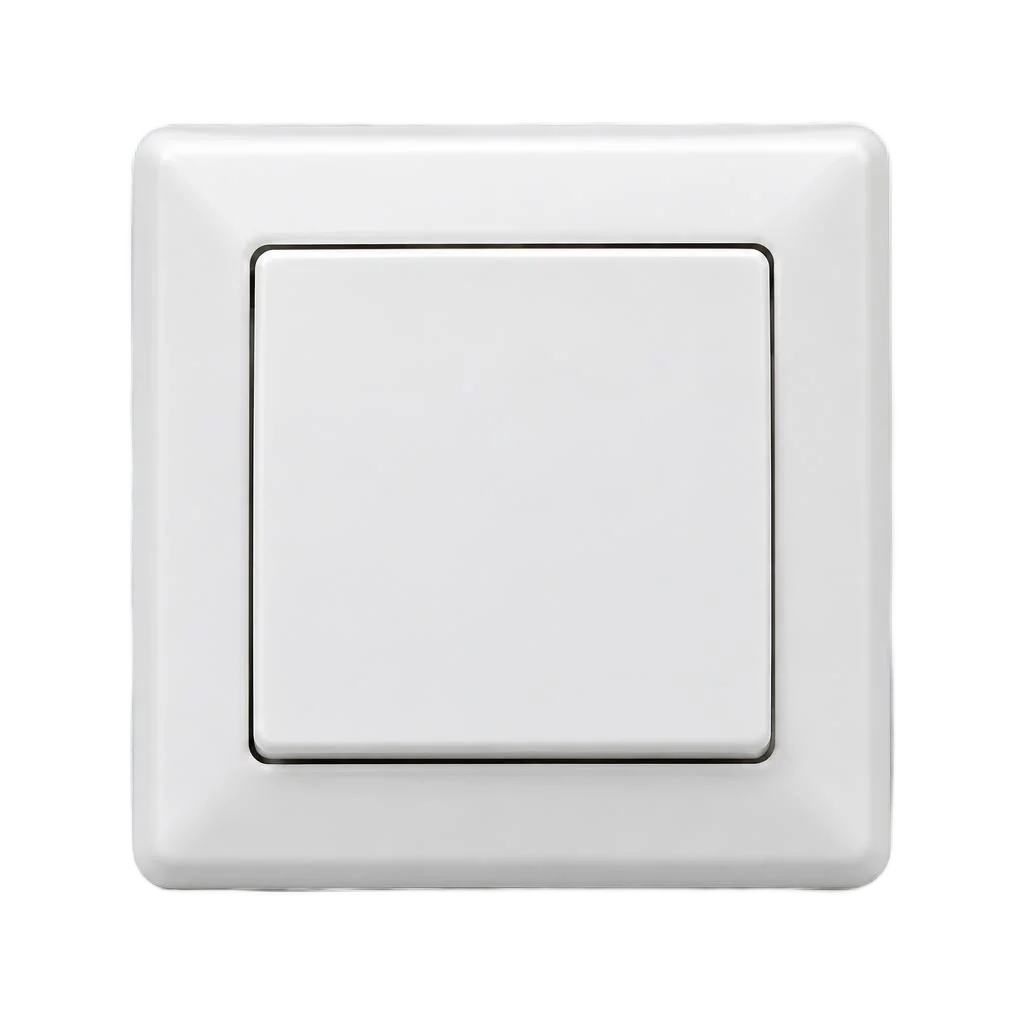

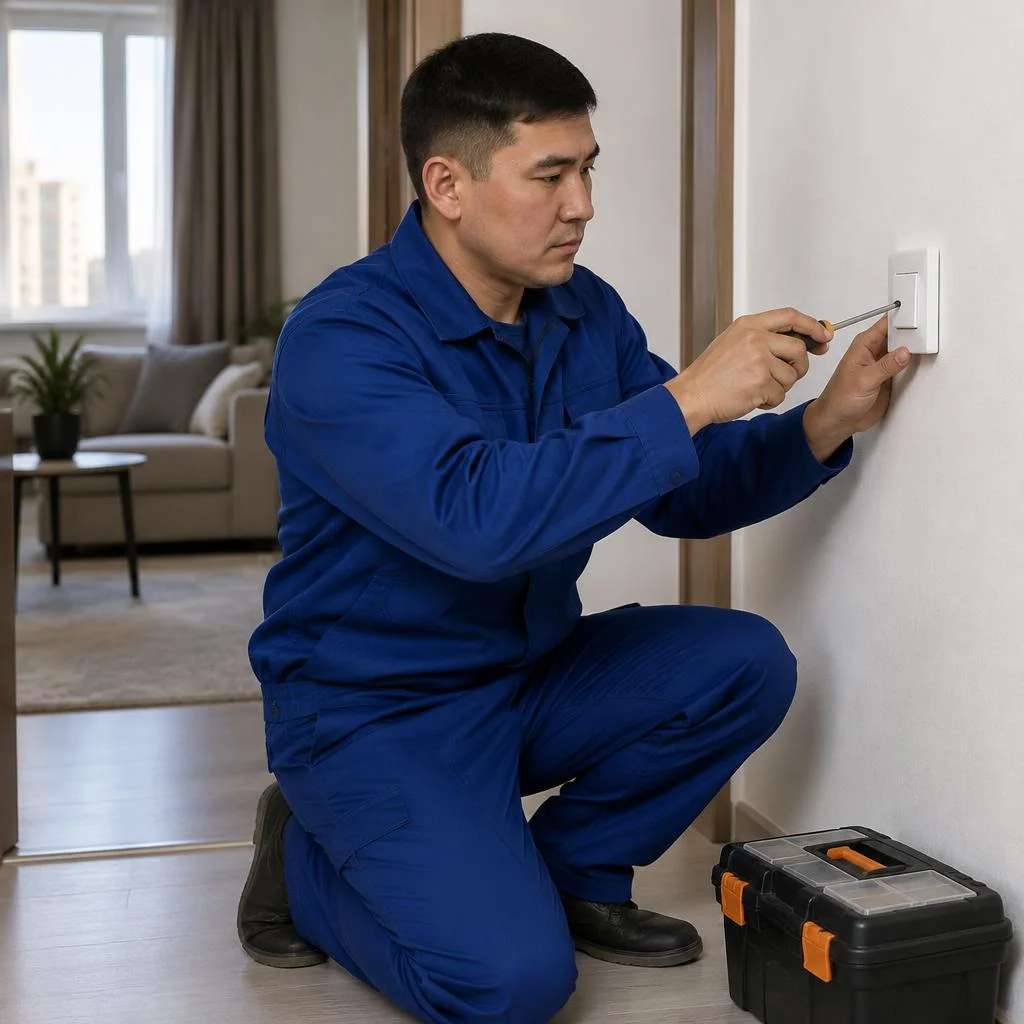
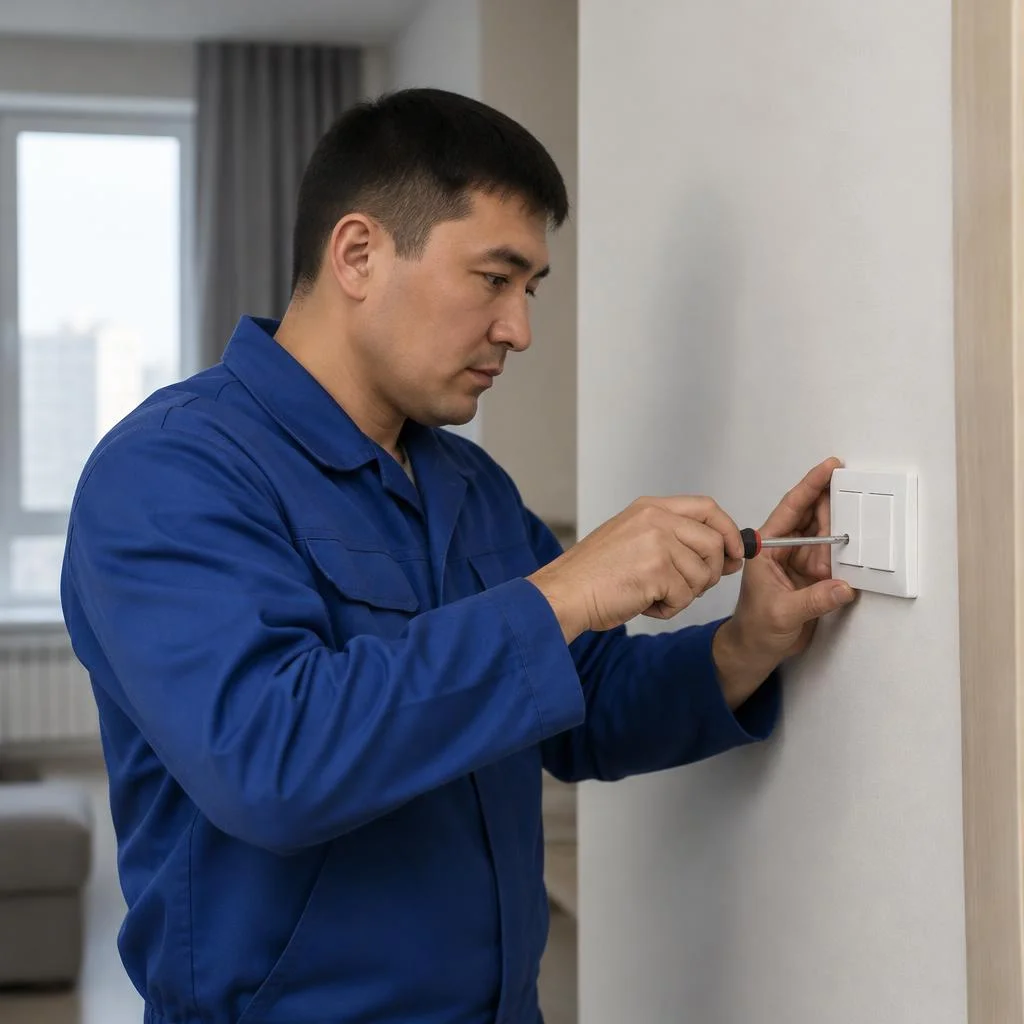
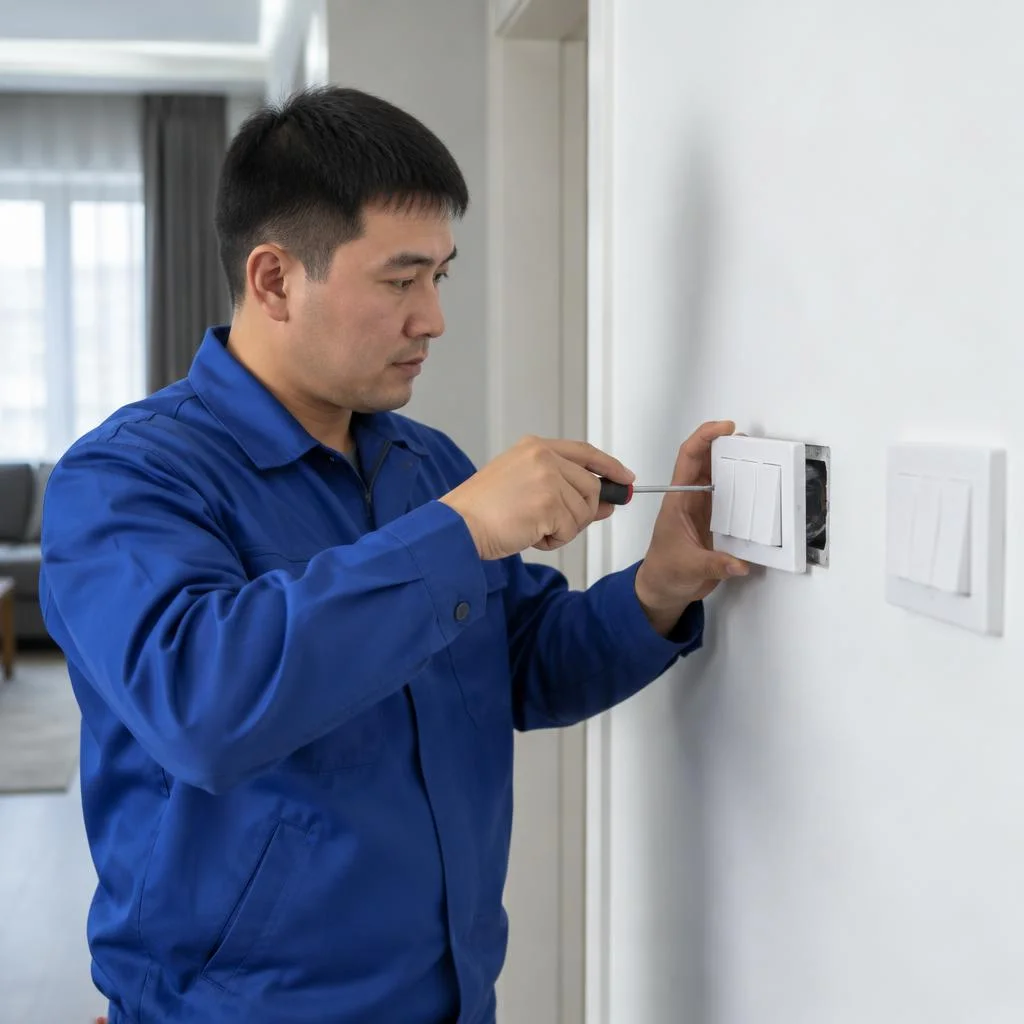
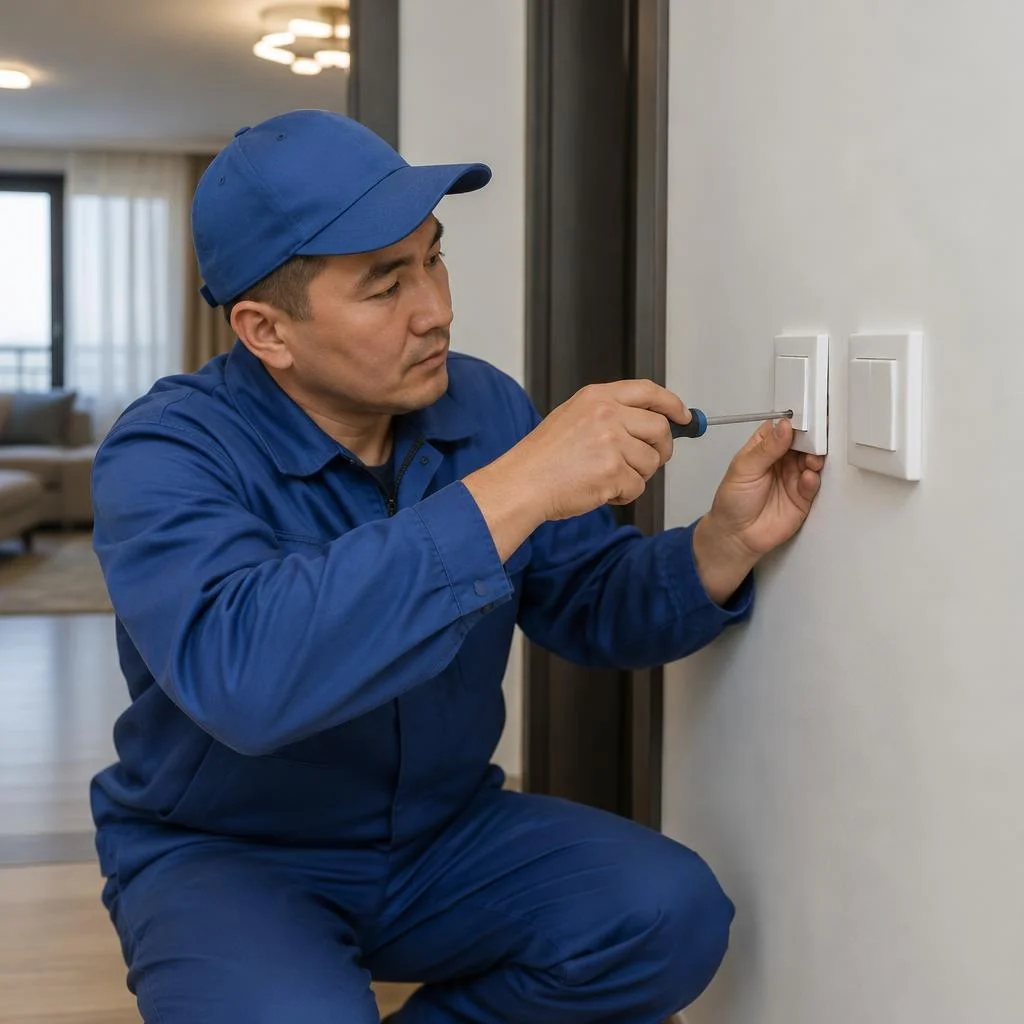
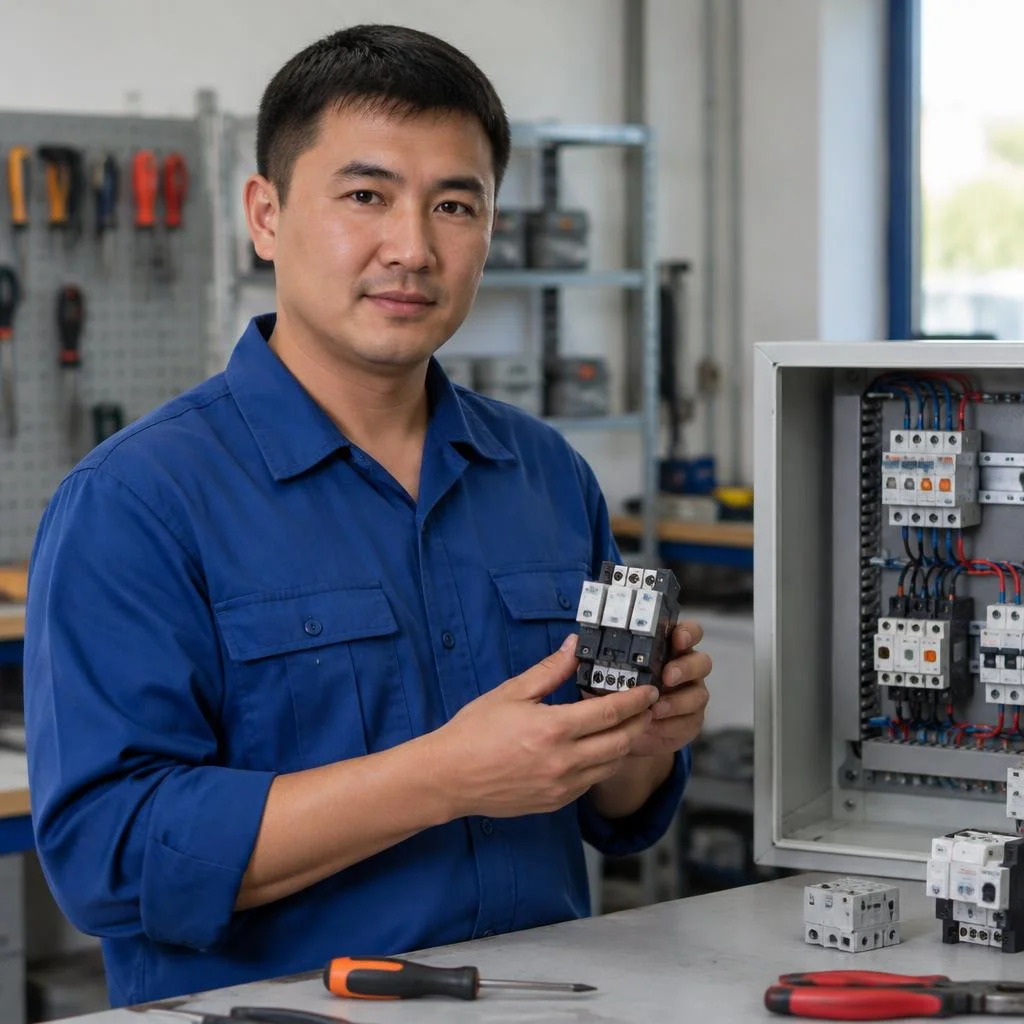
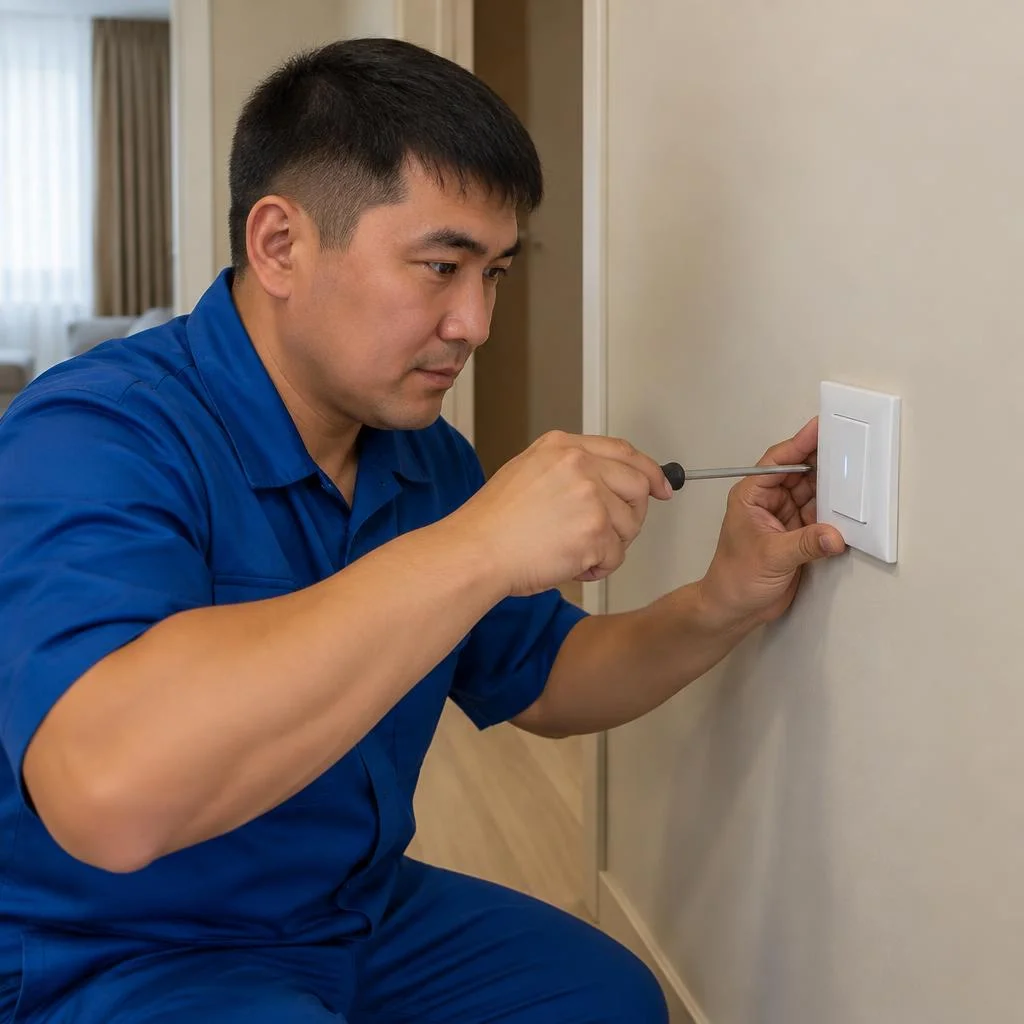
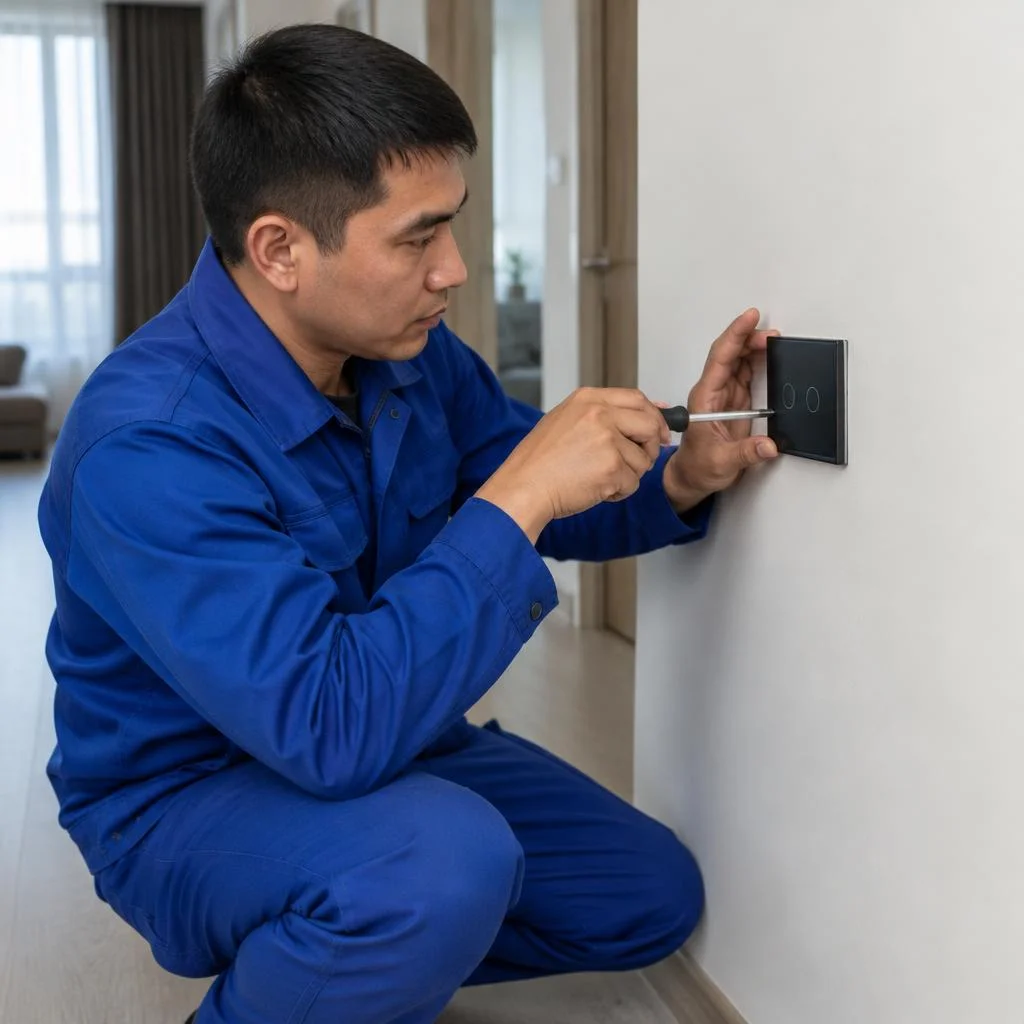
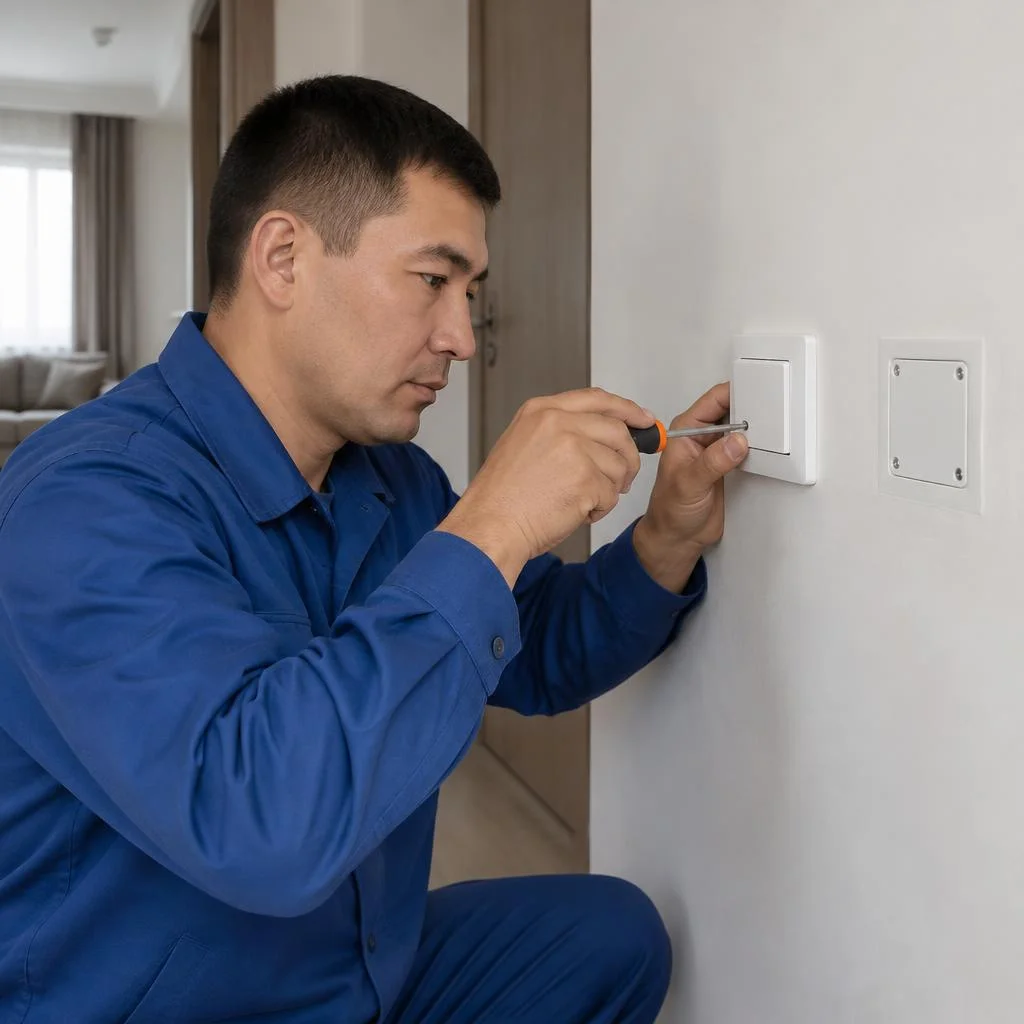
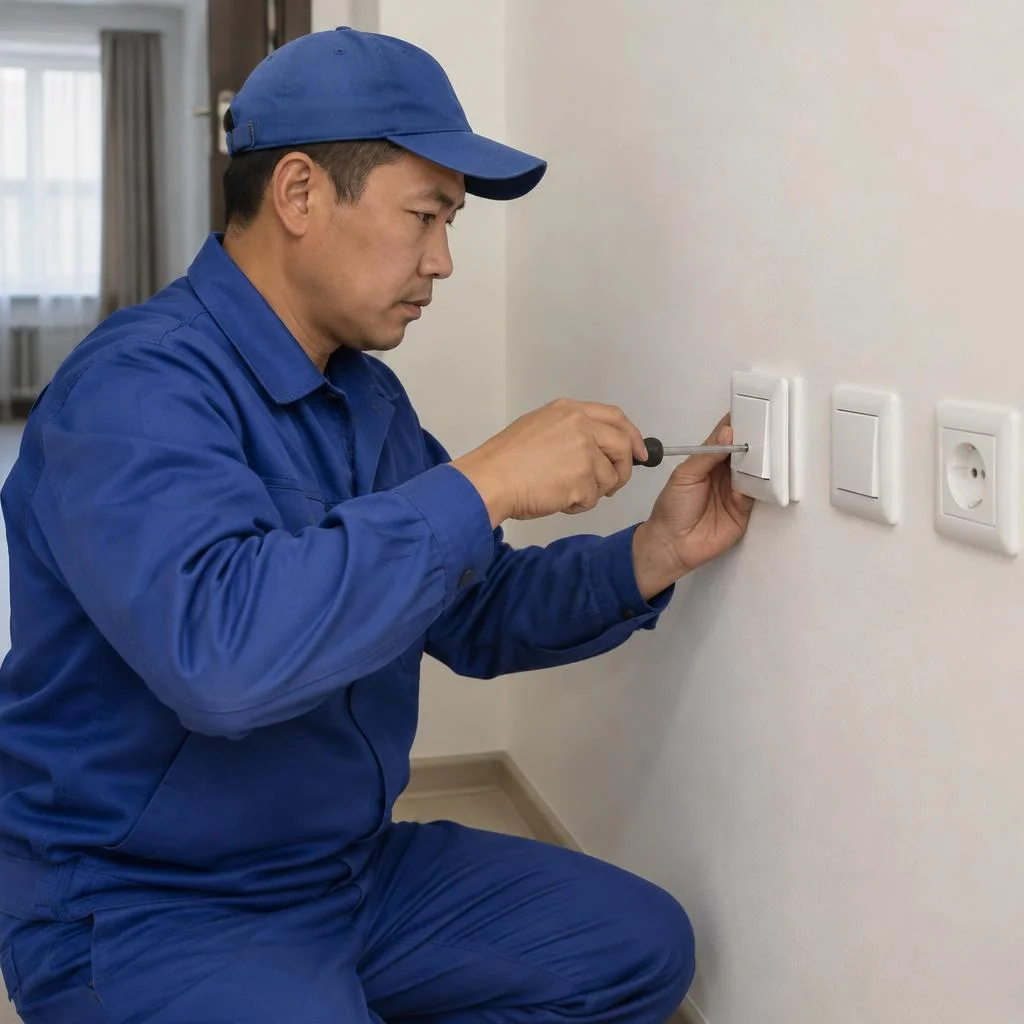








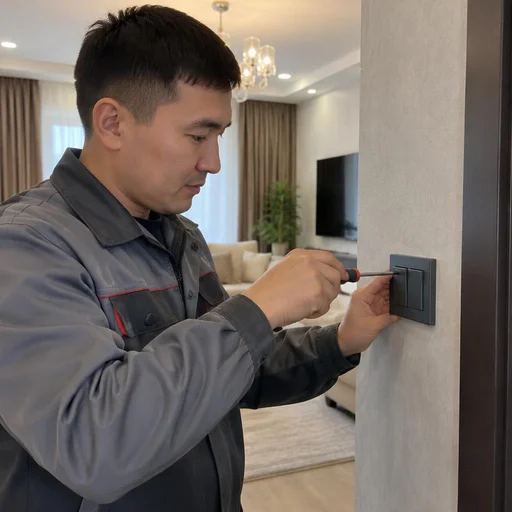
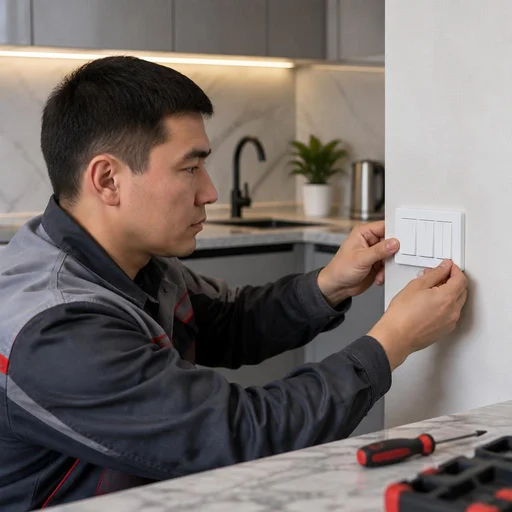
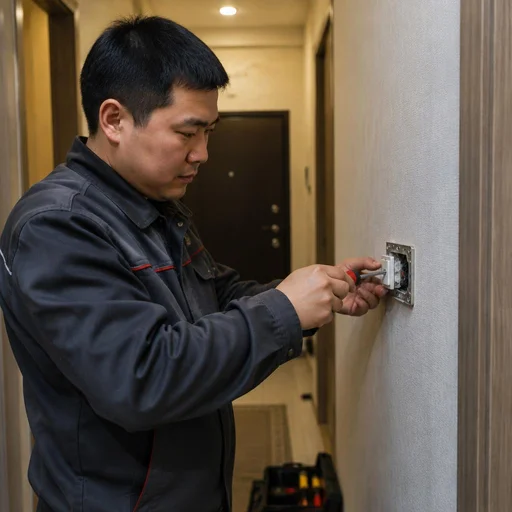
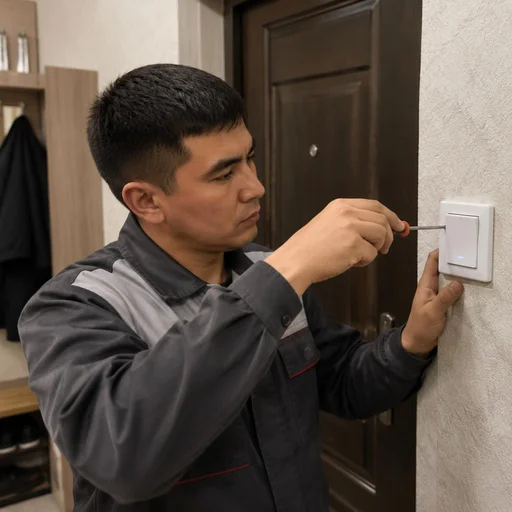
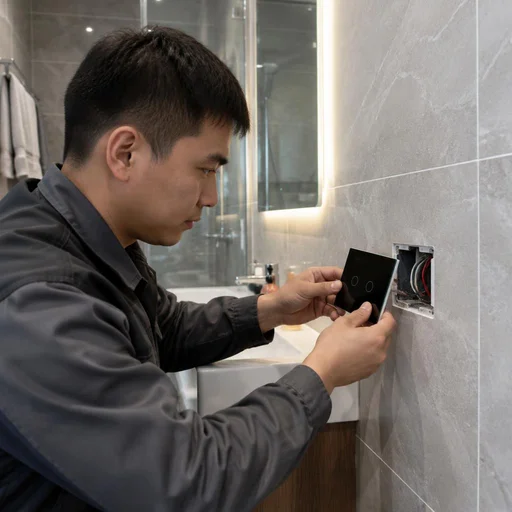
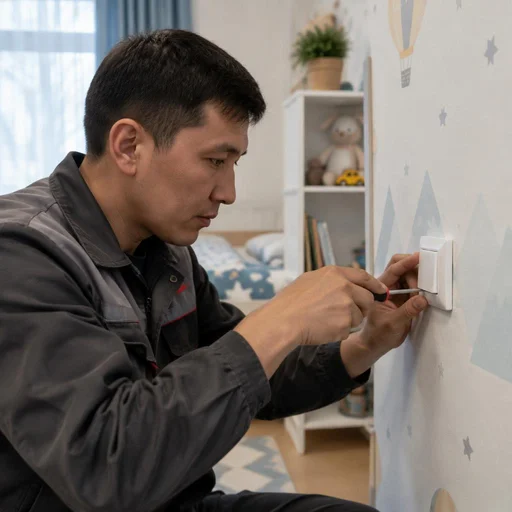
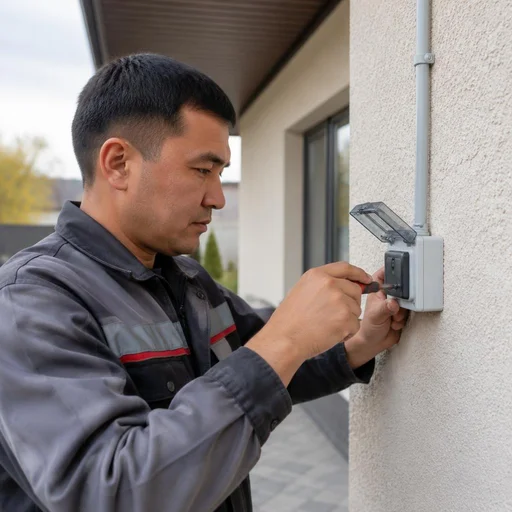
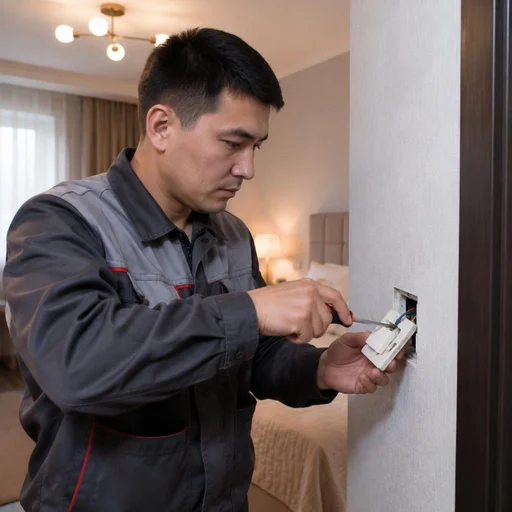
Which switches Eco-Service replaces in Bishkek
We work with all common types: from the basic single-gang to touch and intermediate. Below are the types of devices we work with and how they differ in purpose, number of light groups, and installation method.
Single-gang, two-gang and three-gang switches
We install single-gang, two-gang and three-gang models — these are the basic types for controlling one, two and three light groups from a single point. A single-gang one is installed in a room, kitchen and bathroom, a two-gang one splits the light in a hallway or living room, a three-gang one controls a chandelier with three arms and spot lighting lines. In requests, clients often write briefly: switch replacement in Bishkek — and the technician already understands that it's about a basic single-gang or two-gang device. During installation, the technician checks the rating against the load: one gang holds up to 10 A, which covers a group of 5-8 incandescent lamps or an LED line up to 500 W. If a room has more than three lighting groups, a three-gang switch won't handle it — you need a modular unit or a combination with a two-way switch, otherwise the gangs will be overloaded by current.
Two-way and intermediate switches
We install two-way and intermediate models for controlling a single light fixture from two or more points — for example, in a hallway, on a staircase or between floors. A two-way switch works in pairs: you flip it at the front door — the light goes off by the bedroom, and vice versa. An intermediate switch is added to the circuit as a third one and allows controlling the light from three or more places — it is installed in long halls and on stairwells of private houses. The circuit of a two-way and intermediate switch requires more wires in the cable than a regular one. If the chase is already laid for a two-wire cable, during installation you will have to either pull an additional wire or leave just one device.
Touch, push-button and illuminated switches
We work with touch, push-button and illuminated models — they differ in the way they are triggered and in the presence of an indicator in the dark. A touch switch responds to touching the panel and has no mechanical gangs, a push-button one closes the circuit with a pulse and lasts longer than a regular one due to the absence of rubbing contacts, and the backlight helps find the device in a bedroom or children's room without a night light on. A touch switch is sensitive to the quality of the neutral in the circuit: with poor contact it triggers spontaneously. Before installation, the technician checks the circuit with a voltage tester and a multimeter.
Comparison of switch types by purpose and installation
| Switch type | Where it is used | Installation method | Feature |
|---|---|---|---|
| Single-gang | Room, kitchen, bathroom | Flush / surface-mounted | One light group |
| Two-gang | Hallway, living room | Flush / surface-mounted | Two light groups |
| Three-gang | Large halls | Flush | Three light groups |
| Two-way | Hallway, staircase | Flush | Control from 2 points |
| Intermediate | Between floors | Flush | Control from 3+ points |
| Touch | Modern interiors | Flush | Triggered by touch |
| Illuminated | Bedroom, children's room | Flush / surface-mounted | Visible in the dark |
| Push-button | Industrial facilities | Surface-mounted | Pulse control |
| Moisture-proof | Bathroom, outdoors | Surface-mounted | Protection from moisture |
How a switch replacement works: from request to circuit check
Installing a switch takes from 20 to 60 minutes depending on the type and condition of the wiring. Let's break down how the technician's work proceeds from the request to the circuit check.
Technician visit and on-site diagnostics
An Eco-Service technician travels to homes across Bishkek — to the Alamedin, Oktyabrsky, Sverdlovsky and Pervomaysky districts — and on site checks the condition of the switch, the wiring and the breaker in the panel. Using a voltage tester screwdriver, he checks for phase on the terminals, inspects the conductors for melting and oxidation, and assesses the condition of the mounting box. If the circuit breaker in the panel trips, the problem may not be in the switch itself but in an overloaded line. In that case, replacing the fittings won't solve the problem — the entire circuit needs to be inspected. In our practice, this scenario occurs on every fifth visit to older housing stock, where aluminum wiring coexists with high-power chandeliers. Clients often phrase their request as switch replacement in Bishkek — and the technician immediately knows what they mean.
Removing the old switch and installing the new one
The technician de-energizes the line, removes the frame and the rocker, disconnects the wires from the terminals and installs the new mechanism, observing the marking of phase, neutral and ground. When working with concealed installation, the mounting box is often found cracked or misaligned — it has to be replaced with a new one, otherwise the mechanism will be held insecurely and over time will start to heat up at the contact point. The wires are shortened to the required length, stripped and inserted into the terminals of the new device without twisting: a twist under a terminal is a common cause of subsequent heating. Concealed installation on brick and concrete walls requires cutting the socket for the new mounting box, and this takes additional time.
Circuit check and test switching
After installation, the technician restores power and checks each rocker under load: the light should turn on without clicks, sparking or heating of the terminals. It is best to carry out the check at maximum load on the line — turn on all the fixtures in the group and leave them for 10-15 minutes, because a weak contact shows up precisely under load, not at idle. If during the test heating of the housing is detected or crackling is heard, the technician tightens the terminals, checks the screw tightening and repeats the test. In such cases, a pyrometer thermometer shows a difference of 15-20 degrees between a normal and a problematic contact.
What the technician's work includes
- De-energizing the line: switching off the breaker in the panel and verifying the absence of voltage with a tester.
- Removal: taking off the frame, the rocker and the old mechanism, disconnecting the wires.
- Wiring inspection: checking the conductors for kinks, oxidation and melted insulation.
- Installation: mounting the new mechanism and connecting it to the terminals according to the marking.
- Assembly: installing the frame and rocker, leveling with a spirit level.
- Check: test switching under load and monitoring terminal heating.
- Cleanup: removing shavings and dust after cutting the socket for the mounting box.
Troubleshooting: why a switch sparks, heats up and sticks
Sparking, heating and sticking are the three main signals that the device is due for replacement. Let's break down the causes of each fault and what the technician does about them.
Why a switch sparks
Sparking occurs due to a loosened contact in the terminals or wear of the contact group: current passes through a reduced area and breaks down the air gap. Most often the culprit is a screw clamp that has loosened after several years of operation under the load from a chandelier or a group of sockets. The second cause is the burning away of the silver coating on the moving contact: the mechanism has gone through tens of thousands of cycles, and the contact area has shrunk to a thin track. The third scenario is moisture or fine metal shavings inside the mounting box, creating a micro-discharge between the terminals. A light click when switching on is normal, but a steady spark or crackling inside the housing means the contact is burning: if the mechanism is not replaced, within a few weeks the burnt device will start to heat up and melt the frame.
Causes of heating and the smell of burning
Heating of the switch is caused by three reasons: a weak contact in the terminals, an overloaded line, and a mismatch between the switch rating and the load. A weak contact produces a transition resistance of fractions of an ohm — enough for the terminal to heat up to 60-80 degrees when a underfloor heating system or boiler is running. Overload occurs when several powerful consumers with a total above the rated current are fed through one switch, while the circuit breaker in the panel is selected with an inflated rating and does not cut off the line. The third cause is a cheap contact group rated for 6 amps, while the actual load draws 10-16 amps. If the housing is warm to the touch, that is already a deviation. The smell of burning means the insulation has begun to char: such a device must not be used, and the line must be de-energized before the technician arrives.
Sticking of the rocker and wear of the mechanism
A sticking rocker is a sign of wear of the return mechanism or of dust and construction mixture getting inside the housing. The spring that returns the rocker to its initial position loses its elasticity over time, and the plastic retainers wear against the guides. The second common case is remnants of plaster and gypsum dust after renovation: they pack between the rocker and the housing and create mechanical resistance. On cheap Chinese mechanisms the return fails after just 10-15 thousand switchings, whereas with Legrand, Schneider Electric and ABB the service life of the mechanism is many times higher. Taking apart and lubricating a sticking mechanism is useless: the plastic retainers are already worn. It is cheaper and more reliable to replace the mechanism entirely than to repair it again a month later.
When a switch needs to be replaced rather than repaired
- The housing or terminals are burnt: melted plastic cannot be restored, replacement of switches with tightening of connections is mandatory.
- The rocker sticks: the retainers of the return mechanism are worn, lubrication will not restore the elasticity.
- The device heats up under load: the contact group has lost its elasticity, the heating will return.
- A smell of burning has appeared: the insulation has charred, urgent replacement is needed.
- The mechanism is faulty, but the rocker and frame are intact: Eco-Service recommends replacing the mechanism rather than repairing it again.
Concealed, surface-mounted and moisture-proof installation: what to choose for your home
The installation method determines how the switch looks and where it can be placed. Let's look at three options — concealed, surface-mounted and moisture-proof — and their limitations regarding walls and rooms.
Concealed installation switch
A concealed installation switch is mounted inside the wall in a mounting box — only the frame and the rocker are visible from the outside. This option is chosen in living rooms, corridors and offices, where a flat wall surface without protruding housings matters. The mounting box for the mechanism is installed during the wall-chasing stage: a socket about 40 mm deep is hollowed out for it and the cable is routed into the chase. For concealed installation, the depth of the mounting box matters: in Bishkek's concrete walls it often turns out to be shallower than the standard, and the mechanism rests against the wire. The technician checks the depth before installation and, if necessary, drills out the socket. If the wall is already finished and there is no mounting box, it is cut out with a hole saw — in this case, the switch replacement price is calculated individually, taking into account restoring the finish around the socket.
Surface-mounted switch
A surface-mounted switch is attached to the wall surface — it is installed where wall chasing is not possible or not practical. In Bishkek's older housing stock with concrete load-bearing walls and panel partitions, chasing for concealed installation is sometimes prohibited or too labor-intensive, and a surface-mounted housing becomes the only workable solution. Installation takes less time: there is no need to chisel the wall, cut a chase and fill it with plaster. A surface-mounted switch is convenient for temporary wiring and utility rooms, but it protrudes 2–3 cm from the wall. In narrow passages it is easy to catch with your shoulder — keep this in mind when choosing the location.
Moisture-proof switch for the bathroom and outdoors
We install a moisture-proof switch in bathrooms, restrooms, summer kitchens and outdoors — the IP-protected housing keeps moisture and dust away from the contacts. The degree of protection is selected according to the room: IP44 is sufficient for a restroom, while for an open veranda or summer kitchen IP55 and higher is used — such models withstand water jets and outdoor dust. Inside the housing there is a membrane or silicone seal around the rocker, and the terminals are protected from splashes. Even a moisture-proof switch must not be installed inside the shower zone — according to regulations it must be placed outside the area of direct water exposure. The optimal location is at the entrance to the room.
Component replacement: key, mechanism, frame
Sometimes there is no need to replace the entire switch — it is enough to replace one part. Let's look at which components can be replaced separately and which come only as a complete assembly.
Key and frame: when the outer part is enough
The key and frame are external parts: Eco-Service replaces them without dismantling the mechanism or disconnecting the line. This is the fastest job in the entire list — the technician removes the old key with a clip, installs the new one and checks the movement of the latches. Keys and frames are matched to a specific series of fittings: Legrand Valena, Schneider Electric and IEK have their own mounting dimensions, and there are no universal parts. Therefore, when selecting, the series marking is needed — it is stamped on the back of the frame or on the support. If the series has been discontinued, a compatible line from the same brand is selected. Before the visit, photograph the front panel and the support — from the photo the technician will identify the series in advance and bring the right part.
Switch mechanism: the inner part with the contact group
The mechanism is the inner part of the switch with the contact group and terminals: replacing it requires de-energizing the line and reconnecting the wires. Eco-Service performs such work when the key is intact but the device itself sparks, heats up or sticks. The technician cuts the power at the circuit breaker, checks with a voltage tester that there is no phase, disassembles the housing and transfers the wires to the terminals of the new mechanism — screw or self-clamping, depending on the series. At the same time, the condition of the conductors is checked: if the copper has darkened or melted, the end of the wire is cut off and stripped again, otherwise the new mechanism will fail for the same reason. A frequent question is how much it costs to replace a switch; the final cost depends on whether the mechanism is replaced entirely or only the outer part, and is calculated individually.
What is replaced separately and what — only as a complete assembly
| Component | Replaced separately | Requires de-energizing | When replacement is needed |
|---|---|---|---|
| Key | Yes | No | Crack, chip, wear |
| Frame | Yes | No | Chip, yellowing |
| Mechanism | No | Yes | Sparking, heating, sticking |
| Terminals | No | Yes | Loosening, melting |
| Backlight | Yes | No | Indicator burnout |
If you are unsure what exactly has failed, start with diagnostics: an Eco-Service technician will determine whether replacing the key is enough or a new mechanism is needed.
Relocating and Installing an Additional Switch
Sometimes a switch doesn't need to be replaced, but relocated to another point or a second one added next to it. Let's look at how this is done in practice and in which cases the work pays off, and in which it doesn't.
Relocating a Switch to a New Location
Eco-Service relocates a switch to a new location: it dismantles the old mechanism, chases the wall for the cable, lays a conductor of the required length, and mounts the device at the new point with connection according to the diagram. A typical task is to move a switch from an inconvenient spot behind the door closer to the bed or to the bathroom entrance. A distance of up to 1–1.5 meters is usually covered by the reserve of the existing conductor; if the point is farther, the wire is extended. Connecting conductors with a twist is not allowed — only through a terminal block or sleeve, otherwise the connection will start to heat up inside the wall, and after a few months you will smell burnt insulation. In my opinion, when relocating more than two meters, it's cheaper to immediately lay a new section of VVGng cable from the distribution box than to extend the old one. Replacing a switch in Bishkek with relocation takes us on average 2–3 hours, including chasing and patching.
Installing an Additional Switch
Eco-Service installs an additional switch — for example, for a second lighting group or a second entrance to a room — with laying a new line from the panel or branching from an existing circuit. The second option is cheaper and faster, but requires current reserve: before installation, the technician checks the rating of the circuit breaker in the distribution panel and the cross-section of the incoming cable. If the line is already loaded (chandelier, socket group, boiler), you will have to run a separate conductor and install its own circuit breaker — otherwise the protection will trip when appliances are turned on simultaneously. For a two-gang version with separate groups, a three-core cable is laid; for a two-way circuit, a four-core cable. Practical advice: if you are adding a switch to a new chandelier with two modes, order a back box for the second mechanism at the same time — redoing finished decor later is more expensive.
When Relocation Is Not Advisable
Relocating a switch is not advisable if the wall is load-bearing with reinforcement, the finish has just been laid, or the line is powered from a hidden distribution point without revision access. In panel buildings in Bishkek, chasing load-bearing walls for cable is prohibited — it weakens the structure and creates a risk for the neighbors above. In such cases, the switch is relocated on the surface in a cable duct, matching the color to the wallpaper or tile, or left in place and only the mechanism is replaced. A fresh renovation is the second reason to refuse: even careful chasing leaves dust and requires local puttying with touch-up painting. A hidden point without access is the third: to connect, you will have to open the ceiling or part of the wall. The decision is made by the technician after an on-site inspection: sometimes it's easier to add a second switch on the other side than to run cable across the entire room.
Warranty, Timelines, and the Eco-Service Service Center
Warranty, timelines, and the service center — these are the three parameters most often used to vet a contractor before placing an order. Let's break down how they work in practice and what's important to know before the technician arrives.
2-Year Warranty on Switch Replacement
Eco-Service provides a 2-year warranty on switch replacement — it covers both the technician's work and the installed mechanism. During this period, installation defects are remedied free of charge: a loosened contact, a wobbly rocker, or mechanism failure. The warranty is valid provided the seal on the terminals remains intact and no unauthorized intervention has occurred. We record the condition of the terminal block and the mechanism model in the service report — this allows us to quickly determine the cause when a claim is made. If the device started overheating after someone else's repair, the case is not recognized as a warranty claim. Customers often contact the service center with a request for mechanism replacement — and the technician immediately understands what is meant. Before calling a technician, check the batch number on the mechanism housing against the record in the service report — a discrepancy will immediately indicate a swapped part.
Own Service Center in Bishkek
Eco-Service has its own service center in Bishkek — you can bring hardware here for diagnostics or arrange a repeat technician visit. In-person reception at the center is convenient when you need to match a rocker or frame to an existing series: the specialist will verify the part against a sample rather than a photo in a chat. For the Legrand Valena, Schneider Electric Glossa, and ABB Basic 55 series, rocker compatibility between batches is not always obvious — a visual check eliminates the risk of error. Reception is available on business days; the device is inspected and the repair timeline is given on the spot. If a frame has been discontinued, the specialist will select the closest compatible option and check the fit before payment.
Work Completion Timelines
A single switch takes an Eco-Service technician from 20 to 60 minutes depending on the type and condition of the wiring. A simple single-gang surface-mounted mechanism is replaced in 20 minutes; a touch model or installation with a concealed back box takes up to an hour. If multiple points are being replaced in one apartment, it's more cost-effective to do it in a single visit: the technician is already on site, the line is de-energized, and no time is wasted on travel. When working with three or more points in one room, we plan so that the apartment is de-energized only once — this saves 30 to 40 minutes in total.
How to Submit a Request
- Phone: call the Eco-Service service center in Bishkek; the dispatcher will confirm the address and a convenient time for the technician's visit.
- Website: a request form with a selection of switch type — single-gang, double-gang, two-way, or touch.
- Messenger: a description of the problem and a photo of the switch will help the technician determine the scope of work and the necessary parts in advance.
- Confirmation: the technician confirms the visit time and address, and if necessary clarifies the condition of the wiring and the connection diagram.
- Preparation: before the visit, clear access to the switch and remove the frame if it is held by snap clips without screws.
Conclusion
We've gathered the key points that determine the outcome of working with switches: choosing the type, signs of wear, installation method, and checking the line before relocation.
Key Takeaways
- The switch type is selected based on the task: the number of light groups, the number of control points, and the room conditions — a bathroom and outdoor areas require a moisture-resistant series.
- Sparkling, heating, and sticking are signals to replace: repair is justified only for the rocker and frame; a worn mechanism is replaced entirely.
- The installation method depends on the wall: concealed — into a back box in concrete and brick; surface-mounted — onto the surface; moisture-resistant — for bathrooms and outdoor areas.
- Relocating and installing an additional switch require checking the line: the circuit breaker rating and the wall material determine whether the work is possible without wall chasing.
- Warranty and service center matter more than a low price: they cover the risk of repeat repairs, and switch replacement in Bishkek is more convenient where reception is in-person and there is a stock of parts.


