










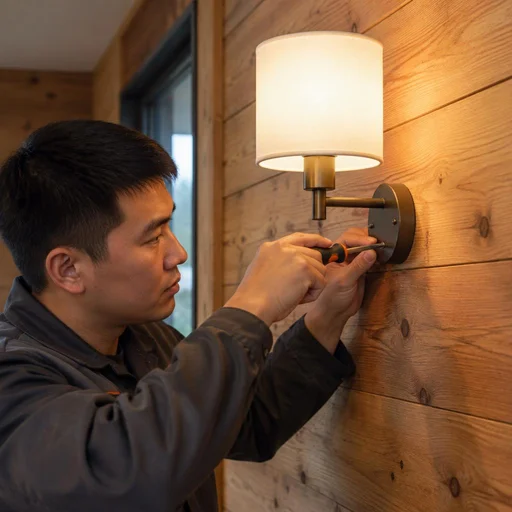
What a wall sconce is and why installation is entrusted to an electrician
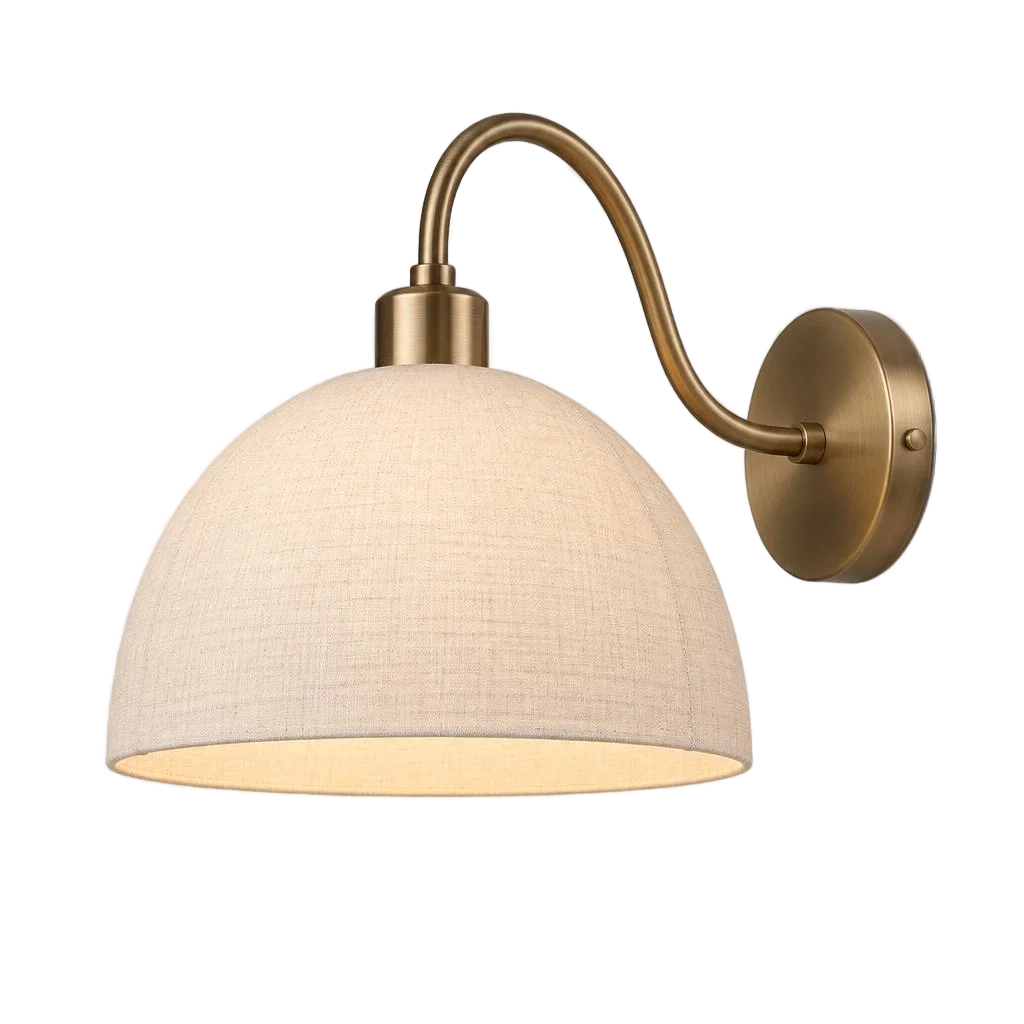
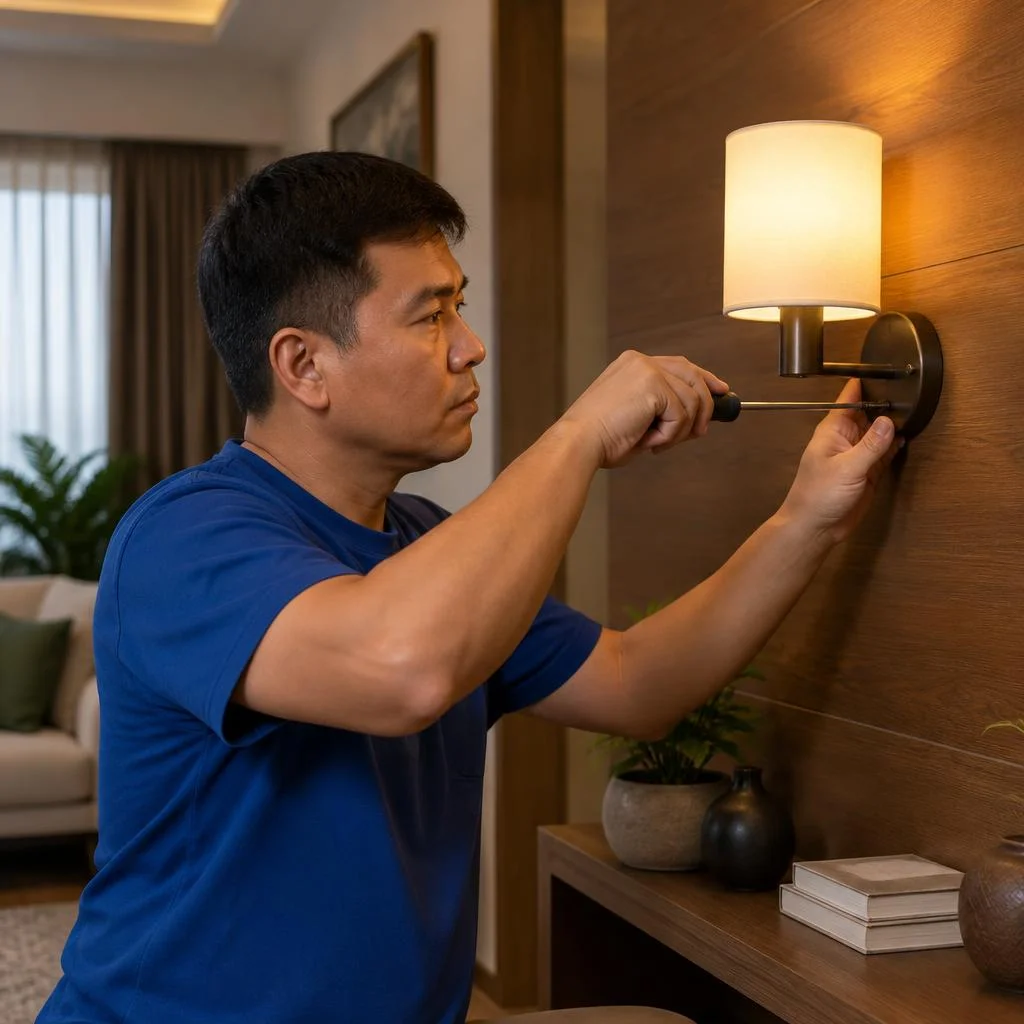
A wall sconce is a wall-mounted light fixture for local lighting. Its installation requires working with wiring and various surfaces, so this task is more often assigned to a qualified electrician rather than a general furniture assembler.
What a wall sconce is and where it is usually placed
It is a wall-mounted light fixture for local illumination; most often it is placed above the bed, by the mirror in the bathroom and in the reading area. Installing a wall light above the headboard solves the problem of evening light without a ceiling chandelier: the beam falls directionally, does not dazzle and does not wake the other person in bed. In the bathroom the fixture is placed on the sides of the mirror at eye level, in the bedroom — 60-70 cm from the mattress, in the living room — by the sofa at an angle to the book. An incorrectly chosen height (below 60 cm from the headboard) causes glare on the pillow — before installation, it is worth holding the fixture against the wall and assessing the angle of light.
Why sconce installation is entrusted to a qualified electrician
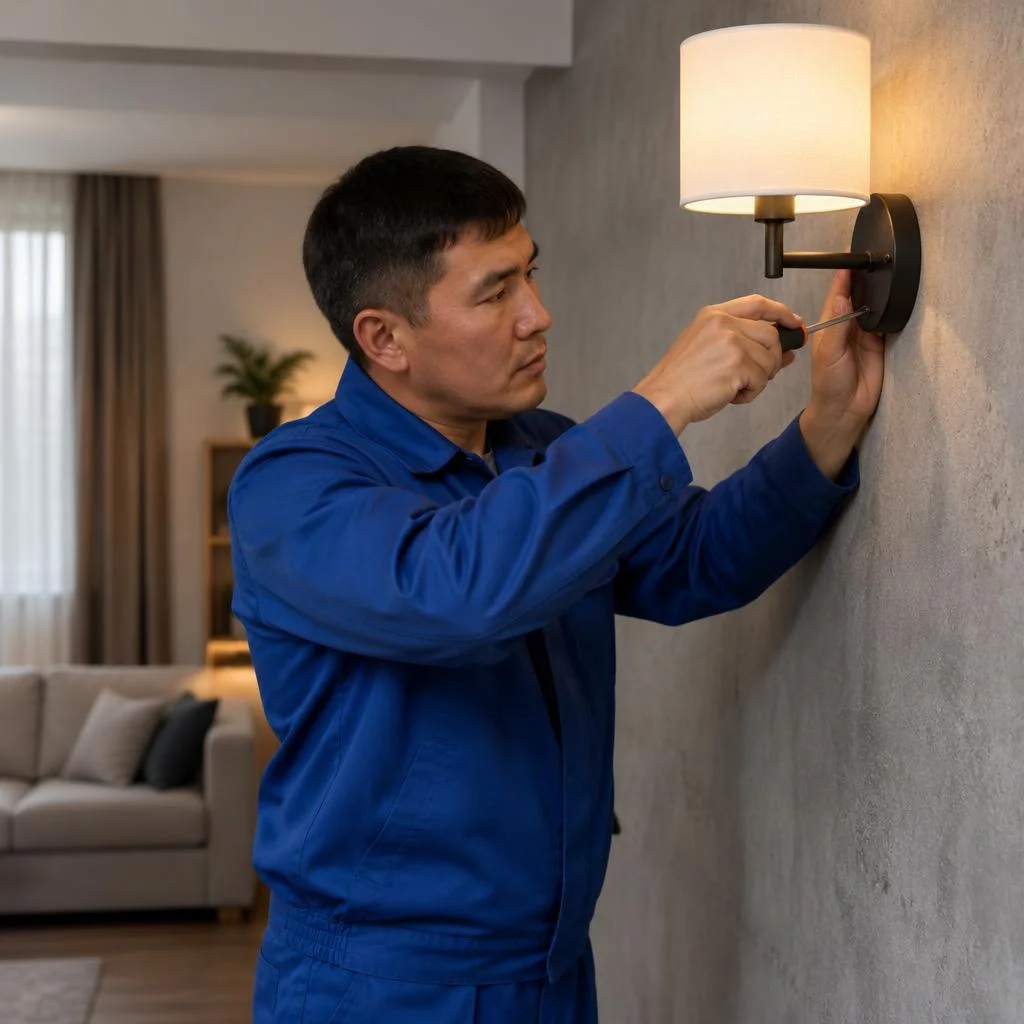
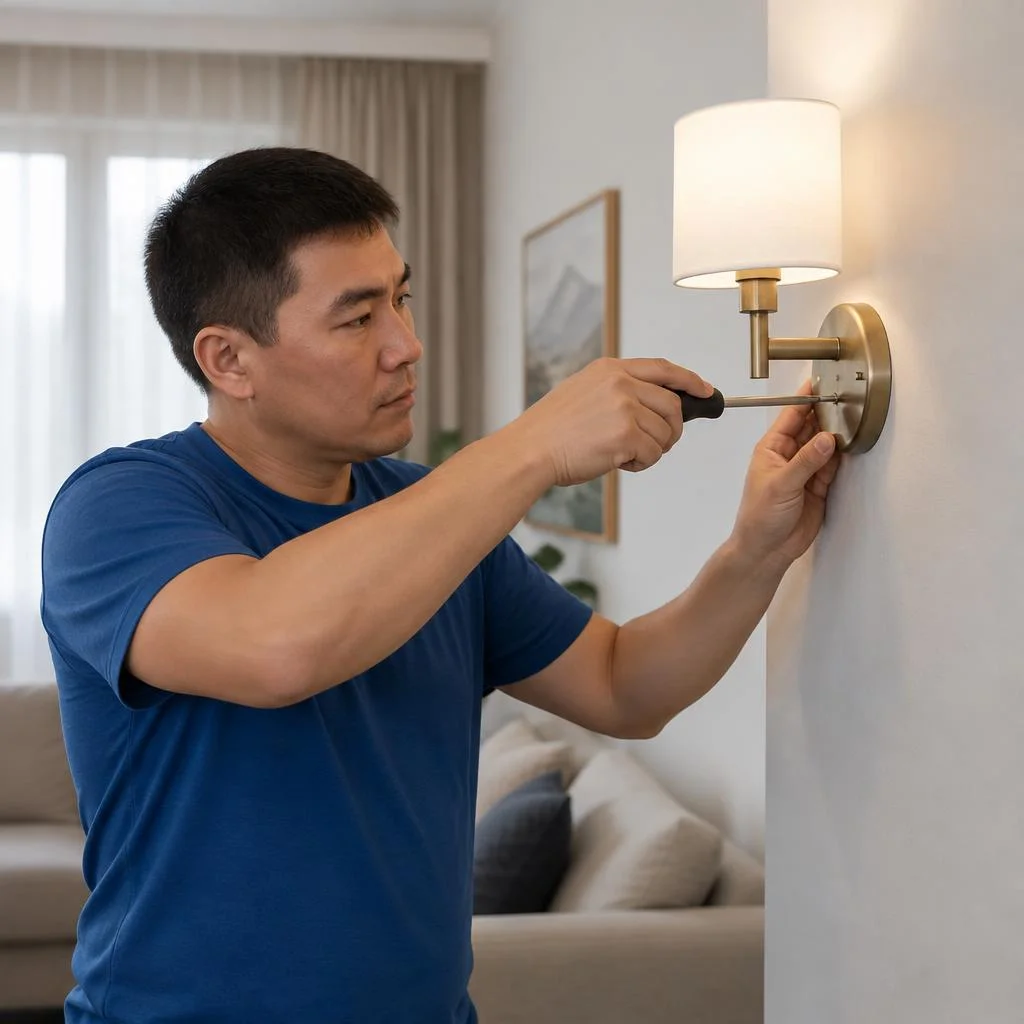
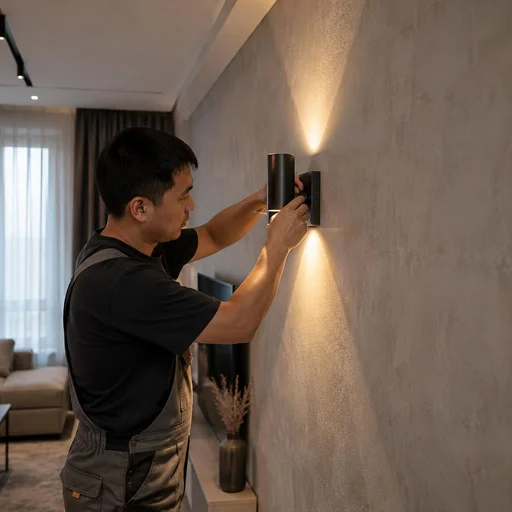
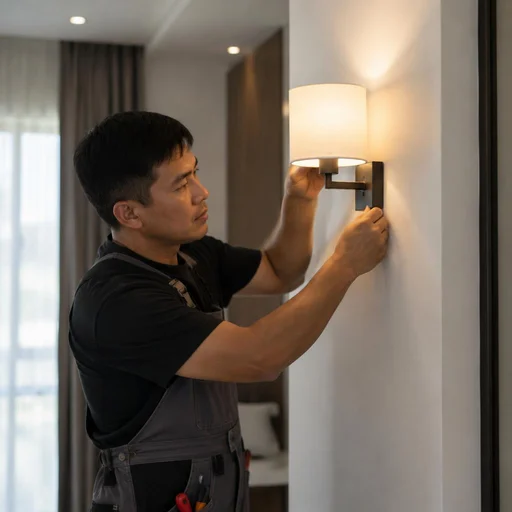
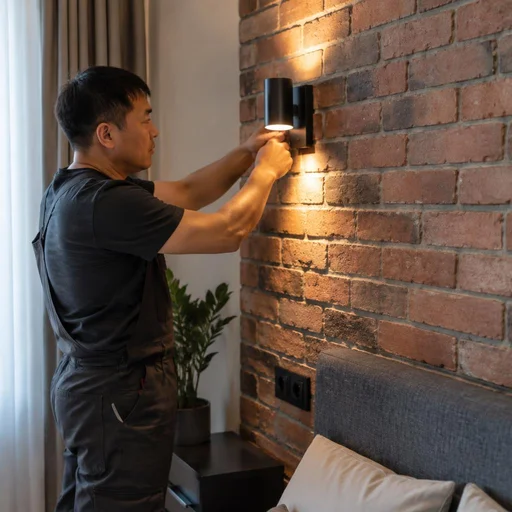
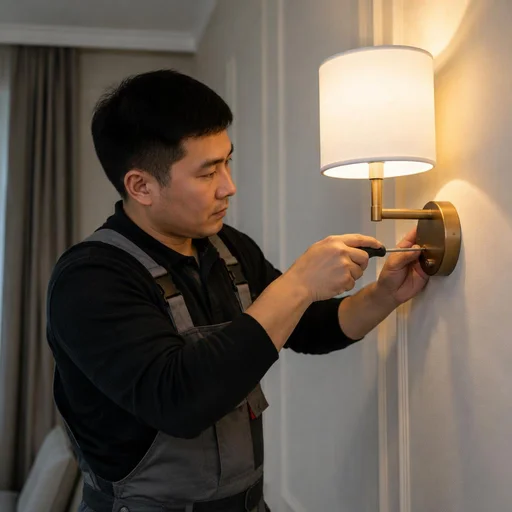
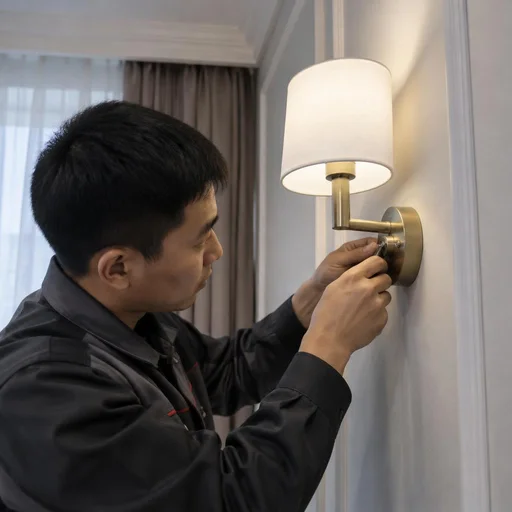
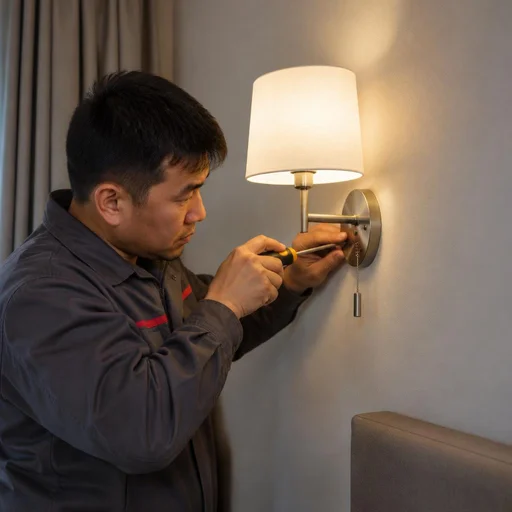
The sconce is installed by our qualified electrician: he works with live wiring, selects the fasteners for the wall material and checks the grounding. Work with existing wiring in the panel buildings of Bishkek (series 105, 1-464, the "Kyrgyz" layout) requires locating hidden lines with a detector: the walls often contain old aluminium wiring that must not be chased blindly. The technician opens the mounting box, checks the core cross-section, extends the cable if necessary and installs Wago terminal blocks instead of twists. Do-it-yourself installation without switching off the circuit breaker is the most common cause of a short circuit; the technician de-energizes the line before starting work and checks it with a tester.
Which surfaces require different fasteners
| Surface | Fastener | Installation specifics |
|---|---|---|
| Concrete | Hammer-in anchor 6×40 | Rotary hammer, hole depth — 5 mm more than the anchor |
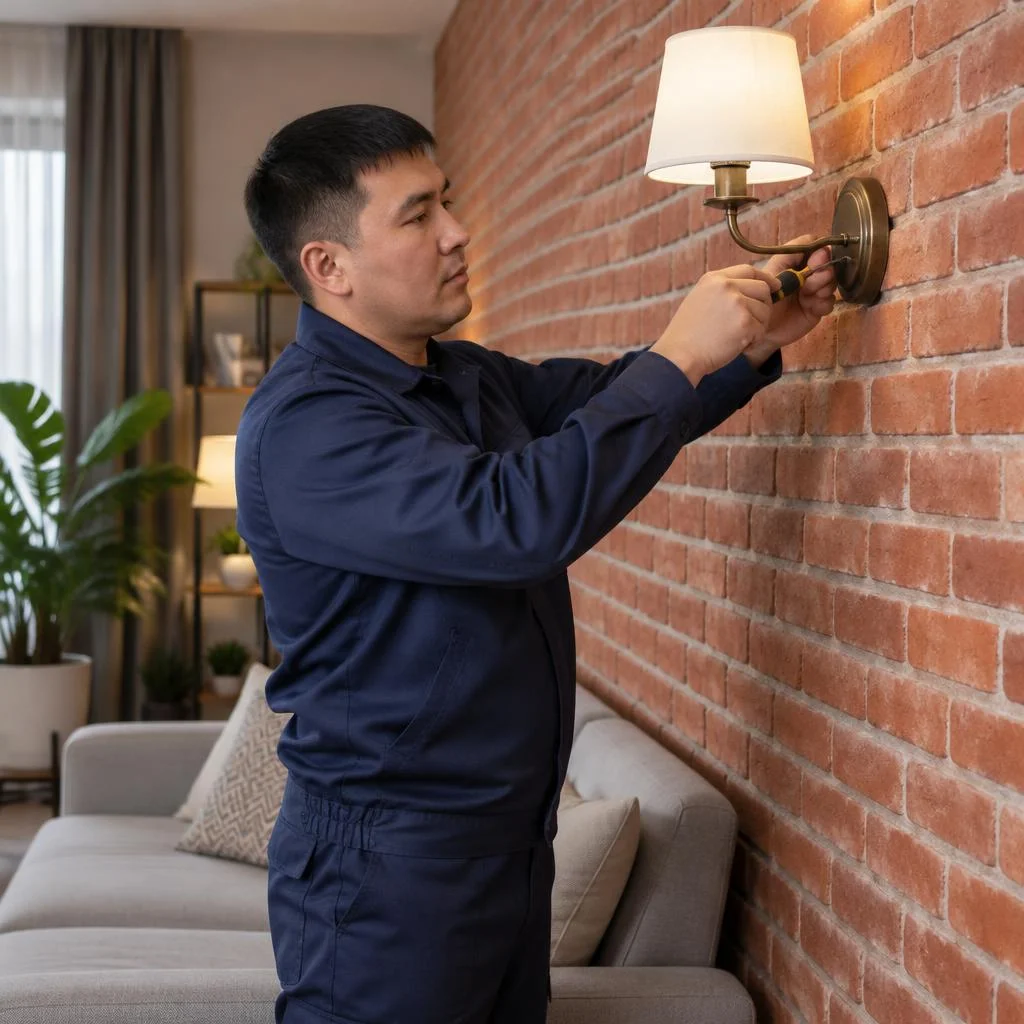
| Brick | Hammer-in anchor 6×40 | Do not drill into the mortar joint — the fastener will pull out under weight |
| Drywall | Toggle anchor or backing block | Without a backing block — only up to 2 kg |
| Wood | Wood screw | Treat the hole with a fire retardant |
| Tiles | Tile drill bit + anchor | Drill without impact, otherwise chipping |
On hollow drywall without a backing block, a sconce heavier than 2 kg is held unreliably — the technician checks the load-bearing capacity of the sheet in advance, and for heavy models installs a backing block between the profiles.
Installing a wall sconce: how the installation is done
Installing a wall light fixture includes marking, preparing the holes, securing the body and connecting it to the line. Let's go through the stages and how they change depending on the surface.
Marking and preparing the holes
Our technician marks the points using a level, checks for hidden wiring with a detector and drills the holes with a hammer drill to match the dowel diameter. Work begins with determining the height: above a cabinet — 60-70 cm from the countertop, above a bed — 90-110 cm from the floor, by a mirror — at eye level. A metal and wiring detector is essential: in Bishkek's panel buildings, the cable often runs horizontally 15-20 cm below the ceiling, and the drill bit hits it if you don't check. For the cable in the wall, a channel 20-25 mm deep is chased, or the wire is run in a cable duct to the back box. The hole is drilled 3-5 mm deeper than the dowel — otherwise dust will prevent the fastener from seating fully and the light fixture body will wobble.
Securing the body and connecting to the wiring
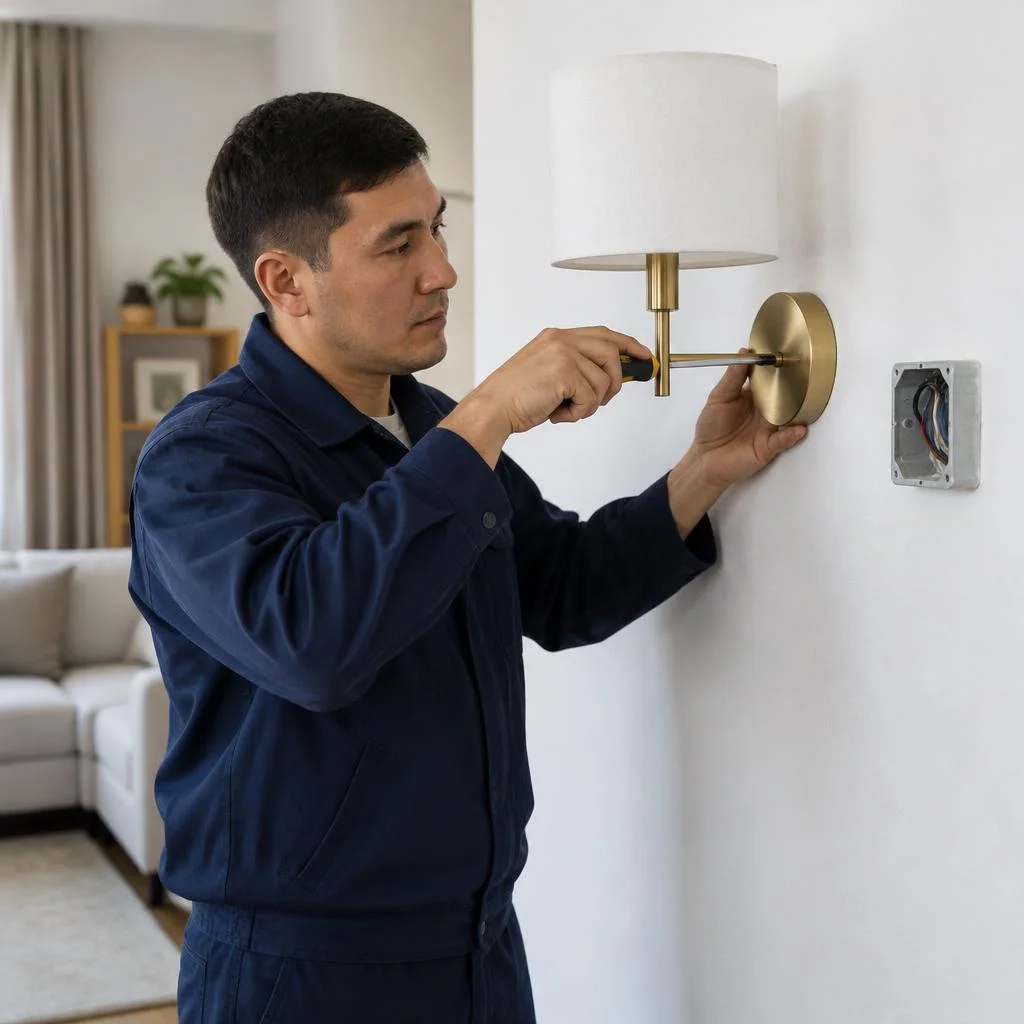
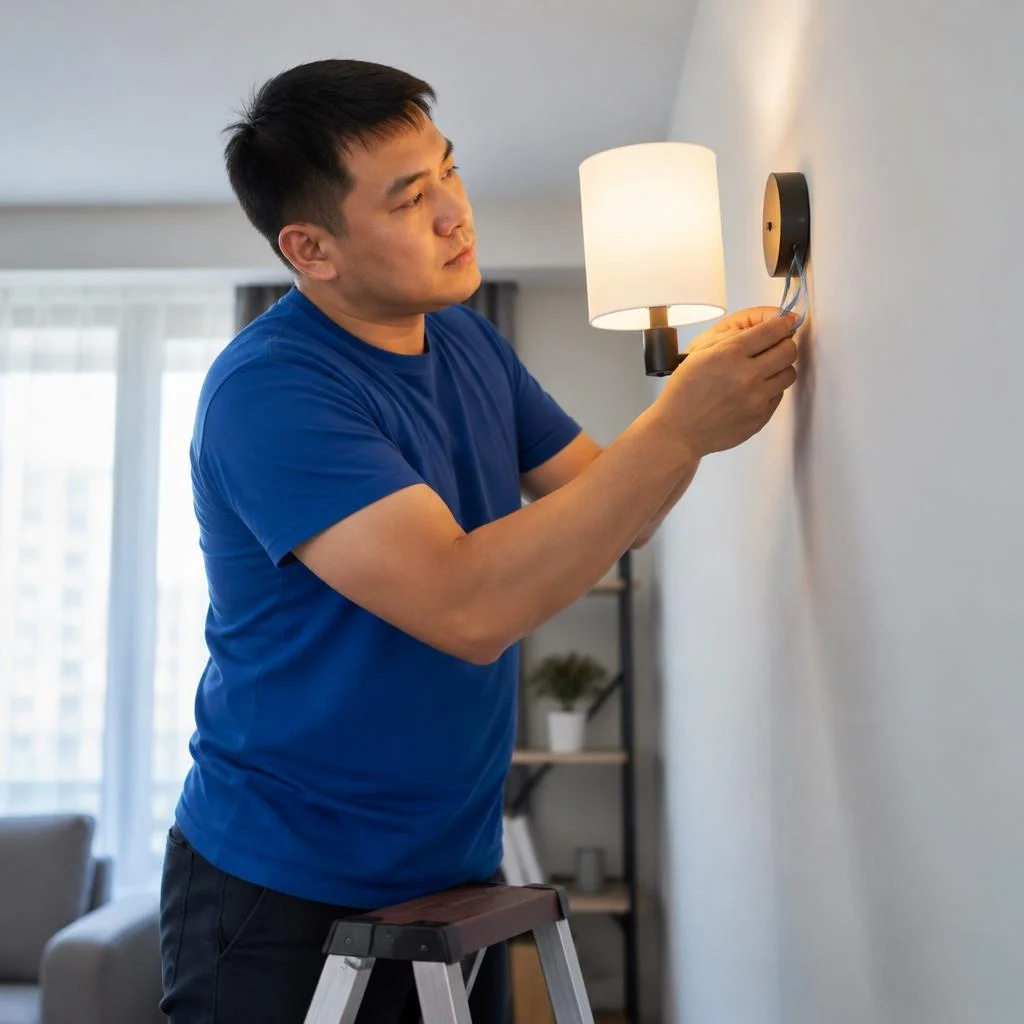
Eco-Service connects the sconce to the existing wiring via a terminal block, observing phase, neutral and grounding, without chasing the wall. If the line is already brought out to the point, the fixture can be installed in 30-40 minutes: remove the decorative plate, strip the cores by 8-10 mm, insert them into the terminal block and tighten the screws. Clients often state the task briefly — install a sconce — and the technician immediately understands that this means a ready-made fixture with the line already brought out. The grounding wire (yellow-green) is essential for a metal body — if the insulation breaks down, it diverts the current to the ground and protects against electric shock. A twist of copper and aluminium wires without a terminal block oxidizes within 1-2 years — the technician always installs a terminal connection, even if there is little space in the back box.
Installation on drywall, tile and stretch ceiling
- Drywall: a 12.5 mm sheet holds a sconce up to 3-5 kg on a toggle bolt; heavy models are fastened to a backing block mounted behind the sheet.
- Tile: drill with a diamond-coated hole saw at low speed without impact — otherwise the glaze cracks across the entire surface.
- Stretch ceiling: the backing is mounted to the base slab before the membrane is stretched, then brought out through a thermal ring.
- Brick and concrete: for a 6-8 mm dowel, use a bit with a carbide tip; for hollow brick — a chemical anchor.
Lighting control: switch, dimmer, motion sensor
A light fixture can be turned on with a regular switch, adjusted with a dimmer, or triggered automatically by a motion sensor. Let's look at which control suits a bedroom, bathroom, and hallway, and what to consider during installation.
Installation with a switch
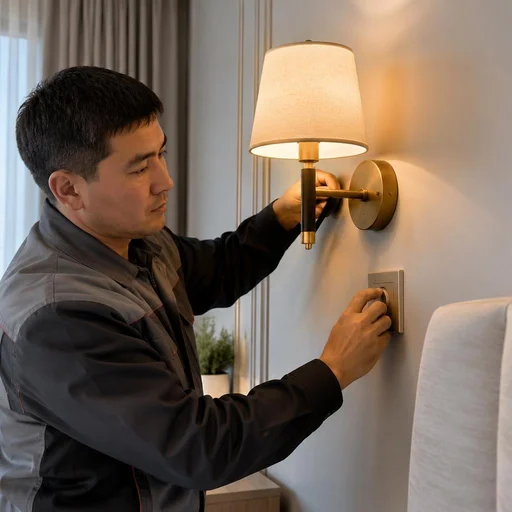
We connect a wall sconce to a switch if the fixture is connected to a separate line or to an existing switch in the room. Installing a wall sconce with a new point begins with running a cable from the distribution box: the technician installs a back box for the switch and connects the sconce via a terminal block — this takes 40-60 minutes with pre-cut channels. If the sconce and the ceiling light are on the same switch, the lights turn on simultaneously — for separate control, the technician runs a dedicated line from the panel. In our practice, this is most often done in bedrooms, where you need to turn off the overhead light and leave the wall light on. On drywall, the line is hidden in the wall cavity; on concrete, channels are cut for a 3×1.5 mm² cable and the channel is sealed with plaster.
Installation with a dimmer
Eco-Service installs sconces with a dimmer and configures smooth brightness adjustment — it is important that the lamp supports dimming. Rotary dimmers are suitable for incandescent and halogen lamps; for LEDs, special LED models with a minimum load of 5 W are used, otherwise the brightness "jumps" in the lower range. The technician checks the lamp wattage, the number of sockets in the sconce, and dimmer compatibility before connecting: for a two-socket fixture with 7 W lamps, a dimmer with a lower threshold of no more than 10 W is needed. An LED lamp without a "dimmable" marking flickers and hums with a dimmer — the technician checks lamp compatibility before connecting. If the lamp is not dimmable, it is replaced with a suitable one or a switch is used instead.
Installation with a motion sensor
Eco-Service installs sconces with a motion sensor for hallways and entryways — the light turns on automatically when a person appears. Infrared sensors respond to body heat within a radius of 3-5 meters and with a viewing angle of 120-180 degrees; for a narrow hallway, one point at the entrance is enough. Power is taken from the same line as the sconce, and the sensor itself is mounted at a height of 1.2-1.5 meters from the floor. A sensor in the bedroom triggers on movement during sleep — for living rooms, it is installed with a switch-off delay setting of at least 2 minutes. For the bathroom, moisture-proof models with an IP44 rating or higher are chosen, otherwise condensation will ruin the sensor within a few months.
Installation of a wall sconce above the bed and in other areas of the apartment
The installation location of the sconce determines both the mounting height and the type of connection. Let's look at three scenarios: the bedroom, the bathroom, and relocating a light fixture to a new spot in the apartment.
Installation of a sconce above the bed
Eco-Service installs wall sconces above the bed at a height of 60-75 cm from the headboard, symmetrically on both sides or in the center of the sleeping area. With a symmetrical layout, the technician marks both points from the center of the bed so that the shades sit at the same level and read as a single composition. The fixture can be hung with its own switch on the body or with a lead to a shared wall switch — the second option is more convenient when two people use the bed. In searches, clients often state the task briefly, and the technician immediately understands that a light fixture is needed in the reading area with precise marking. Wiring in the bedroom is most often run from the nearest distribution box in a hidden way in a chase, and on a drywall wall — in the cavity of the frame behind the sheet. A fixture above the bed should shine downward or to the side, not into the face of the person lying down — the technician orients the shade toward the reading area so that the light falls on the book, not into the eyes of the person sleeping next to them.
Installation of a sconce in the bathroom
Eco-Service mounts sconces in the bathroom on tile with moisture protection in mind: the fixture body must have an IP44 rating or higher. Tile requires drilling with a hammer drill using a carbide-tipped bit through masking tape — this way the glaze does not chip at the edge of the hole, and the dowel nail holds the body without wobble. The grounding wire must be connected to the fixture terminal: without it, a potential appears on the metal body in a damp room. The socket and switch in the bathroom are placed outside the shower zone — otherwise moisture gets on the contacts and the RCD trips; in Bishkek apartments with a combined bathroom this is especially important, because the zone boundary runs right up against the sink.
Relocating a sconce to a new spot
Eco-Service relocates a sconce to a new spot: it dismantles the old mounting, patches the holes, and installs the fixture with connection to the line. The old hole in concrete or brick is filled with repair compound and skim-coated for painting; in drywall, a patch is cut from the same sheet and the joint is skim-coated. If the new spot is more than 1.5 m from the old one, a simple repositioning is not enough — the technician extends the wiring or runs a new line from the distribution box, and for concealed routing restores the chase and wall finish. Relocating a sconce to a new spot without damaging the wall is possible when the line is already run in the required area; in other cases, plan for patching and painting the section — in our experience this adds one to two hours to the job.
Replacement, repair and maintenance of wall sconces
A light fixture does not always require a full replacement — often it is enough to change the bulb, socket or mount. Let's look at what a technician does when a light fixture stops working or has become loose.
Bulb replacement and sconce adjustment
An Eco-Service specialist replaces the bulb and adjusts the sconce: selects the base, checks the contact in the socket and adjusts the position of the shade. On the Bishkek market there are E14, E27 and G9 bases — the technician brings common types with a spare, so a repeat visit due to an unsuitable bulb is not needed. At the same time we check the socket for play: if it wobbles, the bulb does not seat tightly, the contact heats up and the base darkens within a couple of weeks. Adjustment includes rotating the shade to the required angle and tightening the decorative nut on the hinge. If the bulb burns out more often than once every six months — the problem is not the bulb, but voltage surges; the technician checks the line and, if necessary, installs a stabilizer.
Socket replacement and mount repair
An Eco-Service specialist replaces the socket in the sconce and repairs the mount if the body wobbles or pulls away from the wall. Sockets burn out from the inside — carbon deposits appear on the threads, and a new bulb no longer holds in it; the technician removes the light fixture, resolders the contacts and installs a socket of the same standard. With the mount the picture is different: in drywall, over time the hole for the dowel gets worn out, in concrete the edge crumbles, and the sconce begins to "wobble" when touched. We remove the old fastener, fill the hole and install an anchor or a larger-diameter dowel. A loosened mount is not cosmetic: under the weight of the light fixture the dowel wears out the hole, and it will no longer be possible to reposition the sconce without filling it.
Replacing a sconce with a new one
An Eco-Service specialist replaces a sconce with a new one: dismantles the old light fixture, checks the condition of the wiring and installs the new model in the same or a new place. Dismantling takes 15-20 minutes, after which the technician tests the line and inspects the insulation — in light fixtures over 10 years old the wire is often dried out, and connecting without replacing a section creates a risk of short circuit. The new model may differ in mounting size, so the holes sometimes have to be shifted and the old ones covered with putty. When replacing a sconce, it is worth checking the wire cross-section — for light fixtures with several bulbs, old wiring of 0.75 mm² may not be enough.
2-year warranty, timelines and how to call a technician
A 2-year warranty on installation and connection, technician visits across Bishkek and a transparent work procedure — the three questions most often asked before calling an electrician. We break down the terms, timelines and payment methods.
2-year warranty on installation and connection
Eco-Service provides a 2-year warranty on sconce installation — it covers mounting, connection to the wiring and the operation of the switch or dimmer. The master electrician records the condition of the line before starting work: checks the cable cross-section, the presence of grounding and the serviceability of the circuit breaker in the panel. If the light fixture is mounted on concrete, brick or drywall, the warranty also covers the mounting assembly — the dowel, the backing block or the mounting plate. A warranty case is processed based on the work completion certificate and the receipt; if an installation defect is identified, the technician makes a repeat visit and fixes the cause at no extra charge. The warranty is valid if the device is connected to a serviceable line; if the wiring is faulty, the technician first fixes the cause, otherwise a repeated failure is not covered.
Visit timelines and work procedure
- Request: Eco-Service accepts requests through the service center in Bishkek and arranges a convenient time for the technician's visit within one working day.
- Inspection: the electrician checks the wall type, the condition of the wiring and the installation location, after which he states the final scope of work.
- Installation: standard installation takes 30-60 minutes — marking, drilling, securing the body and connecting to the line.
- Check: the technician turns on the light fixture, tests the switch or dimmer and shows the client the result before signing the certificate.
- New line: if the sconce is installed from the panel, the work takes longer — the technician will warn about this during the inspection so as not to postpone the visit to another day.
Payment and customer reviews
Eco-Service accepts payment in cash and via MBANK or O!Деньги; customer reviews are collected on 2GIS and Google Maps. The cost of installation depends on the wall material and the complexity of the connection — the technician states the final price after the inspection, and working with drywall differs from concrete or tile. Clients often phrase their request briefly, and the technician immediately understands what scope of work is meant. Visits across Bishkek, marking and small fasteners are included in the work, but with concealed cable routing or installation of a backing block the scope increases. The rating on 2GIS is formed from the assessments of Bishkek residents — before calling a technician, it is worth clarifying whether the visit and small fasteners are included in the work, as this avoids extra charges on site.
Conclusion
Before the technician's final visit, it is useful to put everything into a short list: the fasteners depend on the wall type, the light control method depends on the zone, and reading convenience depends on the height. Below is the main thing to keep in mind.
Key takeaways
- The surface type determines the fasteners: concrete and brick require a dowel nail, drywall — a butterfly anchor or a backing block, a stretch ceiling — only a backing block installed before the ceiling membrane is stretched.
- Connection to existing wiring is done via a terminal block with observance of phase, neutral and grounding — twisted connections are unacceptable and over time heat up under load.
- Light control is chosen for the zone: a switch is convenient for the bedroom, a dimmer — for reading, a motion sensor — for the hallway and entryway.
- The height of the sconce above the bed — 60-75 cm from the headboard, and in the bathroom the body must have a moisture protection class of IP44 or higher.
- The warranty on installation is 2 years; when replacing or relocating a sconce, it is worth checking the condition of the line and the mounting.