










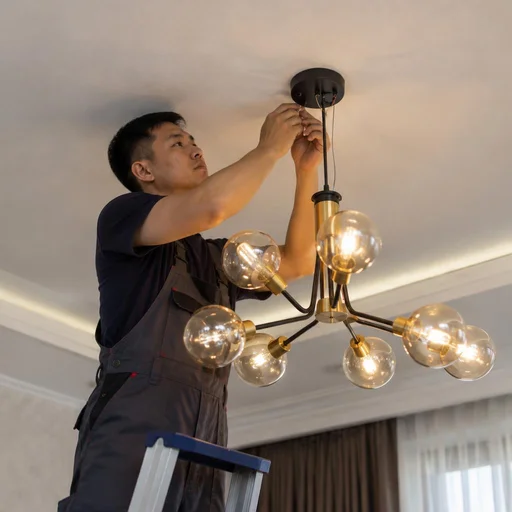
Which chandelier can be installed: types of models and ceilings in Bishkek
In Bishkek you find chandeliers ranging from compact single-lamp ones to cascading ones weighing 15 kg, and ceilings — concrete, drywall and stretch. The model and the base determine which fasteners are needed and how many stages the work will go through.
Chandeliers with a remote, dimmer, fan: how installation differs
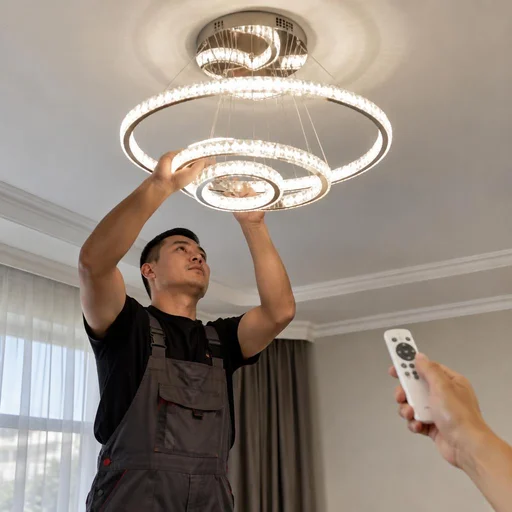
- Chandelier with a remote control: requires connecting the receiver to phase and neutral, checking the coding and testing all light groups before closing the shade.
- Chandelier with a dimmer: works only with a compatible power scheme, and with a single-key switch the brightness adjustment does not start.
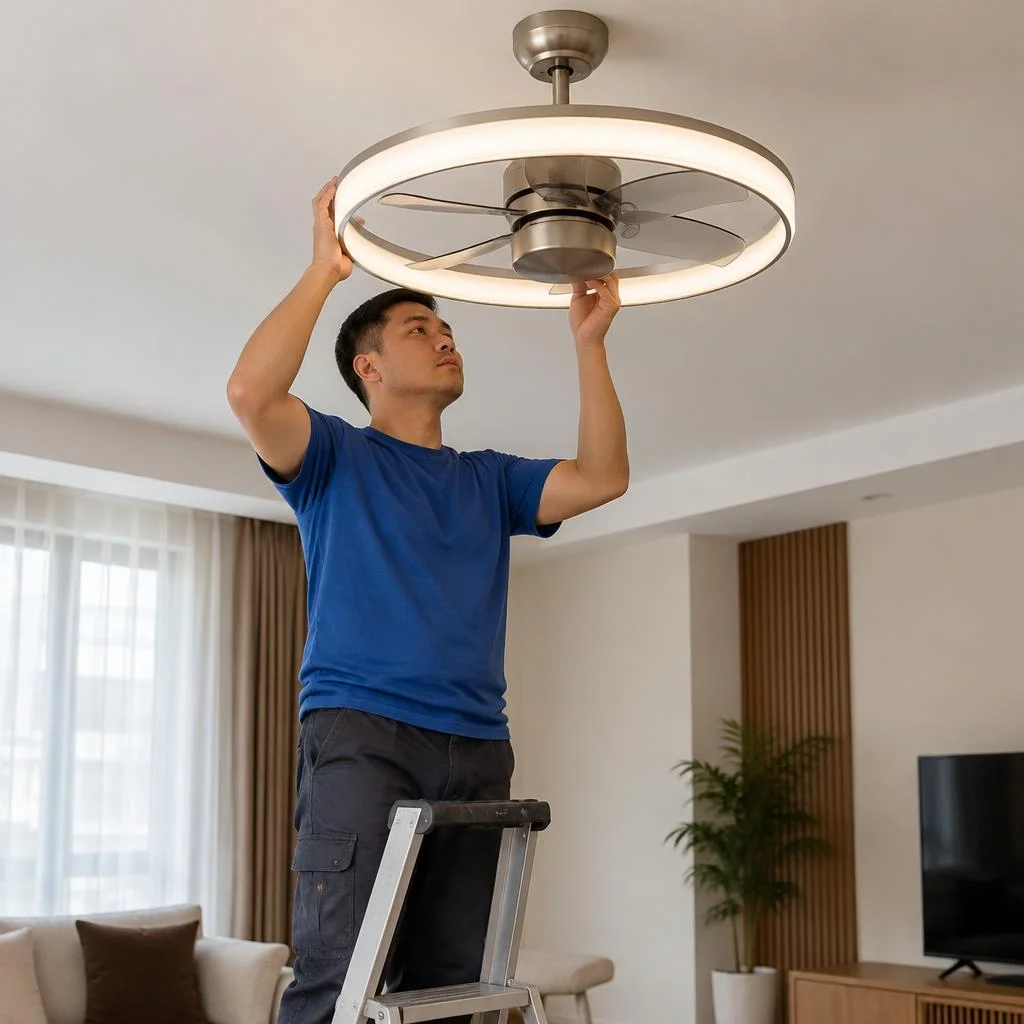
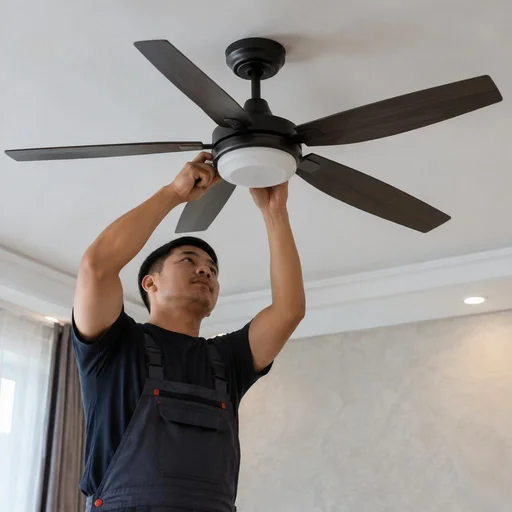
- Chandelier with a fan: needs checking the balance of the blades and reinforced fastening due to vibration when the motor runs.
- Two-key switch: separates the light and the fan onto different keys, which simplifies control without a remote.
- Wiring compatibility: before installation, through Eco-Service we check the grounding and the condition of the twists in the junction box.
Multi-arm and cascading chandeliers: assembly and reinforced fastening
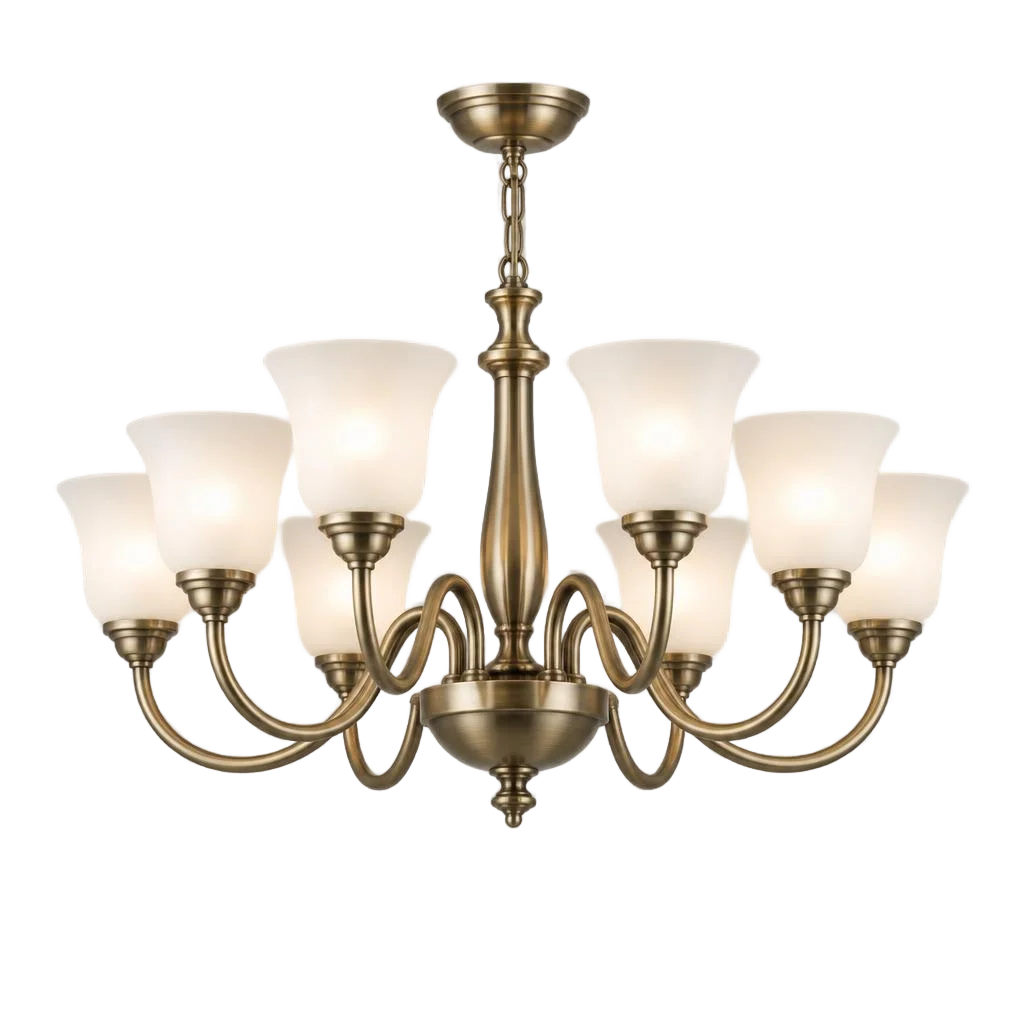
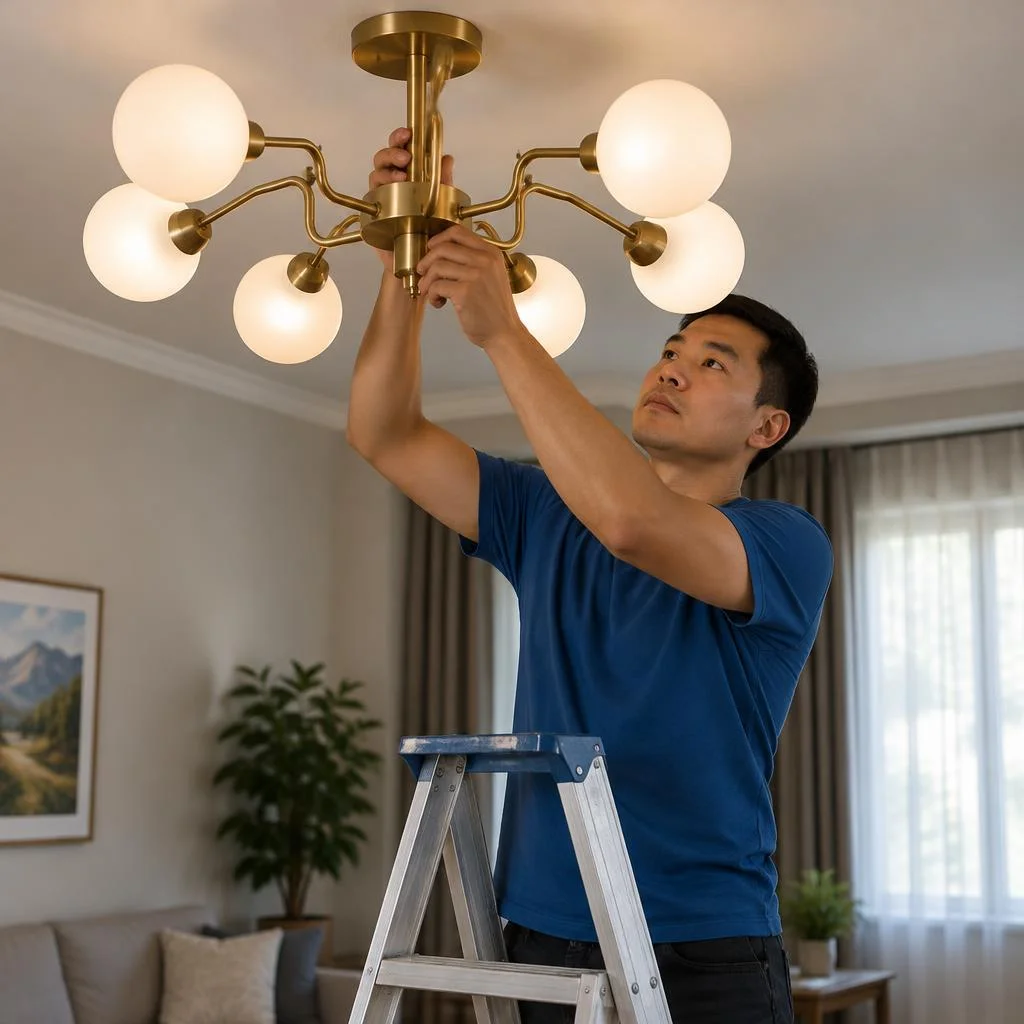
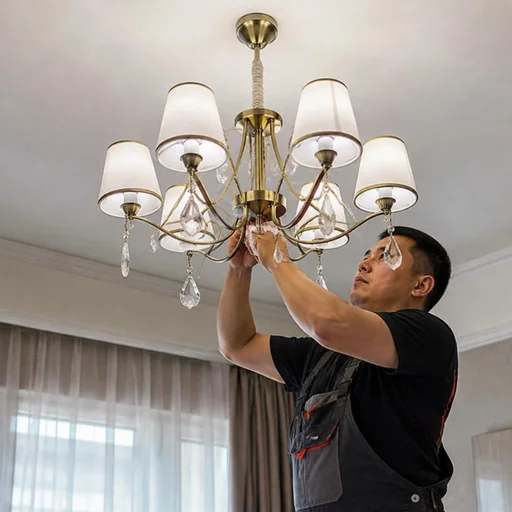
Multi-arm and cascading models weigh from 5 to 15 kg — we assemble them before installation and use reinforced anchor fastening designed for the weight of the item. Arm models with 6-12 shades arrive disassembled: first on the floor we assemble the frame, run the wires along the arms, secure the threaded connections, then lift the finished structure to the ceiling. Cascading models with two or three tiers require preliminary marking of the height of each level — otherwise the lower tier will overlap the upper one and the light will be distributed unevenly. For drywall ceilings under such models we install a backing with the load distributed onto the profile, not onto the sheet. You cannot assemble a multi-arm chandelier in mid-air — the arms bend and the glass breaks; assembly on the floor takes 15-20 minutes and is included in the installation. In search, clients often write briefly — chandelier installation — and the technician immediately understands that it is a model with several arms. The technician connects a chandelier of this class only after the frame is assembled and tested for strength. If you need to install a chandelier with two or more tiers, we first check the load-bearing capacity of the floor slab and only then drill the holes for the anchors.
Concrete, drywall, stretch: table of installation methods
| Ceiling type | Fastening method | What we prepare | Weight limit |
|---|---|---|---|
| Concrete | anchor / dowel directly | drilling holes | no limits |
| Drywall | through a backing | installing the backing | up to 3 kg without a backing |
| Stretch | through a platform and thermal ring | backing before stretching | depending on the backing type |
Chandelier installation in Bishkek: how the installation goes from request to inspection
We break down the process step by step: what the technician does at the site, in what order the work proceeds, and how the result is checked. The procedure is the same for Khrushchyovka buildings in Alamudin-1 and new builds on Yuzhnye Magistrali.
Removing the old chandelier and preparing the connection point
Before installing the new chandelier, the Eco-Service technician removes the old one, de-energizes the line at the panel, and checks the condition of the wiring at the connection point. The work begins with switching off the breaker and verifying the absence of voltage with a voltage tester — this is the first item on the site visit checklist. The old fixture is removed together with its fasteners, and the mounting location is inspected for cracks in the concrete and signs of overheating. In panel buildings of series 105 on Ibraimov and Toktogul streets, aluminum wiring is still found to this day, and it is there that aluminum-to-copper twists heat up the most. If the wires in the ceiling are dried out or twisted without a terminal block, they need to be replaced before installation, otherwise the new fixture will start flickering within 2-3 weeks. At such points we install a brass terminal block — it maintains contact when heated up to 90 degrees. Clients often state the task briefly: chandelier installation Bishkek — and the technician already understands that a full cycle from removal to inspection is needed.
Connecting the chandelier to the wiring and a two-gang switch
- Wire marking: the incoming phase, two switched wires for the gangs, and the common neutral are routed to separate terminals before power is supplied.
- Testing with a voltage tester: the technician tests each wire and marks the one going to the first and second gang so the groups are not mixed up during assembly.
- Terminal block instead of twisting: the connection is secured with a screw or spring clamp — a twist on a fixture with two lamp groups heats up and oxidizes.
- Dimmer compatibility: for dimmable models the lamp type is checked, otherwise humming and flickering appear at low brightness.
- Test run: power is supplied after assembly, both groups are checked, along with terminal heating under load for 10-15 minutes.
Drilling, anchor backing, and final chandelier inspection
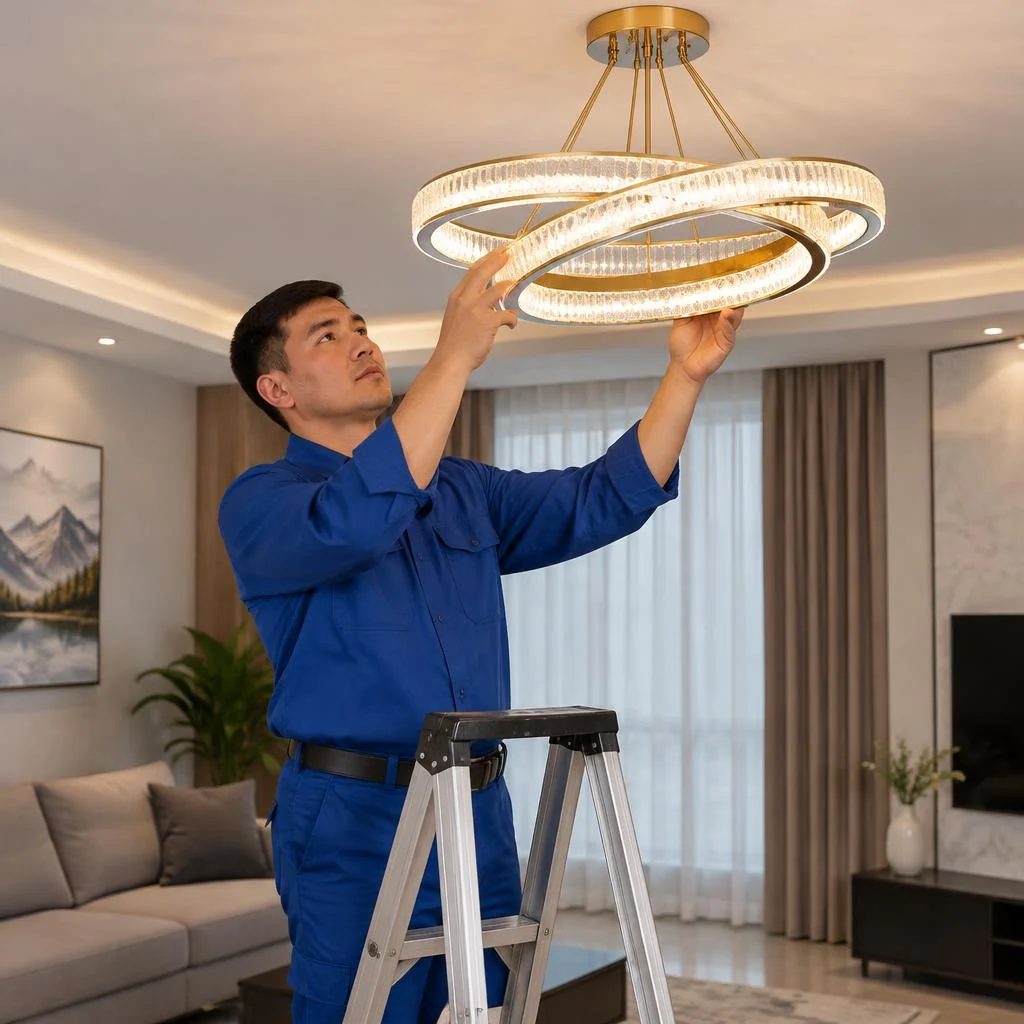
We drill the holes with a hammer drill, install the anchor backing for the fixture, and after installation we check the operation of each lamp and the heating of the terminal connections. Drilling is done to the dowel size for the specific weight of the fixture: for a model up to 5 kg, two points are enough; for a multi-arm chandelier of 15-20 kg, four points and a metal anchor backing are needed to distribute the load onto the slab. The final inspection takes 10-15 minutes: the technician runs both lamp groups, checks the heating of the terminal blocks by hand and with a thermal imager under load, and inspects the mounting for play. The anchor backing for a heavy model is installed before the stretch ceiling — if the membrane is already stretched, you will either have to cut it or use a lightweight option. In everyday speech, customers put it more simply: hang a chandelier Bishkek — but behind that phrase is the same work sequence described above, from drilling to the test run.
Assembling and installing a chandelier: what the technician's work includes
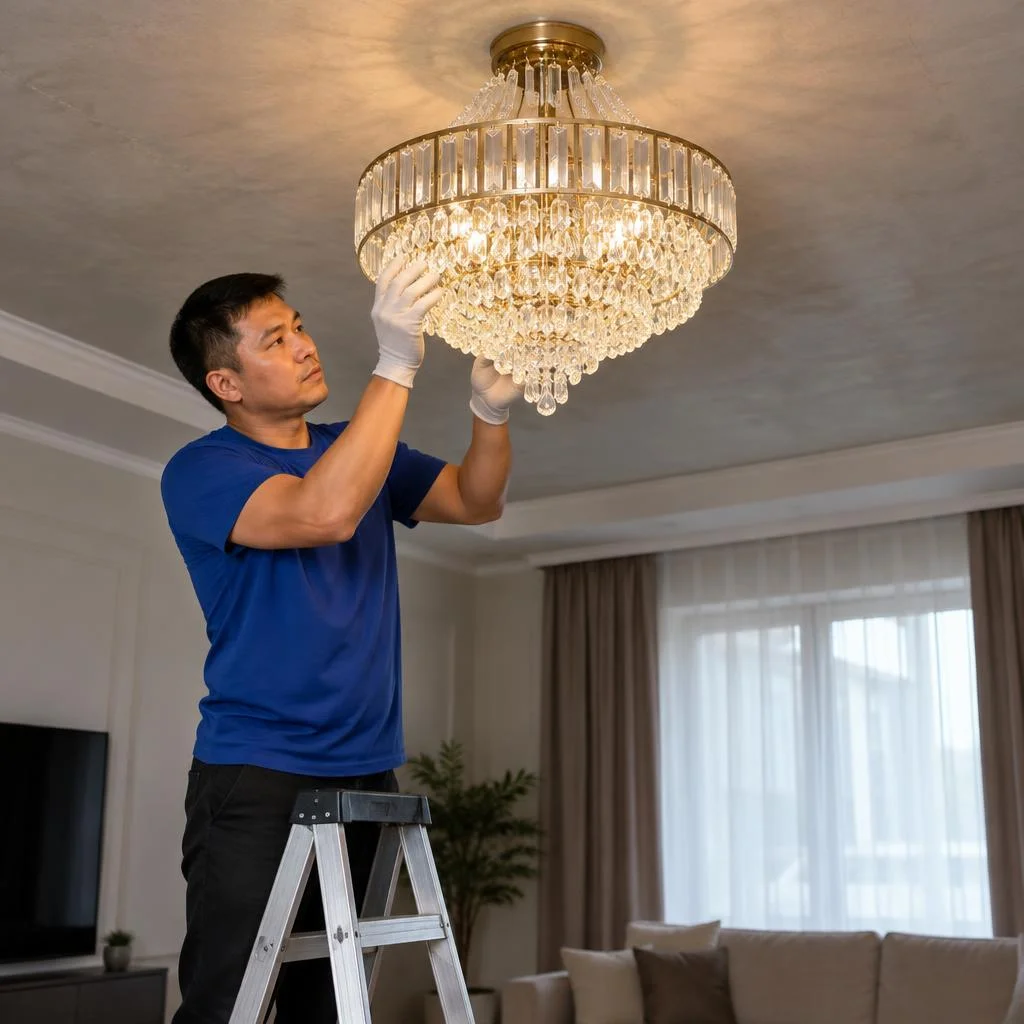
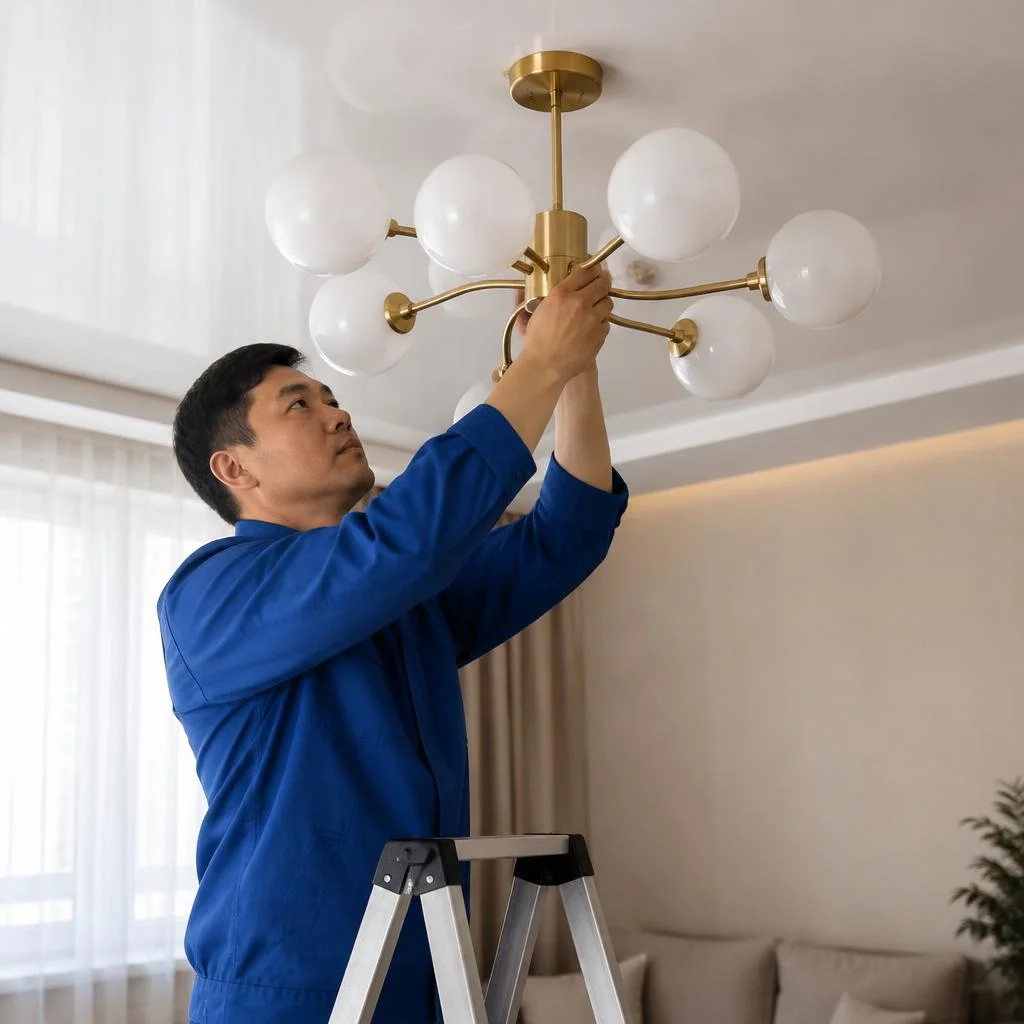
The full cycle includes assembling the arms and shades, replacing consumables, mounting on the ceiling and a final circuit check. Multi-arm models require a separate approach: they are assembled before being lifted, otherwise the glass and metal suffer when working at height.
Assembling the chandelier before installation: why it's necessary
Assembling the chandelier before installation at Eco-Service takes 15-25 minutes: the technician connects the arms, installs the shades and checks the circuit before lifting it to the ceiling. On multi-arm models with six or more arms, the connection is made using threaded studs with a lock nut securing them — without it, the structure loosens from vibration. Glass shades are hung last, once the frame is already secured. Clients often search for "chandelier assembly and installation price" — and the technician immediately understands that the person needs the full cycle with a quote after inspecting the model. If a multi-arm chandelier is assembled on the ceiling, the glass breaks three times more often, and the arms bend under their own weight. The technician brings M4-M6 studs and spare lock nuts: on models from Bishkek markets, the fasteners often come without them.
Replacing the socket, wire and repairing the chandelier circuit
- Socket replacement: we remove the old socket, check the contact plates and install a new one for the same lamp type — E14, E27 or G9.
- Replacing the wire inside the chandelier: we replace dried-out insulation with heat-resistant wire rated for the heat from incandescent and halogen lamps.
- Repairing the chandelier circuit: we test each section with a multimeter, find the break or short circuit and restore the connection using terminal blocks.
- Checking the switch: if the circuit is intact but there's no light — we check the switch contacts, they oxidize faster than the chandelier itself.
- Load test: after assembly, we turn on all the arms for 10-15 minutes and measure the heat at the soldering points.
Replacing glass shades and removing recessed lights
We replace glass shades with new ones and remove recessed lights if you're switching from recessed lighting to a central chandelier. We select shades by mounting diameter and fastening type — threaded, snap-on or three-screw; for models from Bishkek markets, universal ones with a diameter of 80-120 mm often fit. Removing a recessed light takes 5-10 minutes per point — we remove the spring clips, disconnect the terminals and insulate the wire ends. Clients often search for "chandelier hanging price" — and the technician immediately understands that the person needs installation with a quote after inspecting the model. When removing a recessed light, a hole remains in the ceiling — it is patched before installing the chandelier, otherwise a hole will be visible next to the new model. On drywall, the patching is done before puttying; on a stretch ceiling, through a thermal ring that is installed in advance.
Lustre Installation Specialist in Bishkek: How to Choose and Not Overpay
A private specialist from Lalafo and a specialist from a service center are different stories: the former has a lower rate, but there is no contract and no liability for the wiring. Let's look at what to pay attention to when choosing a contractor.
Private Specialist or Service Center: How They Differ
- Contract and liability: the electrician from Eco-Service works under a contract that specifies the scope of work and a 2-year warranty — a private individual on Lalafo more often takes cash without documents.
- Source of the specialist: the service center sends its own electrician, not a contractor off the street; with a private individual, you don't know who will show up in response to the ad.
- What the work includes: the service assembles the lustre, mounts the fixture, connects it and checks the circuit, while a private individual often limits himself to "hang it and turn it on."
- Wiring risk: if a private individual damages the wiring in the wall, the chasing and restoration falls on you; at a service center, liability is fixed by the contract.
- Cost: a private individual's rate is lower, but if the wall or ceiling is damaged, the difference is outweighed by repairs at your own expense.
2-Year Warranty and What It Covers
Eco-Service provides a 2-year warranty on all lustre installation work: if flickering appears after installation, a contact comes loose, or the switch stops working — the specialist will come and fix it free of charge. The contract specifies a concrete list: connection to the wiring, mounting of the fixture, assembly of the body, backing for drywall and stretch ceiling. The request is accepted by the service center, and a repeat visit is made at no extra charge if the cause is the specialist's work and not the lustre itself. The warranty does not cover damage to the light fixture: a broken shade, a burnt socket due to the manufacturer's fault, or a broken wire inside the body — that is a separate repair. Upon acceptance, keep the act and the receipt — with them, a warranty case is processed faster than by verbal agreement.
How to Submit a Request: 2GIS, Telegram, Visits by District
- Via 2GIS: find the Eco-Service center in the catalog, look at photos of work and reviews, and submit a request directly from the listing.
- Via Telegram: send a photo of the lustre and ceiling — the dispatcher will give a preliminary scope of work and pick a time.
- By phone at the center: if you need the lustre hung urgently, call directly — there are usually open slots for a visit the next day.
- Service area: the specialist works in all districts of Bishkek — Alamedin, Dzhal, Vostok, Asanbay, as well as in new developments south of Jibek-Jolu Avenue.
- Transport: if the lustre needs to be brought from the store, it's convenient to place the order via Yandex Go — the specialist will meet the courier at the site.
How the Cost Is Calculated and Why the Price Differs
The final amount depends on the type of ceiling, the weight of the lustre and the scope of connection: on concrete, mounting is simpler; on drywall, a backing is needed; on a stretch ceiling, a thermal ring and reinforcement. The query "lustre installation price Bishkek" most often leads to a wide spread in ads, because some specialists count only the hanging, while others count the full cycle with connection and assembly. The query "hang a lustre price Bishkek" in ads on Lalafo usually implies a minimal set: take down the old one, screw on the new one, check it. The service "handyman for an hour to hang a lustre" covers only the physical hanging without work on the wiring and switch. If you need an electrician to hang a lustre with connection to a two-gang switch, that is a separate line item in the estimate. A specialist to hang a lustre at the service comes with tools and fasteners, so drilling holes and replacing the socket are done in a single visit. To avoid overpaying, clarify in advance whether the estimate includes removal of the old lustre and running the wire.
How to Choose a Lustre Installation Specialist
A chandelier installation specialist differs from a general "handyman" in that they work with electrical wiring, not just fasteners. Clients searching often type in "chandelier hanging Bishkek price" — and land on listings where the price doesn't include running the wire, replacing the socket, and connecting to a two-gang switch: these items are calculated separately. Ask the contractor three things: whether they are certified for electrical work, whether they will bring their own fasteners suited to the weight of the model, and whether they will issue a completion certificate after installation. In our practice, most rework happens after a DIY hanging on drywall without a backing plate — the ceiling can't support the weight of a multi-arm chandelier, and the point has to be relocated. On a stretch ceiling without a thermal ring, the wire chafes against the film within a few months. Check the installer's reviews on 2GIS and Google Maps: service centers show real photos of the jobs and visit dates there, while for private individuals the history is often deleted.
Installing a chandelier on a stretch ceiling: nuances and preparation
A stretch ceiling is the most demanding base for a chandelier: the fabric cannot be drilled twice, and the fasteners must be anchored only to the structural slab. Let's break down what gets installed before stretching and how to calculate the allowable weight of the model.
Backing plate and thermal ring: what goes in before stretching
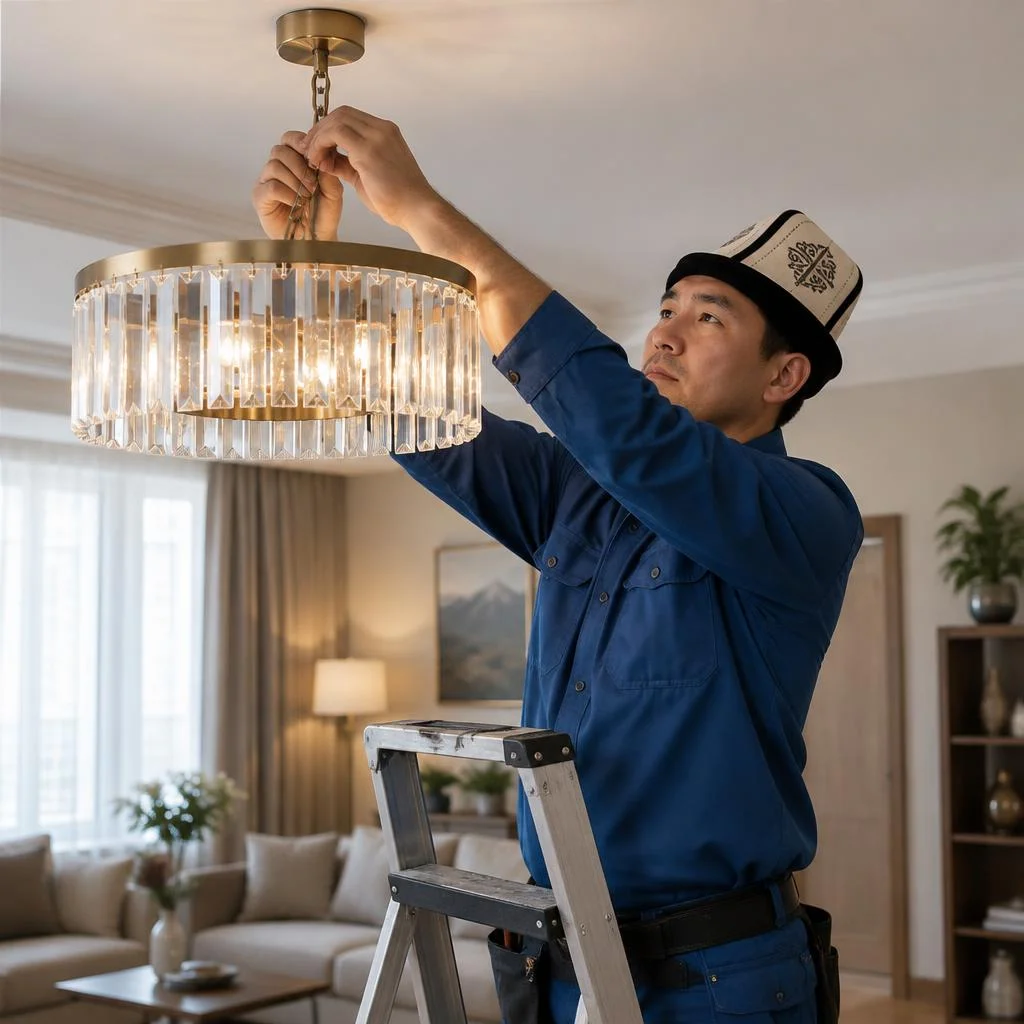
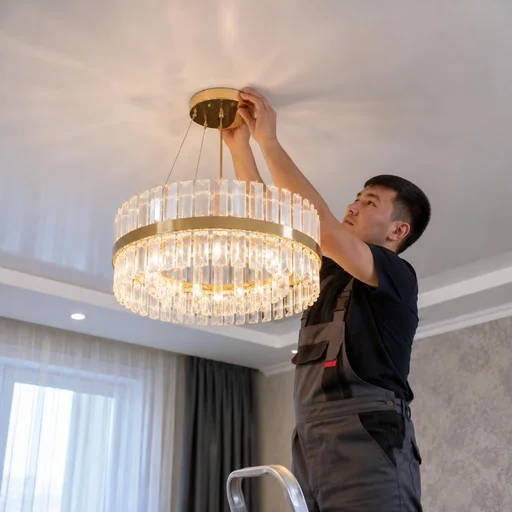
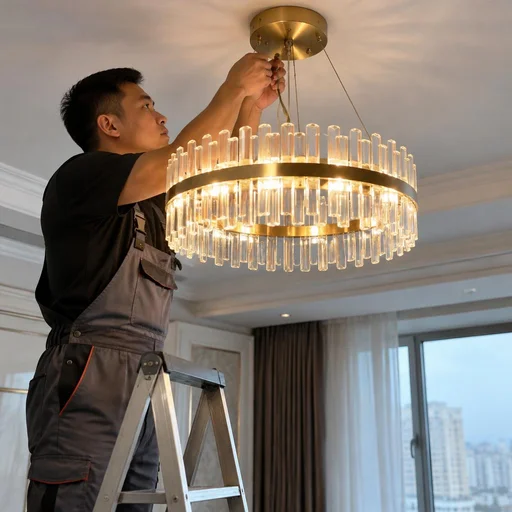
For a stretch ceiling, Eco-Service installs a backing platform and thermal ring before the fabric is stretched — otherwise you'll have to cut the finished ceiling and install a repair insert. The backing plate is anchored to the concrete slab, set flush with the future fabric, and a thermal ring made of heat-resistant plastic is mounted around the wire exit point. Connecting the fixture in Bishkek on a stretch ceiling almost always goes through such a platform: it bears the weight and takes the load off the fabric. The thermal ring protects the fabric from lamp heat — without it, the stretch ceiling yellows around the light fixture within 6-12 months. Clients often type the query "chandelier hanging" — and land on this page, even though the topic is specifically preparing the base before stretching. If the fabric is already stretched and there's no backing plate, order installation before stretching the next ceiling: a repair insert holds worse than a solid fabric and is visible in the light.
Running the wire for a chandelier and weight limits
On a stretch ceiling without a reinforced backing plate, we hang models up to 3 kg; for heavy ones we run the wire and install a platform rated for 15 kg and more. Prepare the point in advance: chase a channel for VVGng 3×1.5 cable, feed it into the junction box, and bring the end out exactly at the center of the future hole — the hanging starts with this 15-20 cm slack. On a drywall box under the stretch ceiling the scheme is the same, except the backing plate is fastened through the sheet to the profile or to the slab. The search "chandelier installation price" is most often typed before ordering the ceiling — and that's the right order: first calculate the weight of the fixture, then order the fabric. If the stretch ceiling is already done without a backing plate — don't hang a heavy fixture on a hook in the slab: the fabric will sag and ripple. For models from 5 kg, installation via a backing plate or a mounting platform with expansion dowels will work — calculate the weight before ordering the ceiling.
Complex cases: ceiling fans with lights, cascading and multi-arm models
Ceiling fans with lights, cascading and multi-arm models require a separate approach: they are heavier than standard ones, create vibration, or are assembled from dozens of elements. Let's break down how the installation of such structures differs from an ordinary chandelier.
Ceiling fan with light: vibration and reinforced fastening
A ceiling fan with light creates vibration during operation — Eco-Service mounts it on a reinforced anchor and checks blade balancing after installation. The motor's rotation is transmitted to the suspension, so a standard 6×40 mm dowel is not suitable here: you need a metal wedge anchor of at least 8 mm, driven into concrete or into a backing. Assembling the chandelier before installation takes 15-20 minutes — the blades are attached to the motor separately, otherwise they bend against the ceiling during lifting. After installation, the technician starts the fan at all speeds and checks for runout: if the housing "wobbles" by 2-3 mm, the balancing is off. Clients often search for "chandelier replacement price" — and land on this page, although for models with a motor, what matters more is not the rate but the quality of the fastening. If the fastening is weak, within 2-3 months a hum will appear and the chandelier will begin to shift along the ceiling — it will have to be redone with dismantling.
Cascading chandelier: installation by tiers
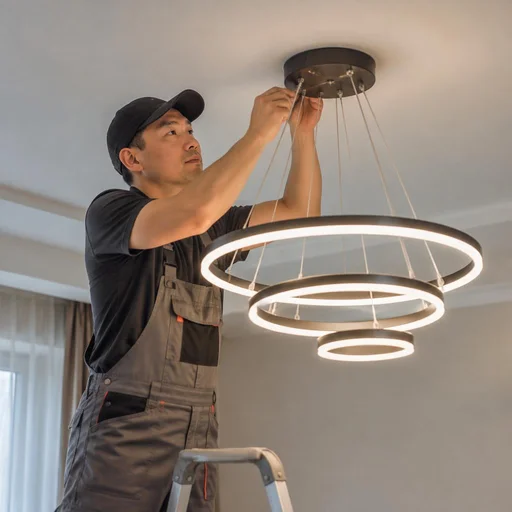
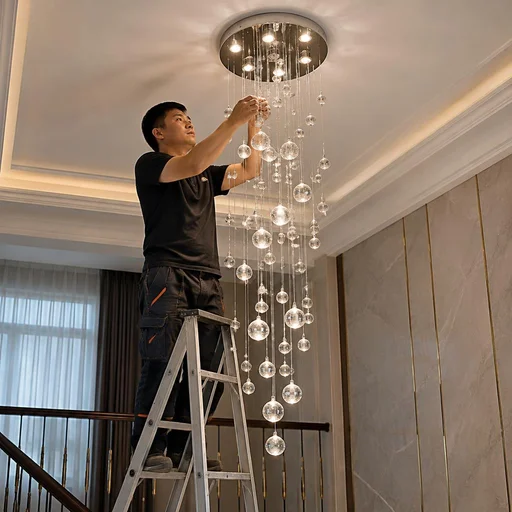
A cascading chandelier is assembled by tiers: first the upper one, then the lower one — Eco-Service installs it in 2 stages so as not to damage the suspensions during lifting. A structure of 3-5 levels weighs 8-15 kg, and each tier is connected by chains or cables 30-50 cm long. Assembling the chandelier before installation takes place on the floor: the technician secures the upper frame, levels the suspensions by the spirit level, and only then lifts the section to the ceiling. Cascading models cannot be lifted in assembled form — the suspensions get tangled and torn, and untangling them at height takes twice as long. On drywall, such chandeliers are mounted only through a backing secured to the load-bearing profile, not to the sheet. In their requests, clients often write "chandelier assembly price," although with a cascade what is paid for is not assembly but staged installation with alignment of each tier.
Multi-arm chandelier: assembly and weight distribution
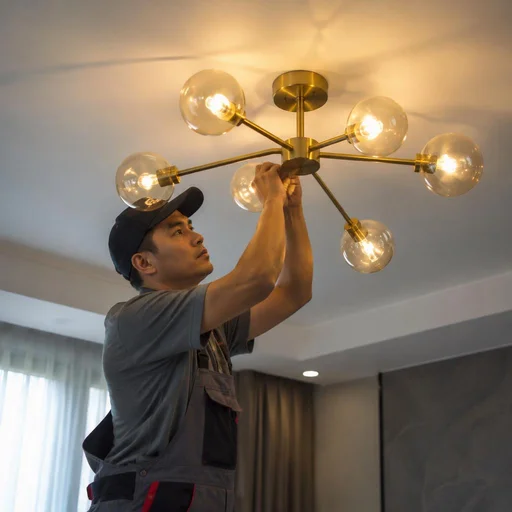
A multi-arm chandelier with 8-12 arms is assembled before lifting: sockets, shades and decorative elements are attached to the frame on the floor. The weight of such a model reaches 10-14 kg, so the fastening is selected for the ceiling — for concrete, 10 mm anchors are used; for drywall, a backing with two support points. If you assemble the chandelier already on the ceiling, each arm will have to be held at height, and glass shades are easy to drop. In my opinion, the time savings here are deceptive: assembly on the floor takes 25-30 minutes, while at height it takes twice as long and with the risk of breakage. Before lifting, check that all sockets are tightened and the wires are not pinched by the frame.
Conclusion
Chandelier installation comes down to three decisions: what to fasten with, how to connect, and who is responsible for the result. Below is a short summary that helps you avoid redoing the work twice.
Main takeaways
- The ceiling material dictates the fastening: concrete holds an anchor bolt, drywall requires a backing or a butterfly dowel, and a stretch ceiling requires platforms for a thermal ring.
- Heavy models are assembled on the floor: multi-arm and cascading chandeliers are hung on a reinforced anchor or backing, otherwise the fastening tears out of the ceiling under its own weight.
- Connection to a two-gang switch is done through terminal blocks with phase and neutral testing — a twist without a ferrule heats up and melts the insulation.
- A stretch ceiling is prepared in advance: the backing and thermal ring are installed before the membrane is stretched; afterward — only through a technological opening.
- A contract and a 2-year warranty on the work protect you from repeat repairs at your own expense if the fastening or connection fails.