









What sockets Eco-Service installs: concealed, surface-mounted, high-power and grounded
Socket types differ in installation method and line purpose. The scope of work, wall material and line protection depend on the choice — let's go through each option with specific scenarios.
Flush-mounted socket and surface-wiring socket — what's the difference
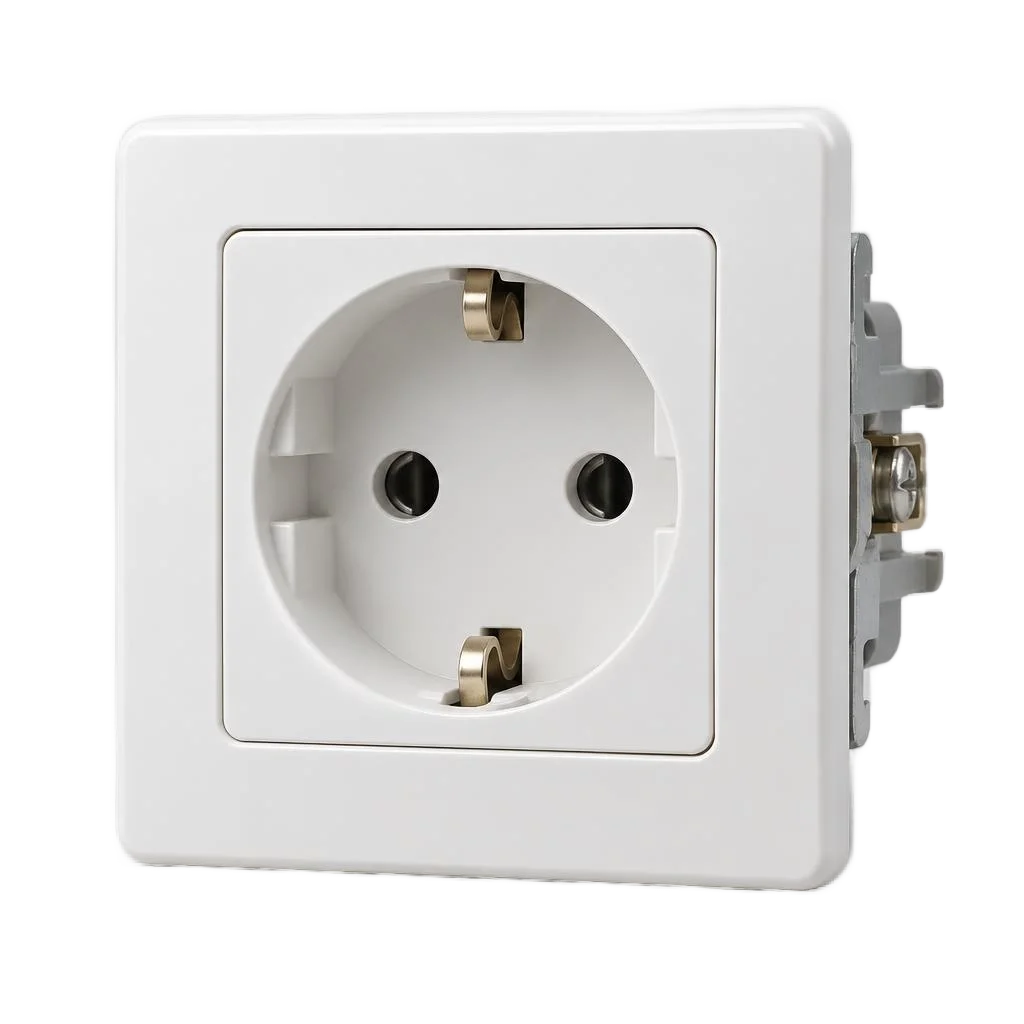
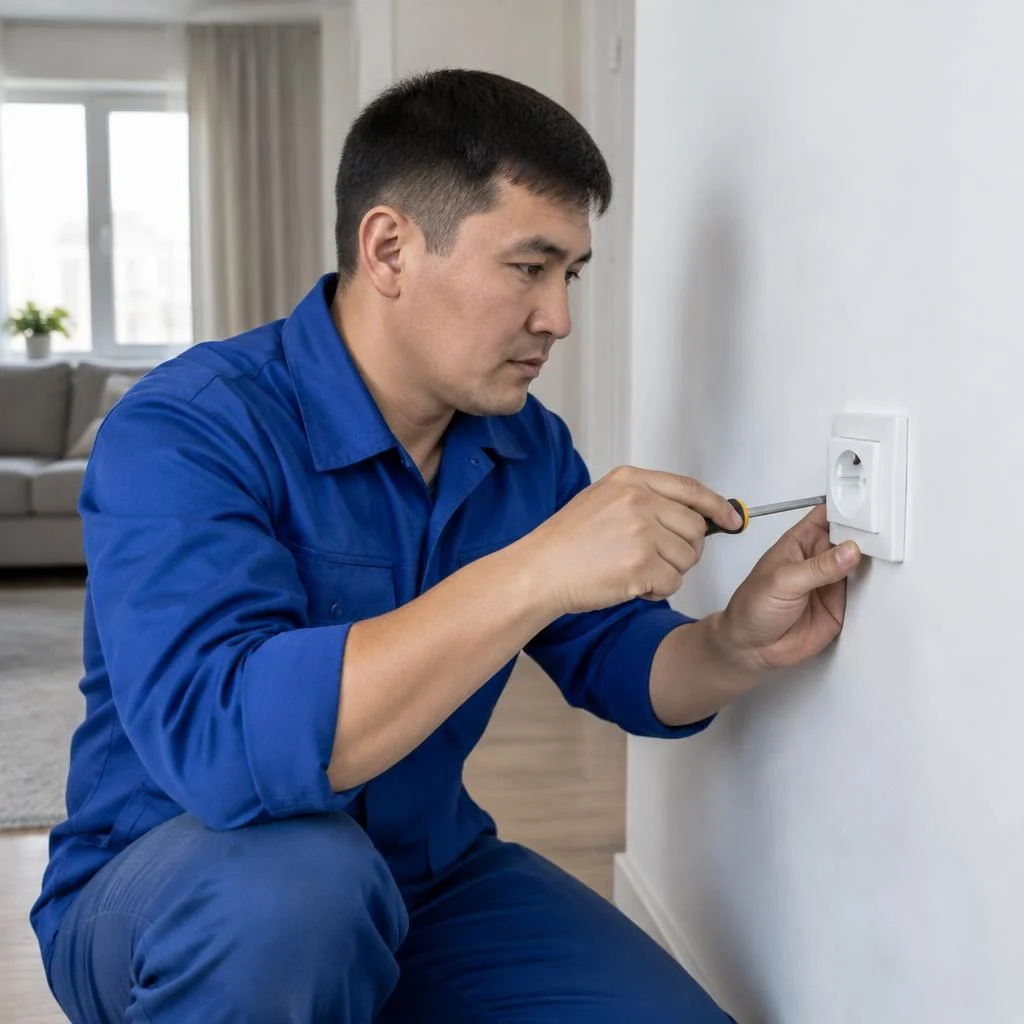
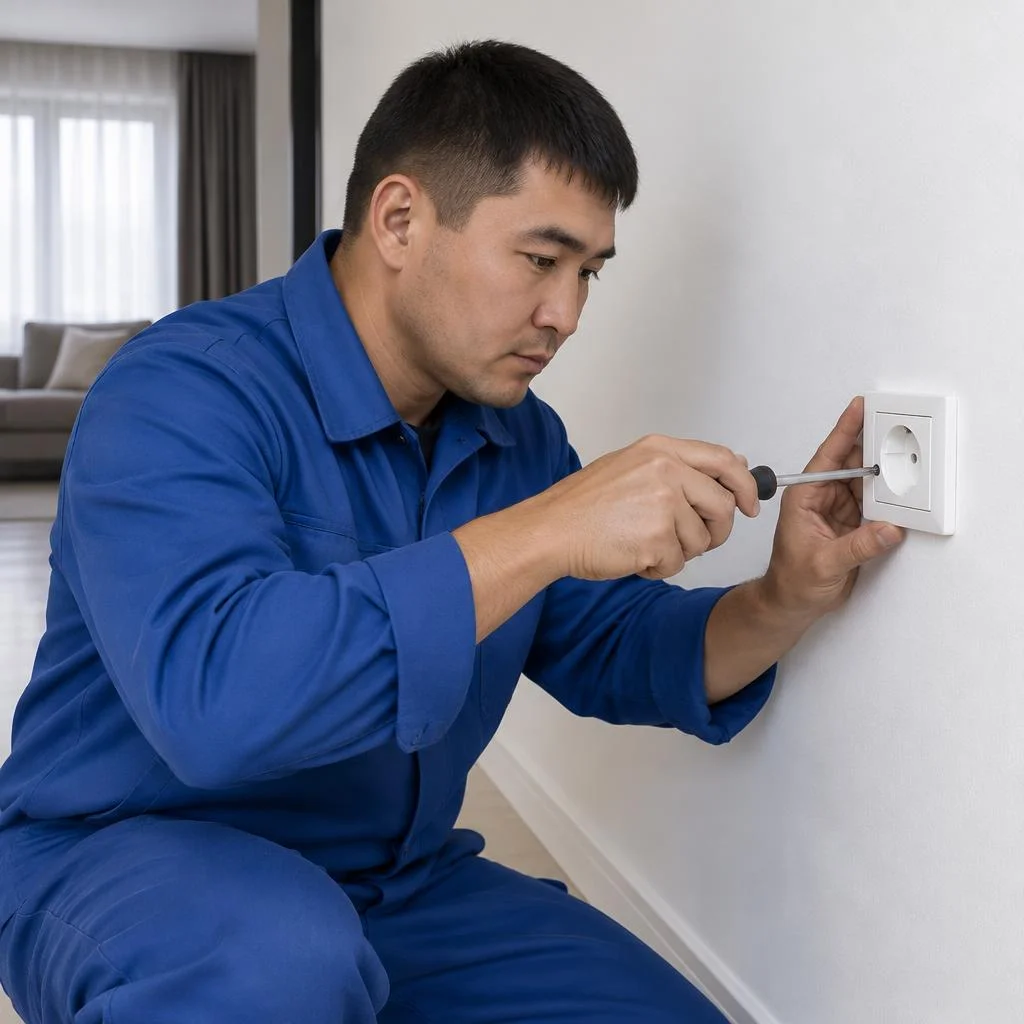
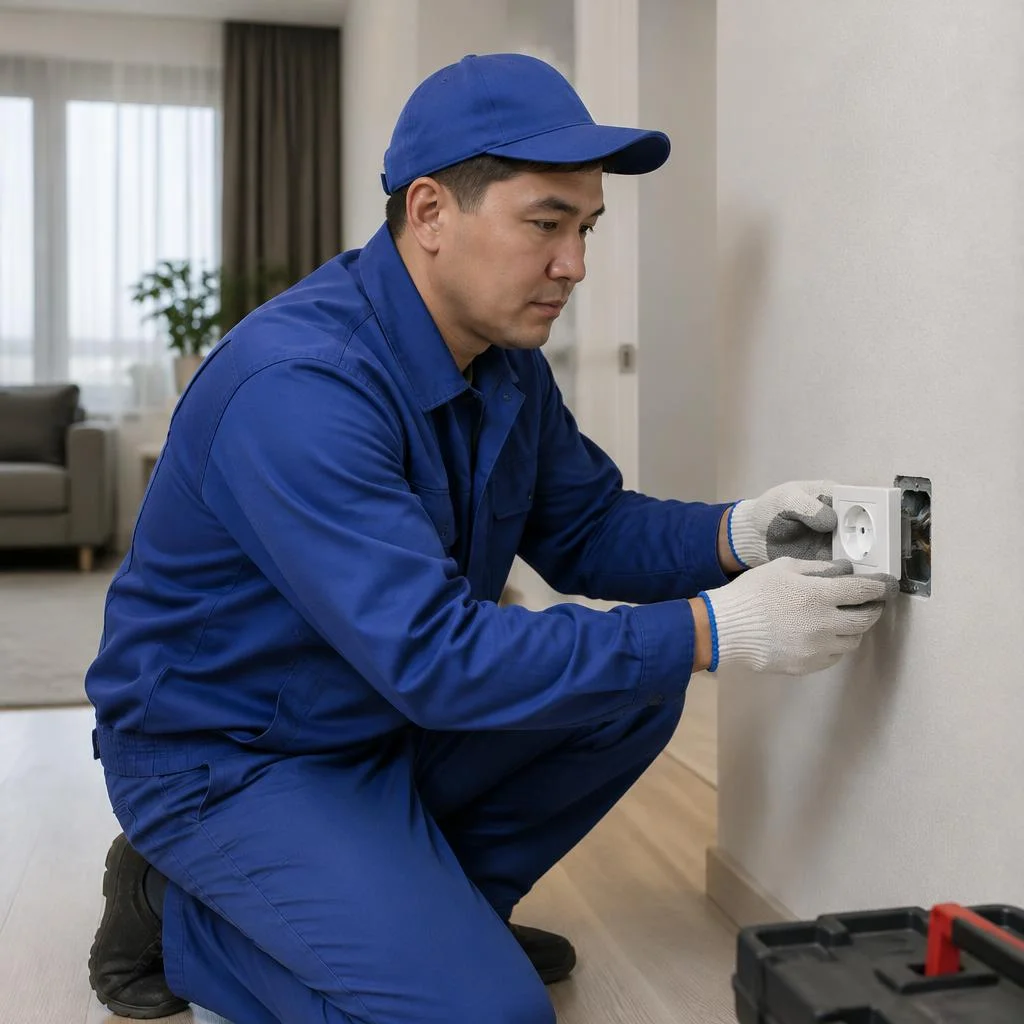
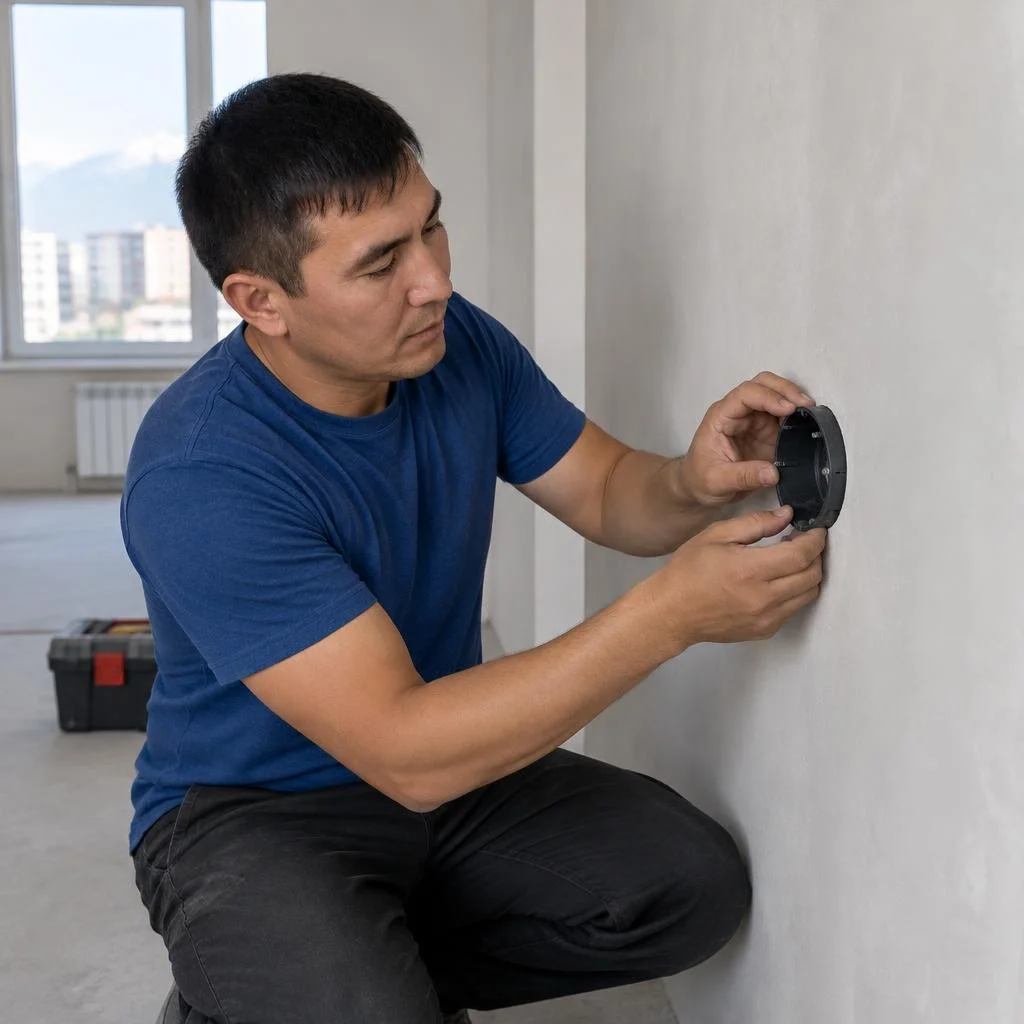
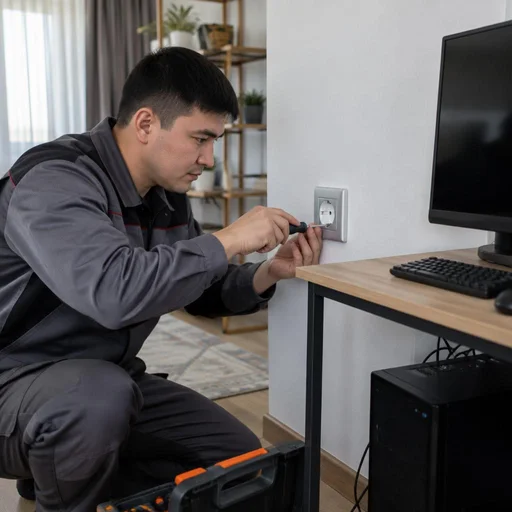
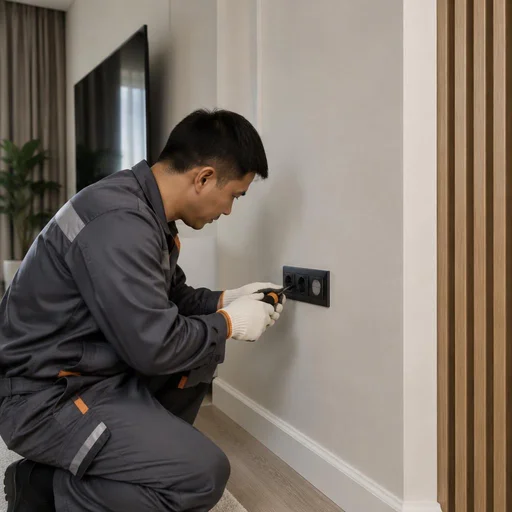
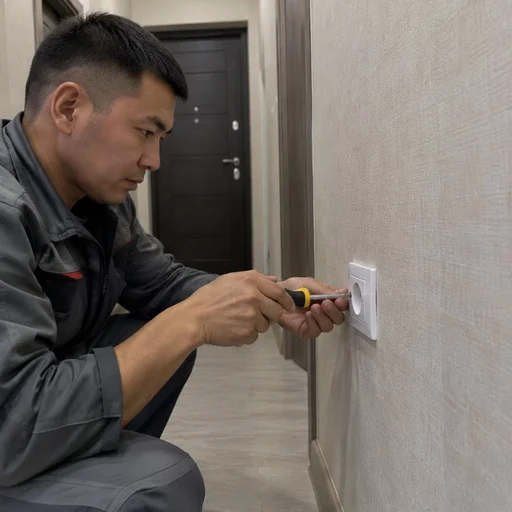
Eco-Service installs a flush-mounted socket into a back box recessed into the wall, while a surface-mounted one is mounted on top of the base. The flush option involves chasing a channel for the cable, seating a 68 mm diameter back box on alabaster or gypsum adhesive, and subsequently filling the socket cavity; the surface-mounted one is fixed directly to concrete, brick or wood with dowels and does not break into the finish. Surface mounting in an already renovated apartment takes 20-30 minutes versus 1.5-2 hours for a concealed one. An external socket in a utility room, garage or country house runs along open wiring in a cable duct — this is faster and cheaper in labor costs than restoring plaster. Clients often phrase the request as surface socket installation — and the technician immediately understands that this means the surface-mounted option without chasing. Requests also include external socket installation — this is usually how people refer to a point on a veranda or in an outbuilding where there is no finish to break into. Concealed installation requires wall repair after the work, surface mounting does not, so in already renovated apartments a surface-mounted socket is often more cost-effective in labor costs.
Grounded socket: why the third wire is needed and when you can't do without it
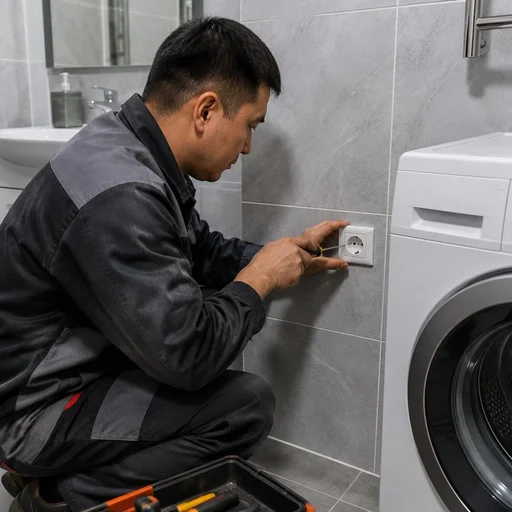
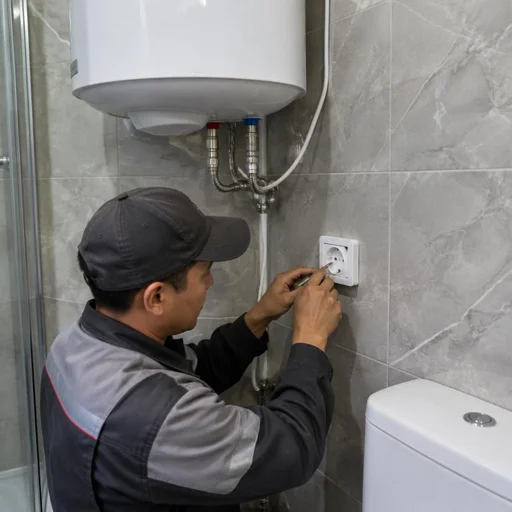
Eco-Service connects grounding with a separate third wire to the ground loop — this is a mandatory condition for a washing machine, water heater and any appliance with a metal body. The grounding conductor runs from the PE bus in the distribution board to the third contact of the socket; the cross-section is selected to match the phase wire — usually 2.5 mm² on a 16 A line. Installing a grounded socket in a new building in Bishkek with a standard ground loop takes 30-40 minutes, while connecting with grounding in a panel building without a PE bus requires a separate solution. Formally, you can install a grounded socket without a ground loop, but the appliance body will remain unprotected in the event of insulation breakdown. In old panel buildings the ground loop is often absent, and then the technician proposes a local solution — an RCD on the line, which protects against leakage even without a common ground loop. When a client asks to install a grounded socket, the first thing we do is check for a PE bus in the distribution board.
High-power sockets for a stove, water heater, washing machine and air conditioner
We connect high-power sockets on a dedicated line with the cable cross-section calculated for the appliance's power — a stove, water heater, washing machine and air conditioner require different current margins. An electric stove at 7-8 kW draws a 6 mm² cable and a 32 A breaker, a 2 kW water heater — 2.5 mm² and 16 A, a 2.2 kW washing machine — the same 2.5 mm², a 3.5 kW air conditioner — 4 mm² and 20 A. Requests often say high-power socket installation price — and that's understandable: the total depends on the cable cross-section, route length and wall material, so the estimate is calculated after an inspection. People also separately ask about three-phase socket installation price — this option is more expensive than single-phase because it requires a five-core cable and a three-pole breaker. A three-phase socket is needed only for equipment with three-phase power; for household appliances in an apartment, a single-phase line with a dedicated breaker is usually sufficient.
Double sockets, sockets with USB and network points
- Double socket: two receptacles in one housing, installed on a single 68 mm diameter back box and saves space above the countertop.
- Socket with USB: a built-in 2.4 A converter charges a phone and tablet without an adapter, but does not replace a high-power line for appliances.
- Network socket: installing a grounded socket in one unit with an RJ-45 gives internet and power at the same height.
- Network socket installation: laying category 5e or 6 twisted pair in a chase next to the power cable, but with a gap of at least 50 mm from the phase.
- Network sockets installation: in a block of two points, the third contact is connected to the PE bus with a common wire for both receptacles.
What affects the final scope of work for socket installation
Installing single outlets in different rooms takes an entire day because of the technician's travel between addresses, so we group the tasks for one apartment into a single visit. A double outlet on one back box saves space but requires a cable cross-section margin: when two high-power appliances are loaded simultaneously, a thin wire heats up. If several points need to be replaced in an apartment at once, it is cheaper to call a technician once for a set of 5-8 outlets than to pay for separate visits. Clients often search for outlet installation price — and land on this page, because the total depends on the route length, wall material and number of points. The scope of work is also affected by the age of the wiring: in older buildings of Bishkek, 2.5 mm² aluminum conductors cannot withstand the load of modern appliances, and the technician suggests re-pulling the line with copper before connecting the fittings. A separate line in the estimate is network outlet installation, when twisted pair is pulled in the chase together with the power cable and an RJ-45 module is installed in a shared frame.
Installing sockets in different materials: concrete, brick, drywall, wood
The installation method is determined by the wall material: in some cases you need diamond tools and wall chasing, in others you attach to a profile without dust. We break down each case — from concrete to wood and flush-mounted models.
Installation in concrete and brick: wall chasing and back box
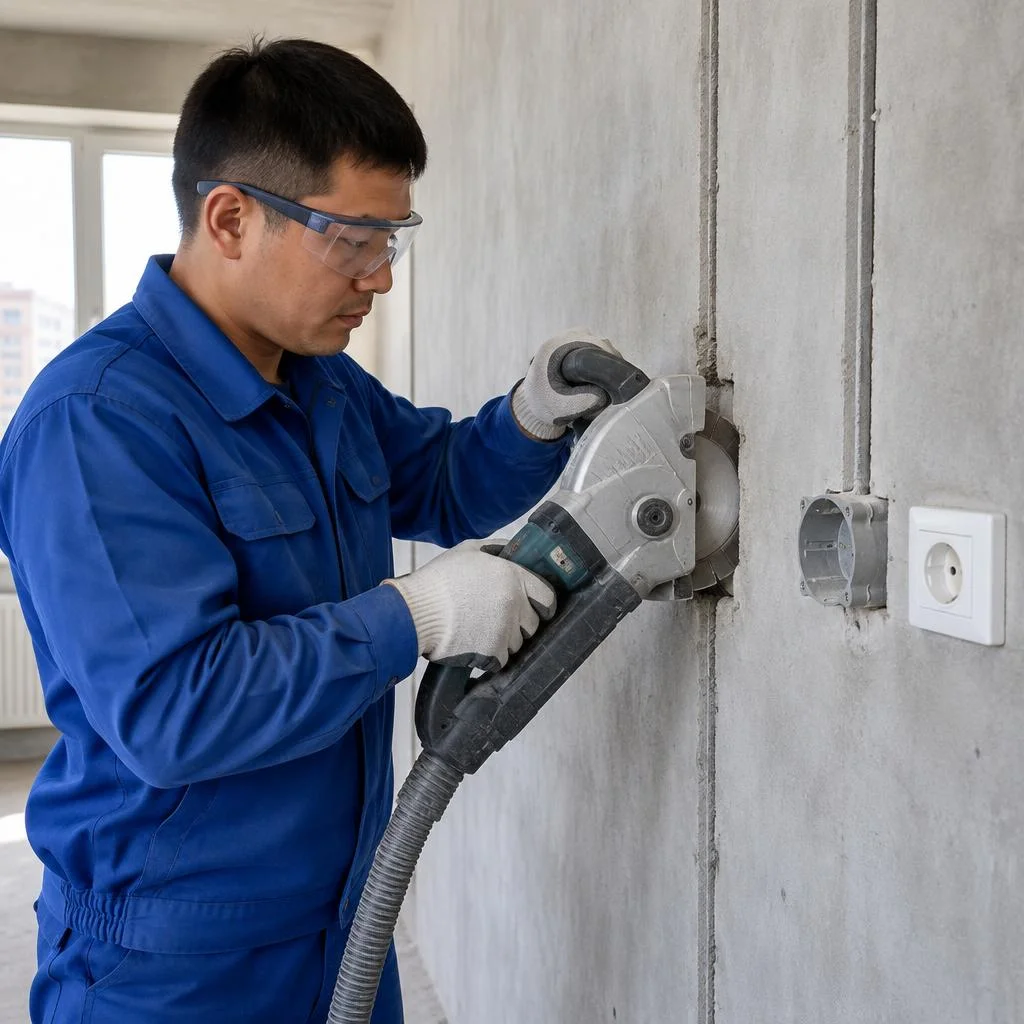
Work in a concrete or brick wall begins with drilling a recess for the back box using a 68 mm diamond core bit, and we make the cable channel by chasing to a depth of 20-25 mm. In brick the core bit goes faster — masonry is softer than monolithic concrete, whereas rebar in concrete may require a rotary hammer with a metal drill bit. We lay VVGng-LS cable in the chase, 2.5 mm² cross-section for power lines and 1.5 mm² for lighting lines, with corrugated conduit or a mounting tube on top. In concrete, chasing takes more time and creates dust, so the technician works with a vacuum cleaner and covers the furniture — this should be taken into account when planning a renovation. If the wall is load-bearing and horizontal chasing is not allowed, run the channel vertically from the ceiling. When clients ask about the price to install a socket, we immediately clarify the wall material and the chase depth — the final estimate depends on this. Most often it is precisely concrete and brick that are associated with socket installation Bishkek — a query entered by residents of panel and monolithic buildings, where walls do not yield to an ordinary drill bit.
Installation in drywall without wall chasing
A flush-mounted model in drywall is installed without wall chasing: the back box is secured with fasteners to the metal frame profile or to a special drywall back box with expansion tabs. The cable is fed into the cavity of the sheet through a service hole, and a 68 mm core bit cuts only the sheet itself, 12.5 mm thick. If there is a void behind the drywall, the back box must rest on a profile or a reinforcing plate, otherwise the socket will be pushed in when a plug is connected. For double blocks and points with USB, the fastening is reinforced with a horizontal crossbar between the studs — hardware holds poorly when suspended. An internal point in drywall takes about 30 minutes. Clients often search for the price to install one socket — and from such a query we immediately understand that it concerns a drywall partition, where the estimate is simpler and more predictable than in a solid wall: there is no dust or wall chasing here, so the work goes faster than in stone.
Installation in a wooden wall and in non-standard places
- Wooden wall: we install only in a metal or non-combustible back box, and we run the cable in a metal conduit or non-combustible corrugated sleeve.
- Baseboard: a flush-mounted model in a baseboard requires a body up to 30 mm deep, and the line is run along the cable duct.
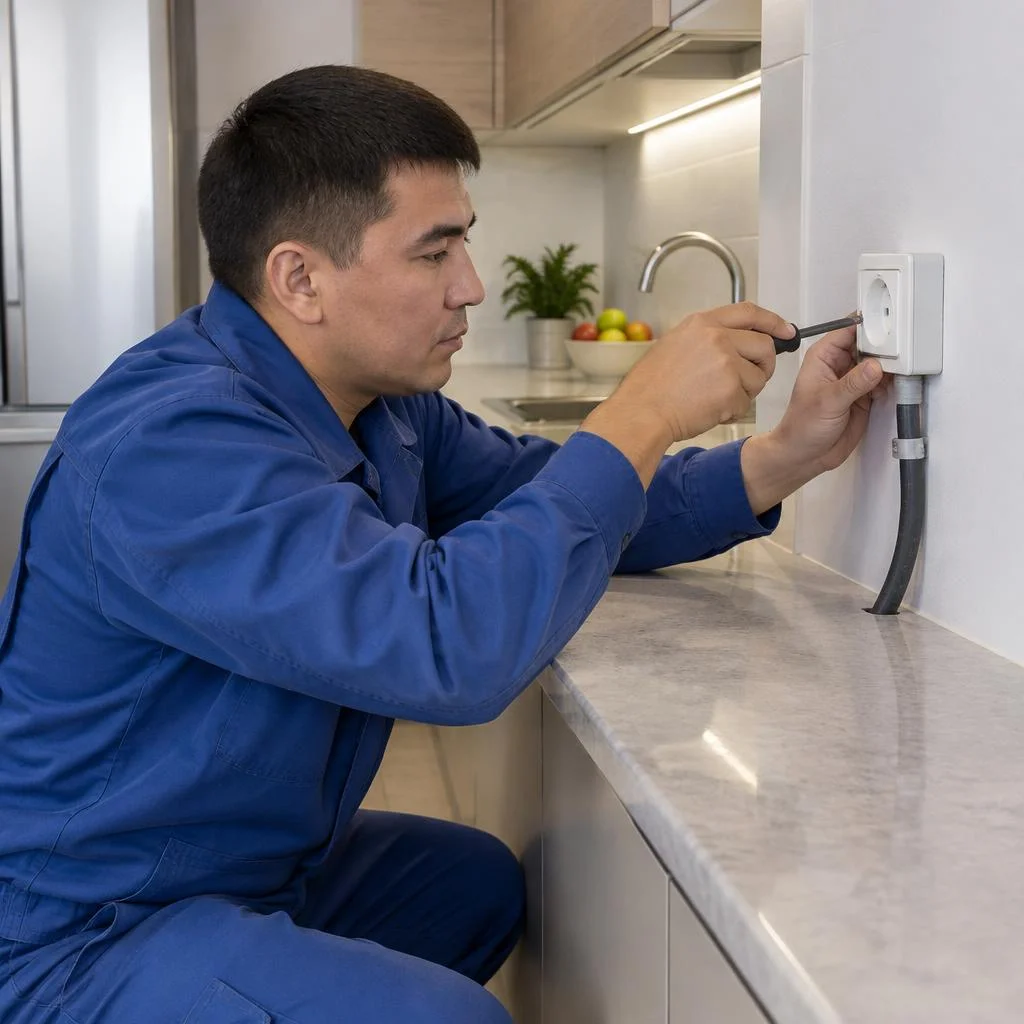
- Countertop: the flush-mounted option is installed on a kitchen countertop with a moisture seal and a protective cover.
- Floor: a floor socket is mounted in a hatch with a cover, and the cable runs in corrugated conduit under the screed or in a baseboard channel.
Comparison of installation by wall materials
| Wall material | Installation method | Wall chasing needed | Special feature |
|---|---|---|---|
| Concrete | concealed, diamond core bit | yes | dust, vacuum cleaner needed |
| Brick | concealed, brick core bit | yes | standard installation |
| Drywall | flush-mounted, fastening to profile | no | support on profile |
| Wood | concealed in non-combustible back box | yes | fire protection |
| Baseboard / countertop / floor | flush-mounted | no | flush-mounted models |
For thin partitions and drywall, a surface-mounted or flush-mounted option is chosen so as not to weaken the structure. Work in concrete and brick costs more in labor than installation in drywall — the difference in cost reflects precisely the work with stone.
How socket installation works: stages of Eco-Service technician's work
Installing a point is not just connecting the fittings: first the line is checked, the cable and protection are selected, then the socket box is prepared and the mechanism is connected.
Line diagnostics and selecting a cable for the load
Before installation, the Eco-Service technician checks the existing line with a multimeter and selects the cable cross-section for the appliance's load. For a 16 A point, a 2.5 mm² copper wire is sufficient; for a stove or boiler at 32 A, 4-6 mm² is already needed. In panel buildings in Bishkek built in the 1970s-1990s, 2.5 mm² aluminum is often installed — such a wire can handle one appliance, but it cannot carry a kitchen block of four points. If the line is old and aluminum, it cannot be extended directly with copper — the junction of two metals oxidizes, so the technician suggests running a new line from the panel. At the same time, we check the breaker: on old lines it may be rated at 10 A, whereas a modern socket is designed for 16 A. Clients often search for "install socket price" — and from this query the technician immediately understands that a visit with line diagnostics is needed. In requests for installing a new socket in old housing stock, aluminum wiring almost always comes up, and it has to be replaced. That is why the socket installation price in old housing stock is calculated after inspecting the panel and measuring insulation resistance — without this, the estimate will be incomplete.
Preparing the socket box and installing the mounting box
We drill out the socket box, secure the mounting box with alabaster or gypsum, and lead the cable into it with extra length for connection. For a standard mounting box, the core bit diameter is 68 mm; the seating depth is selected according to the wall thickness: in concrete, 40 mm is enough; in drywall, a mounting box with expansion claws is used. The mounting box is set strictly by level and taking into account the plaster thickness — otherwise, after finishing, the socket will end up recessed or protruding. When installing points with grounding, three wires are led into the box, and each is left with at least 10 cm of extra length so the technician can freely reconnect the mechanism without tension. We chase the wall for the cable before installing the mounting box — this saves time and does not damage the already secured box. In requests, the wording "socket installation cost" appears most often when it concerns a concrete wall, where the core bit has to be cooled with water.
Connecting the mechanism and protecting the line with a breaker and RCD
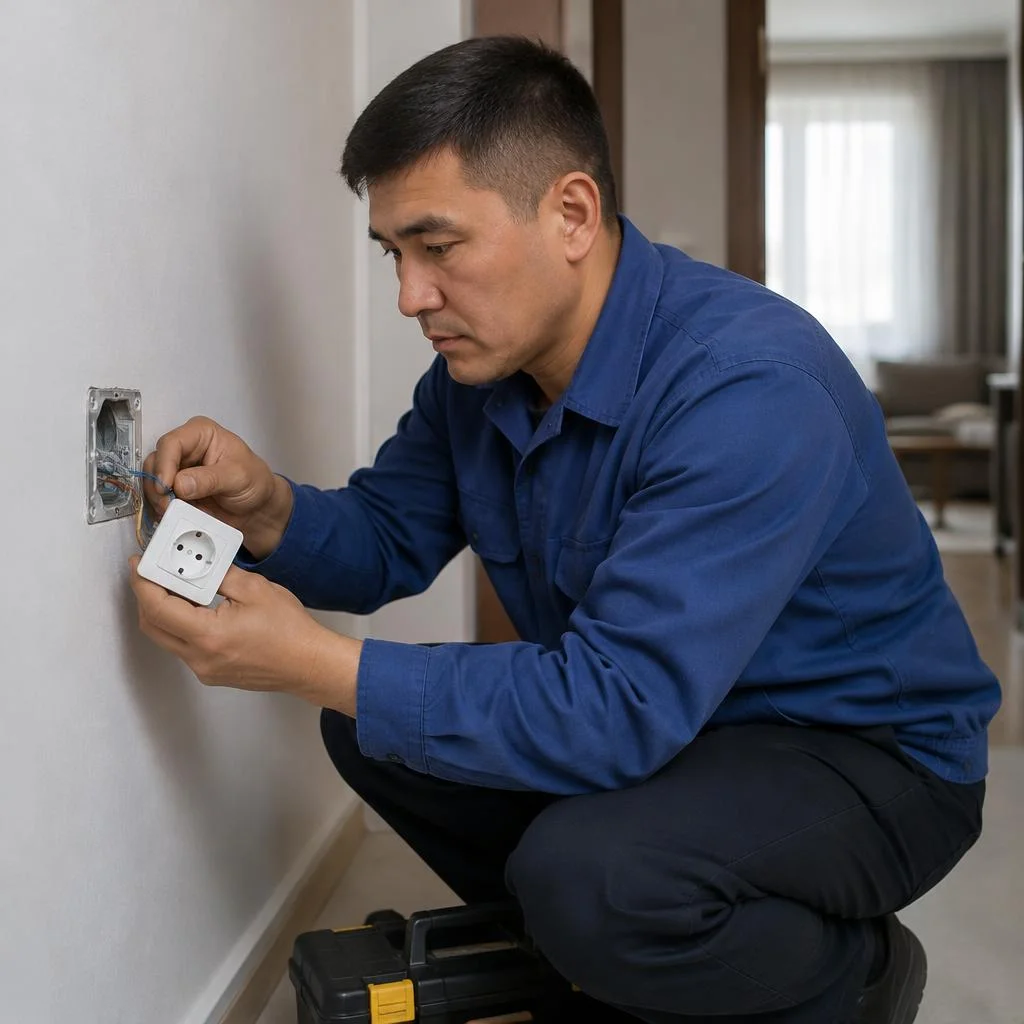
Eco-Service connects phase, neutral, and ground to the terminals, and protects the line with a breaker; for wet areas, an RCD is additionally installed. The mechanism is disassembled, the conductors are stripped by 10-12 mm, the phase is placed on the right, the neutral on the left, and the ground on the central terminal. The breaker is selected according to the cable cross-section, not the appliance's power: if a breaker is installed "with reserve," the cable will burn out during overload before the protection trips. For a 2.5 mm² line, a 16 A breaker is used; for 4 mm² — 25 A; for 6 mm² — 32 A. A 30 mA RCD is installed on groups in the bathroom, kitchen, and outdoors. When installing switches and sockets in one frame, the phase from the switch is run with a separate wire — a common neutral for the whole group saves space in the mounting box. If the client asks about the cost of installing one socket, the technician immediately states whether the breaker and RCD are included or whether protection is calculated as a separate line item. We separately discuss installing sockets with grounding: in a panel building without a PE loop, the PE conductor is run from the panel; otherwise, the protection remains only on paper.
Checking operation and what is included in installation
- Checking with a tester: the technician touches the phase and neutral in turn, makes sure there is no reversed polarity and that the terminals are in working order.
- Grounding test: the multimeter shows the loop resistance, and if the PE conductor is broken, the point remains without protection until the connection is redone.
- Load test: a hair dryer or heater is plugged into the point for 10 minutes and the heating of the terminals and housing is monitored.
- What is not included: the cost of installing a point covers connection and testing, but wall repair after chasing, plastering, and painting are charged separately.
What is clarified before the technician's visit
The cost of installing one point in a finished line is lower than in a new one — cable pulling is calculated separately. When a client orders the installation of points and switches in a single visit, the technician clarifies in advance the number of points and the type of wiring: this determines whether a replacement circuit breaker is needed and how long the work will take. For installation in a new building without finishing, the calculation is based on the length of the route, while work in a finished renovation is based on the number of mechanisms. The final price and installation cost are fixed before work begins, so the estimate does not change after the technician's visit. The cost of work in Bishkek's old housing stock is higher due to the aluminum wiring, which has to be replaced entirely. If you are unsure which electrician to call, a specialist with experience in panel buildings will figure it out faster. Clients search for socket installation cost, surface-mounted socket installation price, socket installation cost and installation of sockets and switches — these queries all lead to the same visit, and the socket installation price and socket installation cost are fixed in the estimate before work begins.
Installing sockets and switches: related work
Switches and old fittings are often replaced together with sockets — it makes sense to cover everything in a single visit by the technician. Let's break down what related work includes and why it's more cost-effective to plan it together.
Installation of sockets and switches in a single visit
Eco-Service carries out the installation of sockets and switches in a single visit — the technician brings tools for both types of work, so there's no need to call a crew twice. The standard set includes single-gang and two-gang switches, two-way models for corridors, illuminated devices and dimmers for halogen and LED; each requires its own back box — a standard 68 mm or a deep 60 mm one for a mechanism with a dimmer. We use cable with a cross-section of 1.5 mm² for lighting circuits and 2.5 mm² for socket groups — on a mixed circuit this is critical. If sockets need to be installed in several rooms at once, the technician arranges the points along a route so as not to come back. Installing a socket and a switch in the same stairwell takes us on average 40-50 minutes per point. Illuminated switches and two-way circuits require an additional wire, so it's better to plan them before wall chasing, not after — redoing a finished wall will cost more.
Replacing an old socket and dismantling fittings
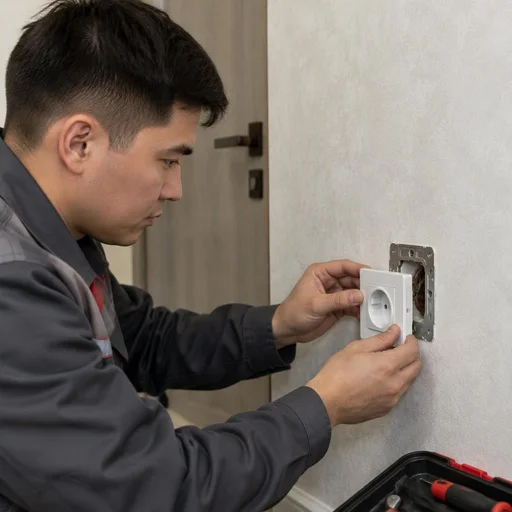
When replacing, we dismantle the old fittings, check the condition of the wires and install a new socket in the existing back box. The cost of installing sockets and switches in this format is lower than work from scratch: no chasing or drilling is needed, the work proceeds using the existing box. Most often we replace Soviet models with a ceramic base with the Euro standard — a 68 mm back box fits it; if the old one is 60 mm, we install an adapter ring. A surface-mounted socket installation comes to the rescue where the back box is destroyed or the wall is separated from the wiring by drywall — the housing is mounted directly onto the surface. If the old back box is broken or the wires are short, extension is done only through terminals — a twist connection in the back box weakens over time and heats up. Clients often ask about the cost of installing a socket and switch in advance — it is calculated after an inspection, because the scope of dismantling differs for everyone. A separate line item in the estimate that many don't understand: the cost of installing sockets and switches depends on how many points are dismantled and how many are installed anew.
Wiring diagnostics before installation
Before installation, Eco-Service checks the condition of the wiring: insulation integrity, presence of grounding and compliance of the cross-section with the load. Wiring diagnostics takes 20-30 minutes and includes continuity testing with a multimeter, insulation resistance testing with a megohmmeter and inspection of the incoming distribution board. Installing internal sockets in apartments with 2.5 mm² aluminium wiring requires caution: such cable is rated for 16 A, but with oxidised contacts it heats up already at 10 A. Installing a surface-mounted socket on such a circuit without replacing the cable is unsafe — open routing does not compensate for a weak cross-section. The price of a surface-mounted socket depends on whether preliminary replacement of a section of the circuit is needed. In Khrushchyovkas and old panel buildings in Bishkek, aluminium wiring is often not rated for modern appliances — diagnostics show in advance whether a new circuit is needed.
Replacing a switch and installing new fittings
The cost of installing a socket and switch with comprehensive replacement is calculated by the number of points, not by individual operations. Installing a socket and switch in the same style simplifies the selection of frames: series from the same manufacturer are compatible in terms of back box dimensions. Installing a surface-mounted socket on a concrete wall takes 25 minutes, on drywall — 15: in drywall we fasten a butterfly back box without drilling a large hole. Installing a power socket for a stove or boiler requires a separate circuit from the board and a circuit breaker rated for the load. Installing a surface-mounted socket outdoors requires a moisture-proof housing of IP44 or higher — ordinary fittings under a canopy oxidise after a season. If an electrician is needed to install a socket at a site with a tight schedule, we agree on a time slot in advance and bring all the fasteners with us. The cost of installing sockets and switches in old housing stock is higher due to dismantling — factor this into the work plan in advance. Clients search for this as surface-mounted socket installation — in fact it refers to a housing that is mounted on top of the wall when the back box is destroyed or the wiring is routed openly.
Wet areas and outdoors: sockets in the bathroom, kitchen and outdoors
In wet and outdoor areas, additional requirements are placed on the socket for protection against water and dust. The issue of grounding and automatic equipment that disconnects the line in the event of a leak is resolved separately.
Installing a point in the bathroom: IP protection and RCD
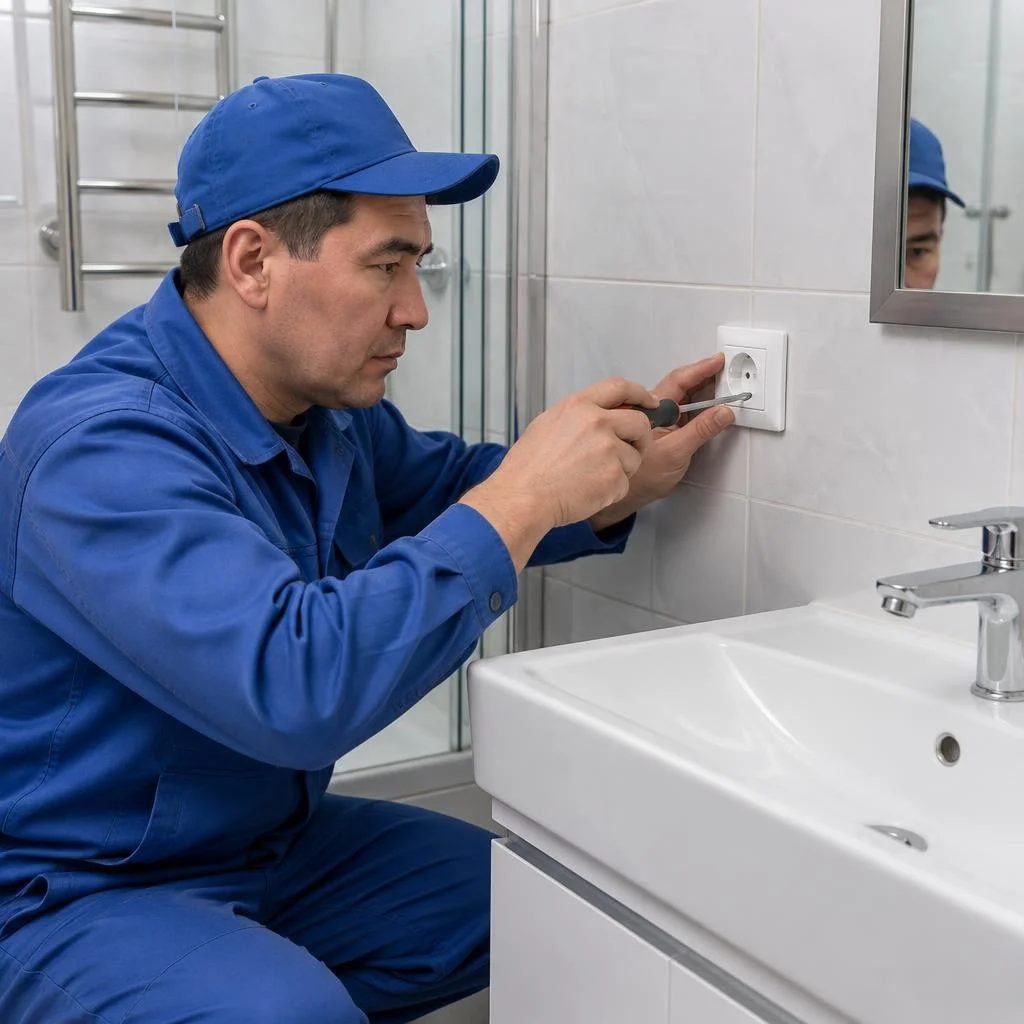
In the bathroom, Eco-Service installs a socket with moisture protection and обязательно connects it through an RCD — this is protection against current leakage in a wet area. Fittings marked IP44 and higher withstand splashes, not just condensation, so for the area near the sink a housing with a cover is used, not an open terminal block. The grounding conductor is connected to a separate terminal and connected to the PE bus in the panel: without it, the RCD will trip on the housing, but will not protect a person who touches the phase contact. Clients often search for "socket installation with grounding price" — and land on this page, because the final result depends on the wall material and the availability of a ready-made line, and the cost is calculated after inspection. The bathroom socket is placed no closer than a safe distance from the shower and sink, and the fitting housing must have splash protection. If the line is old, aluminum, you cannot run a new point to it — copper and aluminum in one twist heat up and oxidize within a couple of months.
Installing a point in the kitchen for appliances
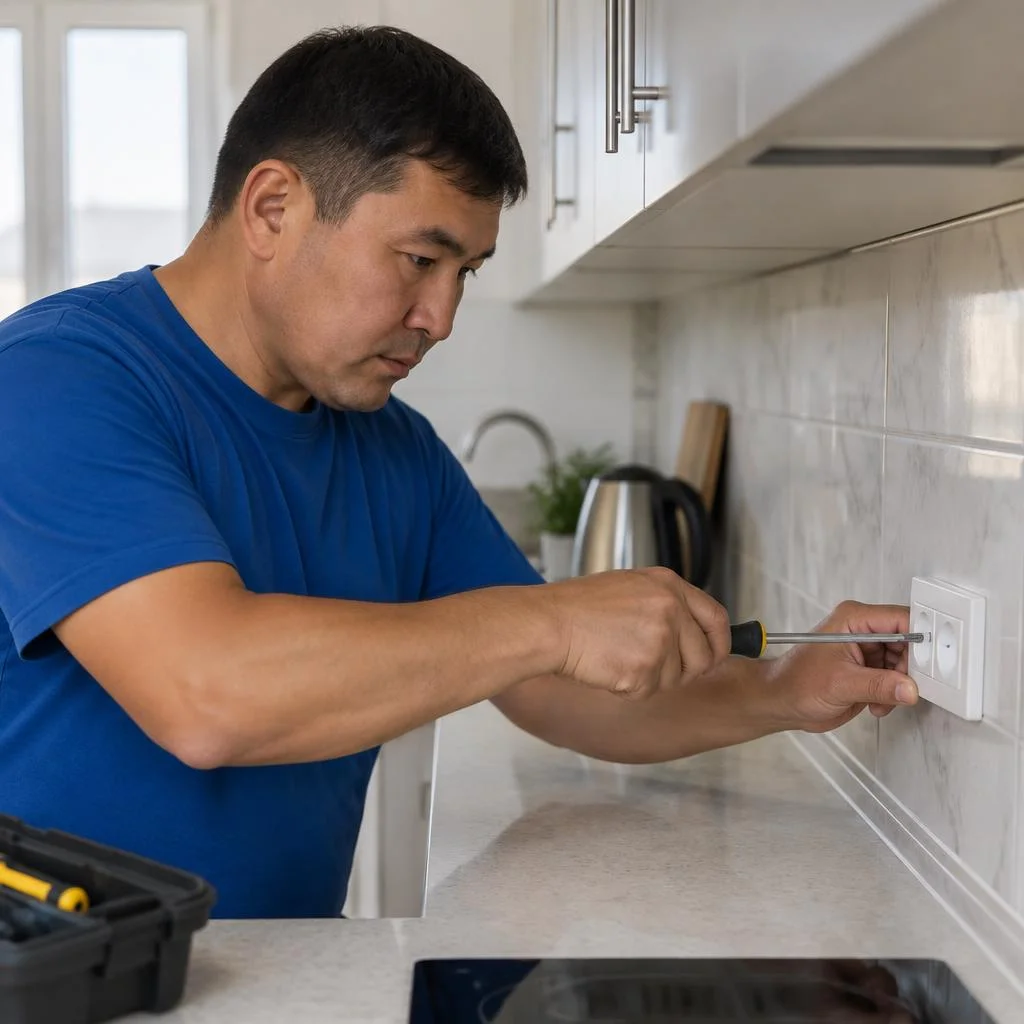
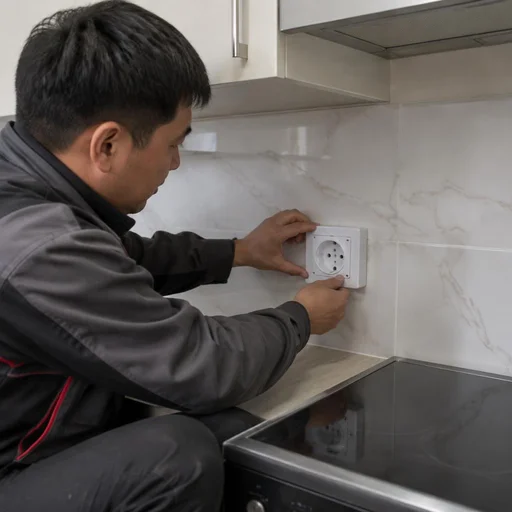
In the kitchen, we run separate lines for the stove, refrigerator and small appliances, so that powerful devices do not overload one point. An electric stove and hob go on a 3×4 or 3×6 mm² cable with a 25-32 A breaker, a washing machine and boiler — on 3×2.5 mm² with a 16 A breaker and a 10-30 mA RCD, and the refrigerator is best put on its own group, so that when the breaker on the sockets trips, it does not defrost. Installation of switches and sockets at Eco-Service includes selecting the cable for the rated power of the device, and not "by eye" based on the cross-section of the old wiring. Sockets for built-in appliances are planned before assembling the kitchen units — after the cabinets are installed, it is impossible to reach the line without dismantling. In our practice, a common mistake is a socket behind the dishwasher without a depth margin: the plug rests against the housing, and the point has to be moved. Clients often phrase the request as "socket installation" — and receive the same service, only with clarification on location: behind the kitchen units, in the countertop or in a niche under the oven. Many search for "socket installation price per point", although the final result depends on the wall material and the length of the route — we calculate after inspection.
Installing a point outdoors and for an air conditioner
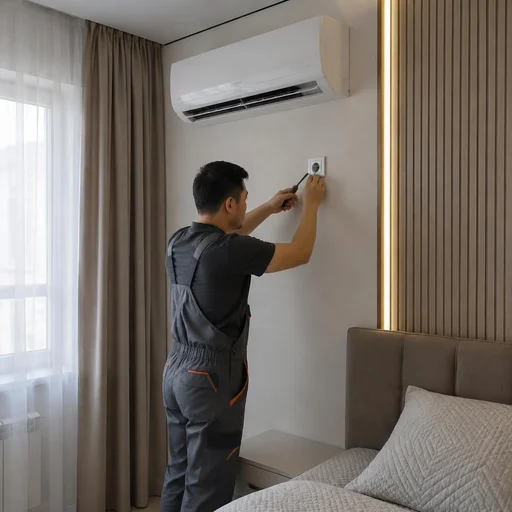
For outdoors and the outdoor unit of an air conditioner, Eco-Service installs sockets with protection against moisture and dust, connected by a separate line. A housing with IP55 and higher withstands slanting rain and dust, and the cable is laid in a corrugated sleeve or flexible metal conduit with a slope away from the entry point, so that water does not flow inside. Installing a point for an air conditioner requires coordinating the power: a household split system of 2-2.5 kW draws up to 10 A at the moment the compressor starts, so the line is run with 3×2.5 mm² copper with a separate breaker. Clients type in the request "outdoor socket installation price" when they are planning a point on the facade: cable glands and moisture-protected fittings make the work more expensive, but it is not worth saving on the housing — a cheap terminal block cracks in the cold. An outdoor socket is protected not only by the housing, but also by a breaker in the panel: if water gets in, the line must disconnect automatically. For a socket on the facade, add an RCBO — it detects leakage before a person feels the current. If the point goes into a decorative panel or a ventilated facade, installing a built-in socket is appropriate — then the housing is recessed flush and does not collect dirt.
Warranty, timelines, and how to order an Eco-Service technician in Bishkek
The service center operates citywide: a technician travels to the site with tools and consumables, and completed work is covered by a two-year warranty. Below are the terms, the procedure for booking a visit, and the standards we follow when installing each point.
Installation warranty — 2 years
Eco-Service provides a 2-year warranty on socket installation — if a point stops working due to our fault, the technician will come and fix it free of charge. A warranty case is processed with a report and receipt: the document records the date, the site address, and the type of work performed. In our practice, repeat warranty visits accounted for less than 3% of orders — most often the cause was not the installation but a loosened terminal screw after vibration from a washing machine. The warranty does not cover damage from network overload or the client's faulty appliances, so it is important that the line is protected by a correctly selected circuit breaker. Before signing the report, ask the technician to show you the terminal tightening and the voltage measurement at the point — that is two minutes that eliminate half of future callbacks. Clients often find us by searching: socket installation price — and land on this page, which describes the terms of work.
How to call a technician and what to prepare
- Request: call or message us — the dispatcher will confirm the address, the type of point, and a convenient visit time.
- Photo of the location: send a picture of the wall and the old socket so the technician can bring the right hole saw and fasteners right away.
- Wall material: specify concrete, brick, drywall, or wood — this determines how the mounting box is installed.
- Access to the panel: check that the circuit breaker on the line is labeled and that there is clear access to it for cutting the power.
Payment and customer reviews
You can pay for the work in cash or via MBANK and O!Деньги; customers leave reviews on 2GIS and Google Maps. Eco-Service operates as a direct provider of the service, without intermediaries: the request is taken by an in-house dispatcher, and an electrician technician arrives, not a contractor from an aggregator. Prices for installing sockets and switches depend on the type of point, the wall material, and the scope — the technician states the final estimate before work begins, after inspecting the site. Reviews with photos of the work help assess the neatness of the installation — they show how the mounting boxes are set and how the point looks after finishing. On 2GIS, look for the listing at the service center's address: photos of sites and answers to customer questions are published there as well. Most often, clients type "prices for installing sockets and switches" — and immediately see our price list.
PUE standards and work safety
Eco-Service performs installation in accordance with the PUE: it observes cable cross-section, line protection with a circuit breaker, and the rules for placing points. For the socket group in living rooms we use 3×2.5 mm² cable; for the power lines of a stove and water heater — 3×4 or 3×6 mm² depending on the appliance's power. We protect each line with a circuit breaker, and in wet areas and outdoors we add an RCD with a leakage current of 30 mA. Compliance with the PUE is important not only for safety but also for insurance cases — in the event of a fire caused by DIY installation, the insurer may deny payment. When a client requests installation of sockets and switches, the price in the estimate must also include selecting the circuit breaker rating, otherwise line protection remains only on paper. We separately clarify whether an internal socket installation is needed — a concealed mounting box requires wall chasing and more time.
Timelines and how the cost is calculated
Standard socket installation in Bishkek is carried out on the day of request if the request is received before 15:00. The price per point depends on the wall material and the type of fittings, so the dispatcher quotes a range before the visit, and the technician confirms the exact amount after inspection. To understand how much it will cost to install a socket, we take into account three parameters: the type of wall, the need for chasing, and the need to run a new line from the panel. When asked about installing a point, we clarify whether a cable has already been run — if yes, the work takes 30-40 minutes; if not, routing the cable is added. The cost of work on sockets and switches is calculated per point separately, and when ordering five or more points, the visit is not charged. The price per point in older housing stock is higher: the aluminum wiring has to be checked and sometimes a section up to the junction box has to be replaced. The final amount is fixed in the work order before work begins — there are no additional charges after installation. In search, clients enter socket and switch installation price — and land on our section with the terms.
Frequently asked questions about ordering
Installing sockets in a new building is easier than in a Soviet-era panel building: in the first case, the walls are drywall or concrete without rebar, while in the second, the rebar has to be worked around. The price for installing a point in drywall is lower because no chasing is needed — a hole saw and a mounting box with claws are enough. Work on sockets and switches in a single request is usually cheaper than the sum of separate call-outs: the technician comes once and does the entire scope. The price for high-power appliances — stoves, boilers, washing machines — is higher due to the separate line and a higher-rated circuit breaker. The cost of a point in a brick wall is average: the material is softer than concrete but requires careful chasing for the cable. The price in the center and in remote districts is the same — only the scope of work affects the cost, not the technician's travel. In search, clients enter "price for socket installation" or "socket and switch installation price" — and find our section with the terms.
Conclusion
We have gathered five conclusions that most often affect the installation result: from the type of socket and wall material to the protection of power lines and conditions in wet areas.
Main conclusions
- The type of socket determines the installation method: a concealed one requires chasing and a mounting box; a surface-mounted one is installed on top of the wall.
- The wall material determines the tool and time: concrete and brick are worked with a rotary hammer, drywall — without chasing, wood requires a non-combustible backing.
- Power lines — with a separate cable: for a stove, boiler, washing machine, and air conditioner, an independent line is run with a circuit breaker rated for the load.
- Wet and outdoor areas — only with protection: sockets in the bathroom, in the kitchen near the sink, and outdoors are installed with moisture protection and an RCD on the line.
- Warranty on installation — 2 years, and proper line protection with a circuit breaker and RCD extends the service life of the connection point itself.


