








When a voltage stabilizer is needed in Bishkek and what problem it solves
The issue of stabilization is more acute here than on average in the region: networks are worn out, evening voltage sags last for hours, and switching on powerful appliances causes short surges. Let's look at what surges actually occur and what should be protected first.
What voltage surges occur in Bishkek's networks and why they are dangerous for appliances
Sags down to 170–180 V and short surges above 250 V are typical — this is enough to burn out a refrigerator compressor or a boiler board within a few months. In the neighborhoods around the Alamedin market and in the Kok-Zhar and Ak-Orgo areas, the networks are overloaded in the evening from 18:00 to 22:00, when air conditioners, boilers and stoves run at the same time. During a surge above 250 V, varistors in switched-mode power supplies break down, and during a sag down to 170 V, the asynchronous compressor motor draws increased current and heats up. What lasts longest is not the peak surge but the "creeping" evening sag — appliances keep working, but they heat up and wear out faster; that is why the device is installed before a breakdown, not after it.
Which appliances are protected first: refrigerator, boiler, washing machine, air conditioner
- Refrigerator: the compressor and start relay are sensitive to a sag below 190 V — at that point the motor hums but does not start, and the winding overheats.
- Heating boiler: the control board and circulation pump fail from surges, and in winter a boiler shutdown means the entire system freezes.
- Washing machine: the electronic module and direct-drive motor suffer from surges during the spin cycle, when the load on the network is at its maximum.
- Air conditioner: during a sag, the inverter compressor goes into an error and requires a service reset, and during a surge the inverter board burns out.
- Separate power line: the heating boiler is more often put on a dedicated stabilizer, because in winter when the power goes out the common circuit shuts down entirely, while the boiler must retain heat.
How installing a voltage stabilizer in an apartment differs from a private house
Installing a voltage stabilizer in an apartment in a panel building begins with checking the incoming cable, while in a private house it begins with assessing the type of service entrance and grounding. In new buildings along Toktogul and Ibraimov streets, the service entrance is more often copper with a normal cross-section, while in 1980s panel buildings the cable is aluminum and thin — it is not enough for a load of 5–7 kW. In the private sector of Konokbay and Lebedinovka, a bypass and a grounding loop are added, and with a three-phase service entrance, phase imbalance can only be corrected by a three-phase model. Through Eco-Service you can order an incoming cable check before buying the device. Check the service entrance cross-section in advance: on thin aluminum, even a powerful stabilizer will go into protection at the first boiler startup, and the work will have to begin with replacing the cable.
How to choose a voltage stabilizer for the load of a house or apartment
The selection begins not with the brand of the device, but with the sum of the loads and the type of input. Power, number of phases and installation method depend on these two parameters.
How to calculate the power of a stabilizer for your load
Eco-Service calculates power based on the sum of rated loads with a 20-30% margin: for an apartment with a refrigerator, washing machine and air conditioner, this usually comes out to 5-8 kVA; for a house with a boiler and pump — from 10 kVA. In our practice, we have encountered apartments in Bishkek with a total load of 3-4 kVA, where an error in the calculation led to a shutdown when the compressor started. Power calculation for the load is carried out across three groups: continuous (lighting, refrigerator, router), cyclic (washing machine, air conditioner, pump) and seasonal (heater, boiler). The 20-30% power margin is included not "for the future," but for inrush current: a refrigerator compressor at startup draws 3-5 times more than its rated value, and without the margin the stabilizer goes into protection. Before buying, add up the rated power of all appliances that operate simultaneously — compare that figure against the model lineup.
Single-phase or three-phase: how to choose by input type
The selection is based on the input type: a single-phase input — a single-phase model, a three-phase input — either a three-phase one, or three single-phase ones for each phase. In Bishkek, most apartments are connected via a single-phase 220 V scheme, while private houses in the Kok-Zhar, Ak-Orgo and Kalys-Ordo areas often have a three-phase 380 V input with a separate input panel. With a three-phase input, the choice is between one three-phase model and three single-phase ones — and the second option is sometimes more practical: when phases are unbalanced, single-phase stabilizers operate independently, whereas a three-phase model shuts off the entire load when one phase sags. Clients often describe the task in their own words — installing a stabilizer in a private house — and behind this request there is almost always a three-phase input with a boiler and pump. Connecting a stabilizer in a private house with a three-phase boiler and pump requires a separate calculation for each phase — add up the load by groups, not as a single total.
Comparison of stabilizer types: relay, electromechanical, inverter
| Type | Accuracy | Response speed | What it is suitable for |
|---|---|---|---|
| Relay | ±5-8% | High | Household appliances, lighting |
| Electromechanical | ±2-3% | Medium | Whole house, boiler |
| Inverter | ±1-2% | High | Boiler, electronics, gas automation |
For a heating boiler and gas automation, an inverter or electromechanical one is chosen — a relay one, with frequent switching, produces stepped voltage, which the control board does not like. Relay models are cheaper and respond faster to voltage sags, but their stabilization accuracy is lower: with frequent surges in the grid, the contacts switch dozens of times per hour and gradually burn out. An electromechanical stabilizer operates smoothly thanks to a servo drive and maintains accuracy of ±2-3%, but responds more slowly — for sensitive electronics this is noticeable. An inverter one provides the purest sine wave and is suitable for boilers, refrigerators with an inverter compressor and medical equipment.
What Is Included in the Installation and Connection of a Voltage Stabilizer
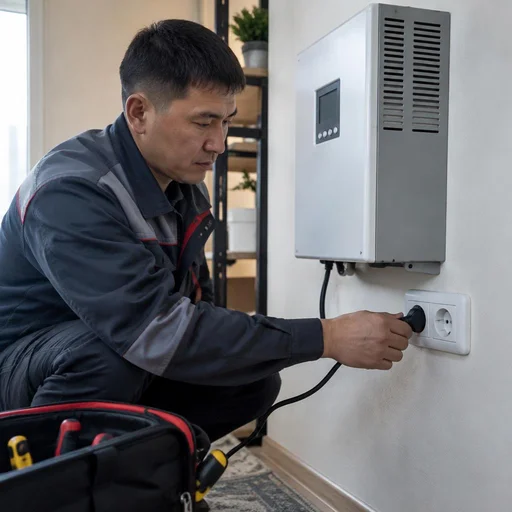
Connection work is not "hanging a box on the wall," but several sequential stages: from checking the incoming cable and choosing the location to installing a bypass line, grounding, and final parameter setup.
Preparation: Checking the Incoming Cable, Choosing the Location and Mounting Method
We begin the installation of a voltage stabilizer by checking the incoming cable and its cross-section: for a load of 8–10 kVA, a copper cable of 6–10 mm² is needed, otherwise the voltage drop will remain even after connection. At sites in Bishkek, we often encounter 4 mm² aluminum wiring in old houses on Toktogul and Kievskaya streets — it is replaced before installation, because a thin conductor heats up under current and loses voltage. The location is chosen based on heat, not aesthetics: the unit heats up under load, and in a closed cabinet without ventilation it goes into thermal protection. The cable to the stabilizer is routed along a separate path from the panel so as not to intersect with the power lines of neighbors. If you are interested in the installation of a voltage stabilizer in a private house, the price consists of the number of connection points, cable length, and type of installation — these parameters are recorded by the technician after inspection. Measure the voltage in the outlet during peak hours: if it drops below 180 V, a relay unit will click constantly, and in that case a model with an extended input range is chosen.
Connection to the Incoming Panel and Installation of a Separate Power Line
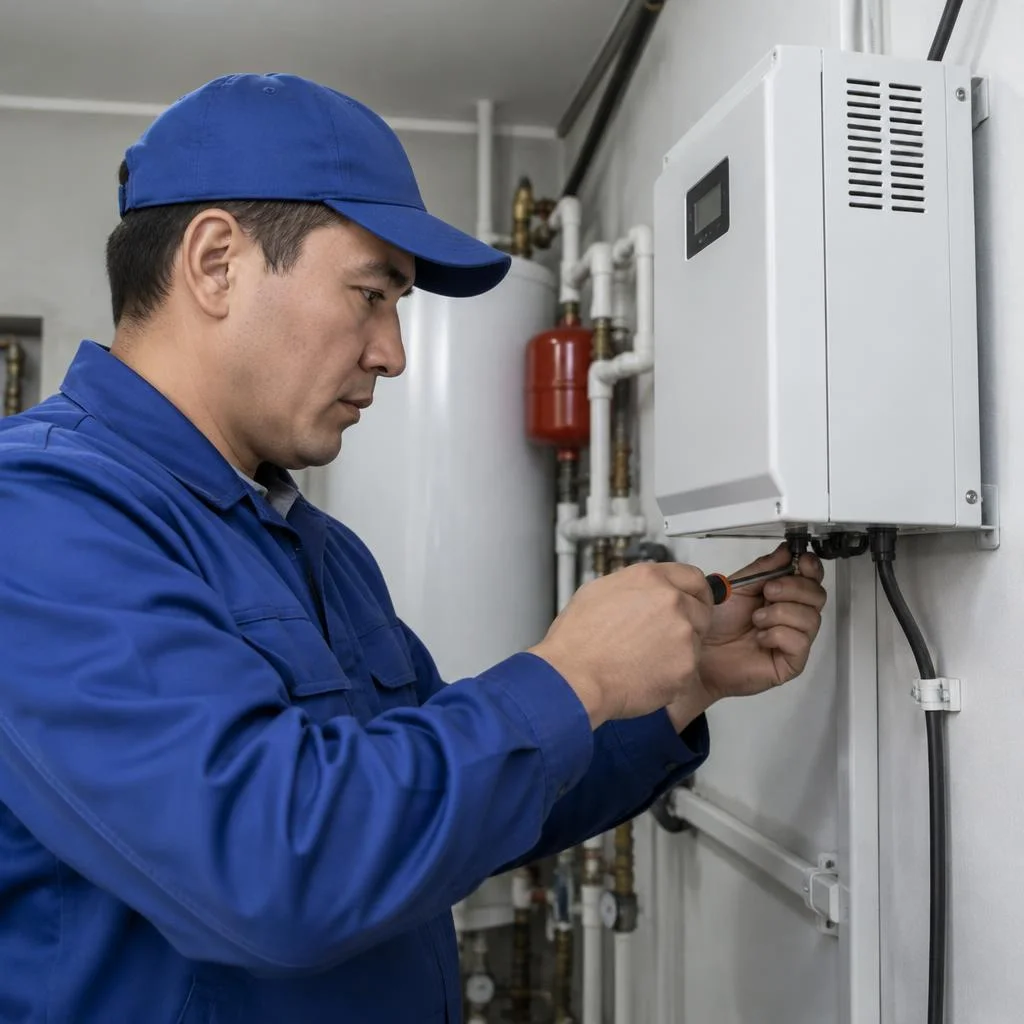
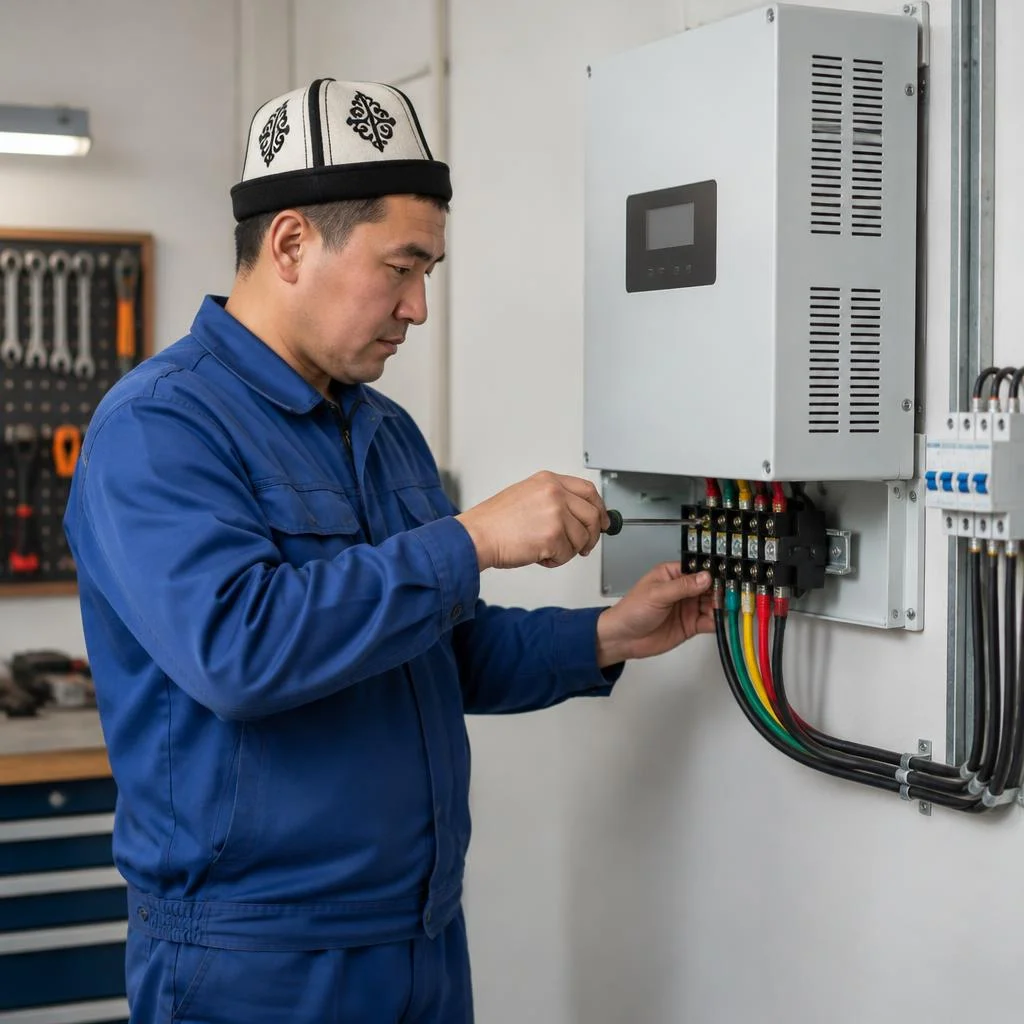
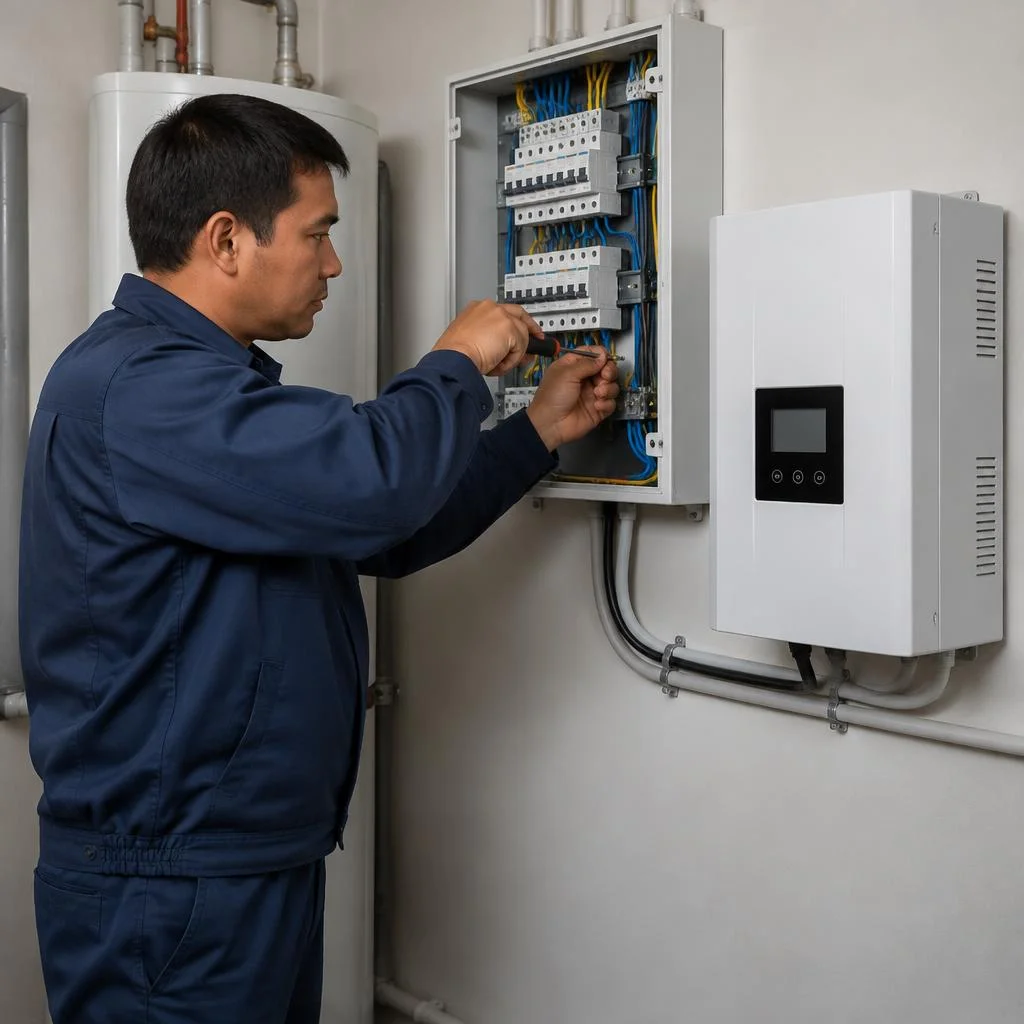
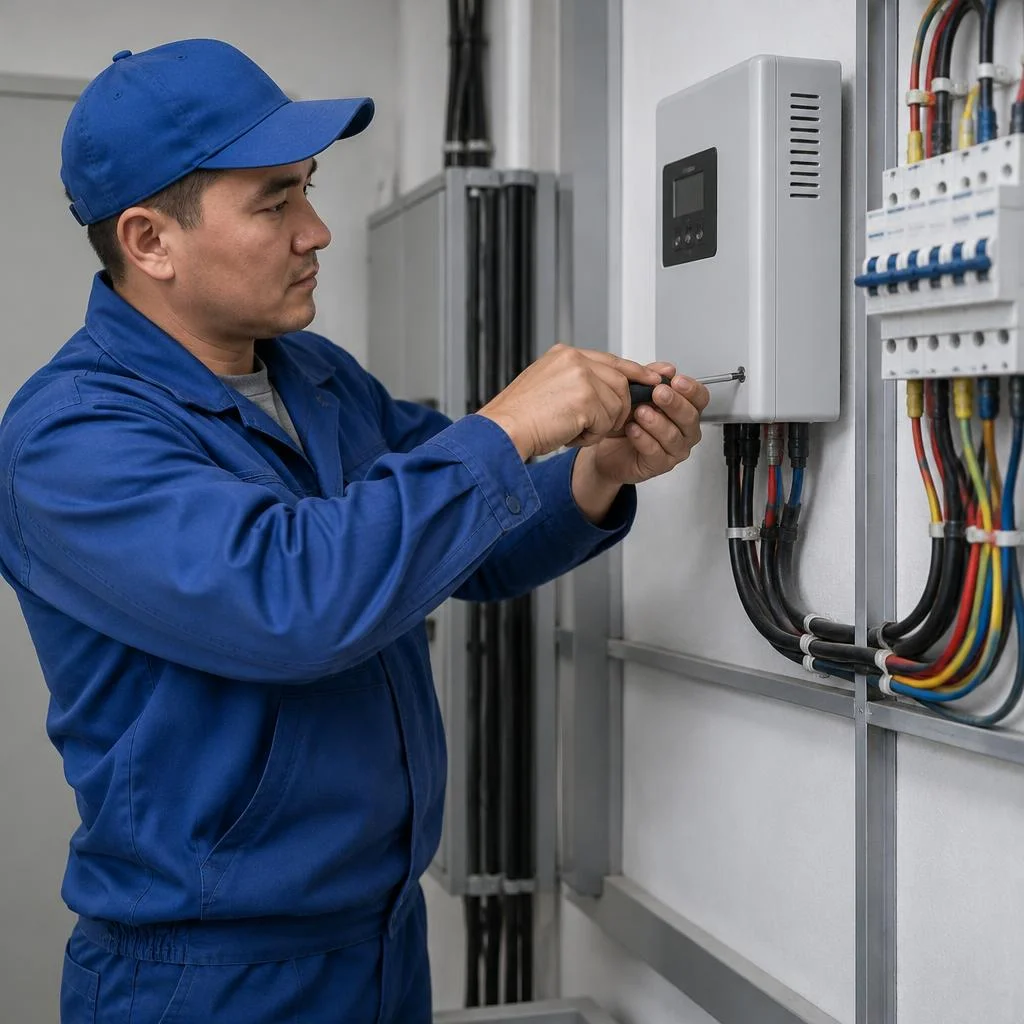
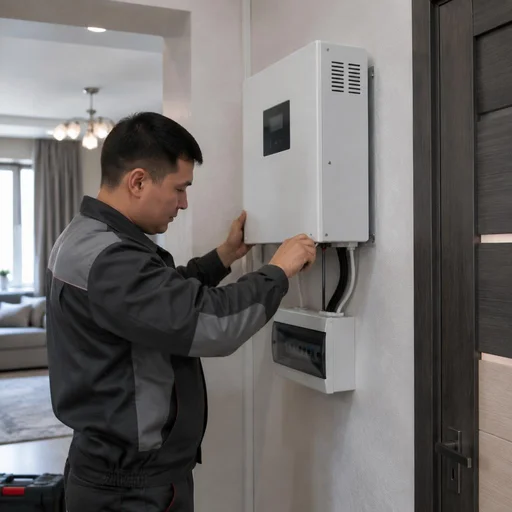
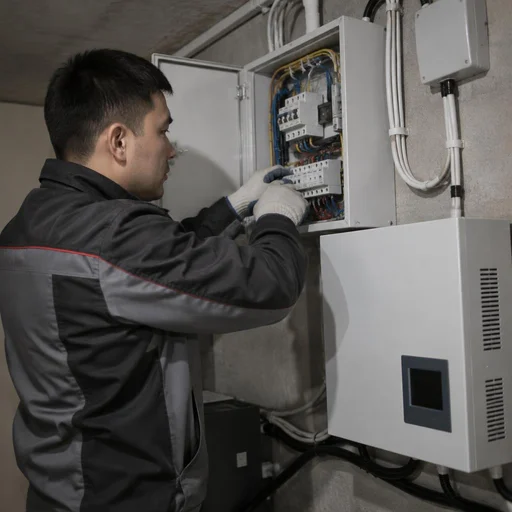
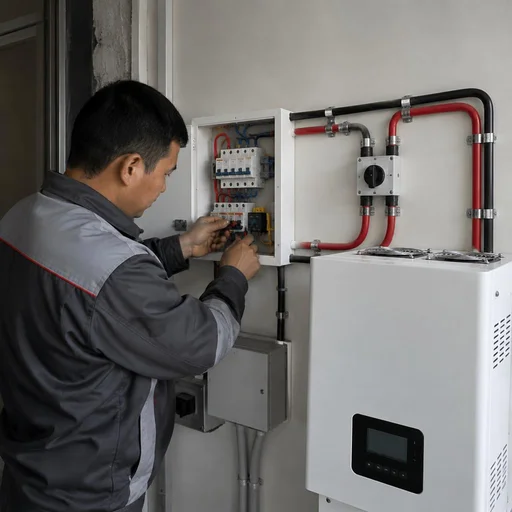
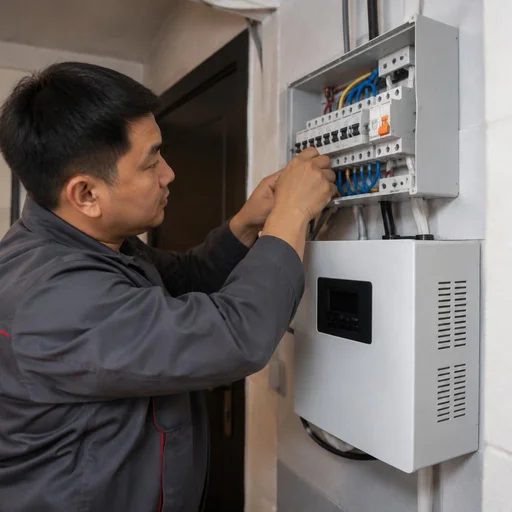
The connection of the voltage stabilizer to the incoming panel is performed after the meter: the unit is installed at the input, and equipment that must not lose power during an outage is placed on a separate power line. Work with the incoming panel takes 1.5–2 hours: we remove seals with the participation of a representative of the grid organization, install the incoming circuit breaker, connect phase and neutral, and check the terminals with a torque wrench. The installation of a separate power line for a gas boiler or refrigerator is done with a 3×2.5 mm² cable from the stabilizer to the outlet network. In a private house on Akhunbaev Street, we ran the boiler and well pump on a separate line: when the grid dropped to 150 V, they continued to operate from the unit while the rest of the house was disconnected. The installation and connection of a voltage stabilizer in the private sector require a separate cable route and a cross-section reserve. A separate line is needed not "for convenience," but so that when protection trips at the common input, critical equipment does not remain without voltage.
Bypass, Circuit Breaker and Grounding: Why They Are Needed
- Bypass line: allows bypassing the stabilizer and powering the house directly while the unit is removed for maintenance or repair.
- Protective circuit breaker: cuts off the line during a short circuit and overload, preventing the stabilizer winding from burning.
- Grounding: connects the unit's housing to the grounding loop, protecting people from electric shock in the event of insulation breakdown.
- Changeover switch: switches the load between the stabilizer and the bypass without de-energizing the line during an emergency.
Wall or Floor Mounting: How to Choose Based on Room Conditions
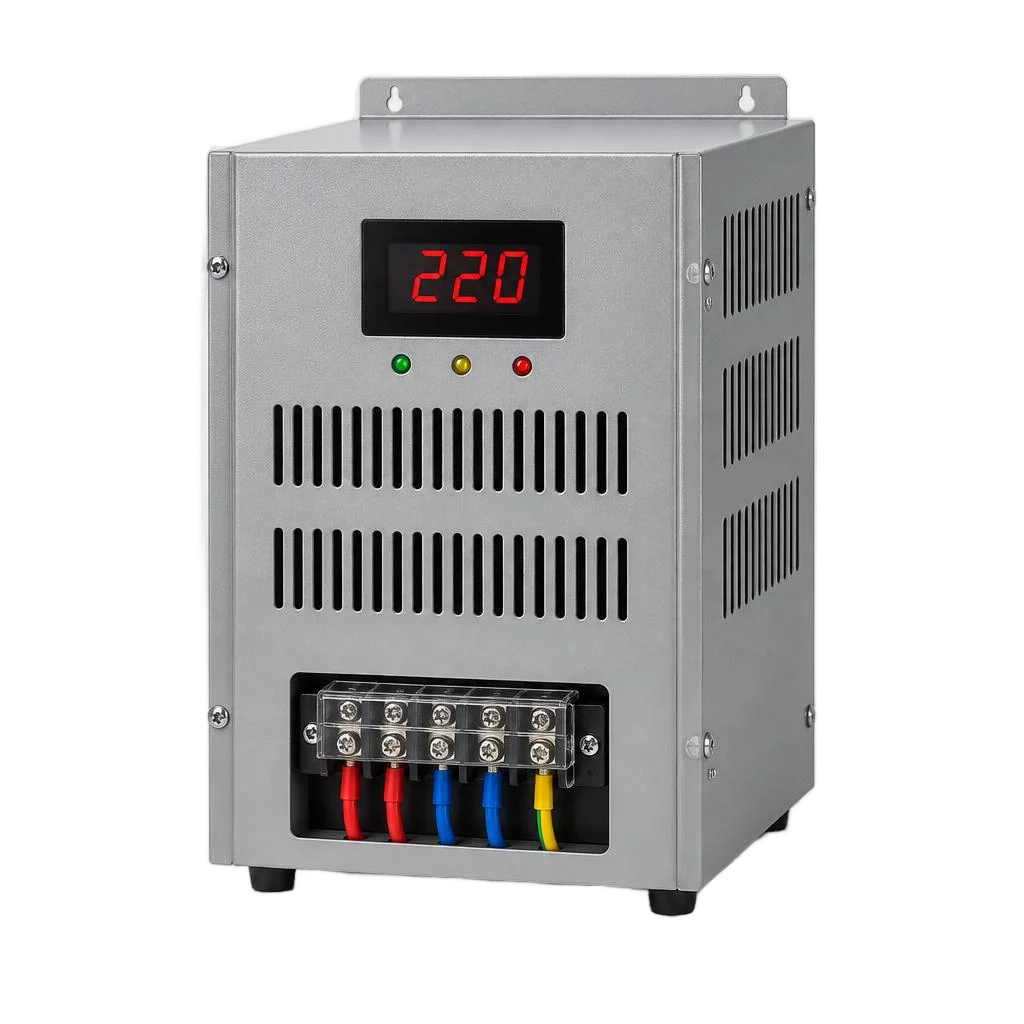
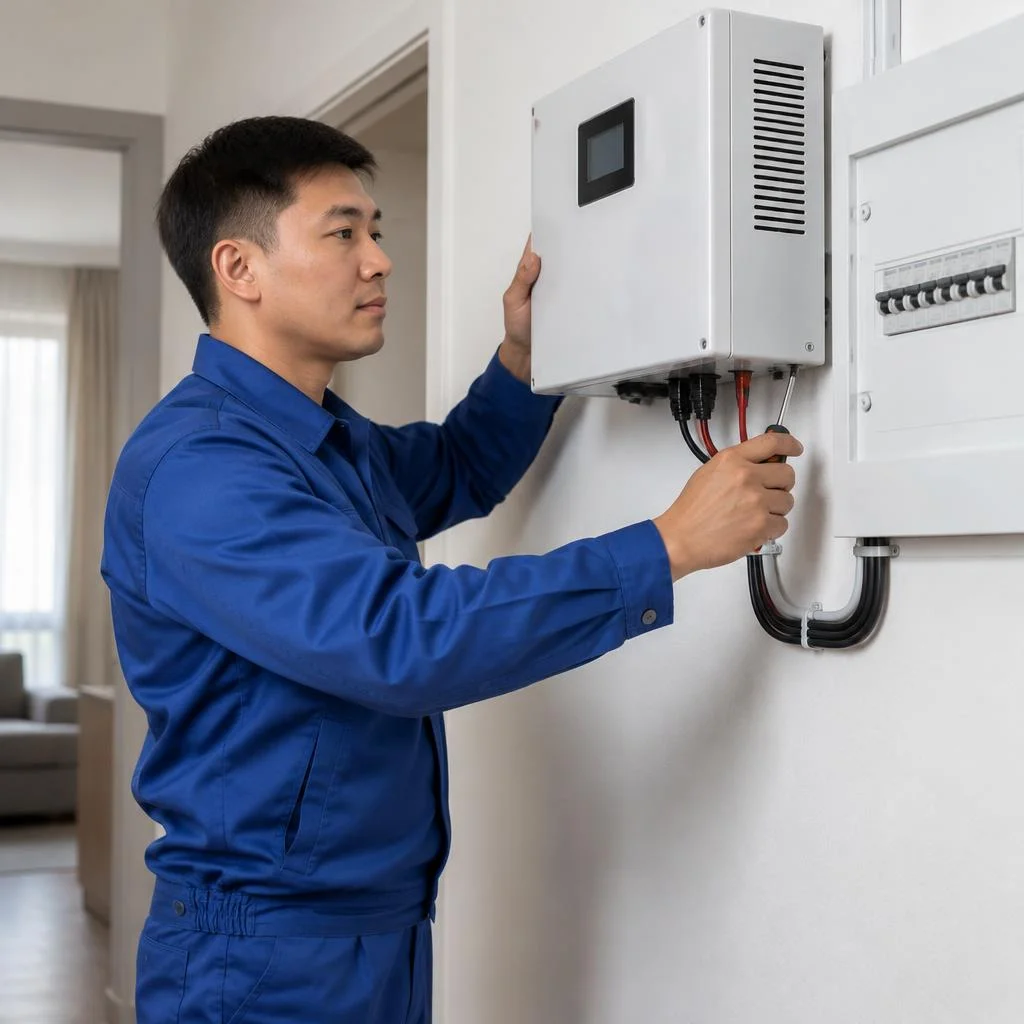
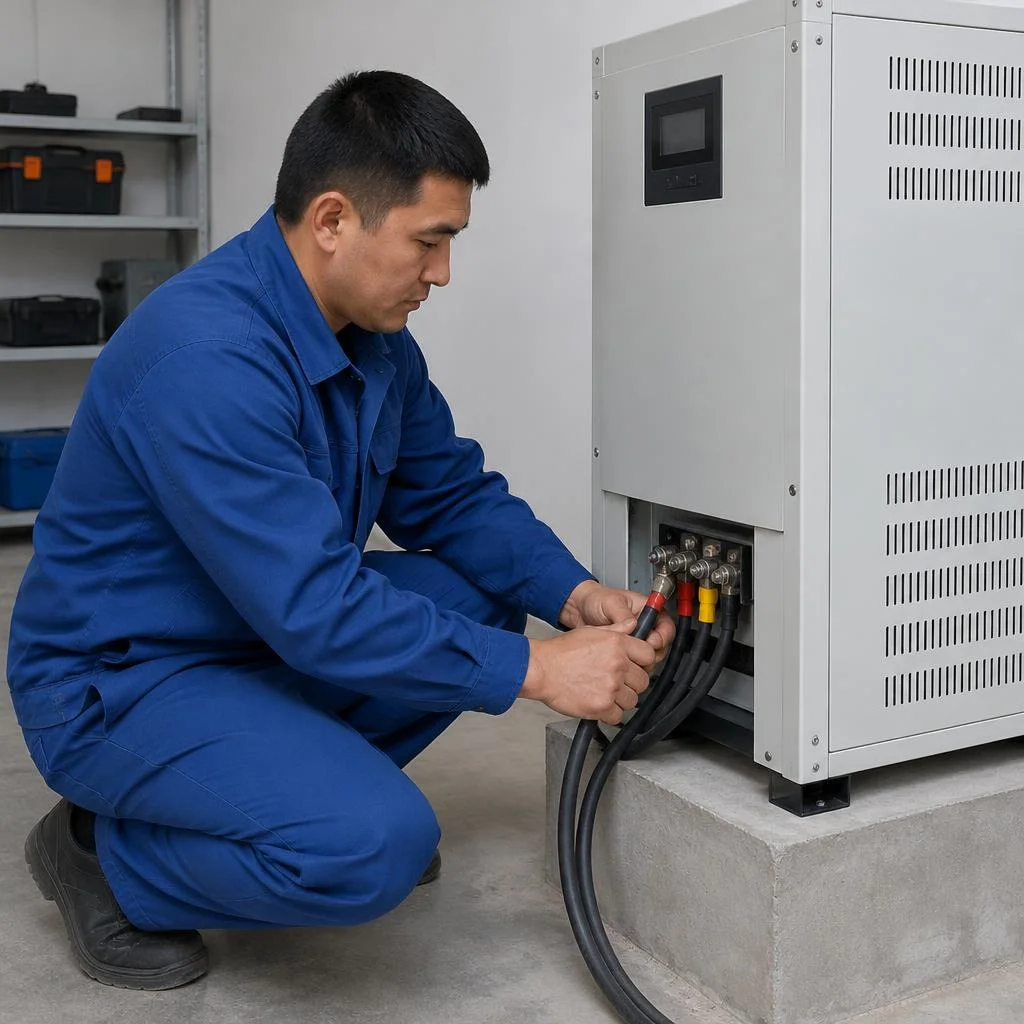
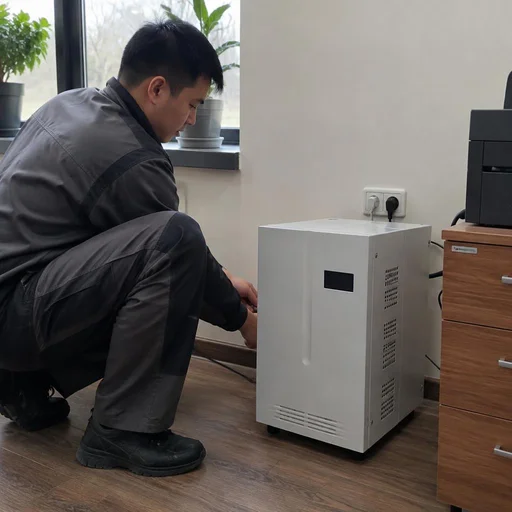
Wall-mounted stabilizer installation is suitable for power up to 8–10 kVA, while floor-standing is for heavy models from 10 kVA, which physically cannot be held on a wall. In Bishkek apartments with a hallway of 2–3 m², a wall-mounted relay unit of 5–8 kVA is more often installed: it occupies 30×40 cm and is hung on a load-bearing wall with anchors. Floor-standing installation is done in private houses where a separate room is allocated for the panel room — an electromechanical stabilizer weighs 40–70 kg and requires space for natural ventilation. The floor-standing model is placed on a level surface with a gap from the wall: the vibration of the electromechanical stabilizer is transmitted to the wall and over time loosens the mounting. If the room is damp, choose a version with an IP54 enclosure — an ordinary wall-mounted one in a bathroom or basement will fail within one season.
Stabilizer setup: output voltage, input range and turn-on delay
After installation, the stabilizer needs to be configured for the specific grid and load — factory settings are not always suitable. Three settings determine how the device behaves during voltage sags and surges.
How to set the output voltage and input voltage range
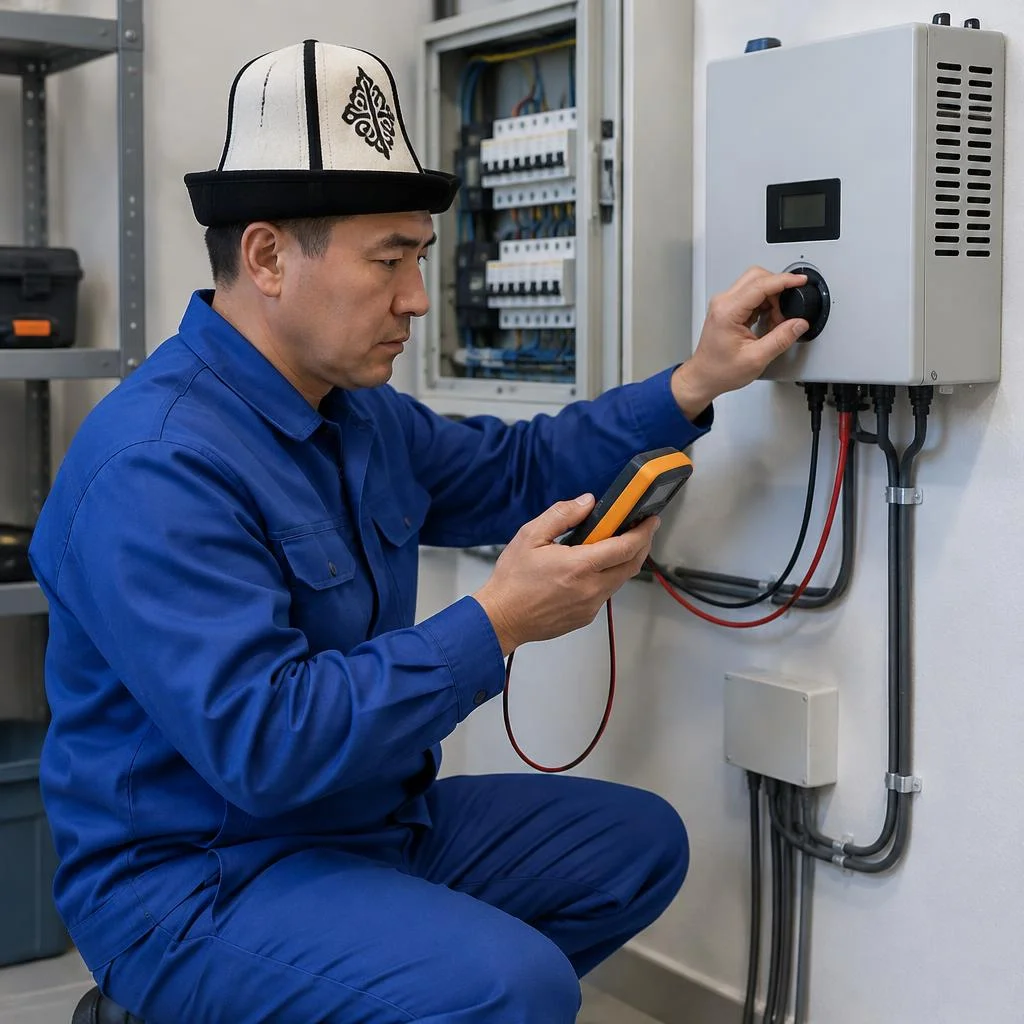
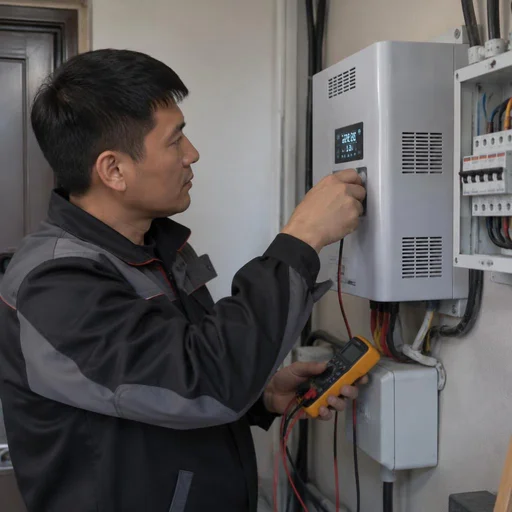
Eco-Service sets the output voltage to 220–230 V and the operating input voltage range according to the actual grid: if sags go down to 170 V, the range is widened, otherwise the stabilizer will shut off. We take measurements with a multimeter during peak load hours — in the evening, when air conditioners and electric stoves are running simultaneously in Bishkek high-rise buildings on Yuzhnaya Magistral and in the Asanbay microdistrict. When a client asks to install a voltage stabilizer for a home with a boiler and a refrigerator, we select the input range separately for each input: on the phase with the pump, the sags are deeper than on the household line. In search, this is most often phrased briefly — voltage stabilizer installation — and for such a query we immediately clarify the grid parameters. Too wide an input range is also bad: the wider the operating corridor, the more the stabilizer heats up and the more often the thermal protection trips.
Turn-on delay: how it protects appliances during surges
We set the turn-on delay to 5–10 seconds: after a power outage, the stabilizer waits until the grid stabilizes and only then supplies voltage to the appliances. In Bishkek's private sector — in the Kok-Zhar and Chon-Aryk areas — the power flickers in series three to four times an evening, and without a pause the compressor would get a jolt during every dip. For a refrigerator and air conditioner, the delay is increased to 3–5 minutes — the compressor needs time to equalize the pressure in the circuit, otherwise it starts "under load" and wears out quickly.
Checking stabilization accuracy after installation
After setup, we check the stabilization accuracy under load: we measure the output voltage with the appliances turned on and make sure it stays within the stated corridor. On a two-phase input, we take measurements one at a time and record the result in the report — which is also the basis for a warranty claim. It is essential to check under load: at no load, even a faulty stabilizer shows a steady 220 V, and the sag only appears when powerful appliances are turned on. A voltage stabilizer without a final measurement is work that cannot be accepted: the figures in the report show how the device will behave in winter under peak loads.
Mistakes During DIY Installation and Why They Are Expensive to Fix
A significant portion of service center requests are not first-time installations, but rework after DIY efforts. Let's break down where mistakes happen most often and what it costs to fix them.
Typical Mistakes: Undersized Cable, No Grounding, Installation Without a Bypass
- Undersized incoming cable: on a long run from the panel to the device, voltage drops, and instead of 220 V the output holds around 200 V — your equipment is protected only on paper.
- No grounding: the device enclosure is left without a protective circuit, and if phase and neutral are swapped, a dangerous potential appears on the metal.
- Installation without a bypass line: during a fault or service shutdown, the entire home is left without power until the stabilizer is removed manually.
- Cable to the outlet network is too thin: under peak load (refrigerator, boiler, pump), the insulation heats up and the terminal contacts gradually burn.
- No automatic protection breaker: a short circuit inside the device is not cut off, and the incoming cable takes the full current.
Why DIY Work Is Risky
Connecting it yourself is risky not because the enclosure is complex, but because of live work on the incoming line: a mistake at this stage means not a broken device, but a fire or electric shock. The procedure itself looks simple — mount the enclosure, connect the terminals, set the jumpers — but 90% of the time goes into preparing the incoming panel, not the unit itself. In most homes in Bishkek, the incoming panel does not have a separate disconnect switch for the apartment: the only way to de-energize the line for installation is at the floor panel, which is not always accessible. Without experience, it is difficult to assess both the incoming cable cross-section and the condition of the automatic protection breaker — and those are exactly what determine whether the line can withstand the starting current of a compressor or pump. Clients often phrase the request as: install a voltage stabilizer — and only during measurement does it turn out that the incoming cable will have to be replaced. In practice, we advise: before picking up tools, check with a tester whether the line is actually de-energized, and assess whether the cross-section is sufficient for your load.
What Happens to Your Equipment If the Stabilizer Is Connected Incorrectly
If connected incorrectly, the stabilizer either does not protect your equipment or becomes the source of the problem itself: swapped phase and neutral put potential on the enclosure, and incorrect settings cause constant shutdowns. Output voltage without calibration drifts beyond 220 V, and no one checks the stabilization accuracy — the device hums along fine, but the refrigerator gets 235-240 V. In such cases, grounding is often connected "to a radiator" or to the neutral bus, which turns protection into its opposite. Worst of all is a "floating" fault: the equipment works for months, then the control board fails — and no one connects it to the installation anymore. That is why after any installation we recommend a control measurement of output voltage under load and again after 15-20 minutes of operation: a deviation of more than 5 V is a reason to recheck the connections while the equipment is still intact.
2-year warranty, service center and post-installation maintenance
The work doesn't end after installation: the stabilizer requires periodic checks, and the work performed is covered by a warranty. Let's break down exactly what the two-year term covers, why an annual inspection is needed, and in which cases the wiring has to be redone from scratch.
What the 2-year warranty on installation and setup covers
Eco-Service provides a 2-year warranty on the installation, connection and setup of the stabilizer: if a connection defect or setup failure appears during this period, we fix it free of charge. The coverage includes terminal tightening in the input panel, the quality of the lug crimping, the correctness of the set output voltage, the input voltage range and the switch-on delay. We separately record in the acceptance report the parameters set at handover: we later use them to check the device's condition and see whether the settings have drifted. The warranty does not cover surges above the declared range: if the grid goes beyond the configured corridor, that is no longer an installation defect but an operating condition — which is why the input range is selected with a margin. Clients often find us through the query установка стабилизатора напряжения цена — and it leads them to the page with the calculation: the final estimate depends on the number of connection points and the line length, so it is calculated after inspecting the site.
Why a preventive connection inspection is needed
We recommend a preventive connection inspection once a year: we check terminal tightening, the condition of the insulation and the settings — a loose contact heats up and eventually causes a voltage drop. The inspection includes examining the input panel, checking the grounding, tightening screw connections with a torque wrench, measuring the voltage at the input and output, and checking the stabilization accuracy under load. Terminals loosen not from vibration but from thermal cycling: heating and cooling with each load gradually releases the tightening, so "it works, that's good enough" is not an argument. The inspection takes about an hour and costs less than replacing a burnt terminal block or a failed stabilizer. For owners of private houses in Bishkek with a boiler and pump equipment, we advise not stretching the interval beyond a year: their load cycle is more intensive than in an apartment.
When the stabilizer needs to be reconnected
- Relocation: dismantling the device, moving it to a new location, installation and reconfiguration for the grid parameters of the new site.
- Replacing the input cable: the old lugs and cross-section don't fit the new line, so the connection is redone entirely.
- Load growth: a boiler, air conditioner or workshop was added — we check whether the wiring can handle it and whether the power is sufficient.
- Switching to a three-phase input: a single-phase device is replaced with a three-phase stabilizer with a new connection diagram.
What changes when the load grows
When the load increases, not only the stabilizer but also the cable cross-section is changed: keeping the old line means getting a voltage drop at the input and a loss of power at the output. For a 9-12 kW boiler and pump equipment in a private house in Bishkek, the input cable is recalculated separately, and on a three-phase input a protection circuit breaker is added for each phase. Before replacing the device, measure the actual consumption with a clamp meter during peak hours — the boiler's rated power and the real load differ by 15-20%.
Conclusion
We have gathered the key things to keep in mind before buying and installing a voltage stabilizer: from calculating power to maintenance after startup. Below are five takeaways that most often determine whether the device will last for years or fail within a season.
Key takeaways
- Power based on the sum of loads: the unit is calculated based on the total power of the connected equipment with a 20–30% margin, not based on the price of the enclosure or a salesperson's advice.
- Type by input: for an apartment with a single phase, a single-phase model is chosen; for a private house, a three-phase one or three single-phase units for each line.
- Complete installation: the work includes preparing a cable of the required cross-section, connecting to the input panel, a bypass line, grounding, and setting the output voltage.
- Weak points: an undersized cable cross-section and the absence of grounding nullify even a correctly selected unit — it goes into protection or heats up under load.
- Maintenance: once every year to a year and a half, the terminals need to be inspected, contacts tightened, and stabilization accuracy checked — without this, the settings drift after seasonal surges.
- Practical tip: before installation, measure the mains voltage at different times of day — evening voltage sags in Bishkek high-rise buildings often require a wider input range than stated in the datasheet.