

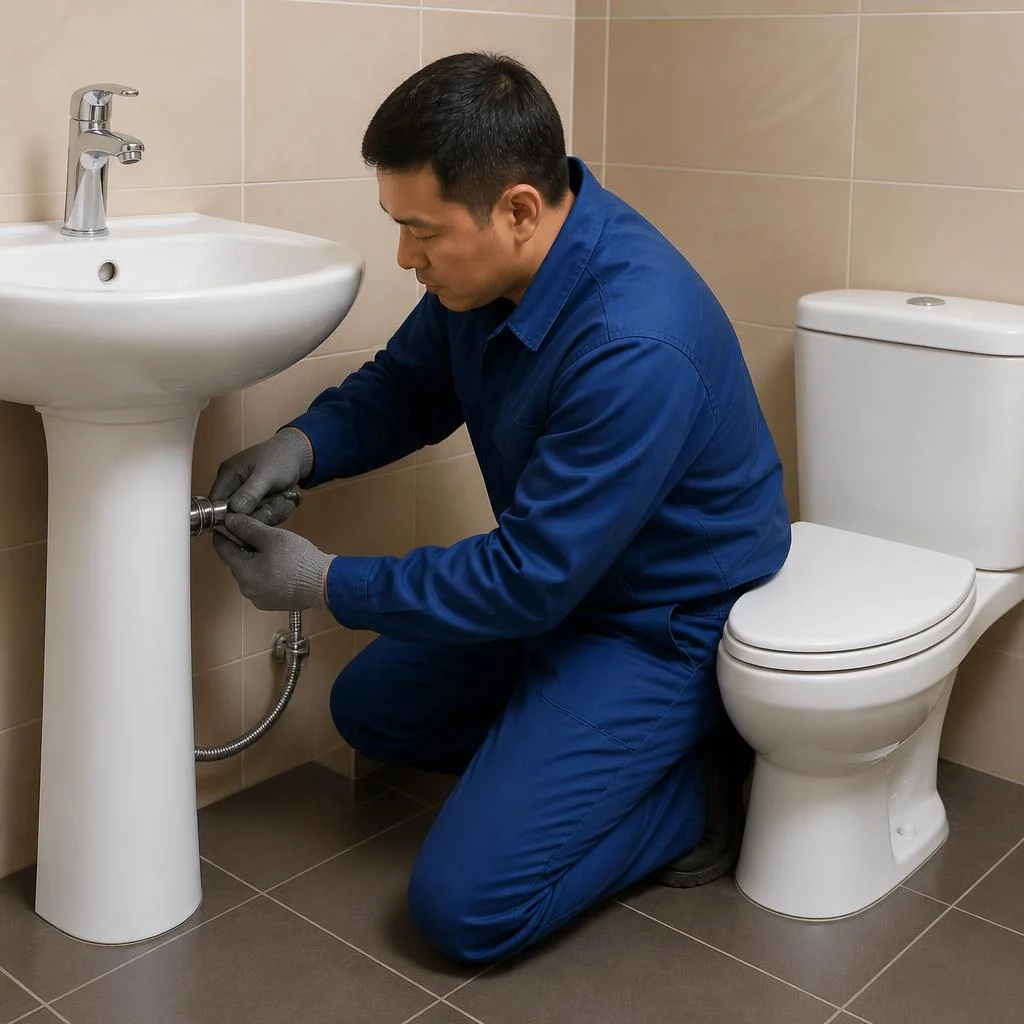
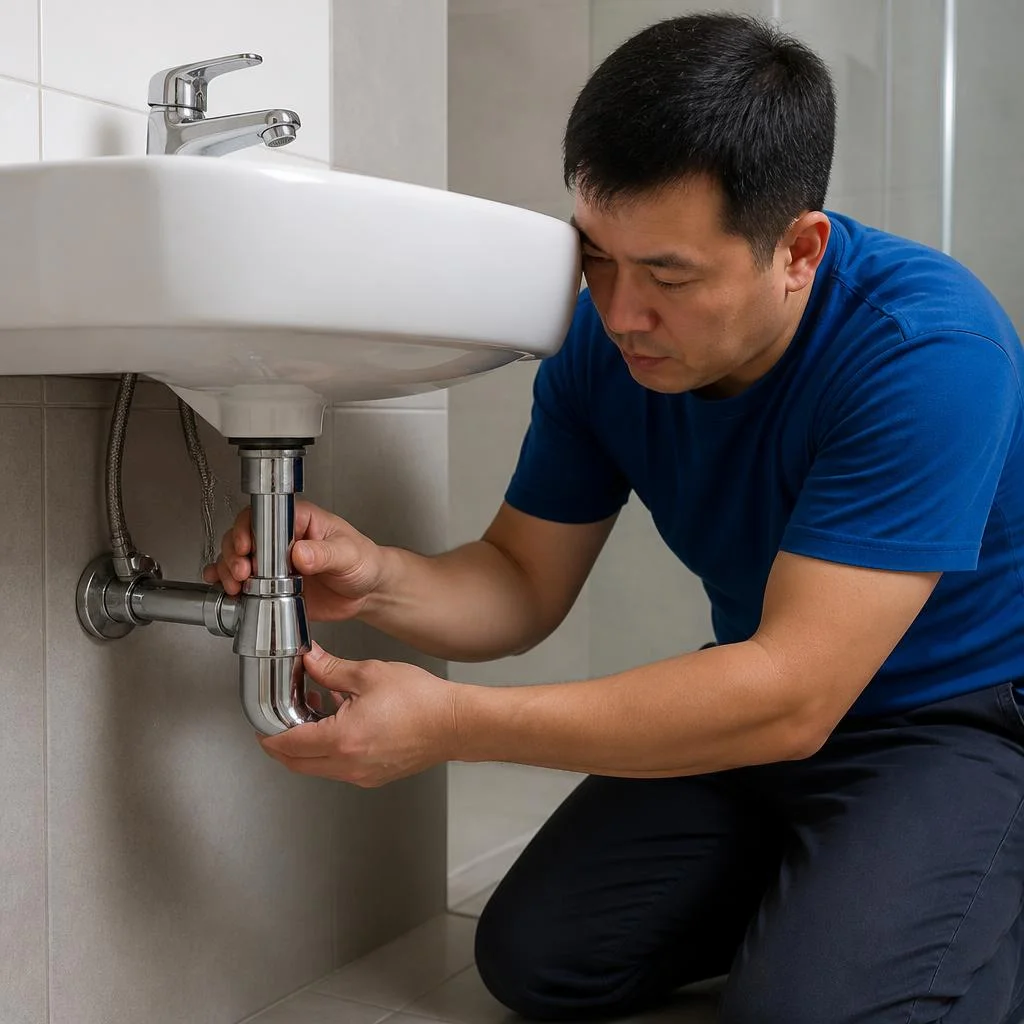
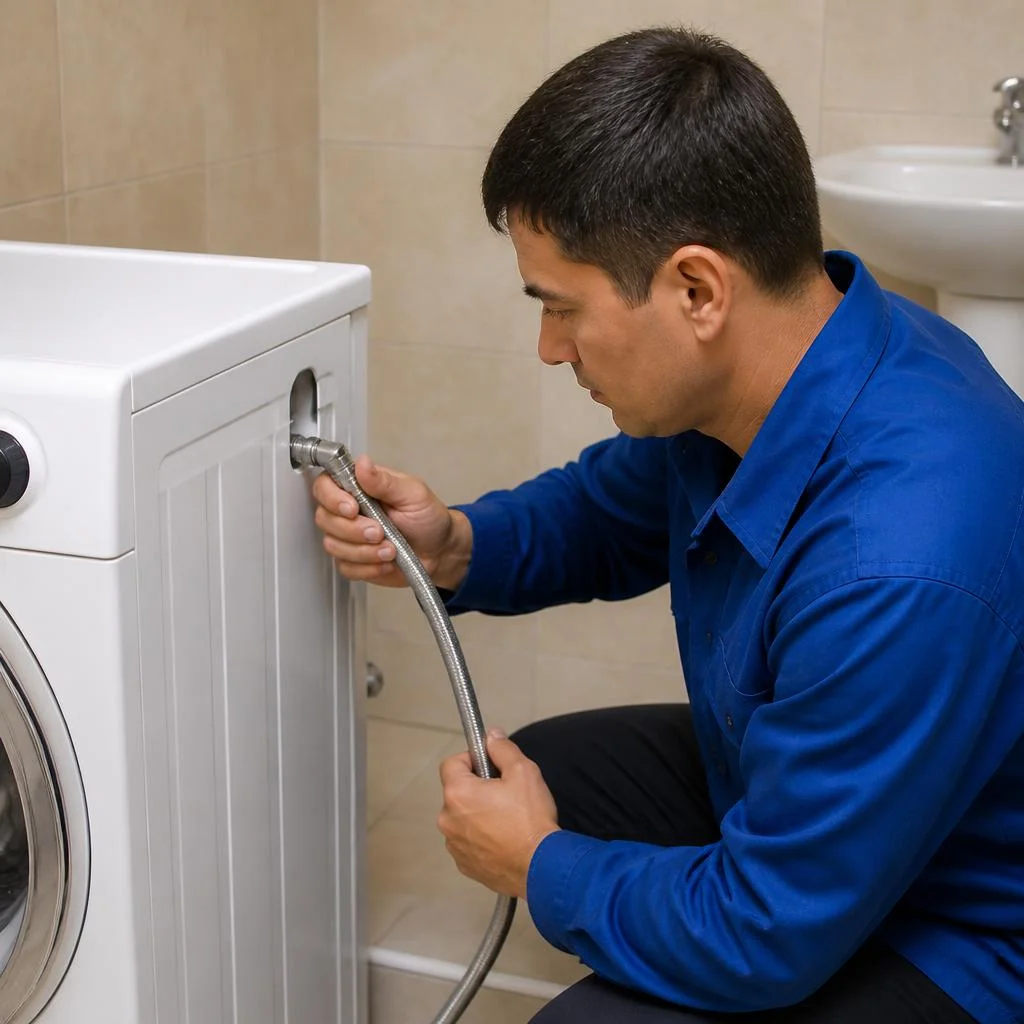
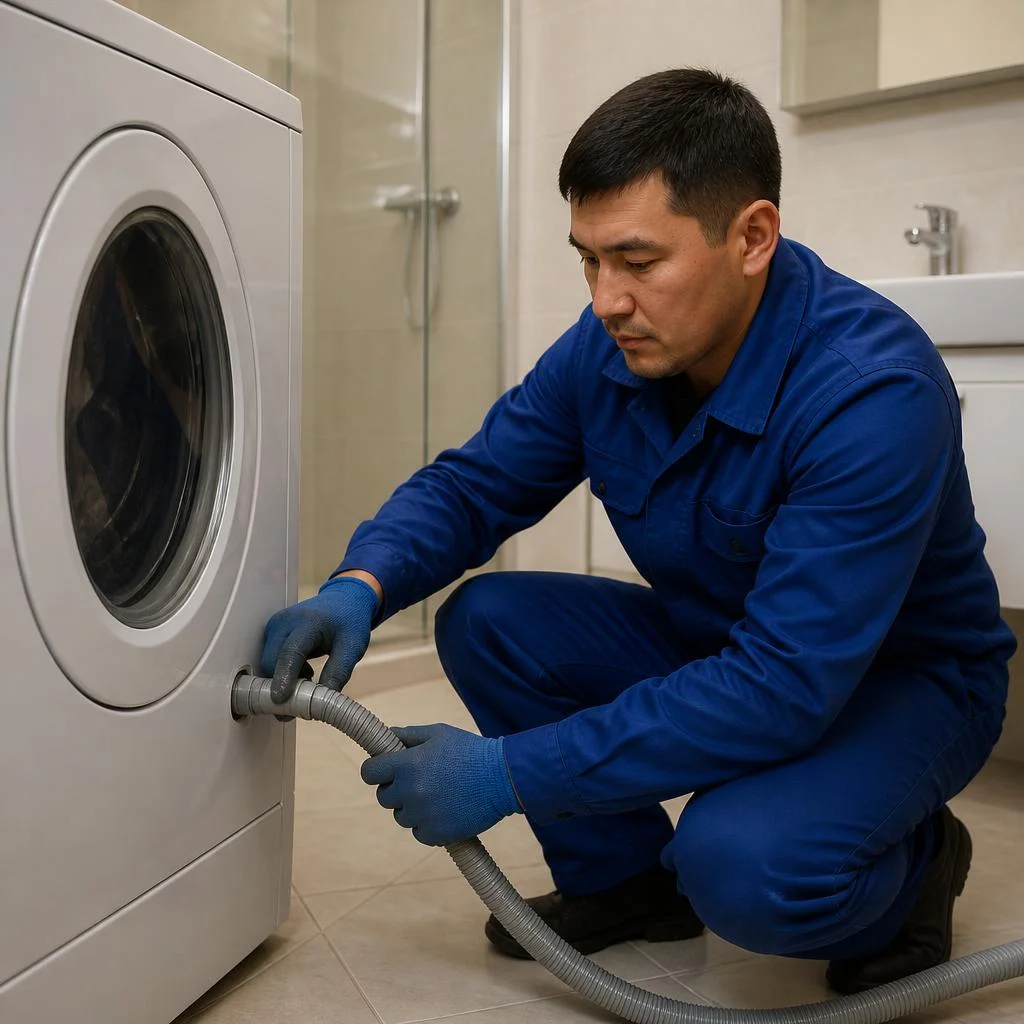
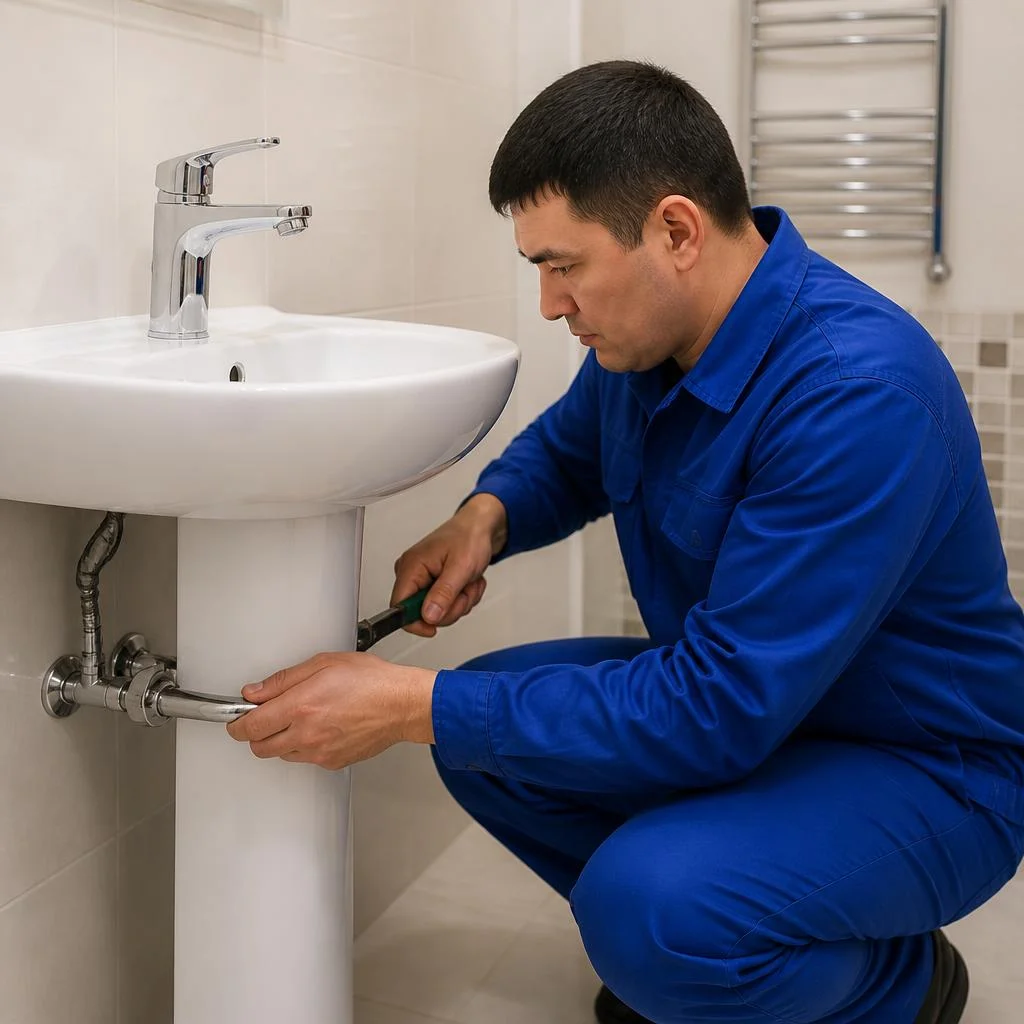
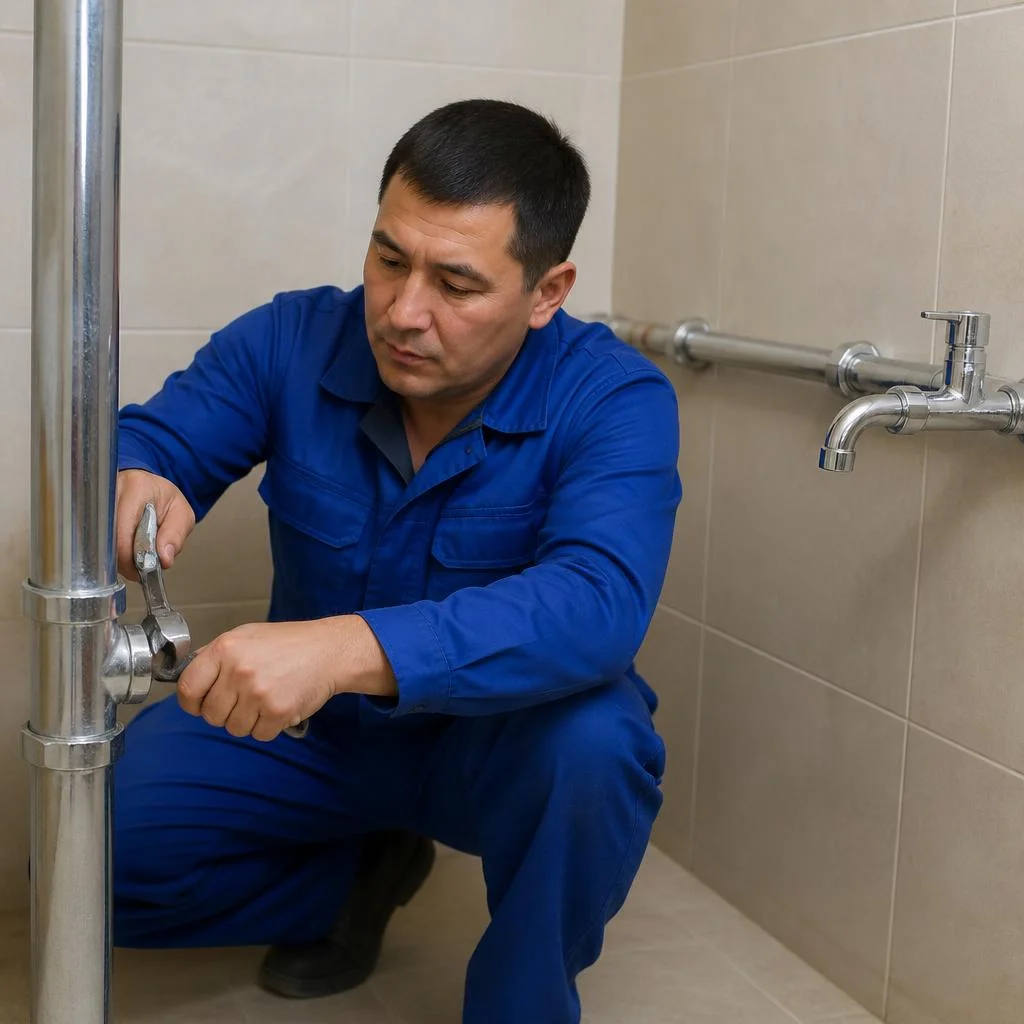








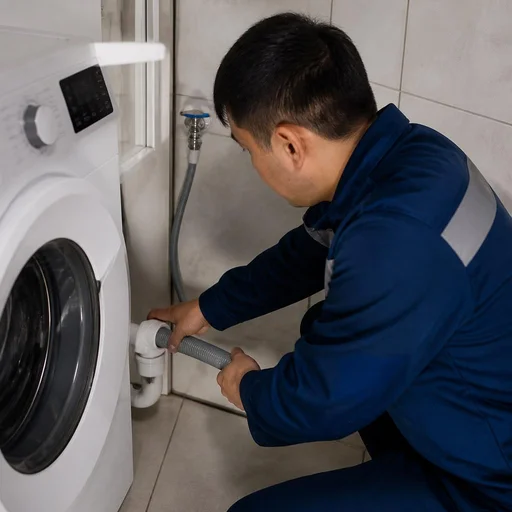
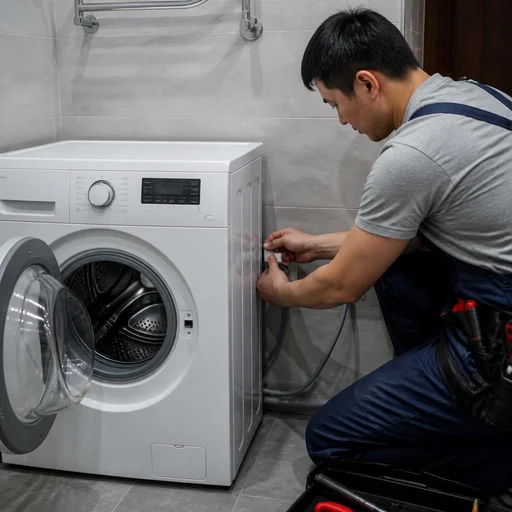
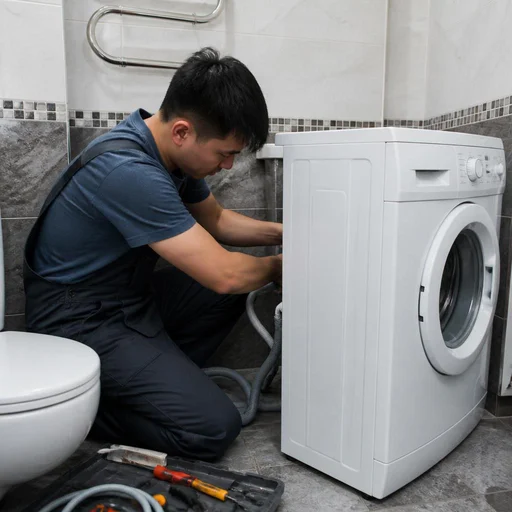
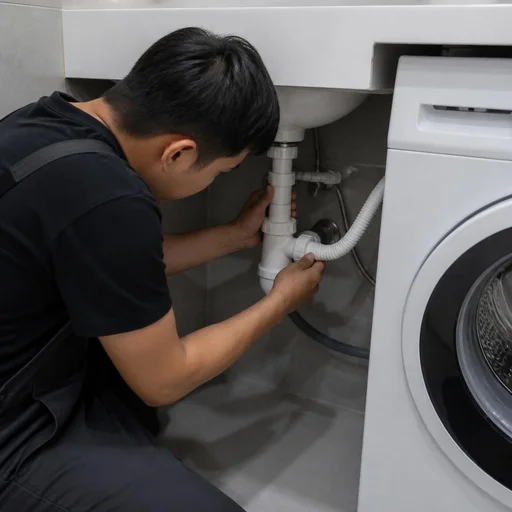
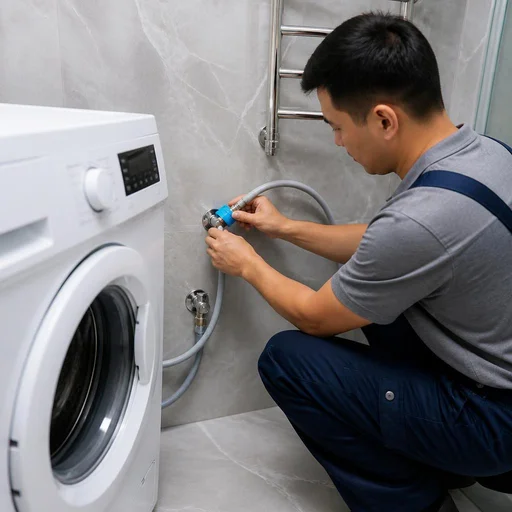
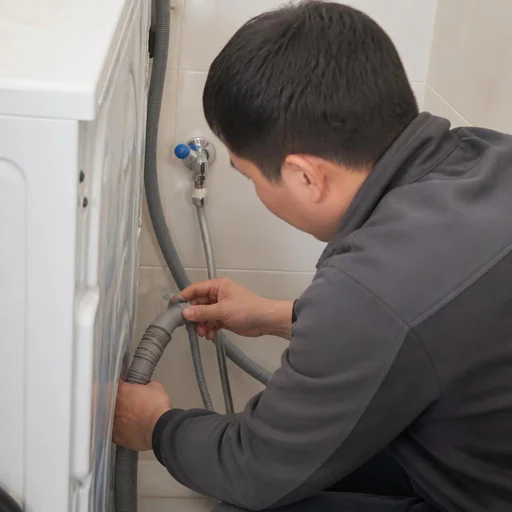
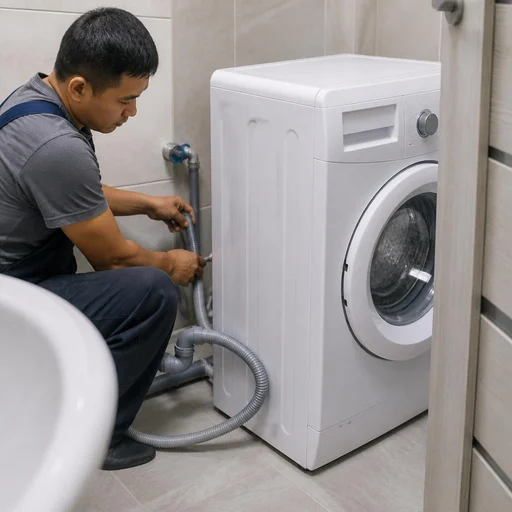
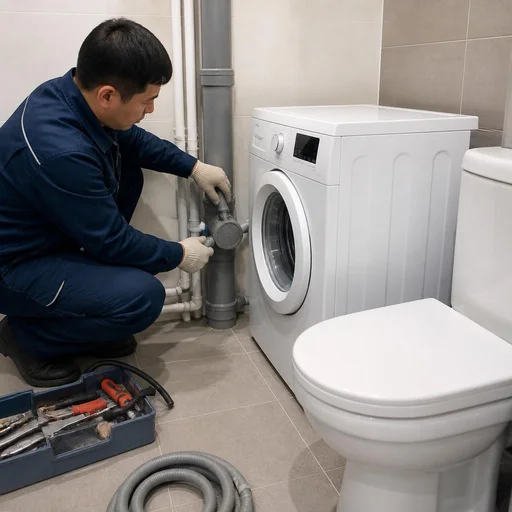
What plumbing appliance connection includes and what work the technician performs
Connecting a plumbing appliance is not a single operation but three independent circuits (water, drain, electrical) plus a final check. Let's break down what the service consists of and what exactly the technician does on site.
Three circuits: water supply, sewerage, power supply
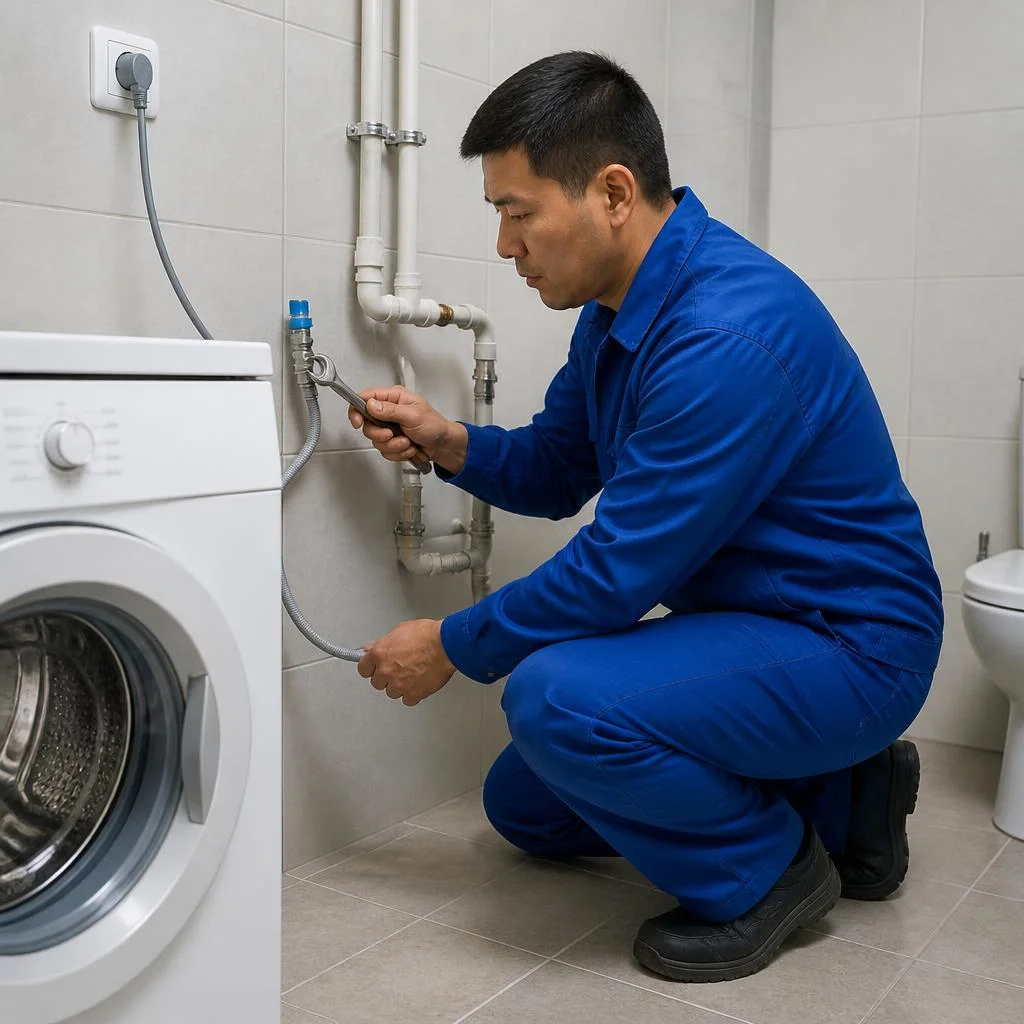
We connect appliances via three independent circuits — water, drain and power; each is checked separately, because a leak and a short circuit are different risks. Connection to the water supply requires tapping into a pipe or joining a ready-made outlet with a shut-off valve and a check valve. Connection to the sewerage involves a siphon, a drain hose secured at a height of 60-90 cm from the floor, and a sealed connection to the socket. Connection to the power supply is a dedicated line with a 10-16 A RCD and a grounding contact; a washing machine and a dishwasher must not be plugged into the same socket via an adapter at the same time. Eco-Service performs all three jobs with a single plumber. If the technician completes all three circuits in one visit, you don't pay for a repeat visit and aren't left with a working machine but no drain.
What turnkey comprehensive installation includes
- Water supply circuit installation: tapping or joining to the outlet, installing a ball valve, check valve and inlet hose.
- Drain circuit installation: installing a siphon, routing the drain hose with wall fastening and leading it into the sewerage.
- Power supply connection: a dedicated power line, a grounded socket, and if necessary, relocating the point.
- Leak check: inspection of all threaded and press connections under operating pressure.
- Test run: a short wash or rinse cycle with inspection of the connections after water intake and drainage.
Leak check and test run
After installation, we run the machine in test mode and inspect all connections — water, drain and electrical are checked under load, not "by eye". The plumber monitors the system pressure, intake temperature, drain speed and the absence of moisture under the siphon and at threaded joints. The work performed is covered by a 2-year warranty — if a drip appears at a connection after the visit, the technician will return and fix the cause at no extra charge. Most leaks don't appear immediately but after the first full wash cycle — that's why the test run is done before the technician leaves.
Washing machine: connection to water, drain and power
The washing machine is the most frequent item people contact us about: it accounts for more than half of all requests. Let's go through the standard scenario, non-standard cases, and what to do if there are no water and drain outlets nearby.
Standard washing machine installation
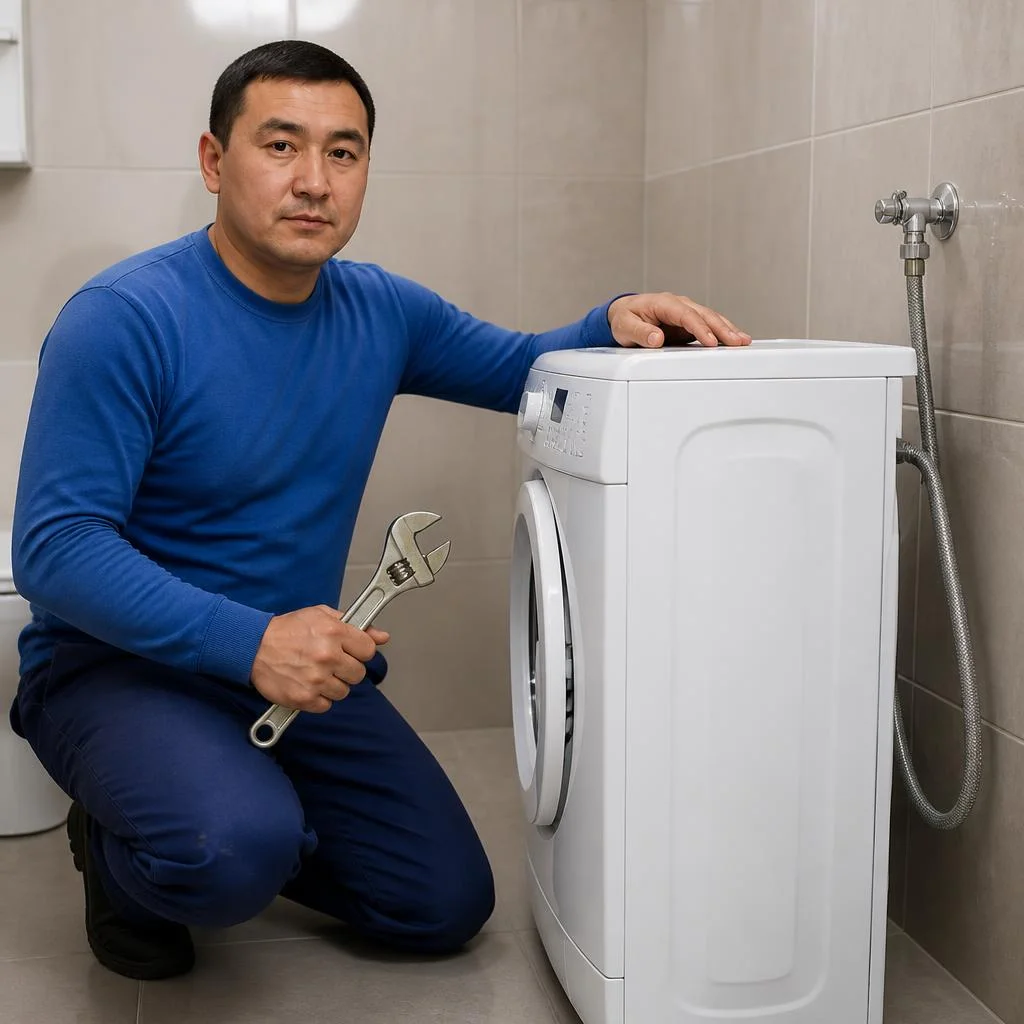
Our standard washing machine installation takes one visit: the technician connects the inlet hose to the water supply via a tee, the drain hose to the sewer via a siphon, powers the machine to the grid and checks every connection under pressure. The work proceeds along three circuits at once — water, drain, electrical — so the technician arrives with a full set of fittings, seals and clamps for 3/4 and 1/2 inch diameters. In search, clients often type plumbing connection price — and land on this page, although the final cost depends on the condition of the outlets, not on the price list on paper. In practice, installation fits into one hour if the apartment already has outlets and a socket within reach of the hoses. Before installation, it's worth making sure the water and drain outlets are on the same wall as the socket — otherwise the communications will need to be extended or the socket relocated, and the visit will stretch into two stages.
When communications need extending or a tie-in to the riser
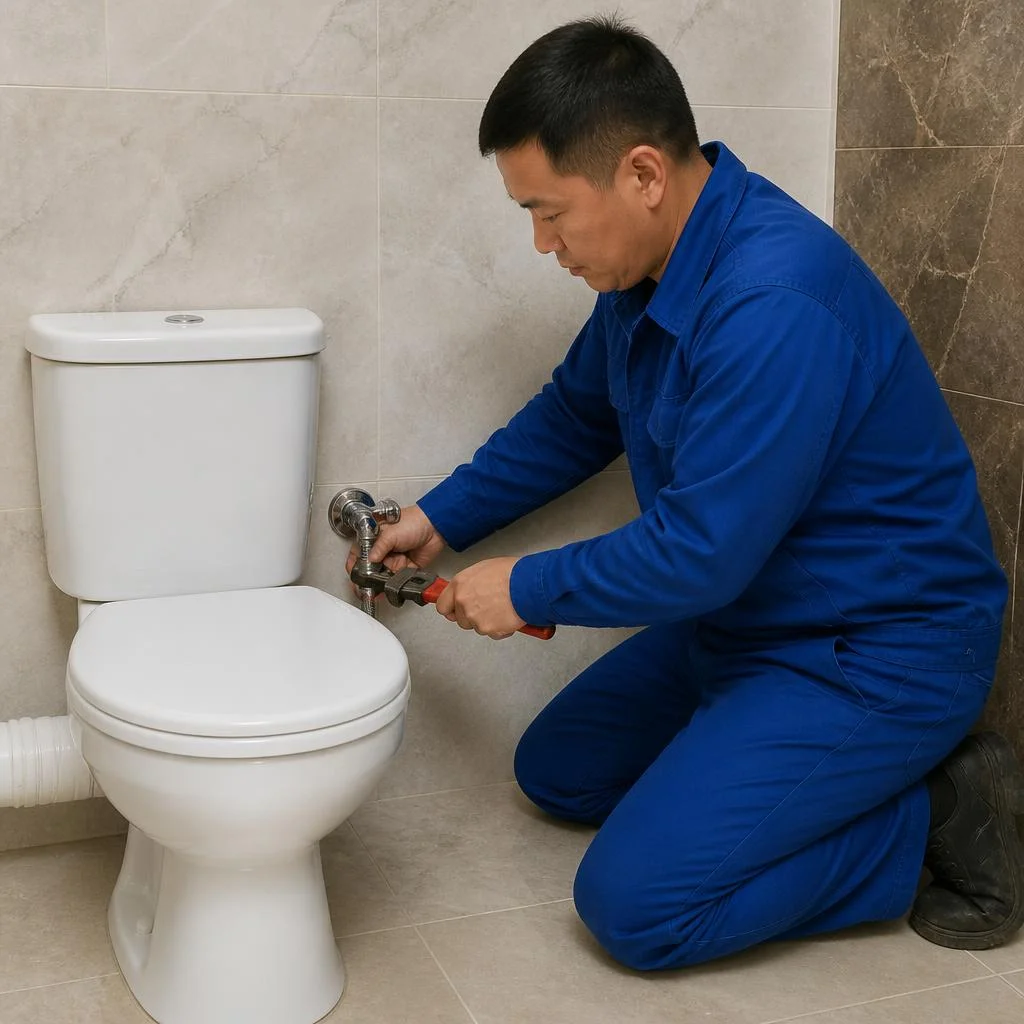
If there are no water and drain outlets near the machine, Eco-Service performs a tie-in to the riser or extends the communications — these are separate works done on site after inspection, because the length of the run and the pipe material are not known in advance. In new buildings in Bishkek (the Ak-Ordo, Ak-Zhol, Kok-Zhar residential areas) the risers are more often plastic — polypropylene or metal-plastic; the tie-in takes 40-60 minutes and requires only a tee and a soldering iron. In the old housing stock of the center, cast-iron and steel pipes with worn threads are the ones that need tie-ins: the technician works carefully so as not to strip the thread and not to cause a leak for the neighbors above and below. Extending the inlet and drain hoses is a simpler operation than a tie-in, but it must not be done by splicing old hoses through adapters: the connection loosens over time.
Replacing the inlet and drain hose during installation
- Condition diagnostics: the technician checks the elasticity and reinforcement of both hoses — a cracked or stiffened inlet hose is replaced immediately, before the first run.
- Inlet hose: a reinforced hose with metal fittings and a check valve is installed instead of the standard one; the check valve protects against flooding if the pressure in the supply drops.
- Drain hose: a corrugated hose with a clamp is attached to the siphon or to the branch pipe via an adapter; it's important to maintain a drain height of 60-90 cm from the floor.
- Seals and fittings: gaskets, paronite rings and brass fittings are replaced together with the hoses, because the hard water in Bishkek leaves scale and corrodes the rubber.
- Pressure testing: after replacement, the technician runs a short cycle and inspects all connection points — this reveals leaks before the water gets under the baseboard.
Can you install a washing machine yourself
Do-it-yourself installation is possible if there are ready water and drain outlets and a socket nearby; in other cases you need tools for a tie-in and skill with threaded connections. The minimum kit for a typical installation is an adjustable wrench for 3/4, FUM tape or oakum with sealant, a Phillips screwdriver, a level and a bucket to drain the remaining water from the hoses; for a tie-in to the riser, add a pipe cutter, a soldering iron for polypropylene or press tongs for metal-plastic. The main difficulty is not the assembly itself, but the correct sequence: first the water is shut off, the pressure is released, and only then is the plug removed from the tee. The main risk of do-it-yourself installation is not the assembly, but the lack of load testing: a leak is discovered after the first wash cycle, when the water has already gone under the baseboard and to the lower floors.
Dishwasher and water heaters: connection specifics
A dishwasher and a water heater go through the same three circuits — water, drainage, electrical — but with nuances: built-in appliances require access to the utilities, a boiler puts a load on the wiring, and the drain is sometimes routed as a separate line.
Dishwasher installation: freestanding or built-in
We install both freestanding and built-in dishwashers: built-in ones have harder access to the utilities, so installation is done before placing them in the cabinet. A freestanding model stands against the wall — the technician runs a flexible hose to the water supply through a tee, routes the drain into the sink siphon or a separate sewer outlet, and plugs the cord into a grounded outlet. In the built-in version, the inlet and drain hoses are hidden behind the cabinet's toe kick, and the connection to the riser and the shut-off valves are positioned so that they remain accessible through the lower drawer. A built-in dishwasher must not be connected after final installation in the cabinet — access to the valves and drain must remain, otherwise a leak will require disassembling the furniture.
Storage and tankless water heater: what to consider
| Parameter | Storage | Tankless |
|---|---|---|
| Load on wiring | medium, 1.5-2 kW | high, 5-8 kW |
| Dedicated line required | not always | almost always |
| Mounting | anchors into a load-bearing wall | compact body at the point of use |
| Heating time | 40-90 minutes | instant |
| Maintenance | flushing the tank of scale | cleaning the heating element of salts |
Relocating an outlet and a dedicated power line
If the outlet is located far from the appliance or cannot handle the load, we relocate it or run a dedicated power line as part of the work. For a washing machine, a 3×2.5 mm² cable and a 16 A breaker are sufficient; for a tankless water heater — 3×4 mm² and a 25-32 A breaker, and the outlet itself is installed moisture-proof (IP44) at a height of 90-100 cm from the floor. An extension cord for a washing machine or water heater is a temporary solution; under continuous operation it heats up and becomes a risk point, so relocating the outlet is done once and for good. In the search bar, clients often type plumbing installation Bishkek — this way the technician immediately understands that a visit is needed with relocation of the power point and wall chasing. Agreeing on the scope of work before installation begins saves one visit: if the outlet is relocated in advance, the tile and wall won't have to be opened up again.
How the technician's visit works and how long the connection takes
From the request to working equipment, there are several steps. Let's break down how a home visit is organized, what the technician does on site, and what the duration of the work depends on.
From request to visit: how to book plumbing connection services in Bishkek
- Taking the request: a call, a message on WhatsApp or Telegram, a form on the website — the address, equipment model, and a convenient time slot are recorded, including evening hours and weekends.
- Technician preparation: for each specific task, press tongs for metal-plastic, a soldering iron for polypropylene, adjustable wrenches, and a grounding tester are taken along.
- Consumables in the vehicle: a supply of inlet and drain hoses, seals, and fittings allows the installation to continue without interruptions to buy additional parts.
- Home visit: the plumber arrives at the agreed time and inspects the installation point before starting work.
- Agreeing on the scope: the work is confirmed on site, then the equipment is connected to water, drain, and power with a test cycle.
- Photos before the visit: a picture of the installation site and utility connections helps to understand in advance whether an extension, a tap-in, or moving an outlet is needed, and to bring the necessary parts along.
How long the connection takes
A standard installation of a washing machine or dishwasher is completed in a single visit, and when the water supply, drain, and a working outlet are already in place, the main part of the work takes less than an hour. Non-standard tasks — tapping into a riser, extending utilities, moving an outlet — stretch out the visit because they proceed in stages: first shutting off the riser and tapping in, then running the line, then installation and pressure testing. In new buildings with ready-made connections, the process goes faster, with no need to open walls and extend pipes, while in older housing stock, additional time is needed for carefully tapping into a metal riser and checking every connection. The price of such a service depends on the set of works, so the technician quotes the estimate after an inspection, not over the phone. If you provide the equipment model in advance and send a photo, we will select consumables for the specific case and reduce downtime on site.
What the technician checks before starting work
- Water supply and drain connections: the condition of threaded connections, pipe diameter, and the presence of shut-off valves are assessed.
- System pressure: checked with a pressure gauge to prevent water hammer and leaks after installation.
- Grounding and outlet: the grounding loop and the outlet's compliance with the equipment's load are checked with a tester.
- Inlet and drain hose: inspected for cracks and kinks; if worn, the technician offers a replacement.
- Power connection: the cable cross-section and the absence of twists on the power line are checked.
- Agreeing on additional work: if tapping into a riser or replacing hoses is needed, the scope is confirmed in advance, not after the fact.
Non-standard situations: old housing stock, hard water, no outlets
In Bishkek, part of the housing stock consists of old buildings with metal risers and hard water. Let's look at how this affects plumbing installation and what to do when there are no water and drain outlets near the installation site.
Old risers and metal pipes: how tapping is done
In buildings with old metal risers, we perform tapping with minimal intervention: we find a point where the thread still holds and use adapters for modern flexible hoses. In khrushchevkas and stalinkas along Chuy Prospekt and in the blocks near the Osh Bazaar, risers are more often cast iron or steel, coated with deposits on the inside — the thread is worn in places, and a regular tee holds poorly. The plumber first taps the pipe, assesses the wall thickness, and only then chooses the type of fitting: compression, threaded, or saddle clamp. We can arrange tapping into the riser with new outlets for a washing machine and dishwasher. If the riser is worn, tapping in an unfortunate spot causes leaks for the neighbors above and below — so we first assess the condition of the pipe rather than cutting right away.
Hard water and its effect on connections
Hard water accelerates the formation of scale on seals and hoses, so during installation we use quality fittings and check tightness under working pressure. Water from the city water intake contains a lot of calcium and magnesium salts: over a year, a dense layer settles on rubber gaskets, destroying their elasticity from the inside. The washing machine inlet hose and faucet gaskets suffer especially — on the outside they look intact, but inside they have already cracked. Clients often ask how much it costs to connect plumbing with replacement of consumables — the cost is calculated separately for each item, and preventive replacement of the inlet hose every few years costs less than repairs after a leak into the neighboring apartment.
No water and drain outlets: solution options
| Situation | Solution | What is taken into account |
|---|---|---|
| Pipes on the same wall, up to 2 meters | Extension of communications | Material of existing piping, number of bends |
| Pipes on another wall or across the room | Tapping into the riser | Condition of the riser, coordination with neighbors |
| Kitchen with a dishwasher in a niche | Extension from the sink | Siphon height, drain slope |
| Bathroom in a panel building | Tapping into the riser | Type of riser, access to it from the apartment |
| Rented apartment without tapping | Extension with flexible supply | Owner's consent, reversibility of work |
Through Eco-Service, you can order both scenarios with a technician visit — he will determine on site which option can realistically be done without altering the neighbors' communications.
Warranty, service center, and why this matters during installation
Plumbing installation is work where the cost of a mistake is measured not by rework, but by a leak onto the neighbors or a short circuit. Let's break down what exactly a warranty provides, why a dedicated service center is needed, and how a service differs from a private handyman.
2-year warranty on completed work
We provide a 2-year warranty on all installation work — if a leak or connection failure occurs during this period due to our fault, the technician comes out and fixes it. The warranty covers threaded and press connections, tapping into the riser, the installed siphon, flexible supply lines, and replaced inlet and drain hoses. We separately record the electrical connection point in the report: outlet relocation, a dedicated power line, grounding — claims for these units are also accepted within two years. Leak testing and a trial run are included in the work, so a warranty case is processed based on the report without repeat diagnostics. The warranty covers the work and the consumables installed, but not the appliance itself — for factory defects, claims go to the manufacturer or seller.
Our own service center in Bishkek
Eco-Service is a direct provider of the service: we have our own service center in Bishkek, so a single organization accepts and performs the request, without intermediaries or subcontracting. The dispatcher records the address, type of appliance, and connection point; the technician comes to your home with a full set of consumables — supply lines, siphon, elbows, press fittings — and in most cases completes the job in a single visit. Bishkek dispatchers accept installation requests both in new development areas and in older housing stock, where tapping into a metal riser is required. When the service is provided by a direct provider, responsibility for the result isn't diffused between the dispatcher and a private handyman — the warranty is given by the same company that performed the work.
How to tell a service from a private handyman
- Written warranty: a service records the term in the report — 2 years on work and consumables; a private handyman more often works on a verbal basis.
- Price list and estimate: the cost is known before work begins and doesn't change along the way; with a private handyman, the amount is often quoted after dismantling.
- Address and center: a service has a physical service center you can visit with a claim; a private handyman has only a phone number.
- Customer reviews: a service collects them on 2GIS and Google Maps linked to an address; a private handyman's reviews are scattered across chats.
- Responsibility for the result: a service is responsible for the entire unit — from tapping to trial run — not just for the fact that the work was performed.
Conclusion
We've gathered the key things to keep in mind before connecting a washing machine, dishwasher, or water heater. Below are brief takeaways without repeating the previous sections.
Key takeaways
- Three circuits, not one operation: connection includes water, drainage, and electrical plus a check under load after startup.
- One visit or two: a standard job is completed in one go, while tapping into the riser, extending utilities, and relocating an outlet require a separate stage and coordination.
- Old housing stock and hard water: assess the condition of risers, threaded connections, and hoses in advance — this reduces the likelihood of a leak in the first month.
- Responsibility matters more than a low price: in the event of an accident, the contractor compensates the neighbors for damage, so a 2-year warranty and a dedicated service center are more reliable than a random handyman.
- Photos before the visit: photograph the installation site, water supply outlets, drain, and outlet — the technician can coordinate the scope of work faster and bring the necessary fittings.


