








Which seams Eco-Service seals in Bishkek: from inter-panel joints to the bathroom
Sealing joints is not one service, but a set of works tailored to a specific building unit. Let's break down which units the service covers: from facade inter-panel joints to the bathroom in an apartment.
External seams: inter-panel joints, panel and floor slab joints
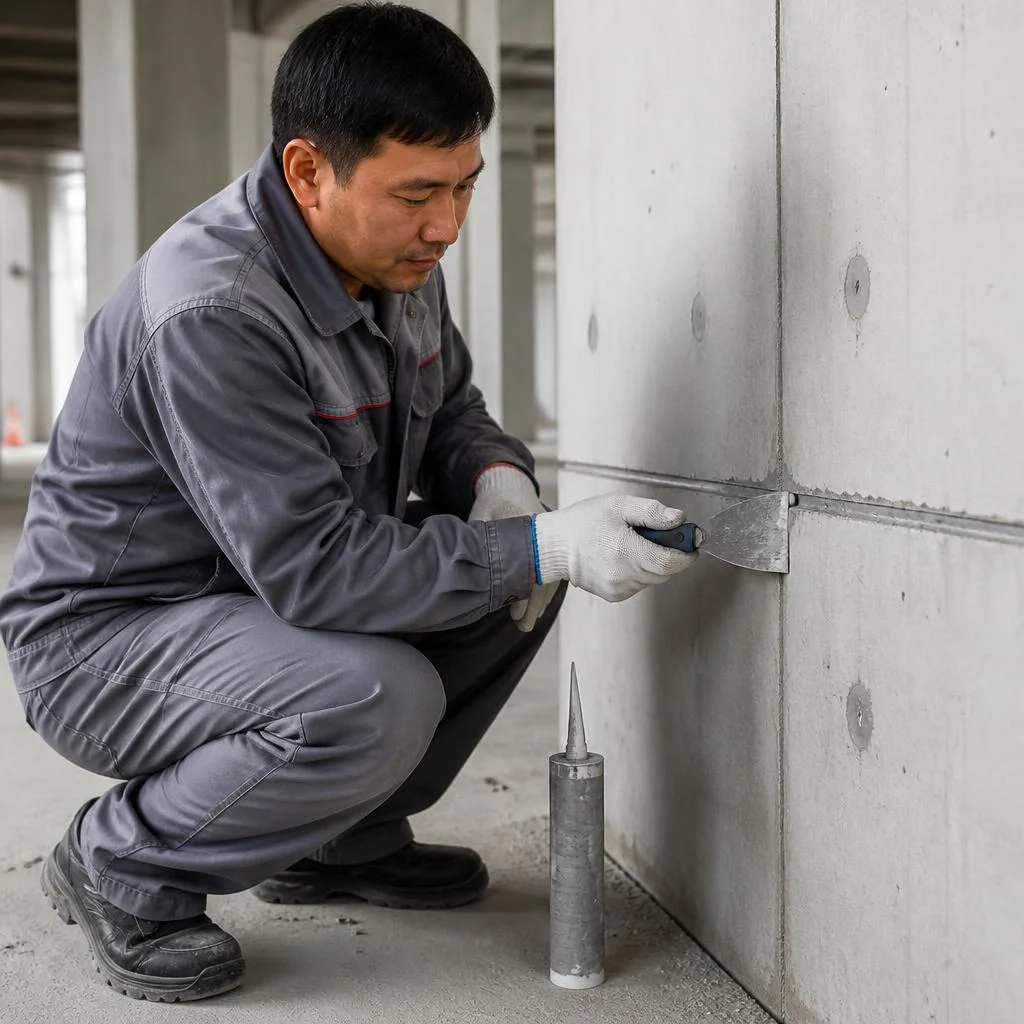
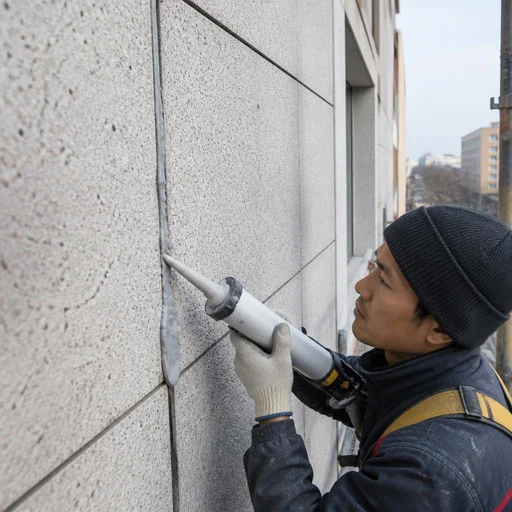
The service seals inter-panel seams, panel joints and floor slab joints — these are three different structural units with different filling technologies. The inter-panel seam runs vertically between external wall panels and takes the main deformation from settlement and temperature cycles. The panel joint is a horizontal unit between blocks of the same row; here the destruction of the sealant is more common. The floor slab joint lies inside the building contour and is treated when the seam comes out onto the facade or into the technical floor. In all three cases, we remove the old mortar, lay a sealing cord and apply an elastic sealant. The inter-panel seam works with the deformation of the building, so it cannot be filled with rigid mortar — an elastic sealant over a sealing cord is needed.
Seams around windows, doors and utility entries
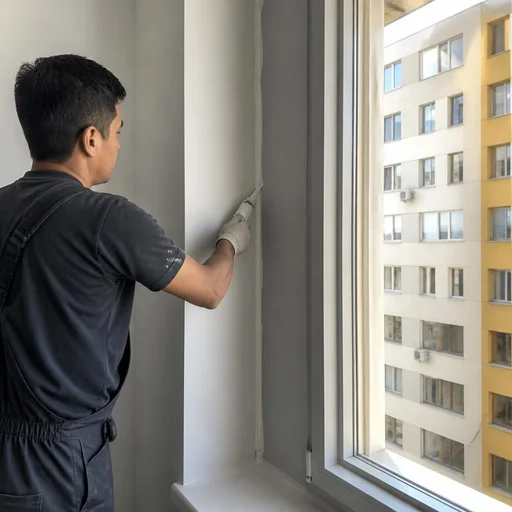
- Sealing seams around windows: the gap between the frame and the opening is filled with mounting foam, on top — vapor-permeable sealant and a vapor barrier tape.
- Sealing seams around doors: entrance and balcony units are sealed by the same principle, but with a reinforced external contour.
- Sealing utility entries: heating, water and cable sleeves pass through the wall — the gap around the pipe is sealed after installation.
- Mounting foam: retains heat and fills the volume, but without an external sealant it degrades from ultraviolet radiation within two seasons.
- Sealant: the finishing layer that accommodates the movement of the pipe when heated and prevents the gap from opening up.
Internal seams: bathroom, sanitary unit, joint between bathtub and wall
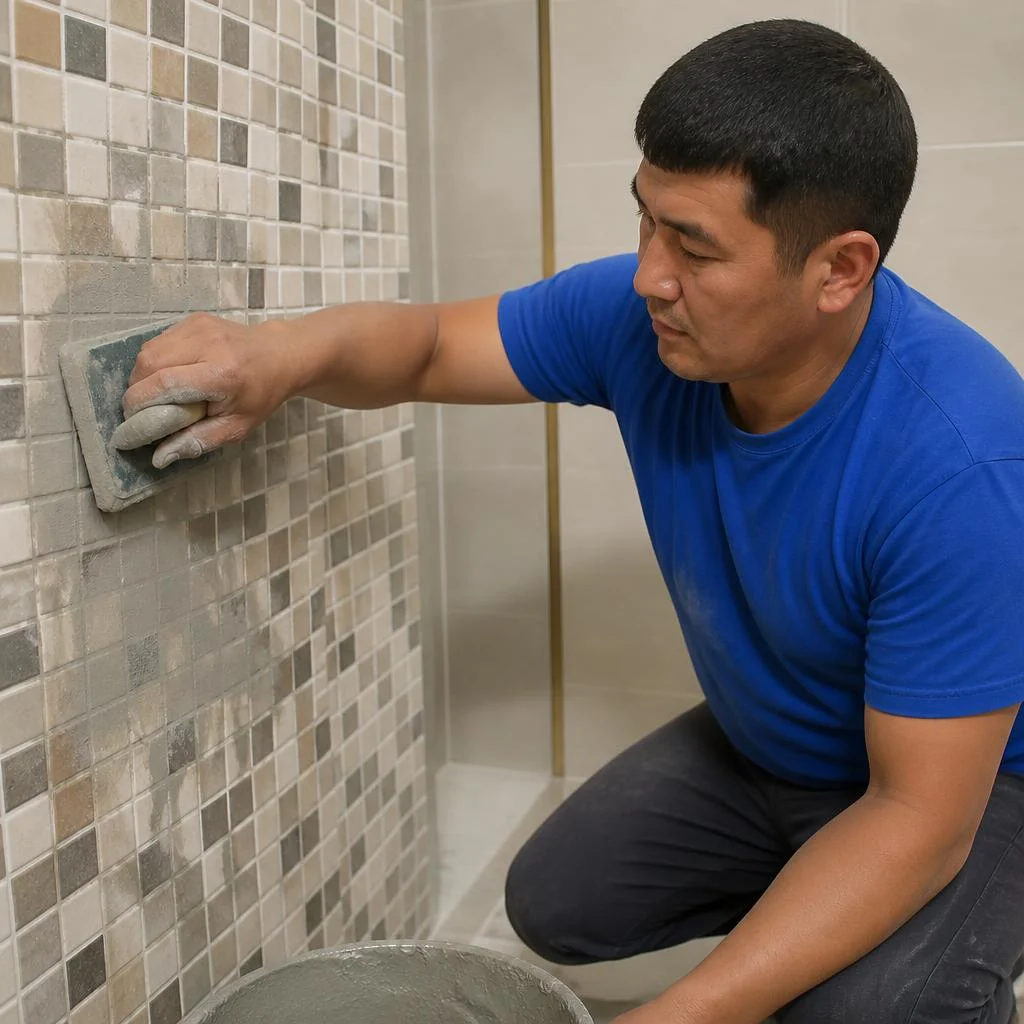
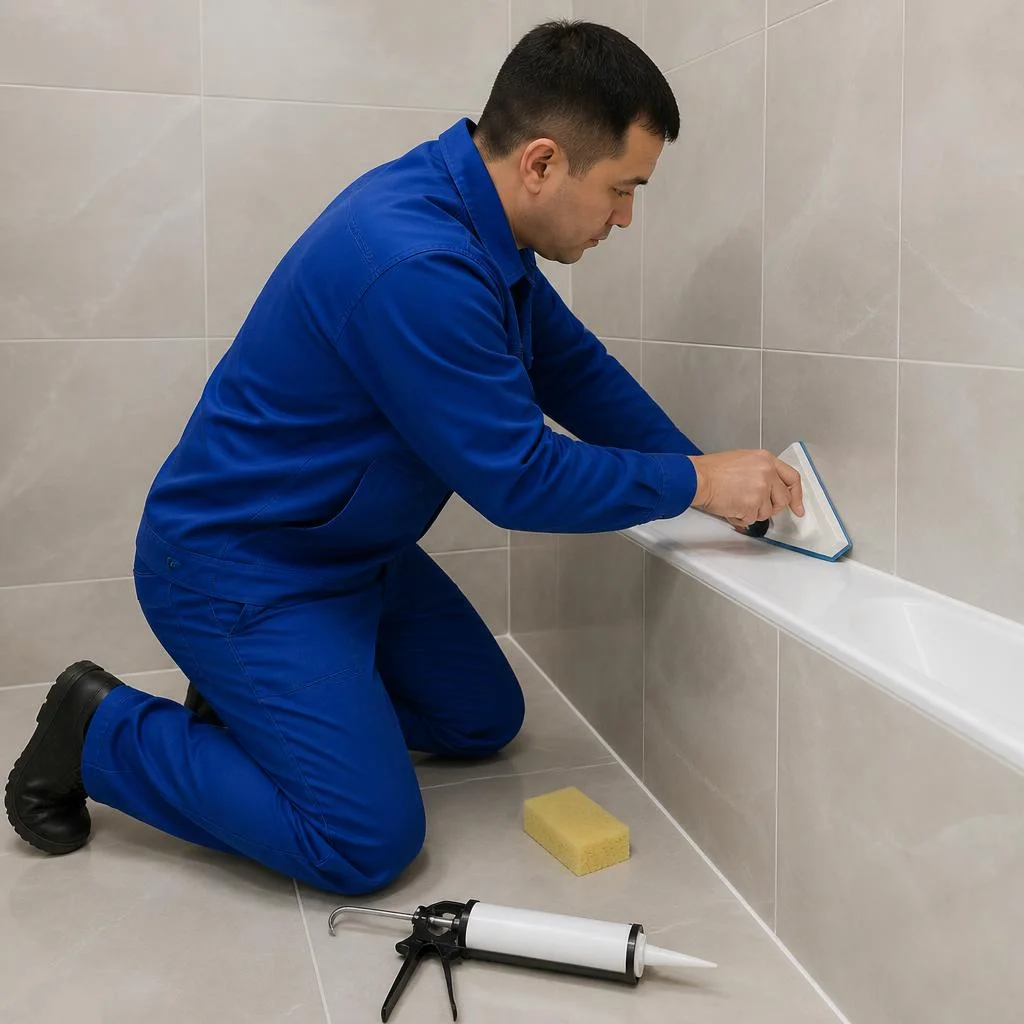
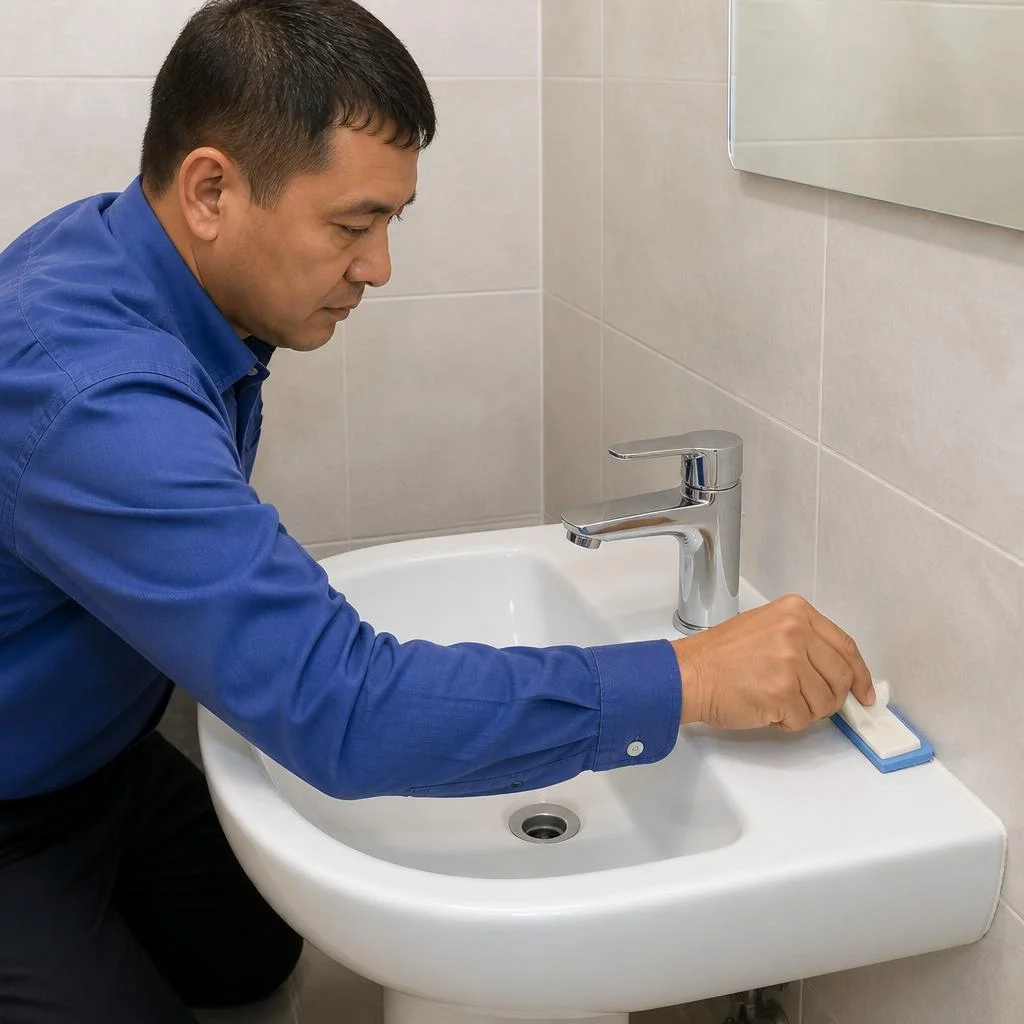
The service performs sealing of seams in the bathroom, treatment of joints in the bathroom and filling of the seam between the bathtub and the wall — this is a separate area with sanitary compounds. Clients often formulate the request as sealing joints in the bathroom, and this means a specific set of works: corners between tiles, the junction of the screen to the tub, gaps around pipes. Separately, requests mention the treatment of the movable unit at the boundary of the tub and the wall — the most problematic spot in a sanitary unit: a cast-iron or acrylic tub gains weight with water and moves with each filling. We use sanitary silicone with biocidal additives and apply it to a dry, degreased surface after completely removing the old layer. In a sanitary unit, not only adhesion is important, but also anti-fungal protection: under silicone without biocidal additives, mold returns within one season.
Comparison of types of work by unit, access and composition
| Type of work | Unit | Access side | What is included |
|---|---|---|---|
| Sealing of inter-panel seam | facade | from the street | raking out, cord, sealant |
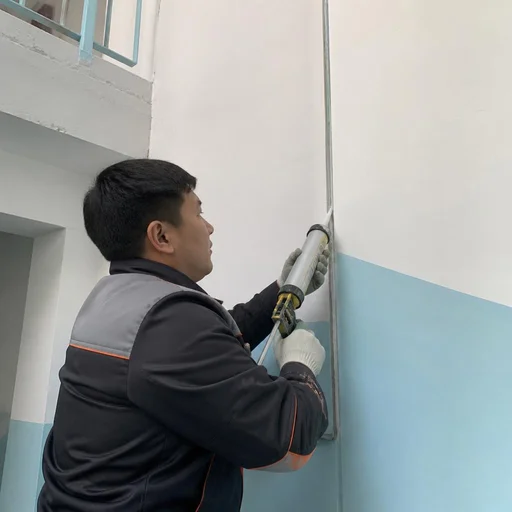
| Sealing of seam from inside | joint in the apartment | from inside | cleaning, primer, sealant |
| Sealing of seam with insulation | facade | from the street | insulation, foam, sealant |
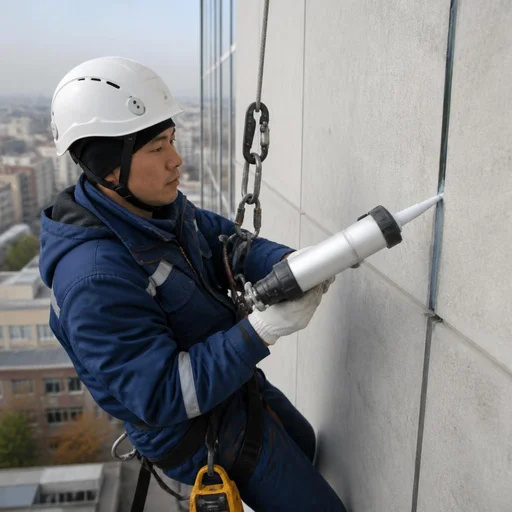
| Sealing of seams at height | facade | industrial climbing | work of a climber, sealant |
| Sealing of seam in a new building | settlement seam | from the street / from inside | raking out, cord, sealant |
The type of work is selected based on the building unit and the access side — from the street or from inside. For the same seam, external and internal treatment are two different operations, and doing only one is often not enough.
Joint sealing technology: raking out, priming, backer rod, foam, sealant
Treating joints is a sequence of operations where each stage prepares the base for the next. Skipping the raking out, priming or backer rod reduces the service life of the joint several times over, even if the compound itself is high quality.
Preparation: raking out the old joint and repairing cracks
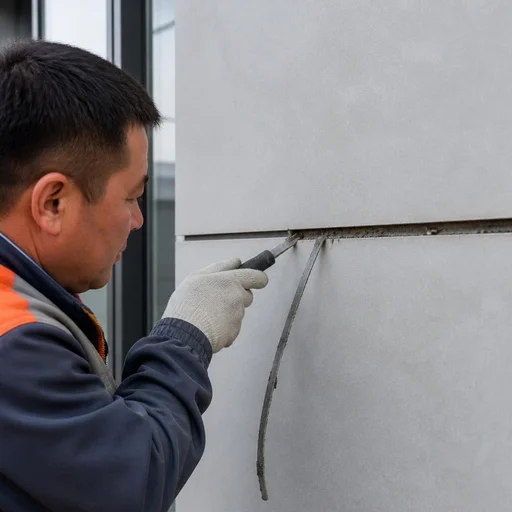
We start by raking out the old joint and repairing cracks — without opening up the deteriorated filler, the new compound will lie on a weak base and will come away within a single season. Raking out the old joint is done with a putty knife or a grooving tool to a depth of 10–15 mm: we remove the peeled compound, the deteriorated grout and the loose concrete along the edges. Crack repair in the joint is done with a repair compound on a cement or polyurethane base — cracks up to 5 mm wide are filled completely, deep ones are opened up and reinforced. We finish the repair of the deteriorated joint with dust removal: without this, the primer will lie on top of the dust rather than on the concrete. In Bishkek, on panel buildings from the 1970s–1990s, opening up often reveals voids behind the joint contour — we fill these separately. Raking out is not for the sake of appearance: it opens up the cavities where water stands, and only after drying can the joint be primed.
Priming the joint surface and sealant adhesion
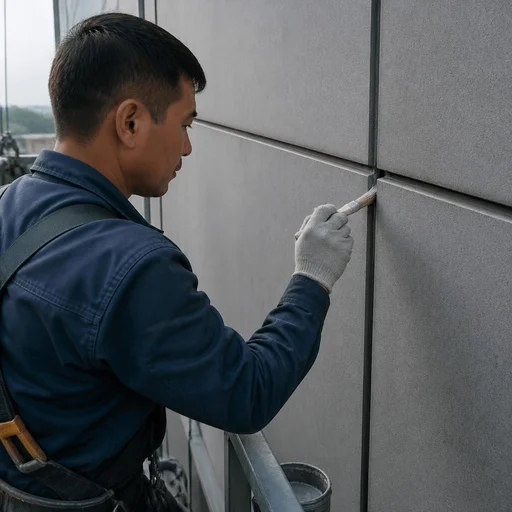
Priming the joint surface is a mandatory stage: the primer binds residual dust and ensures the compound's adhesion to the concrete; without it, the bond drops by a factor of 1.5–2. The compound is selected to match the base material and the type of sealant: acrylic or polyurethane primer is used under acrylic and polyurethane, and a special silicone primer under silicone. We apply it with a brush or roller over the entire depth of the joint, including the edges, and let it dry from 30 minutes to 2 hours depending on the compound and temperature. In Bishkek's dry climate, concrete quickly accumulates dust, so priming must be done immediately before applying the sealant, and not "in the morning for the whole site" — otherwise by evening the surface will have to be dusted off again.
Filling the joint: backer rod and expanding foam
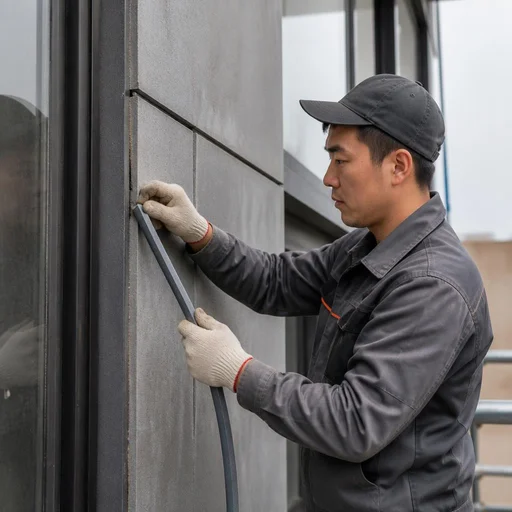
- Installing the backer rod: We insert Vilaterm or PVC rod into the joint to the required depth — it sets the thickness of the sealant layer and prevents the compound from sinking in.
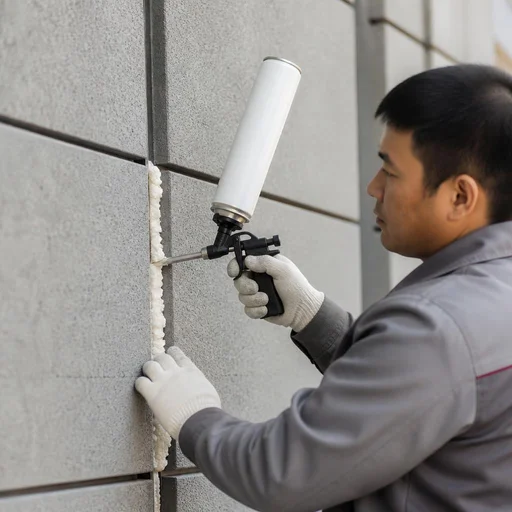
- Filling the joint with expanding foam: we fill deep cavities and panel joints with low-secondary-expansion foam, and trim the excess after curing.
- Depth control: for joints 10–30 mm wide, the sealant depth is approximately half the width, but not less than 6 mm.
- Checking the rod's fit: the rod must sit under tension along its entire length, without sagging or breaks — otherwise the sealant will push it inward.
- Anti-stick protection: the rod separates the sealant from the back wall — a compound that has adhered along its entire depth tears at the first temperature deformation of the panel.
Applying the sealant and drying time
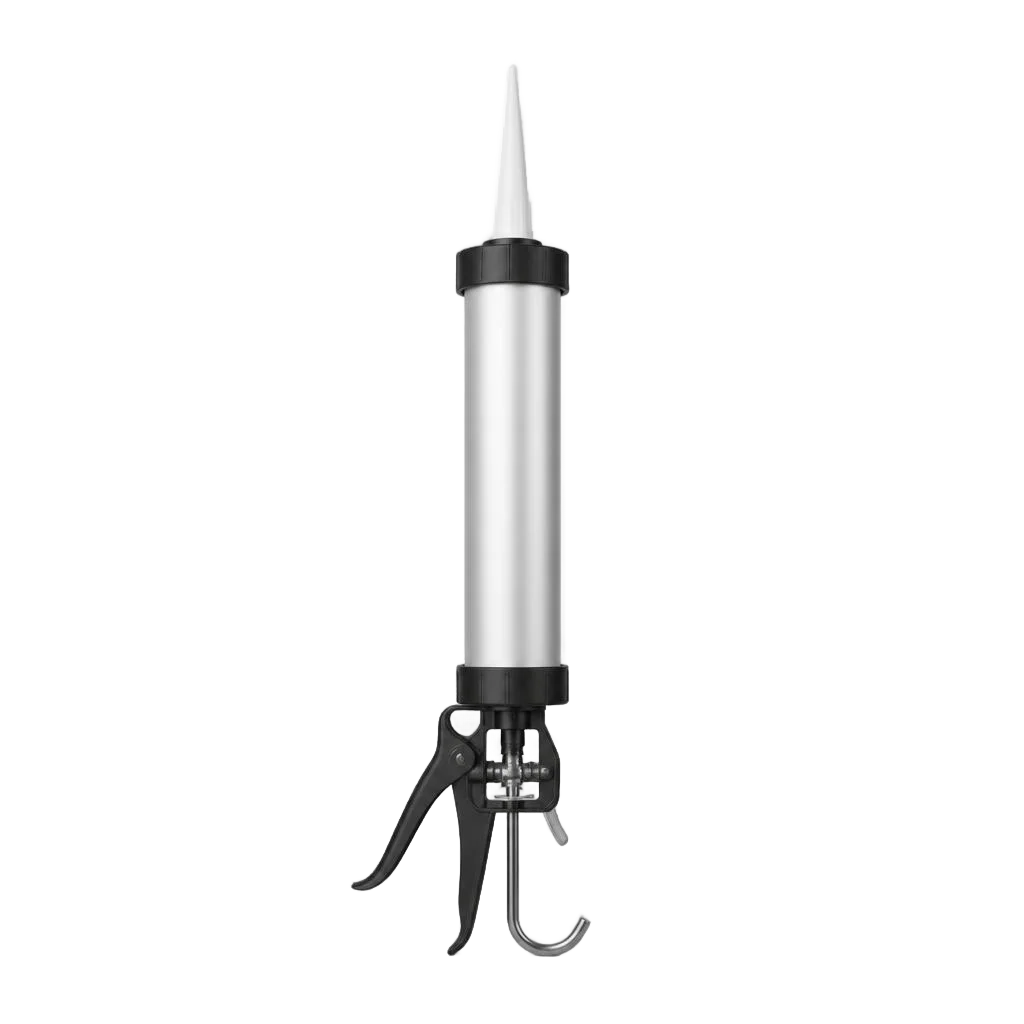
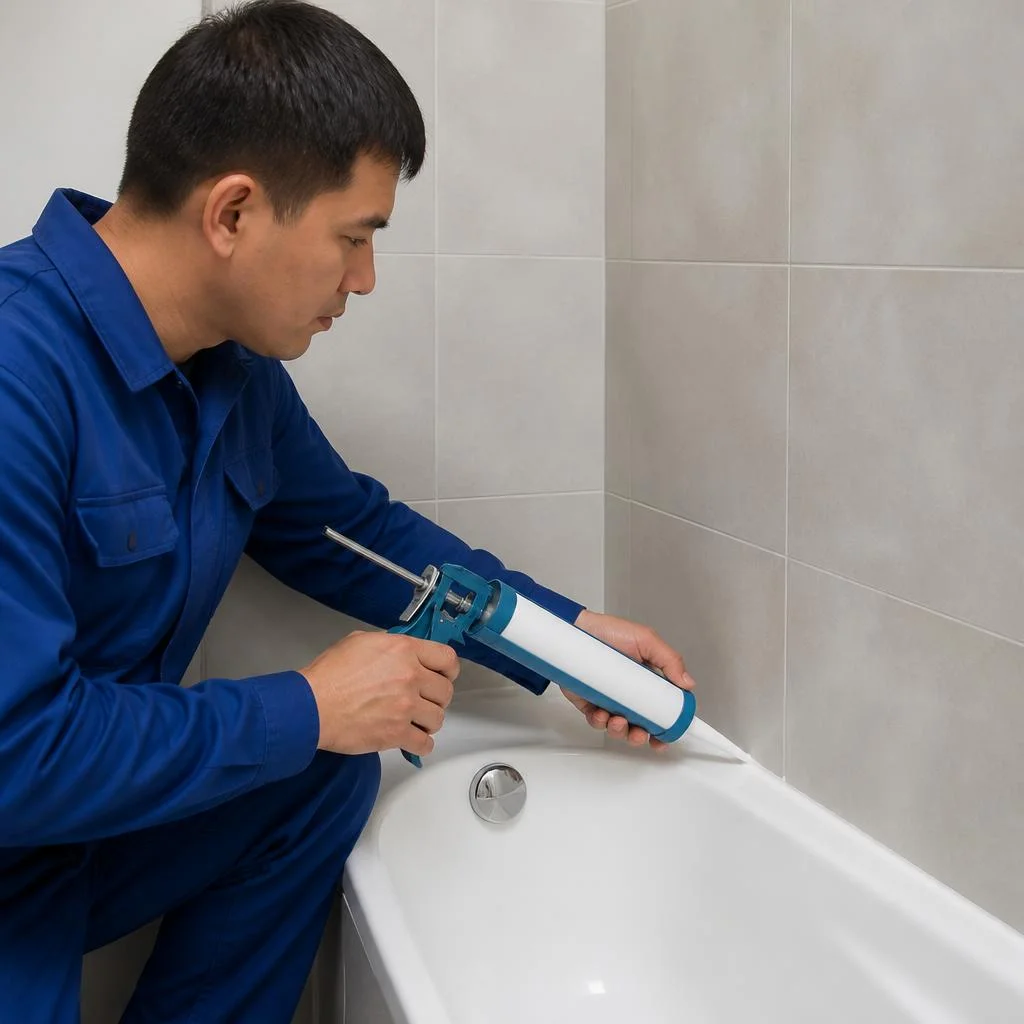
Applying the sealant into the joint is the finishing operation; the drying time depends on the compound and temperature, and full curing takes up to a day. Acrylic sealant skins over in 20–40 minutes and cures in 12–24 hours, polyurethane — 24 hours, silicone — 20–30 minutes on the surface and up to 24 hours at depth. We apply it with a caulking gun at a steady feed, smooth it with a putty knife at an angle, making sure the compound fills the joint without air pockets. At temperatures below +5 °C, curing slows by half, while in the sun the surface skins over faster than the depth. Joint sealing in Bishkek has its own specifics: the swing between daytime and nighttime temperatures in spring and autumn stretches curing by 6–10 hours longer than in steady heat. If rain or a sharp cold snap is expected after application, it is better to postpone the exterior joint — the skin will form, but the compound inside will not reach full strength.
Sealing materials: sealant, foam, cord, primer
Working with joints begins with selecting a compound for the specific assembly and operating conditions, not with finding the cheapest tube. Below we break down the four materials that make up a durable joint.
Which sealant to choose: acrylic, polyurethane or silicone
| Sealant type | What for | Assembly | Feature |
|---|---|---|---|
| Acrylic | interior joints | seams, abutments | paintable, low elasticity |
| Polyurethane | facade | inter-panel joints | high deformability |
| Silicone | bathroom | bathroom, joint between bathtub and wall | moisture-resistant, anti-fungal |
Polyurethane withstands facade deformation better than acrylic, but in the sun without a protective coating it darkens — for the south side of a house this is taken into account in advance. We select the type of compound for the assembly: acrylic goes on interior abutments, polyurethane — on exterior joints, sanitary silicone — in bathrooms.
Expanding foam and sealing cord: why both
We use expanding foam and sealing cord together: the foam fills the volume of the joint, while the cord forms an even base for the compound. Foam without a cord produces an uneven surface, and the material is applied at varying thickness — it is precisely in the thin spots that the joint tears first. For joints up to 30 mm wide we use Vilaterm cord, for narrow abutments — a smaller-diameter PVC cord. In our practice on panel buildings in Bishkek, it is specifically the combination of "foam plus cord" that keeps a joint without repair longer than foam alone applied in excess.
Primer and degreaser: preparing the surface for the compound
Primer and degreaser prepare the joint surface: the former improves adhesion to concrete, the latter removes grease and dust. On smooth concrete without primer, the compound holds by friction rather than adhesion — when the building shifts, such a joint peels off in a sheet. The primer is applied with a brush along the dry routed edge, the degreaser — 10-15 minutes before application, so that the solvent has time to evaporate. Before work, check the moisture content of the concrete: on a damp edge, adhesion drops, and the primer is wasted.
Sealing joints in the bathroom: seams, grout and mold protection
The bathroom is a zone of constant humidity and temperature fluctuations, so different materials are used here than on the facade. We break down the joint between the bathtub and the wall, the difference between grout and sealant, mold protection and realistic work timelines.
The joint between the bathtub and the wall
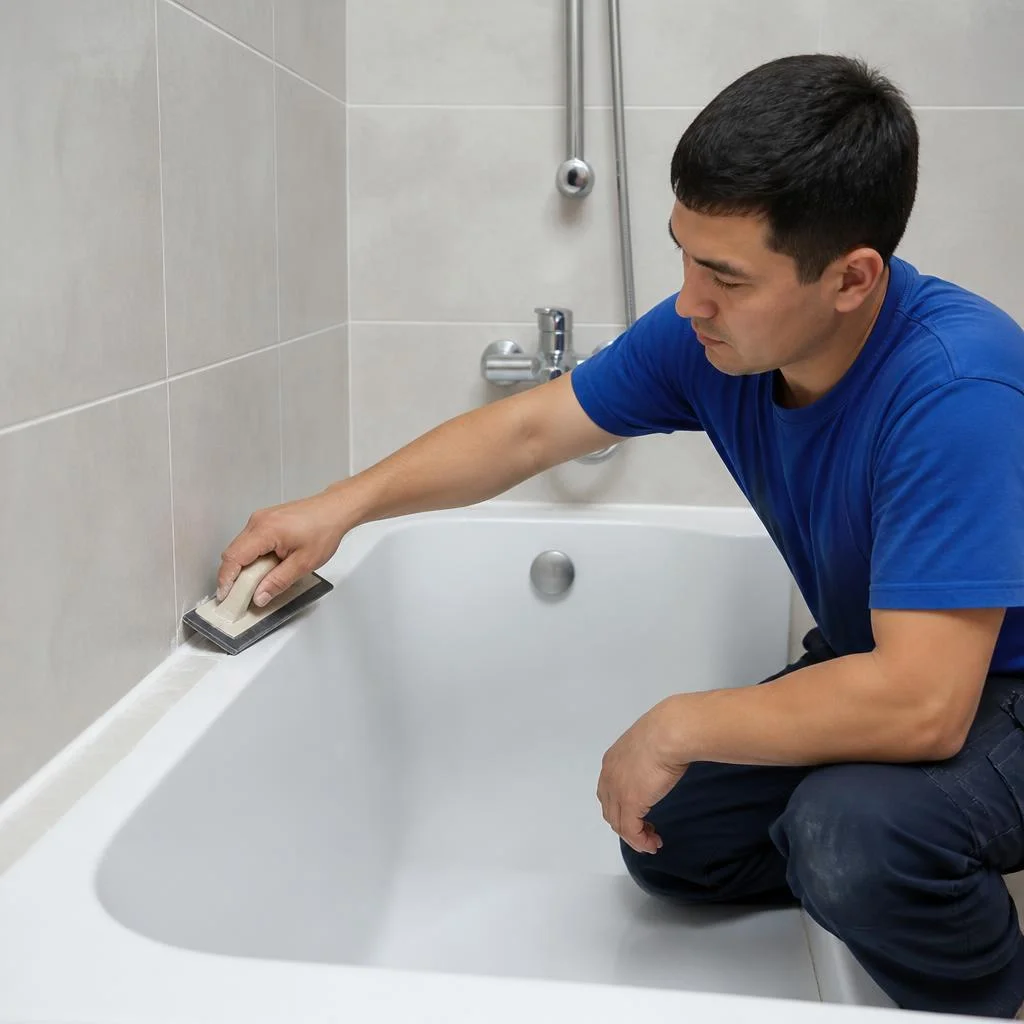
Eco-Service seals the joint between the bathtub and the wall with an elastic sanitary compound that accommodates the movement of the tub when it fills with water. An acrylic bathtub flexes by 2-4 mm when filled, a steel one by up to 1.5 mm, and a rigid material at such amplitude cracks along the edge within 3-4 weeks. We remove the old layer with a scraper, degrease the base, dry the joint and work sanitary silicone with antifungal additives under the rim, not over it. On wide gaps of 8-15 mm we additionally lay a sealing cord — it sets the depth of the joint and prevents the compound from sagging. The joint comes apart not because of bad material, but because of the rigid cement grout underneath: as long as the substrate does not move together with the bathtub, any silicone will peel away along one of the edges in the very first season.
Grouting joints in the bathroom and sealing joints with sealant: what to choose
| Material | Where it is used | Movement | Moisture resistance |
|---|---|---|---|
| Cement grout | tile joints | no | medium |
| Epoxy grout | tile joints | no | high |
| Sealant | joint between bathtub and wall | yes | high |
| Impregnated tape | internal corners | partially | high |
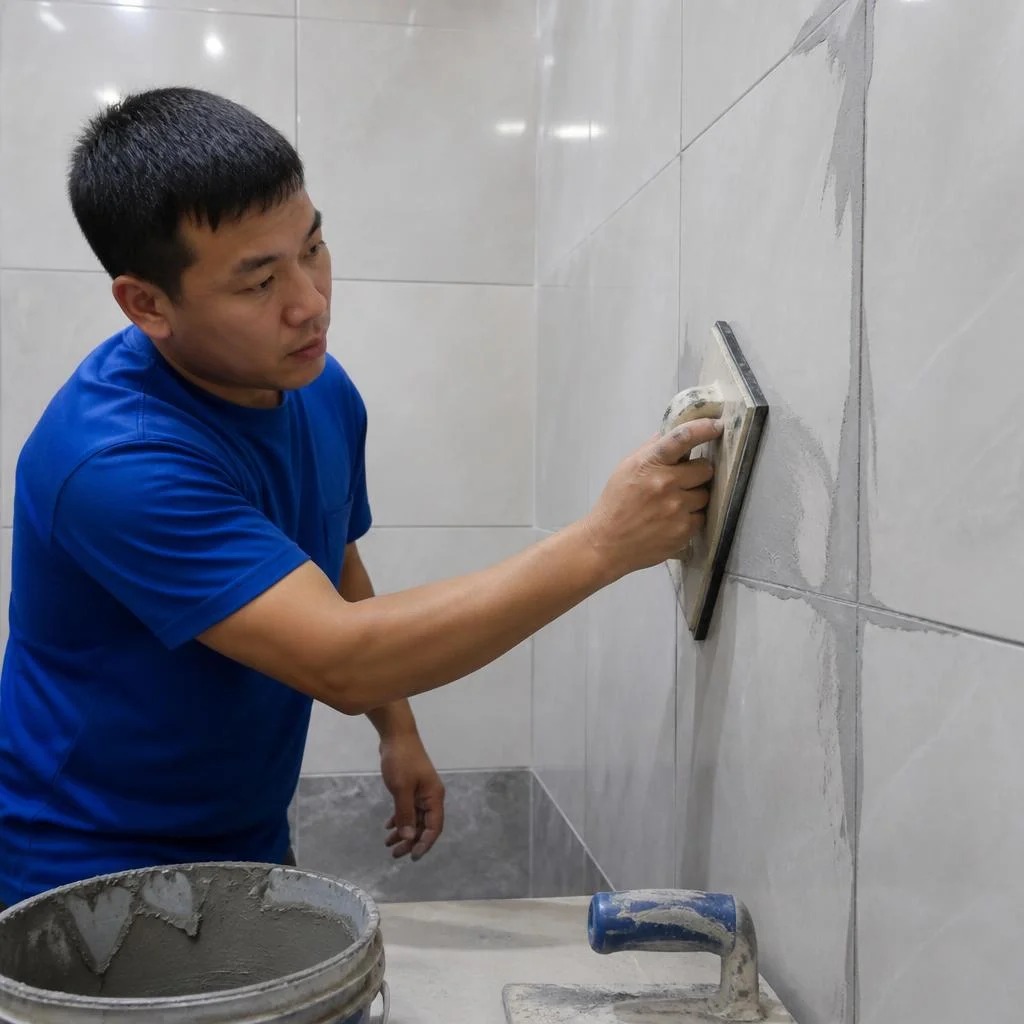
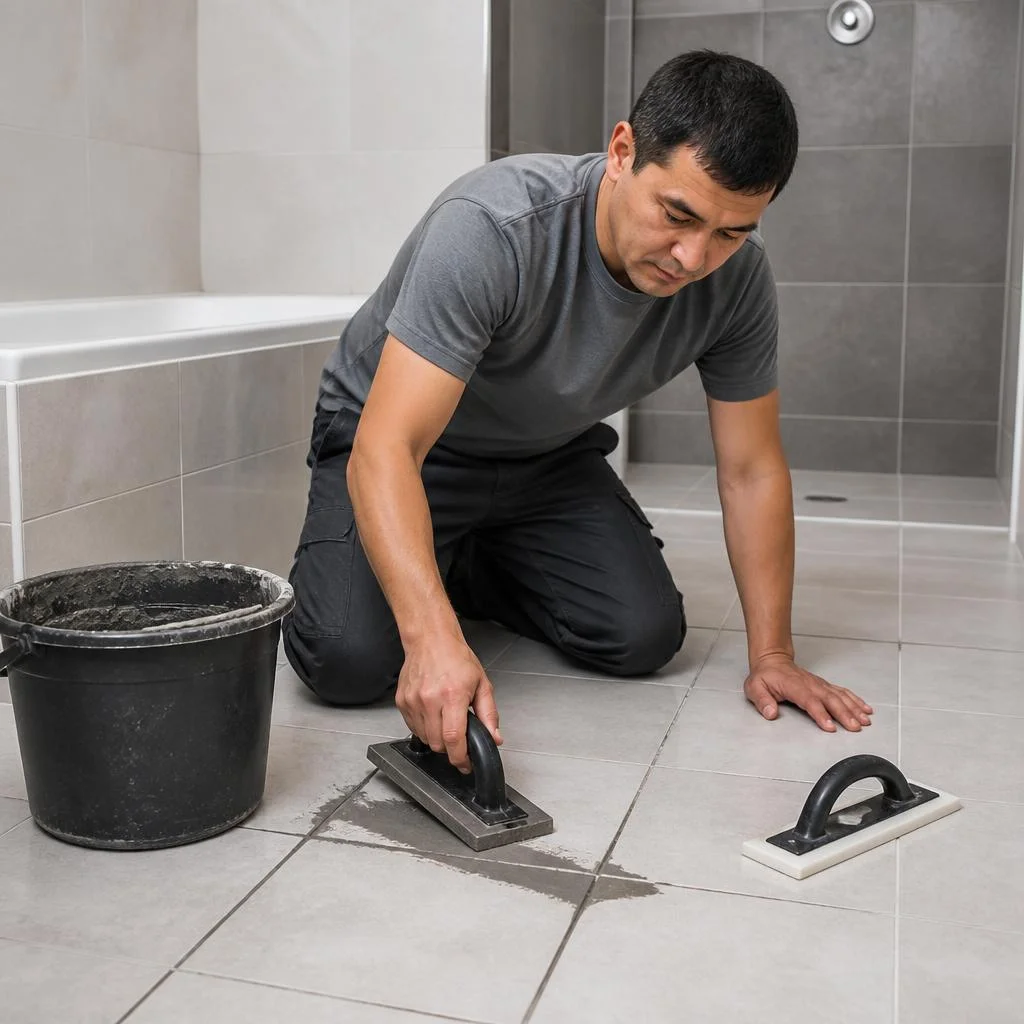
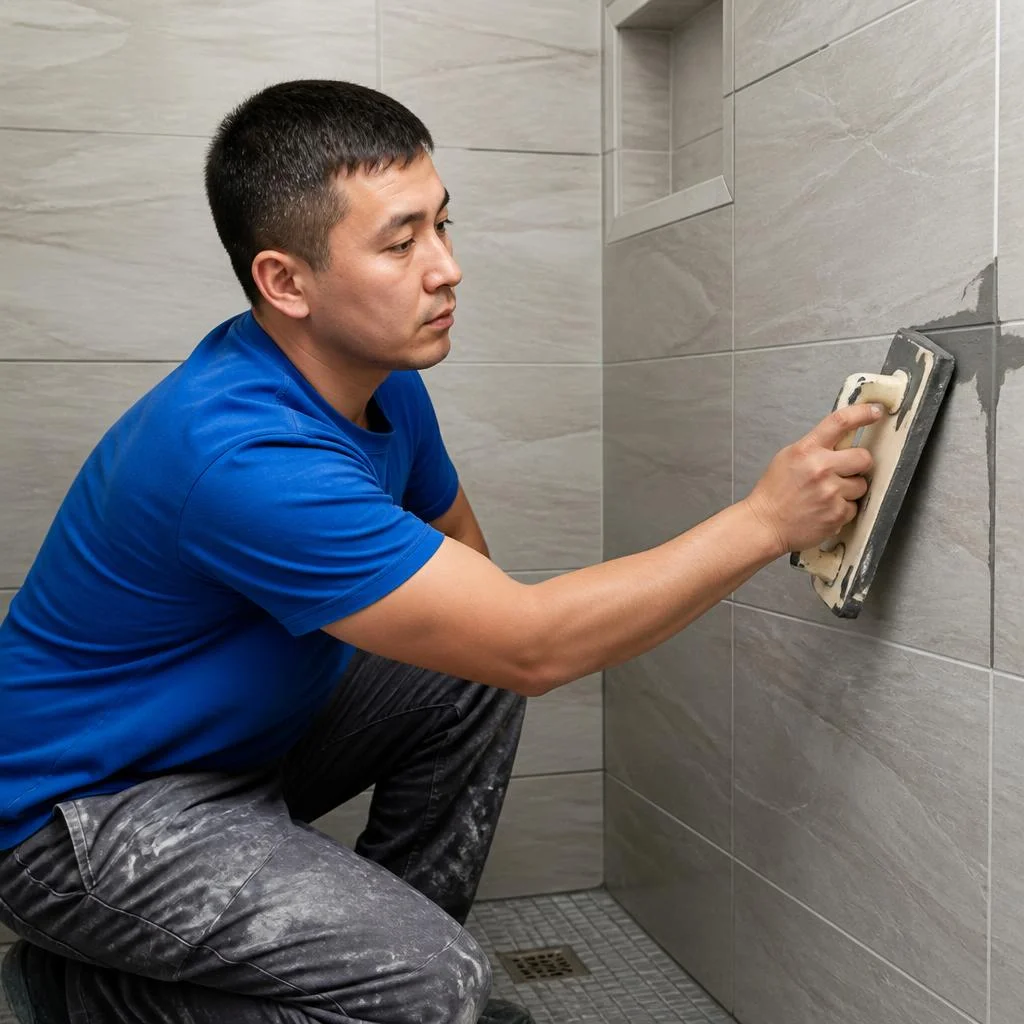
Grouting joints in the bathroom solves one task — it closes the tile joints between the ceramics. Sealing joints with sealant is a fundamentally different operation: it closes moving joints at the boundary between plumbing fixtures and walls. A cement mixture at the joint between the tub and the wall does not work in principle: it does not stretch with the bathtub, and a crack along the edge appears in the first month. Epoxy holds water better, but it is also rigid — its place is in the tile joints of the shower area, where there is no movement. For moving abutments such a compound is not suitable. We distinguish these zones and always apply elastic sanitary silicone to the joint with plumbing fixtures, not grout.
Joints in the bathroom and mold protection
- Diagnosing the infestation: we inspect the joint in depth — if the mycelium has gone into the grout under the tile, surface treatment will not help.
- Removing the layer: we cut out the affected sealant and grout down to a clean base, capturing 10-15 mm on both sides of the source.
- Antiseptic: we apply a fungicidal primer to the base and let it dry without washing off the residue.
- Sanitary silicone: we fill the joint with a compound containing antifungal additives — treating joints in the bathroom with such preparation keeps the surface clean longer.
Timelines and order of work
Sealing joints in a bathroom in an apartment takes one working day: dismantling the old layer, drying, treatment and application of the compound. In the morning we remove the old sealant and grout, by midday the base dries with the extractor running, by evening the joint is filled and ready for use. Full polymerization of sanitary silicone takes 24 hours; during this time it is better not to fill the bathtub — the movement will tear the not-yet-set joint. In two bathrooms in one apartment the work proceeds in parallel, so the total timeline remains the same one day. In a bathroom you must not accelerate the process with a hairdryer or heat gun — the surface must dry naturally, otherwise moisture will remain under the layer and the silicone will peel away along the edge.
Repair of destroyed joints and sealing in a new building
A destroyed joint and a shrinkage joint in a new building require a different approach than preventive treatment: in the first case, a complete rework is needed; in the second, elastic compounds designed for movement of the structure.
Repair of a destroyed joint: when a complete rework is needed
Repair of a destroyed joint begins with a complete rework: we remove the remnants of the old filler, restore the base, then seal it again. Raking out the old joint takes up to half the time of the entire job — layer by layer we remove the hardened foam, crumbling sealant and damaged insulation, then crack repair in the joint proceeds along the exposed edge of the panel. On the inter-panel joints of buildings of the 1-464 series in Bishkek, the old filling often holds only due to the top layer, and beneath it there is emptiness and moisture. If the old sealant has lost its elasticity and is crumbling, applying new material on top is pointless — it will come off together with the remnants of the old one, so we always work through raking out the joint, not surface patching.
Treatment of a joint in a new building and settlement of the house
Treatment of a joint in a new building is carried out taking into account the settlement of the house: we use elastic compounds that stretch together with the structure. During the first year or two, the monolithic or panel structure settles actively, expansion joints change width by several millimeters, and rigid cement fillings during this period crack along the entire length of the joint. Polyurethane sealant with an elastic modulus of up to 0.4 MPa withstands movement of up to 25% of the joint width — for new buildings in residential complexes in Bishkek, this margin is more than sufficient. Elastic sealant here is not overcaution, but a necessity: rigid compounds in a new building crack faster, so we carry out the work specifically with polyurethane compounds.
Work at height and industrial climbers
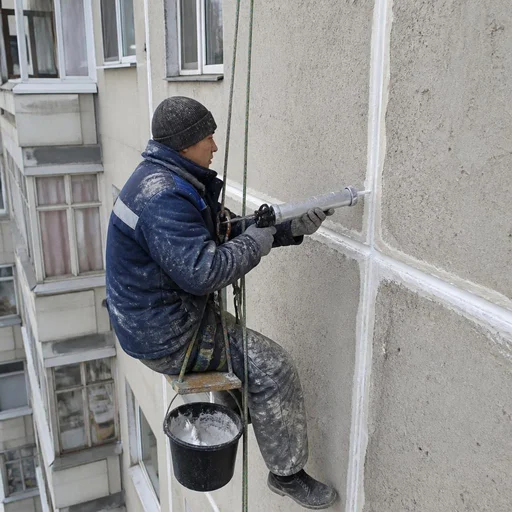
Work at height is performed by Eco-Service industrial climbers — these are facade operations that are inaccessible from the ground or from a window. On nine-story buildings and high-rises on the upper floors, the joint runs along blind sections of the facade where it is impossible to reach from a windowsill, and treatment from the street requires a safety system, a descending device and a partner on the roof. Upper floors and blind sections of the facade cannot be treated from a windowsill: without a safety harness and proper access, the technician is at risk, and the joint still remains untreated — half of the seam remains open to moisture.
Warranty, timelines and acceptance of work: how Eco-Service operates in Bishkek
We work without a chain of intermediaries: the crew, materials and warranty come from a single company. Below is how this affects warranty obligations, the time it takes for a technician to arrive, and the geography of our work.
2-year warranty on joint sealing
We provide a 2-year warranty on joint sealing — this period covers the full cycle of seasonal deformations and building settlement. Over two years, a joint undergoes both summer expansion and winter compression, so the warranty period shows whether the compound maintains adhesion on a real site, not just in the first weeks after application. The warranty covers inter-panel joints, floor slab joints, joints around windows and doors, utility penetrations — the entire list of works we perform on the facade and inside apartments. There is one condition: the technology must be followed in full — joint raking, priming, backer rod, foam, sealant. If the customer asks to apply sealant over an old joint without raking and priming, we warn in advance: such a joint is not covered by the warranty, because adhesion to dust and loose grout cannot be ensured by any compound.
Timelines for work in apartments and on the facade
In an apartment, work takes one day; facade work takes from one to several days depending on the scope and access. Interior joints — the bathtub-to-wall joint, corners, utility penetrations — are completed by a technician in one shift: raking and priming dry faster than outdoors, and the sealant gains initial strength within a few hours. Exterior joints and joints at height require more time: this includes installing suspended platforms or a suspension system, raking a long joint along the entire height of the panel, and layer-by-layer filling. Facade work depends on the weather — if the wind exceeds the permissible limit or there is precipitation, the industrial climber does not go out, so outdoor timelines are always planned with a one-to-two-day buffer. We coordinate the schedule taking the forecast into account and notify you if the weather window shifts.
Service areas in Bishkek and intake at the service center
- Service areas in Bishkek: we travel to all districts — from the center to new developments on the outskirts, including residential areas and industrial zones.
- Our own service center in Bishkek: request intake, measurement and work coordination go through it, without forwarding between contractors.
- On-site measurement: we provide consultation and joint inspection at the site, not from photographs — this way the real scope of work is visible.
- Direct provider: the crew and materials are tied to a single company, so the same center that handles the request also performs the work.
Direct provider: why this matters for the joint
We are a direct provider of services: the crew of technicians, materials and warranty come from a single company, without a chain of contractors. This changes the very scheme of responsibility. When a request is placed through an intermediary and a third-party crew arrives at the site, in the event of a claim it is unclear who redoes the joint and at whose expense: the dispatcher refers to the contractor, the contractor refers to the materials, and the 2-year warranty period is effectively not tied to anyone. With a direct provider, a claim goes to one address — the service center that handled the request from the very first measurement. We purchase materials ourselves, so we know the batch of sealant, primer and foam used to seal a specific joint, and we can select a compatible compound for repairs. For the client, this means: a warranty case is processed with a report and receipt, rather than turning into correspondence between several organizations.
Conclusion
We have gathered the key points that determine the outcome of sealing work: why the same compound behaves differently on a facade and in a bathroom, where technique matters more than material, and when repairing a joint without redoing it only postpones the problem.
Main conclusions
- Work tailored to a specific assembly: facades, window and door junctions, bathrooms, and utility penetrations require different compounds, backer rods, and surface preparation methods.
- Technique matters more than material: joint raking, priming, backer rod, and foam determine how long a joint will last — an expensive compound on an unprepared seam lasts less than a season.
- In a bathroom, moving joints are sealed elastically: grout does not hold up to the movement of a bathtub and cracks along the junction line within a few weeks of use.
- A destroyed joint is repaired by fully redoing it: in a new building, the building's settlement is additionally taken into account, and partial filling of cracks without opening them up does not eliminate the cause.
- A 2-year warranty works only if the technique is followed: saving on joint raking, primer, or backer rod shortens the service life of the joint and makes warranty obligations meaningless.


