








Types of Underfloor Heating: What Eco-Service Installs in Bishkek
We work with three heating systems — water-based, electric, and infrared. The difference between them lies in the heat source, the thickness of the assembly, and the finish flooring. The choice depends on the area, the substrate, and whether the floor level can be raised.
Water Underfloor Heating: Loop Pipes and Boiler Connection
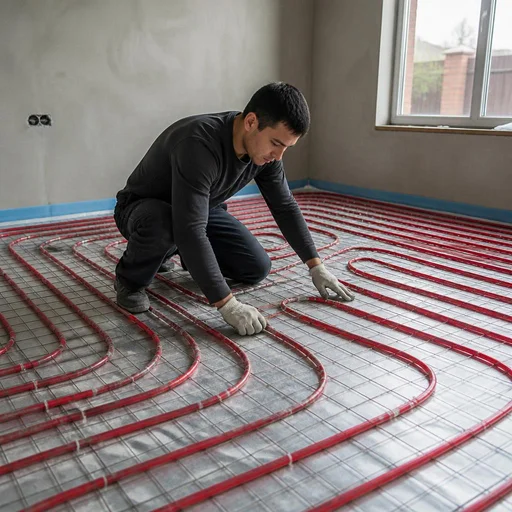
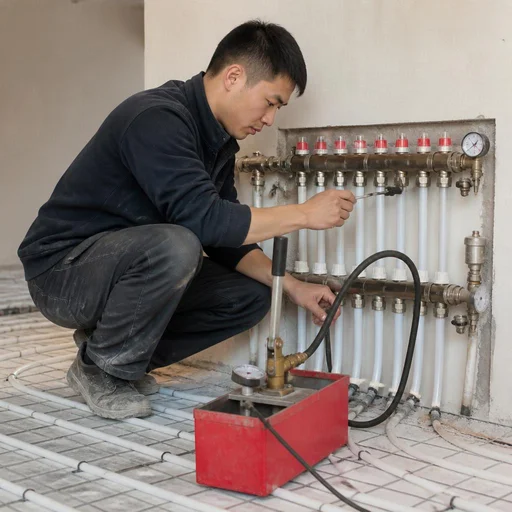
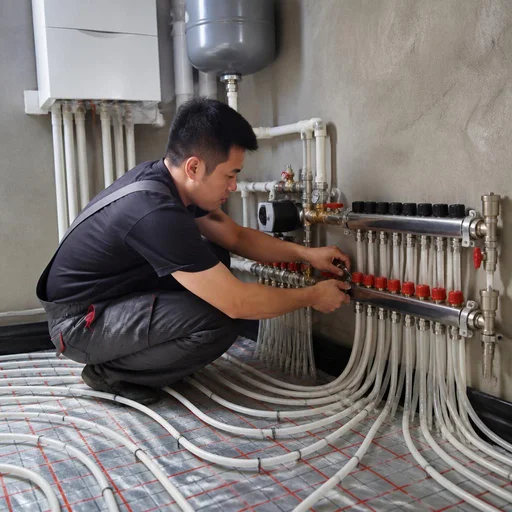
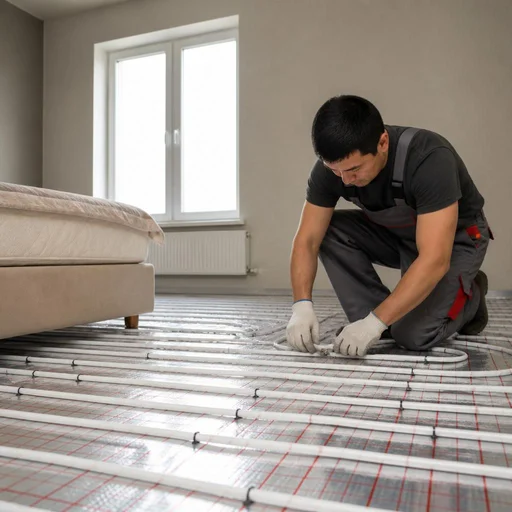
Eco-Service performs underfloor heating installation in Bishkek — a water loop with pipe layout and connection to the boiler remains the primary system for private houses and large areas. The heat carrier flows from the boiler through a manifold unit that distributes the flow across individual loops: in a 120 m² house, there are 6 to 9 of them, and the laying spacing is selected to match the heat loss of each room. For the loop, we use 16 or 20 mm pipes with an anti-diffusion layer, and we mount the manifold on a comb with flow meters so that loop balancing proceeds without imbalances. The design of a water-based system requires a screed: the pipes are poured over with concrete, so the assembly raises the floor level by 5-8 cm — this is taken into account at the stage of marking out the laying zones, before purchasing doors and thresholds. Clients often ask about the cost of underfloor heating installation — it is calculated after a thermal analysis, not by eyeballing the area. In search queries, such requests often appear as turnkey underfloor heating — and from this wording we immediately understand that the full cycle is needed: from thermal analysis to boiler startup.
Electric Underfloor Heating: Cable and Heating Mats
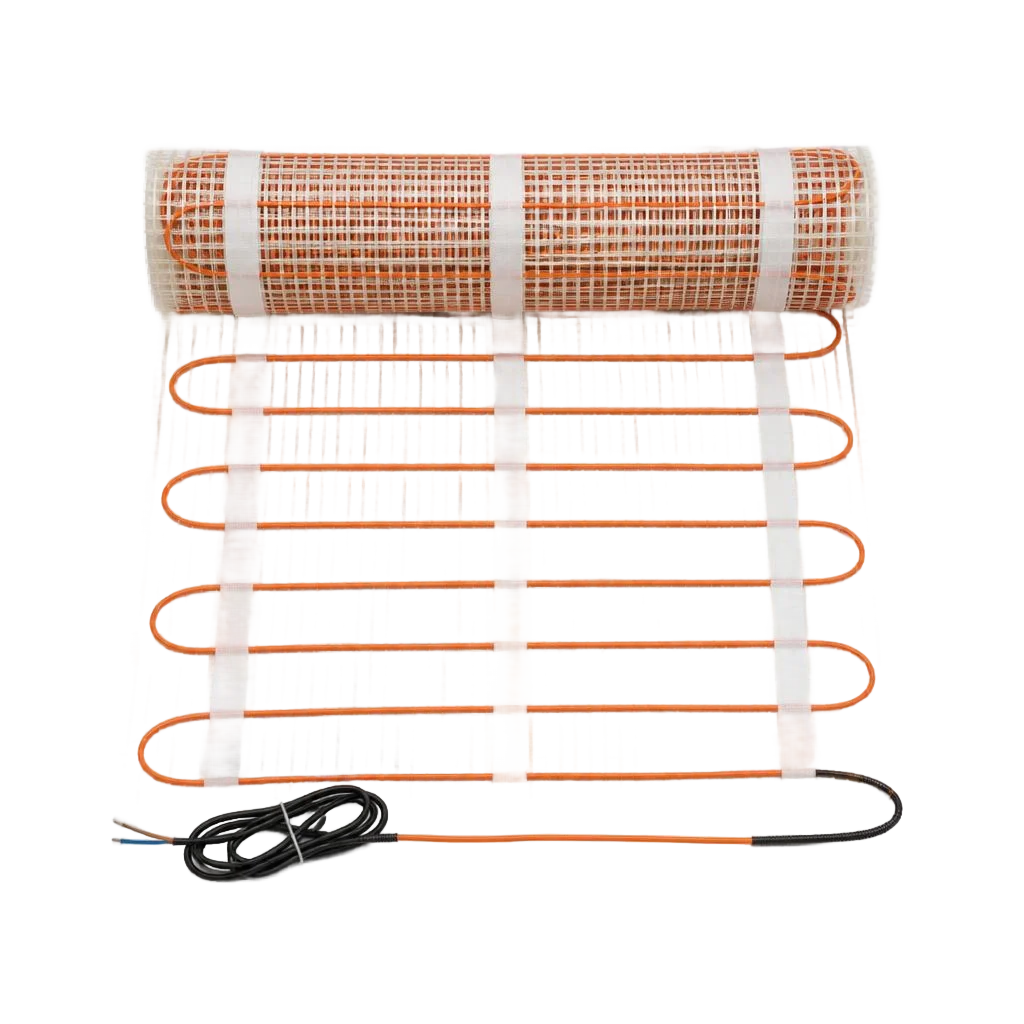
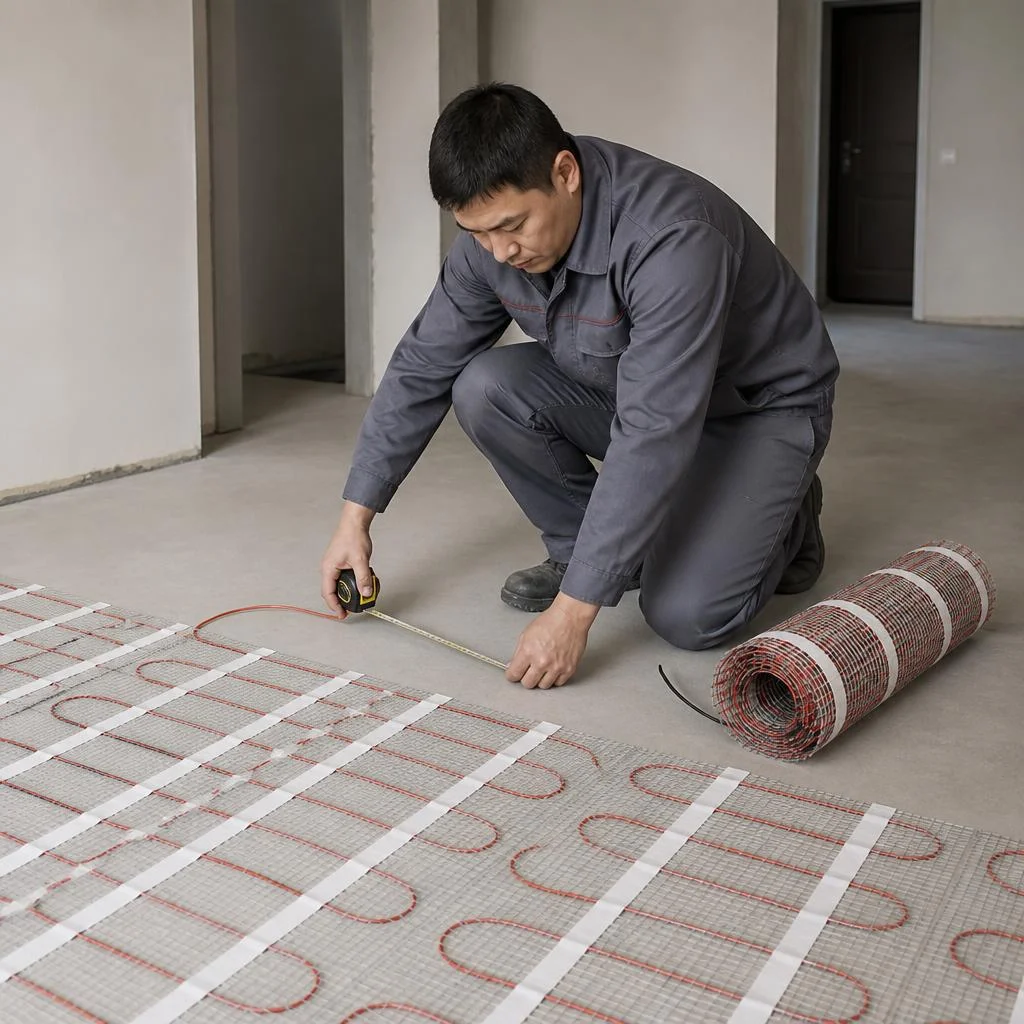
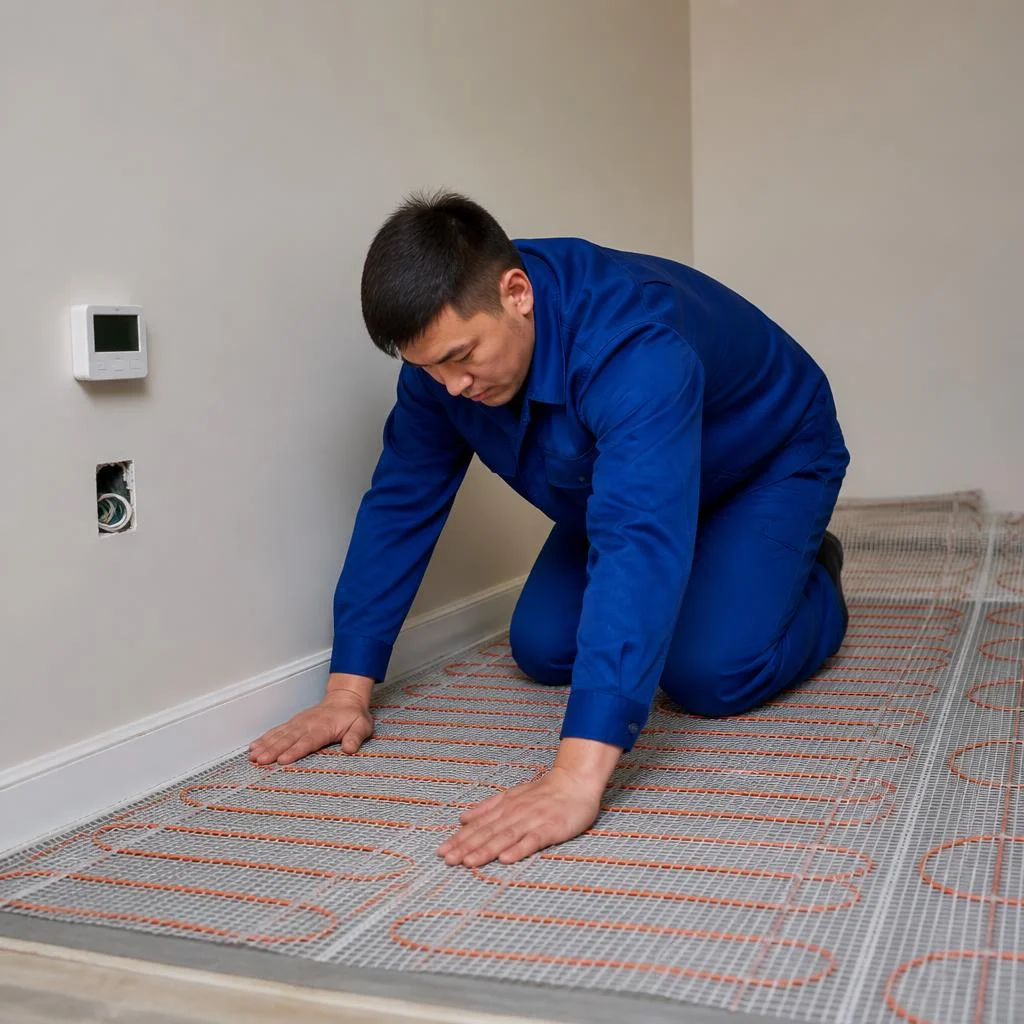
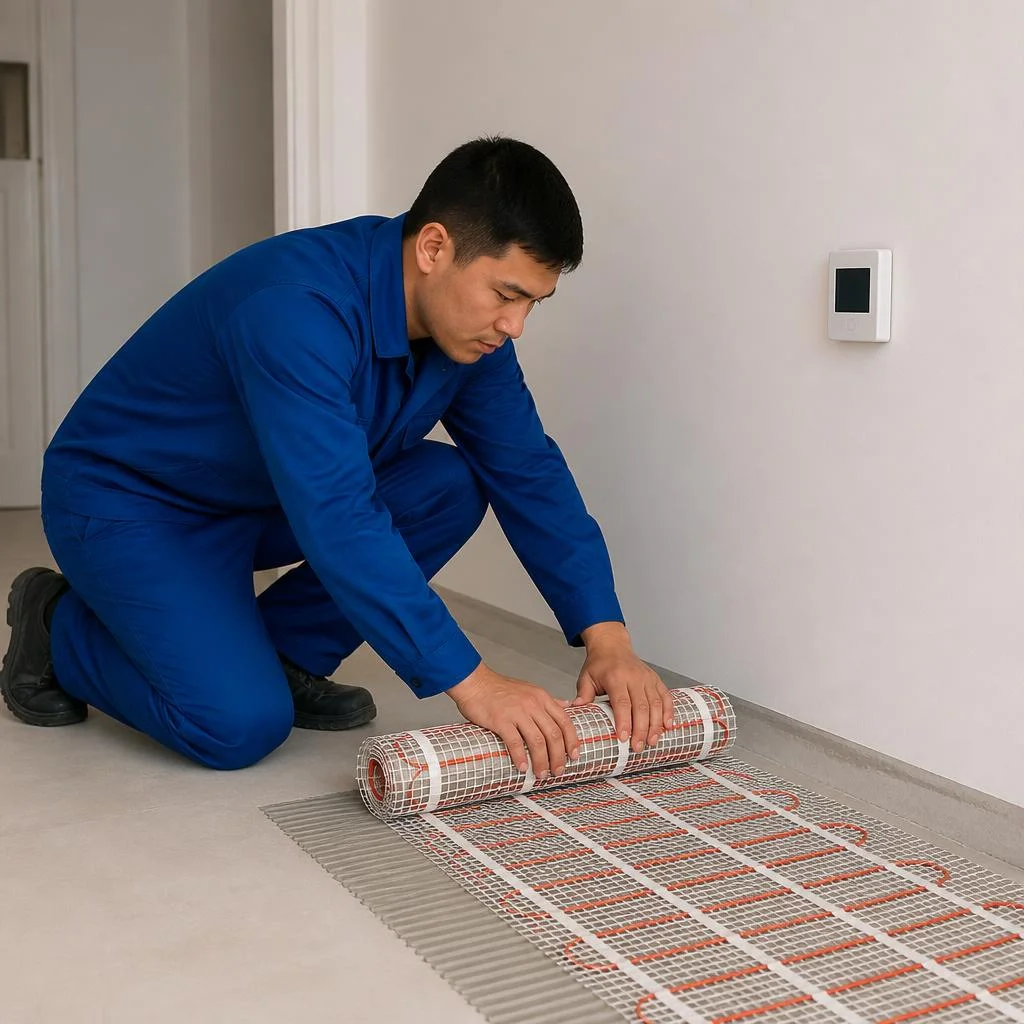
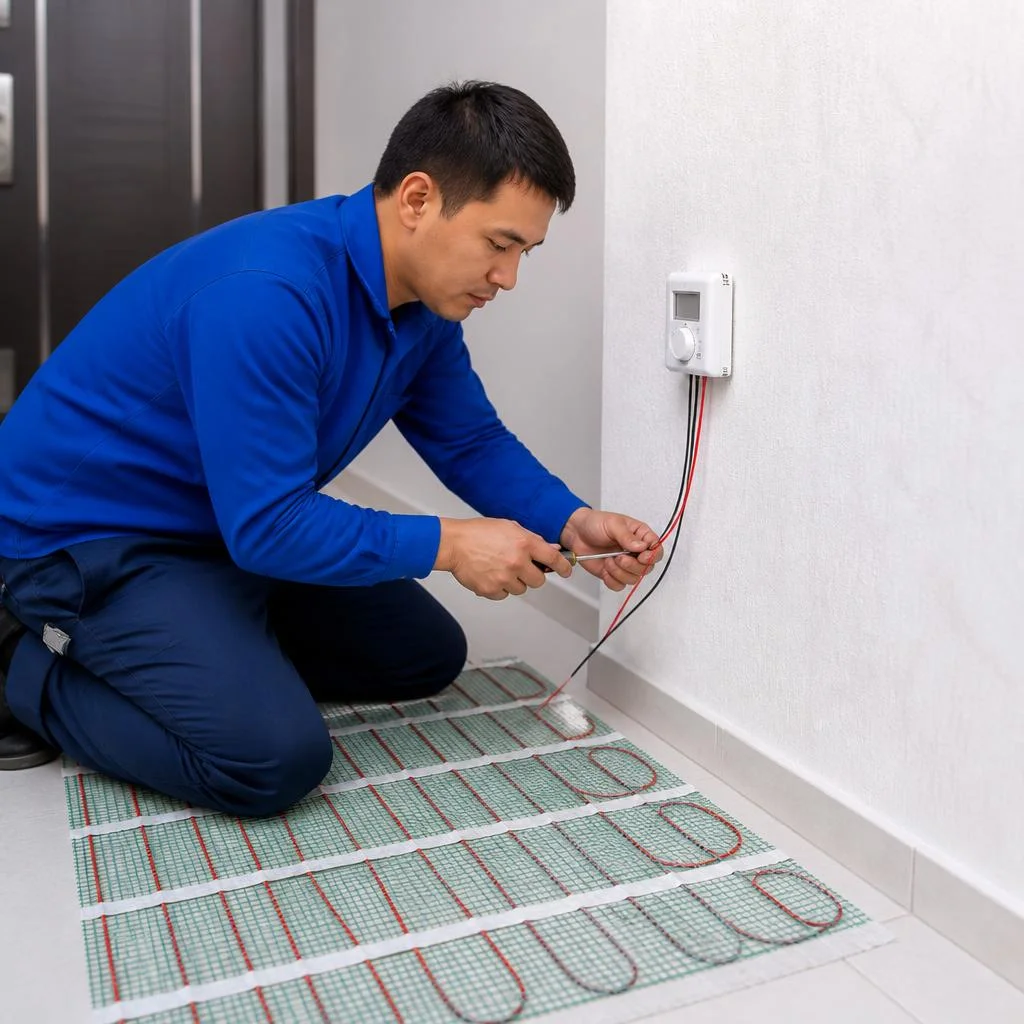
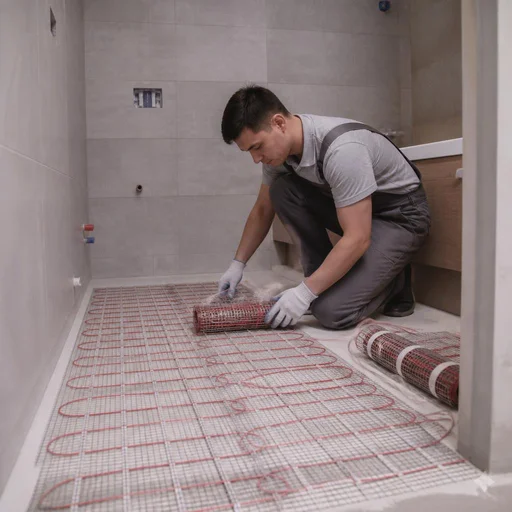
Eco-Service installs electric underfloor heating in two ways — by laying heating cable or by installing ready-made heating mats. We use single-core cable for bathrooms and corridors up to 8 m², and twin-core for larger rooms, because it does not create an electromagnetic field around the loop. Mats come with a fixed coil spacing and a power of 140-160 W per square meter; cable provides the same parameters but with arbitrary geometry. Installation with mats takes half the time: the roll is unrolled over a primed screed and connected to the thermostat via a temperature sensor. In rooms with complex geometry — with niches, columns, diagonal layout — cable is more advantageous: its loop can be adjusted around furniture and walkways without leaving cold zones. Clients enter the query underfloor heating installation price when comparing estimates for cable and mats. Requests also include the short underfloor heating installation — usually written by those who only need a crew on site, without system selection.
Infrared Film: Thin Underfloor Heating Without Screed
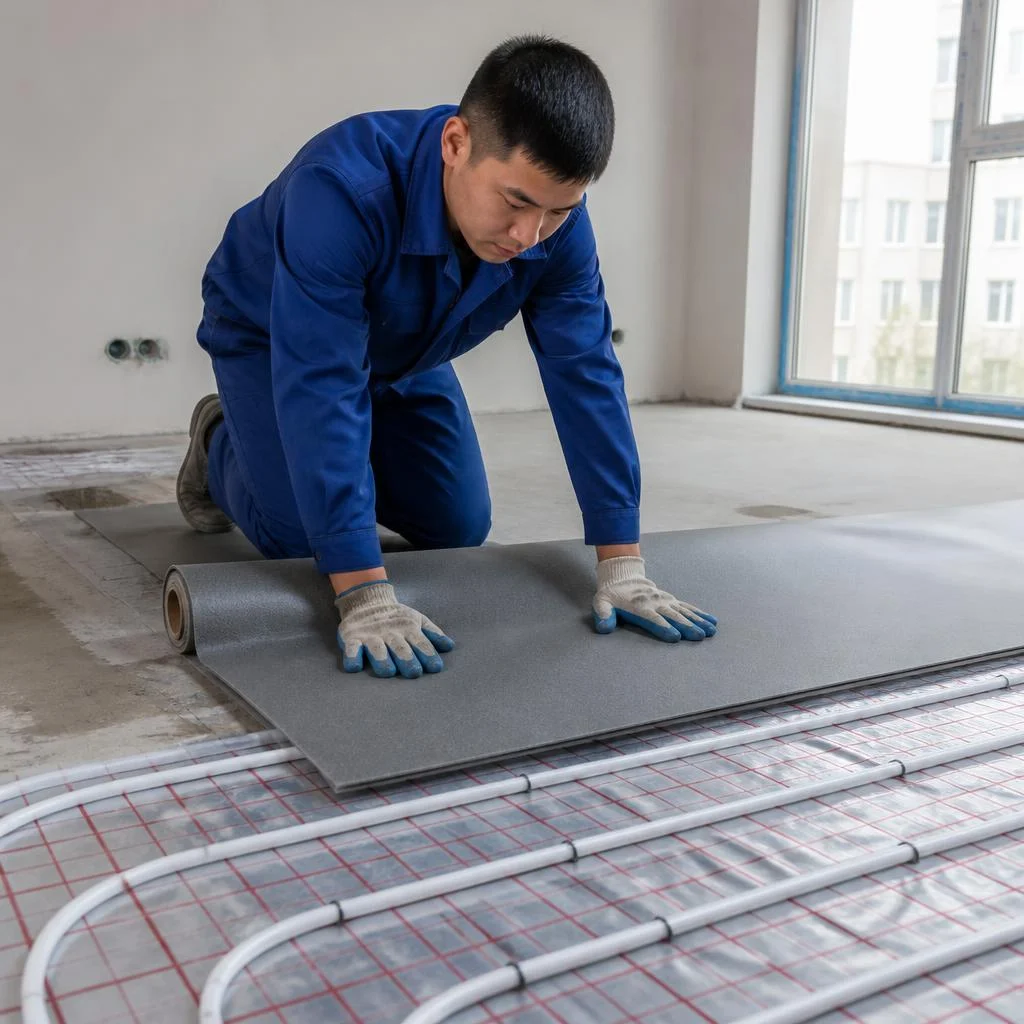
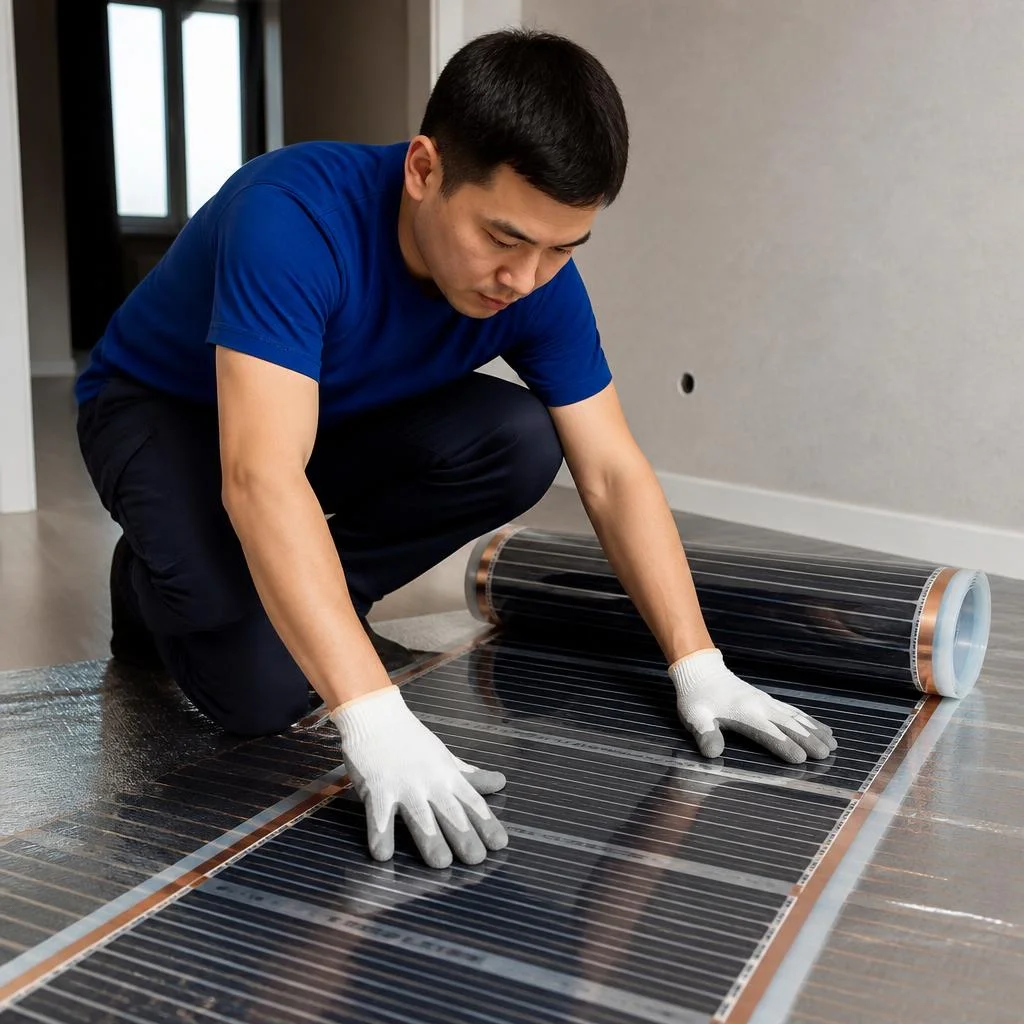
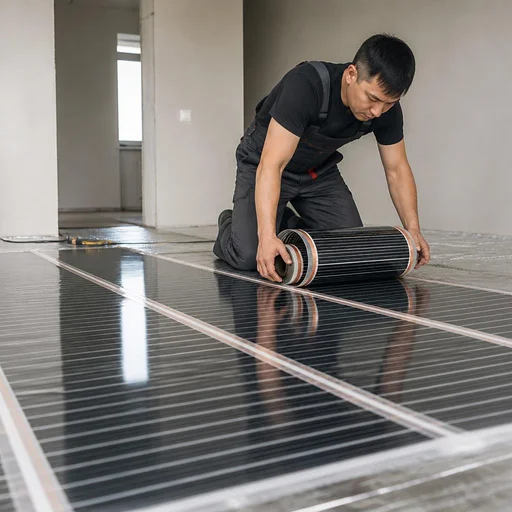
Eco-Service installs infrared film under the finish flooring — this is the only system that is laid without pouring a screed. Work with an IR loop begins with laying thermal insulation with a reflective layer; on top, the film with carbon strips is unrolled, the contacts are joined with clips and routed to the thermostat. Standard film provides 150-220 W per square meter at a thickness of 0.4 mm, so the assembly raises the floor by only 2-3 cm — an option for apartments with low ceilings and wooden floors, where concrete pouring is impossible. Laminate is laid over the loop directly on the film through an underlay; tiles are laid on a layer of adhesive and reinforcing mesh. This dry method is suitable for finished renovations: there is no need to break open the screed and haul out concrete. The wording underfloor heating price with installation always means a full cycle for us — from thermal insulation to thermostat connection.
Comparison of Systems: Which to Choose for a Space
| System Type | Where It Is Used | Is a Screed Needed | Finish Flooring |
|---|---|---|---|
| Water underfloor heating | Houses, areas from 40 m² | Yes, 5-8 cm | Tile, laminate, porcelain stoneware |
| Electric cable | Bathrooms, corridors, complex geometry | Yes, thin 3-5 cm | Tile, porcelain stoneware |
| Heating mats | Kitchens, balconies, up to 8 m² | Yes, thin 3-5 cm | Tile |
| Infrared film | Apartments, finished renovations | No | Laminate, tile, linoleum |
For bathrooms and balconies, electric or film systems are more often chosen due to the small area, while for houses over 40 m², a water circuit is used. Underfloor heating installation in Bishkek is work where the type of system determines the entire subsequent cycle: from choosing the base to the deadlines for completing the project. If the renovation is already finished and the screed cannot be opened up, only the infrared option remains. In everyday speech, this is called simply — underfloor heating installation, and half of the requests from the website come to us with this phrase.
How we select a system for the property
Selection begins with a heat calculation based on area, ceiling height, and wall material — without this stage, the system underheats or overconsumes. We use a water circuit for houses over 40 m² and spaces with permanent occupancy; electric cable — for bathrooms, corridors, and rooms with complex geometry; heating mats — for kitchens and balconies up to 8 m²; infrared film — for finished renovations. In new buildings in Bishkek, a water system with semi-dry screed is more often chosen, while in apartments with wooden floors, film is used. Installation in a wooden house requires reinforced joists and a reflective layer, otherwise the heat goes into the floor structure rather than into the room. Requests also include underfloor heating installation — that's how those who have already decided on the system and just want a crew on site write it.
Installation of underfloor heating under tiles and laminate: flooring compatibility
The type of finish flooring determines which layer will lie between the circuit and the floor and which system can be used at all. We break down installation under tiles, laminate, in wet areas and over large areas.
Installing underfloor heating under tiles: screed and adhesive
Eco-Service lays tiles over the circuit on a layer of screed or tile adhesive — the tile holds the heat and releases it evenly. Porcelain stoneware and ceramics have high thermal conductivity, so the heating cable or heating mats release heat with almost no losses, and the surface warms up in 40-60 minutes. The adhesive is applied with an 8-10 mm notched trowel; for large formats from 60 cm, a layer of screed is added so that no voids remain under the tile. Film systems without screed cannot be used under tiles — adhesive does not bond to film, which is why cables or mats are more often installed in bathrooms. Clients type "underfloor heating installation under tiles price" into search — and land on this page, where each flooring type is broken down. The total for work under tiles depends on the tile format and the thickness of the layer, and the calculation itself is done after measuring the area and choosing the system. Separately, clients ask about installing underfloor heating under screed — this is the same scenario, only the mortar layer over the circuit is poured before the final finishing.
Installing underfloor heating under laminate: thin systems
Eco-Service installs infrared film or thin mats under laminate — the laminate is laid floating over the circuit without screed. The film is rolled out over a heat-reflecting underlay, the contacts are sealed, and the laminate joints are glued — otherwise the seams come apart when heated. For laminate, systems with a power of no more than 100-120 W/m² are used, otherwise the flooring dries out and separates at the seams — the power is calculated at the design stage. Class 32-33 laminate with a click-lock connection lasts longer; cheap class 31 loses its geometry with frequent temperature changes. Clients leave the query "underfloor heating installation price" when they have already chosen the flooring and want to understand the range of costs. The price of installing underfloor heating under laminate depends on the area and the thickness of the film, while the price of laying underfloor heating under laminate and the price for laying underfloor heating are calculated after the circuit is laid out.
Underfloor heating in the bathroom and on the balcony: wet areas
Eco-Service installs underfloor heating in the bathroom and on the balcony with mandatory waterproofing — this protects the circuit from moisture and leaks. In the bathroom, waterproofing is taken up the walls by 15-20 cm, the joints are sealed with tape, and the temperature sensor is placed in a conduit so that it can be replaced without opening the tiles. On a loggia, the circuit is laid only on an insulated base — otherwise the heat escapes into the floor slab, and the system runs idle. For the balcony, mats or film are used; for the bathroom, cable or mats: film is not suitable for a wet floor. In search, such work is described briefly: underfloor heating installation — and the area is specified. Laying underfloor heating in the bathroom and work in the bathroom are carried out after glazing, so as not to lose heat through an open opening — then the system reaches its mode in 20-30 minutes. Installing underfloor heating in the bathroom and installing underfloor heating on the balcony include waterproofing as a mandatory step.
Underfloor heating in a private house and bathhouse: large areas
Eco-Service installs underfloor heating in a private house and bathhouse mainly with a water circuit — it pays for itself over areas from 40 m². In a house, the pipe is laid in a serpentine or spiral pattern with a spacing of 150-200 mm; the circuits are brought together at a manifold unit with flow meters and balanced so that the far loops do not cool down. In a bathhouse, the circuit is connected to a separate boiler circuit or to a water heater, so as not to overload the common system and to maintain a separate temperature regime. For the steam room and washing room, pipes with an oxygen barrier are used, and the screed is reinforced — at 60 °C, cracks appear without reinforcement. Clients formulate the task like this: installation of underfloor heating in a bathhouse — and add a note about a separate circuit. Installation of underfloor heating in a private house and work in a bathhouse are planned as a separate circuit in advance — it will no longer be possible to redo it after the screed is poured. The cost of work on laying underfloor heating and the cost of installing underfloor heating are calculated based on the actual layout.
How to calculate the estimate: what the total depends on
| Type of work | What is included | What the price depends on |
|---|---|---|
| Underfloor heating installation | Installation of mats or cable, temperature sensor | Power per 1 m² |
| Laying of underfloor heating | Laying of pipes or film, screed | Loop spacing, layer thickness |
| Installation of underfloor heating | Full cycle with commissioning | Number of loops, automation |
| Underfloor heating laying | Laying of the loop, connection of the thermostat | Area, type of system |
Stages of underfloor heating installation: from marking to screed
The full work cycle in Bishkek follows a strict order: base preparation, marking and layout, underlayment layers, screed, connection of automation, pressure testing of the circuit. Let's go through each stage — what is done before laying the circuit and what comes after.
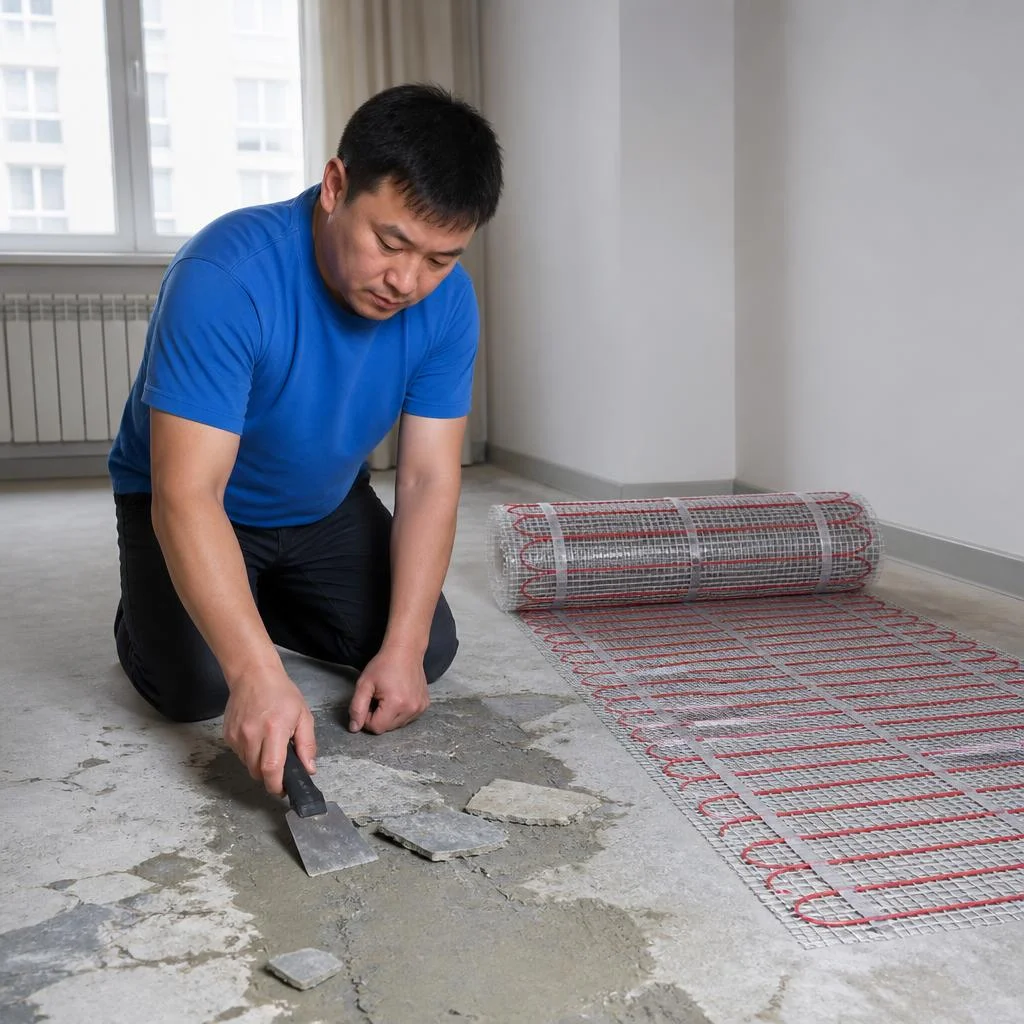
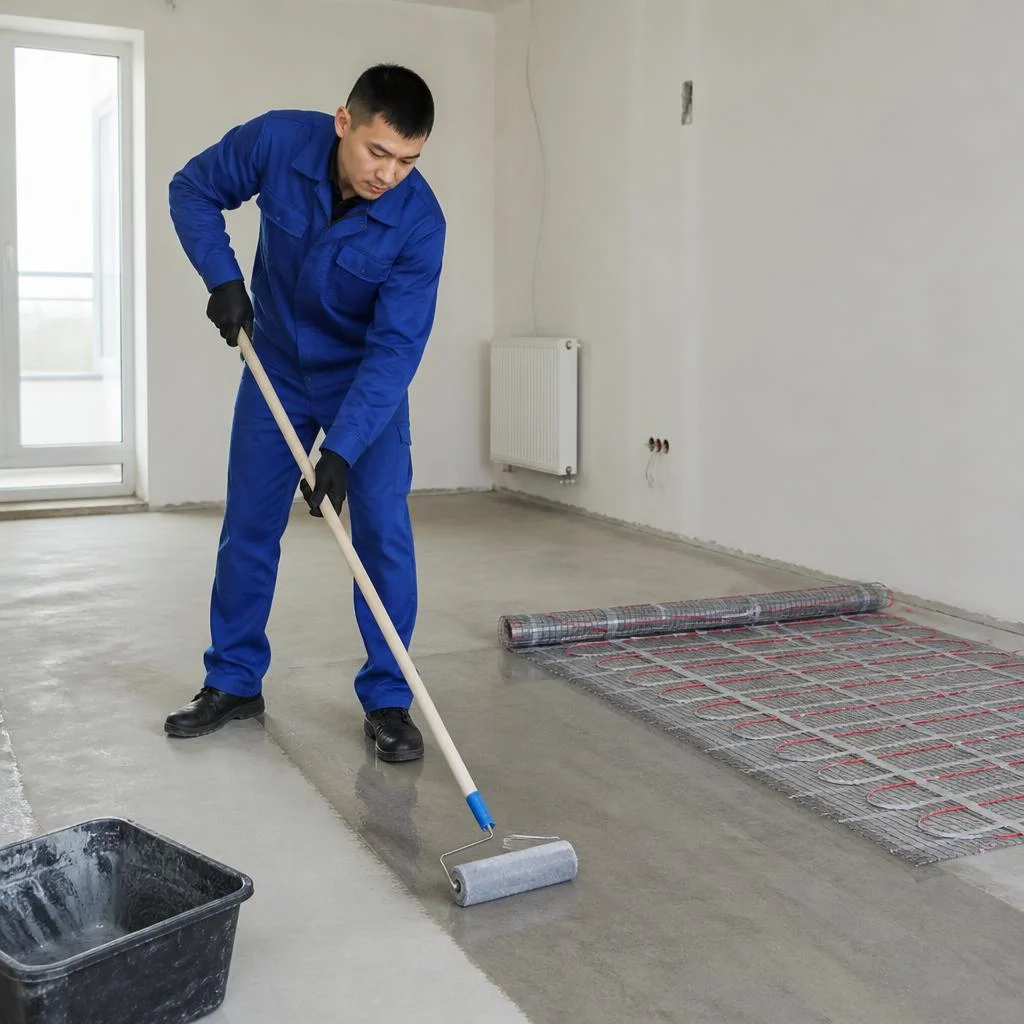
Base preparation: dismantling, leveling, priming
- Dismantling the underfloor heating: we remove the old circuit together with the tiles, laminate or linoleum and the adhesive layer to reach the clean floor slab.
- Leveling the base: we fill uneven spots and cracks, bringing the plane to a single level — a deviation of more than 5 mm over 2 meters ruins the circuit layout.
- Priming the surface: we apply the adhesive compound in two passes, the second after the first has dried, to remove dust and bind the residual concrete.
- Moisture check: we measure the residual moisture of the slab with a moisture meter — if the reading is above the norm, the screed gains strength unevenly.
Marking the laying zones and laying out the circuit
Marking the laying zones and laying out the underfloor heating is the stage where even heating is established: the circuit does not go under furniture and plumbing fixtures, otherwise heat accumulates in the floor structure and heats the cabinet instead of the room. The layout of underfloor heating is done with a spacing of 100-150 mm in areas near windows and external walls and 200-300 mm in the depth of the room, and unrolling the underfloor heating according to the finished markings eliminates pipe waste. The layout of the heating cable or circuit pipes follows the markings, which are transferred to the base with a laser level and chalk from the manifold connection point. The spacing is set based on the power calculation per 1 m² — it may differ from one section to another if the heat loss is different. Clients often search for underfloor heating layout — and through this phrase they find our page. In search, people often type underfloor heating dry installation — that is how they look for an option without wet processes, when screed cannot be poured.
Waterproofing and thermal insulation: underlayment layers
Waterproofing in wet areas and thermal insulation with a reflective layer under the circuit are laid before the pipes and cable are laid out. In bathrooms, in the kitchen near the sink and on the balcony, a rolled membrane is unrolled with a 150-200 mm overlap onto the walls, and the joints are sealed with butyl tape. Over the entire area under the circuit goes extruded polystyrene foam 30-50 mm thick, on top — a foil reflective layer; along the perimeter of the rooms an edge insulation strip is fixed, which compensates for the thermal expansion of the screed. In new buildings in Bishkek with slabs without basement insulation, the insulation thickness is increased to 50 mm, otherwise part of the heat goes downward and heating consumption grows. The reflective layer works only when laid on top of the insulation — on a bare slab it has no effect, heat goes downward. Many customers take underfloor heating without installation — only materials and the circuit, and do the laying themselves. The query underfloor heating installation is used by those looking for a contractor for the entire cycle at once, rather than individual operations for the house.
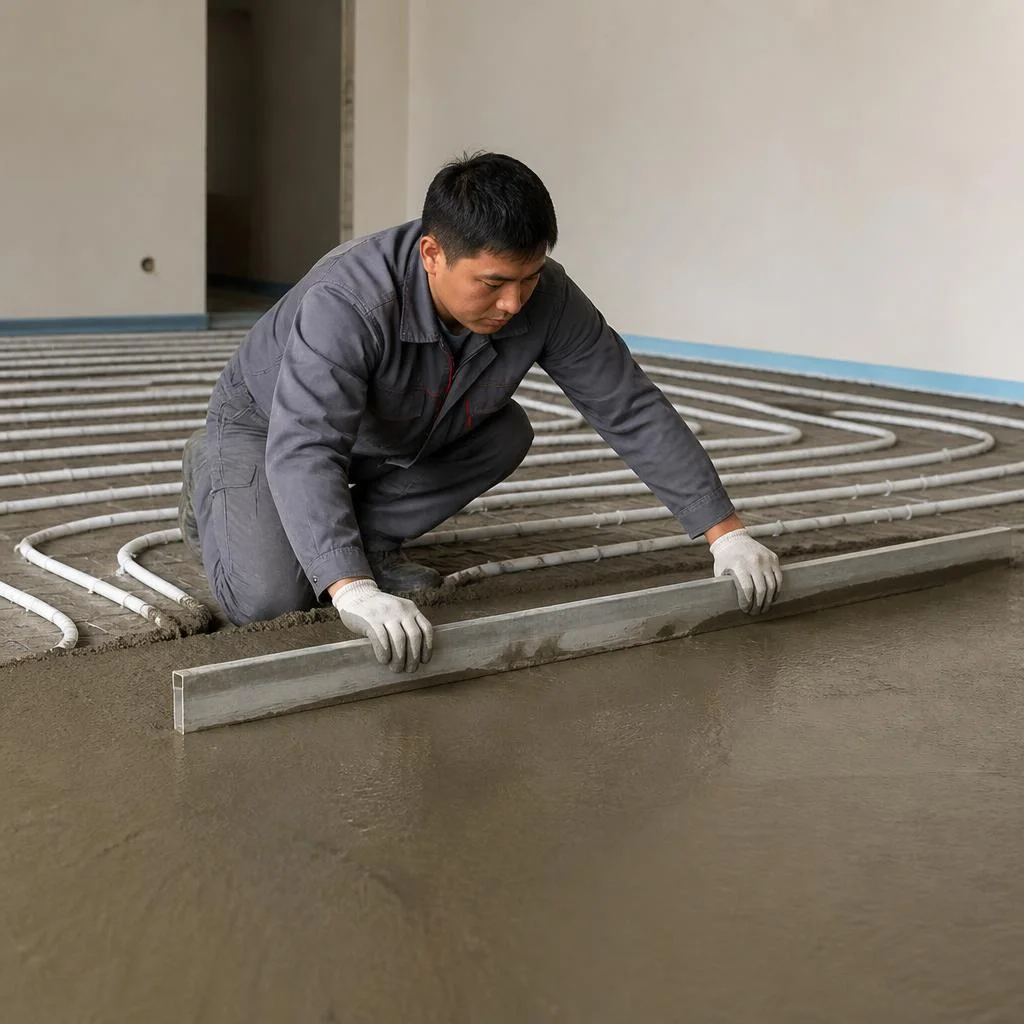
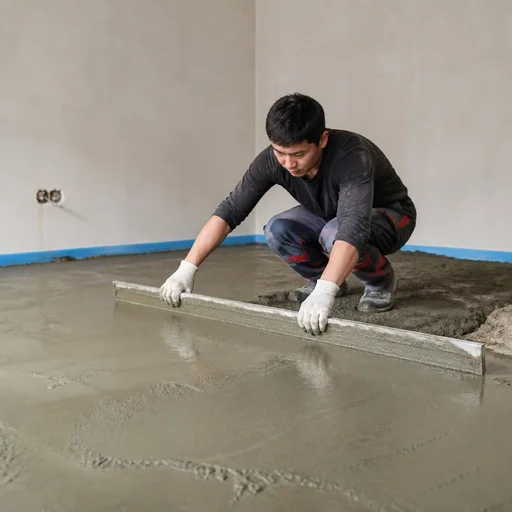
Pouring the screed: semi-dry and wet
| Screed type | Drying time | Reinforcement | When it is used |
|---|---|---|---|
| Semi-dry | 7-12 days until walkable | Mandatory, fiber and mesh | Water circuit, tight deadlines |
| Wet | 21-28 days until full strength | As needed, mesh | Electric cable, mats |
| Semi-dry with plasticizer | 5-9 days | Mandatory | Large areas, private house |
| Wet with accelerator | 14-18 days | As needed | Pouring in winter in a heated room |
Dry screed dries faster and produces almost no shrinkage, but requires reinforcement; wet screed is cheaper to install, but takes longer to gain strength. Underfloor heating is laid under the screed only after pressure testing and securing the pipes — shifting a loop during pouring breaks the layout spacing. The layer thickness above the pipe or cable is at least 30 mm, otherwise the screed cracks along the line of the loops. The request "underfloor heating system installation" comes from those looking for a full cycle of work, not a separate service.
Connecting the thermostat and temperature sensor
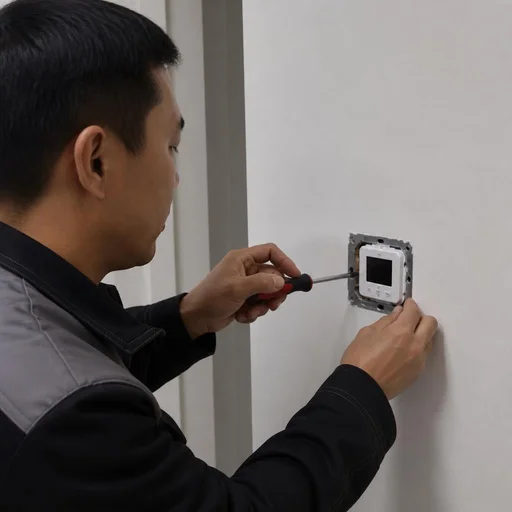
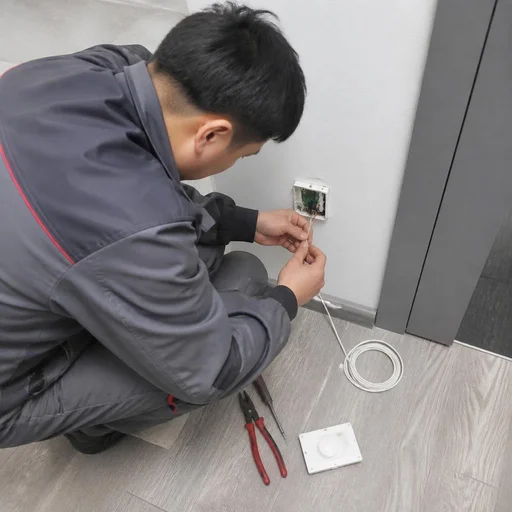
The thermostat and temperature sensor are installed before pouring the screed: the device body is placed in a wall box on the wall, and the sensor is routed into a corrugated conduit inside the layer. A programmable thermostat allows you to set night and day modes; a Wi-Fi thermostat is controlled from a smartphone and is suitable for country houses where the owners come for the weekend. Power to the regulator is supplied by a separate line from the panel with a 30 mA RCD; the power wire to the cable or mats goes through the device terminals. The sensor is placed in a corrugated conduit so that it can be replaced without opening the screed — this is a common cause of rework among crews who wall the sensor in permanently. In search, people often type "underfloor heating installation price" and "underfloor heating installation cost" — that is how clients compare offers before calling.
Pressure testing and balancing of the water circuit
Pressure testing of the system and balancing of the circuits are carried out before pouring the screed, while the pipes are open and accessible for inspection. The circuit is filled with water, the pressure is raised to 1.5 times the working pressure and held for 24 hours — a drop in the pressure gauge needle indicates a leak or a loose connection in the manifold assembly. Balancing of the circuits is done with flow meters on the manifold: long loops receive higher flow, short ones lower, otherwise distant rooms remain cold while the boiler is running. On sites in Bishkek with an area of 120 m² or more, the system is divided into 6-10 loops and each is adjusted separately. Pressure testing is done before the screed and the circuit is left under pressure during pouring — if a pipe is damaged, it is visible immediately, and not after the mortar has set. Clients search for "underfloor heating installation" and "underfloor heating installation cost", and get a full cycle — from marking to pressure testing.
Turnkey Underfloor Heating: What the Full Cycle Includes
A full cycle means that one contractor manages the project from marking to the installed finish flooring and hands over the system in working condition. Let's break down the scope of work, realistic timelines by stage, and layout calculation.
What Turnkey Work Includes
- Marking and preparation: installation zones are marked out according to the room plan, the old flooring is removed, the base is leveled and primed for subsequent layers.
- Underlayment layers: waterproofing and thermal insulation are installed so that heat goes upward rather than into the floor slab and to the neighbors below.
- Heating circuit: circuit pipes or cable, mats, and infrared film are laid out depending on the chosen heating system.
- Automation connection: the manifold unit, thermostat, and temperature sensor are installed, pressure testing and circuit balancing are performed.
- Finish: screed is poured, tiles or laminate are laid over the circuit — the turnkey service covers the entire cycle under one contract.
Work Timelines: How Long Each Stage Takes
| System Type | Installation Time | Is Screed Needed | When It Can Be Turned On |
|---|---|---|---|
| Electric cable | 1-2 days | Yes, thin | After gaining strength |
| Heating mats | 1 day | No | Immediately after laying the flooring |
| Infrared film | 1 day | No | Immediately after laying the flooring |
| Water circuit with screed | 5-7 days | Yes, semi-dry or wet | After complete drying |
Eco-Service installs electric or film underfloor heating in 1-2 days; a water circuit takes up to 5-7 days, not counting the mortar drying time. The screed drying time is not included in the work: the system can only be turned on after it gains strength, otherwise the mortar will crack and the circuit will warp. The estimate includes a separate line item — the price list for underfloor heating installation: it shows which operations are covered by the contract and which are considered additional. This way the customer understands in advance what they are paying for and doesn't get surprises at the project handover stage.
Underfloor Heating Layout Calculation: Power and Pipe Consumption
We calculate the underfloor heating layout based on area, heat losses, and the type of finish flooring — these parameters determine the power per 1 m² and pipe consumption. For living rooms, 100-150 W/m² is used; for bathrooms and balconies — higher, because more heat escapes through exterior walls, and under tiles the layout spacing is made denser than under laminate. Thermal insulation here is not an option: without a reflective layer, up to 30% of heat escapes downward, so we consider it part of the system. Clients enter "underfloor heating installation price" and "underfloor heating installation cost" to compare market offers, while "underfloor heating installation price per m2" shows the variation by circuit spacing. Turnkey underfloor heating installation and underfloor heating installation price depend on the thickness of the screed and flooring, while underfloor heating installation price and underfloor heating installation labor cost are fixed in the contract before the crew arrives. Most often, people search for "turnkey underfloor heating price" — and land on this page, where the scope of work is visible. Another common query is "underfloor heating installation price": customers use it to check whether screed is included in the base rate.
2-Year Warranty and Installation Quality Control
We explain how responsibility for the result is structured: what exactly the two-year warranty covers, why the work is carried out by an in-house crew, and how the service center accepts requests.
2-Year Warranty on Installation Work
Eco-Service provides a 2-year warranty on installation work — it covers circuit layout, thermostat connection, screed pouring, and final floor covering installation. The warranty period covers defects related to technology violations: uneven heating due to an error in the layout spacing, cable damage during pouring, a loose connection in the manifold unit, or a temperature sensor malfunction. We document requests with a report; a technician visit for a warranty case for clients in Bishkek is within two business days. The warranty is valid only if operating conditions are met: if the system was turned on before the screed gained strength or the circuit was pressed down by heavy furniture, the case is not recognized as a warranty case. Before the first startup, wait for the screed's specified curing time — for wet screed it's longer than for semi-dry, and it's at this stage that most warranties are lost. Clients often find us with the query "underfloor heating installation under tiles price" — and land on the page with the calculation.
In-House Crew Without Intermediaries
Eco-Service works with its own crew of installers — no subcontracting and no intermediaries. On staff are specialists in water and electric systems: some handle the layout of circuit pipes and assembly of the manifold unit, others handle heating cable, mats, and infrared film, and still others configure automation and carry out commissioning. With subcontracting, responsibility for defects is blurred between the company and the third-party crew, and the client has to prove their case through correspondence; with a direct contractor, the technician returns to the site under warranty without disputes — the same person who installed it is the one who redoes it. In my view, this is the main argument in favor of an in-house team: you don't have to figure out who exactly ruined the screed or mixed up the sensor polarity. In search, this sounds like "underfloor heating laying price" and "underfloor heating installation" — these queries come from people who need a contractor, not an intermediary. Separately, clients type "underfloor heating installation" — and from this phrase it's immediately clear that the person needs a crew on site, not a phone consultation.
Service Center in Bishkek: In-Person Reception and Requests
Eco-Service accepts requests through its service center in Bishkek — clients can come in person, discuss the project, and sign a contract. During the appointment we review the room layout, show samples of pipes, cable, and mats, and calculate the footage and power for each circuit. In-person reception is important for water systems: on site, we can show the circuit layout diagram and agree on connection points to the boiler before work begins. In Bishkek, the office works with real samples, not just photos from messages — it's easier to choose between semi-dry and wet screed, assess the thickness of the layers, and understand whether the manifold unit will fit into the niche. Schedule an appointment in advance and bring a floor plan with dimensions — calculations based on it are more accurate than based on words. Most often people ask "underfloor heating installation price" and "underfloor heating installation cost" — at the appointment we calculate an estimate for the specific layout. Another common query is "turnkey underfloor heating price": it comes from those who need a full cycle from design to startup, and for such a request we immediately prepare a comprehensive estimate.
Mistakes in underfloor heating installation and how to avoid them
We analyze the anti-patterns that cause underfloor heating not to heat, the screed to crack, or the electricity bill to grow — and show how these mistakes look in the layout, the pipe arrangement, and the calculations.
Why you can't lay the circuit under furniture and plumbing fixtures
A circuit under furniture and plumbing fixtures overheats — the heat isn't released into the room, and the system operates under overload. In our practice, the most common complaint after DIY installation in Bishkek apartments is: the floor heats, but the room is cold, because a third of the area is covered by a sliding wardrobe or a sofa without legs. The heating cable and the pipes of a water circuit are designed to release heat upward, through the covering; when a solid furniture body sits on top, heat accumulates in the screed, and the temperature in that zone rises 8-12 degrees above the design value. The result is accelerated cable degradation, local overheating of the laminate, and increased energy consumption. Under stationary furniture without legs, the circuit is not laid at all, and under furniture with legs — only with a margin in the laying spacing. Clients often search for "underfloor heating installation" and land on this page, although the first step should be marking out the installation zones with a furniture layout plan in hand. We separately warn about underfloor heating installation in the bathroom: there the circuit is not run under the tub itself, the washing machine, or the vanity — only in the free zone in front of them.
Mistakes when pouring screed over the circuit
Screed over the circuit cracks if it was poured without a damper tape around the perimeter or if the system was turned on before it gained strength. The damper tape compensates for the expansion of the screed when heated — without it, the slab presses against the walls and cracks form at the corners. The second most common mistake is starting the system too early: semi-dry screed gains its design strength in 21-28 days, and turning on the circuit on day 5-7 leads to uneven shrinkage and rupture of the heating cable at the point of maximum stress. The third misstep is too thin a mix: with a water-cement ratio above 0.55, the water evaporates, leaving voids around the pipe, and the "pipe-screed" contact deteriorates. In search, this is described as "underfloor heating installation," but the problem isn't in the layout, it's in the pouring technology: the screed and its first heating are two separate stages with a pause, and rushing here costs more than waiting a month. Clients interested in the price of underfloor heating installation most often ask about this stage specifically — how much it costs not to lay it, but to pour it correctly and let it cure.
Incorrect calculation of power and laying spacing
Underestimated power per 1 m² doesn't heat the room, while overestimated power overheats the covering and increases energy consumption. For the Bishkek climate with a design winter temperature down to minus 20 degrees, comfortable underfloor heating in a living room requires 100-140 W/m² with an insulated base, and in a bathroom or on a balcony — 150-180 W/m². The laying spacing can't be the same across the entire area — heat loss is higher near exterior walls and windows, so the spacing is reduced there. In our projects, for panoramic glazing on the south side, the spacing is narrowed to 10-12 cm, while in the center of the room it's left at 20-25 cm. The calculation of underfloor heating installation begins with the room's heat loss, not with the area: 12 m² by a floor-to-ceiling window requires more power than 20 m² deep inside the apartment. Clients search for "turnkey underfloor heating cost" and "underfloor heating installation cost," "underfloor heating installation price" and "price per underfloor heating installation," "underfloor heating installation price list" and "infrared underfloor heating installation" — but before purchasing material, order a thermal engineering calculation; it's cheaper than redoing the screed.
Conclusion
Summary on underfloor heating installation: briefly about what determines the result — from choosing the system to the moment of first switch-on. Below are the main takeaways worth keeping in mind before starting work.
Main takeaways
- System type for the task: a water circuit is chosen for large areas and private houses, while electric cable, mats, and infrared film — for apartments, bathrooms, and wet areas.
- Compatibility with the covering: under tiles you need a screed or adhesive, under laminate — thin systems without a screed, otherwise the covering will warp.
- Mandatory layers: base preparation, waterproofing, and edge insulation tape around the perimeter — not an option, but a condition for even heating and the absence of cracks.
- Calculation based on heat loss: the power and laying spacing are calculated based on the heat loss of the specific room, not on the total area as a whole.
- Sensor and start-up: the temperature sensor is placed in a conduit for replacement without opening up, and the system is switched on only after the screed has gained strength.