








What pressure testing of a heating system is and why it is done
Testing a circuit with excess pressure is a procedure in which the tightness of all connections is checked before the start of the heating season. Let's look at the essence of the method, how it differs from flushing, and the cases when the procedure is indispensable.
The essence of the method and what it checks
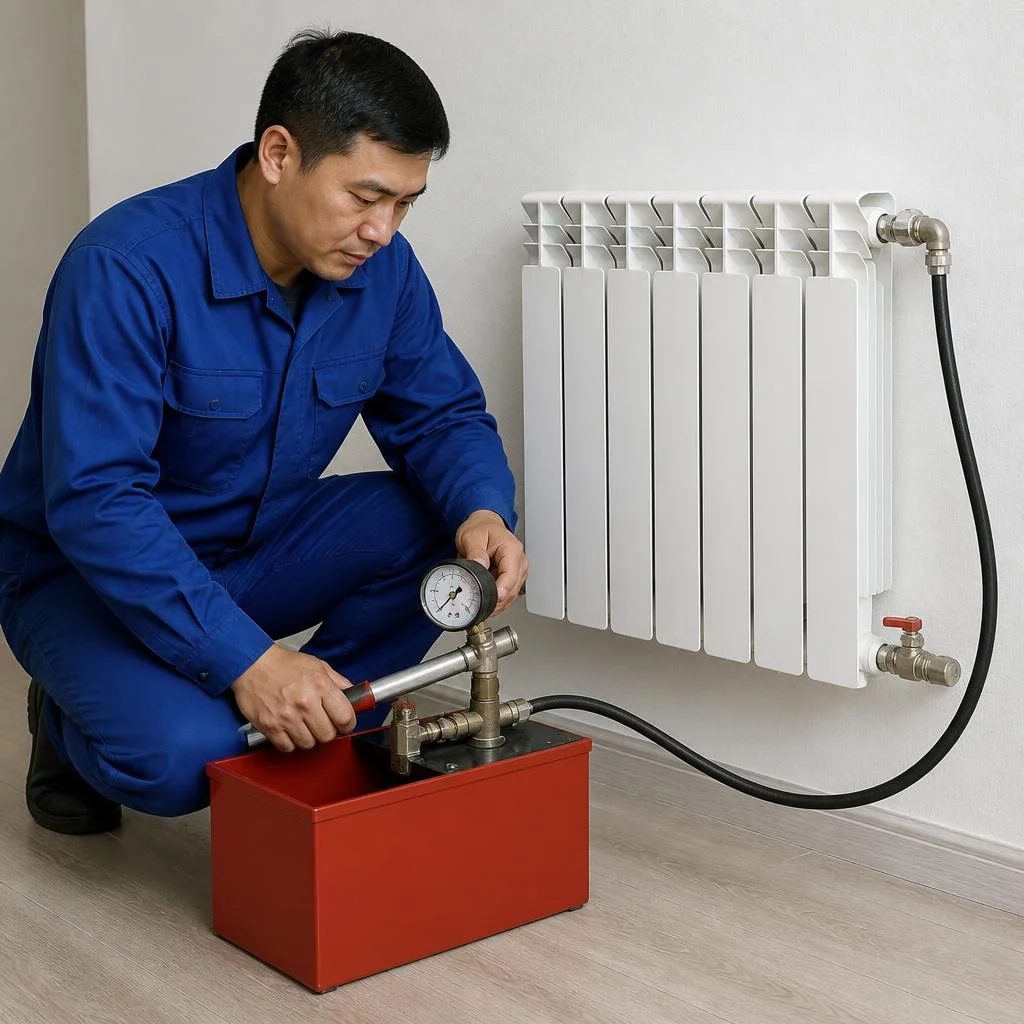
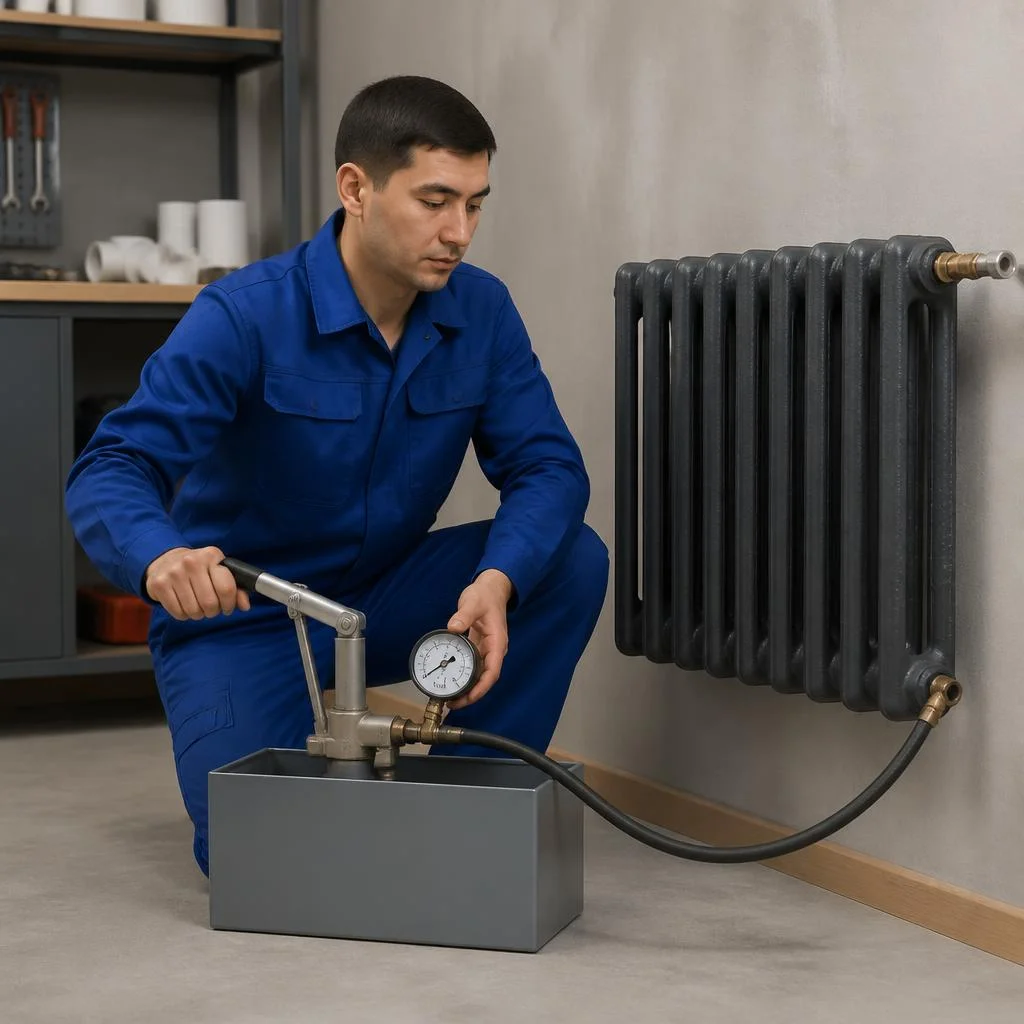
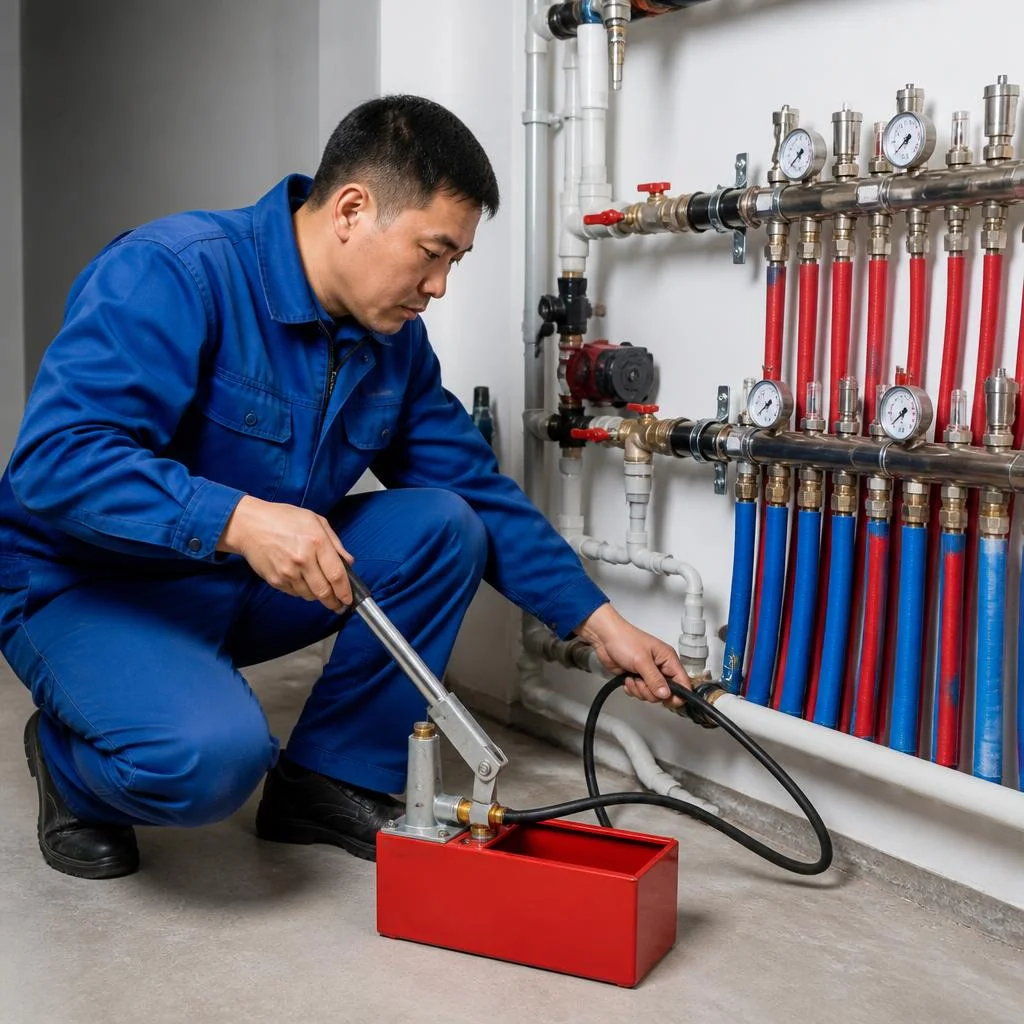
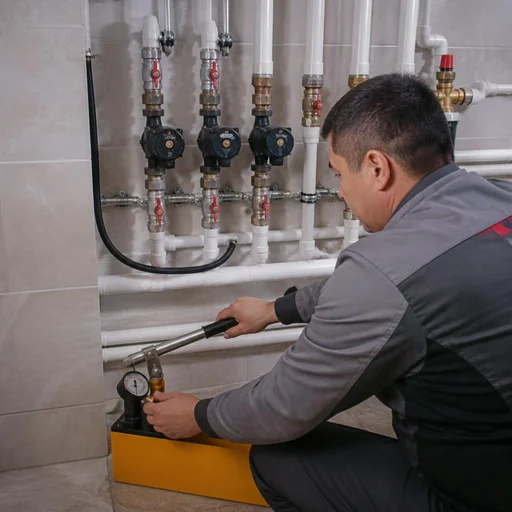
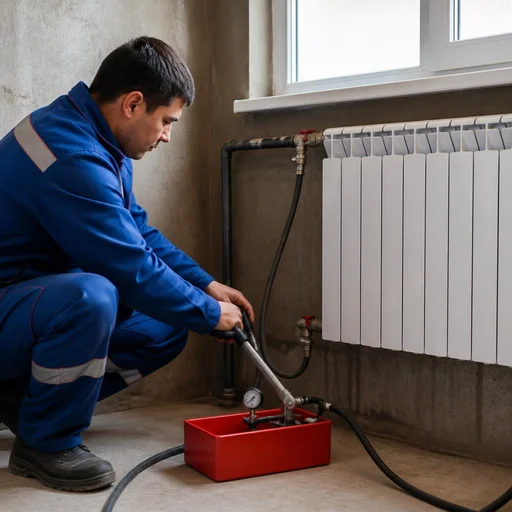
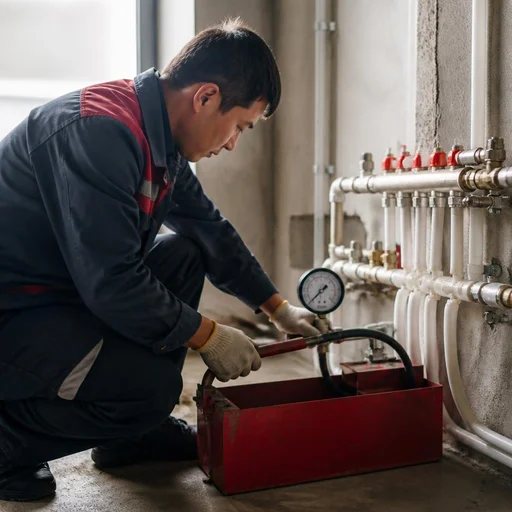
Testing a circuit with excess pressure is a procedure in which a technician records the pressure drop on a gauge and finds leaky connections before the start of the heating season. A hydraulic pressure tester raises the pressure in the circuit above the working pressure — for apartments this is usually 6-8 bar, for private houses with cast-iron radiators 4-5 bar — and the result is checked against a control gauge of accuracy class 1.5. Not only pipes are checked, but also threaded joints, welded seams, flanges, radiator plugs, manifold connections and shut-off valves. If the pressure holds without dropping for 30 minutes, the circuit is airtight; the slightest decrease indicates a leak, which without such a check would only be discovered in winter by a wet patch on the wall. In search, clients type "pressure testing of a heating system Bishkek" — and land on this page, while in requests they write more briefly: pressure testing of heating batteries — and the technician immediately understands what is meant. Catching a pinhole leak on a cold circuit is cheaper than opening up a wall in January.
How pressure testing differs from flushing and when both are needed
Flushing removes scale and sludge from inside the pipes, while tightness testing under pressure is a different procedure, and at Eco-Service they are often done in a single visit. Flushing runs water with a chemical reagent or an air-water mixture through the circuit at a pressure of 3-4 bar: over 2-3 hours, brown sludge, hardness salts and corrosion products that settled over previous seasons come out of the system. After flushing, the coolant moves more freely, radiators heat up evenly, and the gas or electricity consumption for the boiler decreases. Testing and flushing solve different tasks: the first shows where it leaks, the second — why the circuit heats unevenly. Flushing without subsequent tightness testing is risky: the removed sludge exposes weakened threaded joints, and it is precisely after flushing that leaks most often come to light. That is why cleaning and testing go as a pair — first they clean, then they check. Pressure testing of a heating radiator is ordered separately when a unit is replaced in one room and they do not want to touch the whole riser.
When it is ordered: seasonality and mandatory cases
- Before the heating season: in Bishkek this is August-October, when boiler houses prepare circuits for the load, and private houses — for the first start-up of the boiler.
- After renovation or redevelopment: any intervention in the piping — a new point, moving a radiator, replacing a section of pipe — requires tightness testing.
- After replacing a radiator or boiler: new threaded and welded connections must stand under pressure for at least a day before heat is supplied.
- When pressure drops in the circuit: if the gauge on the boiler shows a drop overnight, pressure testing localizes the leak area.
- When buying a secondary home: the check will show the condition of the pipes and radiators before the deal, and not after the first winter start-up.
How pressure testing of a heating system is carried out: stages and pressure
We break down step by step how a crew tests the circuit, what pressure is supplied in different units, and how the result is recorded under the pressure gauge.
Hydraulic method with water: step by step
- Preparation: we shut off the shut-off valves, disconnect the boiler, install plugs on the open pipe branches, and connect the pressure tester to the drain.
- Filling: we fill the circuit with water from bottom to top through the return line, expelling air through the Mayevsky valves on the radiators and the air vents on the manifold.
- Pressure rise: with the pressure tester we smoothly raise the pressure gauge needle to the test value, monitoring each unit.
- Holding: we keep the circuit under pressure, checking the pressure gauge readings every 10 minutes, and walk around the connection points.
- Inspection: we go over the threads, welded seams, radiator and manifold flanges, looking for drips and chafing.
- Recording: we record the starting and final pressure, water temperature, and inspection result in the report.
What pressure is supplied and how long the circuit is held
| Circuit type | Test pressure | Holding time | What is checked |
|---|---|---|---|
| Apartment | 1.5 times the working pressure | 30 minutes | joints of the riser and radiators |
| Private house | according to the boiler data sheet | 30-60 minutes | piping, manifold, pump |
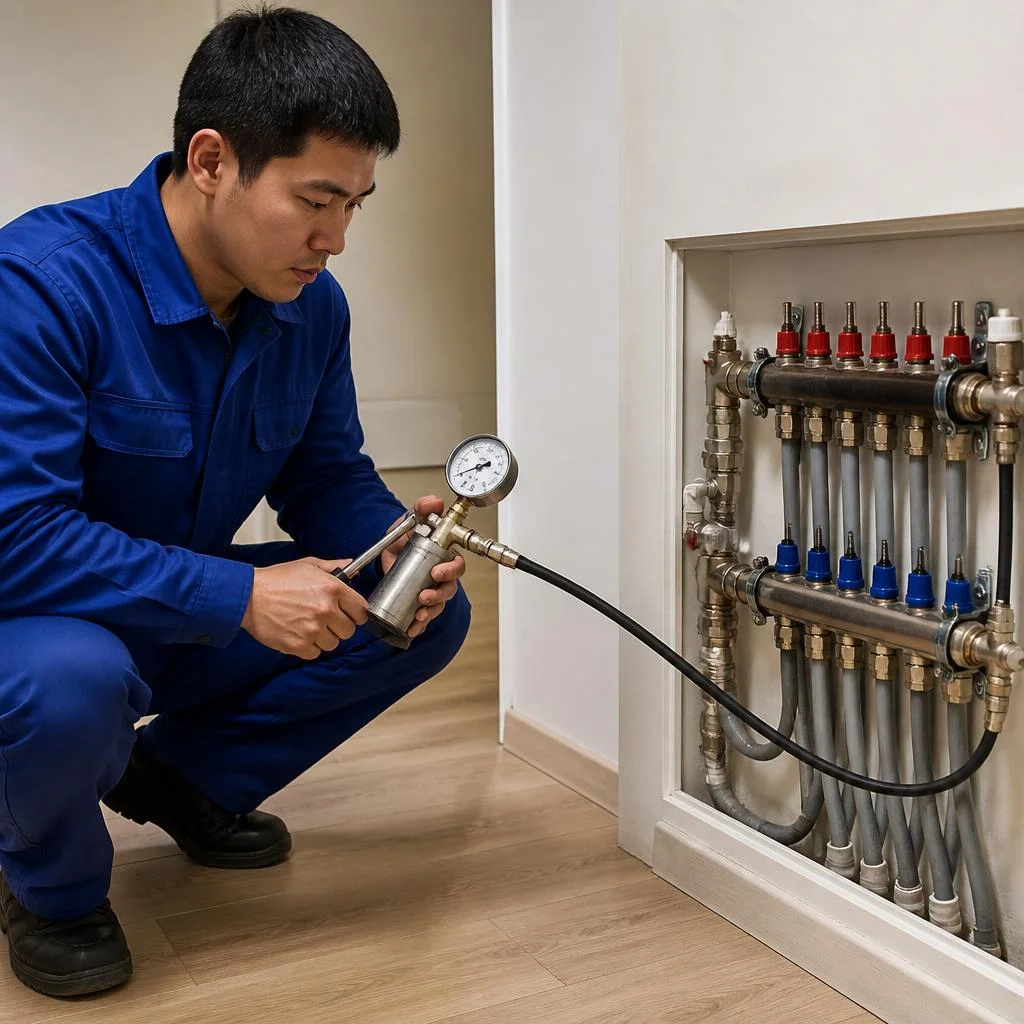
| Underfloor heating | 1.5 times the working pressure, but below the pipe data sheet | 30 minutes | loops and manifold |
| Boiler | according to the boiler data sheet | 30 minutes | coil and pipe branches |
Pressure above the data sheet value does not provide a "safety margin": it ruptures a weak welded seam where the circuit would have held for years under working conditions, so we take the parameter from the documentation for the boiler and radiators, and not "by eye".
Pneumatic method with air: when it is used
The pneumatic method with air is used where water cannot be poured in: at an unheated site, when there is a risk of the circuit freezing, or when water would damage fresh finishes. A compressor forces air up to the test value, the technician holds the circuit and walks around the connection points. Air is compressible, so the pressure drop on the gauge here is less indicative than when working with water, and the main role is played by visual inspection: threads, welded seams, and flanges are coated with soapy emulsion and checked for bubbles. This method is chosen for dachas and houses under construction, where the circuit is not filled in winter and there is nowhere to drain the water. If the site is heated and water is available, hydraulic pressure testing of the heating system is more informative — it immediately reveals micro-leaks that air will not show. In our work, testing always involves recording the starting and final pressure gauge readings, and we work with air where water is physically unavailable. Clients often phrase the request as: pressure testing of the heating system with water — and we immediately understand that this refers to the hydraulic method at a heated site. Through Eco-Service you can have the heating system checked with air at an unheated site and receive a report with the result.
Pressure testing of the heating system in an apartment and in a private house: what's the difference
Pressure testing of the heating system in an apartment and in a private house differs in scope, layout, and connection point. We break down exactly what changes in the technician's work and where the owner's boundary of responsibility lies.
Testing in an apartment: what we check
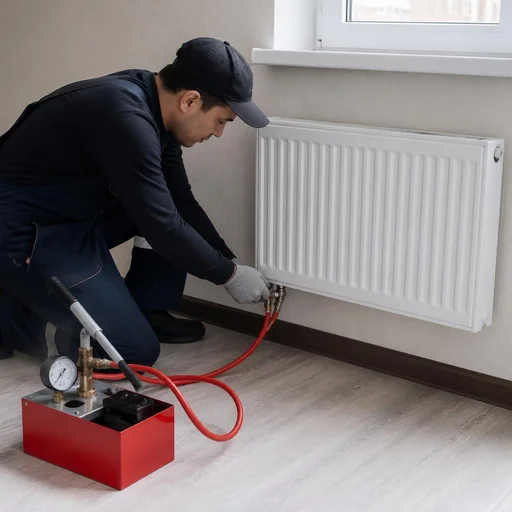
Work in an apartment covers the section after the shut-off valves: radiators, supply lines, towel warmer, and the layout up to the riser. The technician shuts off the supply, releases pressure in the apartment circuit, and applies test pressure with a pump — usually 1.5 atmospheres above the working pressure, that is, 6–8 bar for typical panel and brick buildings of series 1-464 and II-49. Bimetallic sections, MS-140 cast-iron batteries, and stainless steel towel warmers are checked separately: plugs are installed on threaded unions and American fittings, and leaks are monitored at Mayevsky valves. Through Eco-Service you can order such testing apartment by apartment, with a visit to any district of Bishkek. The riser and the building-wide layout are the management company's area: if there is a leak after the shut-off valves, it is fixed by the management company, not the owner, and the technician records this in the report.
Specifics of a private house circuit
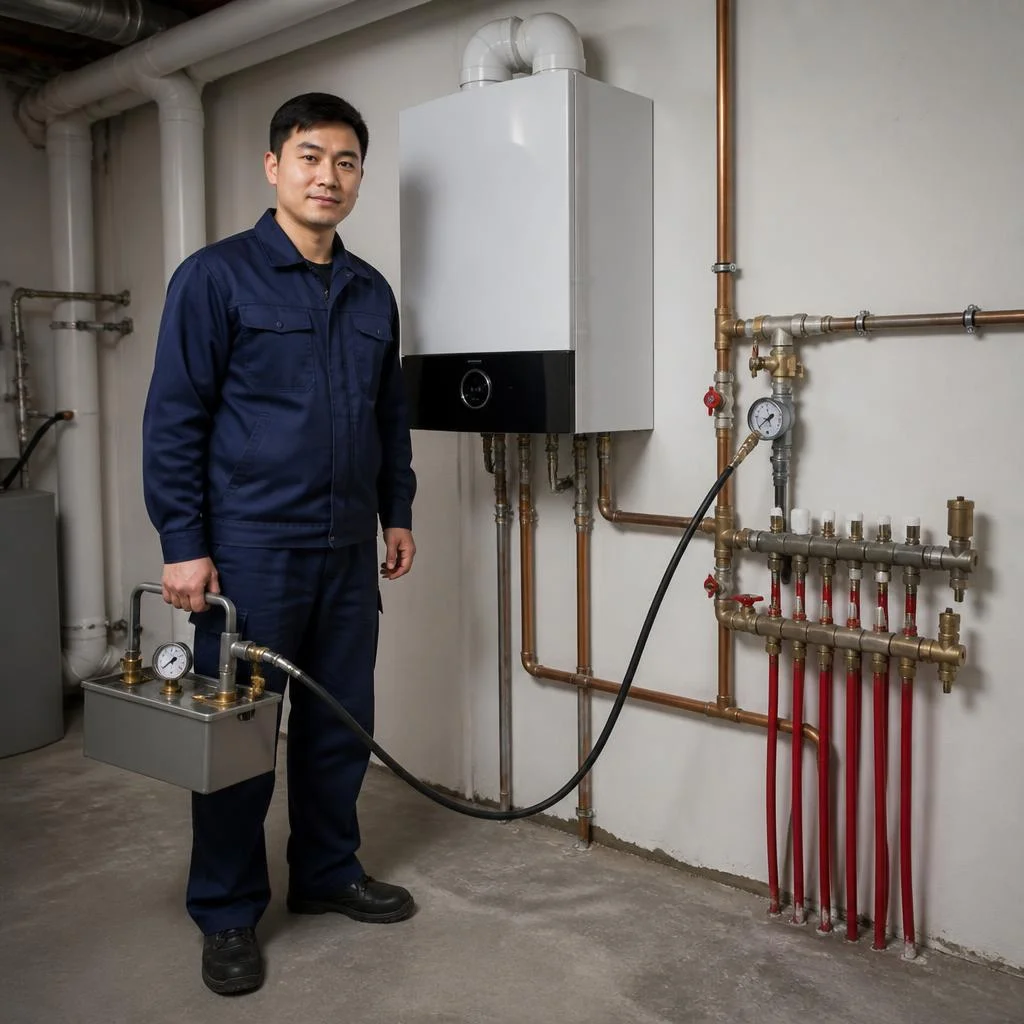
Work in a private house includes the entire circuit as a whole: boiler, expansion tank, manifold, radiators, underfloor heating, and piping up to the last point. Clients often phrase the request as pressure testing of heating in a private house — and this is an accurate description of what we do. Such testing is more difficult than in an apartment because of its length: in a two-story cottage of 180–250 square meters, the circuit holds 90–140 liters of coolant, and a layout made of polypropylene, metal-plastic, and PEX creates dozens of hidden connections in walls and screed. Pressure is raised to 1.5 times the working pressure — for a gas boiler at 1.5 bar this is 2.25 bar, for a solid-fuel boiler at 2 bar it is 3 bar — and held for at least 30 minutes with the pressure drop recorded on a gauge. The second most frequent request is pressure testing and flushing of the heating system: we perform flushing before testing in order to remove scale and sludge and not drive them through the circuit under pressure. Eco-Service carries out such work in stages: first the boiler room, then the branches. It is important to perform the test before pouring the underfloor heating screed — after tiles are laid, access to the pipe is closed, and any leak means opening up the covering.
Apartment building: area of responsibility
- Management company's area: testing in an apartment building — risers, basement, distribution, elevator unit, and building-wide metering devices.
- Owner's area: radiators, supply lines, towel warmer, and shut-off valves after the first shut-off valves at the entrance to the apartment.
- Who pays: building-wide work — from the housing maintenance tariff, the apartment section — at the owner's expense.
- Where to get the report: the building-wide testing report is requested from the management company or homeowners' association before the start of the heating season.
- If the management company refuses: the owner records the condition of the riser with photo and video documentation and submits a written request demanding that testing be carried out.
What gets pressure-tested: radiators, underfloor heating, boiler, manifold and water supply
Pressure testing of a heating system covers each component of the circuit in its own way: in some cases, checking a heating radiator is what matters, in others it's monitoring the tank membrane or the boiler coil. Below we break down exactly what the crew inspects on each element.
Checking a heating radiator and batteries: what to look at
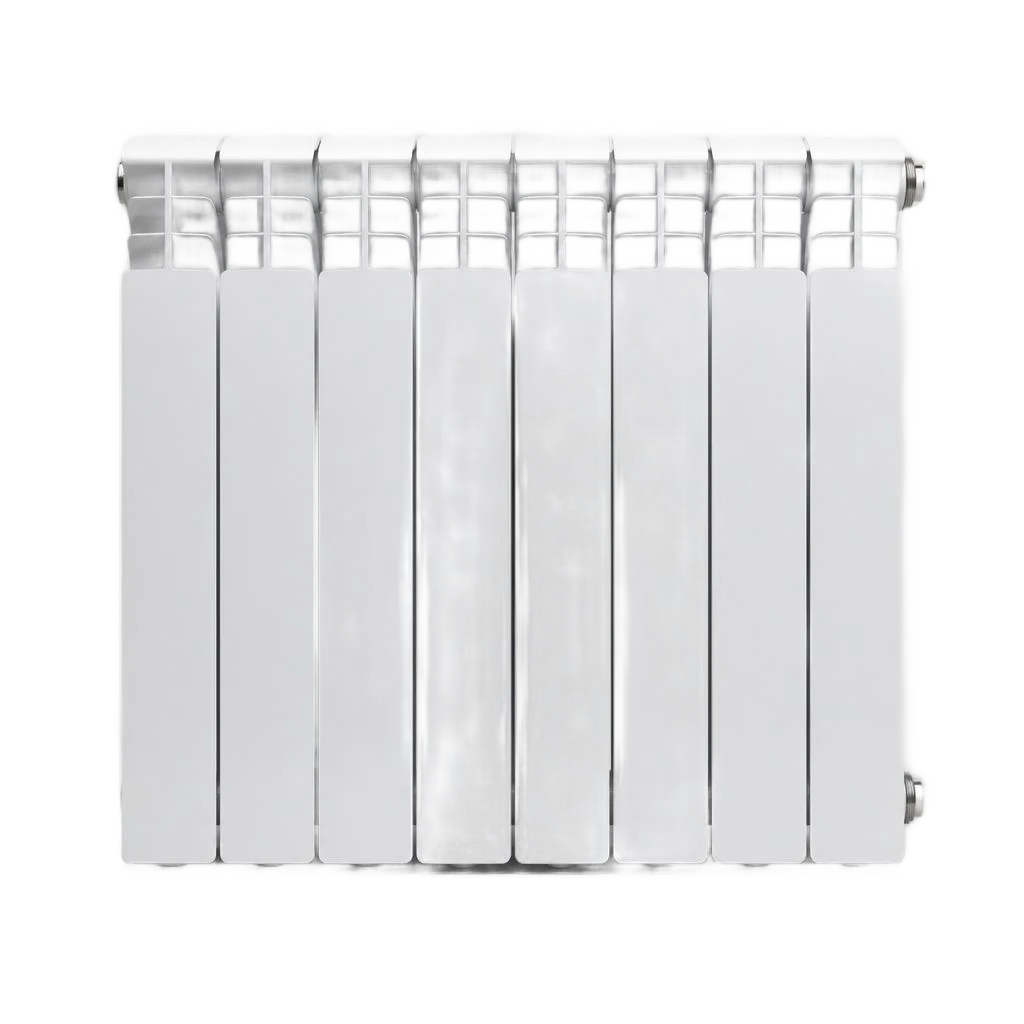
Testing a heating radiator checks the sections, threaded connections and the Mayevsky valve — leaks most often appear on the threads and seals, not on the body itself. Checking heating batteries in Bishkek apartments usually goes together with the connections: cast-iron sections hold pressure worse than aluminum ones, and when tested above the rated pressure, an old battery can burst along the seam. Clients often phrase the request as pressure testing of batteries — and the crew immediately understands that an inspection of the inter-section gaskets and Mayevsky valves is needed before applying pressure. Eco-Service pressure-tests radiators and connections with a check of every joint under working pressure. If a battery has gone more than ten years without repair, the pressure for it is selected separately from the main circuit — otherwise the risk of a section bursting increases.
Checking underfloor heating, the manifold and the expansion tank
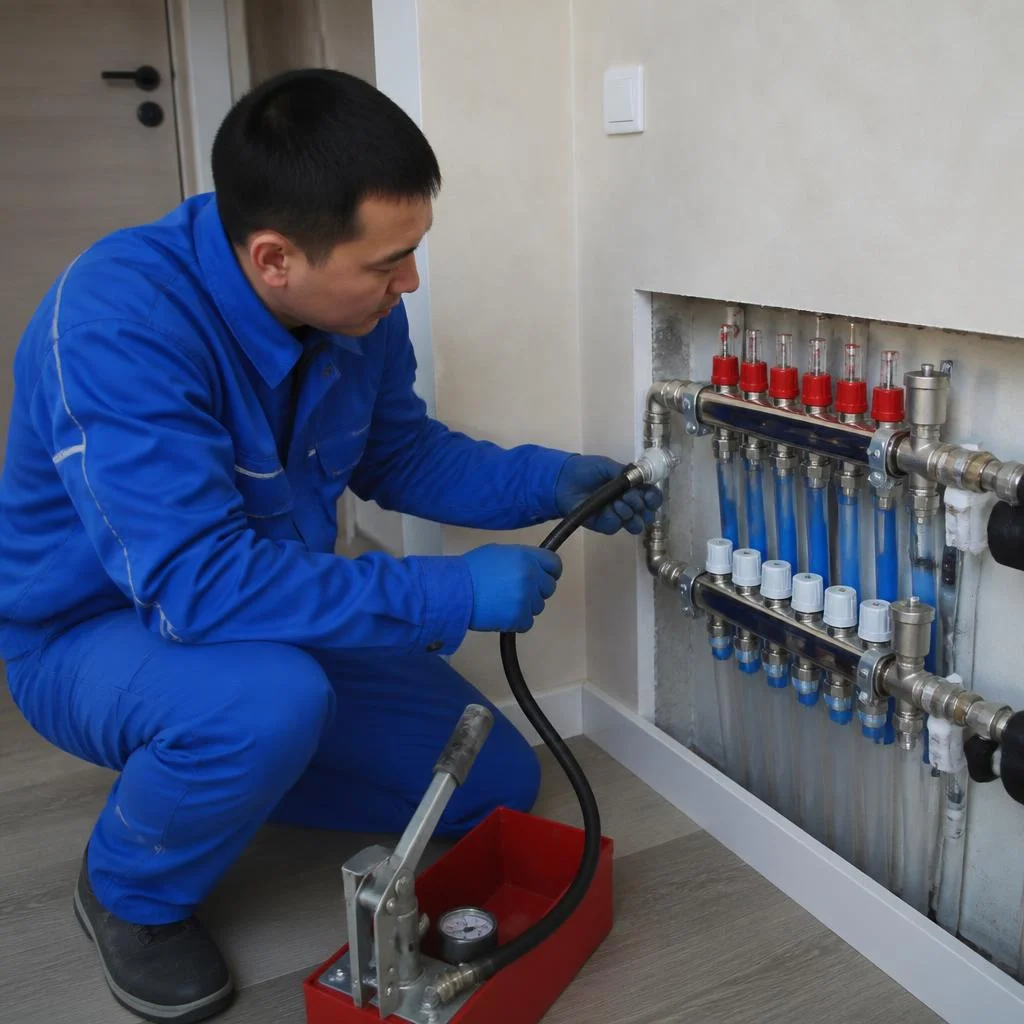
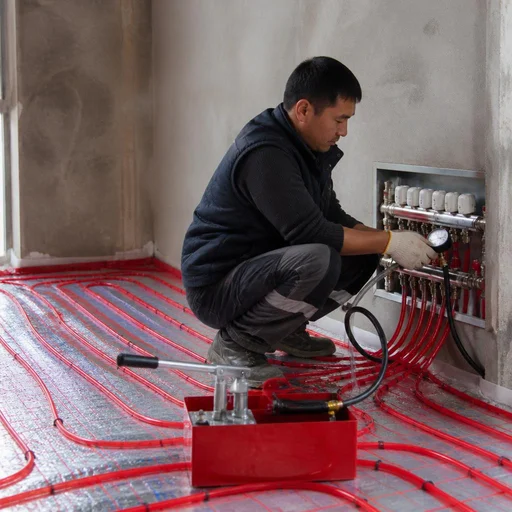
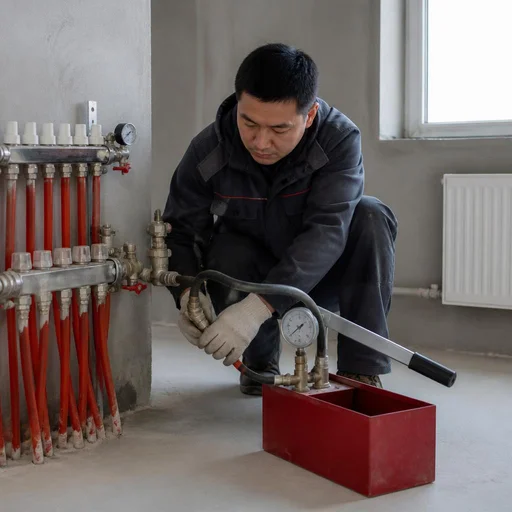
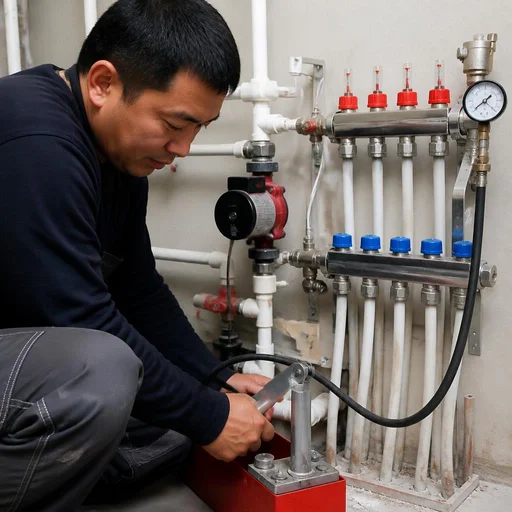
Testing of underfloor heating and the manifold is carried out before pouring the screed and after installing the unit: the loops, balancing valves and the expansion tank membrane are checked. Checking heating pipes in the underfloor heating circuit is done at a pressure above the working pressure, but not above the rated pressure for the pipe itself — polypropylene and PEX behave differently, and exceeding it produces a false crack on the fitting. The manifold is tested for each outlet separately: flow meters and shut-off valves must hold pressure without dropping. The expansion tank is checked separately from the circuit — if the membrane is torn, the pressure drop will be blamed on a leak in the pipes and they will look for it where there is none. In requests this sounds brief — pressure testing of the heating system — and the technician clarifies whether it's the whole circuit or just the underfloor heating with the manifold. Eco-Service checks the underfloor heating, manifold and tank separately so as not to confuse a drop from the membrane with a real leak.
Checking the boiler, water heater and water supply system
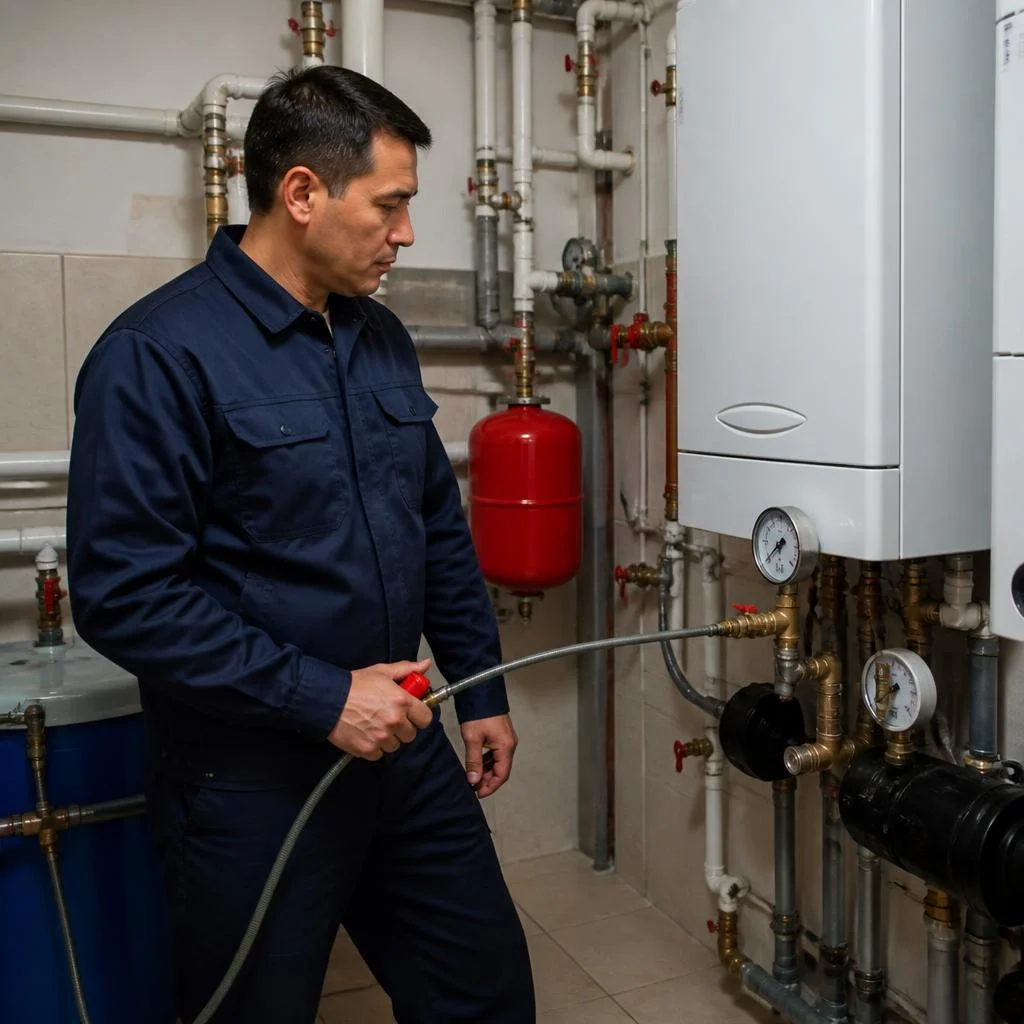
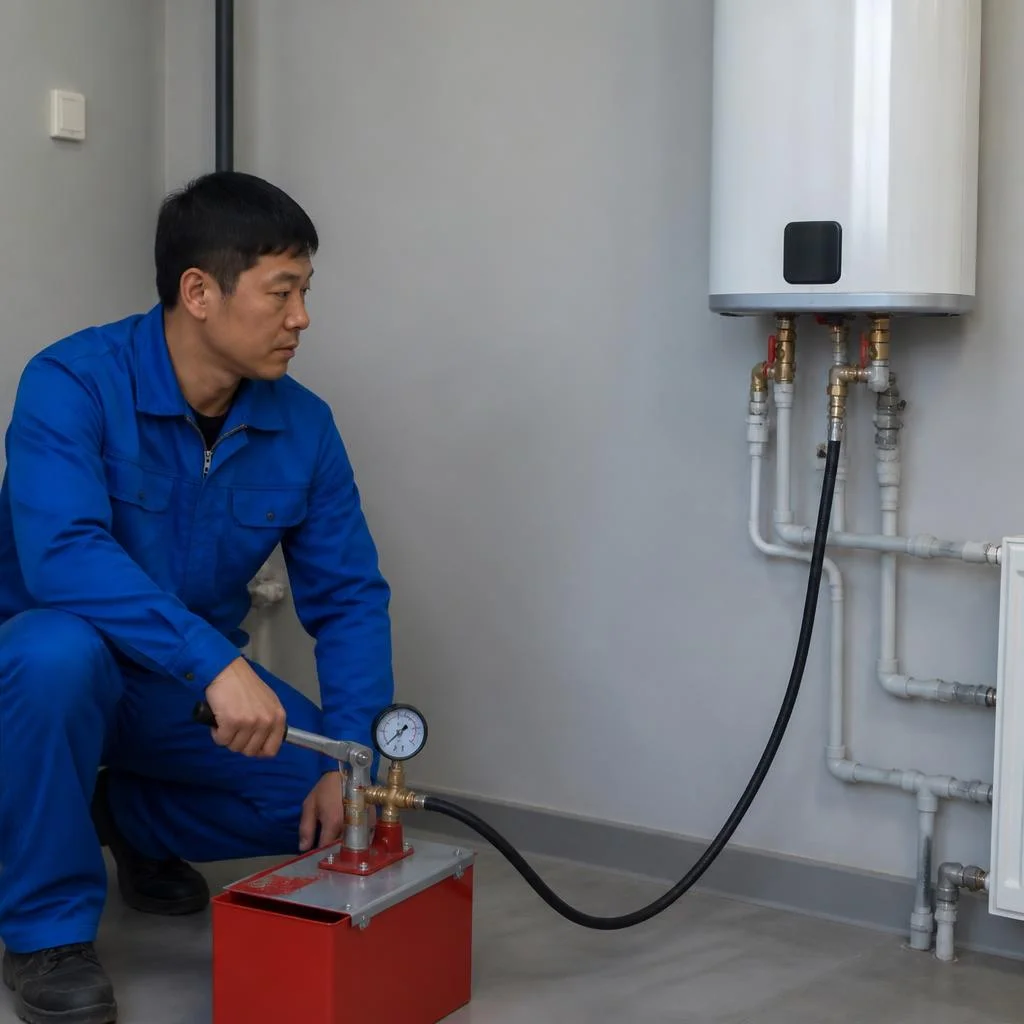
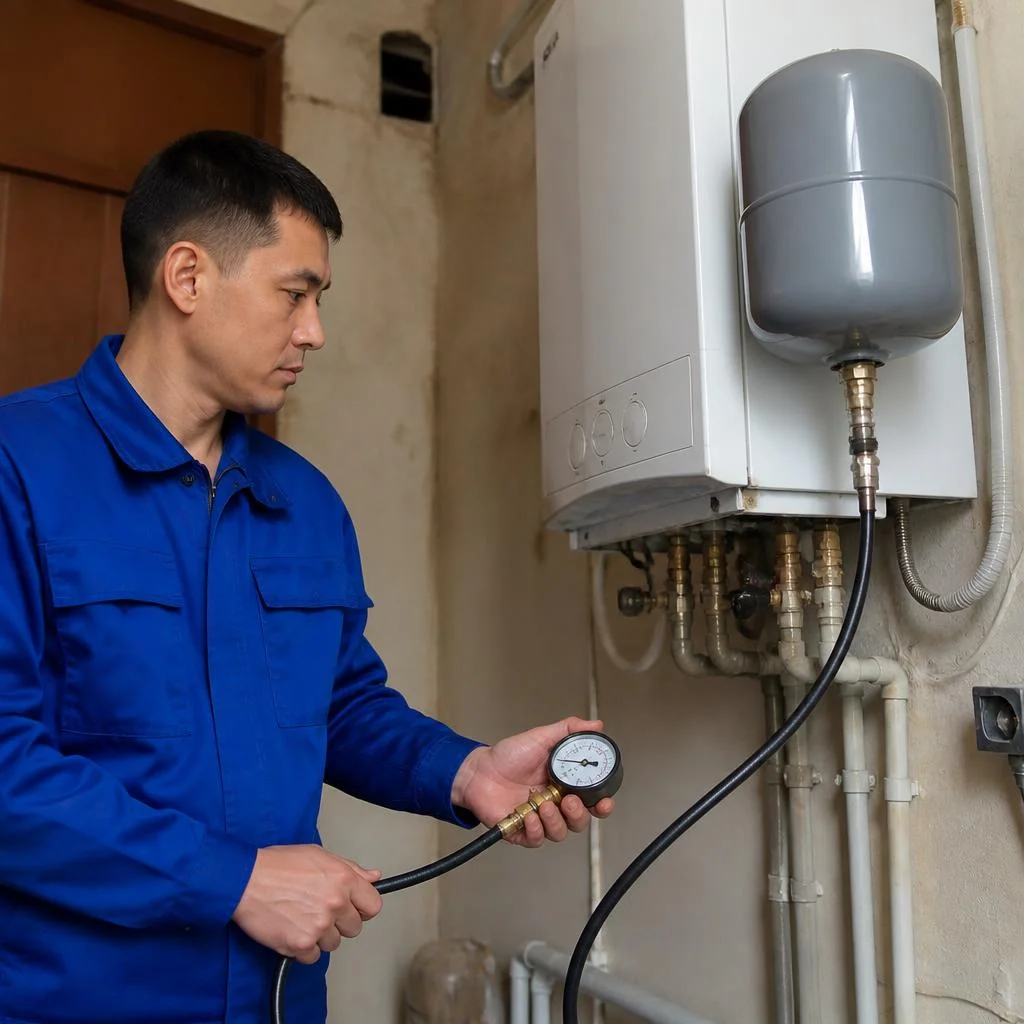
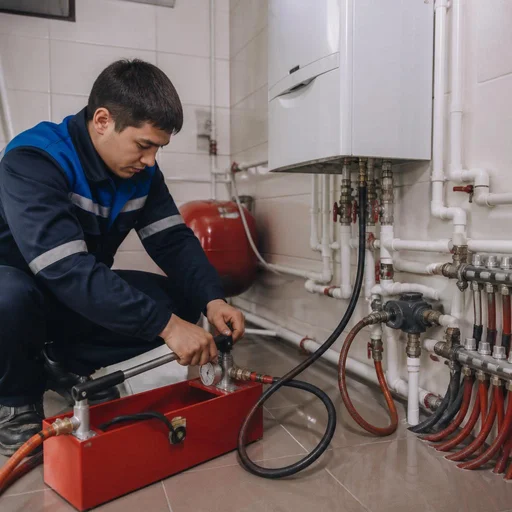
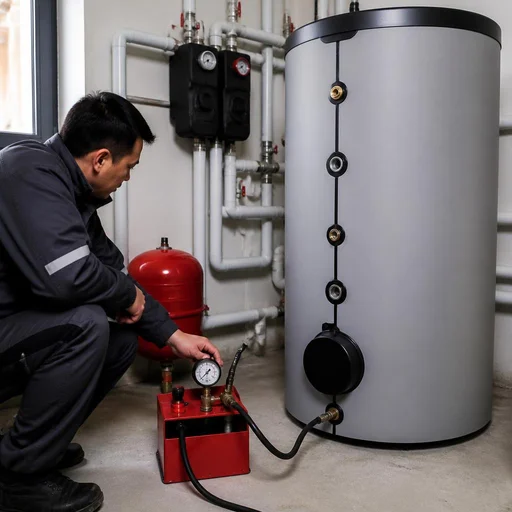
Testing the boiler and indirect heating water heater checks the heat exchanger and coil, while checking the water supply covers the hot and cold water circuit under working pressure. The water heater is tested on both circuits: a coil leak doesn't show up immediately, but as a pressure drop in the heating while water is being drawn. In requests for the bathroom and kitchen, clients write pressure testing of the water supply — and the crew brings a pressure tester for both cold and hot water. A separate story is the private sector: in messages, pressure testing of the heating system in a private house often comes up, and the technician immediately understands that the circuit is open, with an expansion tank and possibly a DIY piping setup. Eco-Service pressure-tests the boiler, water heater and water supply with one crew in a single visit, and in a private house additionally checks the circuit volume against the pump capacity.
Finding and fixing leaks after pressure testing
If the heating circuit does not hold pressure after pressure testing, it is not a death sentence. We break down how technicians find the problem area using a pressure gauge, how they redo threaded joints and welds, and when it is cheaper to replace the whole unit.
How a leak in the heating system is found
- Dividing the circuit: shut-off valves are closed by branch to leave only one section under pressure — a riser, a wing, or an underfloor heating loop.
- Isolating sections: each cut-off segment is checked separately, and the pressure gauge records the drop over 10-15 minutes of observation.
- Measuring supply and return: the difference in readings between the supply line and the return indicates which half of the loop the pinhole leak is on.
- Localizing the loop: in an underfloor heating system, the problem circuit is identified by the pressure differential, without opening up the screed over the entire area.
- Confirmation: the found point is checked visually at the fitting, radiator, or manifold before disassembly.
Fixing a leak on threads and a welded seam
A leak at a threaded connection is fixed by redoing it: the unit is disassembled, the old sealant is removed, a new seal is installed, and it is tightened with torque control. A welded seam cannot be treated this way — it is cut out with an angle grinder 5-10 cm around the pinhole, a spool piece or coupling is welded in, and the joint is cleaned for painting. On steel risers in Bishkek's Khrushchyovka buildings, welding is done with the riser shut off; on polypropylene, it is done with a soldering iron and a sleeve. Clients often phrase the request as pressure testing of heating pipes, although in fact what they need is precisely redoing the threads or rewelding the seam. After any redoing or rewelding, the circuit must undergo a repeat pressure check: without a control test, one cannot claim that the problem is closed rather than having shifted to an adjacent connection.
Replacing seals, radiator, and sealing flanges
- Radiator seals: gaskets under plugs and nipples are replaced when there is dripping at the sections; old rubber loses its elasticity after 5-7 seasons.
- Boiler seals: gaskets of the burner, pump flange, and safety group are replaced when there are drips on the body.
- Flanged connections: sealed with a new gasket and even tightening of bolts in a crisscross pattern, without skewing.
- Radiator replacement: the unit is replaced when there is a pinhole in a section or corrosion of the manifold where a new gasket will not seat.
- Circulation pump replacement: the unit is replaced if a pressure check shows a leak along the shaft or flange.
How a hidden leak in the screed and behind the wall is localized
The search for a leak in the heating system is carried out by the pressure drop on the pressure tester: the circuit is divided into sections, they are isolated with valves, and the problem area is found using the pressure gauge. A hidden leak in the screed is sought not by opening it up, but by the pressure differential between supply and return — this way the technician localizes the loop before dismantling the floor. In a two-story house with underfloor heating, diagnostics takes up to three hours; in an apartment, from 40 minutes. On steel supply lines to radiators, the pinhole often sits on the threads before the Mayevsky valve; on metal-plastic, at the press fitting near the manifold. Clients often ask to pressure test the heating system when they want to make sure that after repair the circuit holds pressure. Before opening up the screed, ask the technician for a map of the circuits: it shows which loops have already been cut off, and you will not pay for floor dismantling twice. Pressure testing of heating systems is the only way to separate a hidden leak from an air lock, which also drops pressure.
Warranty, documents and how to order pressure testing in Bishkek
Based on the results of pressure testing the heating system, the client receives a report with the recorded test parameters and a two-year warranty on the completed section. Below — how to arrange a crew visit, what to prepare before the technicians arrive, and why a scheme without intermediaries is more reliable for the owner of the circuit.
2-year warranty and inspection report
Eco-Service provides a 2-year warranty on its work and issues a report with the recorded test pressure and the result for each section. The document specifies the type of circuit — radiators, underfloor heating, manifold or indirect heating boiler — the method of testing with water or air, the holding time under pressure and the technician's signature. For an apartment in a multi-storey building, the test certificate records only the in-apartment wiring, while the risers and basement fall under the management company's responsibility. The report will be useful in a dispute with the management company or the developer: it is a document confirming that on the date of inspection your section of the circuit was leak-tight — without it, proving that a leak occurred after the building was handed over is practically impossible.
How to order the service and what to prepare
- Request: call or message Eco-Service, state the type of property — apartment, private house or commercial premises — and the floor.
- Specifying parameters: state the pipe material (polypropylene, metal-plastic, steel or PEX), the number of radiators and whether there is underfloor heating — the set of tools depends on this.
- Preparing access: clear the radiators and boiler of furniture and enclosures — a closed-off section will remain untested, and the technician will not be able to record the result in the report.
- Crew visit: the technician arrives with a pressure tester and pressure gauges, performs the test, and upon completion you sign the contract and the report with a 2-year warranty.
- Budget guideline: flushing and pressure testing of the heating system — the price is calculated after inspection — the scope of work depends on the number of circuits and the degree of contamination.
Why this service is ordered from a direct provider
Eco-Service is a direct provider of the service: its own crew and service center in Bishkek, without intermediaries or subcontracting, so the technician is personally responsible for the result. The question "how much does pressure testing of a heating system cost" is resolved on site after inspection: a direct contractor's estimate has no markup for a dispatch service, which usually adds its own commission to the work of an outside crew. With an intermediary scheme, the warranty is provided by the intermediary, while the work is performed by an outside crew — in the event of a repeat leak, proving who is at fault is almost impossible. When a client asks about pressure testing of heating — price, it is more transparent to quote it after diagnostics rather than over the phone: an understated figure in an advertisement often doubles on site due to surcharges for the floor, pipe material and replacement of seals. Clients often search for "pressure testing of heating system cost" — and end up here, so we always calculate the final amount after inspecting the property. Ask who exactly will come to the property and whose crew is listed in the report — that is the real criterion for choosing a contractor.
Conclusion
We have gathered the key points worth keeping in mind before calling a technician and during the work: a short list of conclusions on testing, pressure and documents.
Main conclusions
- Pressure testing is not flushing: it is a check of the circuit with excess pressure that reveals depressurization, while flushing removes scale and sludge from inside the pipes.
- Pressure is taken from the data sheet: the test values are specified by the manufacturer of the boiler, radiators and pipes, not "by eye" — exceeding them ruptures connections, while lowering them will not reveal a weak point.
- An apartment and a private house are tested differently: in an apartment building the boundary of responsibility runs along the first shut-off valve, while in a private circuit the entire ring route with the boiler and manifold is checked.
- After fixing a leak, a repeat pressure check is needed: the repaired unit is tested again at the same pressure with a holding time, otherwise a hidden defect will show up during the heating season.
- The report and warranty record the result: a protocol with the date, pressure and holding time plus a two-year warranty on the work — documents that protect you in disputes with the contractor and the management company.


