












How to tell there's a hidden leak in the pipes and not condensation
A hidden leak rarely gives itself away with a puddle — more often it's persistent dampness, smell, mould in the corners and a meter that keeps spinning with the taps closed. Let's look at the signs by which a leak is identified before walls and floors are opened up.
Signs of a hidden water leak in an apartment
- Persistent musty smell: lingers in the bathroom and hallway even with the ventilation running, doesn't clear after airing out.
- Dark spots on the walls: spread upwards from the floor, don't lighten after drying, feel colder to the touch than neighbouring areas.
- Bubbling paint and plaster: the coating blisters, peels along the seam between panels or by the skirting board.
- Mould in the corners: black spots appear behind the washing machine, under the sink, at the joint between wall and floor.
- Warm patch of floor: the spot feels warmer than the rest of the surface — a sign of a leak from a hot riser or the heating.
- Pressure drop: the gauge on the boiler or in the heating system loses 0.2–0.5 bar per day without any water being drawn.
The water meter spins with the taps closed — what that means
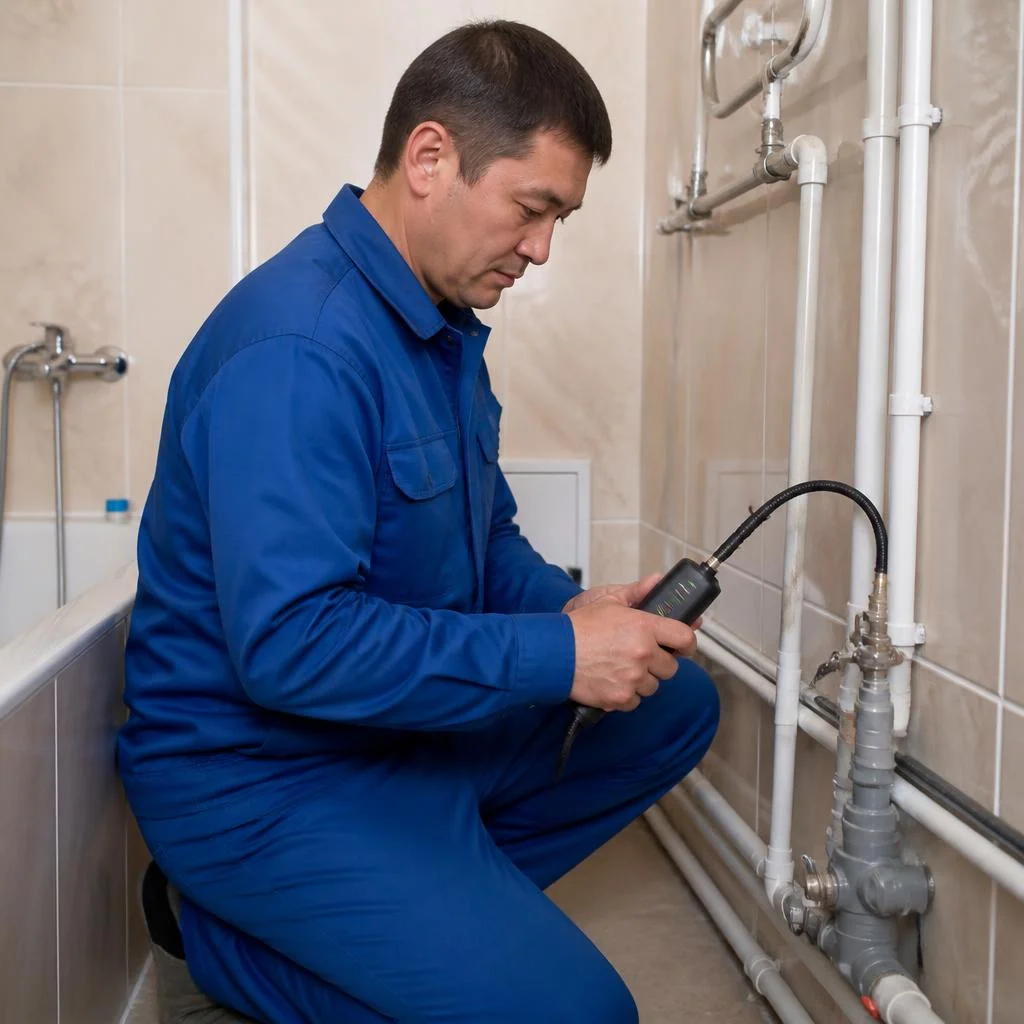
If the meter keeps turning with the taps fully closed, water is escaping through a hidden leak — in the wall, under the floor or in the basement section of the riser. Stop the impeller from turning using the shut-off valve and inspect the visible joints: the flexible supply line under the sink, the threaded connections on the pipe run, the entry point into the apartment. In Bishkek's panel buildings the risers run inside the bathroom, so the leak is often located by the ventilation duct rather than in the middle of the room. Before calling a technician, close the shut-off valve and note the meter readings for 30 minutes: if the numbers haven't changed — the leak is on your section after the valve; if they have changed — the problem is in the shared riser, and that's the responsibility of the management company or the homeowners' association.
How a leak under the floor differs from a leak in the wall
| Search zone | First sign | Where to look first |
|---|---|---|
| Under the floor | warm patch, swollen laminate | by the riser and water entry point |
| In the wall | dampness, peeling wallpaper | by the ventilation duct, behind the mixer tap |
| On the riser | drops on the pipe, rusty streaks | in the bathroom and kitchen |
| In the basement | puddle at the base of the riser | ground floor, crawl space |
Do-it-yourself diagnostics of pipes for a hidden water leak
- Close all the taps: shut off the mixers, washing machine and dishwasher, boiler — the water in the system should stop completely.
- Note the meter: record the readings and leave it for 30–40 minutes without drawing water, without flushing the toilet cistern.
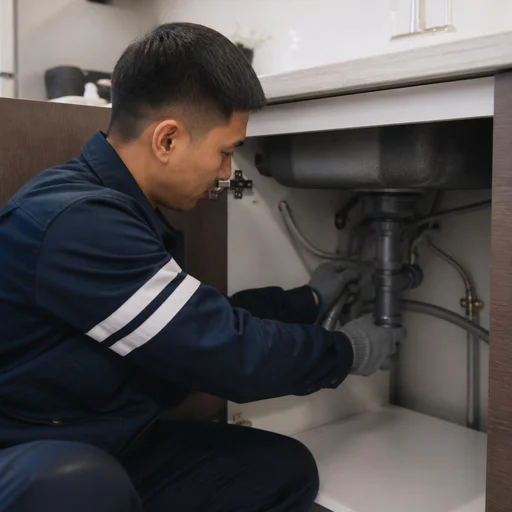
- Inspect the joints: check the flexible supply line, threaded connections, water entry point and the area around the riser for streaks and drops.
- Listen to the pipes: press a metal rod against the wall and listen for noise in the silence, preferably at night.
- Check the pressure: the gauge on the heating system will show a drop over a day of inactivity if water is escaping through a hidden section.
Methods for finding pipe leaks without opening up: acoustics, thermal imaging, pipe tracing
Diagnosing a hidden leak relies on three tools — an acoustic sensor, a thermal imager, and pipe tracing. Each covers its own area: a riser, a wall, a floor, or an underground service line. Let's break down how each method works and where it delivers an accurate result.
Acoustic leak detection method
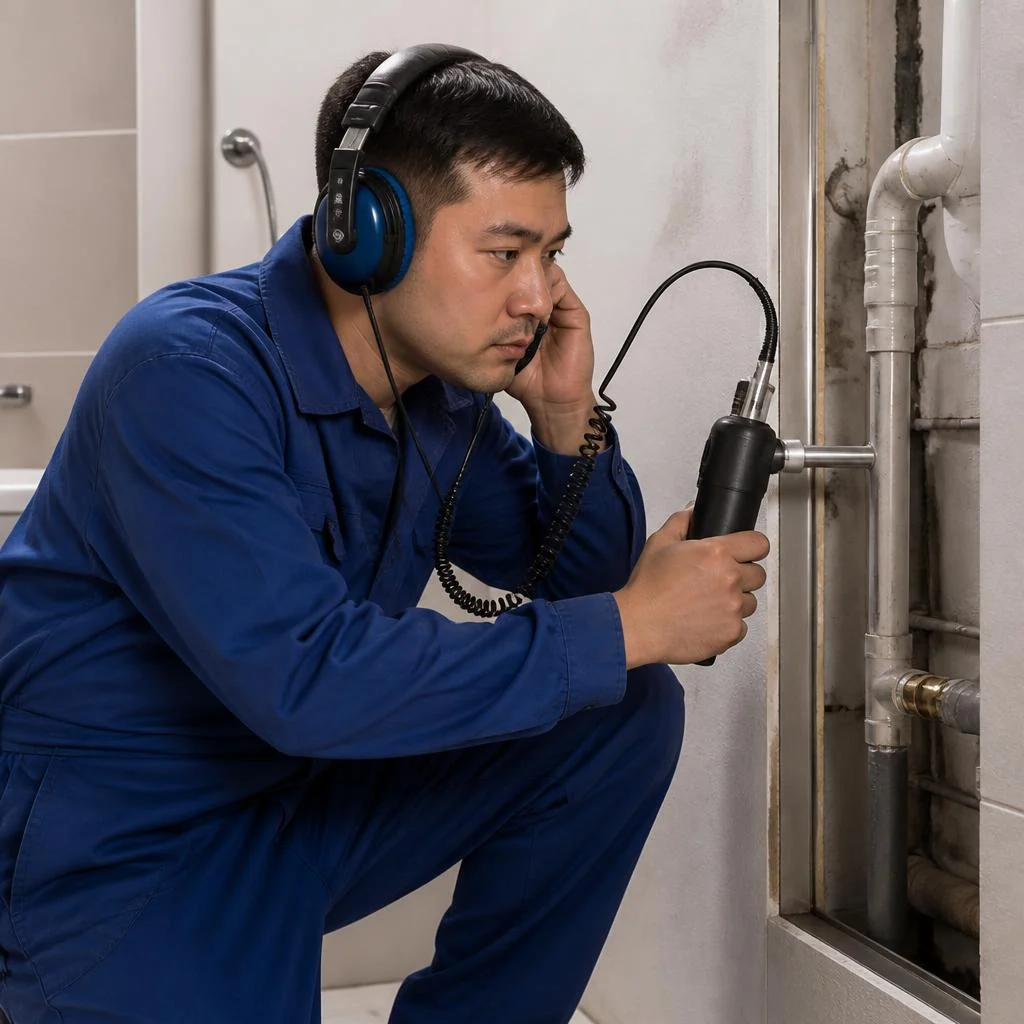
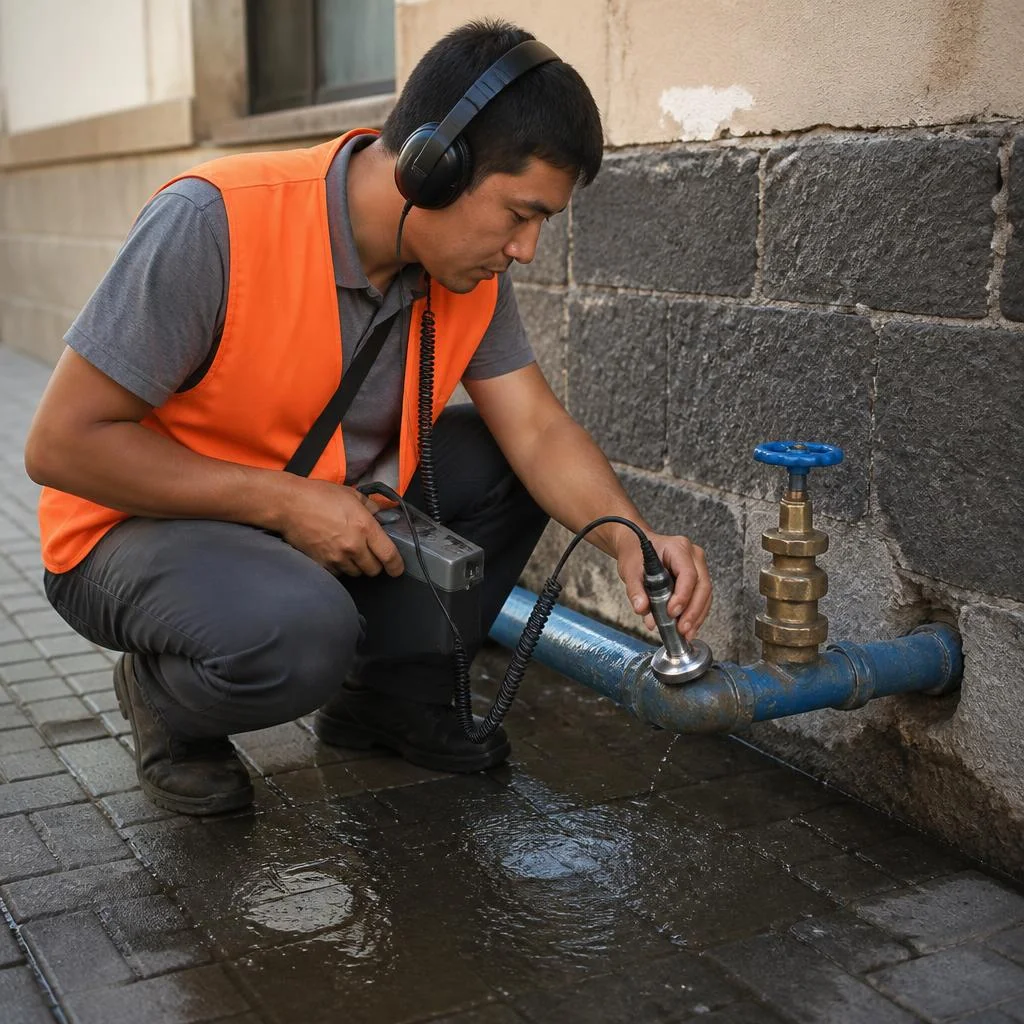
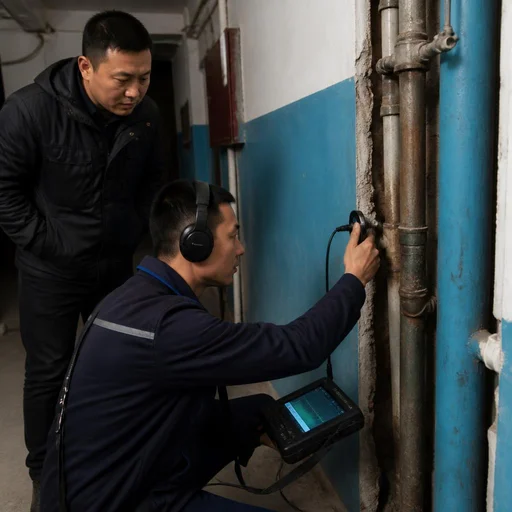
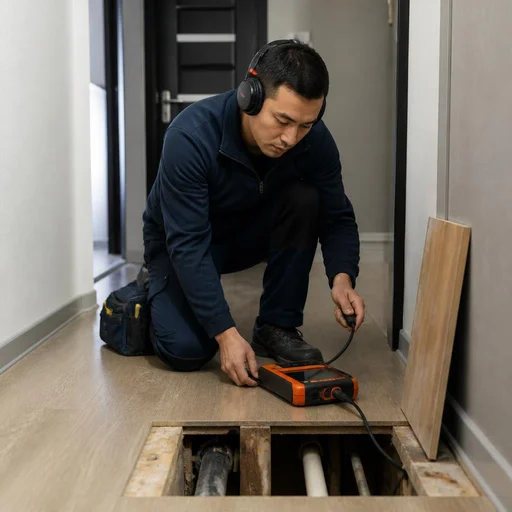
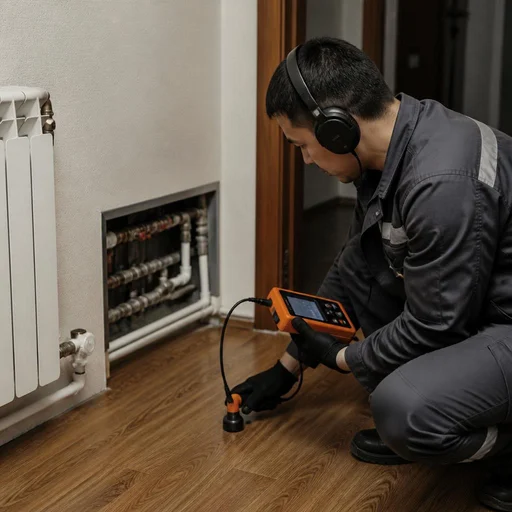
We use the acoustic leak detection method: a sensitive sensor picks up the noise of water escaping under pressure through a pinhole or a loose joint, and the technician pinpoints the spot to within 10–15 cm. The device distinguishes the noise spectrum at a threaded connection, a pipe nipple, and a microcrack in polypropylene — on metal-plastic the signal is duller, so the specialist listens to the pipe at several points and compares the amplitude. On risers in Bishkek apartment buildings, the difference between the noise of a neighbor's mixer tap and your own leak is visible by frequency: a leak produces a steady high-frequency background with no pauses. Acoustics only works on pipes under pressure — if the riser is shut off or the water is drained, the method won't give a result, so before the visit we ask that you not shut off the service line until the technician arrives.
Thermal imager for finding leaks in a wall and under the floor
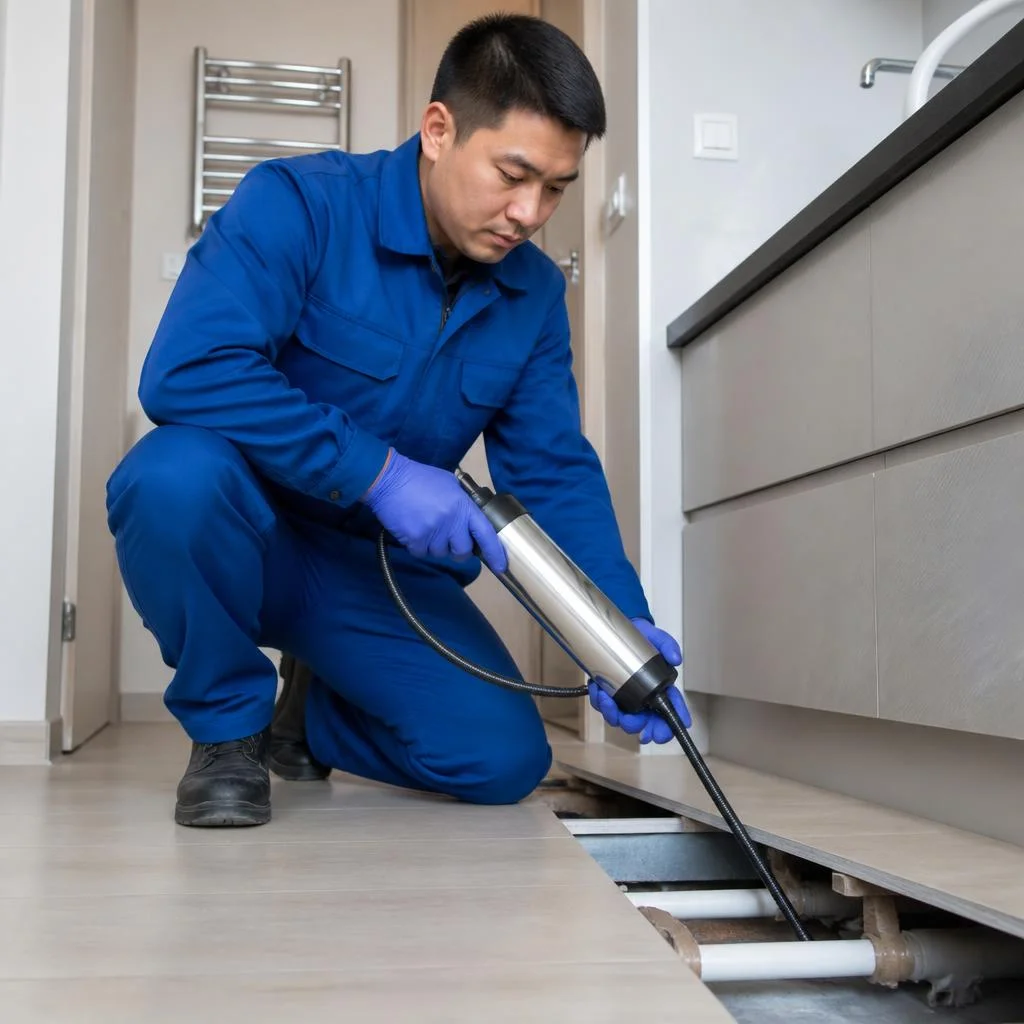
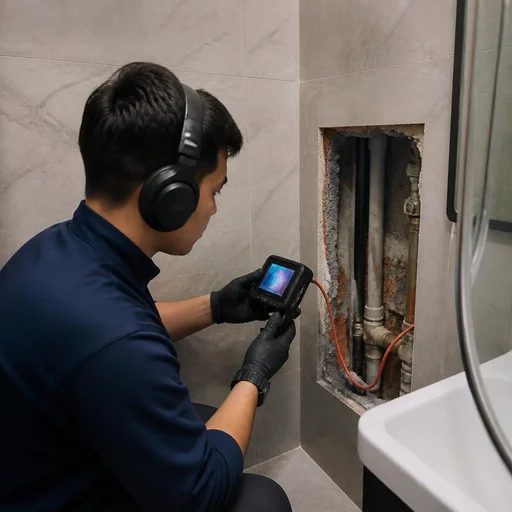
A thermal imager for leak detection shows the temperature difference: hot water in the heating and hot water supply system highlights the leak contour on the screen, while cold water leaves a dark spot on the warmed surface. On a wall behind drywall or tile, the device registers a 2–4 °C difference that the eye can't see, and on the floor under the screed — a wet spot from 20 cm in diameter. In Bishkek new builds with underfloor heating, thermal imaging also reveals airlocked loops that the owner mistakes for a leak. A thermal imager is effective at depths up to 40–50 cm and only when the system is running — if the heating is off in summer, we switch to acoustics and pipe tracing rather than artificially heating the loop.
Pipe tracing of underground utilities and finding leaks on the street
Pipe tracing of underground utilities makes it possible to find a leak on the street and in the yard without digging: we trace the pipe route by signal and combine it with the leak point found by acoustics. A generator sends a signal to a metal water main or to a metal probe inserted into a plastic pipe, and the receiver follows the line to within 20–30 cm horizontally. On street service lines in Bishkek, pipes are often laid at a depth of 1.2–1.8 m and without as-built drawings — pipe tracing saves you from opening up 5–10 meters of asphalt that would otherwise have to be torn up blindly. If the route goes under a concrete apron, we confirm the leak point with acoustics before starting work.
Which method suits which area
| Search area | Primary method | Additional method | What it clarifies |
|---|---|---|---|
| Riser | acoustics | joint inspection | the pinhole location |
| Wall | thermal imager | acoustics | the leak contour |
| Under the floor | thermal imager | acoustics | depth and direction |
| Basement | acoustics | visual inspection | the spot on the service line |
| Street / yard | pipe tracing | acoustics | the route and the point |
On complex sites we combine two or three methods in sequence: one gives the area, the second pinpoints the spot, the third confirms the result before opening up. Pipe leak detection at such addresses goes faster — no unnecessary dismantling is needed, and the technician opens up exactly one section.
Finding Pipe Leaks by Zones: Risers, Basement, Heating, Street
The leak zone determines both the diagnostic method and the scope of repair work. Let's break down how diagnostics work on risers, in the basement, in the heating system, and on the street service line.
Leak on Risers: Where to Look and Who Is Responsible
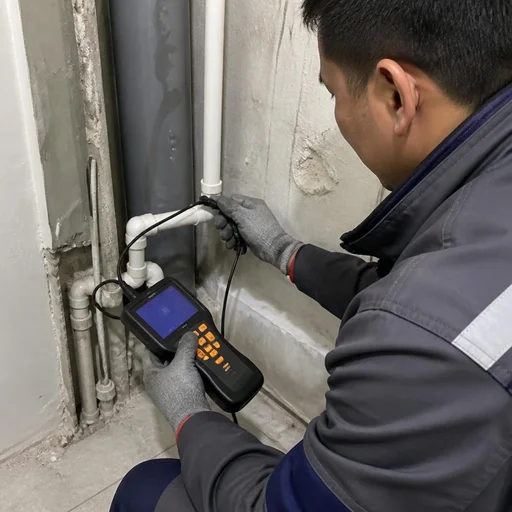
We look for leaks on risers using acoustics from the top floor downward: a pinhole or loose thread produces a characteristic noise that can be heard through the floor slab 1–2 floors above the leak point. The device captures the noise spectrum at the threaded connection, the pipe nipple, and the branch tie-in point — these three nodes account for 8 out of 10 hidden leaks on vertical sections. Up to the shut-off valve, the riser is common property and falls under the responsibility of the management company or homeowners' association; after the valve, it is the resident's responsibility, so before calling, clarify the boundary so you don't end up paying for someone else's section.
Leak in the Basement and at the Building Service Line
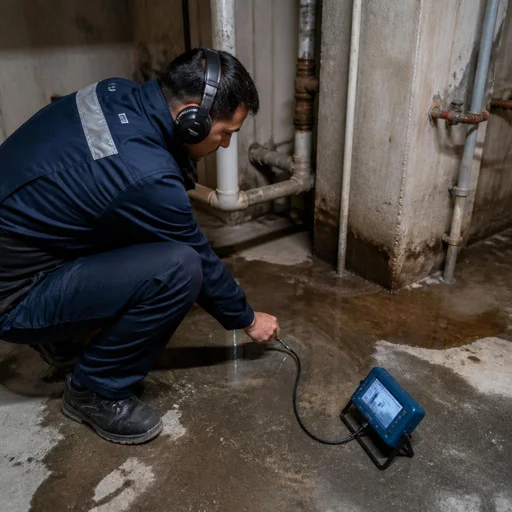
We find a leak in the basement by the puddle at the base of the riser and wet streaks on the service line: acoustics show whether the service line itself is leaking or a connection at the branch. In Bishkek basements, a common cause is corrosion of the steel service line at the nipple near the flange, and less often a pinhole in a welded seam. If the leak is pinpoint, installing a repair clamp solves the problem without replacing the entire section: it is cheaper and faster for the management company than rewelding the whole service line. Before work begins, ask the plumber to shut off the service line valve — otherwise fixing a leak at the nipple will turn into an emergency with a flooded basement.
Leak in the Heating System: How Not to Confuse It with Boiler Operation
We distinguish a leak in the heating system from normal boiler operation by the pressure drop on the gauge: if the needle drops within a day, the circuit is losing water through a hidden leak. Make-up water that has to be added every 2–3 days and cold sections of the radiator on the upper floors confirm the diagnosis. During the heating season, a thermal imager shows the leak contour most clearly in the morning, when the system warms up after cooling overnight — this is the best time for diagnostics without draining the circuit. If the pressure holds but the heat carrier is being lost, check the automatic air vent and the boiler safety group — they leak more often than the pipes themselves.
Finding a Leak on the Street and in the Yard
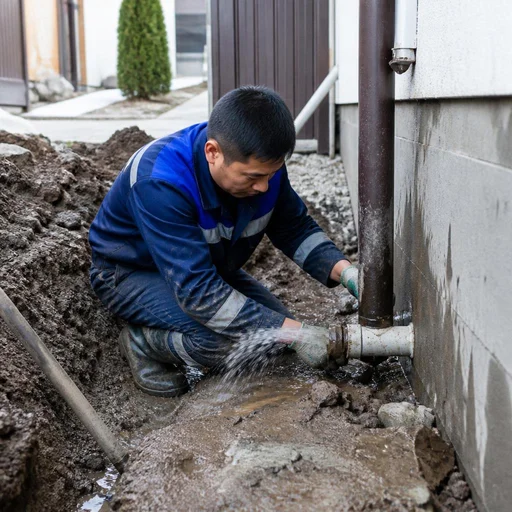
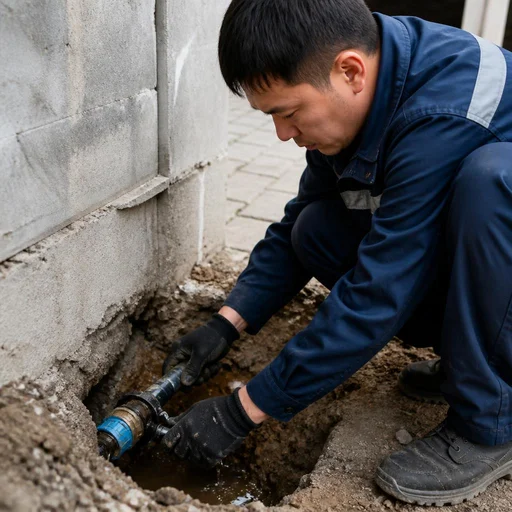
We trace street leaks using route location: we find the service line route, mark the leak point with acoustics, and give the customer the coordinates for pinpoint excavation. The device distinguishes the sound of water in the ground at depths of up to 2.5 meters, so excavation is done at a single point rather than digging up the entire yard along the route. A sign of a street leak is subsided ground or a round patch without grass above the pipe; if such a patch exists, excavation starts there rather than in the middle of the yard. In winter, snow thaws and ice forms above the leak — this is the fastest way to find a leak on the service line before the thaw.
Fixing Pipe Leaks: What Work We Perform On Site
After diagnostics, we stop the leak on site — from a spot repair with a coupling to replacing a section of pipe. Let's break down what work is involved in the fix and when local intervention is sufficient.
Spot Repair: Coupling, Thread, Nipple, Pinhole Leak
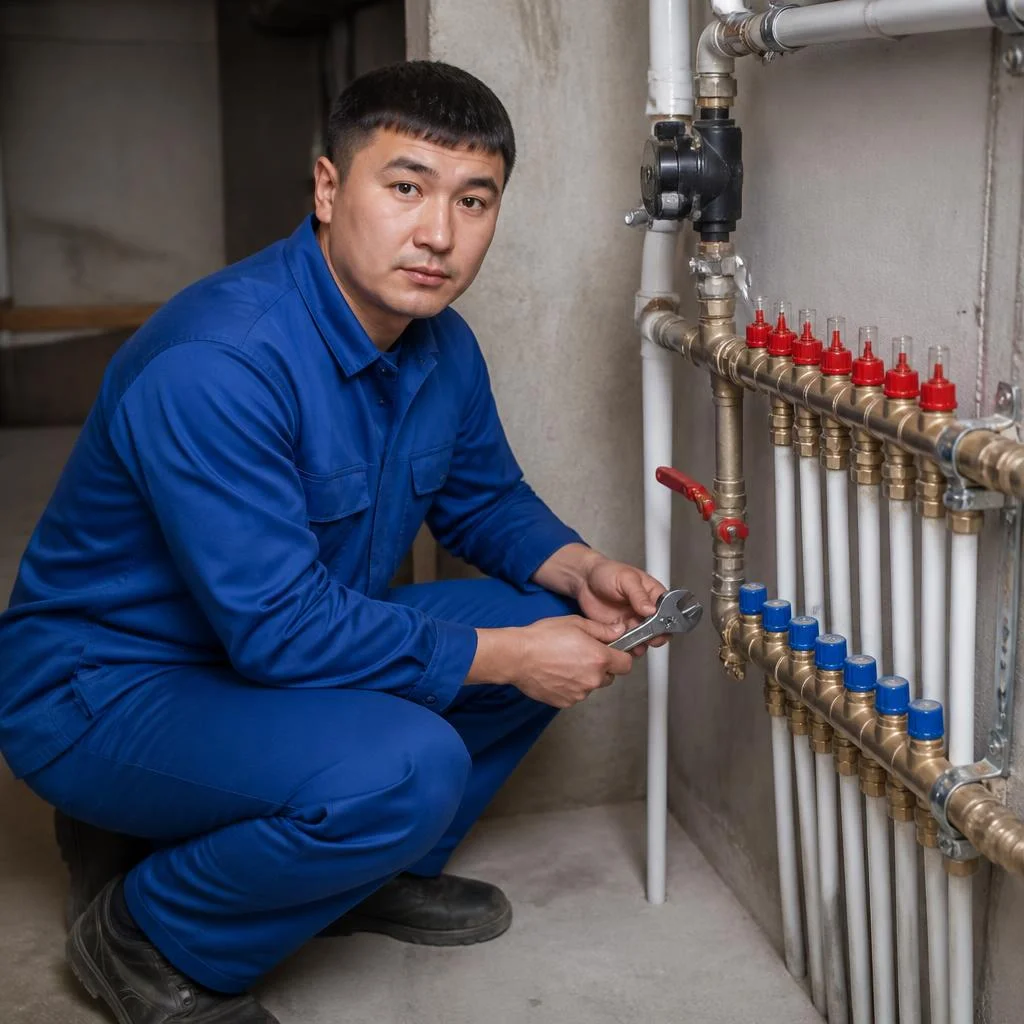
- Installing a repair coupling: we place a clamp with a rubber seal over the damaged section of steel or metal-plastic pipe, and tighten it without welding or soldering.
- Fixing a leak at a threaded joint: we disassemble the connection, replace the flax or anaerobic sealant, and tighten the locknut — works on inlets and distribution lines.
- Fixing a leak at a nipple: we replace the nipple entirely or re-pack the thread if the metal has retained its thickness along the entire length.
- Fixing a pinhole leak in a pipe: we clean the corrosion site, install a bandage or repair coupling with sealant — the leak is stopped in a single visit.
- Pressure check: after the repair, we leave the system under working pressure for 15-20 minutes and re-inspect the section.
Replacing a Pipe Section and Soldering Polypropylene
We fix pipe leaks on plastic mains by soldering polypropylene: we cut out the damaged section and weld in a new one using fittings, maintaining the diameter and pressure in the system. On steel risers, we replace the section from thread to thread — we select a welded seam or press fitting based on the condition of the metal. Polypropylene pipes withstand working pressure up to 25 bar at temperatures up to 95 °C, so soldering produces a monolithic joint stronger than the original pipe. We perform work in Bishkek on plastic, metal-plastic, and steel pipelines — from apartment distribution lines to building inlets. Clients often describe the problem briefly — pipe leak — and from that request the technician immediately understands that a visit with a soldering iron and a supply of fittings is needed. Polypropylene cannot be soldered on a wet pipe — the section is first dried and allowed to cool; if water continues to flow, the riser is shut off first, otherwise the seam won't set.
Replacing Flexible Hoses, Ball Valves, and Shut-off Valves
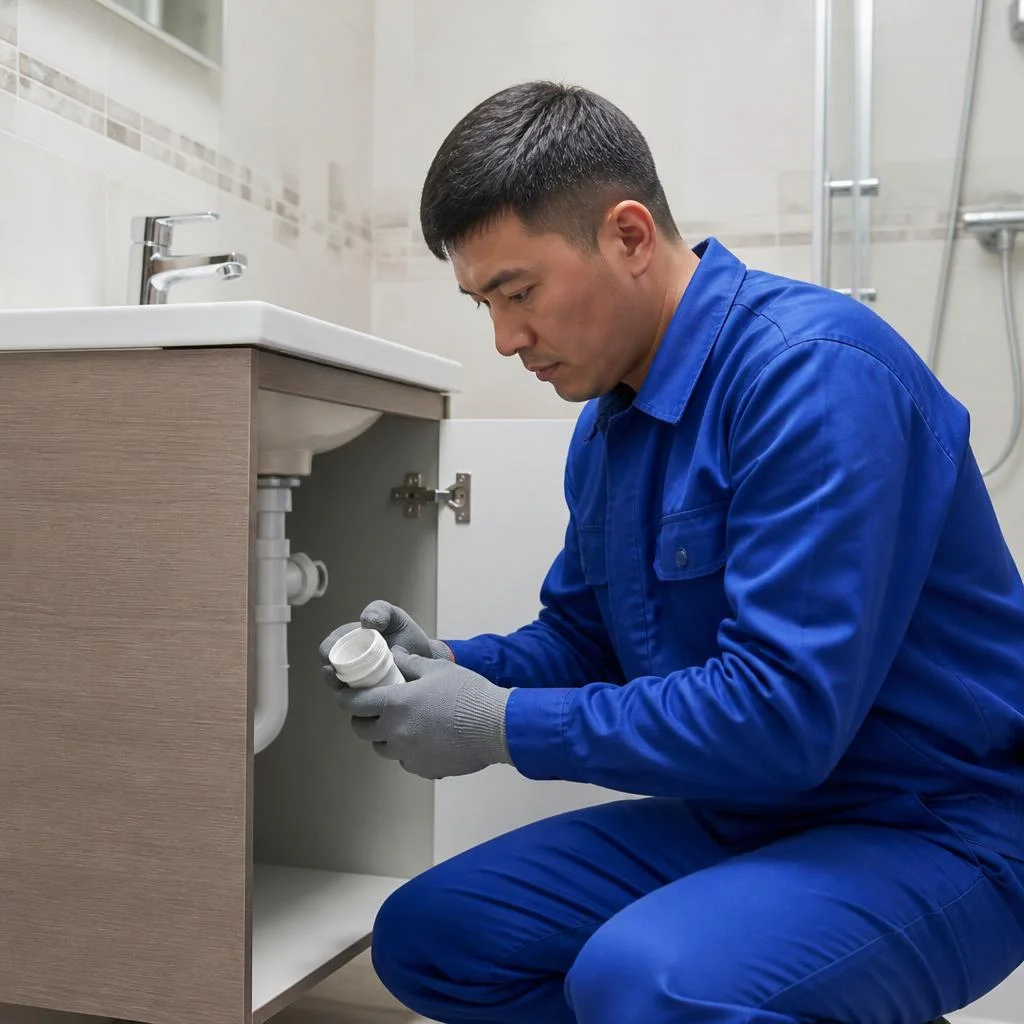
- Replacing a flexible hose: we install a braided reinforced hose in a metal sheath on a mixer, tank, or water heater instead of a cracked rubber one.
- Replacing a ball valve: we replace the shut-off valve at the apartment inlet or in front of an appliance, check the stem travel and the absence of seepage on the thread.
- Replacing a valve on a riser: we remove the old valve, screw on a new one with flax and sealant, and monitor the pressure in the system after opening.
- Checking connections: we tighten all threaded joints in the section to prevent a repeat leak a week later.
What Is Included in Fixing a Sewer Pipe Leak
Fixing a sewer pipe leak begins with inspecting the joints: most often the socket or coupling leaks, less often a crack in the riser itself; we replace the seal or the pipe section. On cast-iron risers, we caulk the socket, remove the old packing, and re-seal the connection — on plastic ones, we replace the rubber ring or weld in a new segment. Sewer lines are repaired without pressure, so the leak is not always visible from the outside — it shows up as a wet spot on the ceiling of the floor below and a smell; before repair, the section is flushed so as not to disassemble a blockage along with the crack. Diagnostics in such cases has already been done with acoustics or a thermal imager, and the technician arrives at a ready zone rather than searching blindly.
Emergency call-out and work procedure: how a technician visit works
A technician call-out follows a single scenario — from request to resolution. Let's break down what happens at each step and what you should prepare before the crew arrives.
24/7 round-the-clock call-out and service area in Bishkek
Eco-Service operates around the clock: 24/7 emergency call-out across Bishkek, and its own service center serves as the base for dispatching a plumber, so the crew reaches the address without intermediaries or shift changes. At night and on weekends, burst flexible supply lines and pinhole leaks on the riser are more common when pressure surges in the main — during a shift, the dispatcher takes several such calls from high-rise buildings in Jalal-23, Asanbay, and the 12th microdistrict. If the leak is severe, before the technician arrives, shut off the inlet and de-energize the wet area near the electrical panel — water on circuit breakers causes a short circuit faster than the crew can arrive.
What to prepare before the technician arrives
- Shut off the isolation valve: close the valve at the apartment inlet or on the riser to stop the water supply and avoid flooding the neighbors below.
- Clear access: remove belongings, rugs, and furniture from the area of the suspected leak, and open the path to the water meter and riser.
- Take readings: photograph the water meter before work begins — this establishes a baseline and will be useful when dealing with the management company.
- Don't touch the wet spot: don't patch or paint over the mark before diagnostics — fresh filler hides the direction in which the water is spreading.
How to submit a request: WhatsApp, Telegram, 2GIS
You can submit a request to Eco-Service via WhatsApp, Telegram, or through the listing in 2GIS: describe the address, the leak area, and attach a photo — the technician will arrive with the necessary equipment. The dispatcher accepts messages around the clock, and the 2GIS listing is convenient because nearby you can see reviews from Bishkek residents and the route to the service center. Photos of the water meter and the wet area before the visit help determine the search method in advance — acoustics, thermal imaging, or pipe tracing. If the photo shows that the riser is leaking before the isolation valve, we immediately involve the management company: the area up to the apartment inlet is their responsibility, and without coordination, the work drags on.
2-Year Warranty, Reviews, and Why People Trust Us with Leak Detection
Leak detection is work whose result is tested by time: a leak can reappear a week or a month later. We'll explain what guarantees we provide, what reviews show, and why a direct contractor is more reliable than an intermediary.
2-Year Warranty on Leak Detection and Repair
We provide a 2-year warranty on leak detection and repair: if the leak returns in the same area, the technician will come again and eliminate the cause at no charge for the work. The warranty certificate is issued for the address and tied to a specific area — the riser, supply line, nipple, or coupling that was replaced. For heating and water supply systems in panel and brick buildings in Bishkek, the terms are the same. The warranty is valid as long as the original system configuration is preserved: if after our repair the area was re-soldered by a third-party technician or the pressure in the riser changed, the case is reviewed separately. Clients often write to the service exactly like this: pipe leak — and the technician immediately understands what's meant, so we accept the request without clarifying questions about symptoms. Keep the work completion certificate — it makes it easier to confirm exactly what we did and when.
Customer Reviews and Real Cases
Eco-Service customer reviews are collected on 2GIS and Google Maps: most often people note the accuracy of detection without unnecessary opening of surfaces and the speed of arrival at night. Recent cases include a leak under the floor in a five-story building in the Jal microdistrict, where acoustic equipment pinpointed the spot in 20 minutes, and a leak at a nipple in a new building on Toktogul Street, which was fixed in a single visit. When choosing a contractor, look not at the average rating but at reviews with photos and descriptions of the leak zone: they show whether the technician has worked with your type of building and pipes. Read how other residents describe the problem — if you have the same layout and year of construction, the technician's experience applies almost without adjustment.
Why a Direct Service Provider Is Better Than an Intermediary
Eco-Service is a direct service provider: we have our own service center in Bishkek and staff technicians, so requests are not passed to third parties and the contractor is not changed midway. An intermediary dispatcher takes the call, charges a commission, and looks for an available technician — sometimes the person who arrives at the site is seeing your riser for the first time. With a direct contractor, responsibility is not diffused between the dispatcher and the subcontractor: the 2-year warranty is held by the company, not by a specific person who might leave the service. Ask before the visit who exactly will come and in whose name the certificate will be issued — if the answer is evasive, they probably work through an intermediary.
Conclusion
Detecting pipe leaks progresses from simple observation to instrument-based diagnostics, and only then to repair. Below is a short summary that helps you make a decision before the technician arrives.
Key Takeaways
- Early signs: a hidden leak is recognized by dampness, stains, and the meter spinning with taps closed — before opening walls and floors.
- Instrument diagnostics: acoustic equipment, thermal imaging, and pipe tracing cover different zones — risers, walls, floors, basements, and outdoor inlets — so one method rarely gives the full picture.
- Repair: spot repair with a coupling or soldering is cheaper than replacing a section, but is justified only if the pipe is intact along its entire length.
- Before the technician arrives: shut off the isolation valve and don't cover up the wet spot — the traces speed up diagnostics.
- Warranty: 2 years on leak detection and repair, provided the original system configuration is preserved.


