
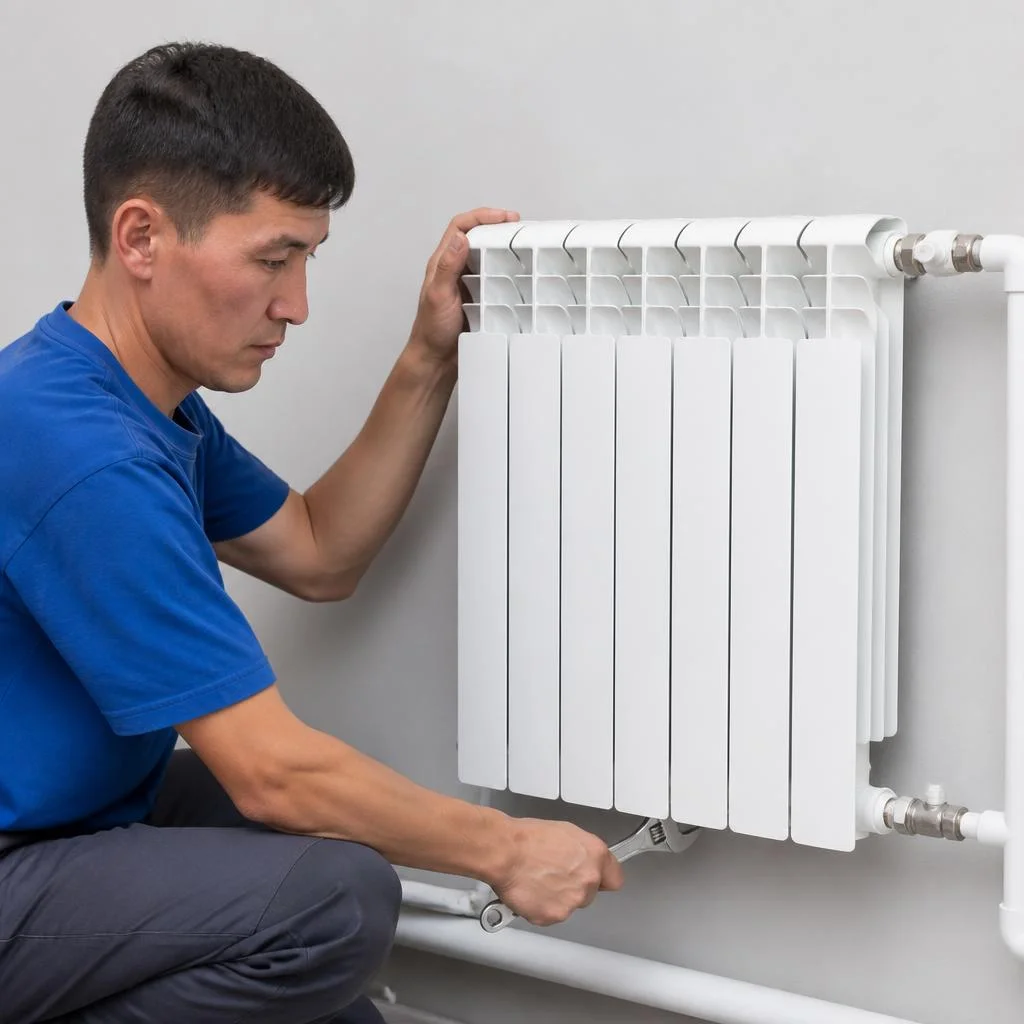
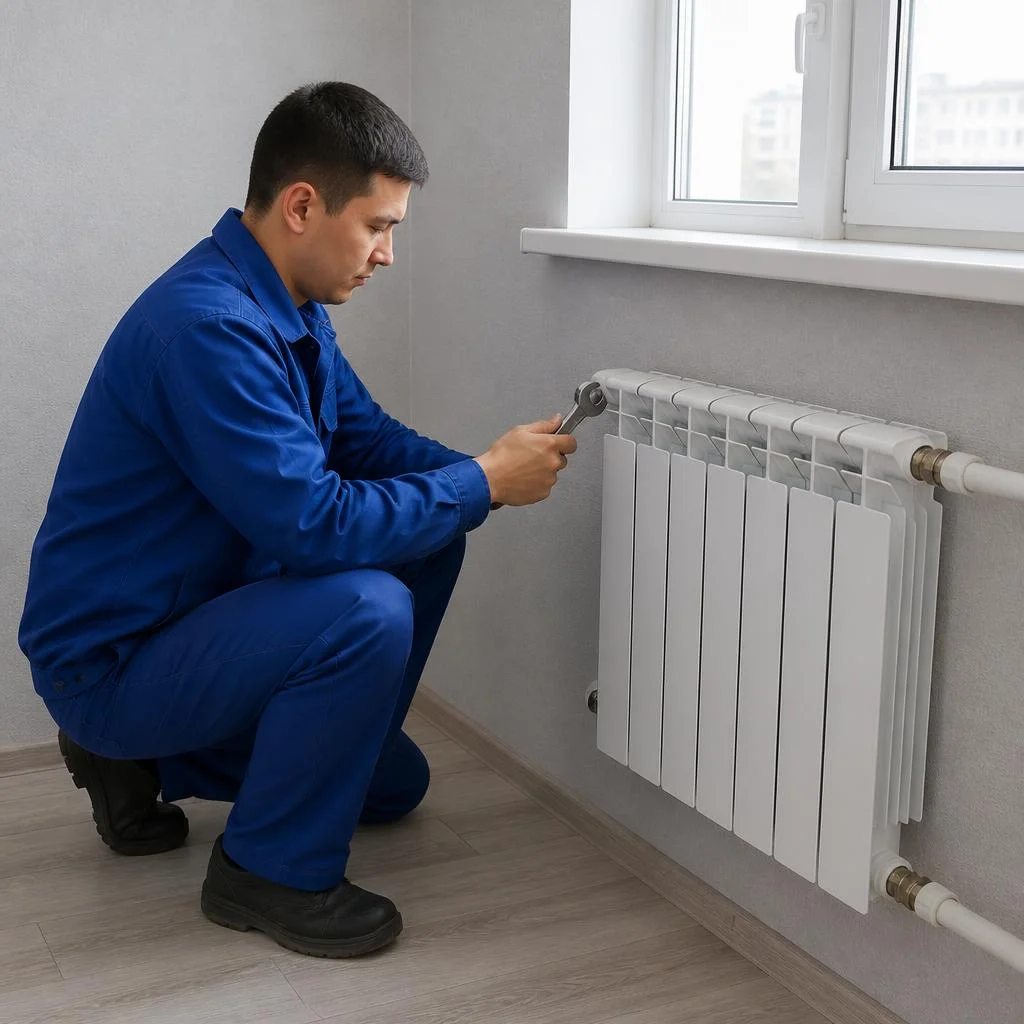
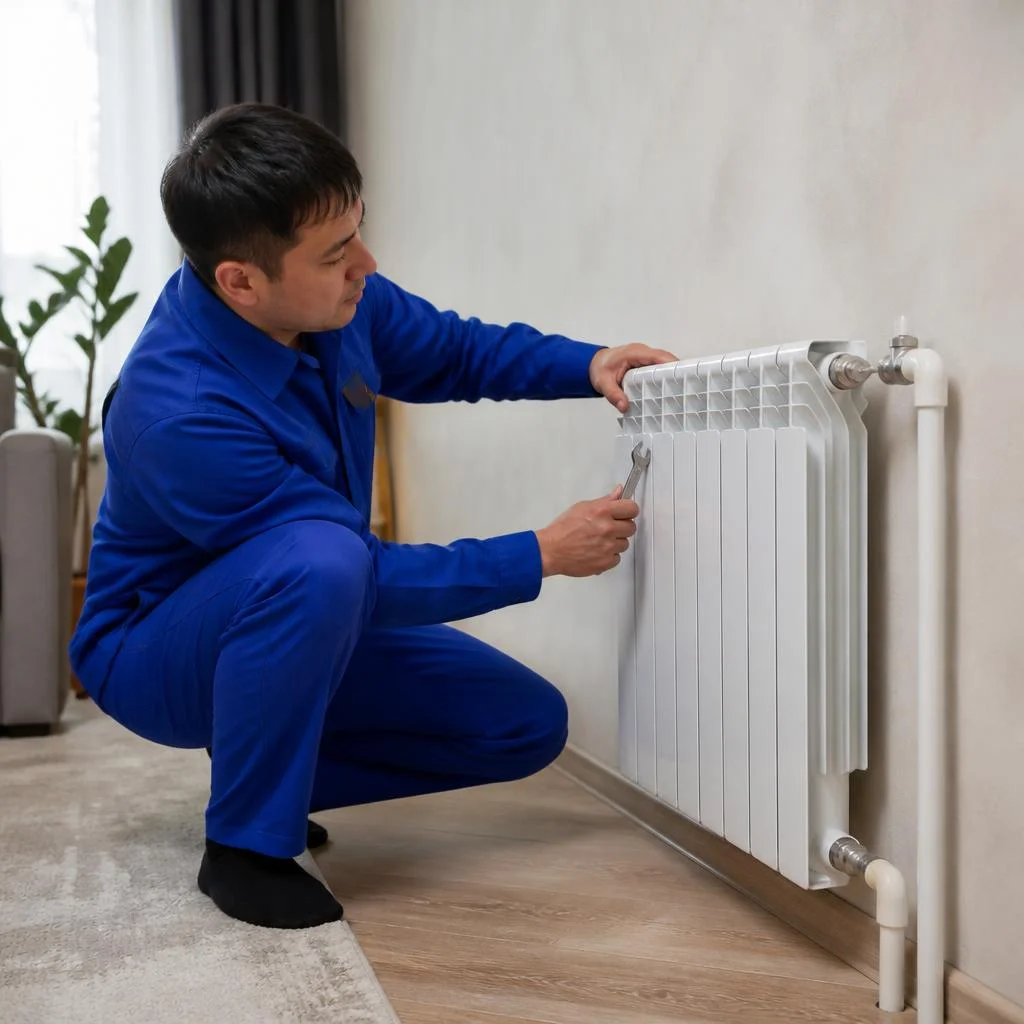
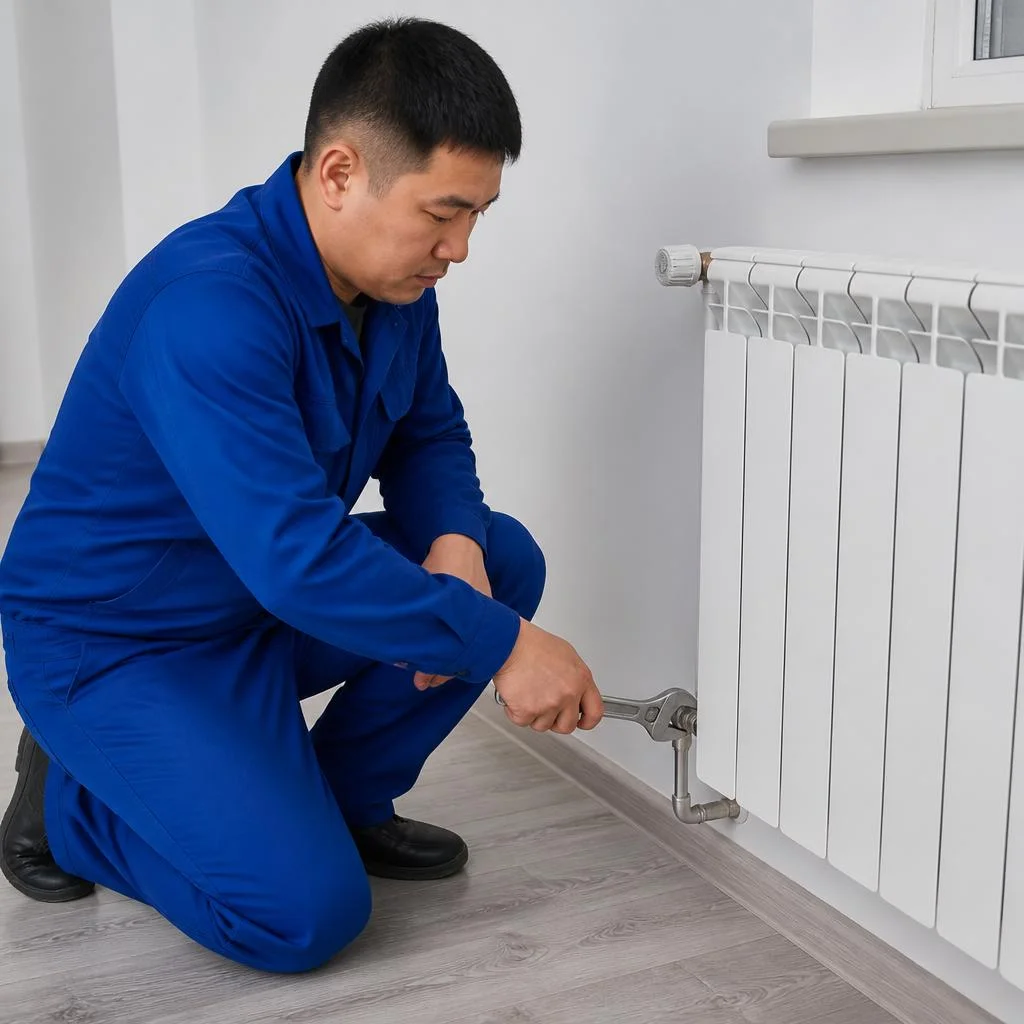








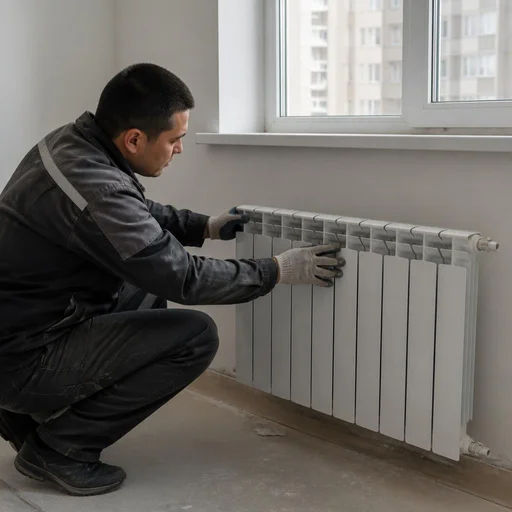
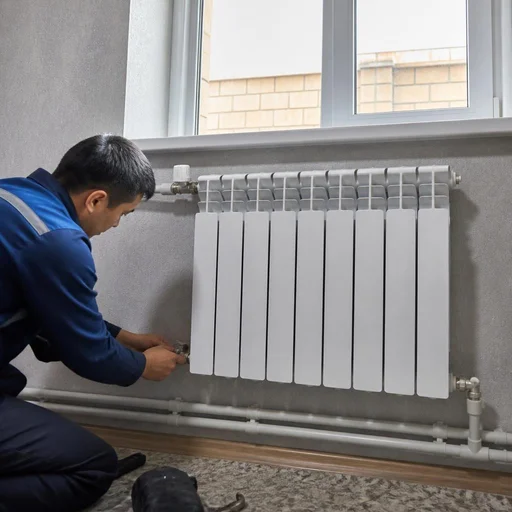
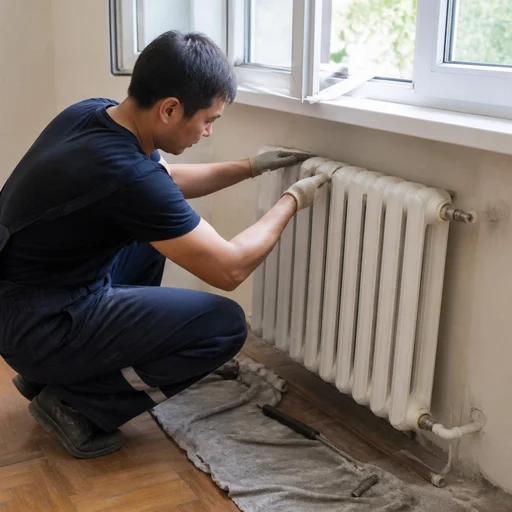
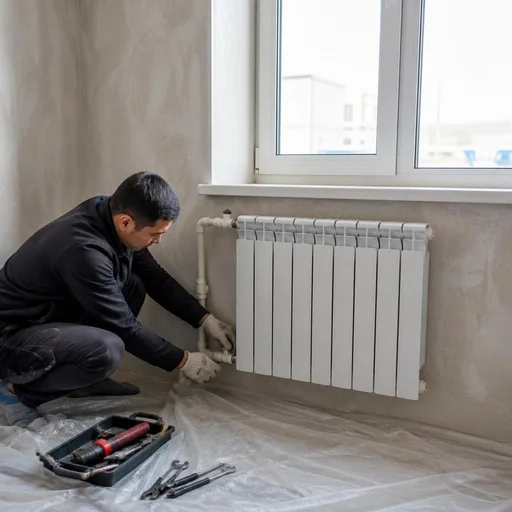
Which radiators are installed in Bishkek and how they differ
The choice of radiator here is dictated not by design but by the type of building and the pressure in the system. We break down which models suit a khrushchyovka, a new-build and a private house, and how to calculate the output for a room.
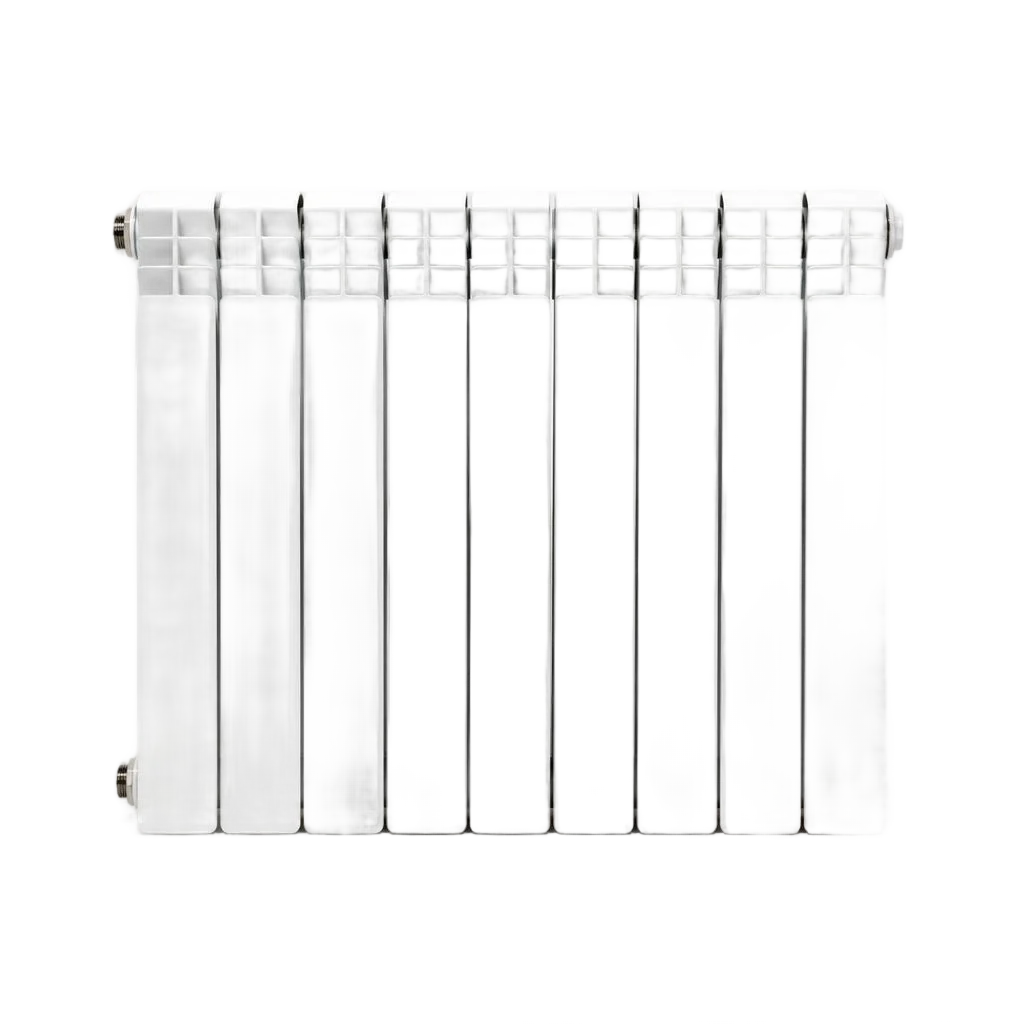
Bimetal, aluminium, cast iron: what to choose for the building
| Radiator type | Where we install it | Installation specifics | What we take into account |
|---|---|---|---|
| Bimetallic | Multi-storey buildings with central heating | Withstands water hammer, steel core inside | Working pressure of the riser from the CHP plant |
| Aluminium | Private houses, autonomous circuit | Lightweight, high heat output per section | Quality of the coolant and water pH |
| Cast iron | Khrushchyovkas, old risers | High thermal inertia, heavy | Weight on the wall and brackets |
| Steel panel | New-builds, closed systems | One-piece panel, minimum joints | Developer's regulations on replacement |
Radiator installation in Bishkek is carried out taking into account that the pressure in a multi-storey building's riser is higher than in a private circuit, so for high-rises bimetal is preferable to aluminium — it withstands water hammer without deforming the sections. Cast-iron models in old housing stock are not replaced with lightweight equivalents without recalculating the load on the wall: brackets are selected separately for the weight of the section.
How to calculate the number of sections for a room
An Eco-Service technician calculates the number of sections based on the room's area, ceiling height and heat losses — for a standard bedroom this is usually 8-12 bimetal sections. The formula is simple: for each square metre with a ceiling up to 2.7 m, take 100 W of heat, then divide by the rated output of one section — for bimetal this is 170-200 W, for aluminium 180-210 W, for cast iron 100-160 W. A corner flat, the first or last floor, and panoramic glazing add 15-25% to the result: heat escapes through the external walls and the cold ceiling. In their requests, clients often write briefly — heating radiator installation — and with such a request we immediately clarify the floor area and storey in order to calculate the sections before the visit. The mistake is to take sections "by eye": too few gives a cold far room, too many means overspending and noise in the riser, and a correct calculation is done before dismantling the old radiator, so that brackets and the length of the supply pipes can be selected straight away.
How installation differs in a khrushchyovka, a new-build and a private house
- Khrushchyovka: single-pipe distribution and cast-iron risers, installation with shut-off on the riser and warning the neighbours in advance.
- New-build: two-pipe system and bimetal, replacement is agreed with the management company's regulations for the heating season.
- Private house: we choose the connection scheme for the boiler, the riser does not need to be shut off, so moving the radiator to another wall is permissible.
- Old housing stock with metal pipes: before piping up we check the steel pipes for pinholes, otherwise the new section will leak at the thread within a season.
- Panel building of the 1-464 series: the riser runs through the kitchen, so we move the radiator to the adjoining wall while keeping the length of the supply pipes.
Radiator installation: work stages from measurement to start-up
We break down the real process: how radiator installation works with us — from the technician's visit and on-site measurement to pressure testing and system start-up under operating pressure.
Measurement and preparation: what the technician checks on site
- Riser and distribution: the technician measures the riser diameter, determines whether the scheme is single-pipe or two-pipe, and identifies the tie-in point for the new radiator.
- Pressure and heat carrier: we check the operating pressure in the system and the water quality — the choice of shut-off valves and pipe material depends on this.
- Installation location: we agree on the radiator position under the window, taking into account the niche, slopes, and distance to the floor and windowsill.
- Bypass and valves: we determine whether a bypass and shut-off valves are needed — on a single-pipe riser without a bypass, shutting off the radiator will stop heating for neighbors on the same riser.
- Tools: the technician brings press tongs, a polypropylene soldering iron, a level, a hammer drill, and a pressure gauge for pressure testing.
Removal of the old radiator and connection to the riser
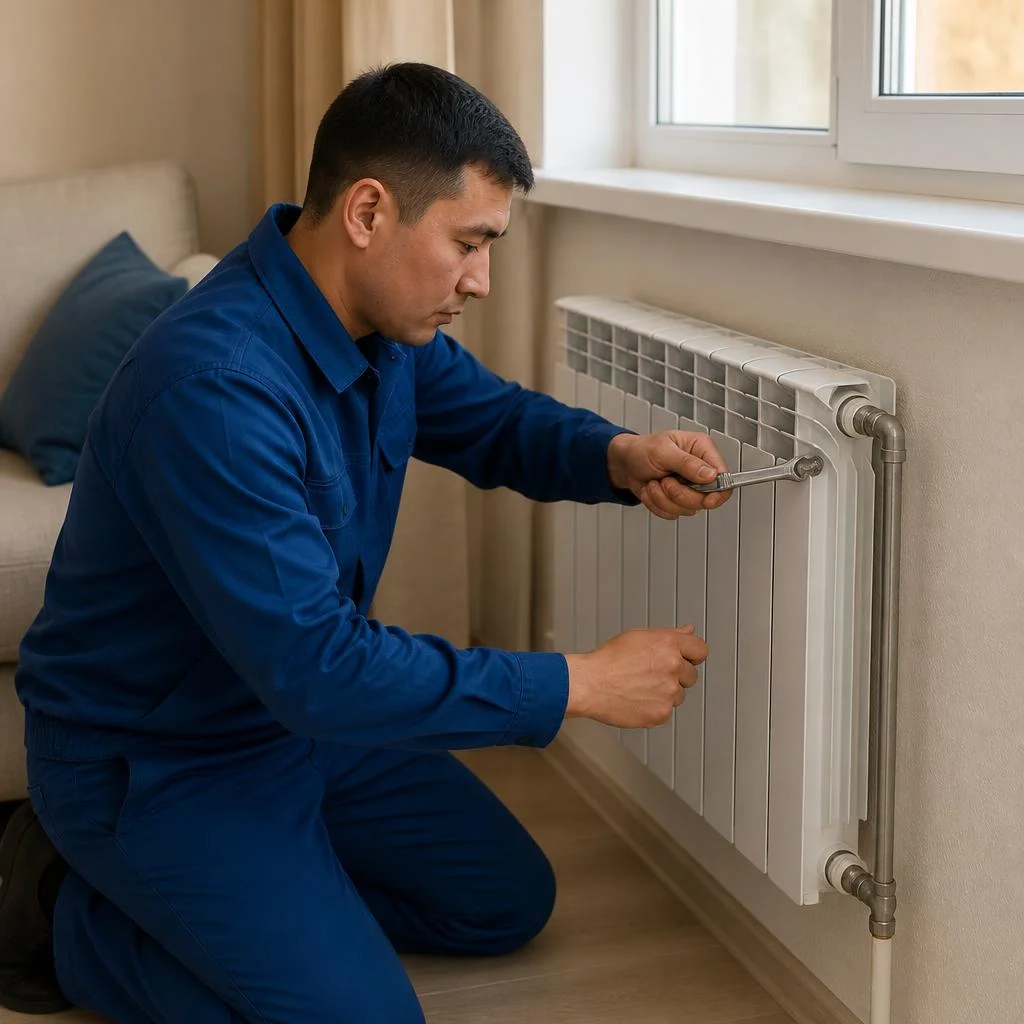
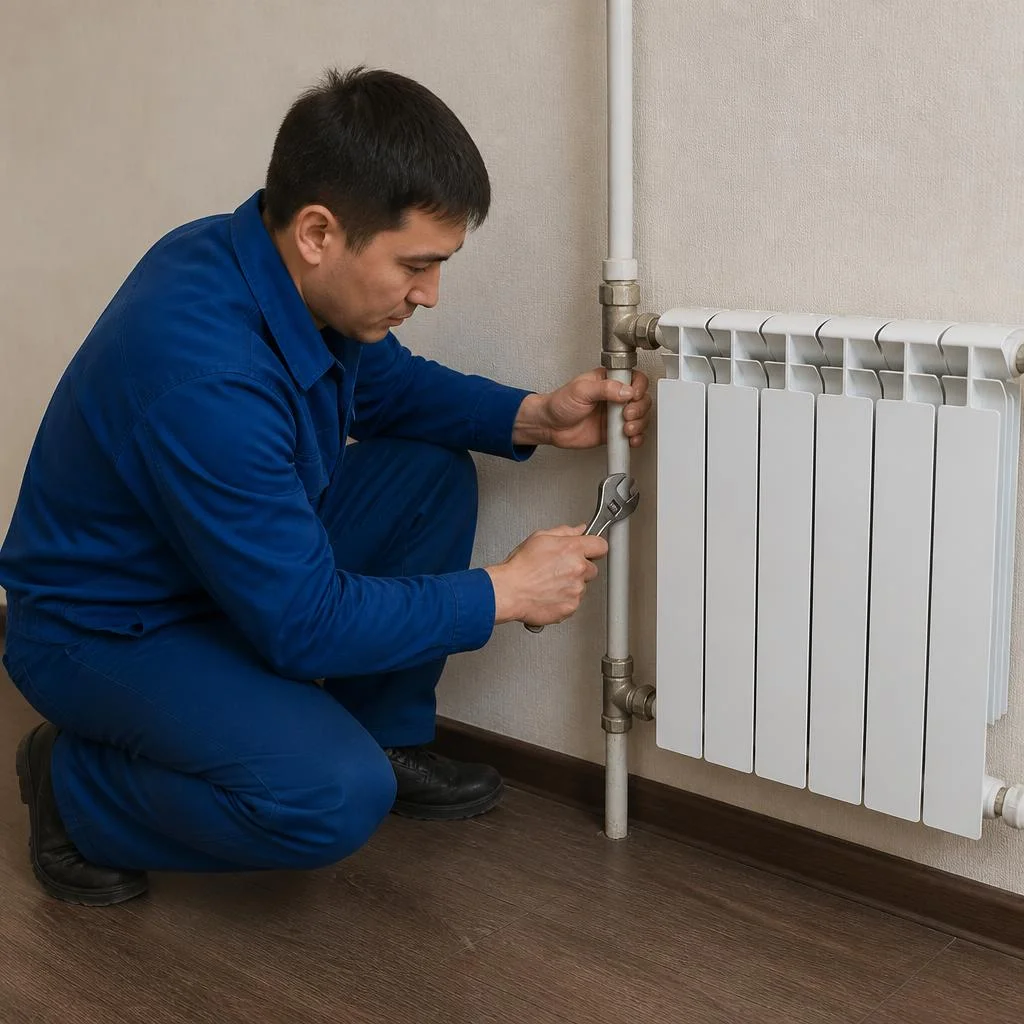
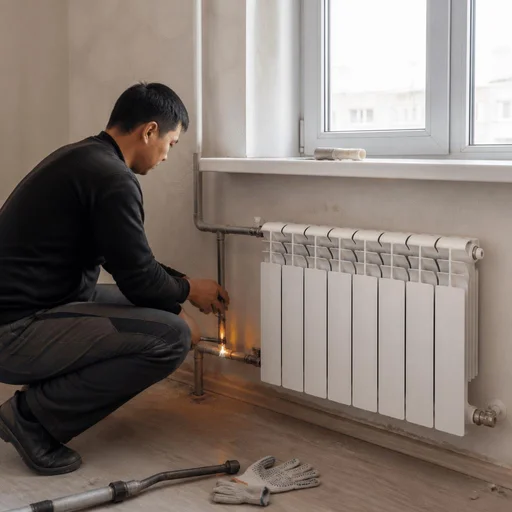
We perform removal of the old radiator and connection of the radiator to the riser with the supply shut off — in an apartment building this takes one working day. First we drain the remaining heat carrier from the sections into a basin or bucket, cut the supply lines, and remove cast-iron or steel units weighing 40-80 kg, then clean the threads on the riser and screw on new adapters for polypropylene. Do-it-yourself removal without shutting off the riser is the main cause of accidents in Bishkek high-rise buildings: gushing water floods the neighbors below and costs more than the installation itself. In searches, clients often write briefly — radiator installation — and from that phrase we immediately understand the task: remove the old battery and put a new one in its place. We coordinate the shutdown time with the management company and work in a window of minimal water draw-off — usually on weekday mornings, when residents are at work.
Soldering polypropylene pipes and radiator piping
- Soldering polypropylene pipes: we connect the supply lines to the radiator by hot fusion at 260 °C — the joint withstands system pressure and does not leak for years.
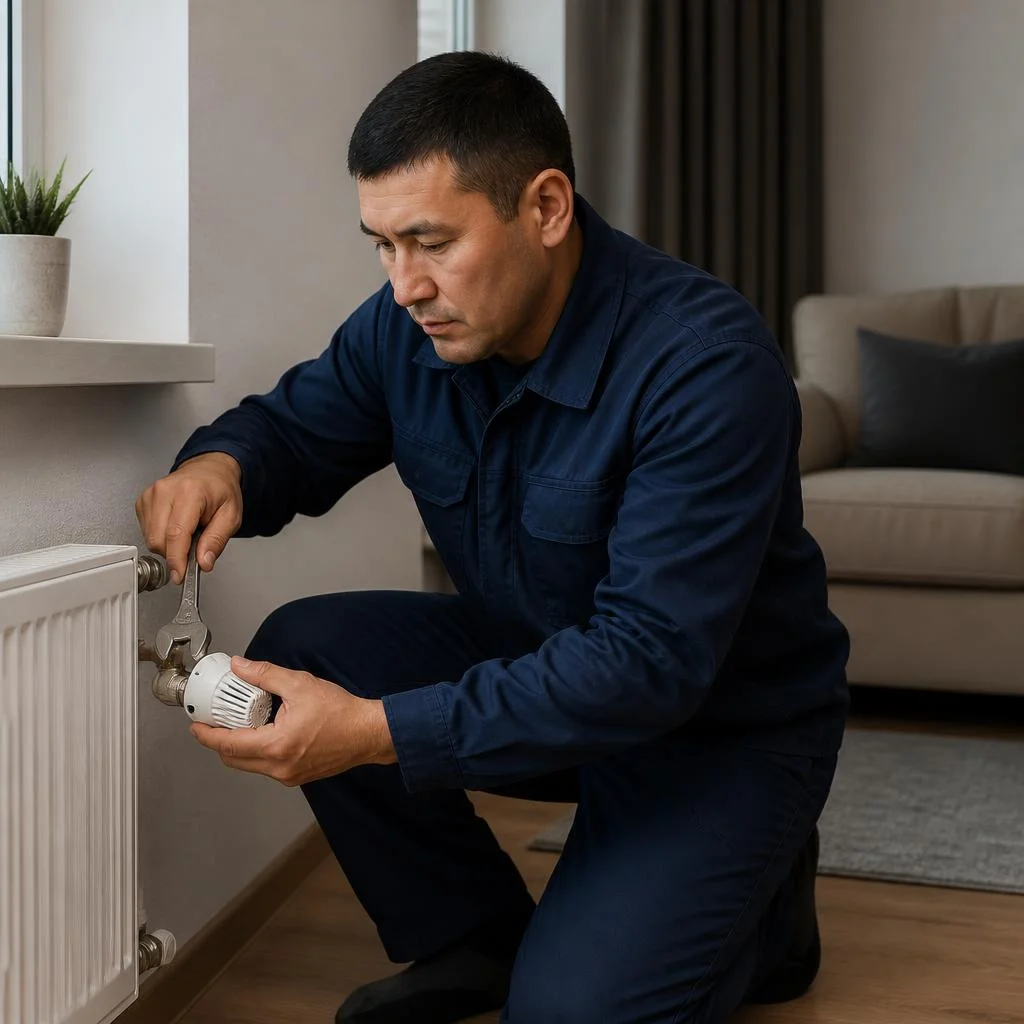
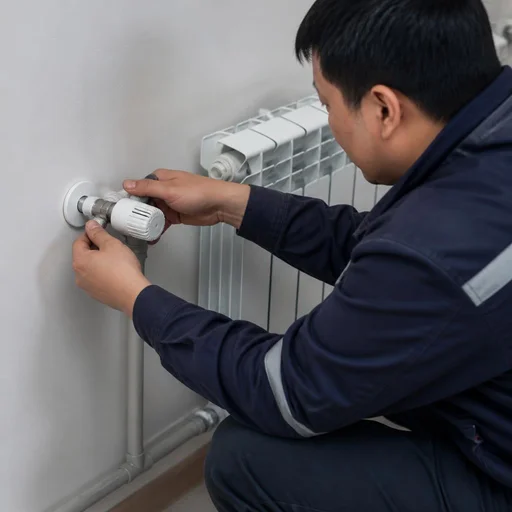
- Thermostat: we install it on the supply so the sensor reads the incoming heat carrier temperature and correctly controls room heating.
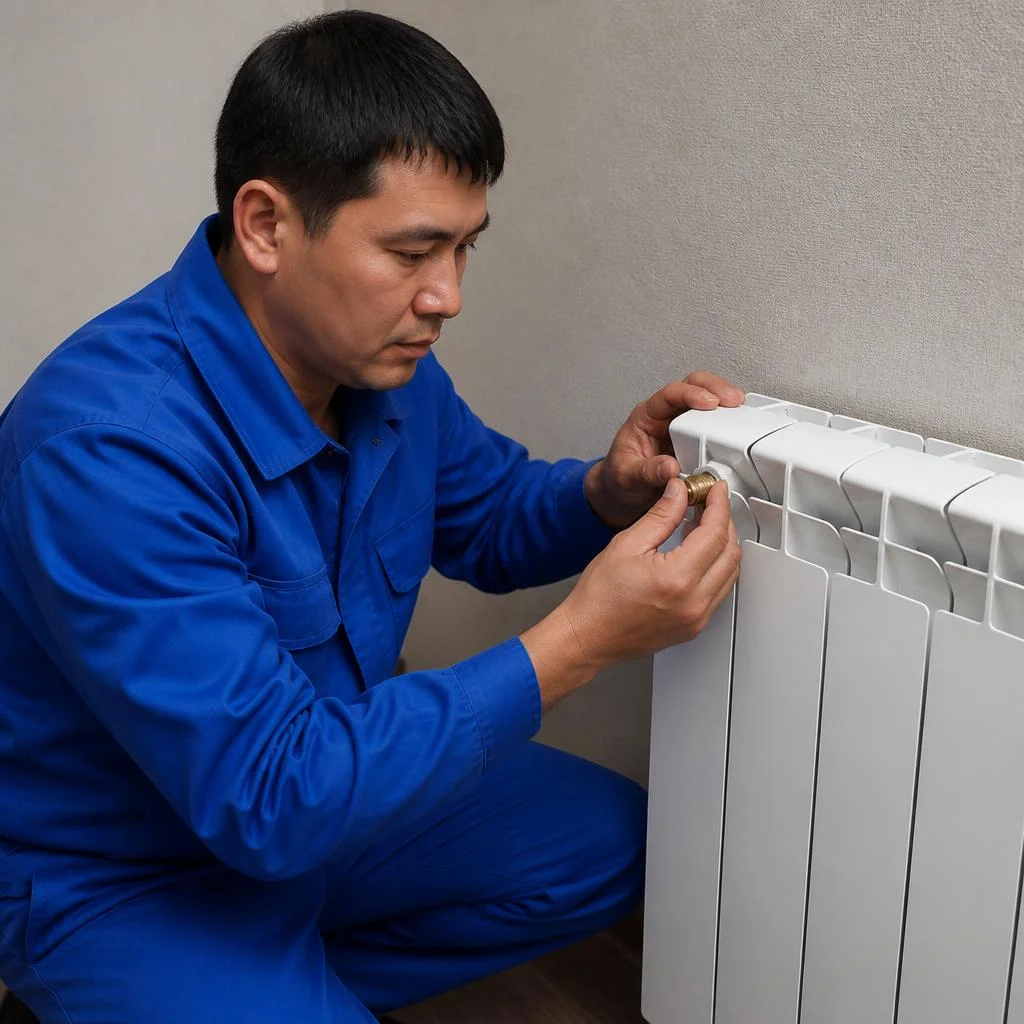
- Mayevsky valve: we mount it at the top point of the radiator — through it we bleed air pockets after start-up and throughout the season.
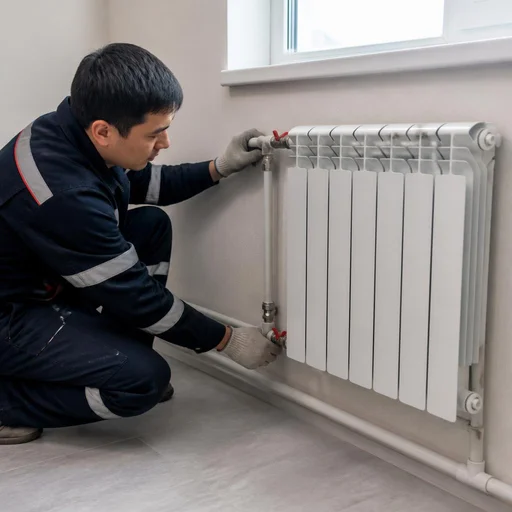
- Shut-off valves: we install them on the supply and return so the radiator can be removed for repair without draining the entire system.
- Radiator piping: we assemble the unit into a single scheme with a bypass if the riser is single-pipe — then when the valves are closed, heat continues along the riser.
Pressure testing and start-up: how we check tightness
After installation, we pressure-test the system and start up the radiator — we check all connections for tightness before handing over the project. The pressure tester raises the pressure in the circuit to 1.5 times the operating pressure and holds it for 15-20 minutes: the gauge must not drop, and not a single drop must appear on the threads, soldered joints, or valves. Then we bleed the air through the Mayevsky valve, set the thermostat, and let the system warm up to make sure all sections heat evenly. We do the pressure test before final finishing: if a connection leaks, there will be no need to break open tiles or paint — this saves the client a repeat repair. Radiator installation is completed by leaving the client an acceptance report and recommendations for purging before the start of the season.
Turnkey radiator installation and replacement: what the package includes
We break down how installing a radiator from scratch differs from replacement, and in which cases related work is added — pipe distribution or replacement of the heating riser.
What turnkey radiator installation includes
- Removal of the old radiator: we drain the circuit, take down the battery, carry it out and dispose of it — without making a mess in the apartment.
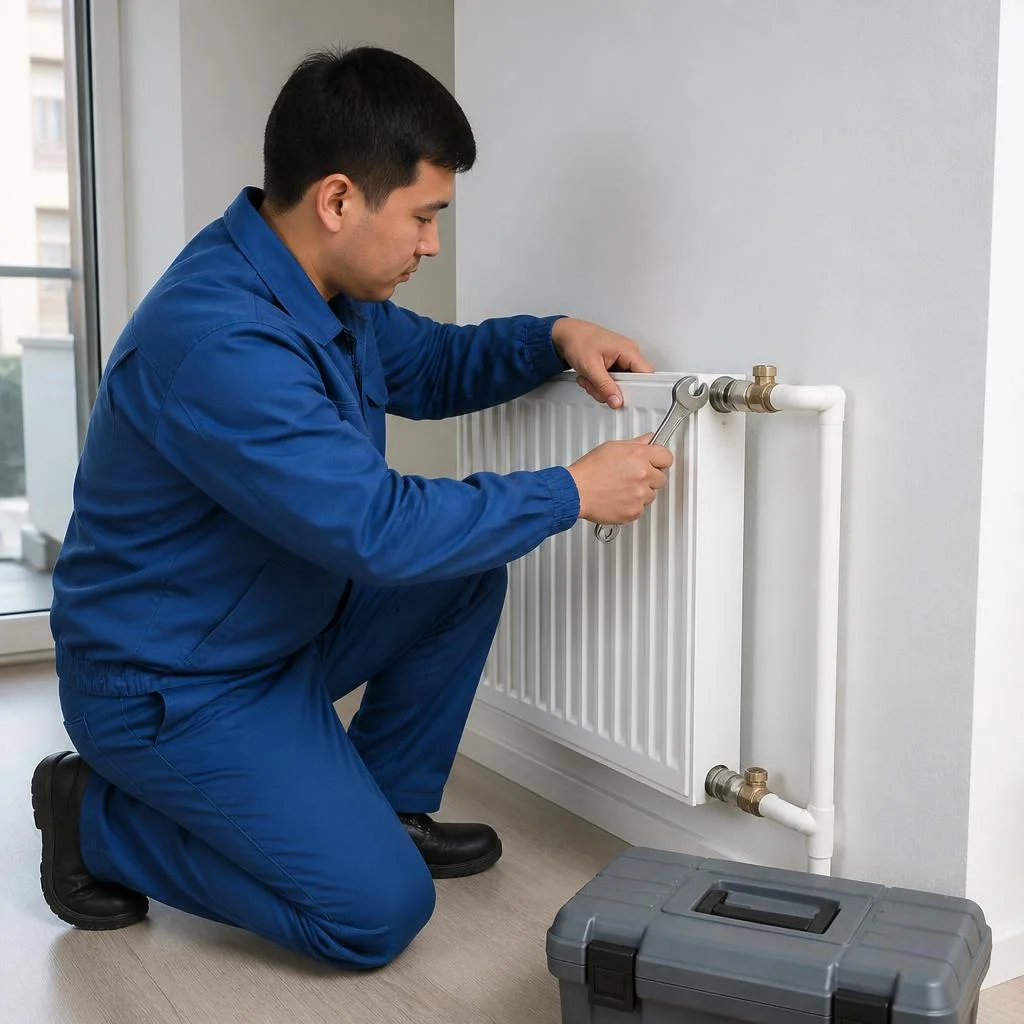
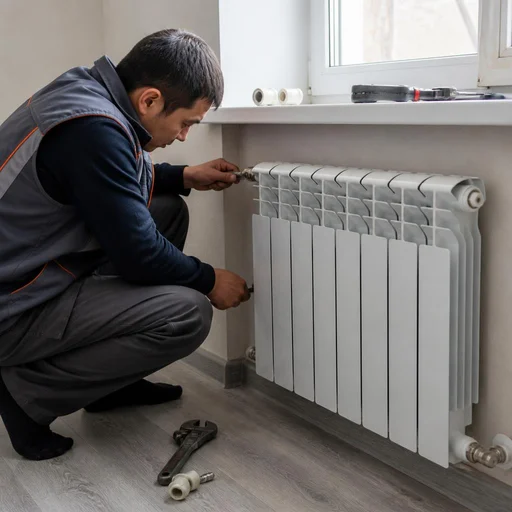
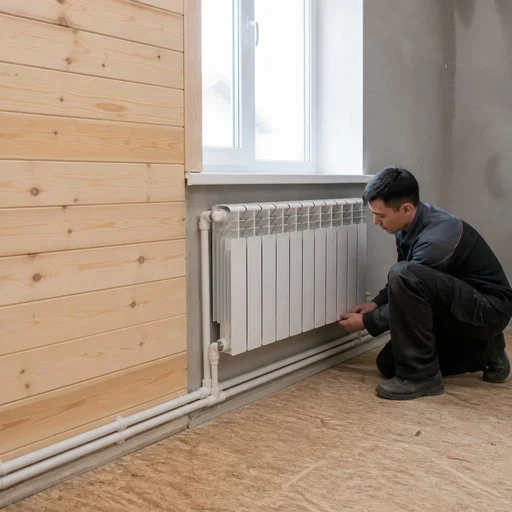
- Installation of the new radiator: we mark the brackets with a level, fasten them to the wall or to floor supports, and set the clearance to the windowsill and floor.
- Radiator piping: we install shut-off valves, a thermostatic regulator, a Mayevsky valve and a bypass according to your layout.
- Connecting the radiator to the riser: we weld in or tie in through threaded adapters, and solder polypropylene pipes.
- Pressure testing and startup: we hold the system under pressure, check every threaded connection, fill and bleed the circuit.
Heating radiator replacement: when repair no longer helps
Heating radiator replacement is needed when the sections are clogged with scale, there are pinholes along the welded seam, or a cast-iron radiator no longer holds pressure after maintenance — in these cases, repairing the old unit gives a temporary result for one or two seasons. In a new panel building or a khrushchyovka, we more often see a different picture: sections cold at the bottom and hot at the top because of a sludge plug, not because of metal wear. If the radiator heats unevenly, we first check whether the system has air in it and whether the Mayevsky valve is working — sometimes replacement is not needed, and it is enough to bleed the air and flush the circuit under pressure. In search, clients often type "radiator installation in Bishkek" — and land on this page, although in fact they need replacement, not installation from scratch. Eco-Service performs heating radiator replacement with pressure testing after installation. Before calling a technician, photograph the connections and write down the year the building was constructed — this data is used to choose the method of tying into the riser.
Pipe distribution and riser replacement: when related work is needed
We do heating pipe distribution and heating riser replacement when the old pipes are narrowed by rust or when the radiator is moved to another wall. In older buildings, risers are often clogged by 40-60% of their cross-section, and a new radiator on such a section heats at half strength even with a correct section calculation. When doing distribution from scratch, it is more advantageous to install a heating manifold right away — it provides independent regulation of each radiator and simplifies future replacement without shutting down the entire system. For the riser, we use reinforced polypropylene pipes so they do not warp from hot water. The final cost of heating radiator installation depends on whether distribution and riser replacement are included in the estimate — this work is calculated separately from the basic installation. Plan riser replacement for the warm season: in winter, it is harder to coordinate shutting down the circuit for the entire building entrance.
Connection schemes and piping: how a radiator works in a home system
The connection scheme determines how evenly the radiator heats up and whether it can be shut off separately from the riser. We break down the options we use in Bishkek, and the piping components.
Single-pipe and two-pipe scheme: which is more common in the capital
| Scheme | Where it is found | Is a bypass needed | Installation specifics |
|---|---|---|---|
| Single-pipe | Old-build multi-storey buildings, centre and Vostok-5 | Mandatory | The radiator is cut into the riser gap |
| Two-pipe | New builds, private houses, Asanbay and Dzhal | Not mandatory | Supply and return are routed separately |
| Single-pipe with valves | Renovation of khrushchyovkas | Yes, plus shut-off valves | Removing the radiator without draining the riser |
| Two-pipe manifold | Private houses, Osh and Jalal-Abad | No | Radial routing from the manifold |
In most multi-storey buildings in Bishkek the risers are single-pipe, so we connect the radiator through a bypass, while in new builds and the private sector a two-pipe scheme is more common. With a single-pipe scheme without a bypass, the radiator cannot be shut off separately — if there is any leak, the entire riser will have to be drained, so here the bypass is not an option but a mandatory element.
Diagonal and side connection: how to choose the side
Diagonal connection gives the most even heat output with a long radiator — from 10 sections and above, while side connection is optimal for short sections of up to 7-8 pieces and narrow niches under a window. With diagonal, the supply enters from the top on one side, the return exits from the bottom on the opposite side, and the hot coolant passes through the entire unit without stagnating in the far sections. The side scheme is simpler in terms of piping, but with long units the end sections are underheated by 15-20%. The side is chosen not for looks, but by the direction of flow in the riser: if the supply comes from below, the diagonal works worse than the side one, and the radiator will heat unevenly. In search, clients often type "heating radiator installation Bishkek" — and with such a query the technician immediately understands that a calculation for a specific scheme is needed, not a universal solution. That is why we check the direction of supply and return before starting work: both the connection side and the final estimate depend on this.
Thermostat, Mayevsky valve and shut-off valves
- Thermostat: automatically reduces the coolant supply when the room has warmed up, and restores it when it gets colder — it maintains the temperature without manual adjustment.
- Mayevsky valve: releases the air lock from the top point of the radiator, which causes the unit to heat only halfway and to make noise at start-up.
- Shut-off valves: shut off the supply and return at the radiator itself, so that the unit can be removed or replaced without draining the entire system.
- Bypass: preserves the coolant flow through the riser when the radiator is shut off for repair or replacement.
- Thermostatic head: is programmed for night mode, so that by morning the room warms up by the required time.
Warranty, documents and payment: how we stand behind our work
After installation, the client is left not only with a working radiator, but also with a warranty card, a completion certificate and a clear payment scheme. Let's break down exactly what is documented and how the payment process works.
2-year warranty on installation work
Eco-Service provides a 2-year warranty on installation work — if within this period a leak appears at a connection or a fitting fails through our fault, a plumber visits free of charge. The radiator piping is assembled from valves, a thermostatic regulator and fittings, and every unit is checked by pressure testing before the project is handed over. In our practice over the past heating season, there were fewer than ten warranty visits for recent installations — and none of them involved polypropylene soldering, only replaceable thermostatic regulator cartridges. The warranty does not cover damage from water hammer in the riser or from unauthorised interference with the piping — that is why we record the system's condition in photos at handover, so that no disputes arise.
What documents we issue after radiator installation
- Completion certificate: a list of operations with the signatures of the technician and the client, including removal of the old radiator and pressurised start-up.
- Warranty card: a 2-year warranty period on installation work and separately on the installed fittings.
- List of fittings: models of the thermostatic regulator, shut-off valves and Mayevsky valve with serial numbers.
- Piping diagram: a sketch with the connection points to the riser, so that future repairs don't require taking the unit apart blindly.
Payment via MBANK and O!Деньги, service centre operations
Work can be paid for via MBANK or O!Деньги, and enquiries about installation are handled by Eco-Service's own service centre in Bishkek. Radiator installation in Bishkek — that is how clients most often phrase their request, and under that phrase the order is accepted both by phone and via messengers, and the technician arrives with a ready set of fittings for standard diameters. Installation covers both new residential complexes and older housing stock with cast-iron risers, so the kit always includes adapters for different supply pipe diameters. Payment is after acceptance, not in advance: the client first checks that the unit heats up and that there are no leaks, and only then transfers the amount — this eliminates the risk of "paid upfront and they disappeared".
Winter installation and typical mistakes when installing radiators
We break down what changes when installing during the heating season and which mistakes most often lead to rework. Separately — why a new unit can heat worse than an old one.
Can a radiator be installed in winter
Winter radiator installation is possible: we work with a short-term shutoff of the riser and warn the neighbors so as not to leave the building without heat. Installing heating radiators in the cold season follows a different logic than in summer: the system is filled, water flows through the riser under pressure, and any intervention requires coordination with the neighbors in the entrance — in old buildings in central Bishkek, the riser is shared by five to eight apartments. We drain the circuit only partially, on our own section, and replace flexible hoses with a threaded connection using flax and sealant, because in winter the temperature difference between the hot water and the air in the entrance puts additional stress on the joints. At Eco-Service, we perform radiator installation during the heating season in the morning, when water draw in the building is minimal. In winter, the system must not be drained completely and for long — water in an unheated entrance freezes in the riser within a matter of hours.
Five mistakes that make a radiator heat poorly
- Air lock: air accumulates in the system, the upper sections stay cold; it is fixed with a Mayevsky valve, not by replacing the unit.
- Narrowed supply line: a pipe of smaller diameter than the radiator outlet restricts the flow and reduces heat output by 20-30% even with a working unit.
- Wrong connection side: with a diagonal scheme, feeding from the bottom-side gives uneven heating and a cold bottom on cast-iron models.
- No bypass: in a single-pipe system without a jumper, the radiator blocks the riser and leaves the neighbors without heat.
- Clogged sections: scale and sludge in a cast-iron radiator after many years of operation narrow the channels, and flushing gives less than replacement.
Conclusion
Radiator installation rests on four decisions: the type of unit, the calculation of sections, the piping scheme, and the timing of the work. Below are the conclusions that will save time and money when replacing the heating system in an apartment or private house.
Main conclusions
- Radiator type: selected for the operating pressure and piping of the building, not by price — bimetallic holds high pressure in a high-rise, cast iron lasts longer in old housing stock.
- Calculation of sections: done before dismantling the old unit, taking into account the room's heat loss, glazing area, and wall thickness.
- Single-pipe system: a bypass is mandatory — without it, shutting off one radiator stops circulation through the entire riser.
- Piping: a thermostatic regulator and a Mayevsky valve pay for themselves in one season through precise temperature adjustment and air release without calling a technician.
- Winter installation: possible with a short shutoff of the riser — the work is planned for 3-4 hours so as not to leave the neighbors without heat.


