







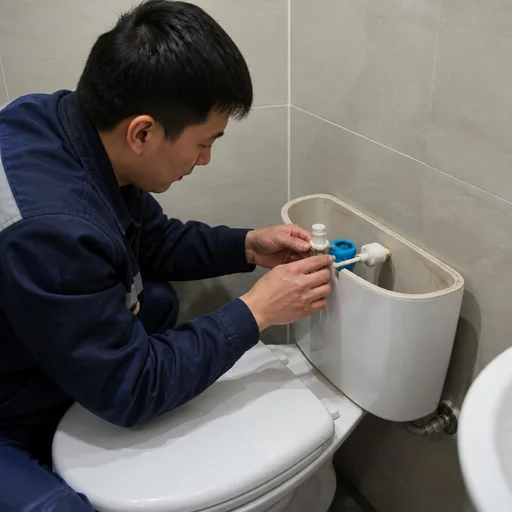
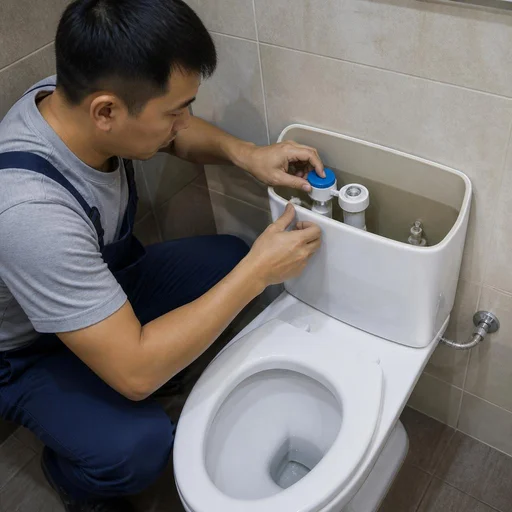
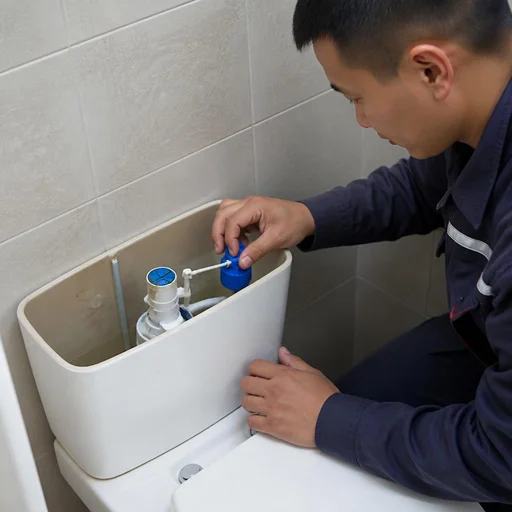
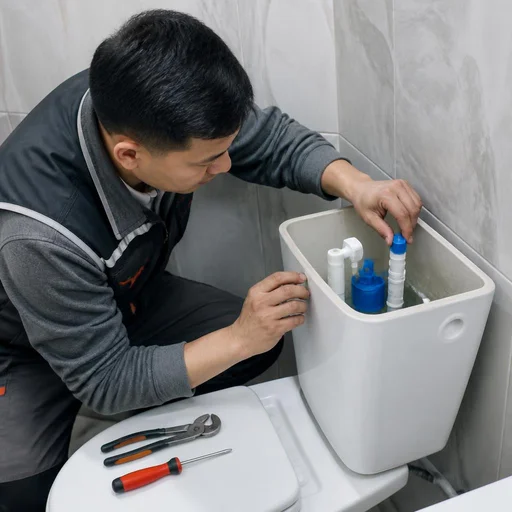
How a toilet tank works and why it breaks
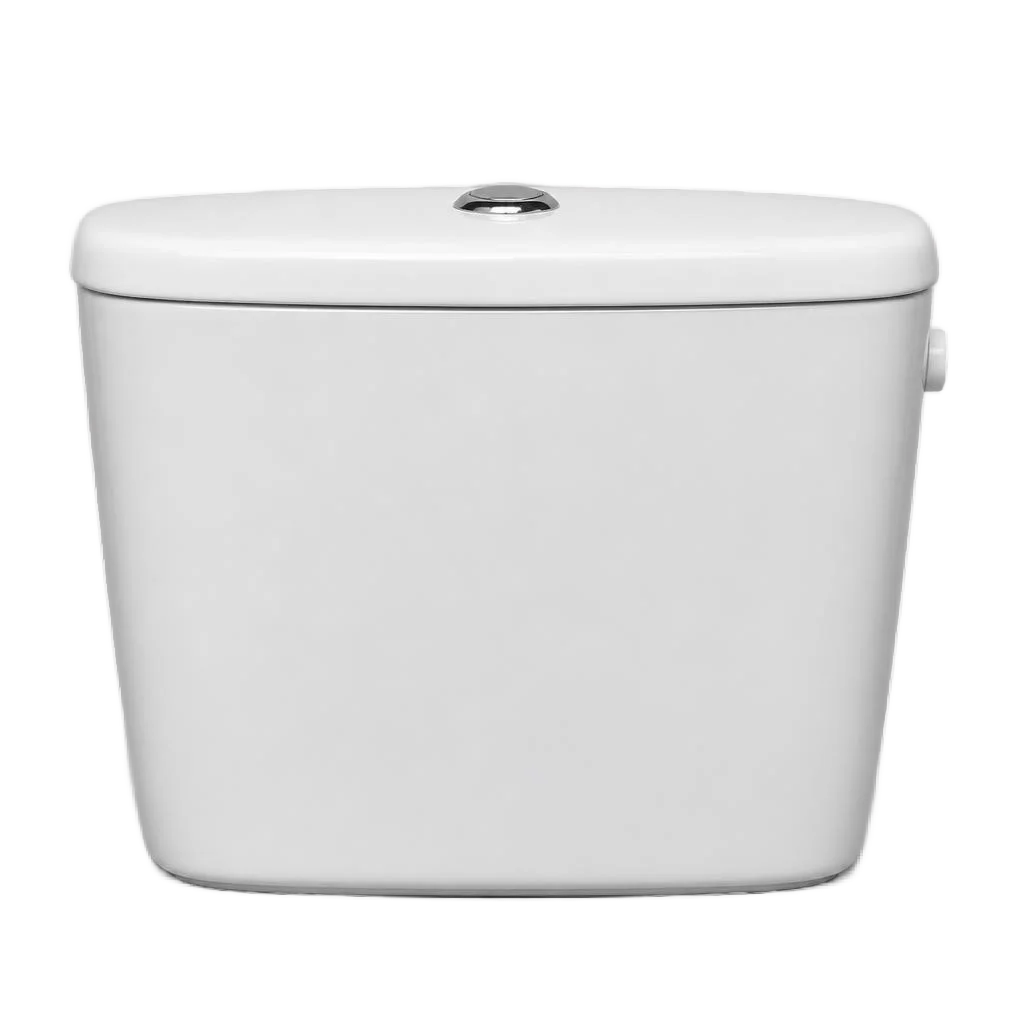
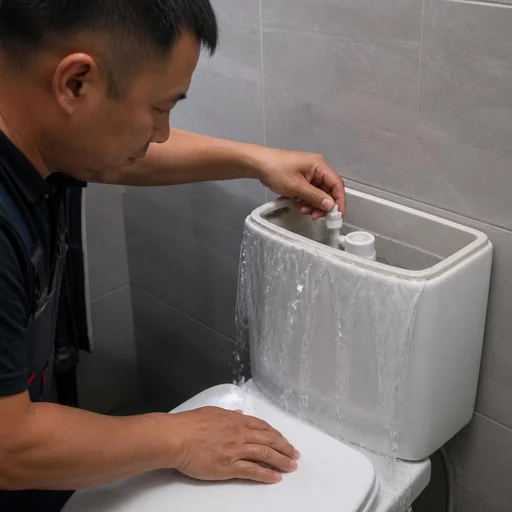
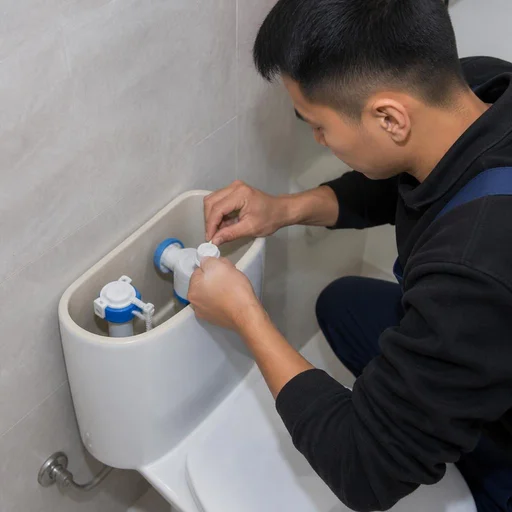
The tank consists of two independent units: water filling and flushing. Nine out of ten breakdowns are localized in one of them, so understanding the design saves time on diagnostics and helps accurately describe the problem to a technician.
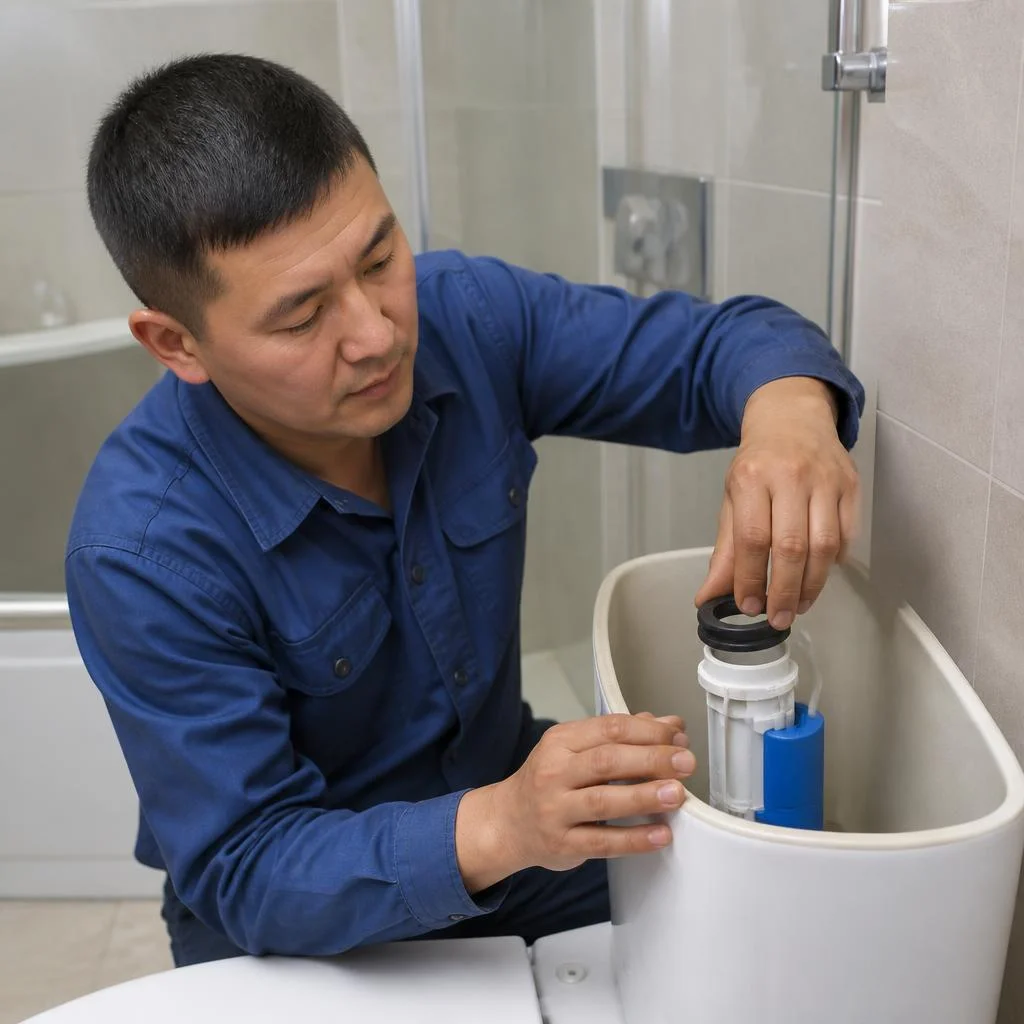
What the tank consists of: inlet valve, outlet valve, float
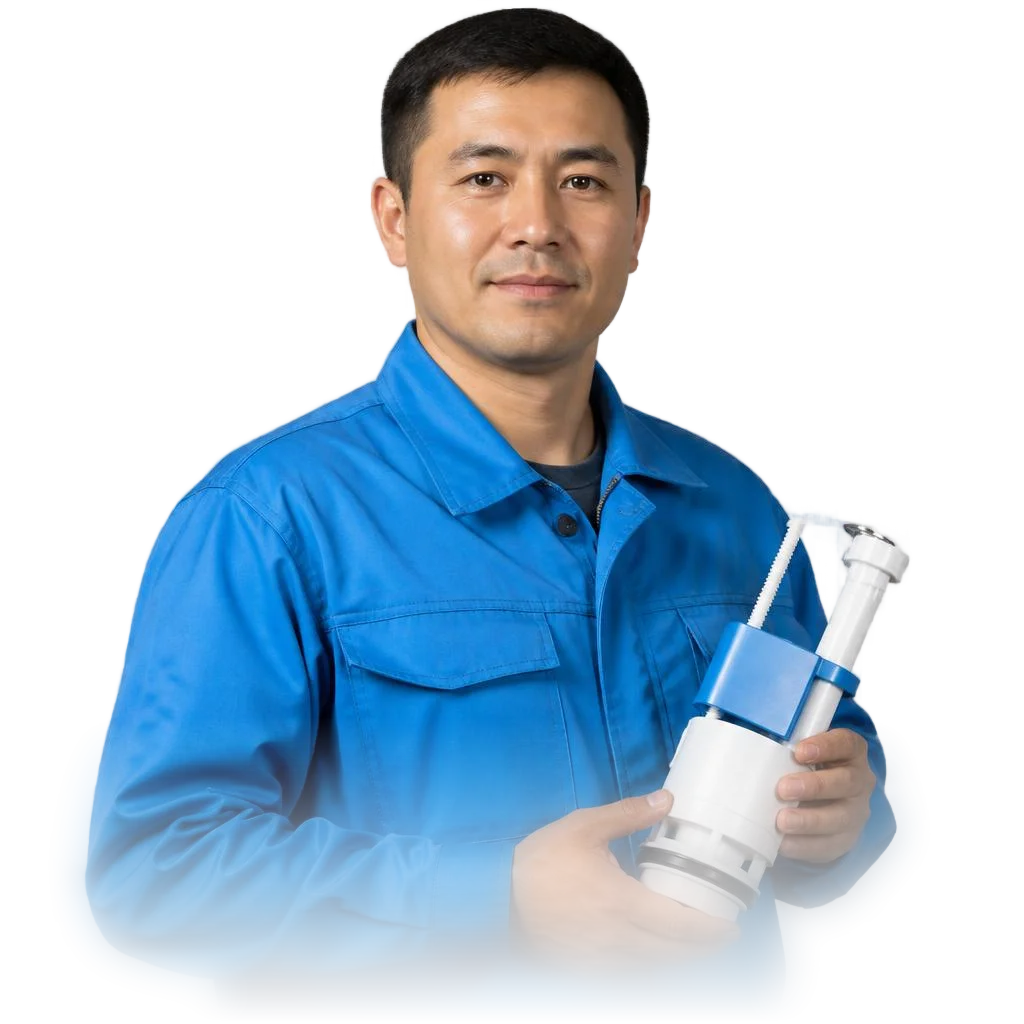
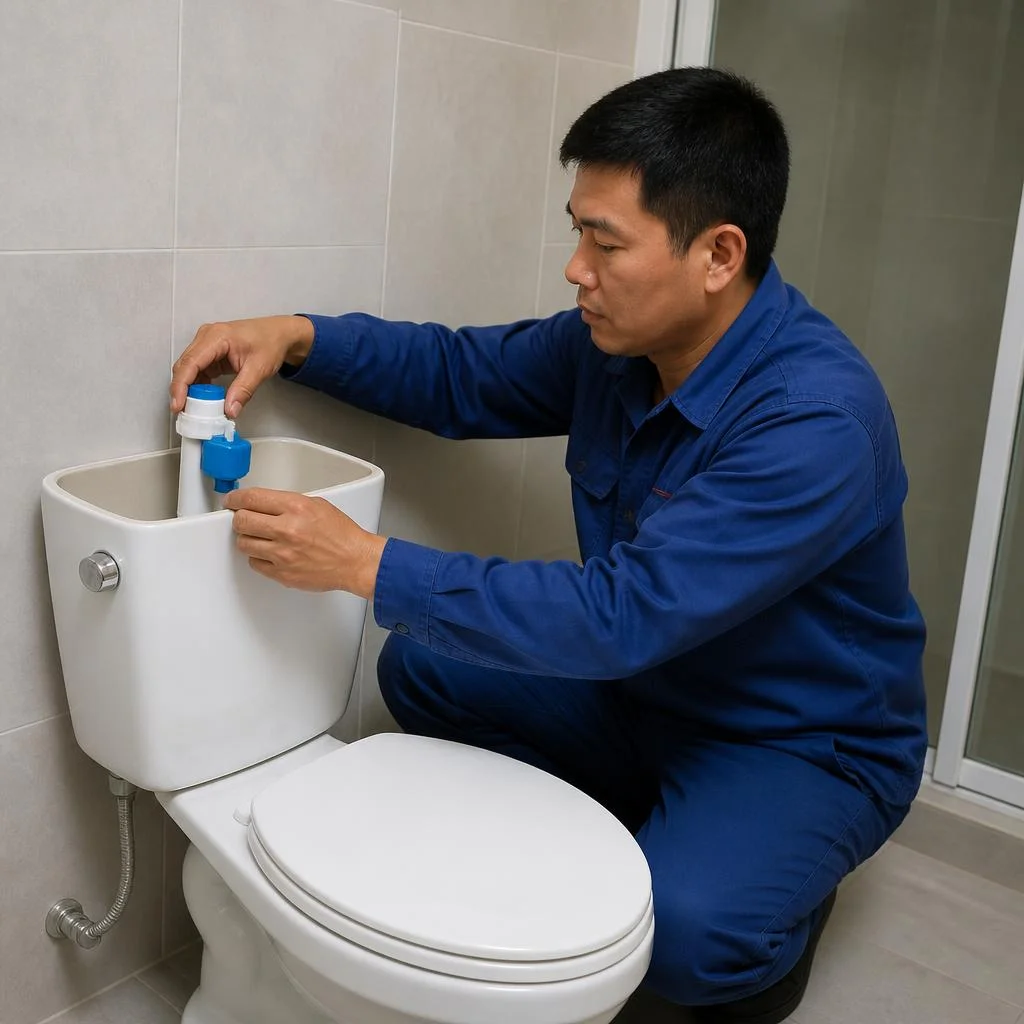
- Inlet valve: responsible for filling — it opens when the level drops and closes when the float rises to the set mark.
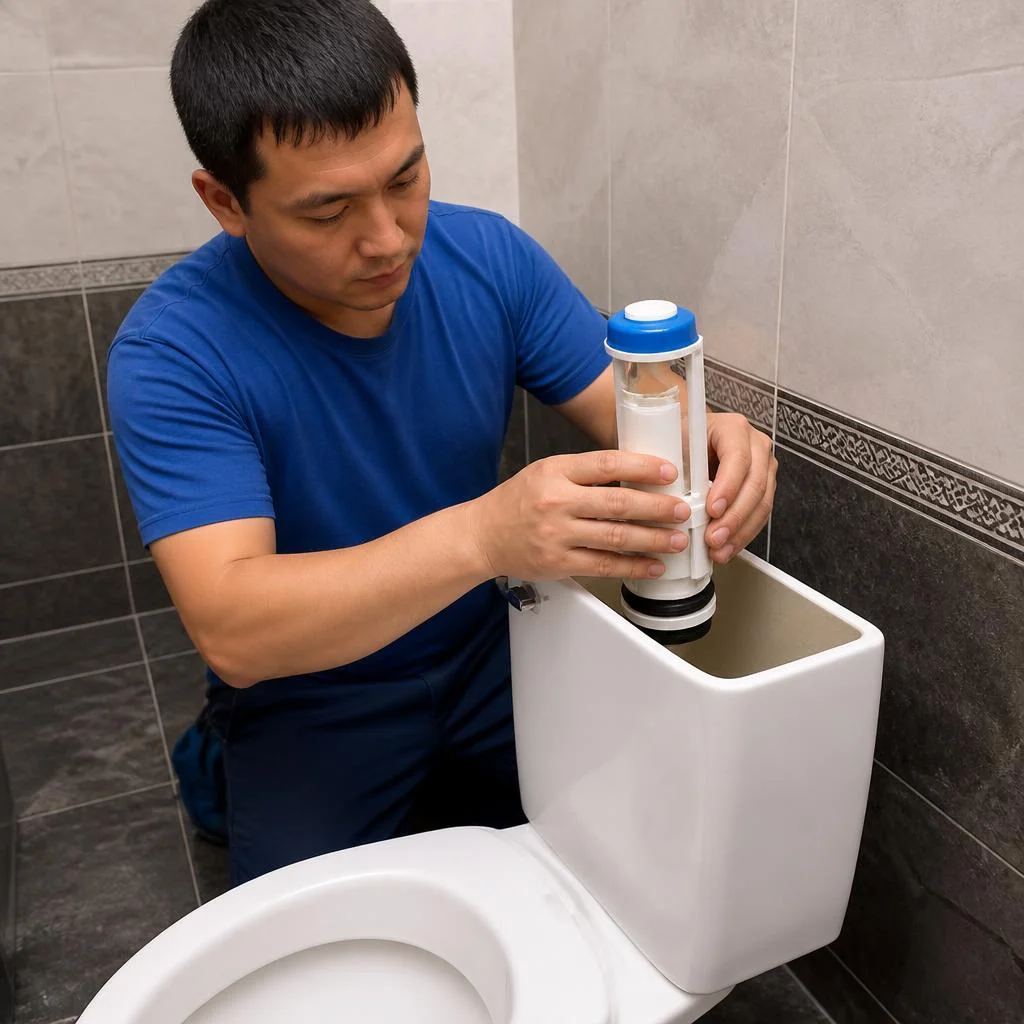
- Outlet valve or flush column: holds water in the reservoir and releases it into the bowl when the button or lever is pressed.
- Float mechanism: sets the shut-off point; it can be lever-type or coaxial, and the type determines the water filling system in the reservoir.
- Flush column: a vertical unit with a gasket and membrane that seals the flush until the actuator is triggered.
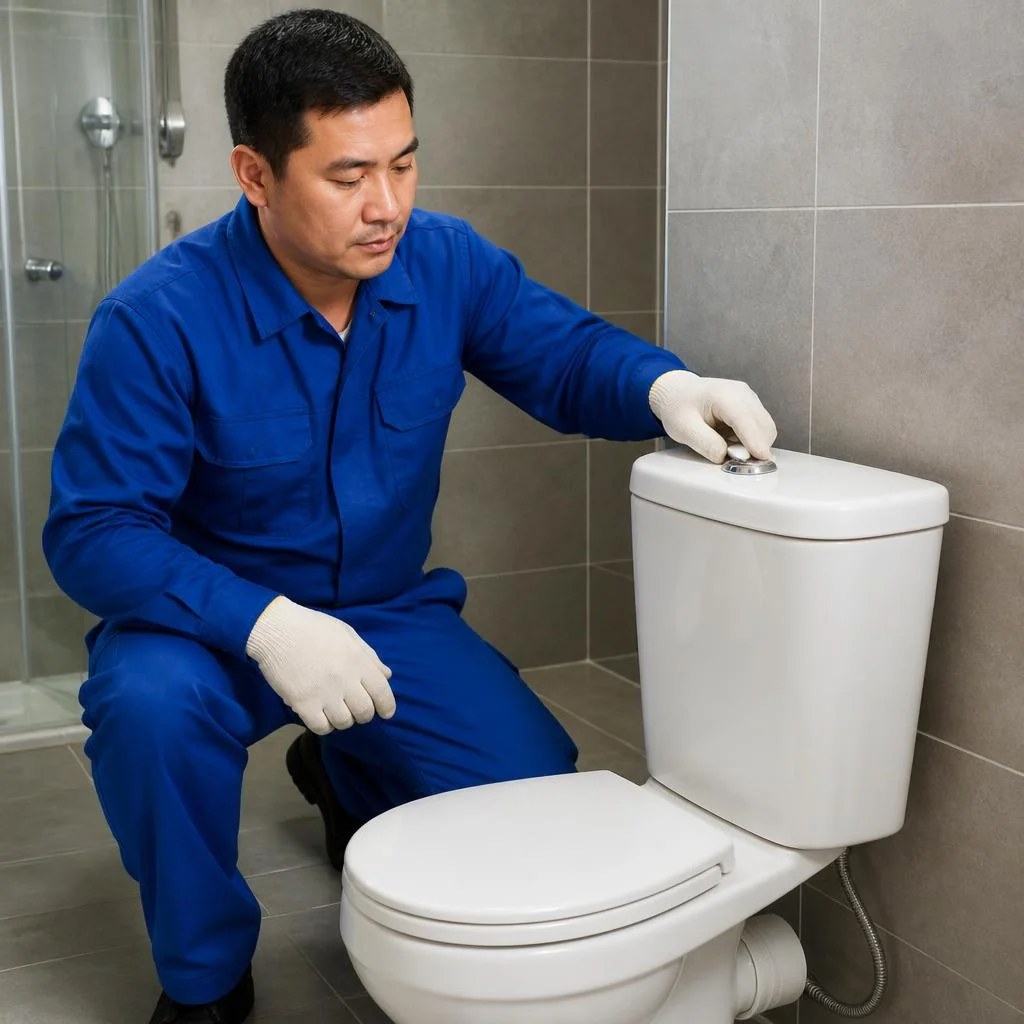
- Button or lever: transmits force to the outlet valve via a rod or cable drive.
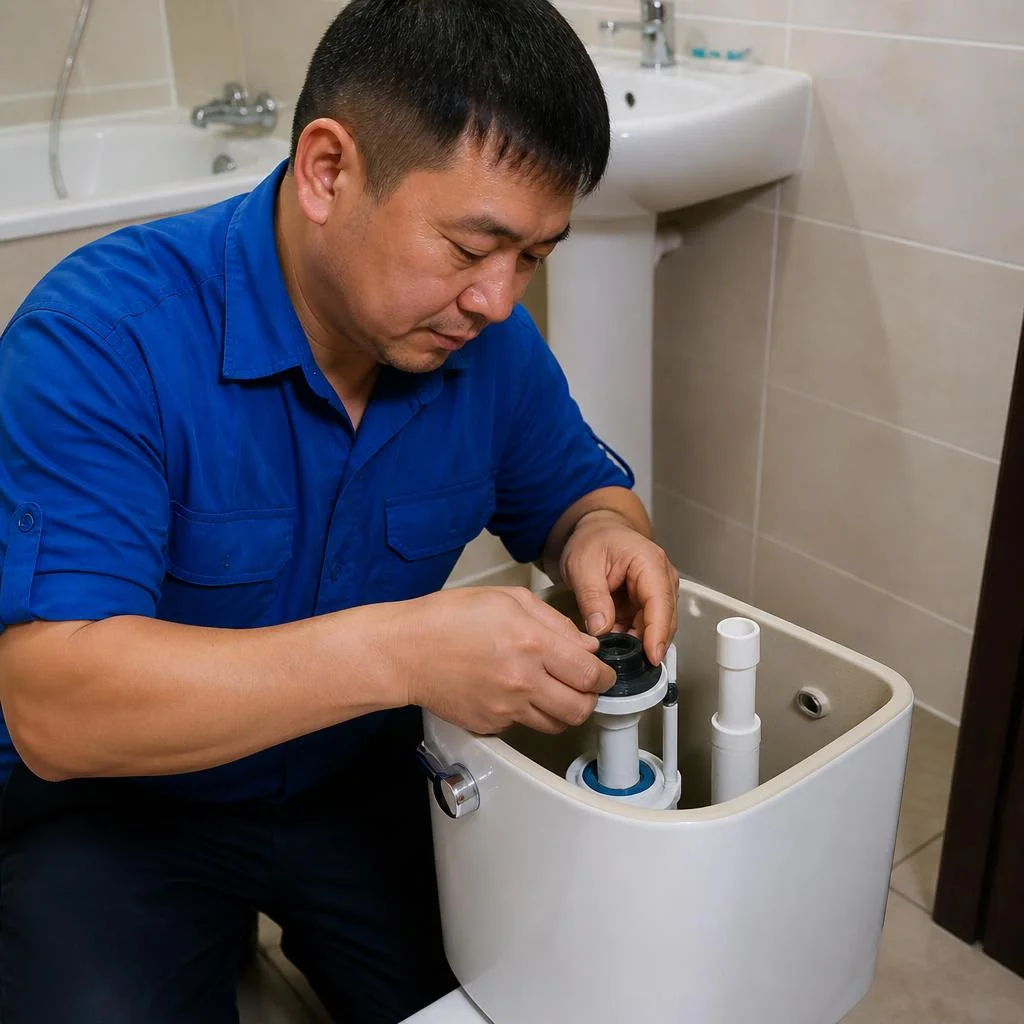
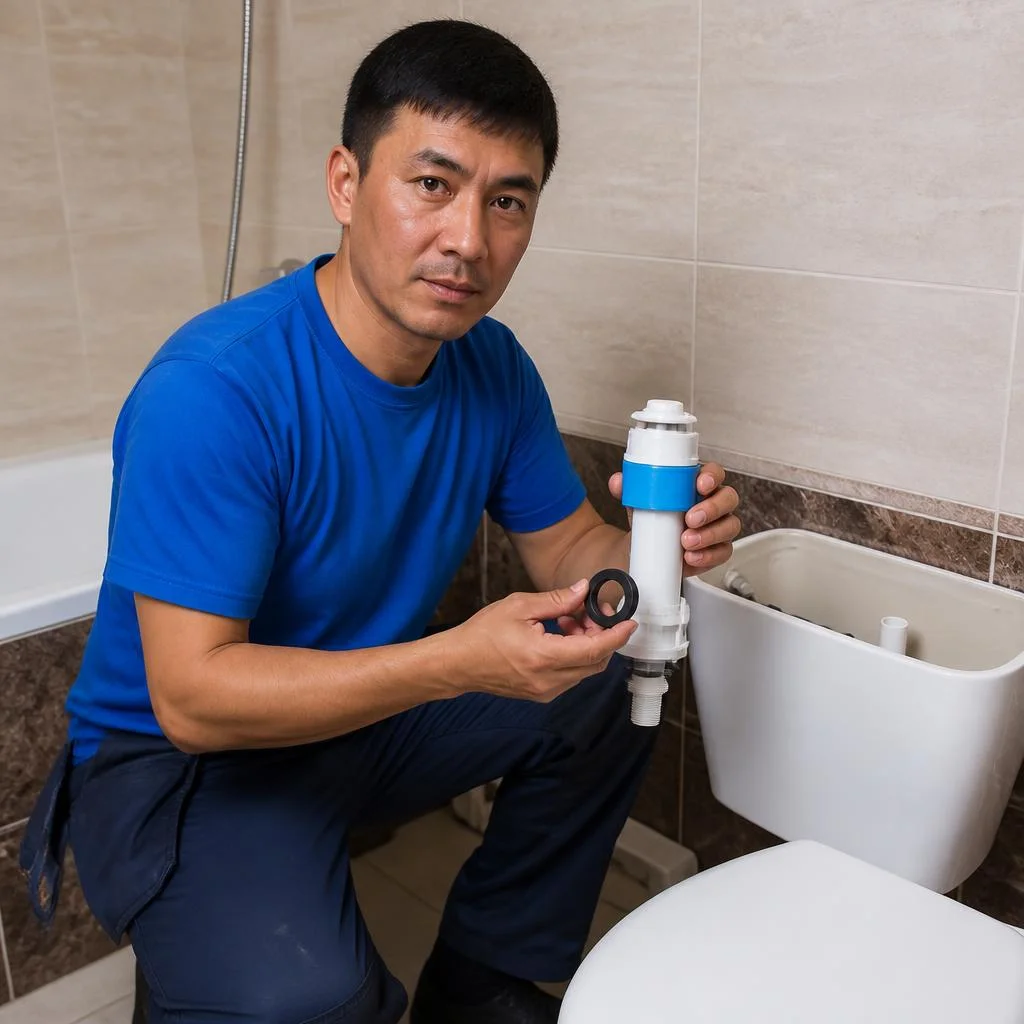
- Gaskets and seals: consumables at the joints of valves, fasteners, and between the reservoir and the bowl.
Why the tank leaks: 6 real causes of leakage
- Worn inlet valve gasket: the rubber loses its elasticity, and water seeps into the reservoir even when the valve is closed.
- Worn outlet valve gasket: the membrane does not seat on the saddle, and water slowly drains into the bowl.
- Hardened tank seal: the seal between the reservoir and the bowl lets water through onto the floor under the toilet.
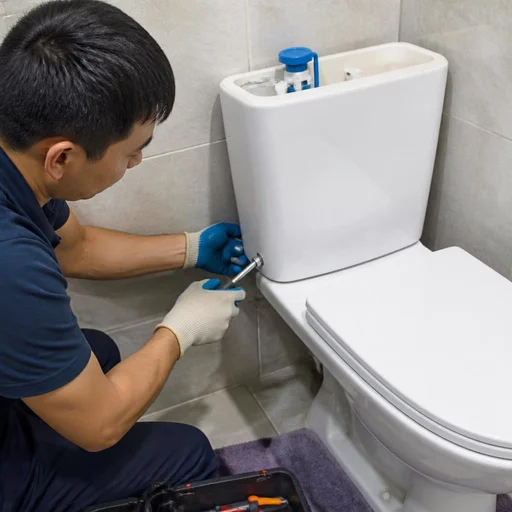
- Loose tank fasteners: bolts and washers lose their tightness, play appears, and leakage occurs along the joint.
- Crack in the body: a microcrack in the ceramic or plastic expands from temperature and pressure changes.
- Clog or scale on the valve saddle: mineral deposits prevent the seal from fitting tightly.
Why the tank is noisy, whistles, and flushes by itself
Noise during filling is caused by a clogged or worn inlet valve, while spontaneous flushing is caused by an improperly seated outlet valve seal or a knocked-out of adjustment level. Whistling appears when the flow passes through a narrowed saddle with scale, and humming occurs when the membrane vibrates at high speed. On models with a coaxial float, the noise is often related to the position of the cup relative to the column, and not to worn parts. A knocked-out of adjustment causes the level to rise above the overflow tube, and water drains into the bowl constantly. The leak then looks like a thin stream along the back wall of the bowl, which is easy to mistake for condensation. Whistling and humming are often confused with a breakdown, although this is a sign of improper adjustment of the fill valve — sometimes it is enough to adjust the level rather than replace the entire unit. Customers describe the problem like this: the toilet tank broke, it is noisy and leaking — and start with adjustment, not with replacing the fittings.
How tanks with a button, with a lever, and built-in ones differ
| Tank type | Access to fittings | What breaks most often |
|---|---|---|
| Wall-mounted with button | Removing the lid | Button, rod, membrane |
| Wall-mounted with lever | Removing the lid | Lever, float, gaskets |
| Built-in (concealed) | Service hatch or panel removal | Flush column, membrane |
| Toilet tank with sink | Removing the module lid | Inlet valve, fasteners |
Which tank parameters affect repair and selection of spare parts
The volume of the cistern in standard wall-mounted models is 6 or 9 liters; in compact versions, 4.5 liters is sometimes found; the size of the column and the type of membrane depend on this. The connection of the toilet to the cistern can be via a rubber gasket with two bolts or via a plastic adapter nut, and when replacing the fasteners it is important to preserve the type of joint, otherwise play will appear. The plastic body requires care: when the bolts are overtightened, it cracks at the base, and then sealing no longer helps. The material of the body influences the choice of consumables: in ceramic tanks the valve seat is harder, in plastic ones it is softer and wears out faster. Customers look for a toilet cistern by volume and type of supply connection, while technicians clarify these parameters before the visit. If the cistern has broken, first clarify the volume and material — this reduces the number of technician visits with an unsuitable spare part to one. In search, people often type "toilet cistern flush repair" — and from such a query the technician immediately understands that a visit with a full set of consumables is needed. A separate category of requests is toilet leak repair, when water escapes along the joint between the tank and the bowl: here, before the visit, they ask for a photo of the fasteners in order to bring the right gasket.
What to do at the first signs of a malfunction
The toilet cistern has started leaking or a constant noise has appeared — shut off the valve on the supply line and describe the symptoms: when exactly it leaks, how quickly the water fills, whether there is a whistling sound. Eliminating the leak begins with checking the joints: gaskets, fasteners, valve seals. Restoring the flush assembly on models with a bottom supply connection takes more time due to limited access to the inlet assembly. In most cases, the work is performed on site in a single visit if the technician knows the type of fittings in advance. A cistern with scale on the valve seat is washed and cleaned before replacing the consumables, otherwise the new membrane will not seat tightly. Toilet cistern repair in Bishkek begins with determining the circuit — inlet or outlet — and this eliminates half of the possible causes even before disassembly.
Diagnostics: how to figure out exactly what has broken
Before calling a technician, it is useful to localize the fault by four signs — this speeds up the work and helps you understand in advance which part will be needed.
Water won't stop: how to check the inlet valve
- Continuous filling: water pours into the tank without stopping and overflows into the bowl — the diaphragm is stuck or the float mechanism is not shutting off the flow.
- Checking the float: lift the lever by hand — if the water stops, the float needs repair, not replacement of the whole assembly.
- Inspecting the diaphragm: remove the lid and look at the rubber plate — limescale and sand prevent it from seating in the seat, hence repair of the inlet valve instead of a full replacement.
- Pressure in the hose: a kinked supply line or a partially closed valve imitate a breakdown — open the valve fully and straighten the hose.
Water drains from the bowl: checking the outlet valve and gasket
If after flushing the water does not stay in the bowl and a quiet trickle is heard, the outlet valve or gasket is to blame — they do not fit against the seat and let water through. Checking is simple: shut off the supply, drain the remainder and examine the rubber ring against the light — cracks, hardening and deposits are immediately visible. With a worn gasket, water drains into the bowl constantly, and the tank refills every few minutes, and the meter spins without stopping. The outlet valve gasket and the gasket work as a pair, so they are replaced together: if only one is replaced, the other quickly fails due to uneven seating, and the leak returns. Clients often write "the toilet flush tank has broken," although in reality it is enough to replace one gasket — we check this first. By the way, the volume of the toilet flush tank has nothing to do with it: both on compact models and on full bowls, the gasket wears out equally quickly. Separately, it is worth mentioning the repair of the toilet tank float: if the float does not rise to the required level, water does not fill at all, and this is already a different fault, unrelated to the outlet. When clients search for "flush tank valve repair" — we immediately clarify which assembly is leaking, the inlet or the outlet. And the query "toilet flush valve repair" in our practice almost always means a worn gasket on the outlet, not a breakdown of the entire fittings.
The tank wobbles, cracks or is broken: what to do
- Wobbling: if the toilet tank wobbles, the fasteners have loosened or the gasket between the tank and the bowl has sagged — tighten the bolts in a crisscross pattern, without overtightening.
- Crack in the body: a hairline crack in the porcelain is sealed with a compound, but requires complete drying and rest for a day.
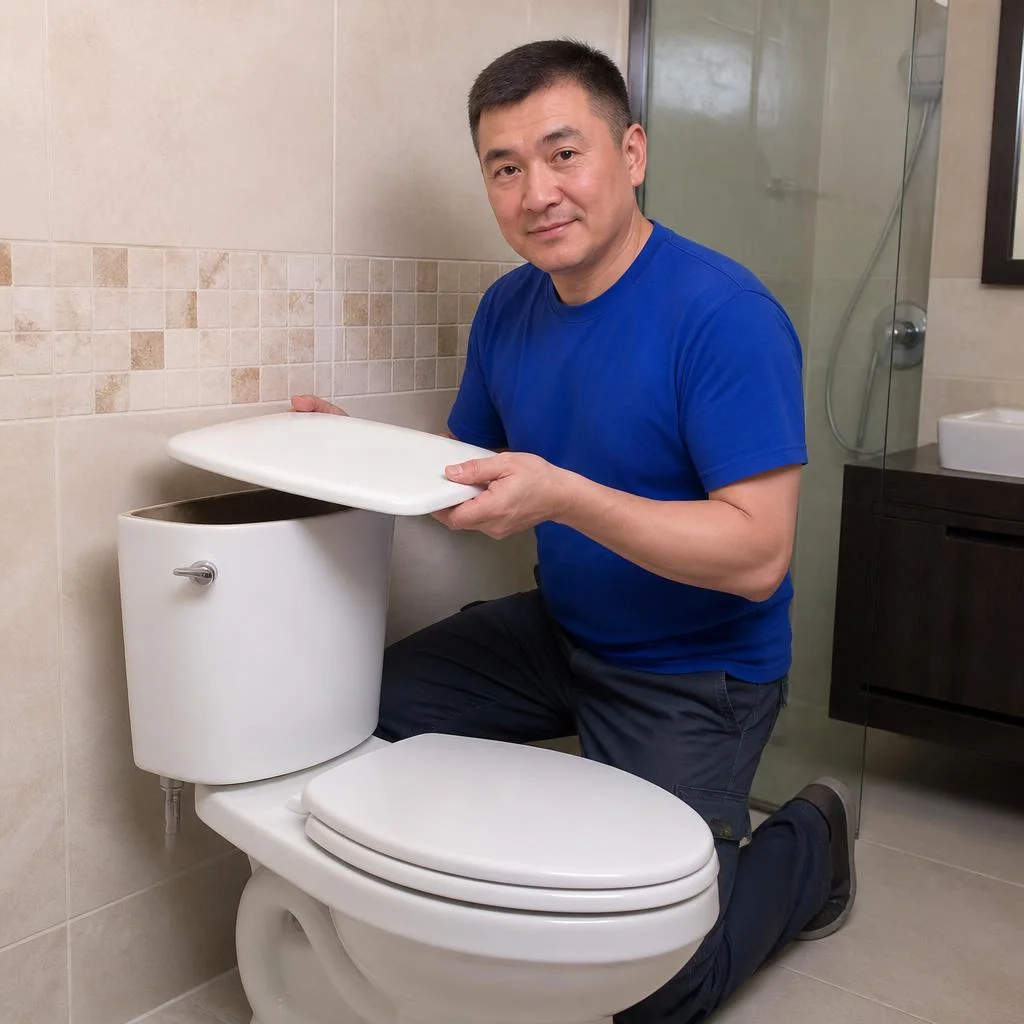
- The lid is broken: when the toilet tank lid is broken, choose a new one by the seating dimensions — there are almost no universal lids.
- Complete destruction: if the toilet tank is broken and has split into several parts, gluing does not hold the load — the assembly is replaced entirely.
When DIY repair is dangerous, and when you can handle it yourself
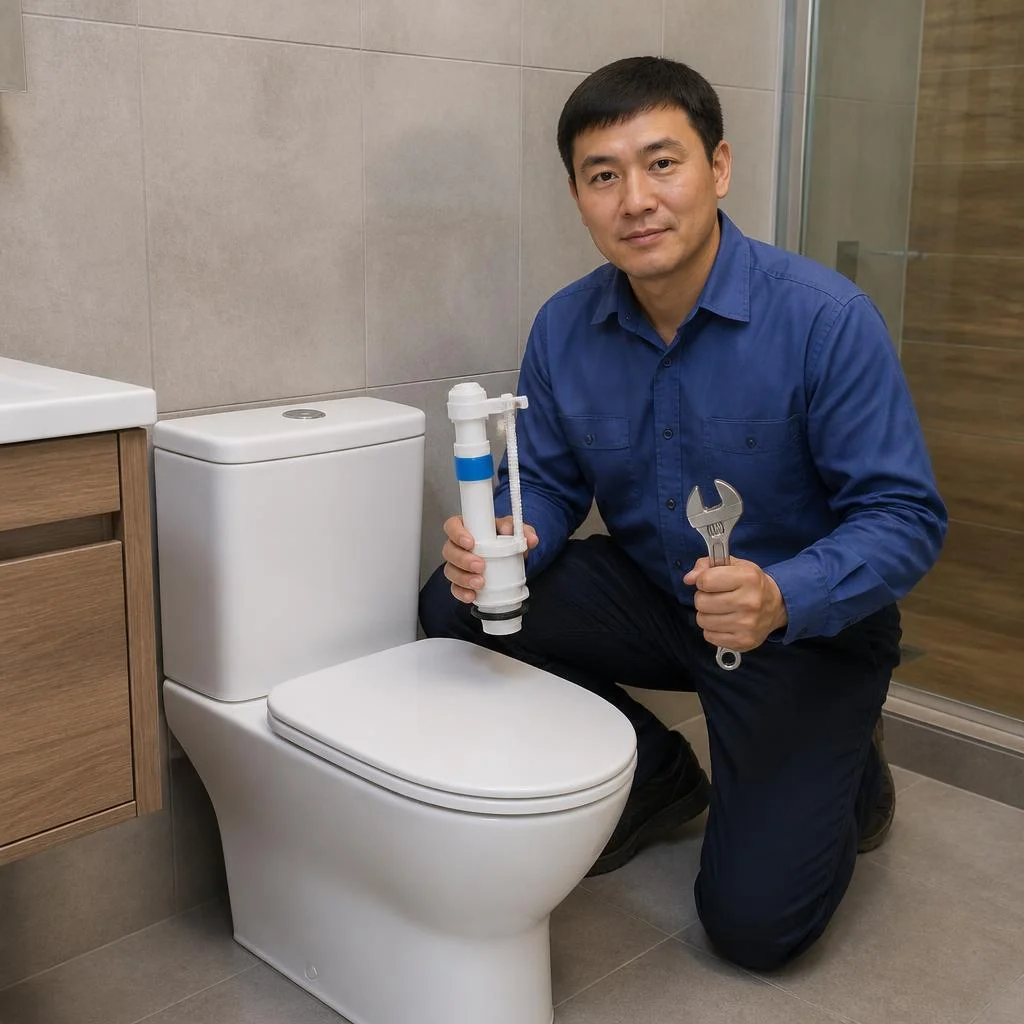
- You can do it yourself: replace the gasket, repair the float, tighten the fasteners, clean the seat from limescale.
- A technician is needed: disassembly of a built-in tank, complete replacement of the fittings, sealing of cracks, an inlet valve with a bottom supply.
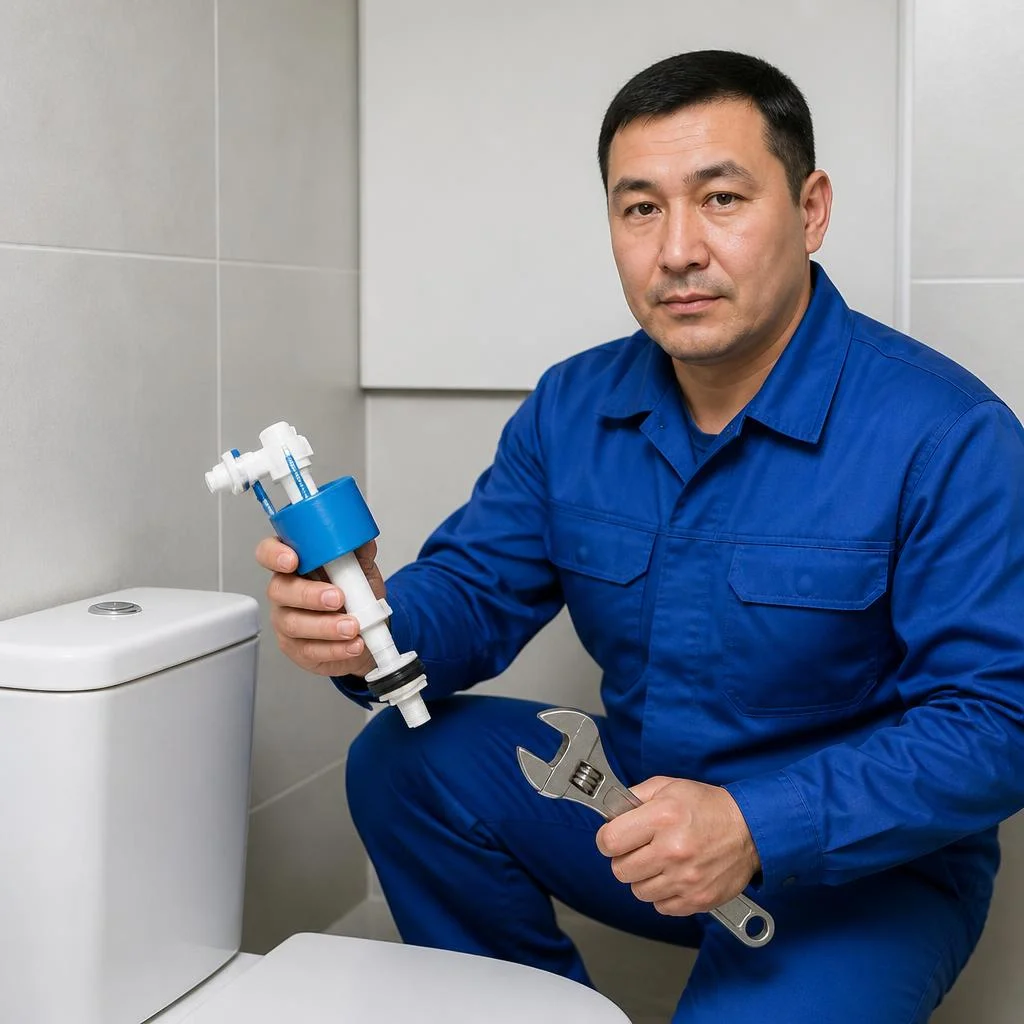
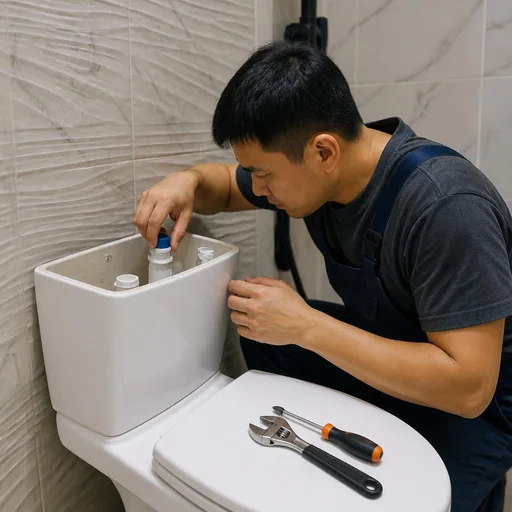
- Tools: an adjustable wrench, a flat screwdriver, a brush and a soft cloth — a stiff brush scratches the seat and accelerates wear.
- Risk assessment: if the toilet tank has broken and the assembly on the plastic thread has already been overtightened, DIY disassembly most often ends in a new leak.
How to reassemble the flush tank and not strip the thread
If you're wondering how to assemble a toilet cistern yourself, start with simple operations without disassembling the body. The main risk of DIY work is stripping the plastic threads on the fittings: they are fragile, and an overtightened connection leads to a new leak within a week. Before reassembling the cistern, check that every gasket is in place and tighten the connections without force — a seal comes from proper fit, not from tightening force. Practice shows: when a cistern breaks, in a third of cases it's enough to overhaul the assembly and replace one membrane, whereas a crack in the body can no longer be repaired — a new assembly is needed. A separate story is repairing a toilet cistern with a button and bottom water inlet: there, the push-button mechanism can only be removed after shutting off the supply, otherwise water will flood the floor. Customers search for "toilet cistern float repair" — and land on this page, although the description often actually refers to the membrane. But the question "how to repair a toilet cistern" almost always comes down to one thing: first shut off the water, and only then disassemble the assembly. Owners of models with a button separately ask about repairing a toilet cistern with a button — in such assemblies, the push-button plunger wears out faster than a lever.
Replacing the inlet and fill valve
The inlet (fill) valve is the most heavily loaded assembly in the cistern: it activates with every flush and is the first to fail. Let's break down how valves with side and bottom inlets differ, how to adjust the water level, and how to select a part for a specific model.
Side and bottom inlet: how not to make a mistake with the valve
A valve with a side inlet connects to a flexible hose on the side of the cistern, while a bottom inlet connects from below through the bottom. The mounting hole, body height, and attachment point differ between these types, so they are not interchangeable. Customers often describe the task in their own words: toilet inlet valve with side inlet repair — and the technician immediately understands that side access is needed without removing the cistern. Another common phrasing is toilet inlet valve with bottom inlet repair: here, a space is prepared for removing the body. If there's no marking at hand, the type is determined visually: on the side — side inlet, through the bottom — bottom inlet; a mistake means the part simply won't fit into place. A separate story is repairing a toilet cistern with a bottom water inlet: there, the valve is replaced only by removing the body, otherwise you can't reach the nut. In our practice, half of the replacement failures are due to confusion between these two types. When someone searches for Gustavsberg toilet fill valve repair, they usually don't yet know that this brand more often has a bottom inlet, which means the cistern will have to be removed. If a valve is needed for a toilet cistern with a bottom inlet, first clarify the body height and thread pitch, otherwise the part won't fit into place.
Adjusting the fill valve: how to set the water level
Adjusting a toilet fill valve comes down to one action: using a screw or by moving the float, you set the level at which the valve shuts off the water. The norm is 2–3 cm below the top edge of the overflow tube, otherwise water constantly trickles into the bowl and the meter racks up extra liters. On valves with a lever float, the level is changed by turning the adjustment screw: clockwise to lower, counterclockwise to raise; on models with a coaxial float, the position is fixed with a latch. Adjusting the cistern valve takes a couple of minutes but requires a test flush. Adjusting the water in the cistern is considered complete only after two or three flushes: if the level rises above the norm again, the float is depressurized and it's time to replace it, not to tweak the screw. When users search for toilet cistern valve repair, most often it's about adjusting the level, not replacing the part. In search, such tasks are often described as toilet fill valve repair — and from this phrase it's clear that the person is ready to disassemble the assembly, not to buy a new cistern. Toilet inlet valve repair in most cases begins precisely with this adjustment — and only then does the technician decide whether to replace the assembly or just adjust it. Often customers search for toilet valve repair — and land on this page, although essentially they just need to adjust the float.
Replacing the inlet valve on Cersanit, Gustavsberg, and other models
- Selection for the specific model: at Eco-Service, the valve is selected for a specific model — Cersanit, Gustavsberg, Roca, Jika, Sanita — so that the mounting dimensions and overflow height match the original.
- Cersanit: replacing the inlet valve of a Cersanit toilet and replacing the cistern of a Cersanit toilet begin with checking the part number — this brand often has a non-standard thread pitch.
- Gustavsberg: replacing the fill valve of a Gustavsberg toilet requires an original membrane: compatible analogues withstand pressure worse and leak along the stem.
- Roca, Jika, Sanita: replacing the cistern of a Roca toilet and replacing the cistern of a Jika toilet usually come down to replacing the cartridge without dismantling the cistern, while replacing the cistern of a Sanita toilet more often requires removing the body due to the tight fit of the valve.
- Universal parts: a bottom-inlet fill valve is not always suitable — if the height does not match, the connection starts leaking within a month.
- Complete replacement of the assembly: a fill valve for a toilet turns into replacement of the fittings when the body has cracked; then replacing the toilet valve, the toilet cistern valve and replacing the toilet valve are handled in a single visit by the technician.
- Related requests: a Cersanit toilet cistern replacement, Cersanit cistern replacement and Sanita cistern are covered in one operation — replacing the valve complete with the gasket.
Replacement of the flush valve, flush column and fittings
The flush assembly is responsible for draining water and keeping it in the bowl. When several parts wear out at once, it is more cost-effective to replace the fittings entirely than to repair them piece by piece with repeat visits.
Flush valve and flush column: when they are replaced
The flush valve and flush column are replaced when water drains from the bowl on its own, the button does not return to its original position, or the flush has become sluggish. Work on the tank flush begins with checking the gasket: on Cersanit, Sanita and Roca models it hardens within 3-5 years and stops fitting snugly against the seat, so water seeps into the bowl even with an intact column. On Gustavsberg and Vitra, the column stem wears out more often — the flush triggers in jerks, and pressing requires effort. At Eco-Service, diagnostics begin by removing the column and inspecting the seat: a chip or scale on it negates any replacement of consumables. The flush column is often replaced together with the gasket and seal: if the old consumables are left in place, the new column will not seat tightly and the leak will return within the first weeks. Clients describe it briefly: the toilet tank is leaking — and the technician immediately understands what to look for.
Full replacement of fittings: when it is more cost-effective than spot repairs
- Age of the assemblies 5-7 years or more: even if one valve has failed, the second is usually on the verge, and a spot repair gives only a temporary result.
- Water does not stop and simultaneously drains from the bowl: two independent defects at once — a signal to replace the fittings as a set.
- Whistling, noise and vibration during filling: the worn float mechanism and valve work out of sync, and adjustment no longer helps.
- Repeated repairs within a year: if the gasket and membrane were replaced during the season, the next failure will come from a neighboring assembly.
- Changing the type of fittings: switching to a dual flush or push-button release is cheaper to do right away with a new set.
Repair of fittings with bottom inlet: what is special about it
Fittings with a bottom inlet require access from below the tank, so during work the technician first shuts off the water and removes the assembly entirely, rather than tightening it in place. The valve here is mounted through the bottom, and it is impossible to reach the nut without removing the tank from the bowl — for a tank with a bottom water inlet this is the key difference from the side configuration, where the valve is accessible from the side. On a bottom inlet, the connection between the hose and the valve suffers more often — that is where scale accumulates; when replacing the fittings, this connection is renewed together with the gasket so that the assembly does not have to be taken apart again. A separate difficulty is working with the fittings of a flush tank with a bottom inlet in concealed installation models: there the flexible hose comes through the wall, and its length is chosen with a margin of 10-15 cm for the bend. In search, such work is often entered as inlet valve with bottom inlet repair — from this query it is clear that the person has already removed the lid and seen the fastening from below. This is exactly how those who need repair of flush tank fittings with a bottom inlet formulate their request: with this query, the technician immediately brings a replacement inlet assembly.
Repair of toilet flush tanks: what the work includes
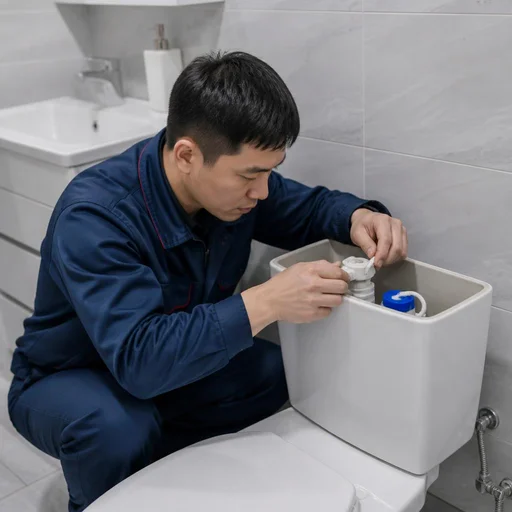
- Diagnostics of the assembly: the technician removes the lid, checks the button travel, the condition of the gasket and seat, and tests filling and flushing under pressure.
- Replacement of consumables: the gasket, seals of the inlet and flush valves, and the membrane — are replaced as a set so that the assembly does not have to be taken apart again.
- Level adjustment: the float is set so that the water stops at the required mark and does not overflow into the bowl.
- Post-assembly check: three to four flush cycles in a row — this is how residual leakage along the threads or a loose fit of the column is detected.
- Work with the tank as a whole: if the mounting body is cracked or the fasteners have come loose, the assembly is removed from the bowl and rebuilt on site.
Toilet tank flush repair: timelines and preparation
Work on a toilet tank takes from 40 minutes to two hours, depending on the type of fittings and access to the unit. A tank with a bottom water inlet requires removing the tank, so before the technician's visit you should clear access to the wall and shut off the valve in advance. If the water cannot be shut off, expect the technician to arrive with a plug, otherwise the riser will have to be drained for the whole building entrance. A toilet with concealed installation takes longer: removing the panel and reaching the unit through the inspection hatch is another 20-30 minutes of work. Requests also include formulations such as: built-in toilet tank repair, jika toilet tank repair, in-wall toilet tank repair — behind them is the same task with a concealed unit. Ukrainian-speaking clients write унітаз ремонт сливного бачка or ремонт бачка унітазу, and for these requests the technician goes to the same address with the same set of consumables.
Button, stem and flush mechanism
The flush button is the most "user-facing" unit of the tank: its breakdowns are immediately noticeable, but they do not always require replacing the entire mechanism. Below we examine the causes of jamming, the design of the dual flush, and the replacement of the stem and lid.
The button does not press or gets stuck: causes and remedies
- Knocked-out adjustment: the button stem skews in the guide, and the button does not return to its initial position after being pressed.
- Worn spring: the coils lose their elasticity after two to three years of active use, the button sticks and remains pressed in.
- Seized mechanism: limescale on the moving parts slows down the travel, especially with hard water in Bishkek.
- Technician's work: at Eco-Service, the mechanism is first disassembled and its travel checked, rather than replacing the whole unit.
- Check after reassembly: press the button five or six times in a row — it should return without delay and without excessive force.
A tank with two buttons: how the dual flush works
A tank with two buttons has two flush modes — partial and full; if one of the buttons stops working, the problem is in the dual flush mechanism, not in the water supply. The partial mode releases 3-4 liters, the full one — 6-9 liters depending on the model, and the difference is provided by a separate lever inside the column. In a dual flush, the small button wears out more often: it is pressed many times more frequently, so the spring and the button stem wear down faster. Adjustment comes down to fitting the travel of both levers: if the partial mode only works intermittently, the dual flush mechanism is disassembled and reset. During servicing, it makes sense to check both buttons at once so as not to disassemble the tank twice — the second breakdown usually shows up within a month.
Replacing the stem and tank lid
- Button stem: replaced when the thread is stripped, it is bent, or the retainer is broken — the new part restores a crisp button action.
- Tank lid: selected by the seating size and the location of the hole for the button; a universal one may not match in geometry.
- Selecting the part: at Eco-Service it is ordered by the toilet model, not guessed from a photo.
- Unit with a bottom water inlet: removed entirely; the stem and lid are replaced in one go along with a check of the fittings.
- Models with two buttons: these have a dual stem; when replacing, it is important not to mix up the partial and full levers.
- Checking the lid fit: the part is installed without force — if it "seats" tightly, the hole for the button does not match.
Built-in cisterns and installations: repairing concealed mounting
A built-in cistern is hidden behind the finish, so its restoration begins not with disassembly, but with access through a service hatch or installation panel. We break down how technicians reach the fittings and what matters on Grohe, Geberit models and wall-hung systems.
How to access a built-in cistern without dismantling the tiles
Restoring a built-in toilet cistern in most cases is done without opening up the tiles: access to the fittings goes through a service hatch or by removing the installation's push-button panel. The hatch is a technological opening in the cladding that is provided for at the installation stage; through it you can see the inlet valve, the flush column and the float, and the technician works standing up, without taking the bathroom apart. If there is no hatch, the button panel is removed along its guides — on models with two buttons, the frame is taken out first, then the flush block itself. Rough removal breaks the plastic clips, and then instead of restoring the cistern you have to replace the whole panel. Clients often describe the problem with the words "built-in toilet cistern repair" — and from that wording the technician immediately understands that access through a hatch is needed. Another common request is toilet cistern button repair: behind that wording there is usually a sticking or stiff button, not a breakdown of the entire fittings. People often type toilet cistern inlet valve repair into the search bar — that's how those whose water is noisy and won't shut off after filling get in touch. Before calling, photograph the assembly through the hatch and send the photo to Eco-Service — from the picture the specialist will determine in advance which part needs replacing and will bring the necessary fittings with them.
Repairing Grohe and Geberit cisterns: what's important to know
- Modular fittings: on Grohe and Geberit, the assemblies are replaced individually — inlet valve, flush mechanism, seals — without replacing the entire installation.
- Grohe built-in cistern: start by checking the fill valve, because it is most often the one that leaks at the joint.
- Geberit flush mechanism: here it is on a threaded connection, and it is removed from the body without dismantling the bowl.
- Seals: for these brands, original gaskets are important — third-party ones don't match in profile, and water seeps through within a few weeks.
- Fasteners: anti-corrosion studs hold the cistern in the frame; when replacing assemblies, their tightness is checked so that the bowl doesn't sag.
Wall-hung toilet: specifics of cistern repair
Restoring the cistern of a wall-hung toilet does not require removing the bowl: the cistern is built into the wall, and the work is done only with the fittings and the button. The bowl is attached to the frame with studs, and the entire fill and flush mechanism sits in the installation body behind the cladding — the technician removes the flush panel and replaces the assemblies through the opening that is revealed. Eco-Service technicians begin wall-hung toilet cistern repair by checking the push rods: these are the rods that transmit the press from the button to the flush valve, and if the panel is misaligned they hit the frame body too early. If after the work the button presses stiffly, it is precisely the position of the push rods that is checked — at the slightest skew the mechanism does not engage fully, and the flush becomes sluggish. In requests this most often sounds like built-in cistern grohe repair, and for such a request the technician brings along the fill valve and seals for the specific model. A flush cistern in the wall with a bottom supply is more convenient to service together with replacing the flexible supply line: access to it opens up only once. Separately, clients specify toilet inlet valve repair — from that wording it is clear that the noise when filling with water comes from the valve, not from the flush column. Another common wording in messages is repair of a toilet flush cistern with two buttons: from it the technician understands that the panel is a double one and is removed along its own guides.
What to do if there is no hatch and the panel won't come off
Restoring a concealed cistern without a service opening begins with inspecting the cladding: often the hatch is disguised by a removable tile on silicone or a decorative strip, which is removed without damaging the neighbouring elements. On Grohe and Geberit panels, the latches are released with a thin screwdriver strictly along the guides — force is unacceptable here, otherwise the frame will crack. When there is no access at all, the concealed cistern is opened through a neat cut in the seam between the tiles, and afterwards it is closed with the same fragment using sealant. In messages, clients phrase this as geberit flush cistern repair, and from the description the technician understands that access to the threaded flush valve is needed. If this option is also impossible, the technician removes one tile entirely, keeping it for reinstallation: the edge is cut with an angle grinder at an angle so as not to touch the neighbouring cladding elements. A separate category of requests is concealed cistern repair, when the panel is removed but the fittings still cannot be reached without opening the seam. In the search bar, such customers type cersanit flush cistern repair — and the technician prepares the fittings for this brand in advance. They ask about an exact quote with the phrase toilet cistern repair price, and the final figure is given only after inspecting the unit on site.
Warranty, timelines and how repairs are carried out at Eco-Service
The work here follows a clear process — from diagnostics to warranty support. Below is how the work is organised, what you can expect and how to book.
How the repair is carried out: from diagnostics to inspection
- Diagnostics: the technician determines the cause of the leak — inlet valve, membrane, gasket or fastening — before changing anything.
- Technician visit: within Bishkek, the specialist arrives with a set of fittings and gaskets for common models, so the job can be completed in a single visit.
- In-person appointment at the service centre: you can bring the cistern yourself — diagnostics and unit replacement will be carried out on site, without a visit.
- Control flush: after the work, the technician checks the cistern twice — immediately and after a full fill — to catch a hidden leak.
- Handover of the work: the client checks the flush and water fill themselves, and the technician shows which unit was replaced and why.
2-year warranty on work and original spare parts
The 2-year warranty covers the work performed and the parts installed, and the spare parts are selected for the specific cistern model — Cersanit, Gustavsberg, Grohe or Geberit. A separate mention should be made of cersanit toilet flush cistern repair: for this brand we always have common membranes and gaskets in stock, so there is no need to wait for a delivery. Clients often phrase the request as roca toilet flush cistern repair — and for such a request the technician takes the appropriate unit for the visit in advance. Another frequent request is sanita flush cistern repair: for this line we also have consumables in the warehouse. There is also the request cersanit toilet cistern repair — here it is important not to mix up the generation of fittings, so the technician verifies the part number from a photo before the visit. When replacing the inlet valve or membrane, we install a part with the same mounting dimensions as the factory one: universal analogues often produce a different noise level during filling and wear out faster. The warranty covers specifically the replaced unit, and every replaced element is recorded in the report. A separate case is plastic toilet cistern repair: on such models the fastening of the outlet seat most often cracks, and we replace the unit entirely rather than gluing the plastic. Clients also search for "toilet cistern button adjustment" — and land on this page: the button stem sags over time, so we set the gap and check the travel twice.
How to book and what payment methods are available
- Phone: calling the service centre is the fastest way to arrange a time for the technician's visit within Bishkek.
- Telegram: write in the chat, attach a photo of the cistern and describe the symptom — the technician will assess the scope of work before the visit.
- Instagram: request via direct messages, convenient if you need to attach a video of the leak.
- Cash payment: settlement with the technician on site after checking the cistern's operation.
- MBANK and O!Dengi: transfer by phone number, if cashless payment is more convenient.
Conclusion
We have covered the structure of the tank, diagnostics, and restoration of each component — from the fill valve to the concealed installation. We have gathered the key points worth keeping in mind before picking up tools.
Key takeaways
- Wear parts fail first: gaskets, the diaphragm, and the seal — these are what cause leaks in most cases, and they are replaced preventively before drips appear.
- The symptom points to the component: water won't stop — inlet valve, water drains from the bowl — outlet valve or seal, noise during filling — level adjustment.
- Targeted replacement or full upgrade: when one part is worn, partial replacement is justified; when both components are worn, it's cheaper to replace the entire flush mechanism at once.
- Concealed installation is not a death sentence: built-in tanks are serviced through an access hatch or installation panel; there's no need to break open the tiles.
- Warranty matters more than speed: work with a two-year warranty and original spare parts is more reliable than DIY attempts, where it's easy to strip the plastic threads on the valve body.