
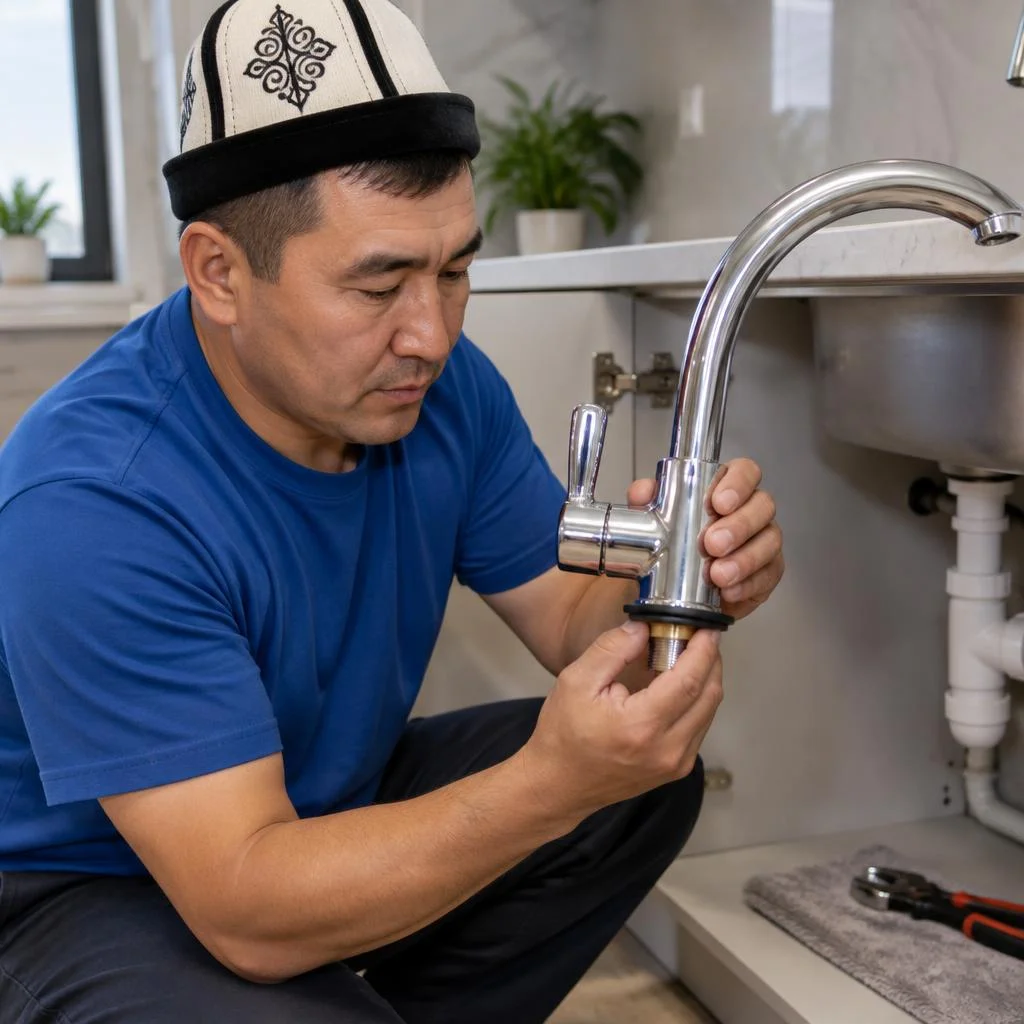
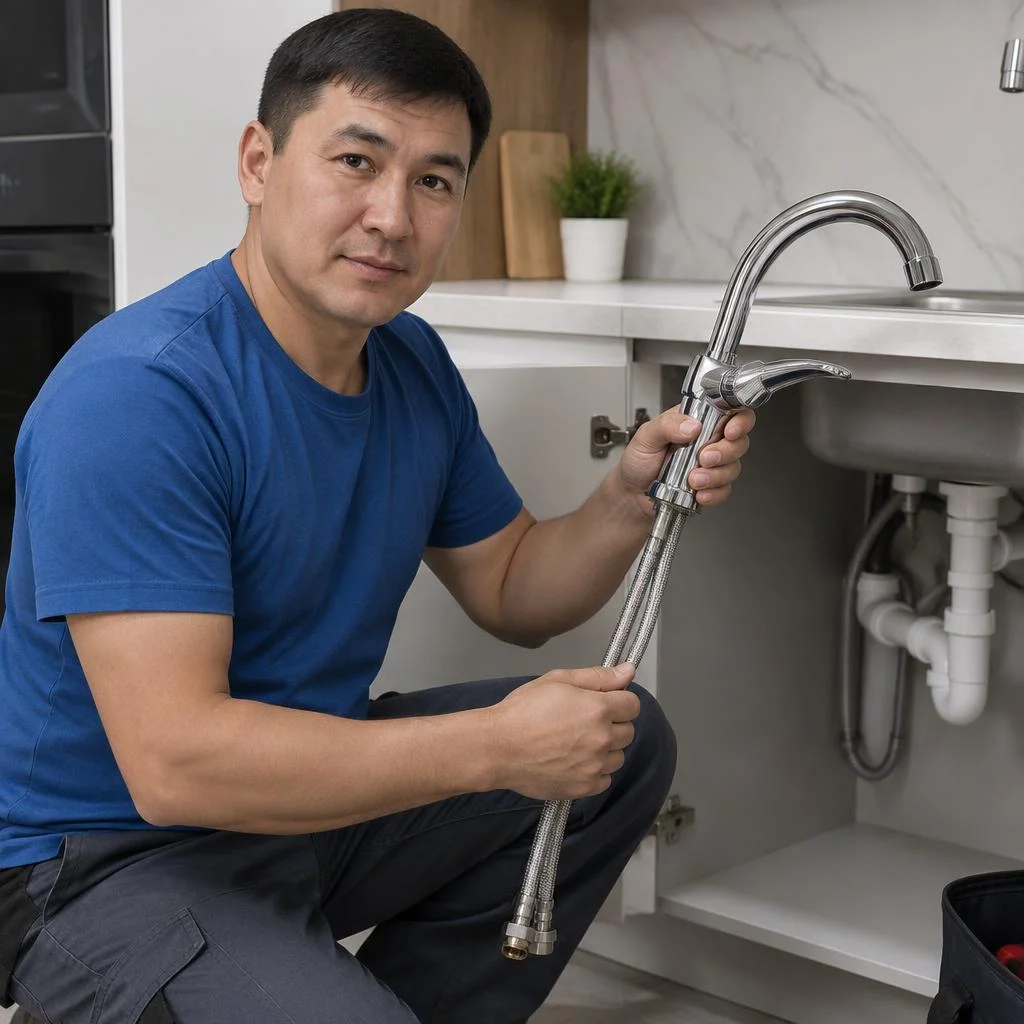
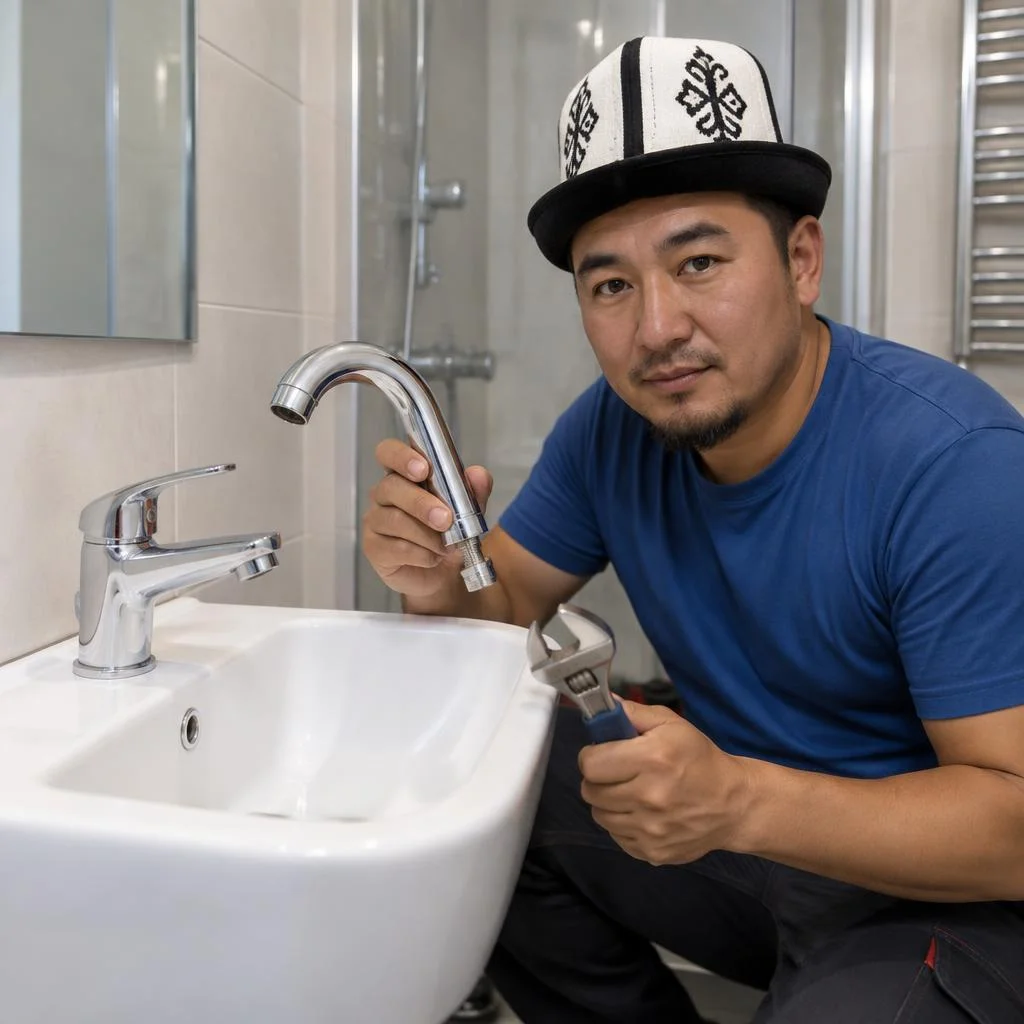
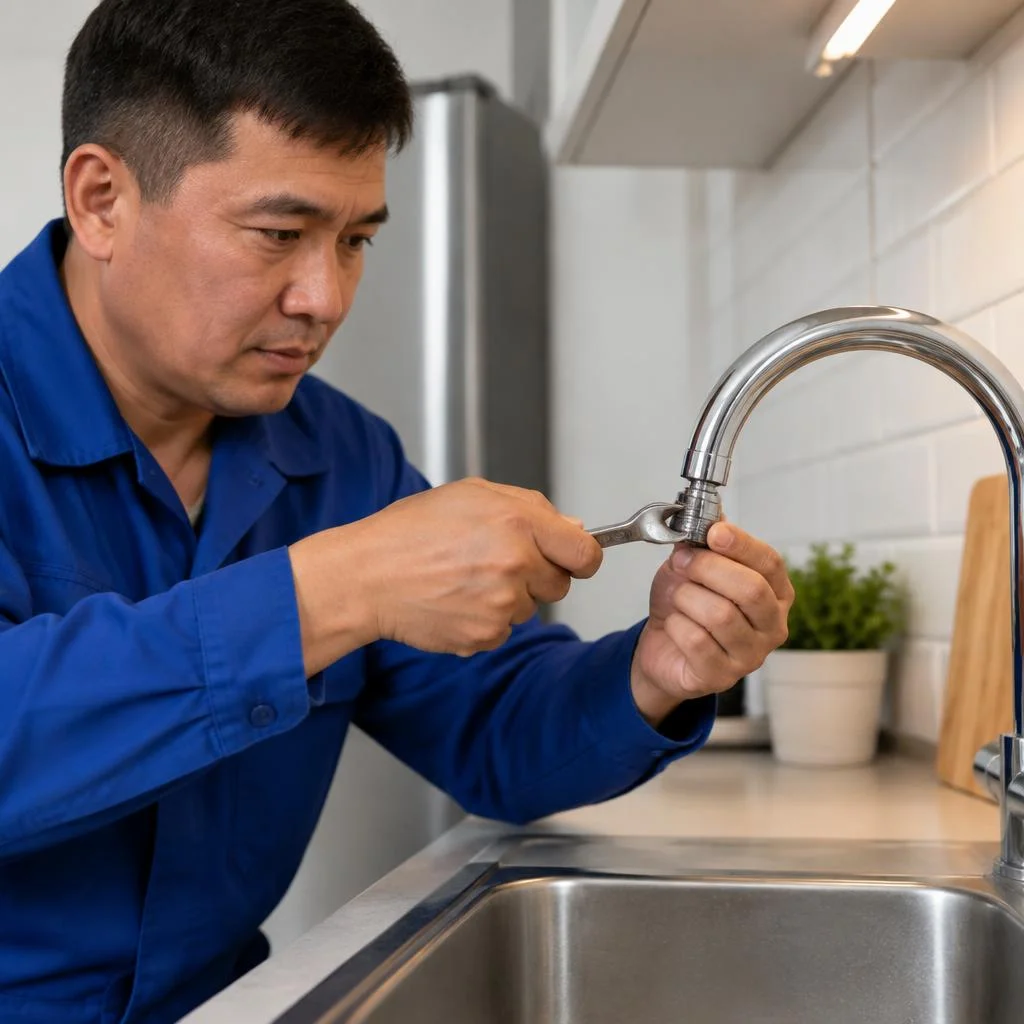








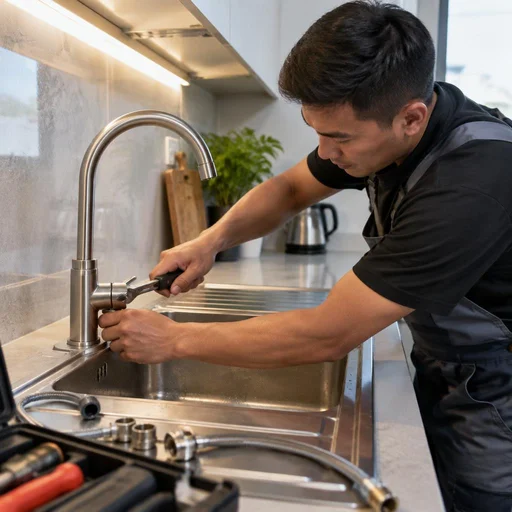
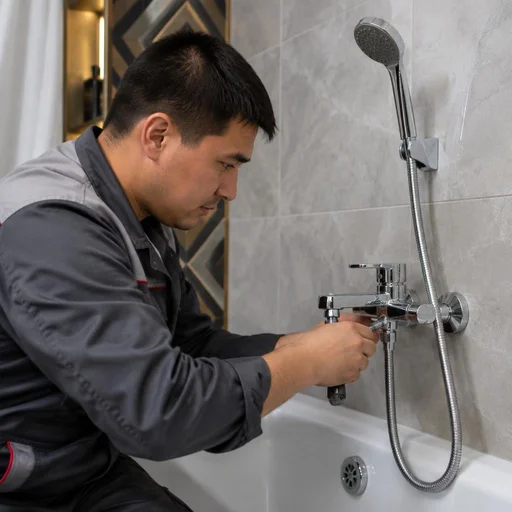
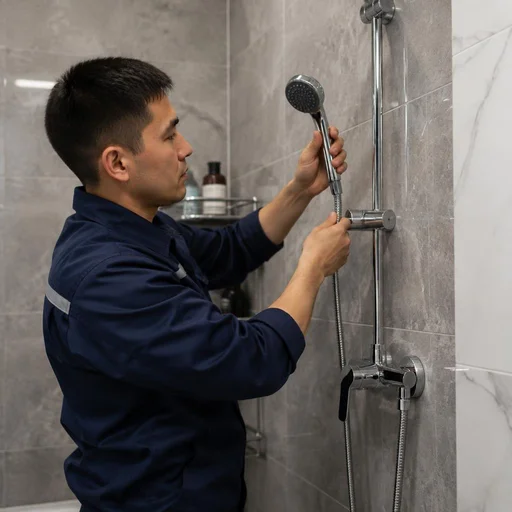
Which faucets Eco-Service repairs: types of devices and their weak points
Work begins with determining the type of device: the design determines which part fails first and which spare part will have to be replaced. We break down six categories of faucets and their weak points.
Single-lever faucet: why it leaks and what we replace
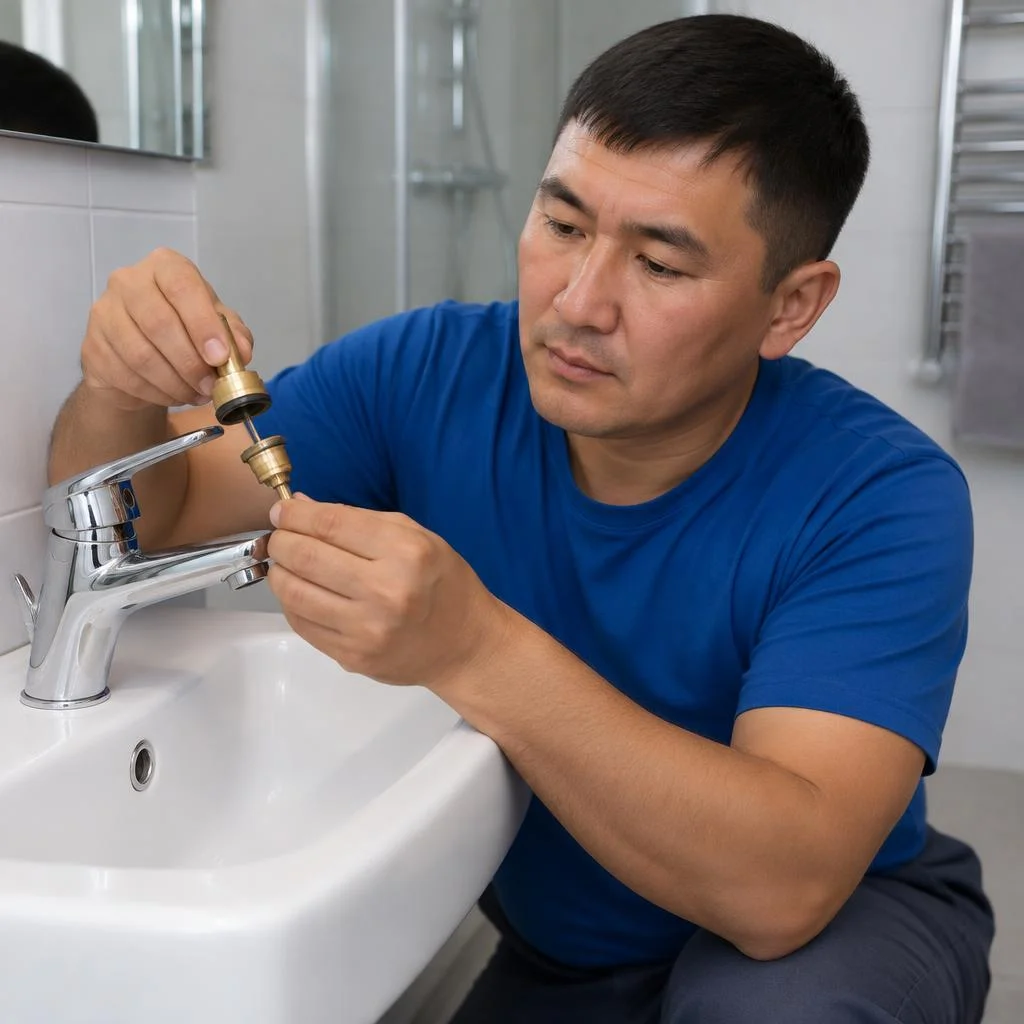
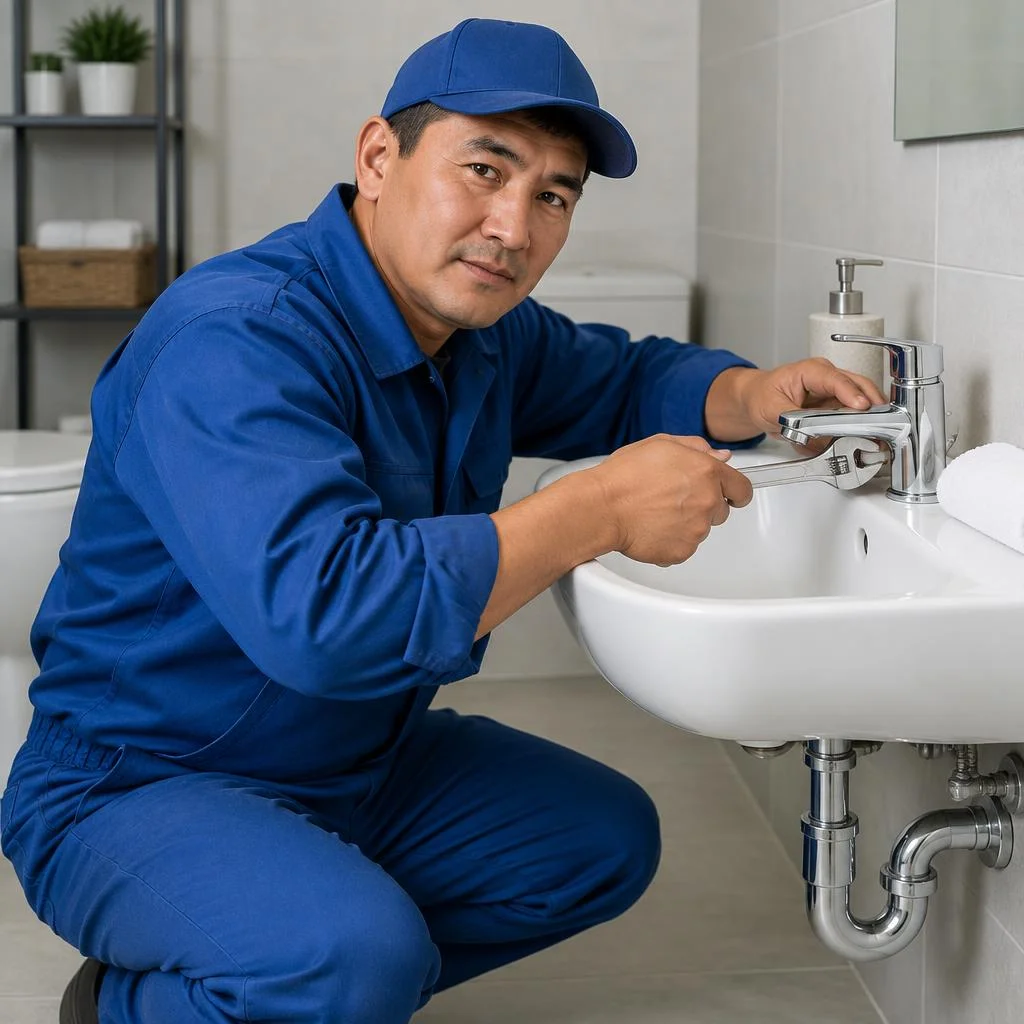
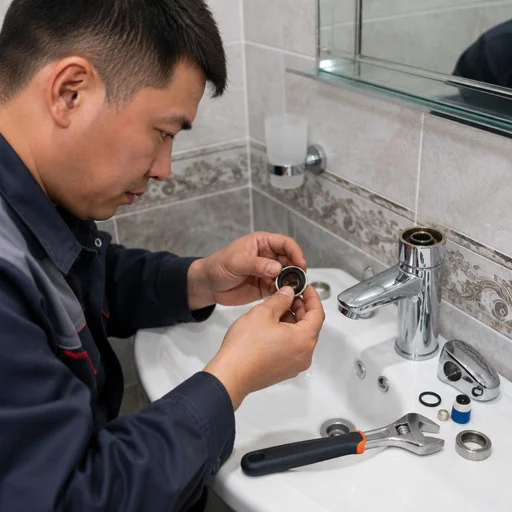
A single-lever faucet most often comes down to replacing the cartridge — in our practice, 8 out of 10 leaks are fixed exactly this way, in a single technician visit. Inside the body there is a ceramic or ball cartridge: over time it wears down, water starts dripping from under the lever, and the lever itself moves with resistance. Clients often phrase the request as single-lever faucet repair, and from that the technician immediately understands what they will be working with. A separate category is ball models: instead of ceramic, there is a ball with openings, which is flushed or replaced entirely. Such requests most often come to the Eco-Service service center after two or three years of the assembly's operation. If after replacing the cartridge the lever still moves stiffly, the cause is limescale on the stem: it is cleaned separately, otherwise the new cartridge will fail within a couple of months. We close a request such as single-lever faucet repair in the bathroom in one visit if the cartridge is in the technician's vehicle. We handle single-lever faucet repair with a swivel spout separately: there, wear of the spout hinge is added to the cartridge, and the technician checks both parts at once.
Two-handle faucet: valve head and gaskets
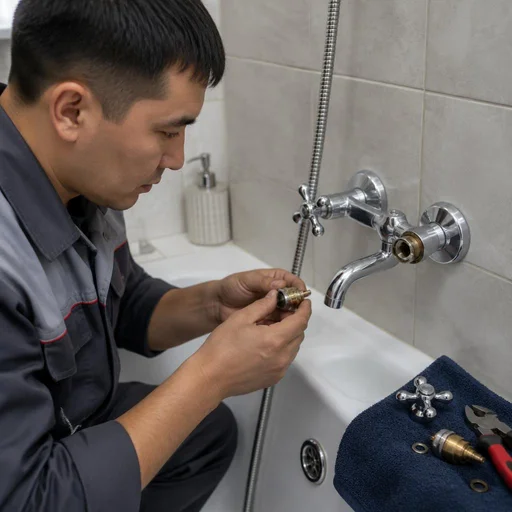
A two-handle bathroom faucet is built around two valve heads — we replace them together with the gaskets, because wear is almost always paired: if one starts leaking, the other will not last long. A valve head can be ceramic or worm-drive; ceramic moves smoothly and lasts longer, while worm-drive requires tightening and wears out the seat faster. A Soviet-era bathroom faucet is a separate case: old heads with leather gaskets are repairable, but modern ceramic ones last 3-4 times longer. We accept requests for Soviet bathroom faucet repair separately: such heads need their own gaskets, and the technician brings them along. Valve models in the kitchen differ only in that spout wear is more often added there. During disassembly, we always check the seats — wear on them negates any new valve head. We close a two-handle bathroom faucet repair request in one visit.
Thermostatic faucet and models with a thermostat
A thermostatic faucet is repaired without replacing the body: we replace the thermoelement, the shut-off valve and adjust the temperature — models with a thermostat require precise calibration after reassembly. Inside there is a thermoelement with a paraffin or wax filler that reacts to heating and mixes in cold water; over time it loses sensitivity, and the water runs either hot or cold. Devices with a thermostat always involve work on two assemblies: the thermoelement itself and the shut-off valve, which cuts off the supply when pressure drops. Clients search for faucet with thermostat repair — and land on this page. A thermostat is sensitive to Bishkek's hard water: preventive cleaning once every 1-2 years is useful, otherwise the calibration drifts. Servicing thermostatic models on hard water without prevention leads to a repeat failure within just a few months.
Kitchen faucet: spout, supply line, aerator
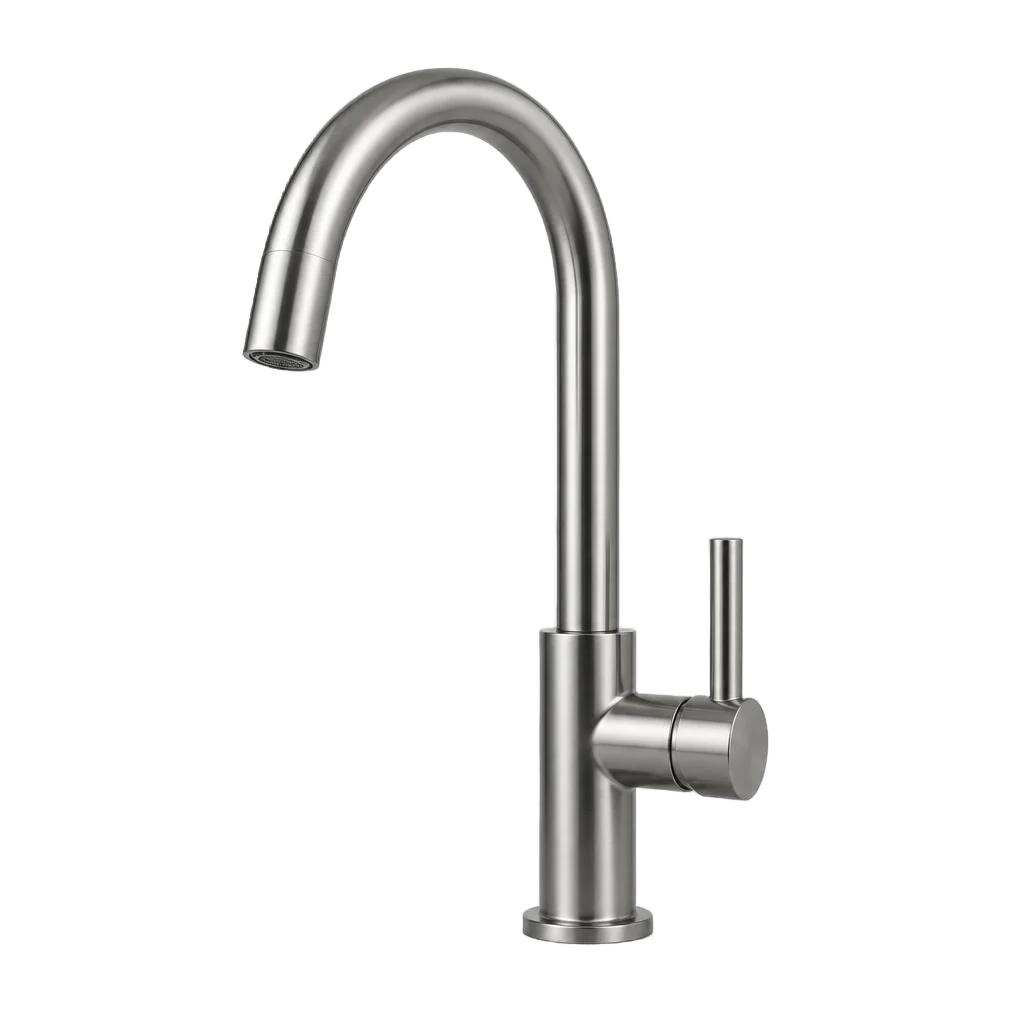
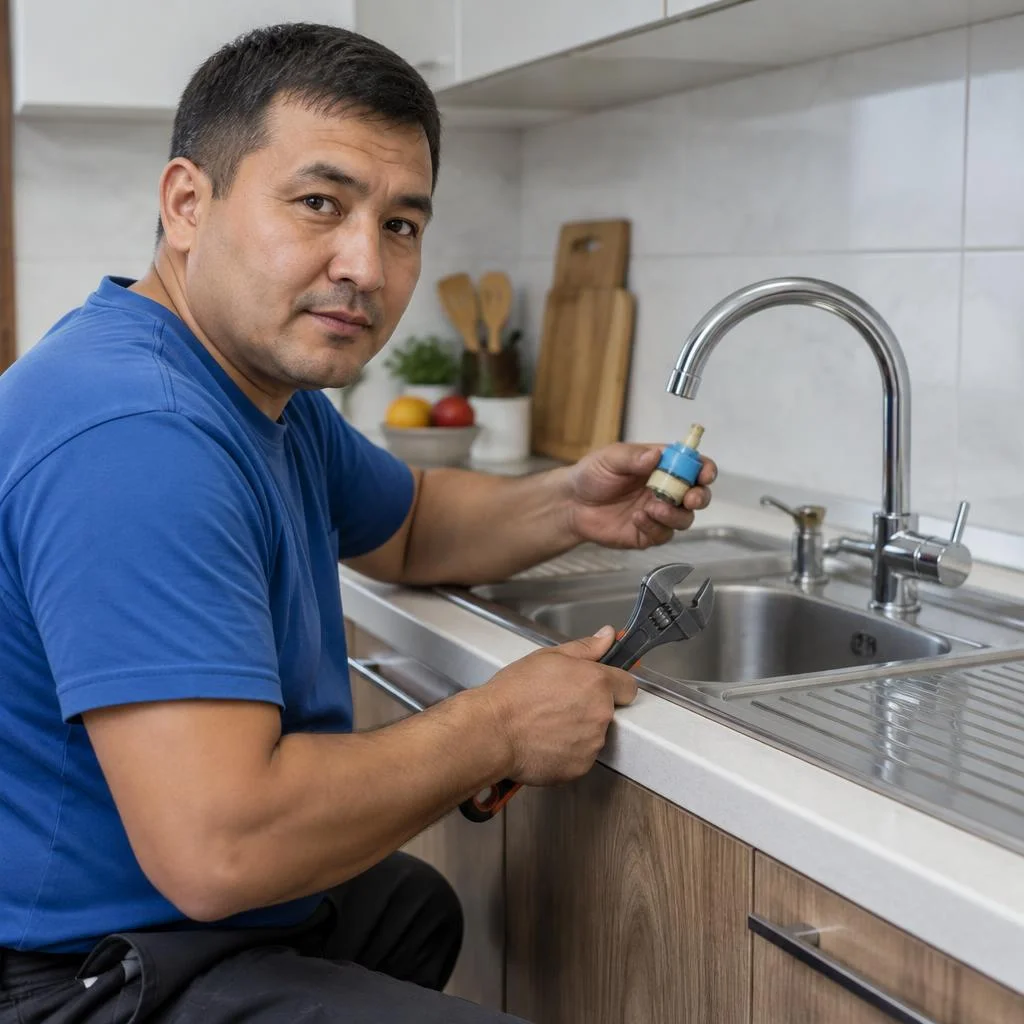
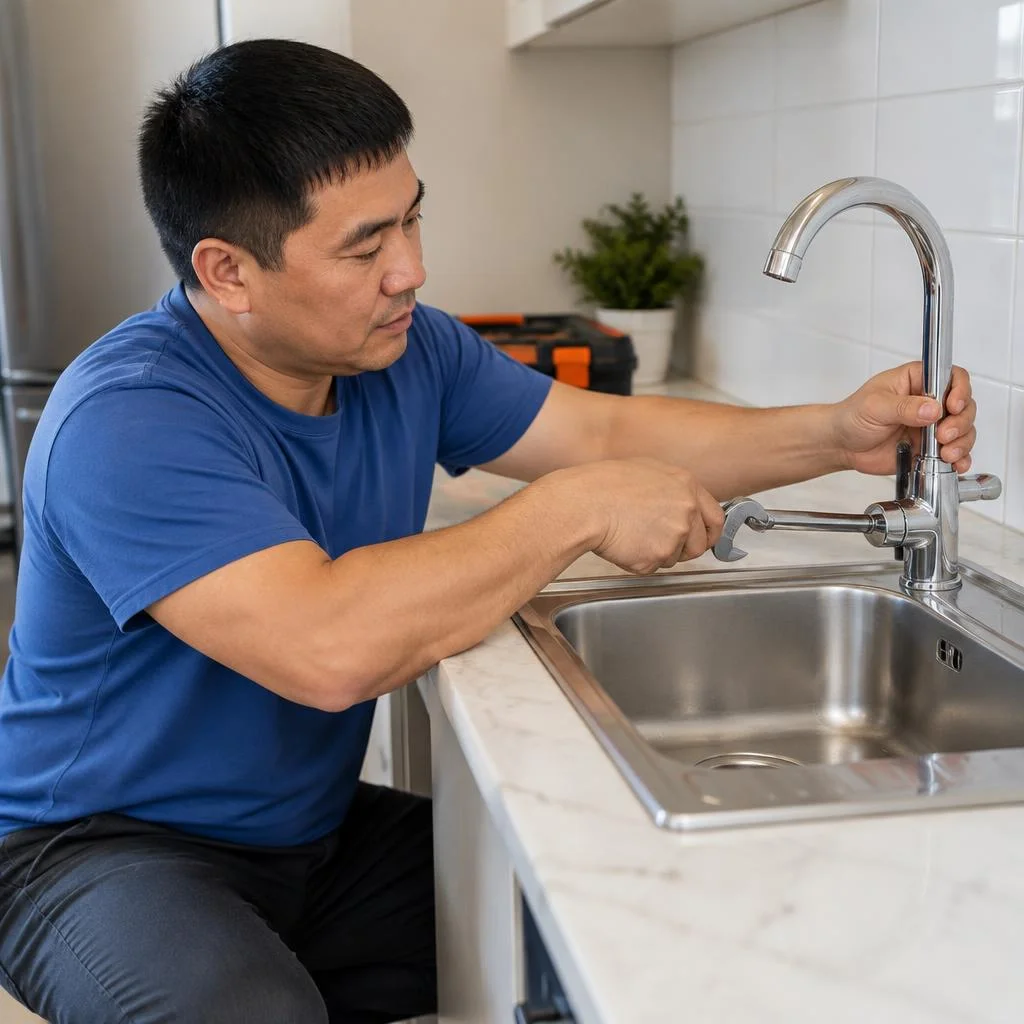
The kitchen faucet most often involves the flexible supply hose, the aerator, and the swivel spout — we replace them individually without touching the working body. Models with a swivel spout and single-lever kitchen faucets are designed similarly, but kitchen ones are subjected to more active use: the lever is pulled dozens of times a day, and the spout is constantly rotated. A technician immediately recognizes the request "kitchen faucet with flexible spout repair": it refers to the hose of the pull-out assembly, which wears through at the bends. Kitchen faucets with a flexible spout and flexible kitchen faucets come down to replacing the hose or the entire pull-out assembly. We accept the request "single-lever kitchen faucet repair" with a photo of the assembly so the technician can take the right cartridge. If the spout starts to wobble, don't delay the replacement: a loosened joint gradually damages the seating socket, and then you'll have to replace the entire faucet rather than a single part. Clients search for "kitchen faucet with flexible spout repair" — and land on this page, and the technician immediately prepares a hose of the required length based on the description. The Eco-Service service center also often receives requests like this: faucet with flexible spout repair — and from this wording the technician immediately understands that what's needed is the hose of the pull-out assembly, not the body cartridge.
Concealed-mount faucets and sensor models: service specifics
We service concealed-mount faucets through a service hatch or by removing the panel — diagnostics take longer than for exposed models, because first you need to reach the shut-off assembly. Inside the concealed body is the same cartridge as in a regular single-lever faucet, but replacement requires partially opening up the wall or tile. Sensor models start with checking the power supply: most often the battery block runs down or the sensor gets dirty, and only then does the conversation turn to the electronics. Before replacing the board, it's worth wiping the sensor and replacing the batteries — this solves half of all service calls. We separate requests for "bathroom faucet repair" and "bathtub faucet repair" by the type of assembly: in the first case it's more often the cartridge, in the second — the valve head. A separate line item for us is kitchen faucet with swivel spout repair: there, the joint is checked first, and only then the cartridge, because wobble damages the socket faster than the ceramic wears out.
Comparison of faucet types by repairability
| Faucet type | Common fault | What we replace | Repair complexity |
|---|---|---|---|
| Single-lever | cartridge wear | cartridge | low |
| Two-handle | valve head wear | valve head, gaskets | low |
| Thermostatic | thermostat failure | thermostat, valve | medium |
| Kitchen with spout | spout wobble | spout, supply hose | medium |
| Concealed-mount | cartridge wear | cartridge via hatch | high |
| Sensor | power supply, sensor | battery block | medium |
Diagnostics: how to tell whether a faucet needs replacing rather than repairing
Before ordering a replacement, the technician performs diagnostics — it shows whether the unit can be repaired or has reached the end of its service life. Below we break down the causes of leaks, the signs of irreparability, and what the unit consists of.
Why a bathroom faucet leaks: 5 common causes
- Washer: wears out in 3-5 years and causes dripping from the spout even when the valve is closed — during servicing of the unit it is replaced first.
- Cartridge: the plastic discs wear down, water seeps out from under the lever, and temperature adjustment becomes jerky.
- Valve head (ceramic valve): in two-handle models the rubber valve loses its elasticity, and the water no longer shuts off completely.
- Flexible supply hose: the braiding rusts, the tube cracks at the fitting, and dampness appears under the sink or on the wall by the bathtub.
- Loose connection: the nut on the fitting works loose by half a turn, and drops collect on the body rather than on the floor.
How to tell that a faucet needs replacing rather than repairing
- Cracked body: the brass cracks at the base or along the thread, and no cartridge replacement will stop the leak through the body.
- Worn seating socket: the cartridge wobbles in the socket, a new one seats with play and leaks a week after installation.
- Worn valve seats: in a two-handle unit the seats are eroded by water down to pits, and the lapped fit cannot be restored.
- Service life exhausted: a faucet older than 15 years with corroded internal channels is cheaper to replace than to service again.
- Repeated leaks: if after two call-outs in a year the unit leaks again, further intervention is not economically worthwhile.
Faucet diagnostics: how it is done and what it reveals
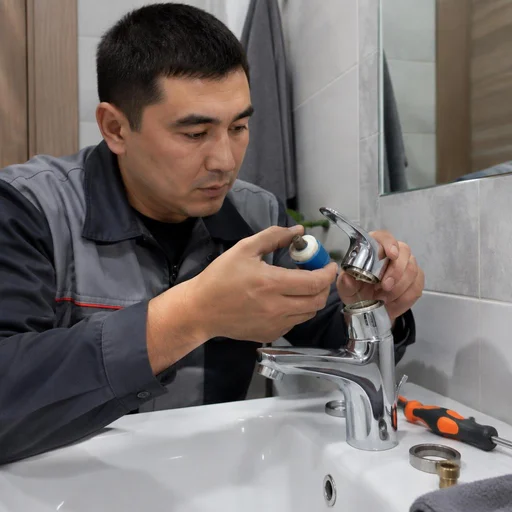
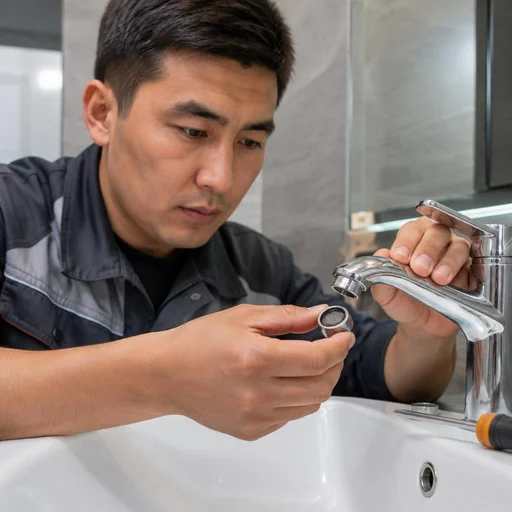
Diagnostics take 10-15 minutes: the technician disassembles the unit, checks the cartridge, washers and supply hoses, and states the cause and scope of work before servicing begins. First the decorative cap and handle are removed, then the retaining nut is unscrewed and the cartridge is extracted — wear marks on the discs and limescale traces are visible on it. The aerator is checked separately: screens clogged with deposits produce weak pressure, which is mistakenly taken for a breakdown during servicing of a water faucet. The flexible supply hose is inspected for bulges and rusty spots on the braiding, and on models with a shower the technician runs the diverter in both directions. Clients often phrase the request as water faucet repair — and from that the technician immediately understands that it involves disassembling the body and checking the cartridge. If the request specifies thermostatic faucet repair, the technician prepares the thermoelement and shut-off valve in advance. Accurate on-site diagnostics saves money: sometimes the "breakdown" turns out to be a clogged aerator, and faucet repair comes down to cleaning the screen.
Bathroom faucets: design and repair — what the unit consists of
- Body: a cast brass block with channels for hot and cold water; cracks and pinholes in the body cannot be repaired.
- Cartridge or valve head: the mixing element that meters the water and temperature; it is replaced separately without removing the body.
- Spout: the nozzle for delivering water; on models with a shower it is supplemented by a diverter to the showerhead and hose.
- Aerator: the screen at the end of the spout that aerates the flow and collects limescale; it is cleaned or replaced in minutes.
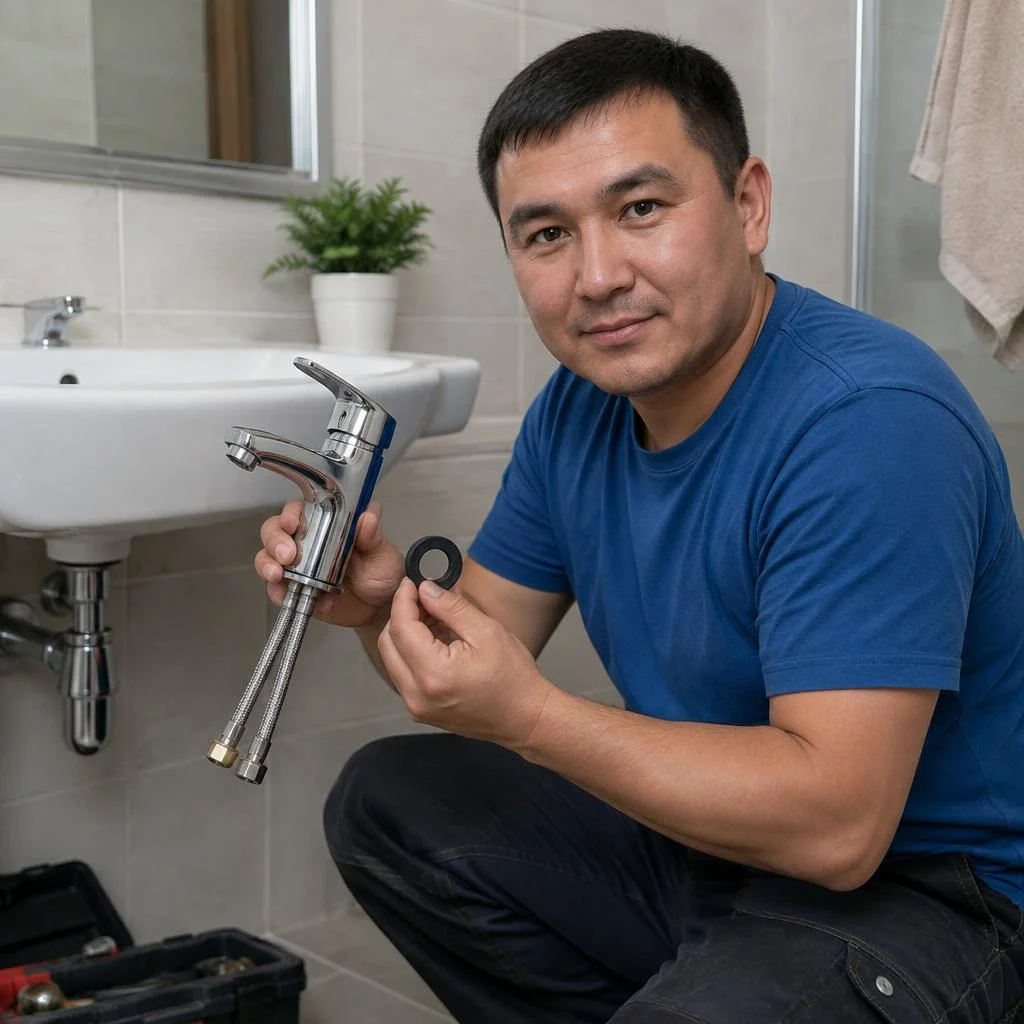
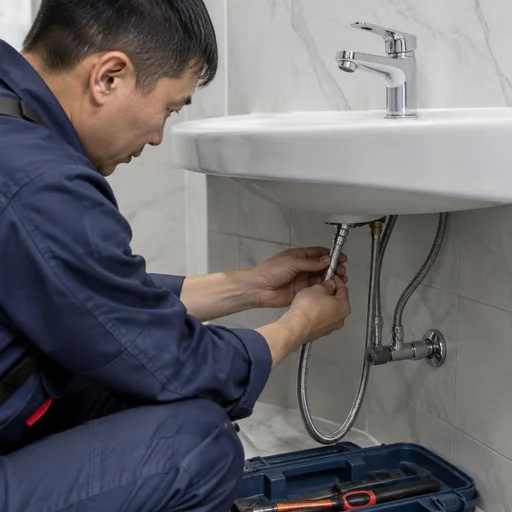
- Supply hoses: two flexible braided tubes connecting the body to the inlets; if they bulge, they are replaced as a pair.
What diagnostics reveals by type of unit
| Node type | What the technician checks | Sign of non-repairability |
|---|---|---|
| Single-lever | Lever travel, cartridge washers | Play in the seat, crack in the body |
| Two-handle | Seats, valve stems, gaskets | Worn-down valve seats |
| Thermostatic | Thermostat, shut-off valve | Seized thermostatic element |
| With shower | Diverter, hose, shower head | Crack in the diverter body |
| Concealed installation | Manifold, supply lines in the wall chase | Destruction of the shut-off valves |
Difference in diagnosing kitchen and bathroom nodes
Kitchen faucets — their design and repair — differ in spout length and the presence of a pull-out hose, so the technician begins servicing a kitchen sink faucet by checking the pull-out assembly. Servicing a sink faucet in a bathroom is simpler: the body is shorter, there is no shower diverter, and leaks are more often caused by the cartridge or a gasket. Servicing a faucet valve in the bathroom and servicing a bathroom faucet follow the same algorithm — removing the handle, extracting the cartridge, inspecting the seats. Servicing bathtub faucets and servicing a washbasin faucet differ only in the type of supply connection: on wall-mounted models it goes into the wall, on a washbasin — into the vanity unit. The design of a bathtub faucet with a shower — its repair requires attention to the diverter — it causes a leak in 3 out of 10 cases. Clients often search for kitchen faucet valve repair — and the technician immediately understands that the pull-out assembly and aerator need checking. Another frequent request is sink faucet repair: from it, one can tell whether the node is in the bathroom or the kitchen, and the technician prepares the cartridge in advance. Faucet repair and faucet repair in general come down to four operations: replacing the cartridge, the valve stem, the gaskets, or the supply line, and only diagnostics show which one is needed.
Bathtub faucet repair: how the technician determines the scope of work
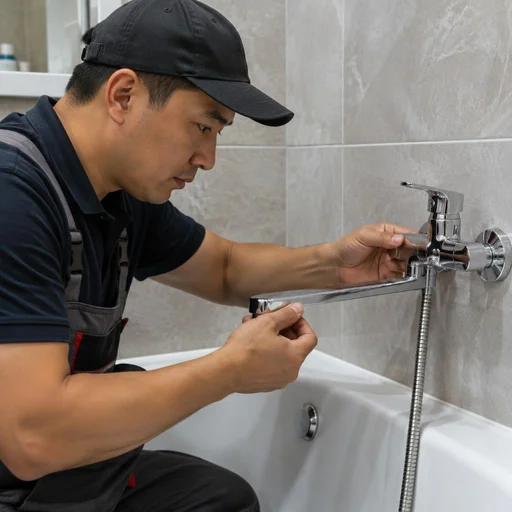
Bathtub faucet repair begins with assessing the condition of the body and seats — based on them, the technician classifies the node as repairable or as one that is cheaper to replace. Servicing a bathtub faucet on a wall-mounted model requires partial disassembly: the handle is removed, the cartridge is unscrewed, the seats and the retaining nut are inspected. Servicing a faucet in a kitchen sink and servicing a bathtub faucet follow a similar scenario, but the kitchen node more often suffers from limescale on the aerator, while the bathroom one suffers from cartridge wear. Servicing a sink faucet with a pull-out hose adds a check of the guide and the counterweight. If a client searches for kitchen faucet repair, the technician immediately plans to check the pull-out assembly and aerator. People often type bathroom faucet repair into the search bar — and from such a request the technician understands that the node is in the bathroom or the kitchen and requires disassembly of the body. Based on the inspection results, the technician names the list of parts to be replaced and the time required for the work, so that the client decides before servicing begins, and not after the node has been disassembled.
Repair of kitchen and bathroom faucets: what the work includes
The scope of work depends on the fault: from replacing a single gasket to fully installing a new unit with a shower. Below are the operations that technicians perform on-site and at the service center, indicating exactly what is replaced in each case.
Replacing the cartridge and valve head: basic operations
Replacing the cartridge and replacing the valve head are the most common operations: they are performed on-site in a single visit with original spare parts. In single-lever models, the cartridge is responsible for mixing hot and cold water; in two-handle models, its role is played by two valve heads with ceramic or rubber seals. Clients often describe their problem as push-button faucet repair, although inside there is an ordinary cartridge with a push rod. Servicing a single-lever bathroom faucet with a shower most often comes down to precisely this procedure: the lever starts to leak in the closed position, or water escapes into the spout when it is turned in either direction. The cartridge is selected according to the model of the device, not "by eye": cheap universal analogues often do not match in seating dimensions and start leaking within a month. Before disassembly, photograph the order of the washers and splines — assembling blindly causes misalignment and a repeat leak.
Replacing the aerator, gaskets and flexible supply line
The aerator, gaskets and flexible supply line are consumables that are replaced without dismantling the body. Weak pressure in the kitchen is almost always caused by a clogged aerator screen: limescale and sand from the water supply block the openings within a few months. In search queries, such cases are described as kitchen faucet with shower repair, although the pull-out spray head has nothing to do with it — the screen is to blame. A braided flexible supply line lasts five to seven years, after which it is better to replace it preventively, without waiting for a rupture under the sink. If the pressure has dropped, first check the aerator: cleaning restores a normal stream without replacing parts. Keep a spare gasket of the required diameter on hand — it costs pennies but saves you from a flood at the most inconvenient moment.
Replacing the spout and faucet: when we replace the entire unit
The spout is replaced when there is play or a crack; the entire body — when it is worn out or when the work costs more than a new model. A brass body with hidden cracks, traces of corrosion on the chrome coating, stripped threads for the aerator — these are signs under which restoration is not advisable. Technicians encounter requests such as sensor faucet repair more and more often: in such models, an infrared sensor and a circuit board are added to the mechanics, and diagnostics begin with the power supply, not the cartridge. A separate line in the requests is faucet valve repair, when play and dripping come from a loose stem rather than the cartridge. In search queries, clients often simply write kitchen faucet repair, although in fact the entire unit needs to be replaced. When replacing the unit, it is worth immediately checking the condition of the supply line and shut-off valves: old parts often fail soon after a new body is installed. If the body is more than ten years old, it is cheaper to install a new unit than to look for rare spare parts for an old series.
Shower faucet repair: hose, spray head, diverter
In shower units, the hose, spray head and mode diverter are replaced — the latter most often seizes up due to scale. Servicing a bathroom faucet's shower diverter is a separate operation: the stem with a rubber seal over time stops diverting water from the spout to the shower or lets it flow into both outlets at once. In requests, this sounds like flag-type faucet repair, when water flows into two outlets at once because of a worn diverter seat. Shower cabin faucet servicing requires disassembling the body, because the diverter is hidden behind a decorative cover. Servicing a shower faucet and servicing a kitchen faucet with a shower share one common part — the spray head loses pressure due to the same deposits as the aerator, and the metal-braided hose cracks at the base of the nut. If the diverter does not switch water from the spout to the shower, do not try to disassemble it by force: a seized mechanism is usually replaced entirely so as not to strip the threads.
Installing a new faucet with a shower: installation stages
- Disassembly: close the shut-off valves, drain any remaining water, remove the old body and clean the seating area of sealant.
- Preparation: check the flatness of the surface and the condition of the studs, and if necessary install a new flexible supply line.
- Body installation: secure the assembly level, thread the nuts on in a crisscross pattern without overtightening, so the ceramic does not crack.
- Connection: connect the supply line to the valves, install the gaskets, tighten with a wrench using moderate force.
- Leak check: turn on the water, run both modes, inspect the connections after fifteen minutes of operation.
- Kitchen faucet with sprayer maintenance and installation: the pull-out hose is laid with slack so that it does not stretch when the spray head is pulled out.
- Kitchen faucet maintenance after installation: check the lever movement and the absence of drips under the sink within twenty-four hours.
How we work: technician visit, service center and timelines
The process is organized in two ways: a technician visit to your home and receiving the faucet at our own service center. Below — how to submit a request, what to prepare, how long to wait and how to pay for the work.
Technician visit to your home: how to book and what to prepare
We accept requests via Telegram, Instagram and by phone; the technician arrives with a set of spare parts and tools for standard models. On-site home service covers most requests: replacement of the cartridge, valve head, gaskets and flexible hose is done on the spot in a single visit. In Bishkek, the visit covers the residential areas of Asanbay, Kok-Zhar, Dzhal, Vostok-5 and the new neighborhoods around Chuy Avenue. Single-lever and two-handle models are disassembled by the technician right away, while concealed units sometimes require a second visit with more specialized tools. Often in a request clients write briefly: kitchen faucet repair — and the technician already understands what to bring. People also search like this: lever faucet repair — from this wording it's immediately clear that a single-lever unit is needed. Another frequent request is single-lever faucet repair for a bathroom with a shower; for it the technician takes a 35 mm cartridge and gaskets for the diverter. This wording also occurs: kitchen faucet repair — from it the technician immediately takes a cartridge for the kitchen spout and an aerator. Before the visit, it's worth shutting off the water and clearing access to the faucet — this saves 10-15 minutes and allows diagnostics to begin right away.
Our own Eco-Service service center in Bishkek
Our own Eco-Service service center operates in Bishkek: you can bring the faucet here if a home visit is inconvenient. In-person intake helps in three cases: when the unit has already been removed, when a defect assessment is needed before buying a new one, and when the model is non-standard. Concealed installation, thermostatic cartridges, sensor power units — for such units there are more tools and spare parts on site than in the mobile kit. In intake requests this wording also occurs: concealed installation faucet repair — for it we have separate tooling and a stock of cartridges. Clients often describe the task with the words shower cabin faucet repair — we accept such units first, we have separate tooling for them. Device intake is processed with a record of completeness: body, spout, handles, fasteners. Contacting the center is convenient for concealed and non-standard models: on site there are more tools and spare parts than in the mobile kit.
Repair timelines: from diagnostics to handover
Standard operations — replacement of the cartridge, valve head, hose — we perform on the day of the request; complex cases with concealed installation take up to several days. Common cartridges for single-lever models, valve heads for two-handle ones, gaskets and aerators we keep in stock, so most requests are closed without waiting for delivery. Thermostatic cartridges and spare parts for rare brands are ordered separately — here the timeline depends on the supplier's logistics. Diagnostics takes 15-20 minutes: the technician checks the condition of the seat, wear of the seals and operation of the diverter. In requests this wording also occurs: faucet valve repair — for it the technician prepares a kit for two-handle models in advance. If the needed spare part is not in stock, the timeline depends on delivery: we try to keep common cartridges and valve heads in stock so as not to delay the work.
Payment and communication channels: MBANK, O!Деньги, Telegram
- Payment: via MBANK and O!Деньги — transfer after the work is completed, the receipt stays with the client.
- Communication: request and clarifications via Telegram or Instagram, a call — if it's urgent.
- Reviews: you can leave them on 2GIS and Google Maps — we read them before the visit to take into account the details of the address.
- Payment after the work: the client sees the result before transferring the money — this is the standard of our work.
2-Year Warranty, Original Spare Parts, and Why It Matters
Warranty and parts quality are what distinguish a service center from a private handyman making one-off visits. Below is how these commitments work and what to look for when choosing a contractor.
2-Year Warranty on Completed Work
Eco-Service provides a 2-year warranty on completed work and installed parts — this is a fixed brand standard, not a one-off arrangement with a technician. The term covers replacement of the cartridge, valve head, gaskets, flexible supply line, aerator, and spout: if a component leaks again due to our fault, the repeat visit and the part are free of charge. There is one condition — the faucet remains in the same configuration as after servicing: it was not moved to another point, the supply line was not replaced by hand, and the body was not disassembled. Clients search for "repair of a valve faucet" and "repair of a lever faucet" — and land on this page, although in fact they don't need a repair but a valve head replacement with a warranty. A separate line of queries is flexible kitchen faucet repair: behind it is a pull-out spout on a hose, which most often leaks at the seal where it exits. Another frequent query is kitchen faucet repair: it usually hides the same valve head or cartridge, but the client describes the component by installation location rather than by design. People also type washbasin faucet repair into the search bar, although a washbasin is the same sink, and the technician identifies the component from a single word. According to service center request statistics, repeat warranty cases in plumbing are isolated; more often it's those components that come back where the client tightened the nuts or replaced a gasket themselves. If the faucet was disassembled independently after our visit, the warranty case may not be recognized — record the condition of the component before calling a technician.
Original Spare Parts: Cartridges, Valve Heads, Gaskets
We install original spare parts for the specific faucet model — cartridges, valve heads, gaskets, and supply lines from trusted suppliers. For single-lever models, these are ceramic cartridges 35 and 40 mm in diameter; for two-handle models, valve heads with a ceramic or rubber seal; for concealed installation, repair kits for the specific series. Restoring a faucet with a non-original part almost always ends in a repeat call: cheap cartridges differ in geometry, seat with effort, and start leaking ahead of schedule — saving on a part results in a second visit and lost time. Most often people contact us with the queries "ball faucet repair" and "ball faucet repair" — both refer to the same breakdown: wear of the ball and seat, where the leak cannot be fixed by tightening the nut. Sink faucet repair is the second most frequent phrasing: in such models, the ceramic cartridge fails first, less often the aerator and supply line. Before replacement, the technician checks the part number against the marking on the body: budget and premium lines of the same brand have mismatched seating dimensions, and a universal gasket won't work here.
Customer Reviews and Experience of Eco-Service Technicians
Reviews of our work can be found on 2GIS and Google Maps, and the service center's technicians specialize specifically in plumbing rather than taking on faucets "along the way" with electrical work or furniture assembly. The work is performed by specialists with dedicated experience in single-lever, two-handle, and thermostatic models — this shows in how quickly they identify the cause of a leak without disassembling the entire component. People phrase their searches differently: "bathroom faucet with shower repair," "bathroom faucet repair," "bathroom faucet diverter repair," "single-lever kitchen faucet repair," "sink faucet repair," "kitchen faucet with shower repair," and "flexible kitchen faucet repair" — behind each line is a specific component that the technician identifies from the description even before the visit. Bathroom faucet valve repair and shower faucet repair account for the other half of requests: here it's important to immediately determine whether the body itself is leaking or only the diverter to the handset. When choosing a contractor, look not at the number of reviews but at their content: repeat warranty requests say more about quality than one-off ratings. Check whether the reviews mention warranty visits — this is a marker that the service stands behind its work rather than disappearing after payment.
Common mistakes when repairing faucets yourself
Some breakdowns occur after the owner has already picked up the tools themselves. Let's look at three scenarios where fixing a faucet with your own hands costs more than a careful call to a professional.
Why you shouldn't overtighten nuts
Excessive force when tightening nuts strips the threads and deforms the gaskets — the connection starts leaking worse than before the repair. Brass supply fittings are softer than steel wrenches: a 1/2-inch nut, when tightened beyond reasonable force, pulls the threads along with it, and the gasket is squeezed outward and loses its seal. Flexible braided supply lines suffer especially — their inner PVC tube ruptures right at the fitting, and water goes not into the sink but under the cabinet. In service requests this sounds familiar: bathroom faucet repair — and the technician immediately understands that the problem is an overtightened connection. In our practice, every fifth call for kitchen flooding is the result of an overtightened fitting. A flexible supply line should be tightened moderately: an overtightened nut cracks over time, and the leak occurs under the body rather than from the spout.
Why you shouldn't install a random cartridge
A cartridge selected without regard for the model doesn't match in seating dimensions and starts leaking within the first weeks. For single-lever faucets, the common diameters are 35 and 40 mm, but the body height, spline shape, and stem seating depth differ; a part chosen "by eye" seats crookedly, the lever moves stiffly, and water seeps through the O-ring. Two-handle models require a valve cartridge with the exact thread pitch — metric and inch threads are not interchangeable, and a part forced in destroys the body seat. In search queries, such cases appear verbatim: two-handle kitchen faucet repair, single-lever faucet repair, ball faucet repair in the bathroom — behind each phrasing is its own design and its own set of spare parts. Clients also write: faucet with shower repair — and the technician immediately understands that a cartridge for the diverter is needed. Before buying a spare part, you should remove the old part and compare it with the new one by height, diameter, and hole placement — this is more reliable than selecting "from a photo."
When DIY repair is dangerous for the system
Concealed installation and thermostatic models are dangerous to disassemble without experience: a mistake leads to a leak inside the wall or a calibration failure. The body of such a faucet is pressed into a niche behind the tiles, access to it is only through an inspection hatch, and the thermostatic cartridge after disassembly requires re-setting to 38 °C with verification by thermometer. A torn gasket on a concealed fitting sends water directly into the floor structure: the screed gets wet, paint bubbles on the wall of the neighbors below, and opening the tiles adds demolition and re-tiling to the job. In service requests this sounds familiar: kitchen faucet repair, faucet repair in the kitchen, thermostatic faucet repair, sensor faucet repair, shower faucet repair, faucet with thermostat repair, bathroom faucet shower diverter repair, shower faucet repair. If the faucet is built into the wall, an unsuccessful DIY repair may require opening the tiles — the cost of such a mistake is many times higher than calling a professional.
Conclusion
Restoring faucets comes down to a few recurring scenarios: wear of the cartridge, valve cartridge, or gaskets. Below is the main thing that determines the result and the cost of the work.
Key takeaways
- The type of assembly decides everything: single-lever faucets wear out the cartridge, two-handle ones wear out the valve cartridge, thermostatic ones wear out the thermoelement and shut-off valve.
- On-site diagnostics show whether the faucet can be restored or whether it's cheaper to replace it entirely — this saves time and money.
- Basic operations (cartridge, gaskets, flexible supply line, aerator) are completed on the day of the request if the part is available.
- Original spare parts and a 2-year warranty reduce the risk of a repeat leak — a cheap compatible cartridge fails within just a few weeks.
- Concealed installation and thermostats should be entrusted to a specialist: a mistake when disassembling the body costs more than the repair itself.