









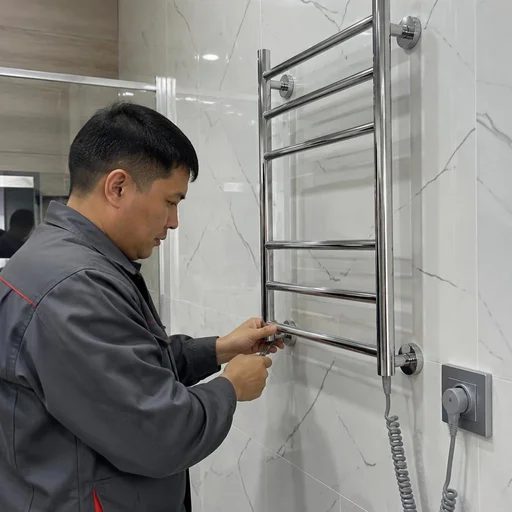
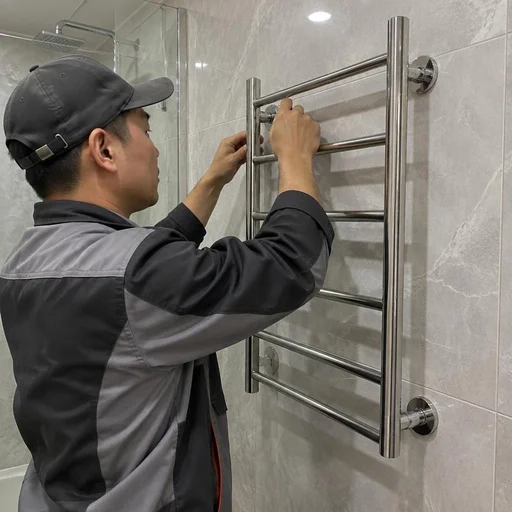
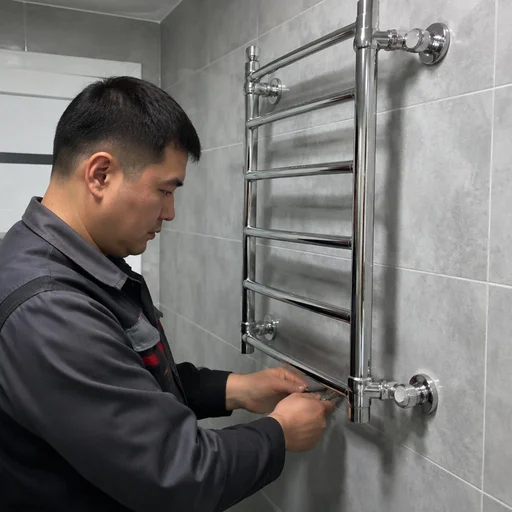
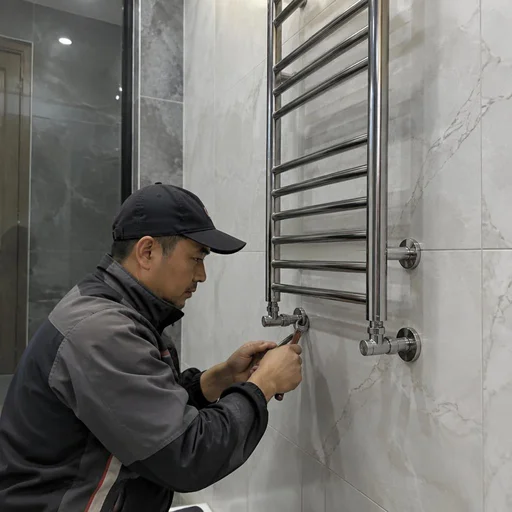
Water or electric: which towel radiator to install in a Bishkek bathroom
The choice between a water and an electric appliance is determined not by taste, but by the riser in your building and the possibility of running power. We examine both options and compare the scope of work.
Water towel radiator: when it runs off the hot water riser
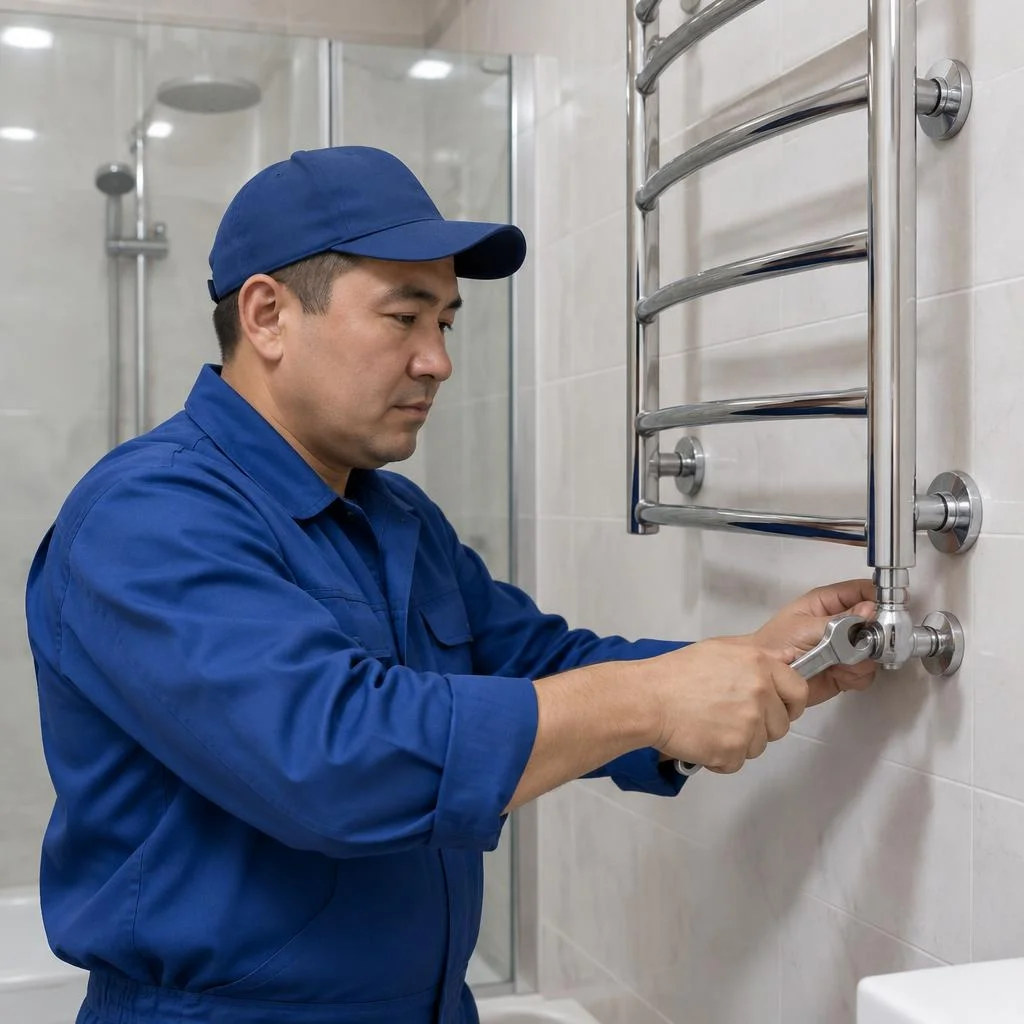
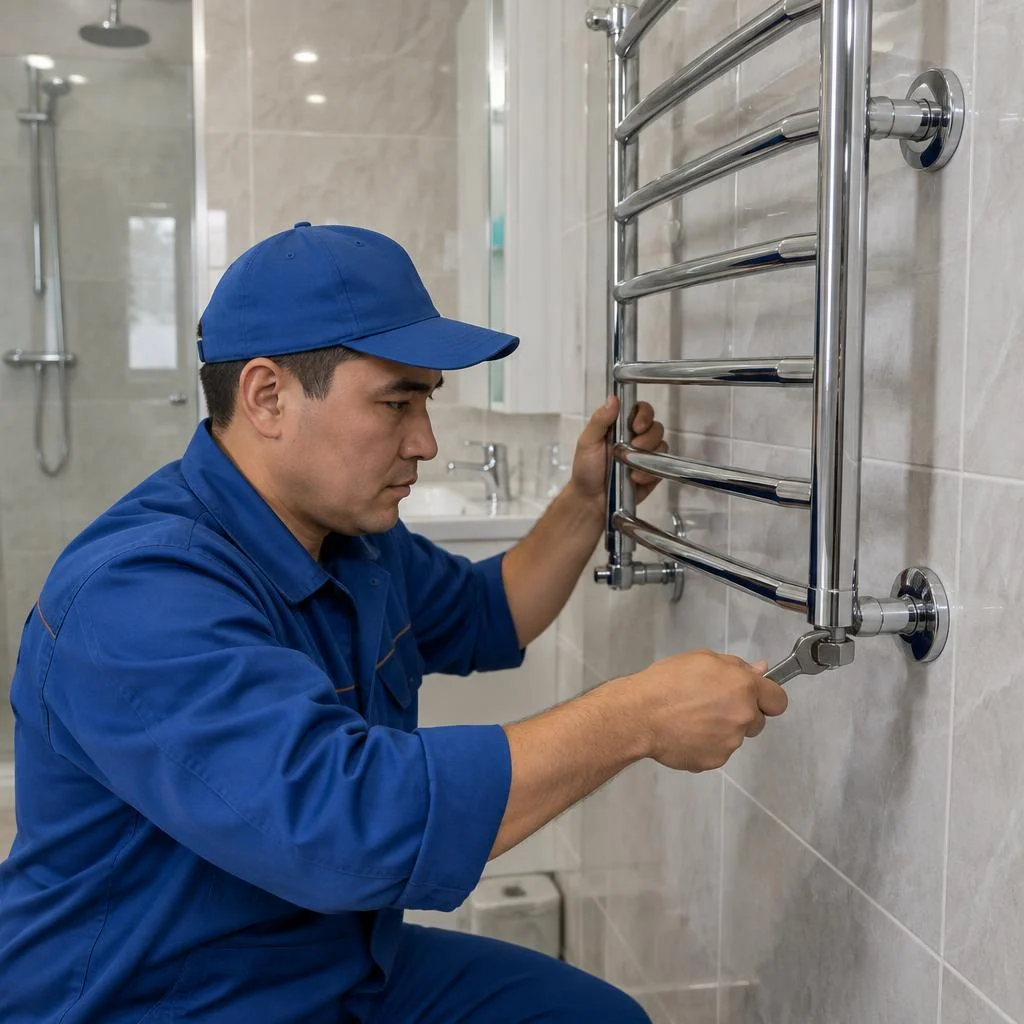
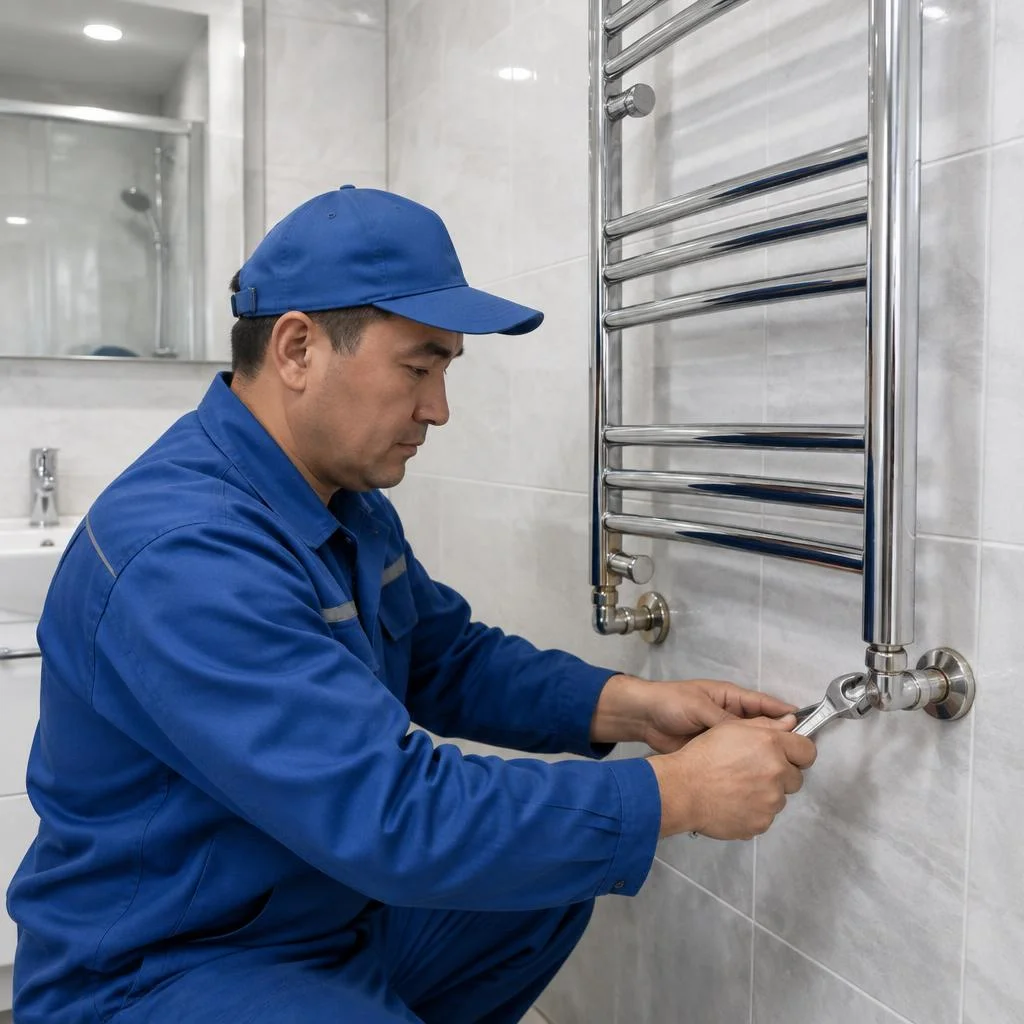
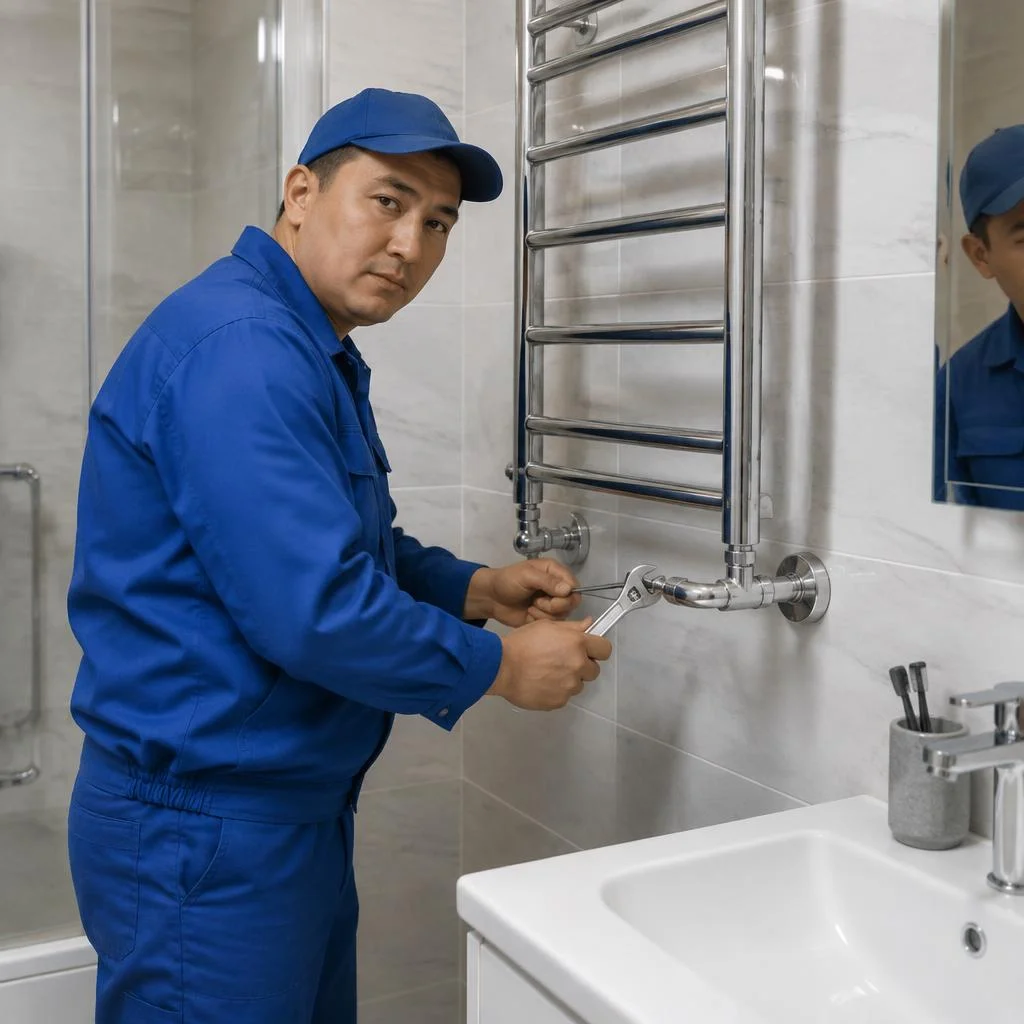
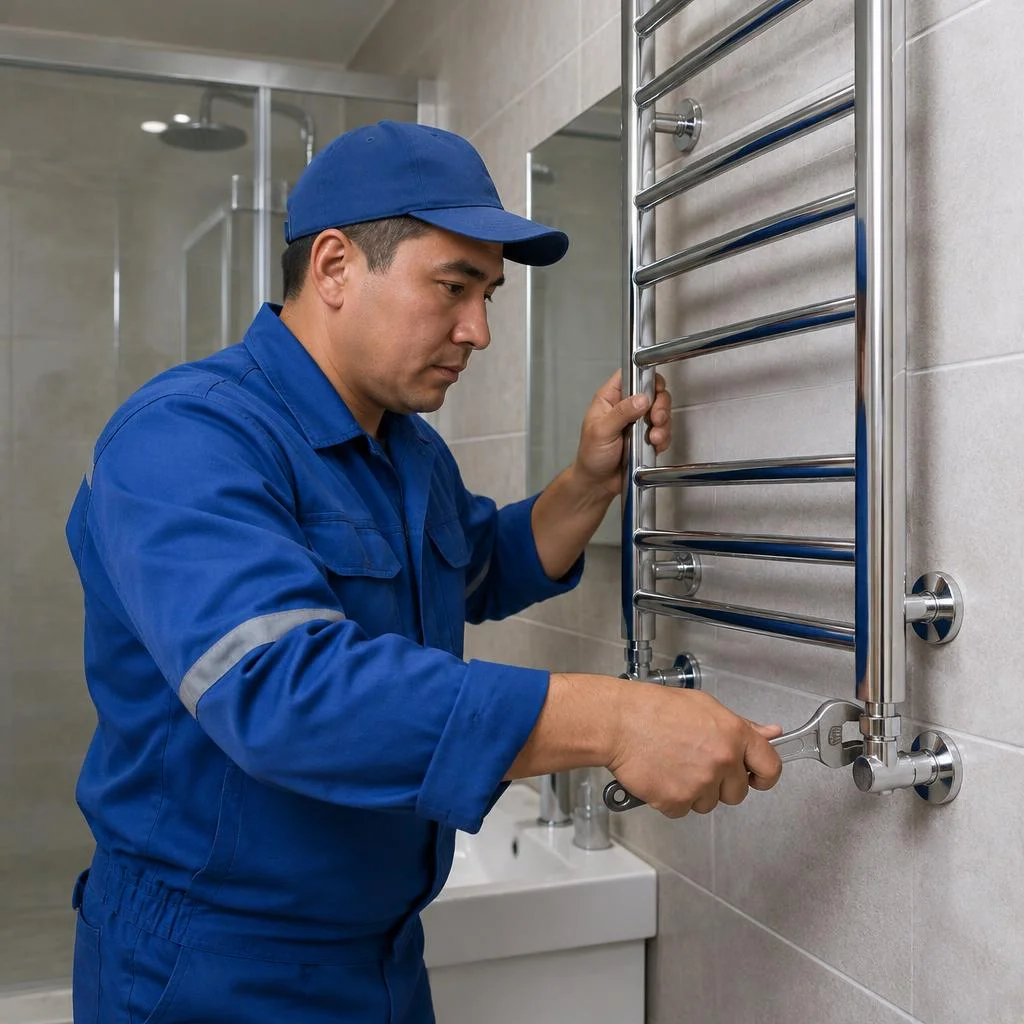
We connect a water towel radiator to the hot water supply riser — it heats from the hot water circulation and does not consume electricity. In nine-storey panel buildings along Toktogul and Kievskaya streets the riser holds its temperature steadily, but in khrushchyovkas and old housing stock in the Dzhal microdistrict the water cools down by evening. Installing towel radiators begins with assessing the riser diameter, the material of the supply pipes and the distance to the neighbours' branches. A bypass with ball valves allows the appliance to be removed without shutting off the entire riser. In buildings with worn-out pipes, a steel ladder weighing up to 12 kg puts additional stress on the threaded joints — check the condition of the pipe unions before installation, otherwise a leak will appear in 3-4 months.
Electric towel radiator: autonomous heating and wiring requirements
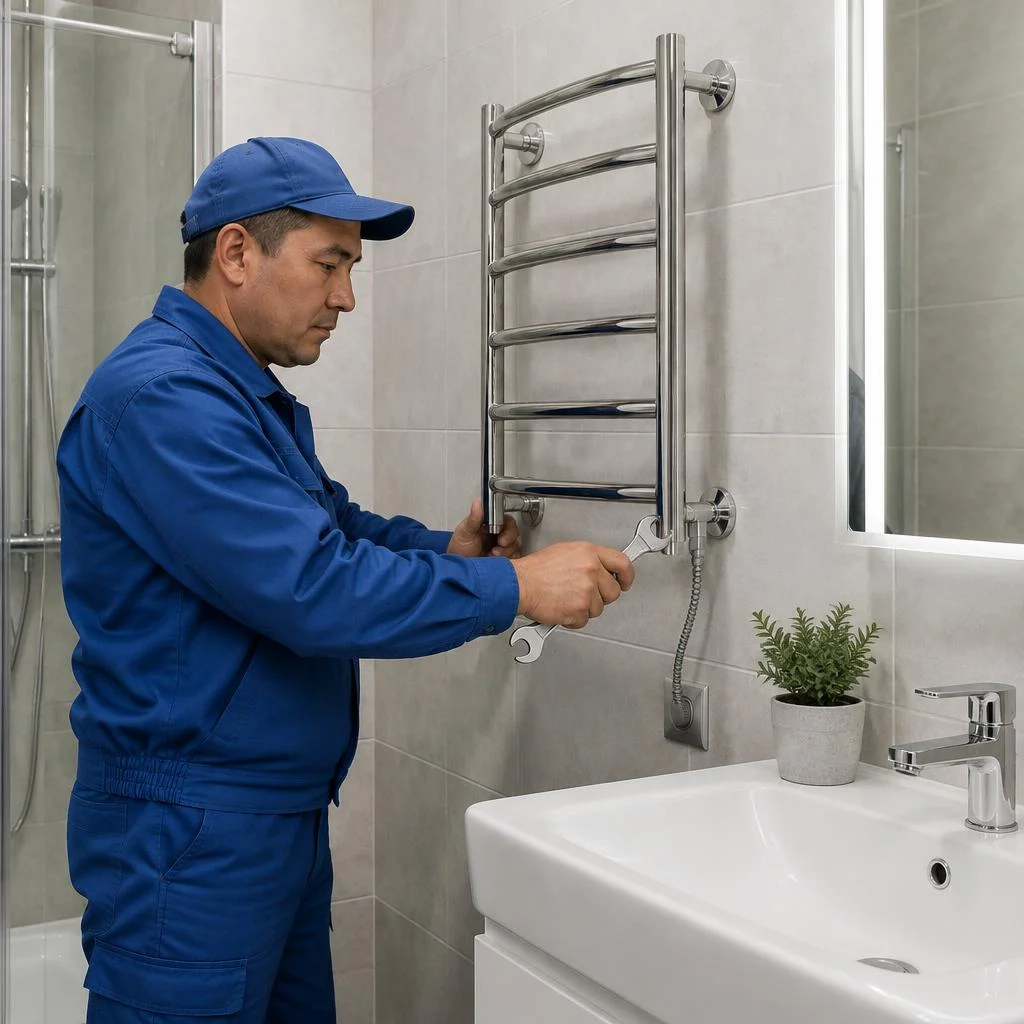
We connect an electric towel radiator to a dedicated line with a moisture-proof socket — the appliance heats independently of the riser and works all year round. In new buildings along Chuy Avenue and in residential complexes on Yuzhnaya Magistral, the panel usually allows a dedicated 10-16 A circuit breaker to be run, while in the old housing stock of Osh and Jalal-Abad the line has to be re-run from the apartment panel. Concealed wiring is laid in a chase under the tiles, the cable is taken with double insulation and a cross-section of at least 1.5 mm² for an appliance power of up to 600 W. Power cannot be run from a shared socket in the hallway because of the humidity — condensation on the contacts leads to a short circuit. If there is no dedicated circuit breaker in the bathroom, include its installation in the estimate in advance.
Comparison of water and electric installation
| Parameter | Water | Electric |
|---|---|---|
| Heat source | hot water riser | 220 V mains |
| What is needed on site | access to the riser, bypass | dedicated line, circuit breaker |
| Key stage | tapping into the riser | concealed wiring |
| Dependence on neighbours | yes (riser shutdown) | no |
| Seasonality | depends on hot water supply | all year round |
For a water appliance, access to the riser and coordination with neighbours are critical; for an electric one, the condition of the wiring and the availability of a circuit breaker.
Shapes and materials: ladder, M-shaped, stainless steel and brass
The shape and material determine not only the appearance, but also the mounting method, weight and connection type — the scope of installation work and the choice of fasteners depend on this.
Ladder and M-shaped towel warmers: how they differ in installation
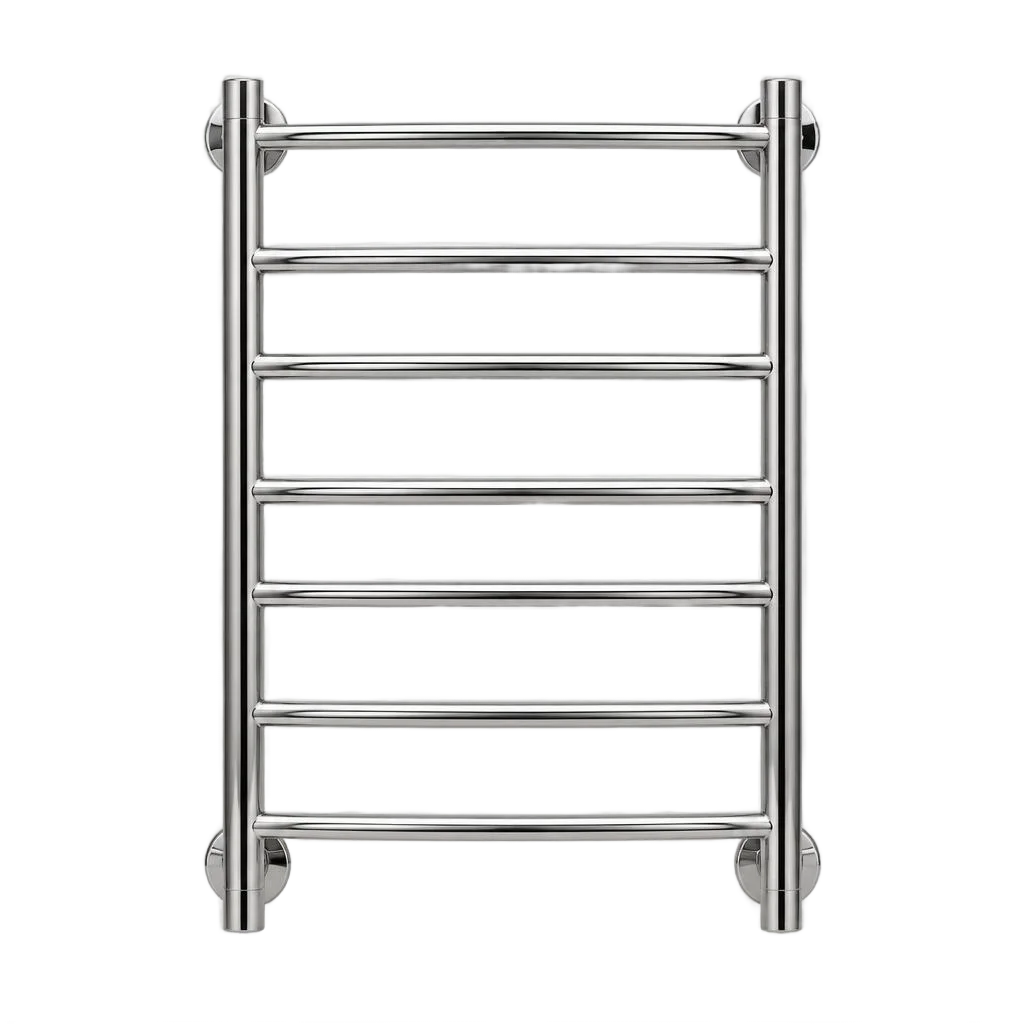
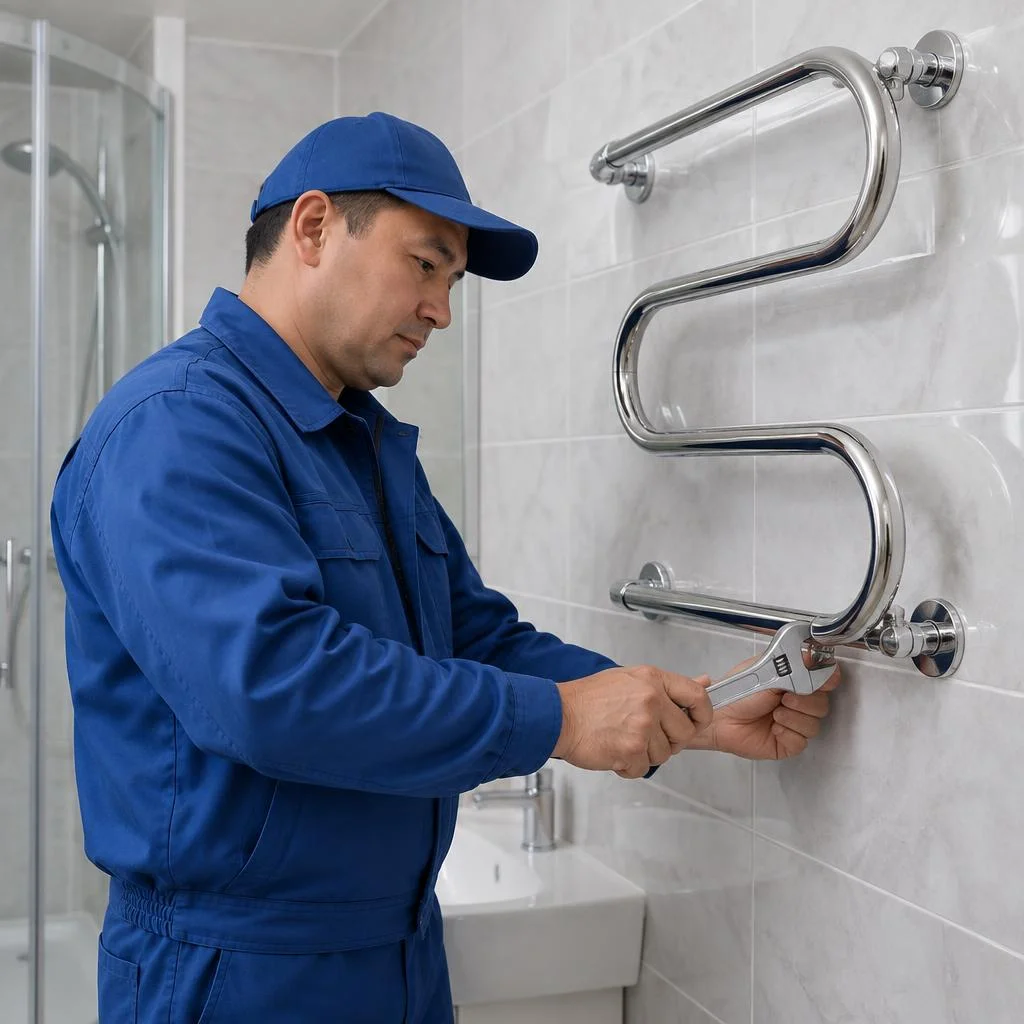
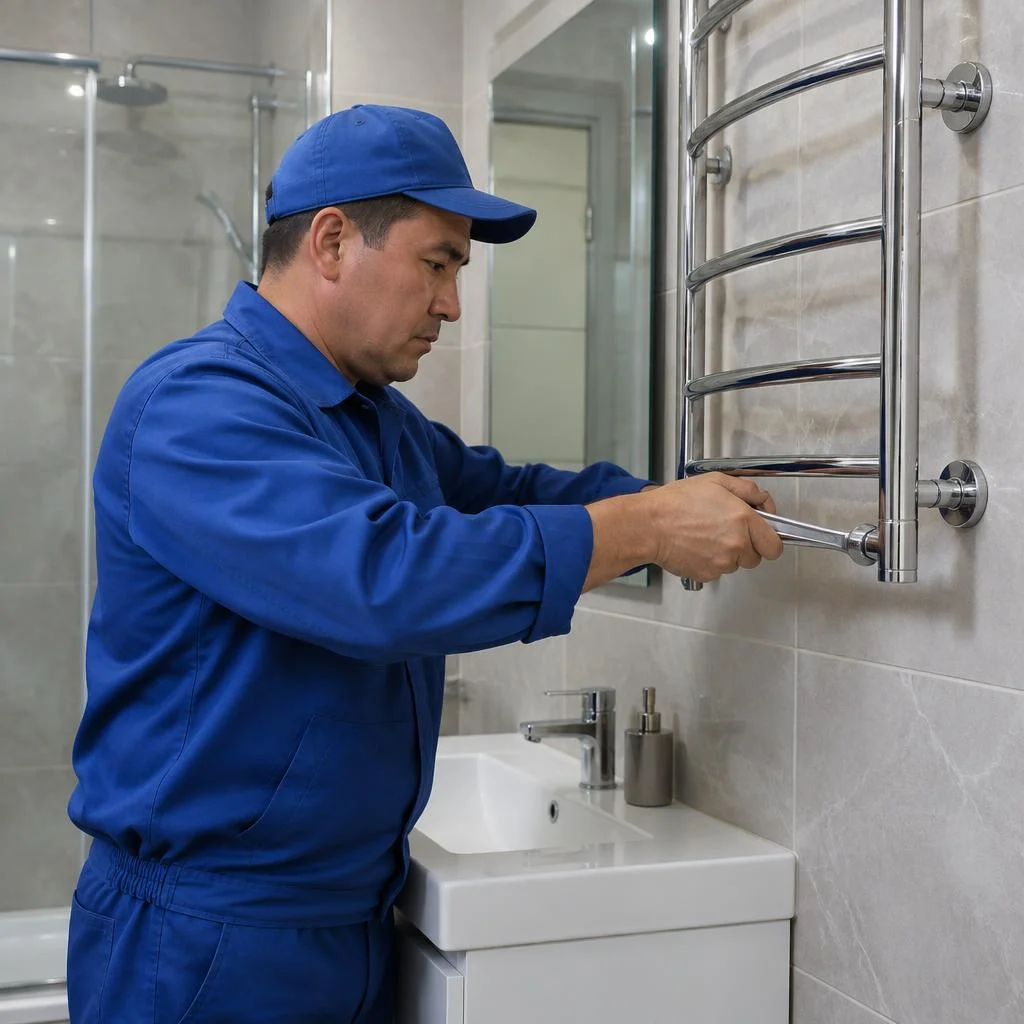
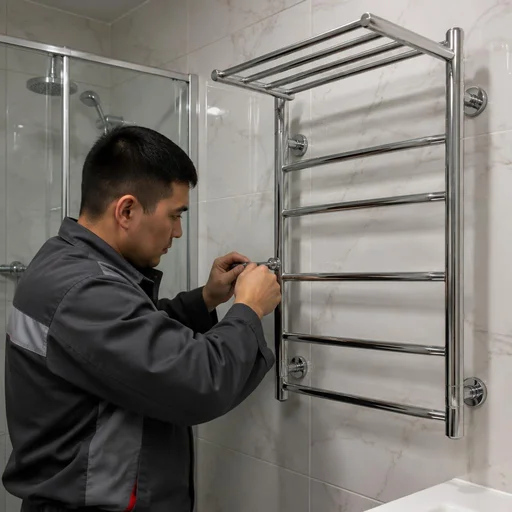
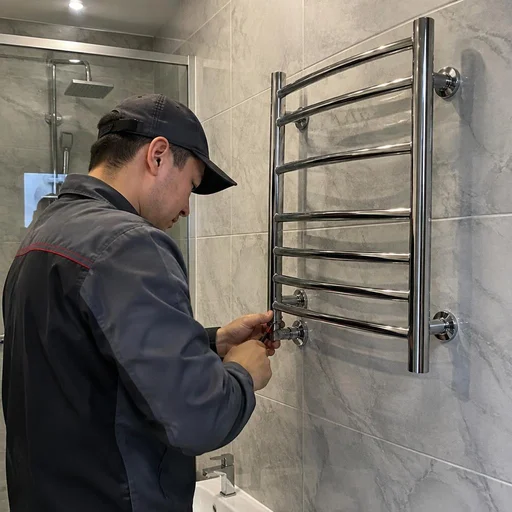
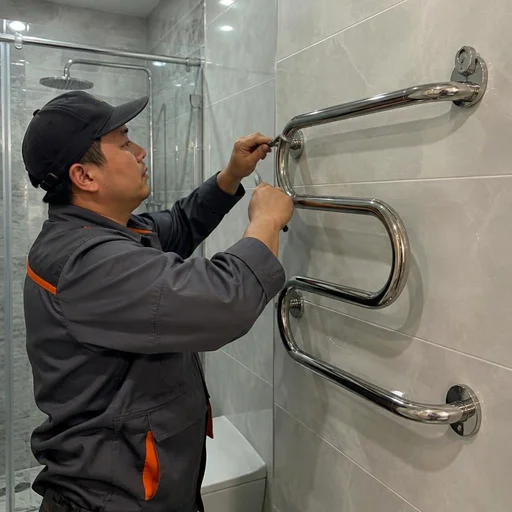
Installing a towel warmer in Bishkek is primarily a choice between a ladder and an M-shaped model based on the number of mounting points: we mount the ladder on four brackets with a side or bottom connection, while the M-shaped one goes on two brackets, more often with a bottom supply. The ladder is assembled from two manifolds and crossbars: on Laris and Terma models there are usually 8 to 20 of them, so the weight with water reaches 12-14 kg, and each bracket carries its share of the load. The M-shaped body is bent from a single pipe, there are fewer support points, but the pressure on each is higher — this is critical when mounting on drywall. In search, clients often type it short — towel warmer installation — and the technician already understands that this is about selecting a shape for a specific wall. Another frequent query is towel warmer installation Bishkek: from it you can see that the person needs not a model selection, but installation suited to local risers and walls. The ladder has more mounting points, so it is harder to hang on drywall — you need embedded supports or through fasteners into a solid wall.
Stainless steel and brass: which lasts longer in Bishkek water
We use a stainless steel body on water and electric models, and brass fittings and supply lines on all connection points to the riser. Stainless steel grades AISI 304 and AISI 316 do not rust on contact with hot water, whereas ordinary uncoated black steel in Bishkek water shows the first traces of corrosion within a season. Brass for fittings, couplings and ball valves keeps threaded connections leak-tight longer than silumin: a silumin valve cracks under water hammer, a brass one does not. In our practice, at sites in the Asanbay and Dzhal-23 microdistricts, replacing silumin fittings with brass eliminated leaks along the threads. Hard water in Bishkek wears out cheap steel fittings faster, so brass on the supply line pays for itself within a couple of seasons.
Comparison of shapes and materials by installation parameters
| Shape / material | Mounting points | Connection type | Wall requirement |
|---|---|---|---|
| Ladder | 4 | side / bottom | solid or with embedded support |
| M-shaped | 2 | bottom | solid |
| Coil | 2 | side | solid |
| Stainless steel | by shape | any | reinforced fasteners |
| Brass fittings | — | all types | — |
For heavy stainless steel models, provide fasteners into a solid wall — on tile without an embedded support the bracket will not hold.
Connecting to the riser: side, bottom, and tapping into the hot water supply
The connection method determines how the unit will fit in the bathroom and how much work will be needed on the riser — from simple plumbing to a full tap into the hot water supply.
Side connection: when the supply line runs from the side
We use a side connection when the supply line enters from the end of the unit — this is convenient if the hot water riser is located to the side of the installation site. With a side layout, the supply line runs horizontally from the riser to the towel warmer's ports, and ball valves are installed at the inlet and outlet to shut off the unit without draining the entire circuit. In Bishkek's panel and Khrushchevka buildings, the riser often comes out in the corner near the bathroom entrance — there, side routing is 40-60 cm shorter than bottom routing and requires fewer fittings. In search, clients often type "towel warmer installation cost" — that's how the request reaches us, and the technician immediately understands that the person needs both installation and a calculation based on the supply layout. With a side connection, the supply line is visible, so it is hidden in a chase or covered with a decorative screen — otherwise the pipes spoil the look of the tile.
Bottom connection: supply from below and concealed routing
We use a bottom connection when the supply line enters from below — the pipes go into the floor or wall and are not visible against the tile. This layout requires a chase 30-40 mm deep for the pipe and manifold, and the Mayevsky valve and thermostatic valve are brought out into an accessible area so the circuit can be serviced without removing the finish. For models with a bottom connection (Laris, Terma), the ports are located 50-100 mm from the floor — this allows the routing to be hidden under the tile. In search, clients often type "Towel warmer installation" — that's how the request reaches us, and the technician immediately understands that the person needs concealed routing under the tile. Bottom routing requires chasing the wall or floor, so it is planned before laying the tile — it is harder to redo after renovation.
Tapping into the hot water riser and coordination with the management company
We perform the tap into the hot water riser after coordination with the management company or homeowners association — the riser is shut off during the work. Towel warmer installation in Bishkek's old housing stock is impossible without this step: in panel buildings from the 1970s-1990s, there is one hot water riser per entrance, and any tap affects the neighbors on the riser. Coordination is arranged with a written application stating the date and time of the work, and the management company's plumber is present when the riser is shut off. Submit the request in advance — in Bishkek's old housing stock, the riser is shut off only during an agreed window, and the wait can stretch to a week.
Bypass, ball valves and thermostat: fittings that extend service life
The fittings on the supply line determine whether you can shut off the unit without draining the riser and whether it will heat evenly. We break down the bypass, valves and thermostat — three components that determine the service life of a towel warmer.
Bypass: why it is needed on a hot water riser
We install a bypass so that hot water continues to circulate through the riser even when the towel warmer is shut off or removed. The assembly is a jumper between the supply and return connections with a ball valve: when the valves on the unit are closed, the flow diverts into the bypass and does not stop. In panel nine-story buildings on Toktogul, Zhibek-Zholu and Moskovskaya streets, a single riser serves 5-9 apartments at once, and shutting off without a bypass deprives neighbors of hot water for the entire duration of the repair. Without a bypass, shutting off the unit stops circulation for the neighbors — this is a frequent cause of conflicts in old buildings in Bishkek. Before cutting in, check the riser layout with the management company: in buildings with bottom distribution, a bypass is sometimes already provided for in the design, and a second loop will only create extra resistance.
Ball valves and thermostat: controlling heating and shutoff
We install ball valves on the supply line for quick shutoff, and a thermostat for adjusting the heating of the unit. Two valves on the supply and return make it possible to remove the towel warmer for flushing or replacement without touching the riser: turning the handle takes seconds, not half an hour with draining water. A thermostat with a remote sensor is mounted on the supply line and limits the temperature of the unit within the range of 40-60 °C. The thermostat is especially useful in summer, when the riser supplies water that is too hot — without it, the unit overheats towels and dries out the air. Clients often search for towel warmer installation price and want to understand what the estimate consists of: the number of valves, the presence of a bypass and the type of thermostat change the total the most. When installing a towel warmer in Bishkek in summer, we advise installing a thermostat with a capillary sensor: it is not afraid of water hammer during the pressure-testing season and holds its setting without electricity.
What is included in the fittings kit during installation
| Component | Why it is needed | When it is mandatory |
|---|---|---|
| Bypass | preserves hot water circulation | when cutting into the riser |
| Ball valves | quick shutoff | always on the supply line |
| Thermostat | heating adjustment | when hot water is overheated |
| Supply line | water supply to the unit | always |
The fittings kit depends on the type of connection and the task — from a minimal set to a full one with a thermostat. The full kit is more expensive, but it removes the need to shut off the riser every time the unit is replaced. The installation price depends on the number of components: the basic set with valves and supply line is chosen for rental apartments, the extended one with a bypass and thermostat — for permanent residence. If you are looking for towel warmer installation in Bishkek, the technician during the site visit will clarify the riser layout and select fittings for your type of connection.
Electrical installation: wiring, socket and mains connection
An electric towel warmer requires a dedicated power line and a moisture-proof socket — the safety of the bathroom depends on this, not just the convenience of drying laundry. Let's break down how concealed wiring is laid and what to consider when connecting.
Concealed wiring for a towel warmer: how it is laid
We lay concealed wiring in a chase under the tiles from the distribution board to the installation point of the appliance — the cable is not visible on the walls, and the line runs separately from the sockets of the kitchen and rooms. The chase is cut to a depth matching the cable cross-section, usually copper 3×2.5 mm² for appliances up to 2 kW, then a mounting box is installed on top and the tail is brought out for the terminals. The route is run vertically from the distribution board and horizontally at the height of the future connection, bypassing the hot and cold water pipes so as not to overheat the insulation. Installing towel warmers with the line laid before the tiles are installed is cheaper and neater than installation on a finished surface: otherwise the chase would have to be cut through the tile and the corner re-plastered.
Moisture-proof socket and mains connection
We install the moisture-proof socket at a height of at least 60 cm from the floor and connect the appliance through it — this protects against splashes and condensation that accumulates in the bathroom after a shower. The enclosure is chosen with a protection rating of IP44 or higher, with a spring-loaded cover and a cable gland for the cable: such models withstand a pressurized jet of water, not just drips. Connection to the socket is made via a plug with an earthing contact if the appliance comes with a factory cord, or via a terminal block if the cable is routed directly into the enclosure. The socket must not be placed directly above the bathtub or under the appliance — drips run down the cable, so the point is chosen to the side of the splash zone, at a distance of at least 60 cm from the rim.
Requirements for the power line of an electric towel warmer
| Parameter | Requirement |
|---|---|
| Power line | separate from general sockets |
| Socket | moisture-proof, outside the splash zone |
| Socket height | at least 60 cm from the floor |
| Protection | circuit breaker in the distribution board |
| Installation | concealed, before tiles are laid |
If there is a single circuit breaker in the distribution board for the whole apartment, a dedicated line for the bathroom is mandatory — otherwise an overload will cut power to everything, including the refrigerator and lighting. Installing towel warmers with their own 10-16 A circuit breaker eliminates this problem: in the event of a short circuit in the bathroom, only its group will trip.
Relocation, replacement and supply lines: when an old towel radiator is replaced
Sometimes a towel radiator is not installed from scratch, but replaces a worn-out one or is moved to a new location. These are separate scenarios with their own specifics: old piping, the condition of the riser, access to the connection point.
Replacing a towel radiator with a new one: stages and nuances
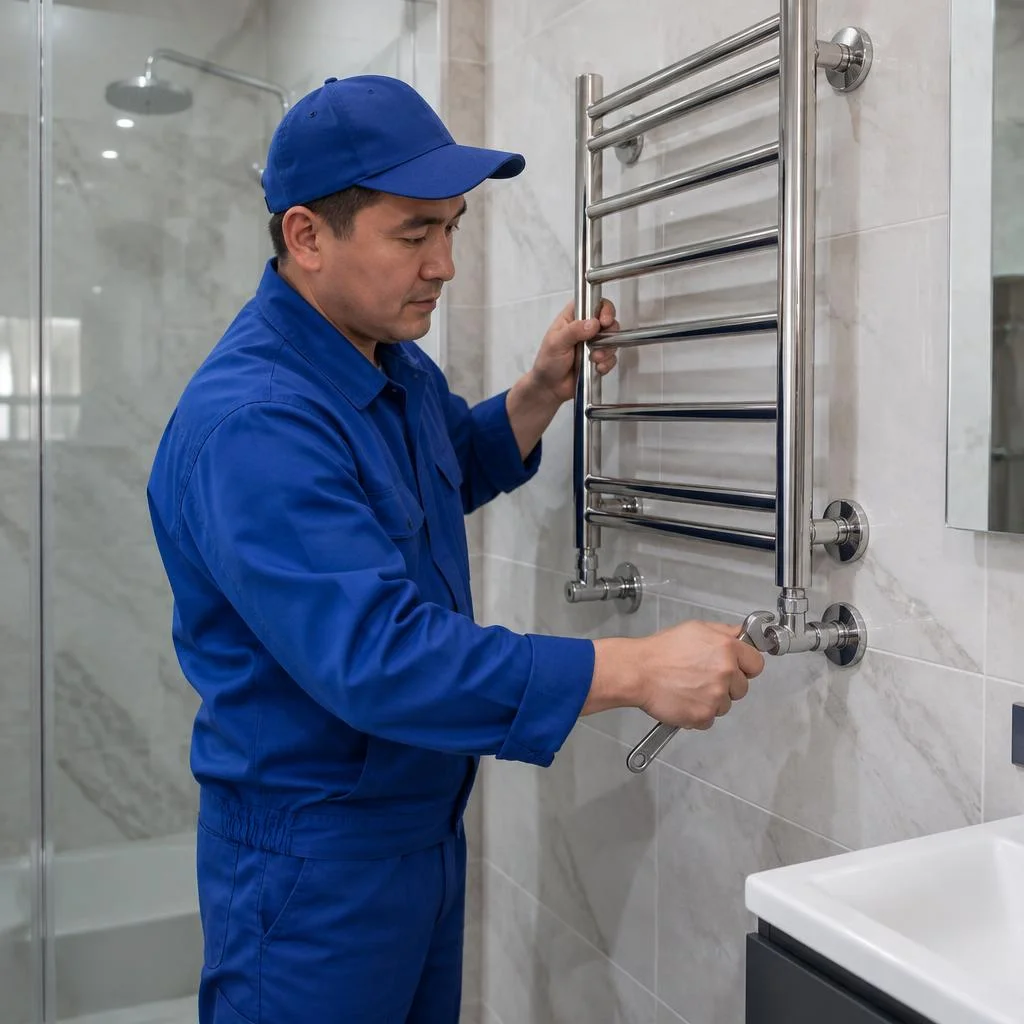
We carry out towel radiator replacement with the riser shut off: the old unit is removed, the new one is mounted on the same or new brackets. The technician drains the water from the circuit, dismantles the previous mounts and checks the condition of the supply lines — the pipe from the riser to the unit is often already covered in scale and pinholes. A new model is installed in the freed-up spot: a stainless steel water ladder, an M-shaped option, or an electric unit if the owners decided to move away from dependence on the hot water supply. Brackets are selected by weight and dimensions, holes in the tile are drilled anew if the mounting points do not match the previous ones. If the old unit was installed without ball valves, they are fitted right away during replacement — otherwise the next replacement will again require shutting off the riser.
Relocating a towel radiator to a new place
Eco-Service performs towel radiator relocation with re-soldering or re-sealing of the supply lines — the unit is removed and installed in a new place with new piping. The reason is usually domestic: bathroom remodeling, moving the washing machine, a desire to move the dryer out from under the ceiling onto a free wall. The technician dismantles the old mounts, estimates the length of the new run from the hot water riser and selects the pipes: for concealed piping — metal-plastic or polypropylene, for exposed — stainless steel corrugated hose. On the new wall, points for the brackets are marked out, holes are drilled, and the unit is leveled. When relocating, it is important to maintain the slope of the supply lines — otherwise air accumulates in the pipes and the unit heats unevenly.
Replacing the supply lines to the towel radiator
Eco-Service performs supply line replacement when the old pipe has rusted through or started leaking — the new supply lines run from the riser to the unit. Signs of wear are visible without disassembly: brown streaks on the threads, drips under the valve, green deposits on the brass fittings. In Bishkek water with increased hardness, black steel supply lines last less than their rated service life — salt deposits clog the bore and reduce the flow. The technician shuts off the riser, dismantles the old section, installs a new pipe with union fittings and sealing made of flax or anaerobic sealant. It is better to replace the supply lines together with the ball valves — that way you get a fully renewed connection point in a single visit.
What affects the final work estimate
- Connection type: side piping is simpler than bottom piping with concealed pipe routing under the tile.
- Unit material: stainless steel and brass require different mounts and seals, which affects the set of consumables.
- Condition of the riser: rusty or stripped threads at the tap-in add work to restore the connection point.
- Set of fittings: bypass, ball valves and thermostatic valve are priced as separate items, not "included".
- Access to the location: a narrow bathroom with a duct box or tile around the entire perimeter slows down installation and dismantling.
Clients often write in their request exactly like this: how much does towel radiator installation cost — and from this wording the technician immediately understands that a turnkey estimate is needed, not a consultation. We ask for a photo of the connection point and the riser: the picture shows whether re-soldering is needed or whether replacing the seals will suffice. The final estimate is made up of installation, fittings and, if required, relocation or replacement of the supply lines, rather than a single price list item.
Conclusion
The bottom line comes down to four decisions: the heat source, the shape and material, the connection method, and the fittings kit. Below is a short summary you can use to check your own case before calling a technician.
Key takeaways
- Appliance type: a water-heated one is tied to the hot water riser, while an electric one is tied to a separate power line and a moisture-proof socket outside the splash zone.
- Shape and material: a ladder-style and an M-shaped model differ in the number of mounting points, and stainless steel and brass behave differently in Bishkek's water.
- Connection method: a side connection leaves the pipes visible, while a bottom connection with hidden routing requires wall chasing and a larger scope of work.
- Fittings: a bypass, ball valves, and a thermostat extend the service life and simplify maintenance without draining the riser.
- Relocation and replacement: the old appliance is dismantled, the condition of the supply lines is checked, and only then is a new one installed in the prepared location.


