

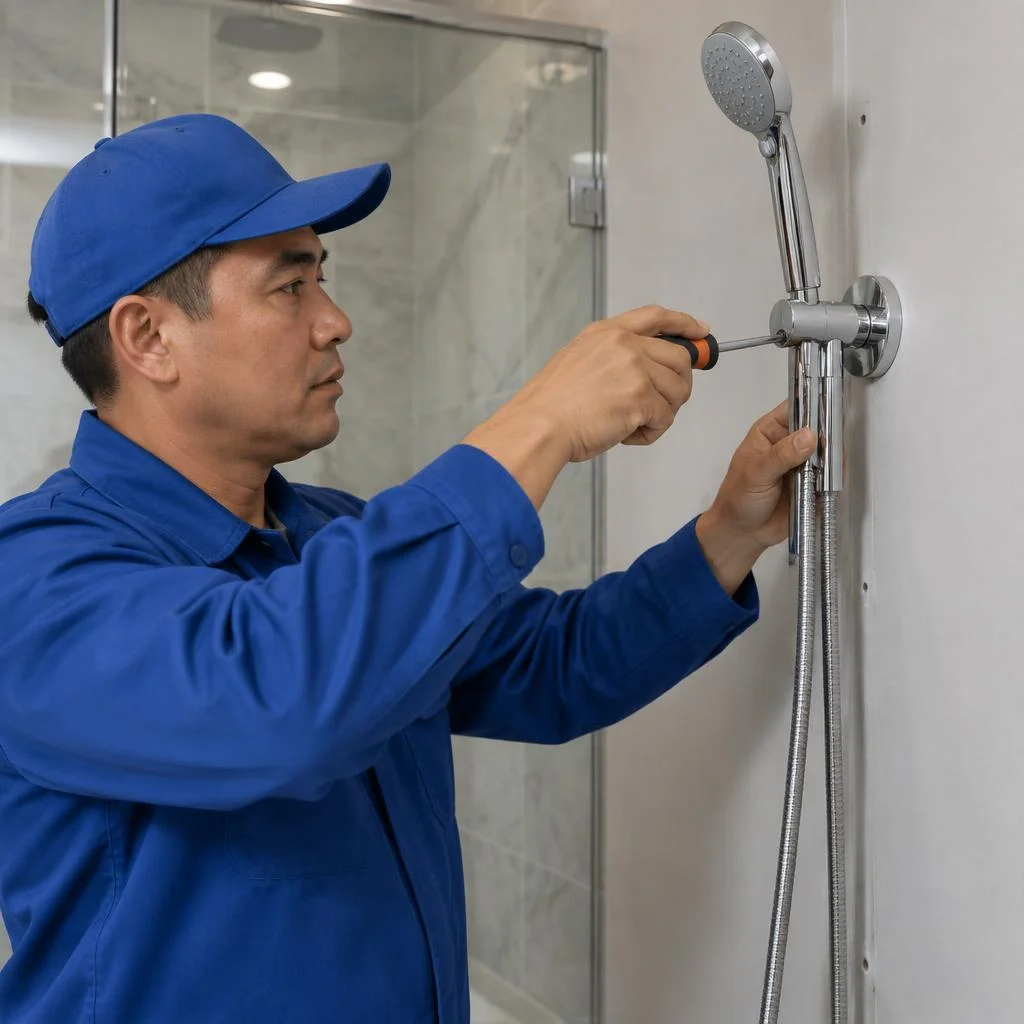








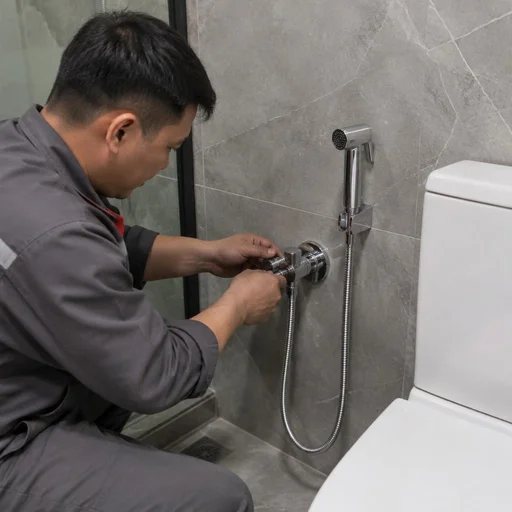
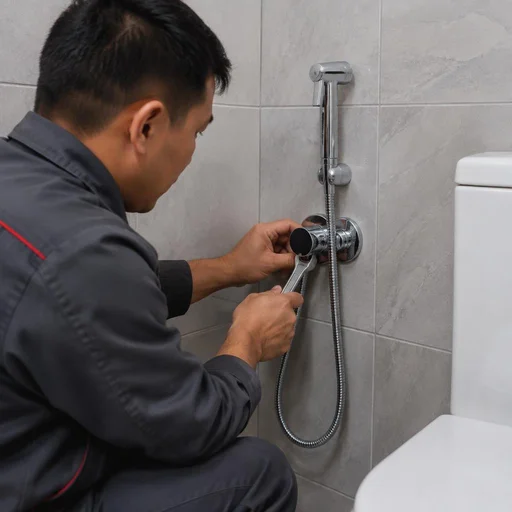
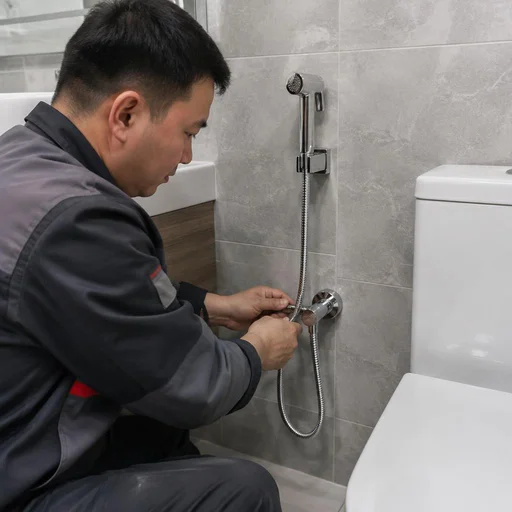
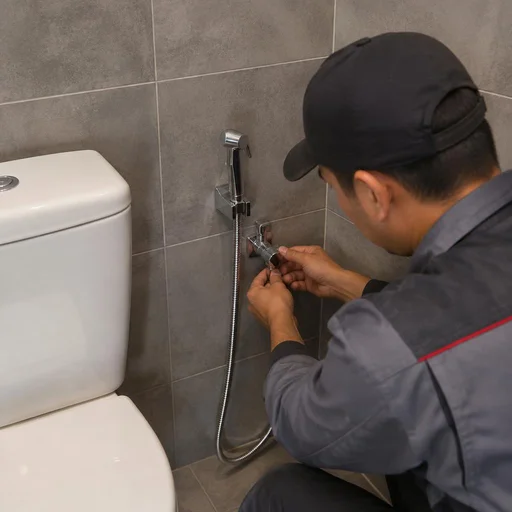
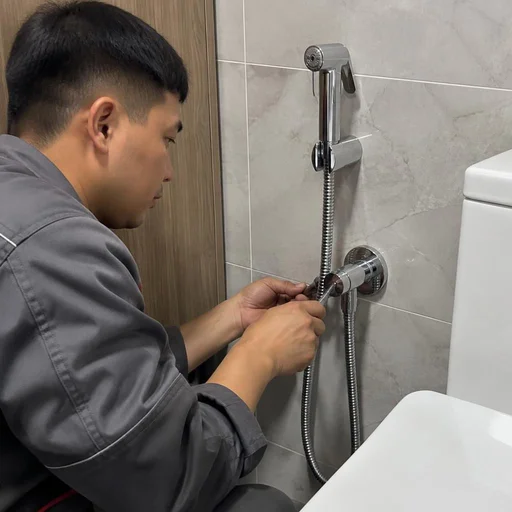
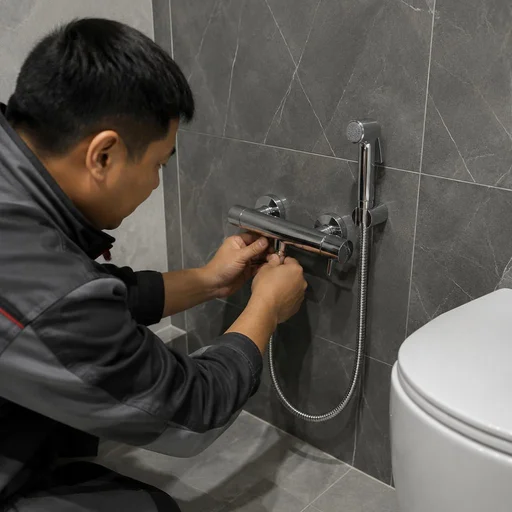
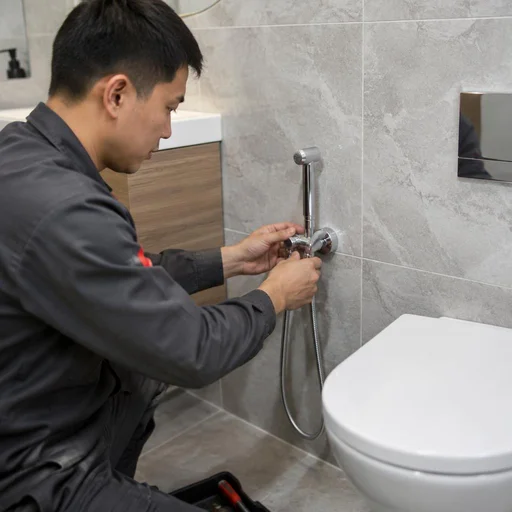
What a bidet sprayer is and what tasks it solves in the toilet
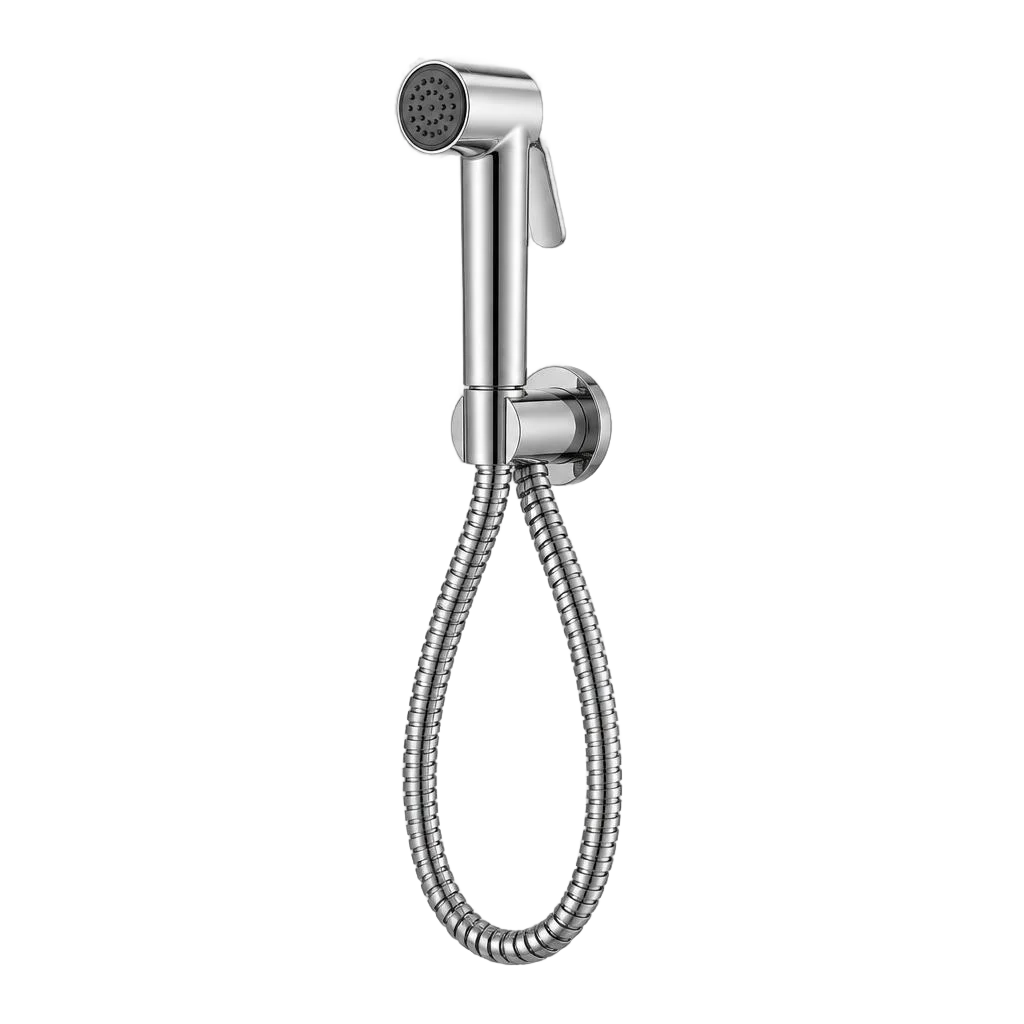
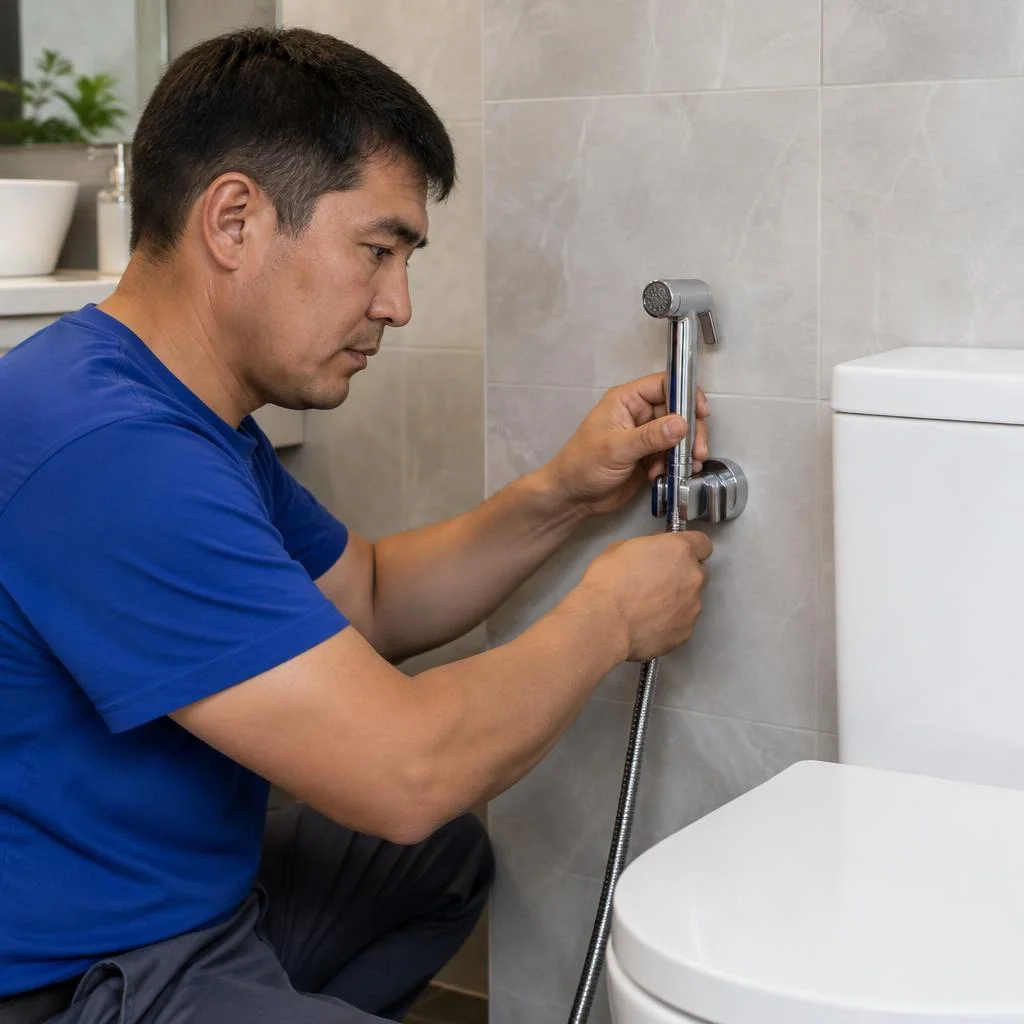
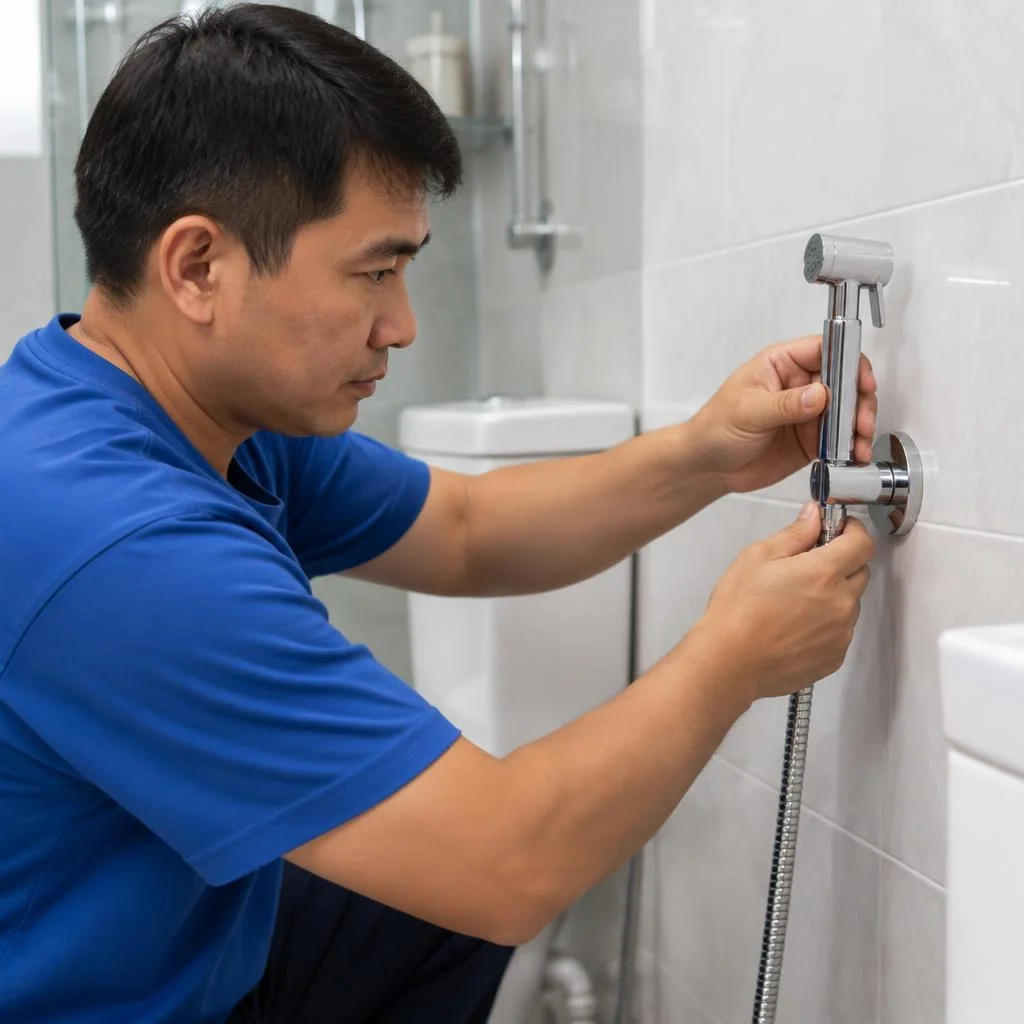
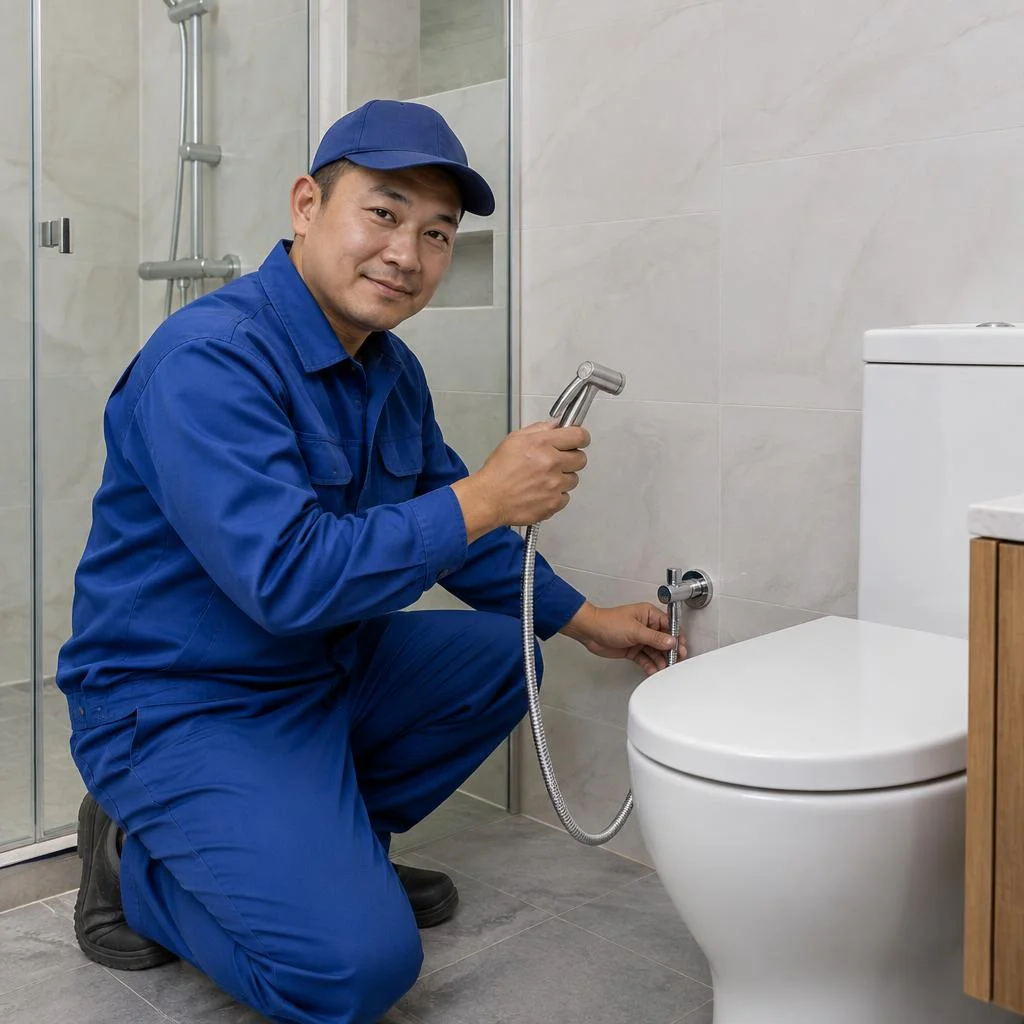
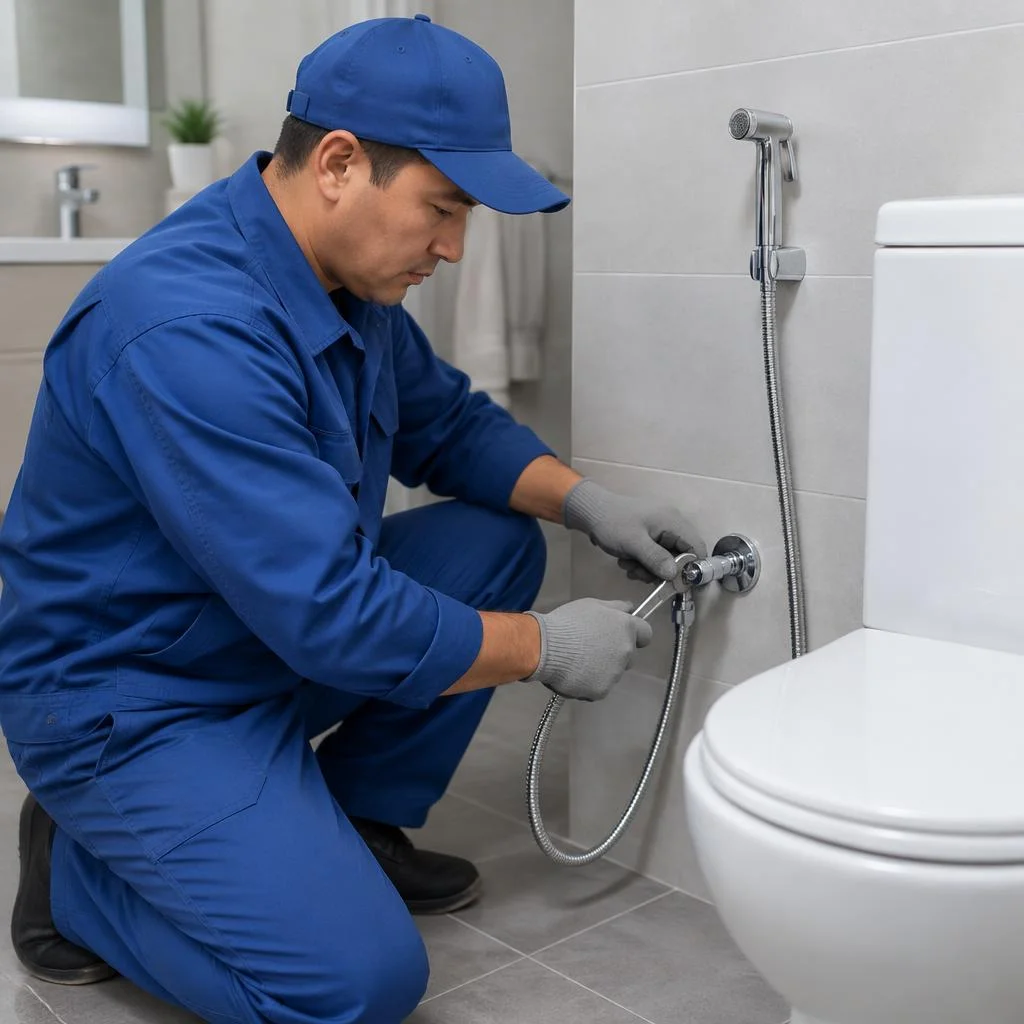
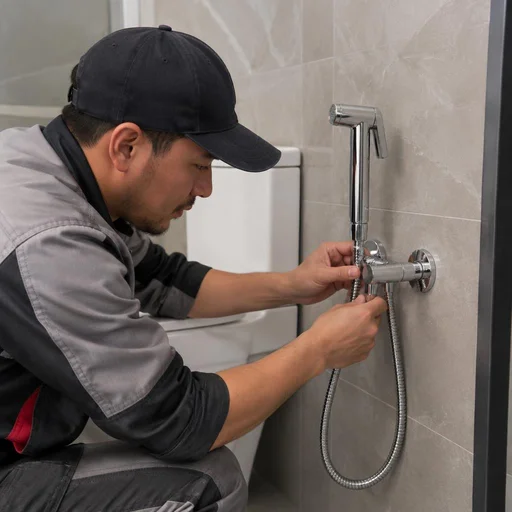
A bidet sprayer is a compact mixer with a hose and a spray head that is mounted on the wall next to the toilet for washing. In Bishkek it is installed instead of a separate bidet: it takes up less space, and a single visit by a technician covers both installation and connection.
Bidet sprayer in the toilet: exposed or concealed installation
A bidet sprayer in the toilet allows for two installation methods — exposed, when the mixer and hose remain visible, and concealed, when the working module is recessed into the wall or into the toilet's installation frame. The exposed scheme is simpler: the mixer is hung on a finished wall, connected to the water supply and sewerage, and within an hour the device can be used. The concealed option requires chasing the wall for the module and running the supply lines before cladding, so it is planned either during renovation or when installing the frame — in the new residential areas of Ak-Orgo, Kok-Zhar and Muras-Ordo this is being done more and more often. The concealed scheme is more expensive and harder to redo, but it frees up space by the bowl and doesn't catch on clothing — in the narrow bathrooms of panel and Khrushchev-era buildings this is a decisive argument. Clients often find us with the query "bidet sprayer installation" — and end up at sites where we have already been through this. When planning the concealed option, provide for an inspection hatch opposite the module — otherwise, at the first leak, you will have to break open the tiles; Eco-Service specialists always leave such access at their sites.
Bidet sprayer for the toilet: installation next to the bowl
Installation of a bidet sprayer for the toilet follows a simple rule: the mixer is mounted 20-30 cm to the right of the bowl and at a height of 60-70 cm from the floor, so that the spray head reaches the seat without stretching the hose. When the toilet is mounted on a frame, it is more convenient to plan the outlet point before cladding — afterwards, drilling through the tiles and reaching the concealed frame is harder and more expensive. In most Bishkek bathrooms, water is taken from the toilet's tee: it is already connected to the riser, and a separate tap-in is not needed. Through Eco-Service, a mixer with a check valve is installed at such a point — it prevents water from the tank from flowing back into the common riser. Choose a spray head with a lock button: it maintains the pressure without constant pressing, which is convenient when the pressure is low on the upper floors.
How a bidet sprayer differs from a bidet and a washing toilet seat
- Bidet sprayer: a separate mixer with a hose and spray head on the wall — washing at any angle, water comes from the common system.
- Bidet: a standalone plumbing fixture with its own bowl and a separate connection to the water supply and sewerage, takes up space in the bathroom.
- Washing toilet seat: built into the toilet seat, runs on electricity or from a supply line, but the angle and pressure of the jet are fixed by the design.
- Maintenance: replacing the hose or spray head on the sprayer takes 15 minutes without dismantling the toilet and without electrical work; if the electronics fail, the seat is removed entirely.
- A simple question about price: the price of a bidet sprayer for the toilet is made up of the cost of the kit itself and the installation work, so the total depends on the configuration of the bathroom.
- What to consider when choosing: installing a bidet sprayer on the toilet requires a level wall and access to the tee — check this before buying the kit.
Concealed bidet shower installation: how the process works
Concealed installation is the most in-demand premium format in Bishkek bathrooms: the fittings go into the wall, leaving only the spray head and handle visible. Let's break down the stages, fasteners for different walls, and working with a pre-installed frame.
Concealed bidet shower installation: stages from chasing to testing
- Marking out: the installer marks the mixer axis and the supply outlet height on the wall, taking into account the rim of the toilet bowl.
- Chasing: a groove for 16-20 mm pipes is cut 30-40 mm deep, and the edges are dusted off before laying.
- Pipework: hot and cold water pipes are laid, with the ends brought out strictly to the mounting block without tension.
- Mounting block: the body is fixed to the backing block, levelled, and the travel of the stem and handle is checked.
- Pressure testing: the system is pressure-tested and held under pressure before the wall is closed up, and the joints are inspected for drips.
Bidet shower installation on drywall and on tiles
| Wall material | Fastener | What is important to consider |
|---|---|---|
| Drywall | Backing timber or reinforced profile | The backing block is installed before the sheet is closed up |
| Tiles over concrete | Dowel fastener + silicone | The hole is sealed against moisture |
| Tiles over drywall | Backing block + dowel | Without a backing block, the fastener will not hold |
| Marble, porcelain stoneware | Diamond drill bit + dowel | Drill without impact, at low speed |
Drywall without a backing block will not support the weight of a mixer with a lever — at the first sharp turn of the handle, the fastener tears out the sheet, which is why a backing block is always installed. At Eco-Service, concealed bidet shower installation begins precisely with the backing timber, not with the body.
Concealed bidet shower installation in a toilet frame
A concealed bidet shower in a toilet frame is convenient because the pipework and drain are already routed to one place — the installer only has to connect the module to the ready-made points. In Bishkek new-builds, where frames are installed en masse, this saves one chasing stage: water and drainage are already routed to the frame, and all that remains is to bring out two outlets to the mixer. The module is fixed to the same frame via an adapter, and the handle is brought out next to the flush button. If the frame is already tiled, the point for the shower is brought out through an inspection hatch — this preserves access to the shut-off valves without dismantling the tiles. In requests, clients often write briefly: concealed bidet shower installation — and the installer immediately understands that this means working with a ready-made frame. Such installation into a pre-installed frame takes less time than into an empty wall, but requires checking that the frame can withstand the additional weight.
Configurations: mixer, thermostat, filter, pressure reducer and check valve
The configuration determines how the shower will behave after a year of use in Bishkek conditions — hard water and pressure fluctuations are common here. Let's break down which component is responsible for what.
Installation of the bidet shower mixer and thermostat
Installing the bidet shower mixer takes about an hour, and the thermostatic version adds another 20-30 minutes for setting the temperature limiter. A regular mixer combines two flows into a single body with a 35 mm ceramic cartridge and regulates the flow by turning the handle — when pressure in the riser spikes, the water simply flows harder. A thermostat works differently: a wax or bimetallic sensing element shuts off the hot line within fractions of a second if the cold supply drops, and maintains the set temperature to within one degree. In our orders, the thermostat is more often chosen for apartments with children and elderly parents — that's where the risk of scalding during a sudden pressure change is highest. A thermostat pays for itself in families with children and the elderly: it physically prevents water from heating above the set threshold, even if neighbors suddenly shut off the cold supply.
Bidet shower with filter and pressure reducer
A filter is installed with hard water so the spray head and cartridge don't become clogged with scale, and a reducer — with unstable pressure in the riser, so the hose doesn't burst from water hammer. A cartridge filter with polyphosphate media or a 100-micron mesh traps calcium and magnesium salts: without it, within six months a limescale layer builds up on the spray head nozzles, and the ceramic cartridge starts to stick. The pressure reducer is set to the working value and maintains it at the outlet, smoothing out nighttime spikes in the riser up to 6-7 bar. In Bishkek's khrushchyovkas, pressure drops in the evening and spikes at night — a 3-bar reducer evens out this fluctuation and extends the service life of the seals. Clients often phrase their request as concealed installation bidet shower installation — and in this case, the filter and reducer are hidden in a niche behind the supply lines so they can be serviced through an access hatch.
Check valve and protection against backflow of water
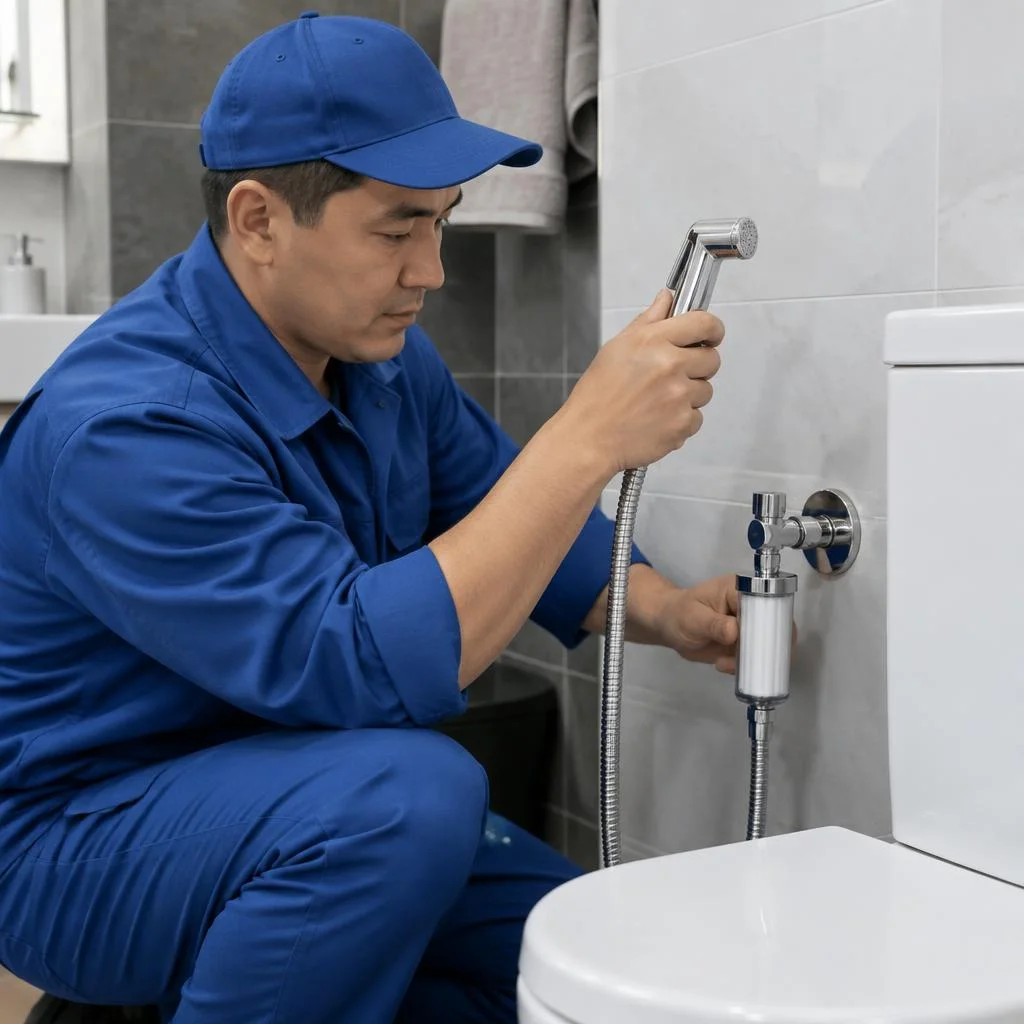
A check valve prevents water from the bidet shower from flowing back into the main water supply — this is a requirement of sanitary regulations for any mixer with a spray head. Inside the body there is a spring-loaded membrane or poppet: forward flow opens it, and when there is back pressure it seats on the valve seat and blocks the channel. The valve is installed on both supply lines — hot and cold, before the mixer, in the gap between the tap-in and the flexible supply line. The valve is installed before the mixer, not after: otherwise, when pressure in the riser drops, dirty water from the hose will be drawn into the apartment's drinking water line. If you're looking for bidet shower installation on a toilet, the valve and tee are selected for the specific tank model so as not to block access to the flush button.
Comparison of bidet shower configurations
| Configuration | What's included | For which conditions |
|---|---|---|
| Basic | Mixer, hose, spray head | Stable pressure, soft water |
| With mixer and filter | Plus cartridge filter | Hard water, scale on nozzles |
| With thermostat | Thermostatic body, limiter | Families with children and the elderly |
| With reducer and valve | Pressure reducer, check valve | Old riser, pressure fluctuations |
| Full assembly | Thermostat, filter, reducer, valve | Khrushchyovkas and panel buildings |
| Eco-Service kit | Selection of components for the riser, installation | Turnkey connection and setup |
The set of components matters more than the brand of the body: a cheap mixer with a good reducer and valve lasts longer than an expensive one without protection.
Connecting to the water supply and sewerage: what is important to consider
Connection is the most critical part of installation: this is where leaks and backflow of water most often occur if the assembly is put together without a valve and high-quality sealing. Let's break down three tie-in scenarios.
Connecting a bidet sprayer to the water supply
Connecting a bidet sprayer to the water supply is done through a tee on an existing cold or mixed water supply line with mandatory sealing of the threads with PTFE tape. The tee is cut into the line between the shut-off valve and the flexible supply line of the toilet, after which the sprayer's mixer is connected to it. 8-12 turns of PTFE tape are wound clockwise onto the threaded connections, and for models with a thermostat a check valve is added — it prevents hot water from flowing into the cold circuit when pressure drops. Such an assembly withstands working pressure up to 10 bar, which covers the standard 3-6 bar in Bishkek's new buildings. The tie-in point is chosen above the toilet's shut-off valve — then when repairing the sprayer, the water is shut off with a single valve without turning off the entire bathroom. In search, clients often type "bidet sprayer installation" — and land on this page, although the topic is specifically the tie-in to the water supply.
Connecting a bidet sprayer to the sewerage through the toilet tee
Connecting a bidet sprayer to the sewerage is done through the toilet tee — a separate drain for the sprayer is not needed, a tie-in to the existing outlet is sufficient. The tee is placed on the section between the bowl and the riser, maintaining a diameter of 110 mm along the main line and leading out a 50 mm branch for the sprayer hose. The outlet slope is maintained at 2-3 cm per meter: without it, water from the hose stagnates in the tee and over time causes odors in the bathroom. In Bishkek's panel buildings, the outlet often runs in the screed — the tie-in is done without opening it up, through the inspection port, which saves a day of work. Through Eco-Service you can order such a tie-in with slope verification using a laser level — this is cheaper than redoing the screed after a mistake. If the client cares about the bidet sprayer installation price, it is calculated after inspecting the outlet and the type of installation.
Installing a bidet sprayer on a pre-wall installation: connection specifics
Installing a bidet sprayer on a pre-wall installation is more convenient than a classic tie-in: the supply line and drain are already routed out in a single unit, and access to them is closed by an inspection hatch. A Geberit, TECE or Grohe installation leads out the water at a height of 1 m from the floor and the sewerage — 20-25 cm lower, so the installer only has to connect the mixer and cut the branch into the pipe stub. A 20×20 cm inspection hatch provides access to the shut-off valves without dismantling the tiles, and on models with dual flush there remains space for the hose to pass through. If there is no hatch, the installer routes the supply line through a hole in the facing — clarify this in advance so as not to open up the tiles. The price of such a service and the final cost depend on the type of installation and the presence of a hatch, not on the model of the sprayer.
Installation of a bidet shower: timelines, stages, and what the work includes
Let's break down what the technician's work consists of, how long it takes, and how the relocation or replacement of an already installed shower is carried out — taking into account the condition of the bathroom and the equipment set.
Installation of a bidet shower: stages of the technician's work
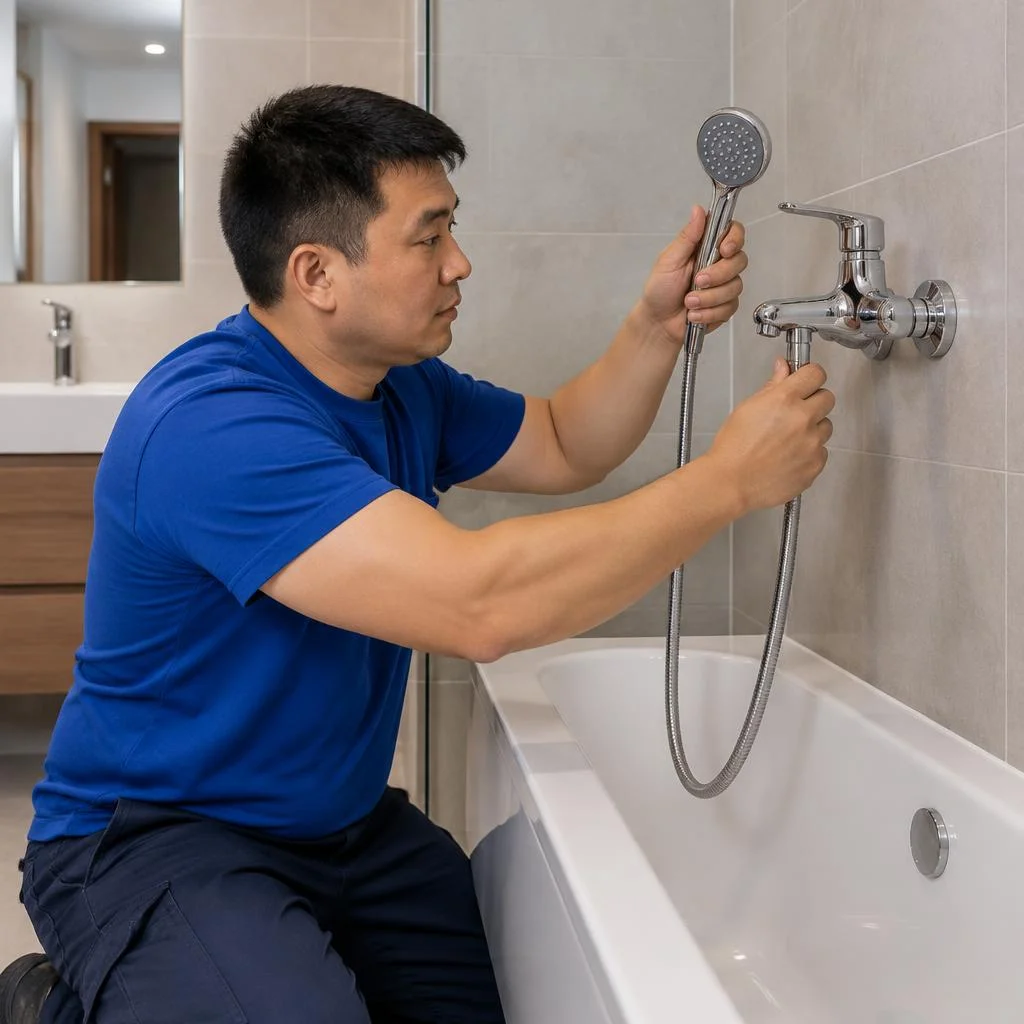
- Marking: the technician marks the points for the mixer and the shower head bracket, taking into account the height of the toilet bowl and a comfortable angle for the hand.
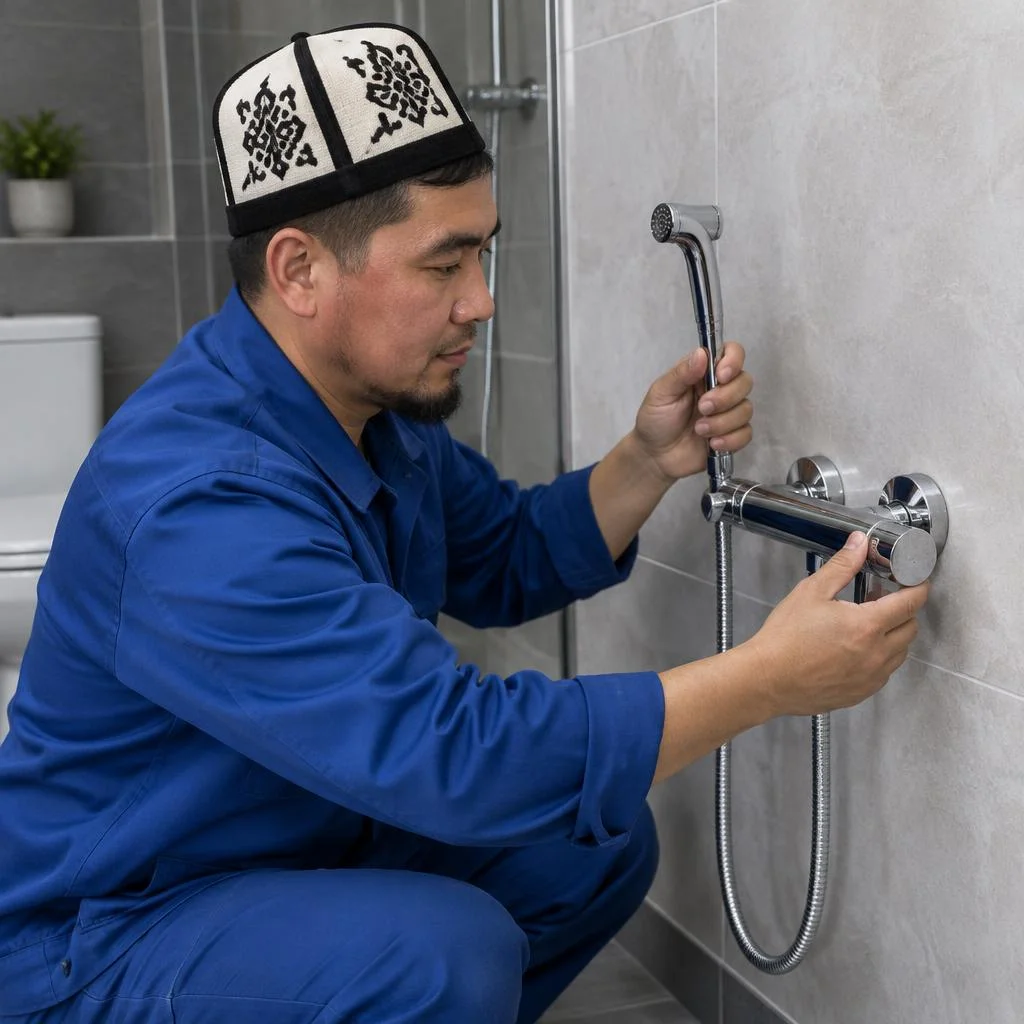
- Mounting the mixer: the body is fixed to a dowel or mounting plate, and the supply line is routed strictly level so the body doesn't skew.
- Connection to the water supply: the flexible supply line is connected to a tee on the cold water, and tape or thread with sealant is wrapped around the threads.
- Connection to the sewer: the drain from the shower head is routed into the toilet's tee or a separate branch with a slope so water doesn't stagnate in the hose.
- Hose, shower head, and pressure check: the hose with the shower head is installed, the valve is opened, and the pressure is adjusted to the specific pressure in the riser.
- Final check: the valve is kept open for 5-10 minutes — this reveals micro-leaks on the threads that are invisible during a brief run of water. Through Eco-Service, this work is done in a single visit.
Relocation and replacement of a bidet shower
Relocating a bidet shower is needed when remodeling the bathroom, and replacement — when the old mixer or hose has failed; both jobs take one visit by the technician. During relocation, the previous assembly is dismantled, a new channel is chased for the supply line, the points are routed to the required location, and the shower is reconnected — if the wall is tiled, some of the tiles are removed and restored after installation. Replacement does not require chasing: the old mixer is removed, the condition of the threads and tee is checked, the new assembly is installed, and the hose with the shower head is reassembled. During relocation, the old connection point must be capped with a plug and sealant — an opening left open in the wall will leak at the first pressure surge. Replacement through Eco-Service is done without dismantling the tiling if the supply line remains in working condition.
Installing a bidet shower in the toilet: timelines and work procedure
Installing a bidet shower in the toilet can be done in one visit: exposed installation takes 1-1.5 hours, concealed — 3-4 hours including chasing and closing up. The work procedure for the concealed option: marking for the chase, cutting channels for the supply line, routing the mixer flush with the wall, sealing the channels and tiling, then assembling the unit and checking the pressure. Exposed installation is shorter — the mixer is mounted on top of the tiles, the supply line is routed along the wall in a box, and no chasing is needed. If the wall is already tiled, concealed installation will require careful opening and subsequent grouting of the joints — check whether restoration of the tiling is included in the work. Installing a bidet shower in the toilet on drywall takes less time: the channels for the supply line run inside the frame without chasing. Installing a bidet shower in the toilet — this is how clients most often phrase the request when they are looking for a turnkey technician.
Installation of a bidet shower with a pressure reducer and check valve
Installing a bidet shower with a pressure reducer and check valve adds 20-30 minutes to the standard work — the units are placed on the supply line before the mixer. The reducer is set to the working pressure in the riser: in Bishkek high-rise buildings it fluctuates from 2 to 6 bar, and without a reducer the hose with the shower head wears out quickly, and the mixer starts to drip. The check valve prevents water from the sewer from rising into the supply line when pressure drops — this is a requirement for connection through the toilet's tee. The reducer and valve are best replaced together with the mixer: disassembling the unit again a year later is more expensive than installing both elements in one visit. When people ask about bidet shower installation, the price depends on the equipment set, not on the number of visits — both units are installed during the same visit. If concealed bidet shower installation is needed, the reducer and valve are hidden in the chase together with the supply line, and access to them is provided through an inspection hatch.
2-year warranty, service and care for the bidet shower
After installation, the bidet shower requires minimal but regular care. Let's look at exactly what the 2-year warranty covers and which service procedures extend the service life of the components.
2-year warranty on bidet shower installation
Eco-Service provides a 2-year warranty on bidet shower installation — it covers the tightness of connections, the operation of the mixer and the correct connection to the water supply and sewerage. During this period, leaks caused by installation faults are fixed free of charge, a failed mixer cartridge is replaced, and threaded connections are re-sealed if they have started to let water through. The warranty card is issued after acceptance of the work: it states the installation date, the shower model and the list of components covered. The warranty remains valid if the shower was serviced by us: replacing the hose or spray head yourself without approval voids the coverage for that component — when you contact us, the technician records the condition of the threads and braiding in order to distinguish a manufacturing defect from mechanical damage.
Fixing leaks and replacing seals
Fixing a bidet shower leak most often comes down to replacing seals or tightening a threaded connection — this is a 30-40 minute job with a single technician visit. If it drips from under the hose nut, the gasket is replaced and tape is wound on; if it seeps along the threads of the adapter on the toilet tee, the connection is re-sealed with a new O-ring. At Eco-Service, people most often request leak fixing for two reasons: the nut loosened after a seasonal pressure surge in the riser, or the rubber on the hose at the spray head itself has worn out. If water drips from under the mixer handle rather than from the connections, the problem is in the cartridge — seals won't help here, the ceramic cartridge needs to be replaced, otherwise water will continue to escape through the body.
Cleaning the bidet shower from limescale and adjusting the pressure
- Removing the spray head and hose: we take the spray head off the holder and unscrew it from the hose to reach the aerator mesh and nozzles.
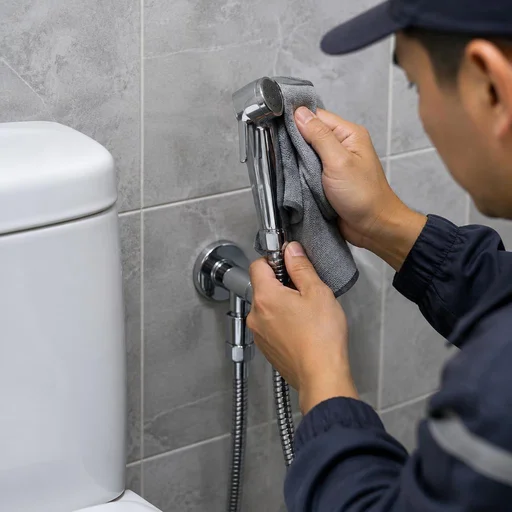
- Soaking in solution: the spray head is placed in a weak citric acid solution for 30-40 minutes — limescale from hard water softens and is removed with a brush without scratching the chrome.
- Adjusting the pressure: we adjust the cartridge position and check the inlet pressure — if there are surges in the riser, we install a reducer so the flow doesn't come out in bursts.
- Frequency: cleaning the bidet shower from limescale is carried out once every 3-4 months — Bishkek's hard water clogs the spray head openings faster than it seems, especially in buildings with worn steel risers.
Replacing the hose, spray head and mixer of the bidet shower
Replacing the hose, spray head or mixer of a bidet shower takes 20-40 minutes and does not require dismantling the supply line — only the component itself is replaced. The hose is unscrewed from the mixer and spray head with two wrenches, and the new one is installed with the same gaskets; the spray head is taken off the holder and screwed onto the hose by hand. A separate item in the price list is the installation of a bidet shower mixer: clients word their request exactly like that, and the technician immediately understands that the old body needs to be dismantled, the threads on the supply line cleaned, and the new component installed with the valves shut off. At Eco-Service, people most often bring in spray heads with a cracked body after a fall and hoses with a swollen braid — neither case can be repaired, only replaced. A reinforced hose with a braid lasts 2-3 times longer than an ordinary rubber one: it doesn't swell under pressure and doesn't burst at the bend near the spray head, so on the first replacement it makes sense to install a reinforced one right away.
Conclusion
We've gathered the key things to keep in mind before installing a bidet shower: from choosing the installation type to caring for the components. Below are five takeaways that most often affect the final result and the service life of the device.
Key takeaways
- Installation type: exposed is cheaper and easier to maintain, concealed is more compact and neater, but requires chasing the wall and a mounting block for the mixer.
- Configuration: a pressure reducer, filter and check valve extend the service life of the components more than the brand of the body or the spray head.
- Drainage: the drain is made through the toilet's tee with a slope of 2-3 cm per meter of pipe — with a smaller slope, water stagnates and an odor appears.
- Warranty: installation is covered for 2 years; replacing the hose, spray head or mixer yourself without approval voids the warranty.
- Care: cleaning the spray head of limescale every 3-4 months maintains an even spray and protects the nozzles from clogging.