













How leak protection works and what the system consists of
A protection system is a "sensor → controller → electric actuator" chain that shuts off the water within seconds of detecting an accident. Let's break down each unit and the triggering logic in practice.
Controller, electric actuator and sensor: three units that shut off the water
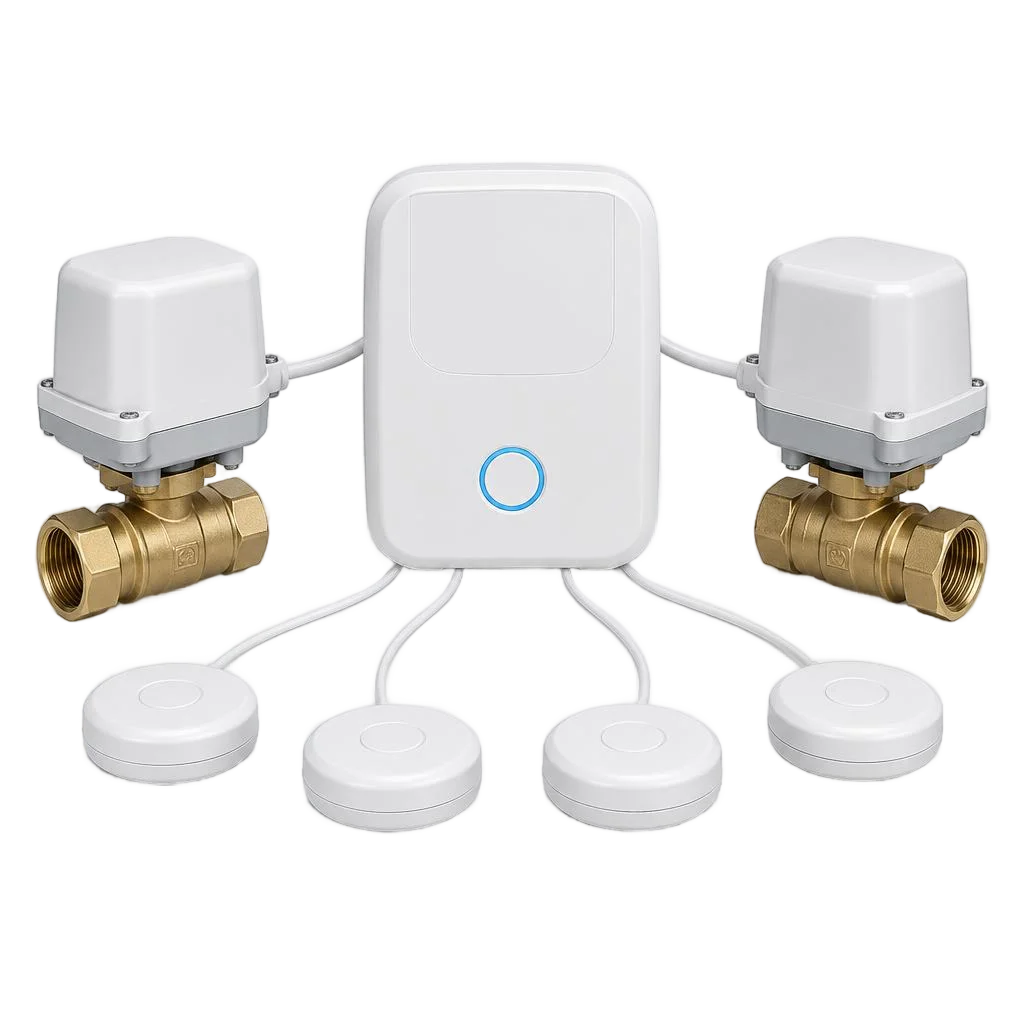
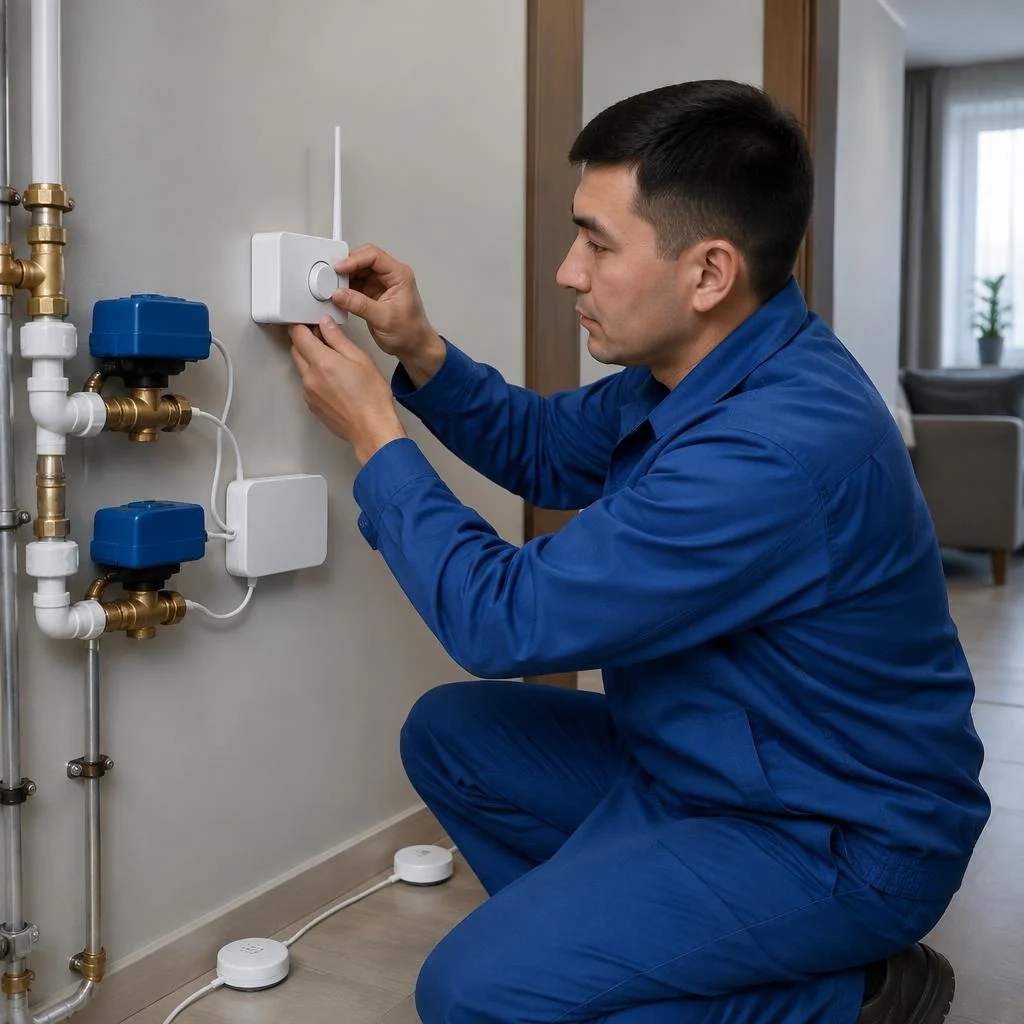
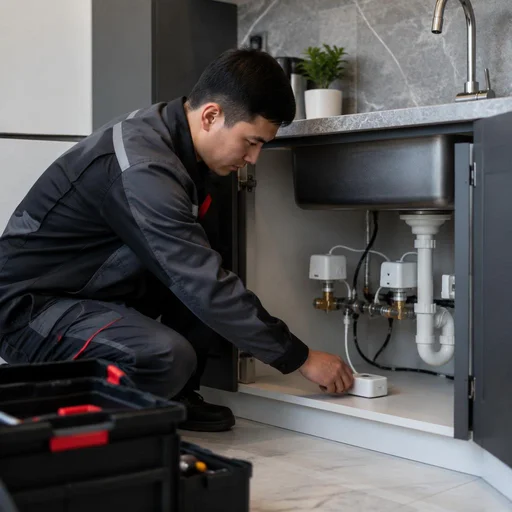
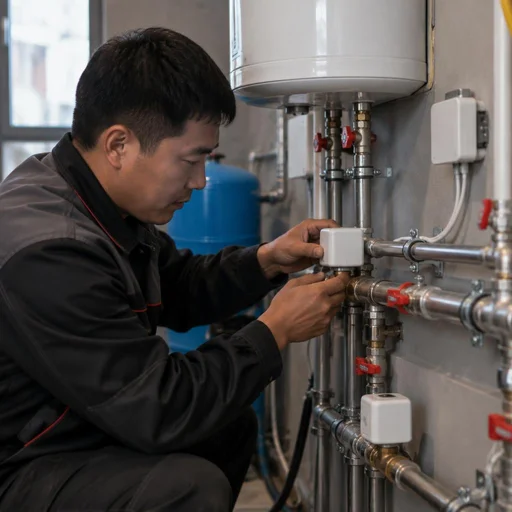
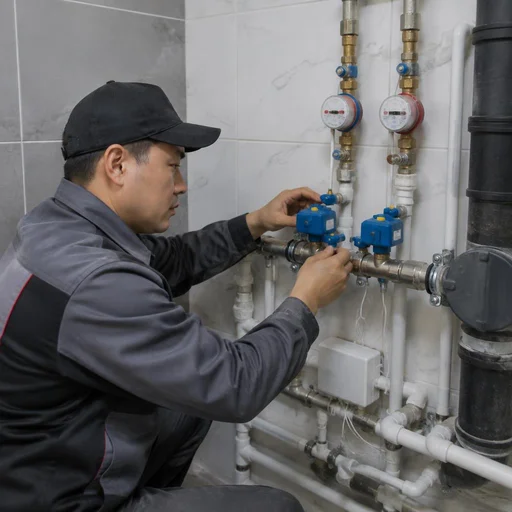
Installing a water leak protection system begins with three mandatory units: a control controller, a shut-off electric actuator at the inlet, and leak sensors at risk points. The controller is a unit with a board and terminals that polls the sensors via radio channel and sends a command to the actuator. The shut-off electric actuator is a ball valve with an electric drive that physically shuts off the supply: the servo drive turns the stem in 3-7 seconds while the controller holds the power. The leak sensor is a plate with two contacts: water closes the circuit, and the signal goes to the controller. We install such kits at the apartment inlet and on individual risers in private houses. If the sensor is only under the sink and the washing machine is at the other end of the apartment, water will have time to spread during an accident; that is why sensors are placed at every wet point, and not "one per apartment".
Radio channel of the sensors: why wireless communication is more convenient than wired
We set up the radio channel of the sensors so as not to chase walls and not to run wires through the entire apartment to the controller. A wired scheme requires a cable duct to each wet point, and this means opening up tiles and dust during renovation. The radio channel operates at a frequency of 433 or 868 MHz: the sensor transmits an alarm to the controller without a physical line, and the CR2032 battery in the sensor holds a charge for 2-3 years. In Bishkek new buildings with monolithic partitions, the signal passes confidently, while in panel houses of the 1-464 series, the rebar in the walls shields part of the range. The radio channel radius in a panel house is reduced because of the rebar in the walls — during installation we check the signal level from each point and, if necessary, move the controller closer to the far room.
Energy-independent systems: when protection works without electricity
An energy-independent system shuts off the water mechanically when the sensor is triggered, without requiring the controller to be powered from the mains. Inside such a module there is a heat-sensitive or spring actuator: the sensor sends an impulse, and the valve closes using stored mechanical energy, not from a socket. Such kits are installed at dachas in the suburbs of Bishkek and in houses with frequent power outages, where a conventional controller is de-energized and loses contact with the sensors. Such systems are chosen for dachas and houses with frequent power outages, but they cannot send notifications to the phone — if remote monitoring is needed, you will have to install a conventional system with backup power.
Choosing a system: Neptun, Gidrolock, Aquaguard and energy-independent options
The Bishkek market offers Neptun, Gidrolock, Aquaguard and energy-independent models. Let's break down how the lineups differ in sensor communication, number of zones and integration, and which property each one suits.
Comparison of the Neptun, Gidrolock and Aquaguard lineups by key parameters
| Lineup | Sensor communication type | Protection zones | Smart home integration |
|---|---|---|---|
| Neptun | radio channel | up to 8 | yes, via module |
| Gidrolock | wired / radio channel | up to 12 | yes, via controller |
| Aquaguard | radio channel | up to 6 | limited |
| Energy-independent | mechanical | 1-2 | no |
Through Eco-Service you can choose any of these lineups for a specific property. Don't chase the maximum number of sensors in the kit — what matters more is that the controller supports the scenario you need (for example, a separate shutoff for the washing machine and for the whole riser).
Which system to choose for an apartment and which for a private house
For an apartment in Bishkek we more often install a kit with 3-5 sensors and shutoff of a single riser; for a private house, a multi-zone one with protection of several risers and the supply line. In new buildings on Gogol and Jibek-Jolu, one pair of electric actuators on the supply line is usually enough, whereas in two-storey houses in the Kok-Jar and Alamudun market area we close off the first and second floors separately, plus the boiler room. Clients often phrase their request like this: installation of a leak protection system price — and that makes sense, because the final estimate directly depends on the number of zones and the type of sensor communication. In a private house with an autonomous water supply, there is an added risk of leakage from the storage tank and the pump station — these points also need to be covered by sensors, otherwise the protection will be incomplete. Before ordering a kit, count all the water draw-off points at the property: one missed point (for example, the inlet to the boiler room or a watering tap) negates the entire riser's protection.
Neptun system installation: what's included in the kit and how we install it
Neptun system installation includes assembling the controller, the shutoff electric actuator on the supply line, sensors at risk points and setting up the radio channel. The basic kit includes a control controller, two electric actuators for the hot and cold supply lines, three to four leak sensors and a power supply unit; we place the sensors under the sink, behind the washing machine and in the bathroom next to the toilet. With Neptun, the sensors are battery-powered, and replacing them doesn't require calling a technician — but we still set a reminder in the app so as not to miss a low battery and be left without protection.
Installation points: washing machine, water heater, dishwasher, toilet, faucet
About 80% of leaks in Bishkek apartments occur at five points — the washing machine and dishwasher, the water heater, the toilet, and the faucet. Let's break down exactly where to place the sensor and the actuator in each of them.
Protecting the washing machine and dishwasher: where to place the sensor
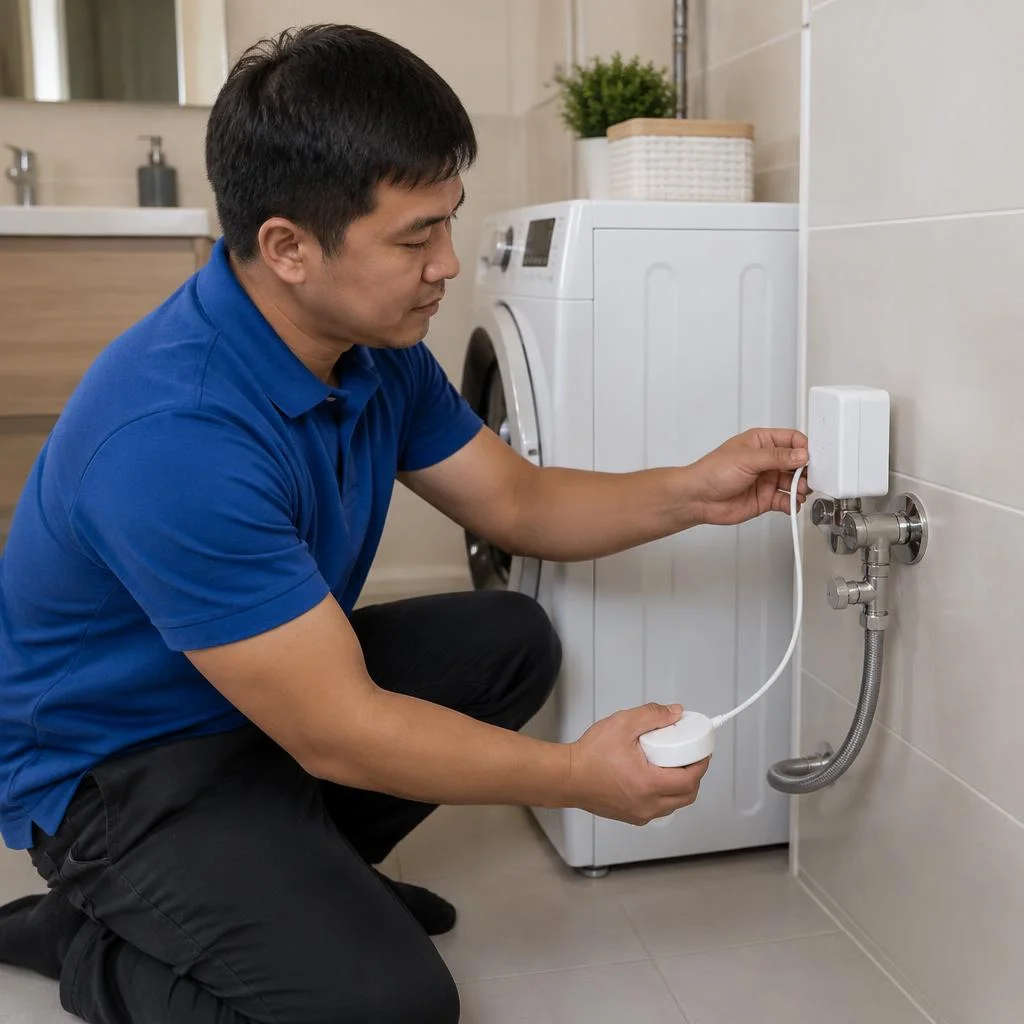
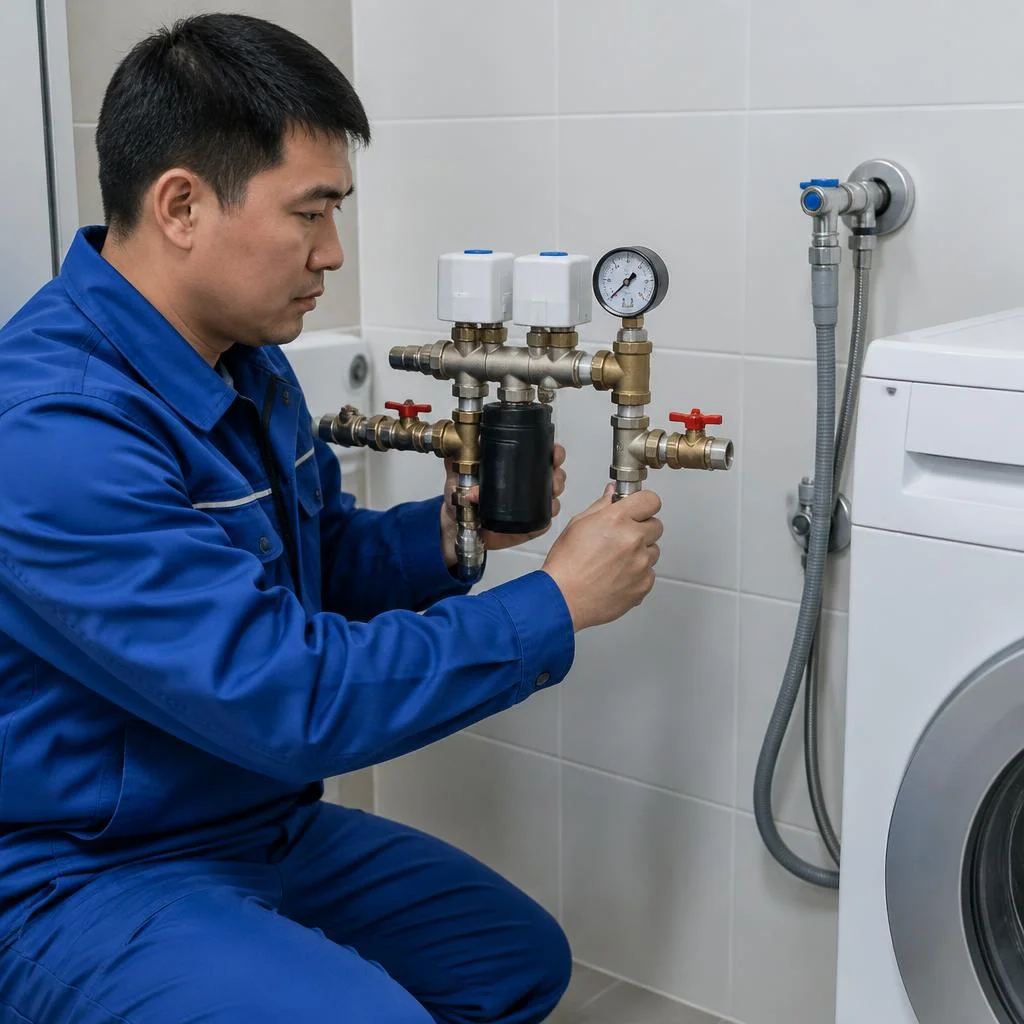
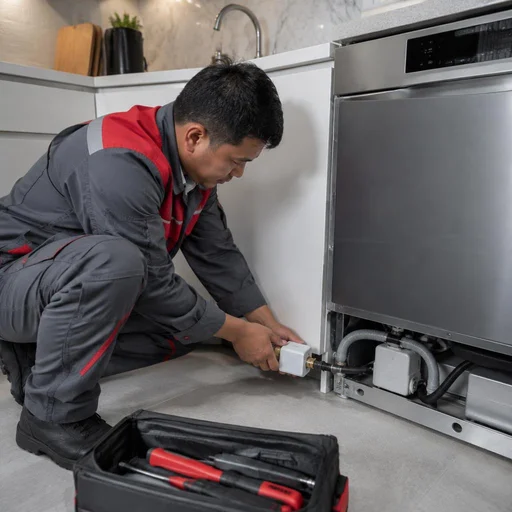
We place the sensor under the washing machine and dishwasher on the floor and connect it to the controller — when water appears on the floor, the system shuts off the supply within seconds. Under each appliance in Bishkek we install a separate sensor, not one shared sensor for the bathroom: for the washing machine, the risk zone is the inlet hose and the drain filter; for the dishwasher, it's the connection to the siphon and the door seal. Installing water leak protection systems requires that the sensor lie at the lowest point of the floor where water flows — usually this is the recess under the unit. A common mistake is mounting the sensor on the back wall of the machine: if the hose leaks, water flows onto the floor, not onto the wall, and the sensor won't trigger. The correct place is on the floor under the machine, and that's exactly how we install it, checking the slope of the surface.
Protecting the water heater and toilet: installation specifics
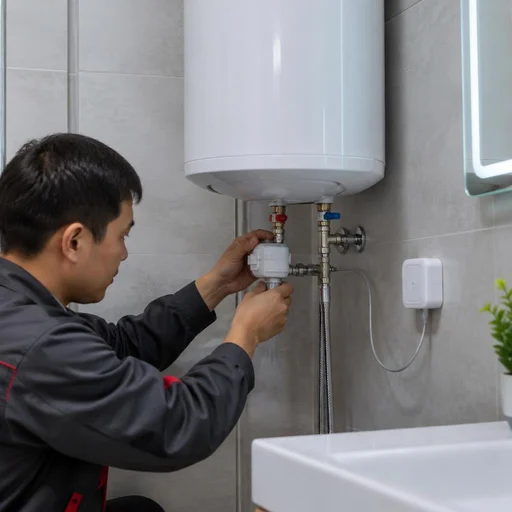
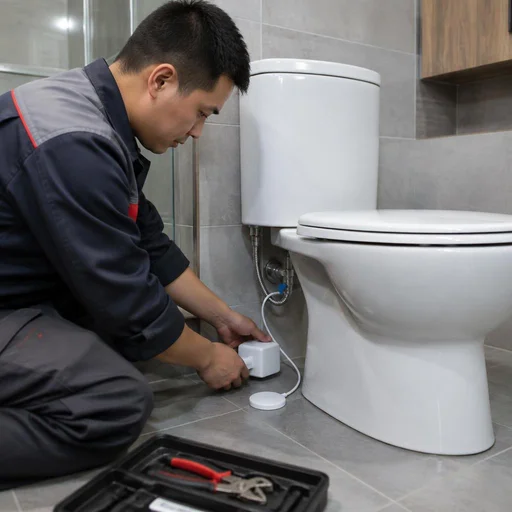
For the water heater, we place the sensor under the tank and on the supply line; for the toilet, on the floor at the base and on the flexible supply line. With a boiler in Bishkek apartments, the main risk is not the tank itself but the threaded connections and the safety valve: they leak during pressure surges in the city network. We install the shut-off electric actuator on the cold water inlet before the boiler, so as to shut off the supply before the water reaches the electrical components. The toilet most often leaks at the flexible supply line and the flush tank gasket — here the sensor on the floor catches the water before it seeps under the tiles to the neighbors. With a water heater, the sensor under the tank catches the leak only after water has already accumulated, so during installation we additionally check the condition of the supply line and tighten the connections.
Protecting the faucet and multiple risers: multi-zone schemes
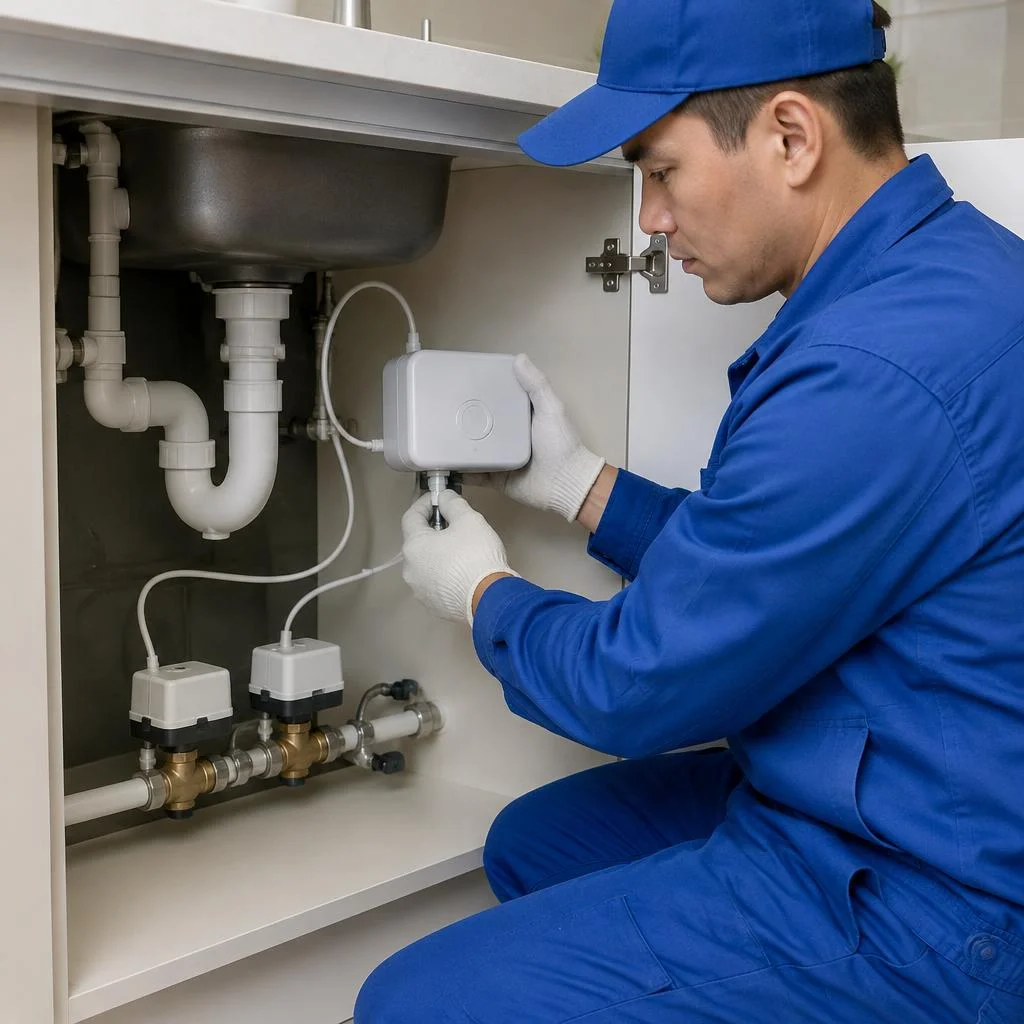
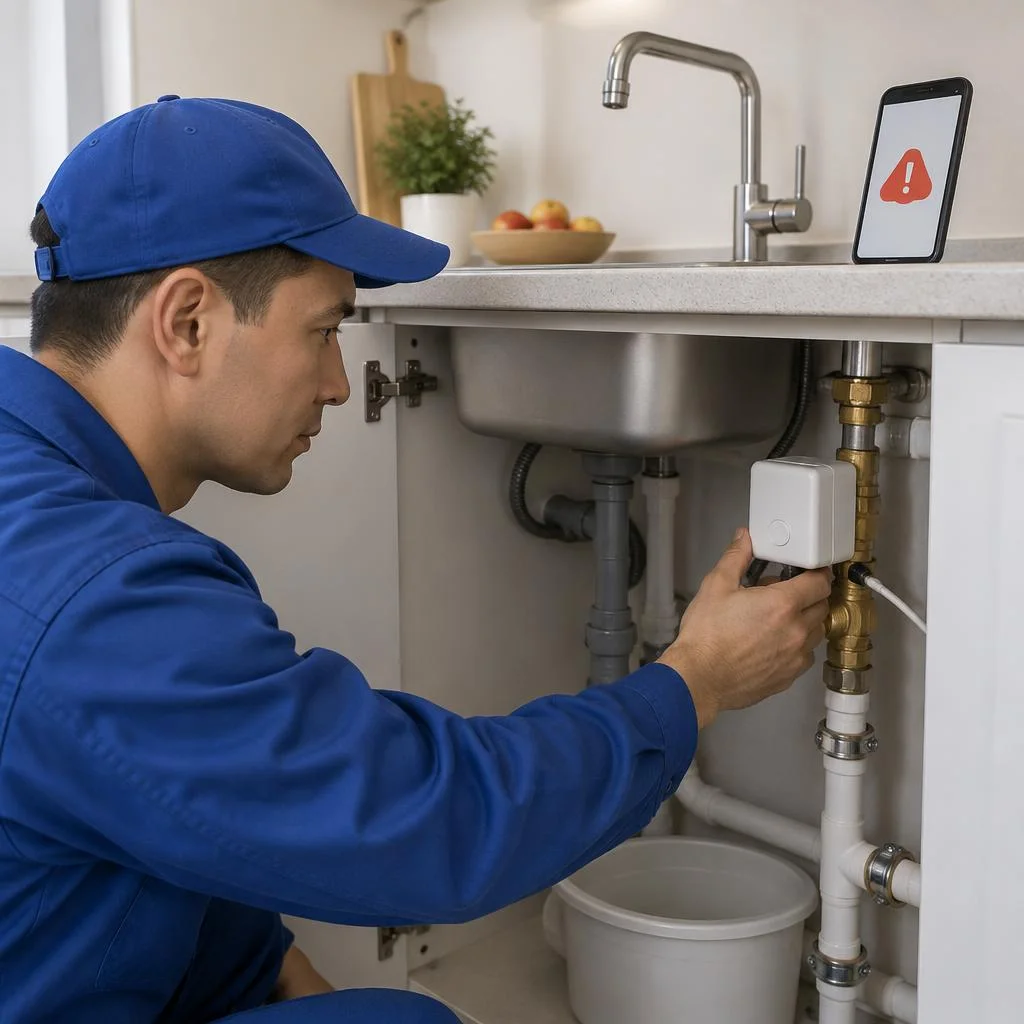
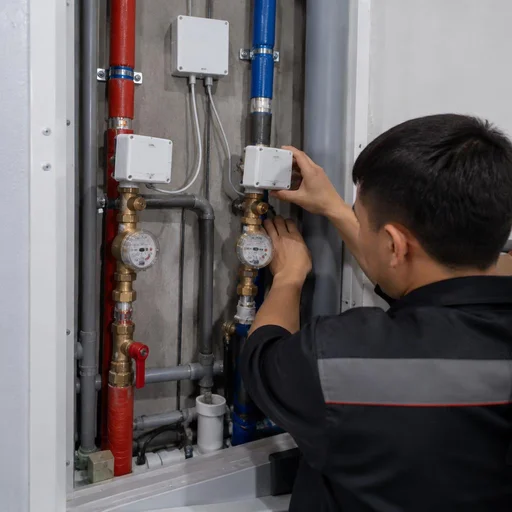
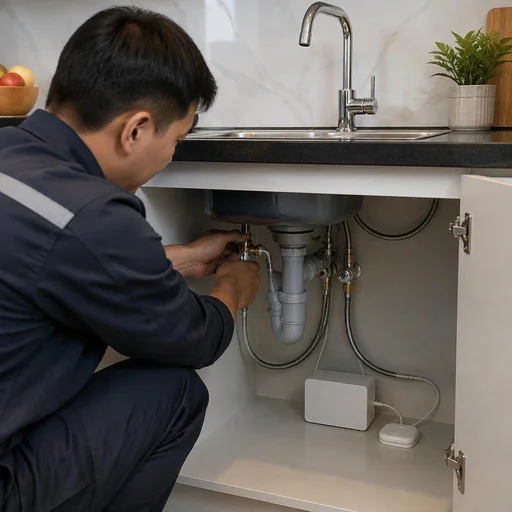
For the faucet, we install a separate sensor, and when protecting multiple risers — a separate electric actuator on each inlet, so as to shut off the water by zone. In Bishkek apartments with two risers (bathroom and kitchen), the sensor at the faucet in the bathroom and the sensor under the sink are connected to one controller, but the actuators are installed separately — on the inlet to the bathroom and on the inlet to the kitchen. If you shut off one common inlet for the whole apartment, during an emergency in the bathroom you'll be left without water in the kitchen; a zonal scheme allows you to shut off only the problem section and not stop the water supply for the entire home. On the faucet, we place the sensor in the tray or on the floor under it: a common cause of leaks is wear of the cartridge and the O-rings, and water runs down the body. We assemble the multi-zone scheme with a separate shut-off electric actuator on each riser, so as to cut off only the emergency section.
Installation of the Neptun system and other product lines: installation stages
Installing the Neptun system and other product lines takes a single visit from a technician. Let's go through the stages in order — from shutting off the water on the riser to the final pressure test.
Step-by-step process from shutting off the water to the test
- Shutting off the water: we close the valve on the riser and make sure the pressure is released through the nearest mixer tap.
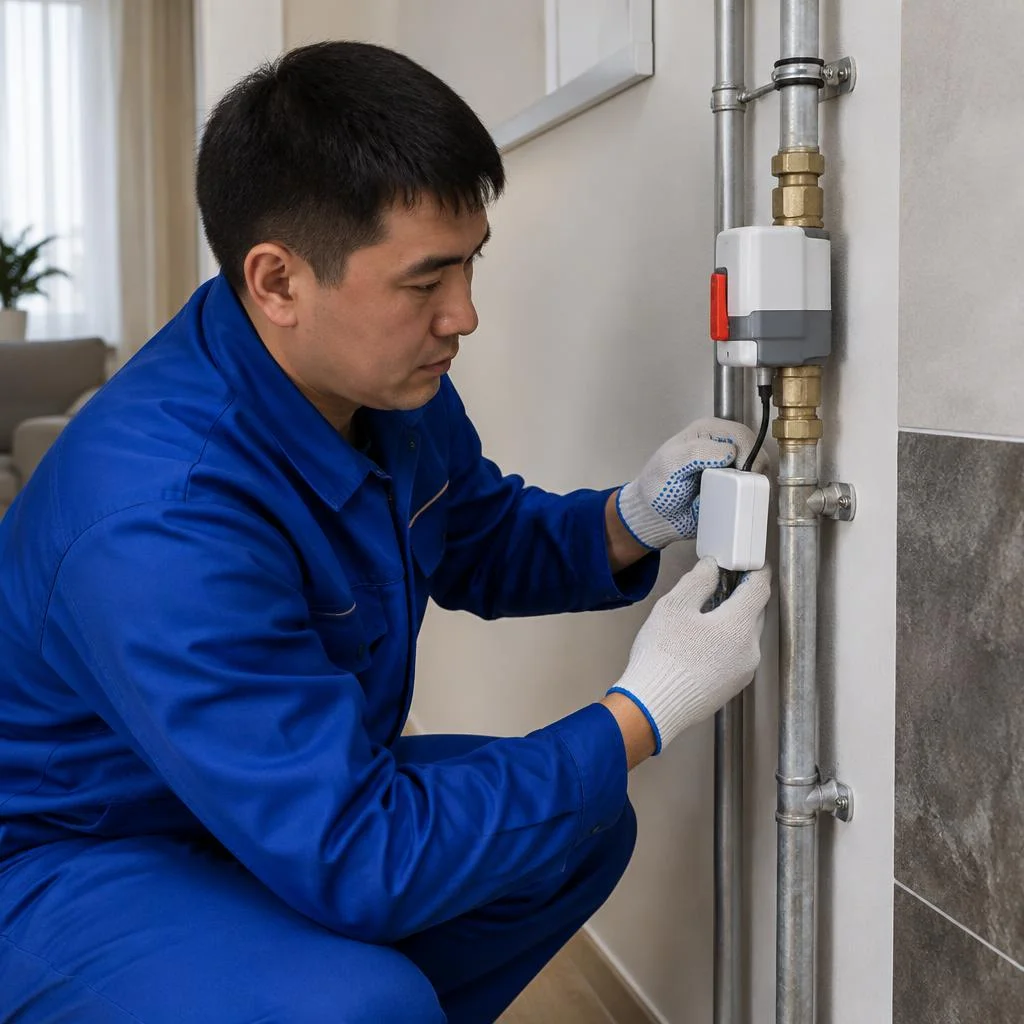
- Control controller: we mount the unit on the wall next to the inlet, run the power supply, and connect the shut-off electric actuator to the pipe.
- Leak sensors: we place them under the washing machine, boiler, sink, and toilet — where flexible supply lines most often burst.
- Pressure testing: we open the valve, start the water, and check that the actuator shuts off the flow within seconds after a simulated leak.
- Commissioning: we clear false triggers and record the final layout in the system's data sheet.
Connecting the sensor to the controller and setting up the radio channel
We connect each sensor to the control unit and set up the radio channel so that the signal reaches from the farthest point in the apartment. In Bishkek's panel buildings — series 105, 106, 1-464 — concrete walls dampen the signal more than brick, so we more often place the controller at the entrance rather than in the bathroom. During installation, we check not only whether there is a connection, but also the signal level: if it's borderline, the sensor may trigger with a delay at the moment of an accident, so it's better to relocate the controller or add a repeater.
Programming protection scenarios and setting up phone notifications
We program protection scenarios — for example, a separate shut-off for the washing machine at night — and set up phone notifications via the app or a Telegram bot. In Neptun and Gidrolock controllers, scenarios are tied to a specific sensor: a leak at the boiler shuts off only its circuit, while the water in the bathroom stays on. If a client is looking for installation of a leak protection system, they usually mean precisely the final setup — when the hardware is already installed but the operating logic hasn't been configured yet. Notifications are useful not only during an accident: if a sensor triggers while you're away from home, you'll have time to warn your neighbors and call a technician before the water reaches the lower floors. We set up different message templates for day and night so that nighttime triggers don't wake up the whole building entrance.
Integration into a smart home and reinstallation after renovation
The protection system works autonomously or integrates into a smart home. Let's go over integration scenarios and the procedure for reinstallation after renovation.
Integrating protection into a smart home: scenarios and compatibility
We integrate protection into a smart home so that the controller shuts off the water according to a scenario — when leaving home, on a smoke detector signal, or in conjunction with an alarm system. In our practice, such setups are built on Gidrolock and Neptun controllers with relay modules: they send a command to the electric actuator and simultaneously send a push notification via phone notification settings. Clients often phrase the request as installation of leak protection — and in this case the installation remains a basic circuit, while the smart home merely adds scenarios. Integration requires that the controller support your hub's protocol — Zigbee, Wi-Fi, or dry contact. We carry out configuration through the manufacturer's app, not through a third-party gateway. If there is no hub, it is cheaper to install a standalone system with notifications than to buy a smart home for a single function.
Reinstalling the system after renovation: what to consider
After renovation, we reinstall the system: we remove the sensors and controller before work begins and mount them again after the final finishing. Installation of water leak protection systems in this case requires recommissioning. The leak sensor on the bathroom floor and in the kitchen are removed first — they get covered by screed or hidden by tiles; the control controller is moved out of the chasing zone, while the shut-off electric actuator stays in place if the riser was not replaced. Reinstallation of the system after renovation includes reconfiguring the radio channel and a pressure test, because after pipe replacement the hydraulics of the circuit change. If the renovation affects the bathroom, it is better not to dismantle the electric actuator on the riser — it is removed only when replacing pipes; in other cases, it is enough to protect the controller with film and relocate the sensors.
Warranty, service, and why installation is trusted to Eco-Service
Warranty and service are what distinguish professional installation from "eyeballing" work. Let's break down what the two-year warranty covers, how the service center operates, and what to do after installation.
2-year warranty on installation: what it covers and what it doesn't
Eco-Service provides a 2-year warranty on the installation of the water leak protection system — it covers the technician's work and the correctness of the setup. The scope of responsibility includes the tightness of threaded connections of the shut-off electric actuator, the correct connection of the control controller, and the accuracy of the sensor radio channel triggering: if after installation the electric actuator does not shut off the water when signaled, this is a warranty case. Consumables are not covered — the leak sensors themselves and batteries, as well as damage from power surges in the grid or mechanical interference by third parties. An important nuance: if a sensor stopped transmitting a signal specifically due to an installation error, and not due to a dead battery, we replace it free of charge under warranty — this happens when the contact is mounted too close to the metal housing of an appliance and shields the radio signal. Installation of water leak protection systems with our quality control eliminates such errors at the commissioning stage.
Our own service center in Bishkek: how maintenance works
Eco-Service has its own service center in Bishkek — device intake is in person, diagnostics and replacement of components are done on site. If the control controller fails, you bring it in yourself and receive a report on the day of your visit, not after a week of correspondence with the manufacturer. The engineer checks the board on a test bench, tests the outputs under the load of the electric actuators, reflashes the radio channel module if necessary, and selects compatible sensors from stock. In our orders, power supply units most often fail after the thunderstorm season, along with valves with scale buildup — both cases are resolved in a single visit. The service center eliminates waiting for a technician from another city: diagnostics and repair don't stretch out over weeks of shipping.
System maintenance: what to do after installation
- Annual sensor check: once a year, drip water onto the leak sensor and make sure the shut-off electric actuator shut off the water within seconds.
- Pressure testing: once a year, check the system connections under operating pressure — this is part of system maintenance and identifies loosened threads before an accident.
- Battery replacement: replace the batteries in the sensors according to the manufacturer's schedule, without waiting for the radio channel to stop transmitting a signal to the controller.
- Radio channel monitoring: check the signal level between the sensors and the controller after repairs or rearranging furniture — metal surfaces shield the connection.
- Sensor cleaning: wipe the contacts free of scale and dust — a contaminated sensor may not trigger during a real leak and won't send the command to shut off.
Conclusion
We've gathered the key takeaways on installing leak protection systems — the things most often overlooked when choosing a kit and connecting it. Below is a short checklist before purchase and startup.
Main takeaways
- Three components of the system: controller, shut-off electric actuator, and sensors — you can't cut corners on any of them; a cheap ball valve without an actuator won't shut off the water on its own.
- Sensor placement: place it on the floor at the lowest point of the room, not on the wall — when a hose bursts, water flows downward and spreads across the screed.
- Kit size: for an apartment, 3-5 sensors and one electric actuator are enough; for a private house — a multi-zone scheme with protection at the inlet and each riser.
- Radio channel: wireless communication is more convenient than wired in a finished renovation, but before startup, check the signal level from the far room and the basement.
- Maintenance: once a year, test the system under pressure and check the sensors — a stuck sensor or a dead battery won't trigger at the right moment.


