









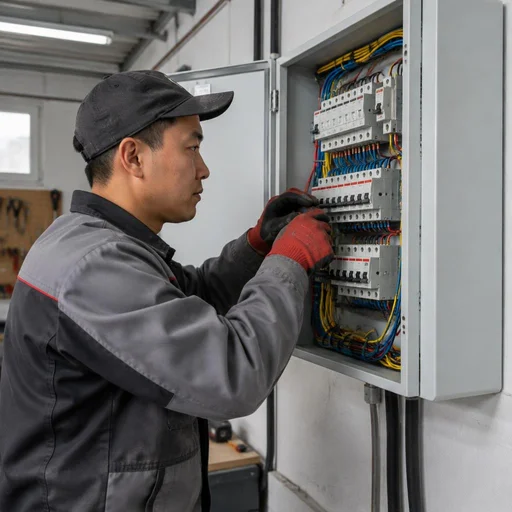
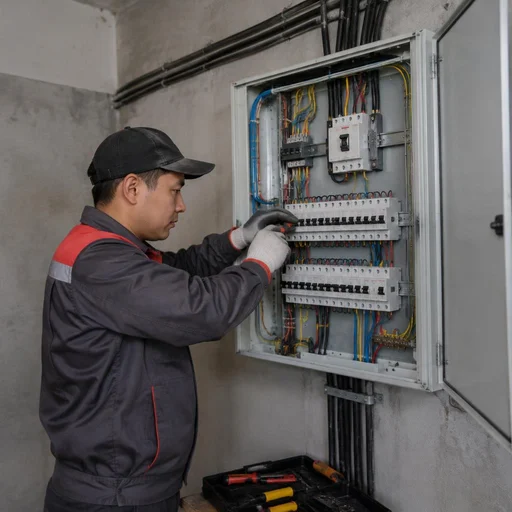
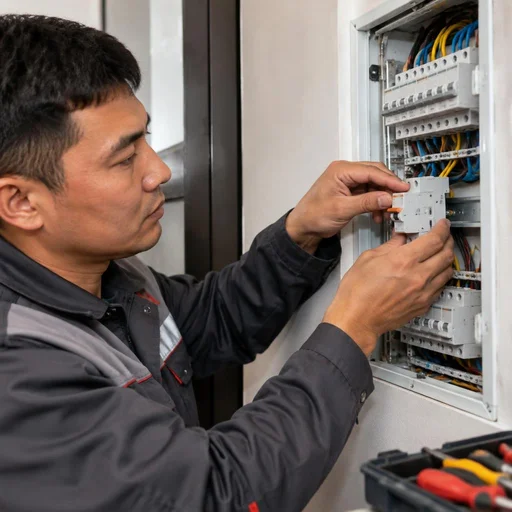
What electrical panels are installed in apartments, houses, and facilities in Bishkek
The type of panel is determined by the facility's purpose: consumption metering, group distribution, lighting, automation, power supply. This determines the composition of modules, the assembly scheme, and the installation method. Below are eight types most commonly found at facilities.
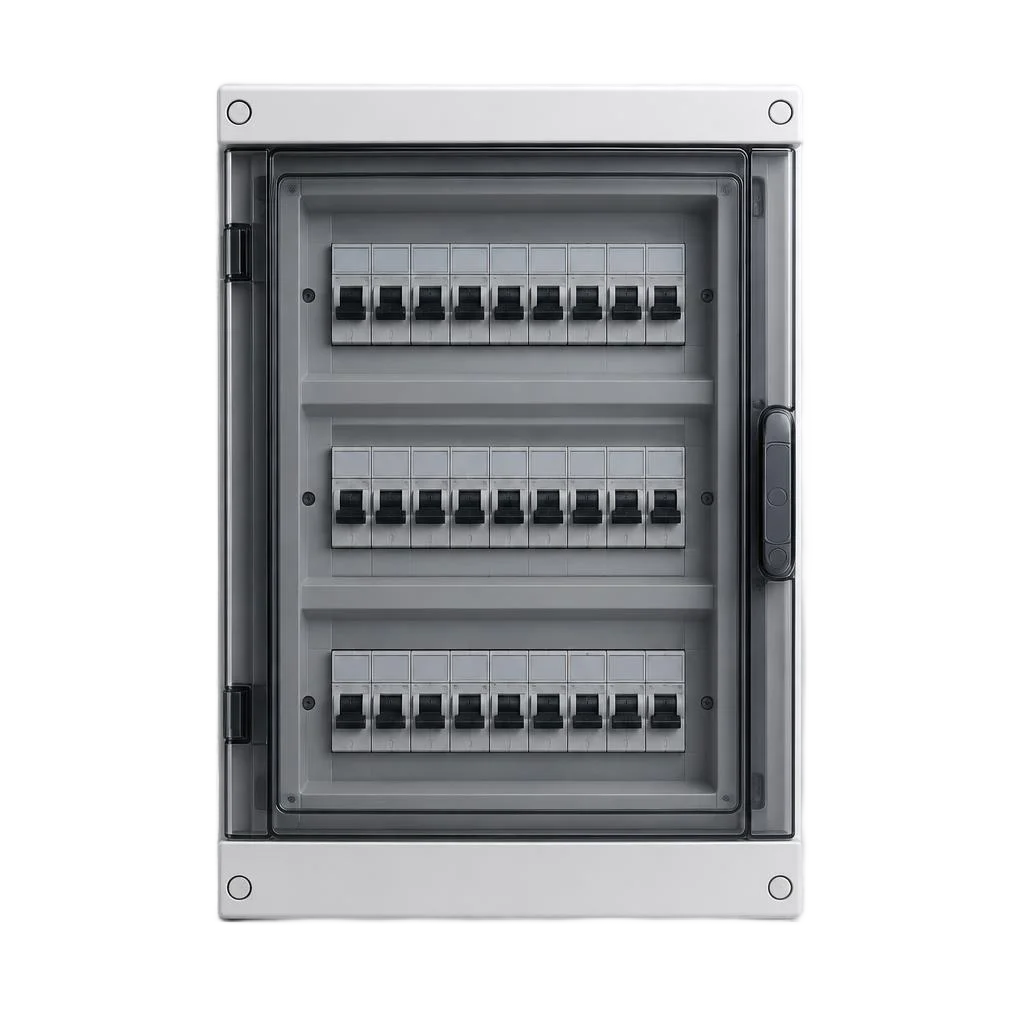
Distribution panel: the foundation for an apartment and a private house
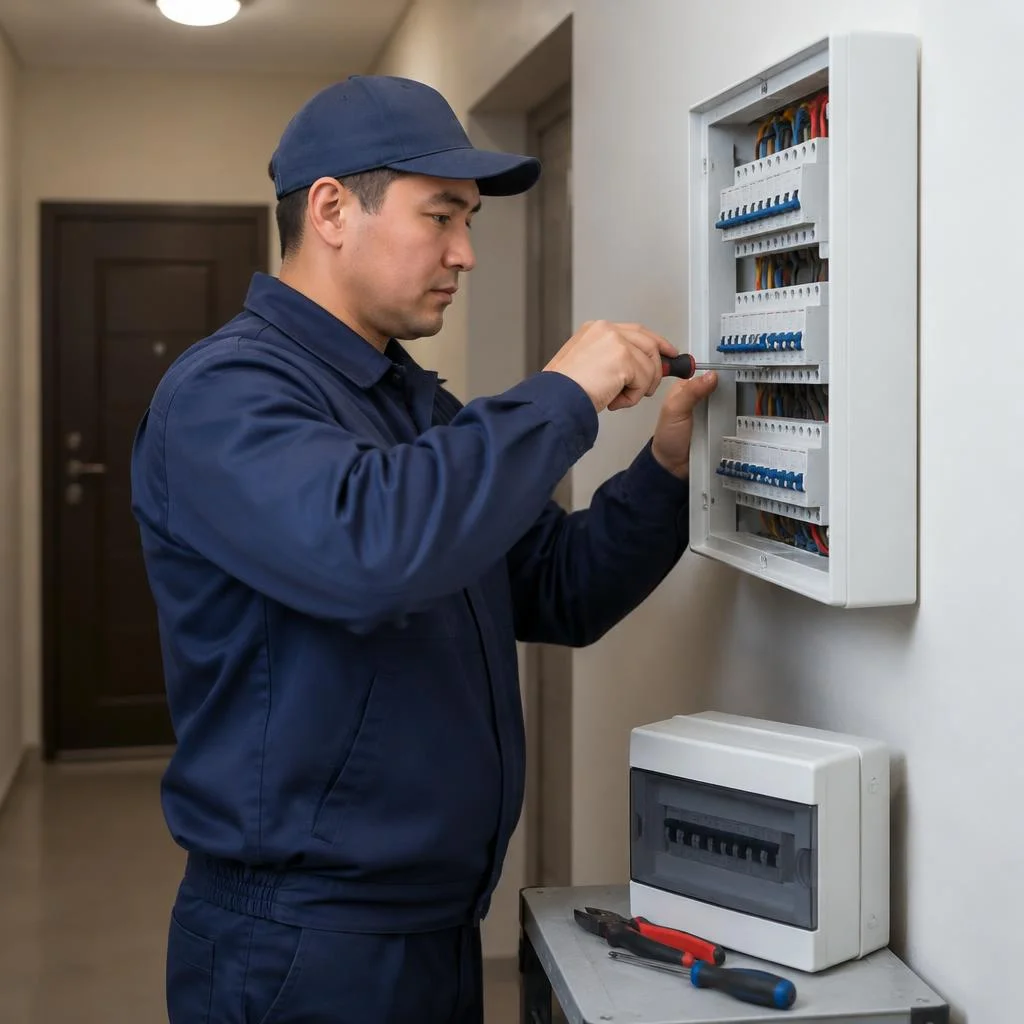
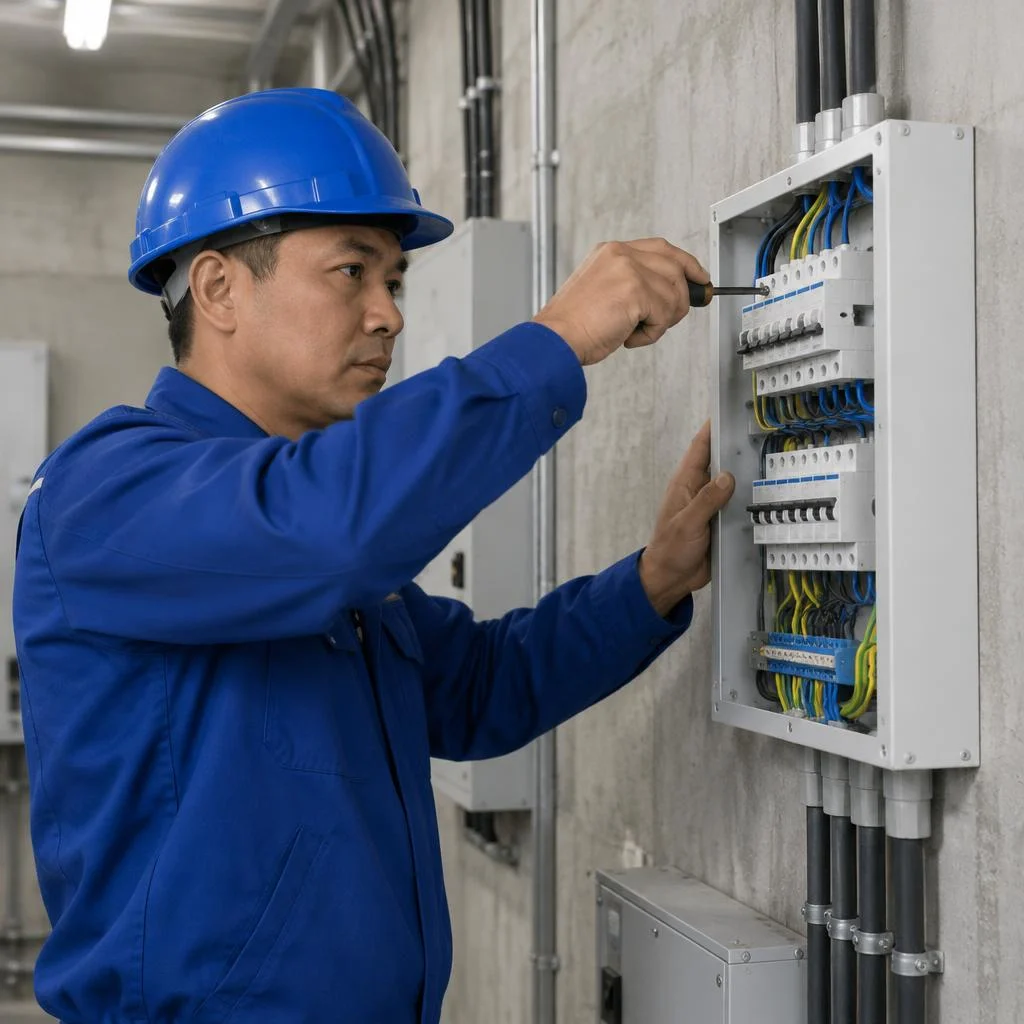
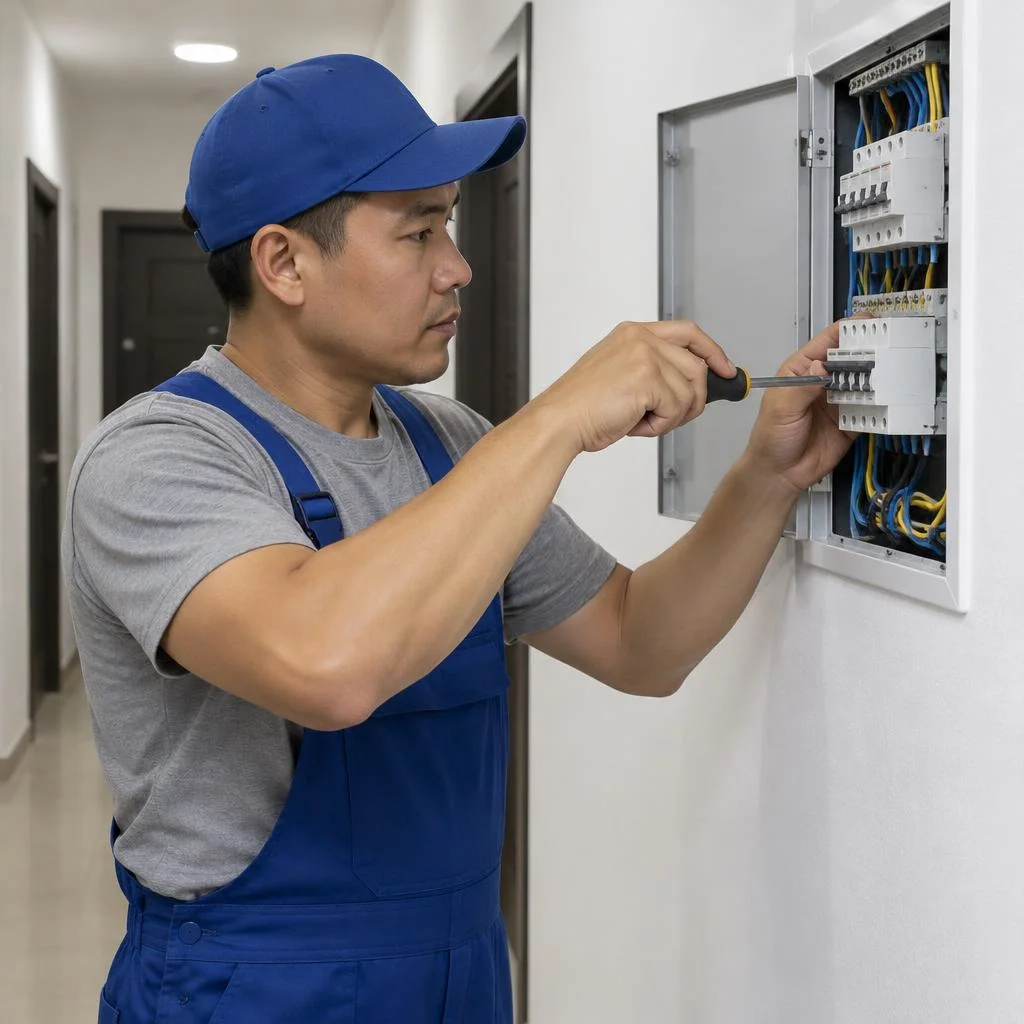
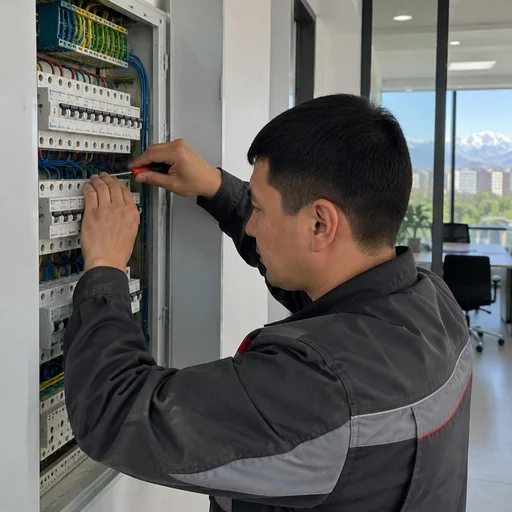
We assemble a distribution panel based on the number of groups at the facility — from 6 to 24 lines, with a circuit breaker for each group. Inside the enclosure, modular circuit breakers, a grounding bus, and a neutral bus are mounted on a DIN rail, and the incoming cable is distributed across groups: socket lines, lighting, a separate branch for the kitchen and boiler. For an apartment of 60-80 m², 8-12 groups are usually sufficient; for a private house with a boiler room and garage — 18-24 lines. If there are more than 12 groups, the panel is divided into two rows: this makes it easier to service and add lines without reassembling the entire module. In my opinion, reserving a couple of free slots for future groups is cheaper than replacing the entire enclosure a year later.
Metering panel and meter sealing
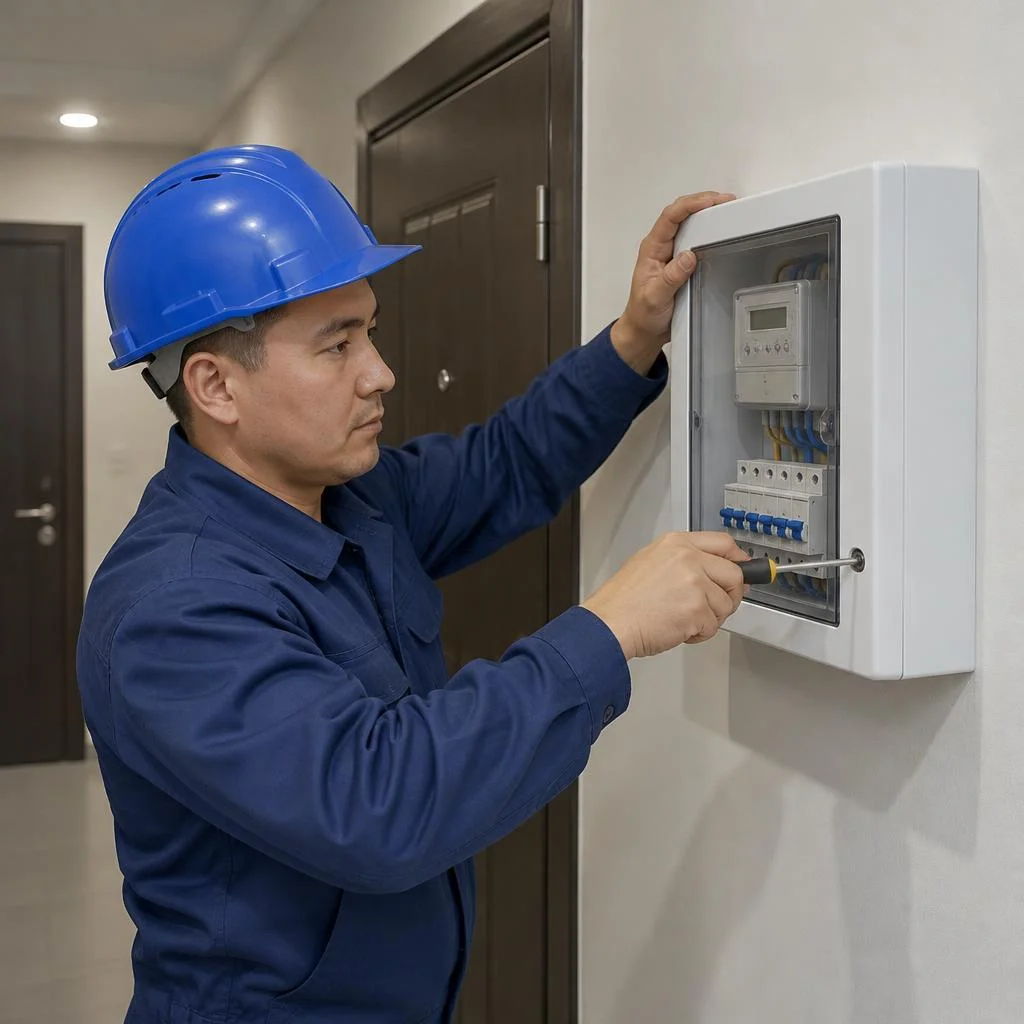
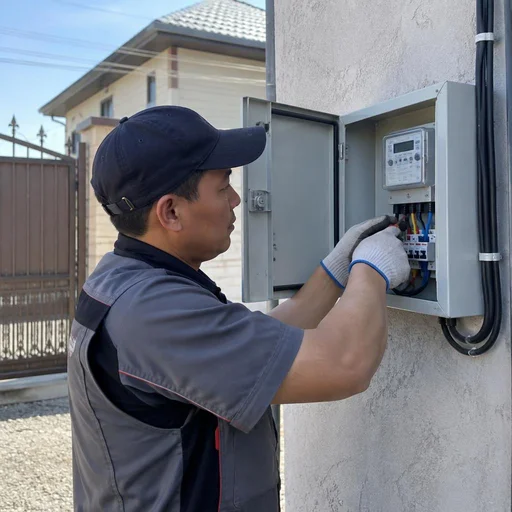
We install metering panels with the installation of an electricity meter and preparation for sealing. The design is simple: enclosure, DIN rail, meter, incoming circuit breaker, and terminal block for the outgoing cable. Sealing is done not by the installer but by an inspector from the power supply organization — by the time they arrive, the panel must be assembled, connected, and de-energized in a closed state. The meter is installed at a height convenient for taking readings, and the incoming circuit breaker is placed before it so the panel can be de-energized without breaking the seal. If you plan to switch to two-tariff metering, check in advance whether the meter supports the night tariff — replacing the device after sealing will require another visit from the inspector.
Lighting, automation, control, and power panels
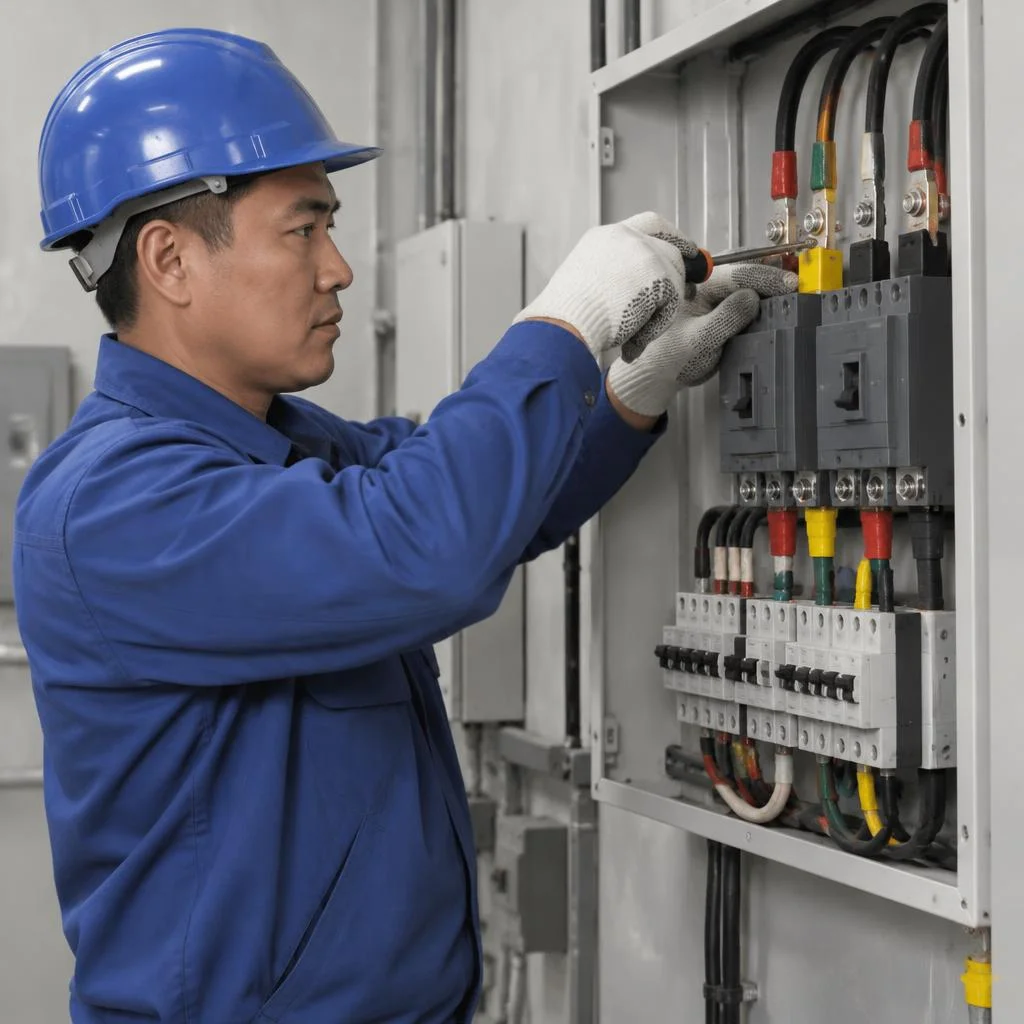
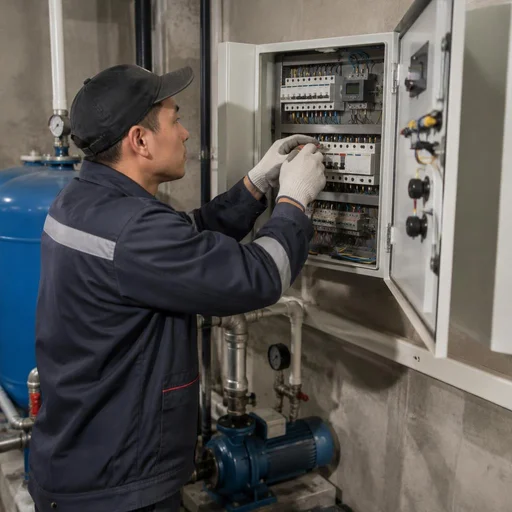
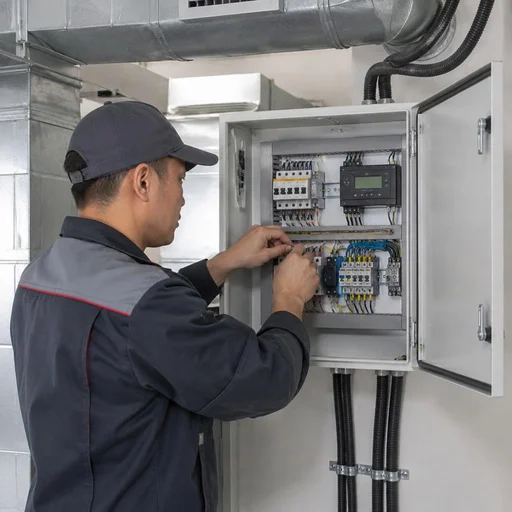
We install lighting panels, assemble automation panels for the client's specific task, and install control panels and power panels. A lighting panel is a compact enclosure for 4-8 modules for lighting groups with circuit breakers and, if needed, dimmers. A power panel for 10-16 lines supplies machine tools, welding equipment, pumps, and other equipment in workshops. Control and automation panels contain contactors, voltage relays, and intermediate relays that switch the load based on sensor signals. Automation and control panels are assembled after the logic has been agreed upon: the operating sequence of contactors and voltage relays determines the internal scheme. For a private house with a generator, the "grid — generator" switching logic is defined before assembly, otherwise the modules will have to be redone.
Incoming panel and main distribution board (MDB)
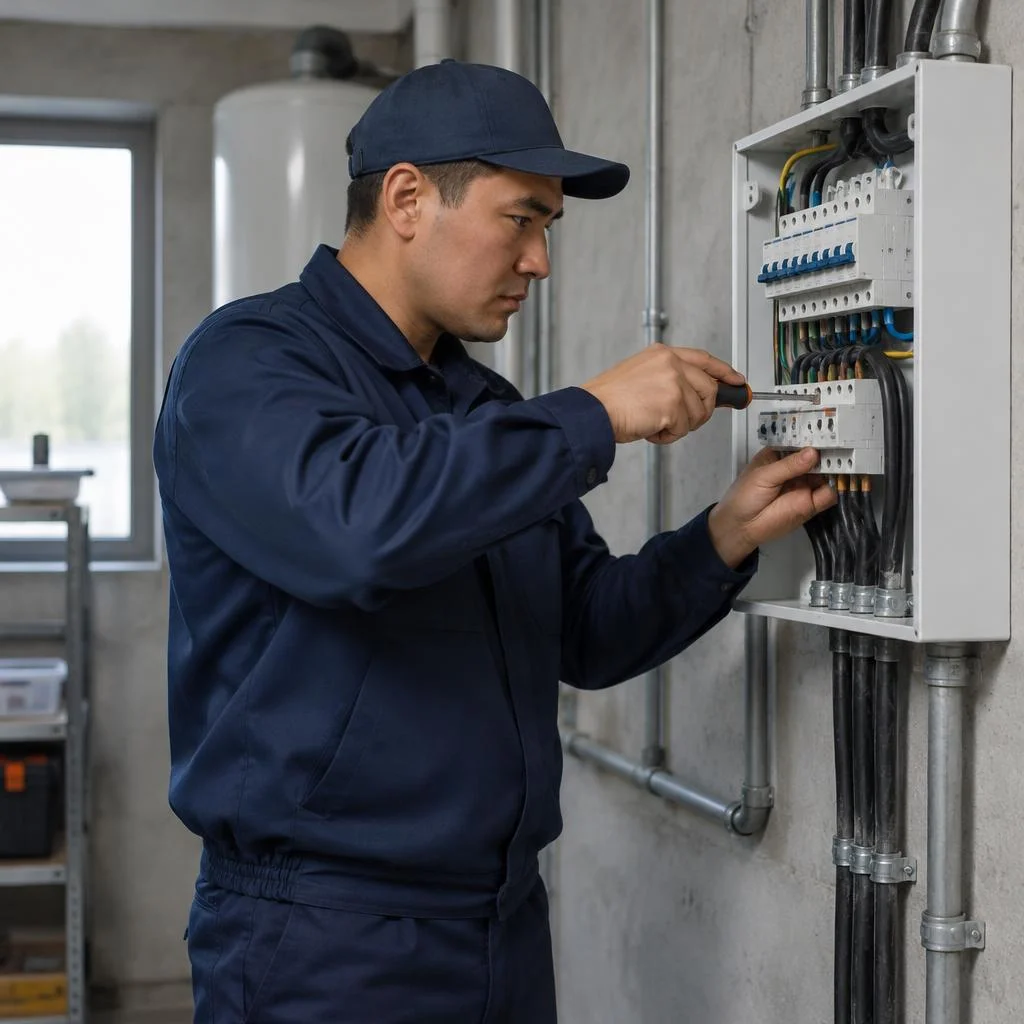
We install incoming panels for apartments and houses and assemble main distribution boards for facilities with multiple lines. The incoming panel receives the cable from the grid and transmits power to the internal wiring — inside are the incoming circuit breaker, terminals, and, if necessary, a voltage relay. The MDB is installed at facilities where several independent lines branch off from a single power point: floors, workshops, separate buildings. The cross-section of the incoming cable is selected based on the facility's calculated load, not "by eye": for an apartment with an electric stove it's one value, for a workshop with welding equipment it's completely different. An error in the cross-section at this section is the most costly — the cable heats up under load, and redoing it requires wall chasing. Clients often phrase the request briefly — electrical panel installation Bishkek — and it already encompasses the entire scope of work: from calculating the incoming section to assembling the enclosure. A similar story with the phrasing Electrical panel installation: it represents the same set of operations, only usually referring to compact enclosures for 4-8 modules for an apartment or small office.
Comparison of panel types by purpose and composition
| Type of panel | Purpose | What's inside | Where installed |
|---|---|---|---|
| Distribution | group wiring | circuit breakers, DIN rail | apartment, house |
| Metering | consumption metering | meter, main circuit breaker | hallway, stairwell |
| Lighting | lighting circuits | lighting group circuit breakers | apartment, office |
| Automation | operation logic | contactor, voltage relay | house, workshop |
| Main incoming | receiving from the grid | main circuit breaker, terminals | facility incoming point |
| Power | powering the load | circuit breakers, terminal blocks | workshop, facility |
| MSB | multiple circuits | incoming modules, wiring | facility, building |
Assembly of electrical panels for a facility's specific needs — work where the enclosure type is chosen before purchase: a mistake at this stage means going back to reassembly.
Selection of circuit breakers, RCDs and RCBOs for the load
The contents of the panel are determined by the load and the number of circuits: the same enclosure is assembled differently for a studio apartment and for a house with an electric stove. Let's look at what is installed inside and by what principle it is selected.
Which circuit breaker to choose for an apartment with a 220 V network
We select the circuit breaker for the load of each circuit at a network voltage of 220 V — separately for sockets, lighting and high-power appliances. The rating is chosen based on the cross-section of the circuit's cable, not the power of the appliance: a 16 A breaker is installed on a 2.5 mm² line, 10 A on 1.5 mm², 25 A on 4 mm², and this protects the wire, not the appliance. For a kitchen with a hob and a boiler, separate lines are allocated; for the socket network of the rooms — its own circuit; for lighting — a third one with a 10 A rating. Electrical panel installation in Bishkek includes such a calculation for each line before assembly begins. A rating higher than the cable cross-section is the most common mistake: the breaker will not trip until the wire is already melting under the plaster.
RCD and RCBO: what's the difference and what to install
We install an RCD as a separate protective module, and an RCBO as a combined circuit breaker and leakage protection in a single enclosure. An RCD by itself does not protect against overload and short circuit — it needs a circuit breaker as a partner, and together they take up two modules on the DIN rail versus one for an RCBO. The leakage current is chosen by current: 10 mA for wet areas and children's rooms, 30 mA for socket circuits, 100 mA at the input as fire protection. The cost of panel assembly on the page is calculated by the number of such modules, so on small panels in khrushchyovkas an RCBO is more often installed, while in spacious panels in new buildings — a pair of an RCD plus a circuit breaker. When an RCBO trips, it is harder to understand the cause: is it leakage or overload — whereas the combination of an RCD with a circuit breaker shows this immediately by the position of the flags.
Voltage relay and contactor: protection against surges and switching
We install a voltage relay for protection against surges in the network and install a contactor for switching high-power loads. The relay disconnects the input when the set limits are exceeded — the operating range is usually set to 190-250 V with a return delay of 10-30 seconds, so that it does not react to every dip. It is installed after the main circuit breaker: then the protection covers the entire property, including lines that go to other floors and to outbuildings. A contactor is needed where manual switching is inconvenient: boiler, pump, underfloor heating, yard lighting — the control signal comes from a button or timer, and the power line is broken by a separate device. In Bishkek, with its evening voltage dips, the voltage relay operates more often than the circuit breaker — and this is a normal sign that it is alive and working.
What to do if the circuit breaker trips
If the circuit breaker trips, first disconnect the load from that circuit, then check whether the line is overloaded and whether the cable is damaged. The procedure is simple: unplug all plugs from the sockets of the circuit, flip the lever up, turn on the appliances one by one and track which one causes it to trip again. If the breaker holds without load but trips when a specific appliance is turned on — the problem is in the appliance, and it should be taken for repair or replaced. If it trips with a load below the rated one — check the contacts in the sockets and junction boxes: a burnt contact causes heating and false tripping. Repeated tripping after switching on is a sign of a fault in the wiring or the appliance, not of a "weak" breaker; replacing it with a higher rating is dangerous and does not solve the cause, it only removes protection from the cable. In search, clients often type electrical panel installation price — and land on this page, although the query is about assembly, not about a breakdown.
How electrical panel installation works: stages of assembly and connection
Installation goes from choosing a location and assembling the panel to connecting to the incoming cable and labeling the groups. Below we break down each step from a practical standpoint: what is done on site and what the result depends on.
Where to place the electrical panel in an apartment or house
We place the panel in the hallway or on the stairwell landing — where it is convenient to access for maintenance and where there is enough space to open the door. In Bishkek apartments of series 105 and 106, a free niche is most often found at the entrance, next to the electrical shaft; in a private house, the enclosure is placed in a dry vestibule or boiler room, away from the gas boiler and wet areas. Electrical panel installation in Bishkek imposes one more condition: the distance to the meter and the entry point of the incoming cable — if the enclosure is moved 3-4 meters away, the cable will need to be extended and an additional coupling added, which complicates sealing. The location is chosen before wall chasing: moving the panel after the groups have been wired means redoing the incoming cable and re-terminating the ends.
Panel assembly: wiring the groups, labeling and terminal blocks
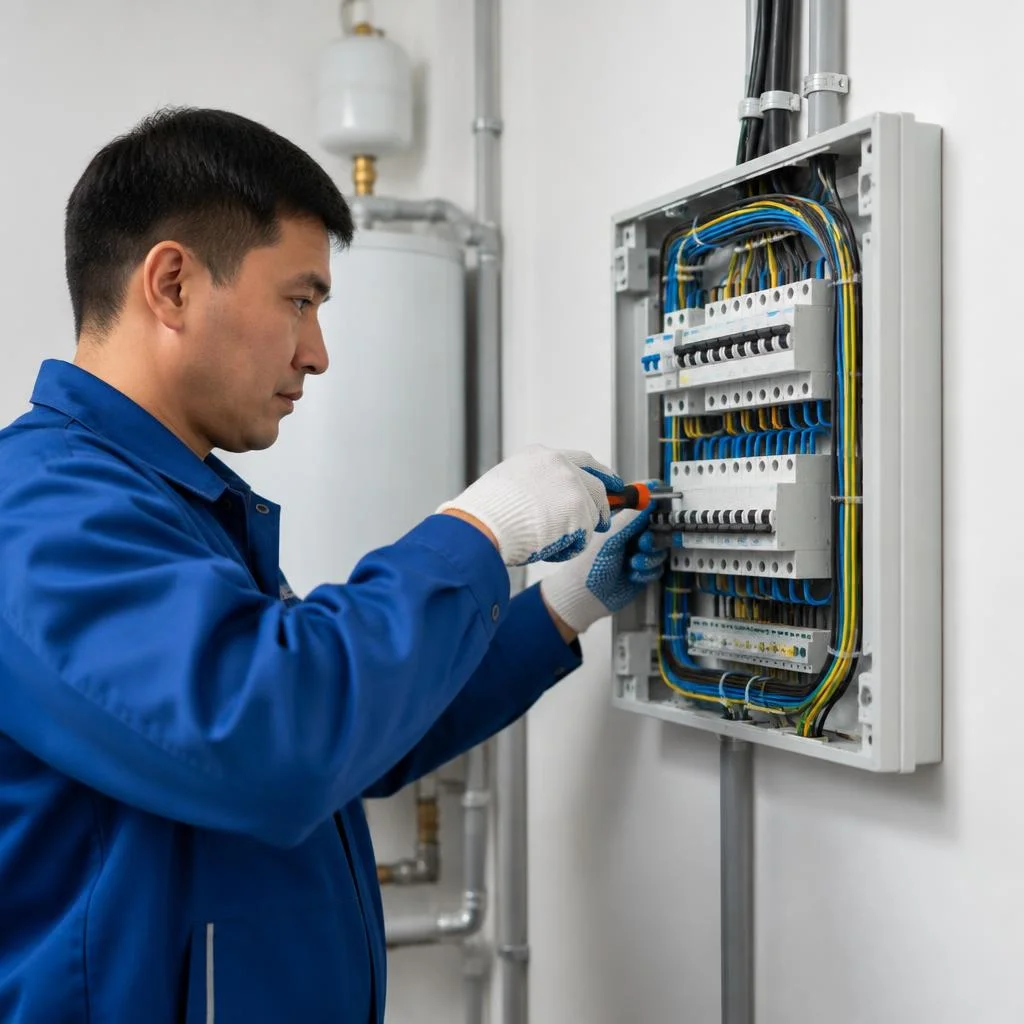
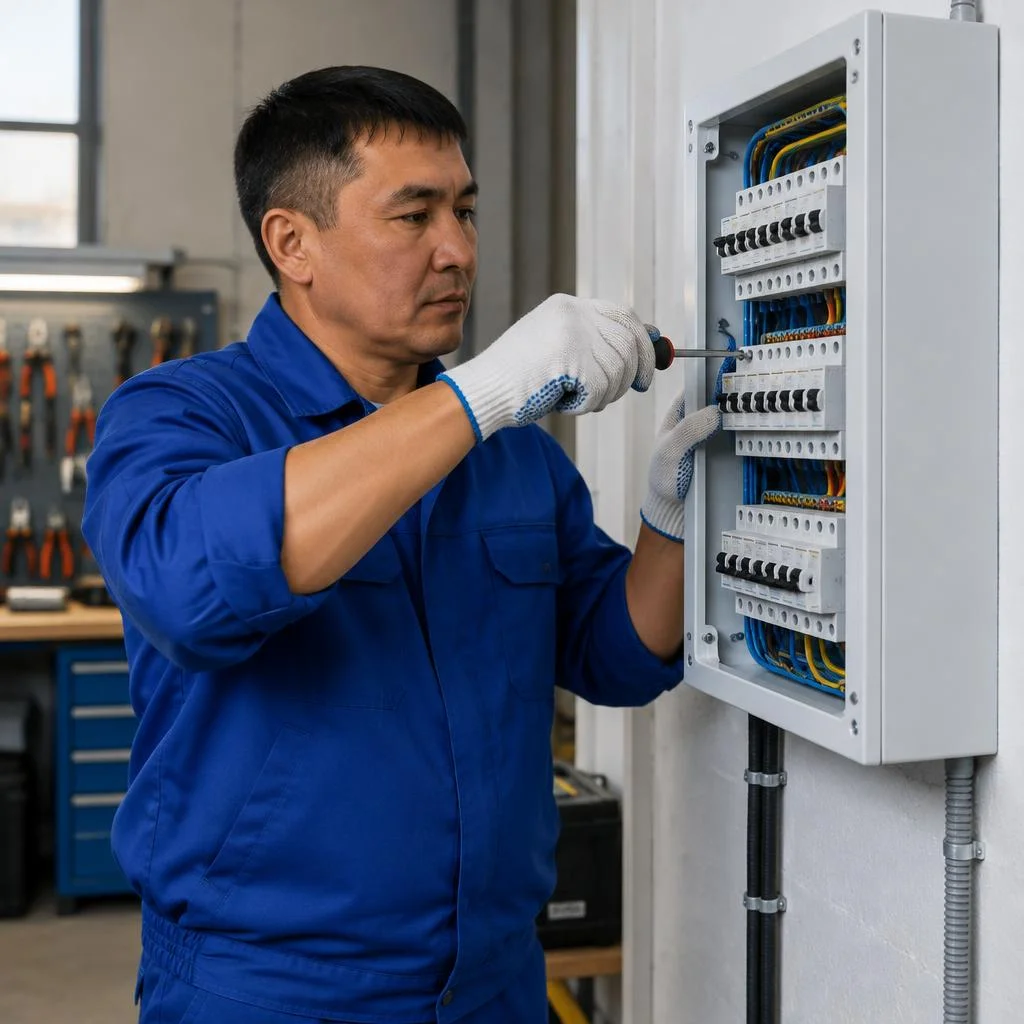
We wire the groups in the panel, install terminal blocks and do the labeling and assembly of groups by line. On the DIN rail, the modules are arranged in order: incoming breaker, voltage relay, RCD or RCBO, then the group breakers — this way the phase bus runs without crossing, and neutral conductors are collected on a separate N bus, not mixed with grounding. A terminal block is needed where more cores come into the enclosure than fit under the breaker screw: for 12-15 groups, two or three blocks are installed, otherwise the ends are bundled together and the connection heats up. Wire inside the panel is taken with a 15-20 cm reserve per module — this gives freedom when replacing a breaker without extending. Labeling the groups saves time during a fault — the label helps find the right breaker without buzzing out the entire wiring.
Connecting the panel to the incoming cable
We connect the panel to the incoming cable with the cross-section selected for the load and installation of the incoming breaker. For an apartment with a single-phase 220 V network at a total load of 8-10 kW, a 6 mm² copper cable is used; for 12-15 kW — 10 mm²; in a private house with a three-phase 380 V input, the cross-section is calculated for each phase separately, most often 4-6 mm² per phase. Electrical panel installation in Bishkek often begins precisely with this unit: the incoming breaker is set to a rating below the cable's ampacity — at 6 mm² that is 32 A, at 10 mm² — 40 A, otherwise the protection will not trip before the core heats up. The ends are terminated with ferrules or crimp lugs — a twist under a screw in the incoming unit is unacceptable due to currents up to 40 A. The incoming cable is fed in with a length reserve — this way it can be re-terminated when replacing the panel without extending.
Installation stages and what is included in the work
| Stage | What is done | What is included |
|---|---|---|
| Selection | load and group calculation | diagram, breaker ratings |
| Assembly | layout on the DIN rail | breakers, RCD, terminals |
| Installation | mounting the enclosure | fastening, cable entry |
| Connection | linking to the incoming cable | incoming breaker, terminals |
| Labeling | labeling the groups | labeling and assembly of groups |
The timeframe depends on the number of groups and the readiness of wall chasing — on a site with existing wiring, installation goes faster than at the rough finishing stage.
Installation of electrical panels in Bishkek: technician visit and on-site work
We work across Bishkek with on-site visits. Below we'll go through the scenarios we encounter most often: an apartment, a private house, a workshop, as well as replacing an old main panel and combining the metering panel with the distribution panel.
Electrical panel installation: apartment, house, workshop
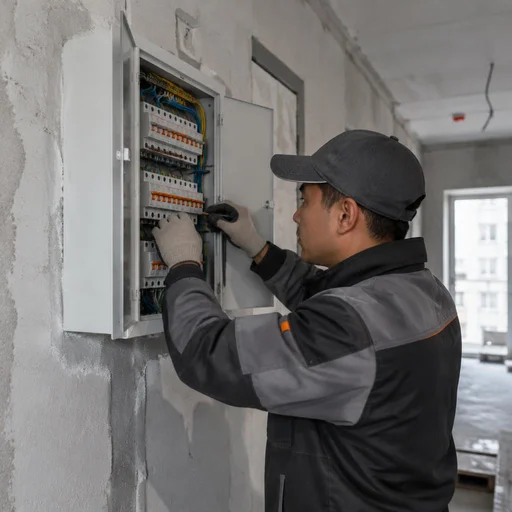
Installation of electrical panels for apartments, private houses and workshops is carried out with a technician visiting the site — he inspects the incoming supply, calculates the load by groups and determines the location for the enclosure. In apartments on 220 V, a distribution panel of 12-24 modules is usually sufficient; in a private house, a main circuit breaker, voltage relay and grounding are added, while in workshops in Bishkek's new developments — Jalal, Ak-Bosogo, Kok-Jar — a three-phase 380 V supply is often installed for machine tools and a compressor. Clients often search for "electrical panel installation Bishkek" — and end up here, so for such a request we immediately clarify the type of property and the incoming supply capacity. For a workshop with a power load, the panel is assembled separately from the household one: this way the machine tool lines don't affect the home groups, and a circuit breaker tripping at one property doesn't cut the lights in the residential part. Before the visit, photograph the incoming cable and the old panel — from the photos the technician will select the circuit breaker ratings in advance and won't bring extra modules.
Replacing an old main panel and combining the metering panel with the distribution panel
Eco-Service replaces the old main panel and, if necessary, combines the metering panel with the distribution panel in a single enclosure. In Khrushchyovka buildings and older housing stock in Osh and Jalal-Abad, the main panel is often located on the stairwell landing with 2.5 mm² aluminium wiring — it is replaced with 4-6 mm² copper cable, and the enclosure itself is moved inside the apartment or left on the landing by agreement. When combining, it is important to preserve access to the meter for sealing — otherwise the panel will have to be redone during inspection, and the seal will have to be re-applied through the power supply organisation. At properties with a load above 15 kW, the combining is done on a DIN rail with a separate section for the meter and main circuit breaker, so that the inspector can take readings without disassembling the entire panel.
Our own service centre and in-person reception
Eco-Service has its own service centre — device reception is in person, with no intermediaries between the client and the technician. You can bring an old circuit breaker, RCD or RCBO for diagnostics, or arrange for an installer to visit a property within the city, by phone, in Telegram and via 2GIS, where the centre's address is listed. The direct service provider is itself responsible for the installation, so the warranty and servicing are not shifted onto a contractor: if a month later a circuit breaker trips or a terminal heats up, the same technician who assembled the panel resolves the issue. Before your visit, check the meter model and the year the building was constructed — using this data, the service centre will select compatible modules in advance and you won't have to make a second trip for them.
Standards, Safety and Permits for Panel Installation
Panel installation is carried out according to PUE standards, not "by eye." Let's break down what approvals are needed when working with the incoming cable, how to choose an enclosure by IP protection rating, and what the electrical installation code regulates.
Is a Permit Needed to Replace an Electrical Panel
Replacing an electrical panel inside an apartment usually does not require a separate permit, but work with the incoming cable and the electricity meter must be coordinated with the grid organization. The boundary of responsibility runs along the connection point: everything up to the main circuit breaker is the grid company's zone, everything after is the owner's. If you are only replacing the internal distribution panel and not touching the seals, no approval is needed — it is enough to notify the management company or homeowners' association about the planned work. A different matter is replacing the incoming cable, relocating the meter, or increasing the allocated capacity: here an application is submitted to the grid organization, and after the work its inspector seals the meter. Meter sealing is performed only by an authorized organization — unauthorized interference leads to recalculation based on the consumption norm, not on readings.
IP Protection Rating and Choosing a Panel Enclosure
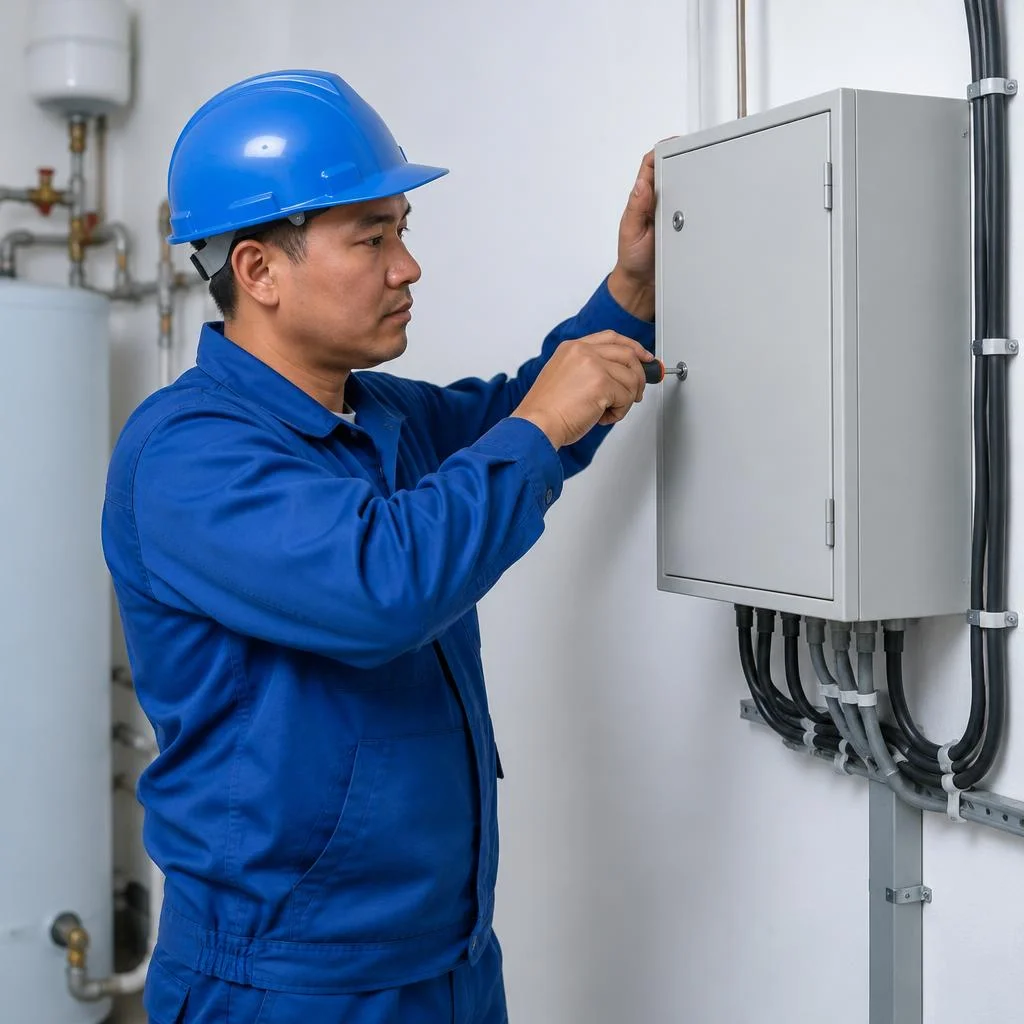
We select the panel enclosure by IP protection rating — for an apartment, an indoor version is sufficient; for outdoors and damp rooms, a moisture-proof one is needed. The marking is easy to read: the first digit is protection against dust and solid particles (from 0 to 6), the second is against moisture (from 0 to 8). For a dry room and hallway, IP30-IP40 is enough; for a bathroom, basement and garage, IP54-IP65 is used; and for an outdoor entry on a pole — IP65-IP66 with cable glands for the cable. A metal enclosure with powder coating withstands mechanical stress better than plastic and does not yellow from the sun. An outdoor panel is placed under a canopy and with a sealed entry — otherwise condensation inside shortens the service life of the circuit breakers.
PUE Standards and Installation Safety
Panel installation is carried out according to PUE standards: cable cross-section for the load, protection of each group, access for maintenance. The electrical installation code requires that the main circuit breaker be installed before the meter, and that each outgoing line have its own protective device — the main breaker, group circuit breakers and RCDs for wet areas. The cable cross-section is selected for the continuous current of the group with a margin, not "by the diameter of the old wire": for a socket line this is usually 2.5 mm², for lighting — 1.5 mm². Each group is labeled, and the panel itself is positioned so that there is free access to the circuit breakers without dismantling furniture. Clients often ask about the cost of electrical panel installation — in our practice the total depends on the number of groups, but saving on protective devices costs more: a violation of standards does not manifest immediately — more often during an emergency, when the circuit breaker fails to trip and the wire heats up.
2-Year Warranty, Reviews, and Why People Choose a Direct Provider
Warranty and reviews are what distinguish a direct provider from a private handyman with an ad. We break down exactly what the warranty covers, how to read a portfolio, and why an organization is accountable for the result differently than a solo contractor.
2-Year Warranty on Installation and Connection
We provide a 2-year warranty on panel installation and connection. The warranty covers assembly and connection: if after installation a protective device trips or a terminal overheats, the technician comes out under warranty. The term is the same for a distribution panel in an apartment, an incoming panel in a private house, and an automation panel at a facility — it does not depend on the type of enclosure, the number of modules, or the cross-section of the incoming cable. Clients often search for electrical panel installation and connection price — and land on this page: the cost is calculated separately from the warranty terms, and a warranty visit is arranged free of charge under a report. When you contact us, state the installation date and describe the symptom — using this data, the technician takes the necessary breakers and terminals before the visit, so the issue is resolved in one trip rather than two.
Customer Reviews and Project Portfolio
Eco-Service shows a portfolio of projects and customer reviews for Bishkek — they show which panels were assembled and at which facilities. In reviews, look at the description of the facility and the task, not just the rating: that way it's clear whether the experience fits your case. Details are useful — how many groups were wired, whether a voltage relay and contactor were installed, whether the incoming cable was replaced or only the panel. In the portfolio, pay attention to photos of the assembled panel from the inside: neat group labeling, tidily routed wires, and labeled breakers say more about installation quality than an overall rating. Compare two or three projects with a similar load — an apartment with an electric stove, a house with a pump and boiler, a workshop with a machine — and ask a question about your own scenario.
Direct Service Provider vs. Private Handyman
Eco-Service is a direct service provider: the technician and the service center are one organization, with no intermediaries. With a direct provider, it's easier to get a warranty visit — you don't need to track down the contractor who did the installation. A private handyman with an ad on Lalafo or Instagram may do the work neatly, but if a protective device trips six months later, you'll have to find him all over again. With an organization, the service center in Bishkek accepts requests in person: bring a photo of the panel and the installation report, the request is registered and a visit is scheduled. Responsibility for safety rests with the contractor, rather than being blurred between the crew and the customer. If the installation was done by an unfamiliar subcontractor, there's no one to make a warranty claim against — that's the main risk of saving on the contractor.
Conclusion
Panel installation is a sequence of decisions: from choosing an enclosure for the facility's task to sealing the meter. Below are brief takeaways that will save time during the selection stage and help avoid rework.
Key Takeaways
- Panel type: determined by the facility's task — metering, distribution, lighting, automation, or power supply; there is no universal enclosure for all scenarios.
- Breaker: selected based on the cross-section of the cable in the protected group, not the power of the connected appliance — otherwise the wiring overheats when the rating is above the permissible value.
- RCD and RCBO: solve the same leakage protection task, but take up space on the DIN rail differently and are diagnosed differently when they trip.
- Phasing: selection, assembly, electrical panel installation in Bishkek, connection, and group labeling — skipping any step brings the technician back to the site.
- Approvals: work with the incoming cable and meter is carried out with the grid organization, and sealing is performed only by the authorized party.


