






















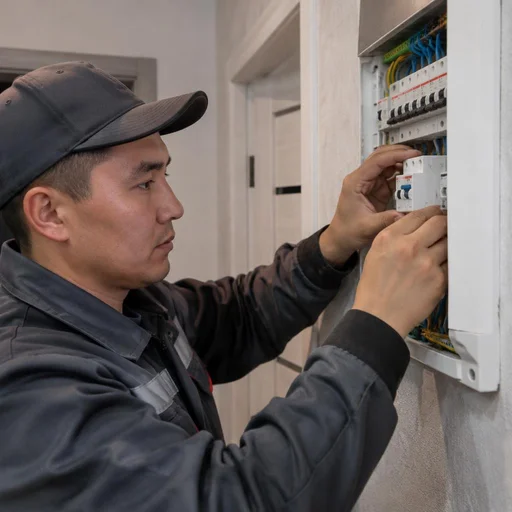

Why an RCD is needed in an apartment and how it protects against current leakage
In Bishkek apartments with wiring from Soviet-era series, an RCD is not an optional extra but a mandatory protective element. Let's break down exactly what the device saves you from and how to select one for your load.
What an RCD is and what leakage current it detects
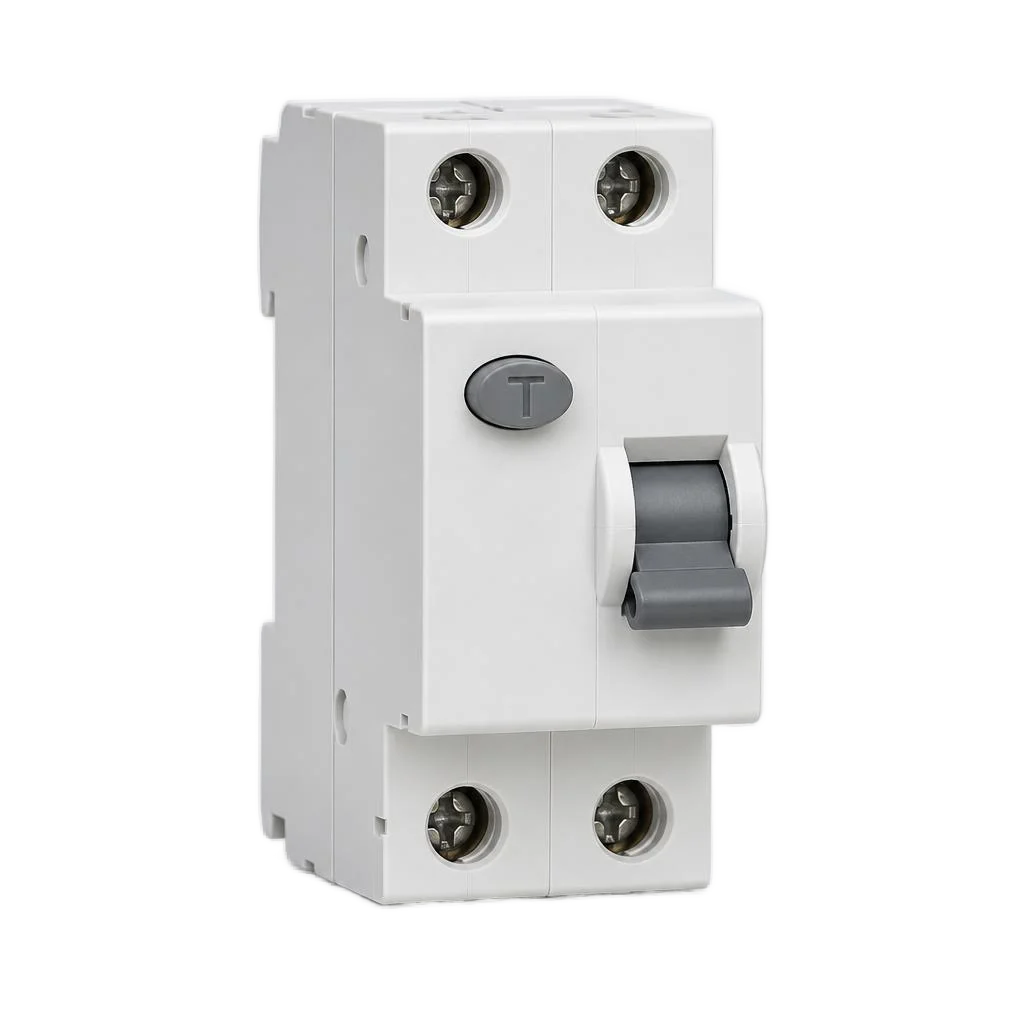
The device (RCD) compares the current in the phase and neutral conductors and disconnects the line when the difference — the differential current — reaches the setpoint: 30 mA for socket groups, 100 mA for incoming fire protection. A 30 mA setpoint is below a person's pain threshold (50-100 mA) but above the natural leakage of properly functioning appliances — a refrigerator, washing machine, computer. In Bishkek's panel and Stalin-era buildings, the insulation of aluminum conductors ages and natural leakage grows: there a 30 mA RCD on a socket group trips noticeably more often than in new buildings. In search, clients often type "circuit breaker RCD connection" — and land here, although these are two different devices in the panel. Installing such a device in an old apartment begins not with buying the device but with measuring insulation resistance: if the background leakage current is already close to half the setpoint, we first replace that section of the line, otherwise the protection will trip for no reason.
How an electromechanical RCD differs from an electronic one
An electromechanical RCD trips from the differential current itself and works even if the neutral is broken, while an electronic one is powered from the mains and loses its protective function when the neutral is lost. Inside an electromechanical RCD there is a differential transformer and a polarized relay — they trip from the energy of the leakage itself, without external power. An electronic one is built on an amplifier that needs the phase and neutral conductors energized. In the old housing stock of the Pervomaysky and Sverdlovsky districts, with frequent voltage sags and broken neutrals, an electronic RCD becomes a hidden risk: a device that looks fine may fail to trip at the critical moment. When choosing, look at the diagram on the housing: on an electromechanical one the test button is powered from the mains, but tripping comes from the leakage.
Types AC and A: which suits which lines
- Type AC RCD: detects only alternating sinusoidal leakage current — suitable for lighting lines and sockets with an ordinary load.
- Type A RCD: additionally responds to pulsating direct current — mandatory for washing machines, dishwashers and inverter air conditioners.
- Washing machine and dishwasher: install type A — the switched-mode power supply creates leakage that type AC does not see.
- Inverter air conditioner: also type A — a compressor with a variable-frequency drive produces a pulsating component.
- We: select the device type for the nature of the line's load, not by the price of the cheapest option.
- Lighting and sockets without electronics: type AC is enough here — paying extra for type A gives no gain in protection.
Connecting an RCD and a circuit breaker: how to assemble a protective pair in the panel
An RCD by itself does not protect against overload and short circuit — it works in tandem with a circuit breaker. We break down the assembly order of the protective pair and the difference from an RCBO.
Order of connecting the RCD and circuit breaker in a single-phase network
- Main breaker first: at the panel input, a circuit breaker rated for the riser is installed — it cuts power to the entire panel before work.
- RCD after the input: the phase from the lower terminal of the main breaker goes to the upper terminal of the RCD, the neutral — to its neutral input, both conductors strictly according to the markings.
- Group breakers after the RCD: the phase from the lower terminal of the device is distributed to the group breakers, the neutral goes to a separate neutral busbar installed after the RCD.
- DIN rail and labeling: it is more convenient to mount the pair on a separate DIN rail with each line labeled — this speeds up diagnostics when it trips.
- Checking with the "Test" button: after assembly, the Eco-Service technician presses the test button — the device must trip, otherwise the circuit is assembled with an error.
- Neutral control: the main mistake is to route the neutral of a group line to the common busbar before the RCD: then part of the current bypasses the device, and it will either fail to trip or will trip falsely.
Connecting an RCD and circuit breakers: one protection device per group of lines
One 30 mA RCD can protect a group of several circuit breakers — for example, all the sockets in an apartment — but the total natural leakage current of the lines must not approach the setpoint. In new buildings in Bishkek, a three-room apartment typically has 5-6 socket groups, and mounting a pair on all lines at once produces background leakage from appliance filters, condensation in junction boxes, and damp insulation. Assembling with a separate breaker for each group solves the problem, but makes the panel more expensive and longer. A practical rule: no more than 3-4 group lines per 30 mA setpoint; if there are many appliances, it is better to split across two RCDs, otherwise false trips will become regular. Clients often search for this solution with the query connecting an RCD with a circuit breaker — and land on a breakdown that explains exactly why one protection device should not be hung on the entire panel.
RCD plus circuit breaker or RCBO: what to choose
| Option | Slots in the panel | Response to leakage | Response to overload | Diagnosing the cause |
|---|---|---|---|---|
| RCD + circuit breaker | 2 modules | yes | yes | simple, visible by which device |
| RCBO (AFDD) | 1 module | yes | yes | more difficult, the device is replaced entirely |
Connecting an RCD with and without grounding: what to do in old housing stock
Most apartments in Bishkek are old housing stock with a TN-C system without a separate grounding conductor; we examine how an RCD works under such conditions.
Connecting an RCD with grounding in a TN-S / TN-C-S system
When a PE conductor is present, we connect the grounding busbar separately from the neutral one: the PE goes to the appliance enclosures and is not broken by the RCD, while the neutral after the device is routed only to its own busbar. Connecting an RCD with grounding in buildings with a TN-S and TN-C-S system differs in that the neutral and protective busbars here are separated along the entire length from the input, and the PEN conductor is split into PE and N only once — at the input point or at the main busbar. Through Eco-Service you can order an inspection of the existing panel: a technician will check whether PE and N have been reconnected in your building's panel — such a jumper nullifies all protection. Mixing PE and N after the RCD is not allowed: if they are connected behind the device, part of the leakage current will flow through the PE bypassing it, and the protection will lose sensitivity.
Connecting an RCD without grounding: a workable scheme for TN-C
An RCD works without grounding too: in a TN-C system it protects a person from leakage to the enclosure, but it does not replace grounding — touching the enclosure before it trips is still dangerous. In Kyrgyz high-rise buildings with TN-C, the functions of neutral and protection are combined in a single PEN conductor, so there is no separate PE in the sockets, and the device detects a difference in currents between the phase and the working neutral at a level of 30 mA. Installing an RCD in such a network requires a mandatory inspection: if the PEN in the building's panel is oxidized or loose, the protection will trip every time powerful appliances are switched on. In Bishkek buildings without PE, we recommend additionally installing a voltage relay and a separate RCD for each wet group — this way a false trip of one line will not de-energize the entire apartment.
Why an RCD trips falsely and how to fix it
- Worn insulation: old aluminum wiring with cracks produces a natural leakage of 10-20 mA, which adds up with the leakage of household appliances.
- Wet appliances: a washing machine, boiler and dishwasher after water gets on the heating element produce a leakage surge above the tripping threshold.
- Sum of leakages on one line: if a refrigerator, microwave and computer are on one device, their background leakages add up and approach 30 mA.
- Installation error: the neutral after the device is connected to PE or to the neutral of another group — the current flows bypassing it and the protection trips for no reason.
- Regrouping and labeling of lines: distributing loads across separate groups reduces the total leakage and eliminates false trips.
- Measuring insulation resistance: testing with a megohmmeter will show the real condition of the cable and rule out the version with a faulty device — in half the cases the problem is not in it, but in the worn cable.
Connecting multiple RCDs in a panel: cascade scheme and selectivity
When there is more than one RCD in a panel, it is important to arrange them in levels — otherwise a leakage on one line will trip the protection for the entire apartment. We explain how the cascade works, how to separate the neutrals, and where mistakes are most often made.
Cascade scheme: principle of operation
We build a cascade: at the incoming supply — a fire-protection RCD rated 100 mA, after it — group RCDs rated 30 mA, each for its own group of lines, so that a leakage disconnects only the damaged section. The incoming device is installed immediately after the meter and protects against ignition of the insulation on the incoming cable, while the group devices protect the socket and wet lines (bathroom, kitchen, washing machine, boiler). Between the levels we separate the current settings: 100 mA versus 30 mA, and for sensitive lines we use selective models with a time delay. In search queries, clients often phrase the task as connecting an RCD breaker — essentially it is the same unit, where the protective device is installed paired with a circuit breaker on one line. The cascade works only with a difference in settings: if you install identical 30 mA devices at the incoming supply and on the groups, the devices "compete" and a random one trips — selectivity is ensured precisely by the step in current and time.
Distribution of neutral busbars
- Its own busbar for each RCD: the neutral of the line protected by a specific device is connected only to its neutral terminal and does not intersect with other busbars.
- Prohibition of a shared neutral: two group RCDs cannot share one neutral busbar — then the leakage currents add up and falsely trip both.
- Neutral before the device: the conductors running to the incoming RCD remain on the common PE/N busbar and do not connect to the group terminals.
- Marking by groups: tags on busbars and wires with the line number save time when reworking and inspecting an existing panel.
- Separation of PE and N: the neutral busbar is insulated from the panel enclosure, the grounding one is on a separate bar, they must not be mixed.
Typical installation errors
- Identical settings: 30 mA both at the incoming supply and on the groups — during a leakage any of the devices trips, and selectivity is lost.
- Combined neutral: the neutrals of two groups are brought together on one busbar — the RCD trips for no apparent reason even with intact insulation.
- Load before the device: the line is connected before the RCD, the leakage bypasses the protection, and it does not trip.
- Swapped input and output: the phase is supplied to the lower terminal — the device does not work or trips immediately after being switched on.
- Neutral missed through the incoming RCD: the group neutral is connected to the busbar before the incoming device, and the cascade does not see the leakage on that line.
- Test button "T": when pressed on a group RCD, the incoming one trips — this means the neutrals of the groups are connected somewhere, look for a jumper.
RCD installation: how the installation proceeds and what the technician checks
Installing an RCD is not just snapping the module onto the rail: before installation, the technician checks the condition of the panel and the insulation; afterward, they test the protection under load and monitor the heating of the connections.
Preparing the panel before RCD installation
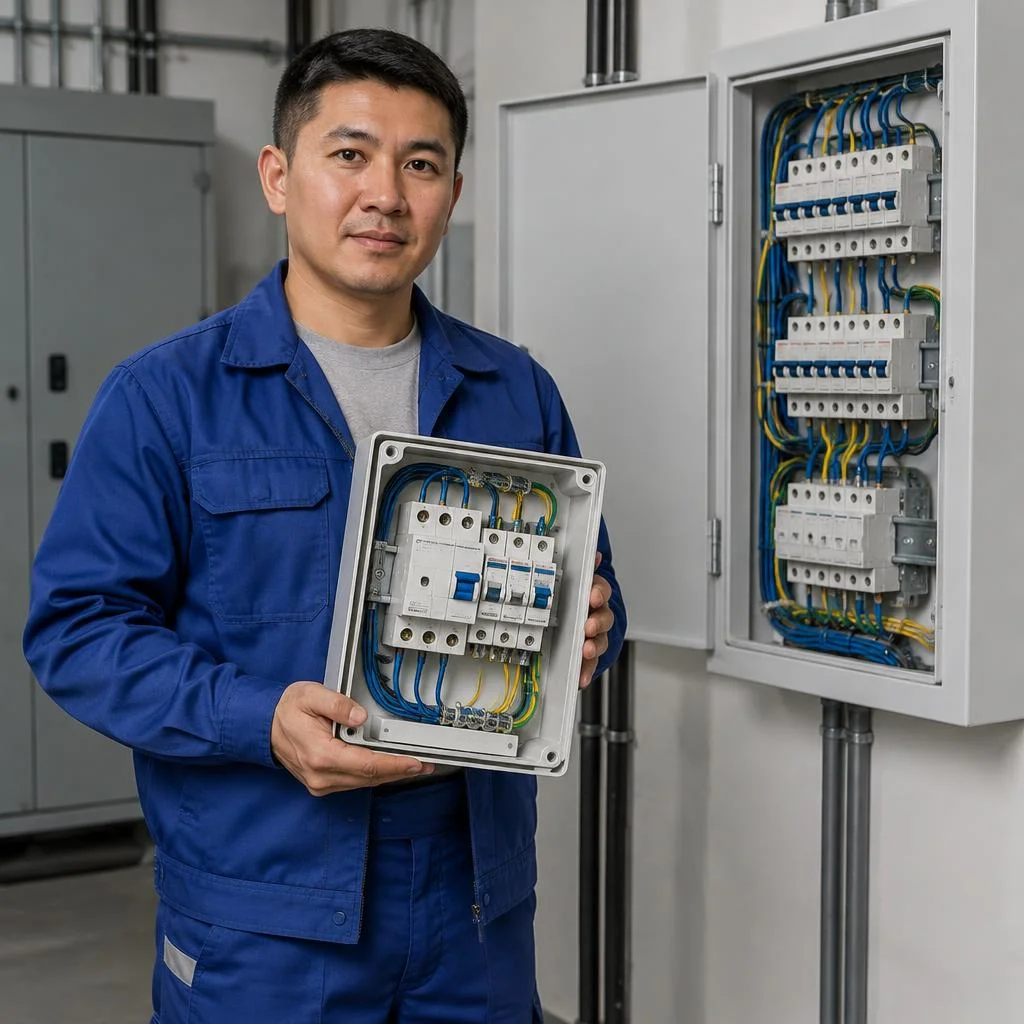
- Inspection of the existing panel: we examine the terminals, traces of overheating and melted insulation on the incoming line and the group circuits — Eco-Service does this before every installation.
- Reworking and labeling the lines: we separate the bundles of wires and label each group, otherwise after installing the protection you won't be able to find the right circuit breaker.
- Measuring insulation resistance: we test the lines with a multimeter before installation in order to rule out old wiring with leakage.
- Replacing the panel entirely: if there is no space on the DIN rail for the RCD and the circuit breaker, or the enclosure is cracked — we replace the box rather than cramming the modules together.
- Checking the cross-section of the incoming cable: we verify whether it can withstand the total load after adding the protection.
Mounting the RCD on the DIN rail and connecting the conductors
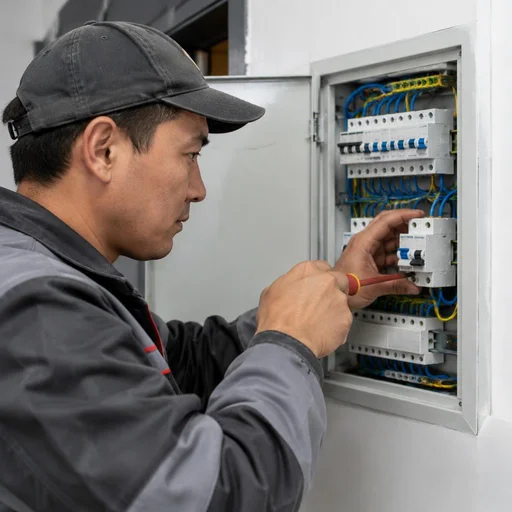
Installing the RCD in the panel begins with orienting the enclosure according to the markings: input on top, load on the bottom, phase and neutral strictly according to the manufacturer's diagram. We place the main circuit breaker before the protection, and the group breakers after it, so that the device monitors the entire line as a whole. We verify the terminal tightening torque against the datasheet: for household modules this is 2-2.5 N·m, for industrial series — higher. Correct RCD connection requires a separate neutral busbar: the neutral after the device must not be connected to the panel's common neutral, otherwise the protection trips falsely. In old panels there is often not enough space on the DIN rail for a pair of "RCD plus circuit breaker," in which case we mount the protection on a separate rail or replace the box. A loosely tightened terminal is a common cause of heating and burning, so after installation we retighten all connections and check for heating under working load after 20-30 minutes.
Testing the RCD with the test button and measuring insulation
After installation, we check the operation of the RCD with the "T" test button — the device should trip — and before installation we measure the insulation resistance of the lines with a multimeter. The "T" button simulates leakage through a built-in resistor and trips when the tripping mechanism is working properly; in electronic models it additionally depends on the mains power supply. The multimeter shows insulation resistance in megohms: for household lines the norm is not below 0.5 MΩ, for new cables — from 20 MΩ. The "T" button only checks the tripping mechanism, not the actual sensitivity to leakage: therefore we additionally monitor the insulation, otherwise the RCD may "click" but not protect in the event of an actual breakdown to the appliance's enclosure.
2-year warranty, intake in Bishkek, and why a direct provider
Installing an RCD is work on an apartment's electrical system, so what matters is not only the wiring diagram, but also who performs it and what happens if the protection trips abnormally.
2-year warranty on RCD installation
Eco-Service provides a 2-year warranty on RCD installation: it covers the connection, the wiring diagram, and the correct operation of the device as part of the panel. Warranty cases include false tripping due to a wiring error, a loose contact on the terminals, an incorrectly selected rating for the line's load, and a defect in the device itself identified during commissioning. The warranty remains valid if no other electricians made changes to the panel after us — that is why we label the lines and leave the wiring diagram so that any intervention is visible. In practice, nine out of ten warranty claims are due to lines additionally connected by neighbors or terminals tightened "by eye," rather than a device failure. If you plan to modify the panel yourself, first photograph our labeling and check it against the diagram — that way you preserve both the protection and the warranty.
Request intake and technician visit in Bishkek
- Request intake: the Eco-Service service center in Bishkek accepts requests by phone, in Telegram, and through the website; the technician coordinates a convenient visit time.
- On-site inspection: the specialist checks the panel, the condition of the line insulation, and the load, after which they select the RCD rating for the specific group.
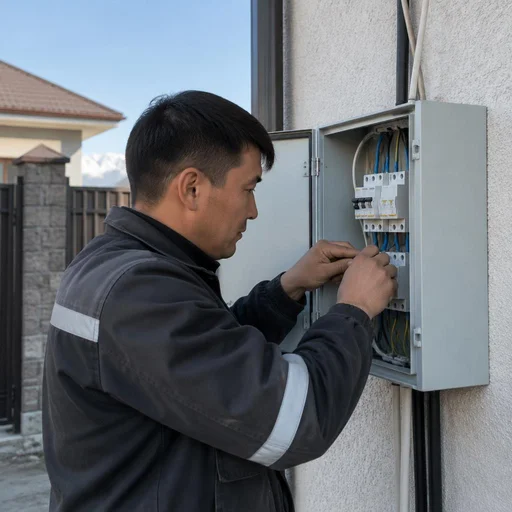
- Installation: mounting on the DIN rail, connecting the conductors, and testing with the test button are performed in a single visit in most apartments.
- Photo before the visit: send a photo of the panel in advance — it shows whether there is enough space for the RCD or whether the entire panel will need to be replaced.
- Reviews: after the work, leave a review on 2GIS or Google Maps — they show how the service handles warranty claims.
Why a direct service provider is more advantageous than an intermediary
Eco-Service operates as a direct service provider: the request is handled by its own technician, not a contractor, so responsibility for the installation and the warranty is not diffused among intermediaries. With a dispatcher-based scheme, you pay for the visit, the work, and the intermediary's markup, while you file a quality claim against someone who was never at the site and never saw the panel diagram. With direct work, the 2-year warranty is backed by the line labeling and the diagram left at the site: on a repeat visit, the technician opens the panel and immediately sees what was changed and when. Reviews on 2GIS and Google Maps for direct contractors read differently — they show exactly who came and how the warranty case was resolved, rather than a general rating of a dispatch service. RCD installation is precisely the kind of work where the difference is immediately visible: a staff electrician is responsible for the panel diagram even after the visit, while an outside contractor closes the work order and leaves. Before ordering, clarify who will come to the site — a staff electrician or an outside contractor.
Conclusion
We have compiled five conclusions that most often determine the result of the work: from choosing the setting to mandatory measurements. They apply to any apartment, house, or commercial property regardless of the condition of the wiring.
Main conclusions
- Protection against two different risks: an RCD catches current leakage, a circuit breaker catches overload and short circuit; an RCBO combines both functions in a single module on the DIN rail.
- Setting for the task: 30 mA is installed on socket groups, 100 mA — at the input as fire protection, and a cascade trips selectively only when the ratings differ.
- Old housing stock without PE: the device continues to operate under the TN-C scheme but does not replace grounding — equipment enclosures remain energized until tripping.
- Separate neutral buses: each device needs its own neutral conductor, and line labeling prevents false disconnections during rewiring.
- Testing before and after: the "T" test button confirms the tripping mechanism, and measuring insulation resistance shows the condition of the line under working load.


