
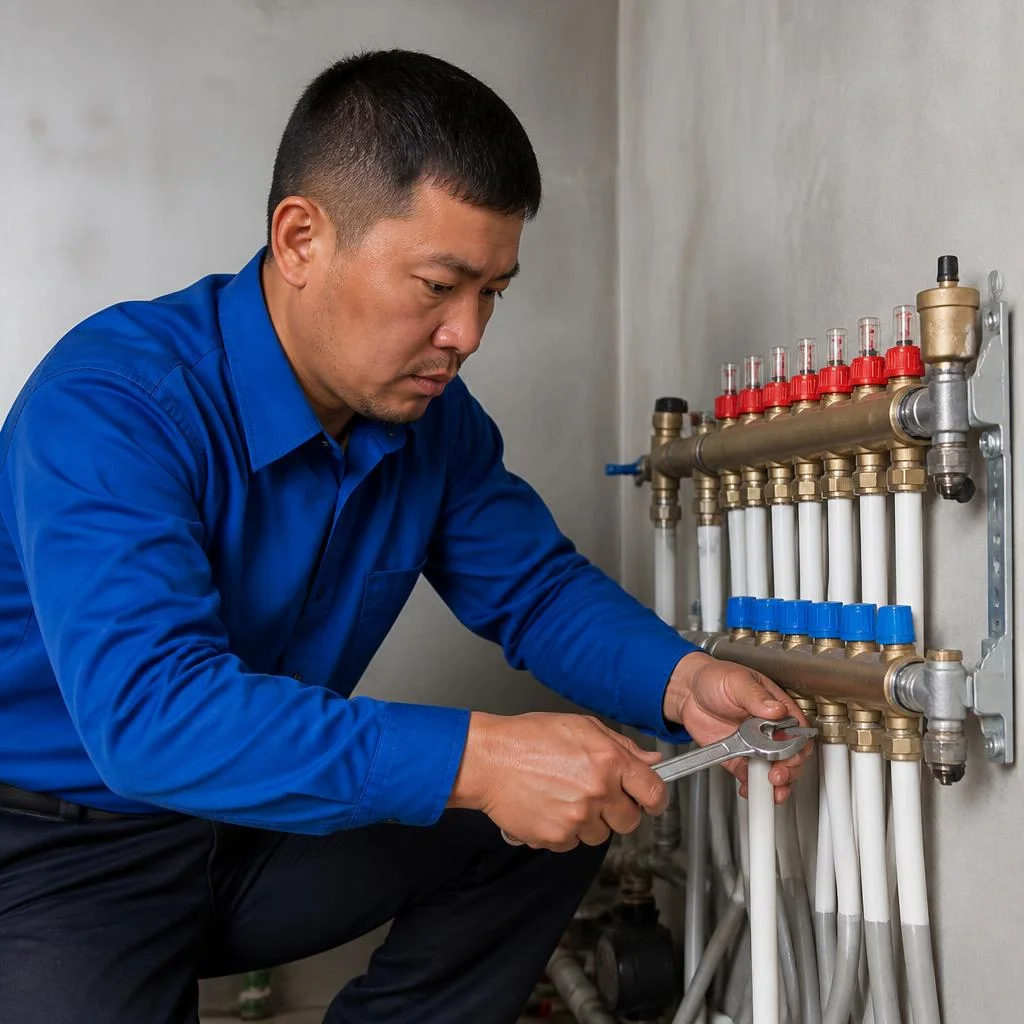
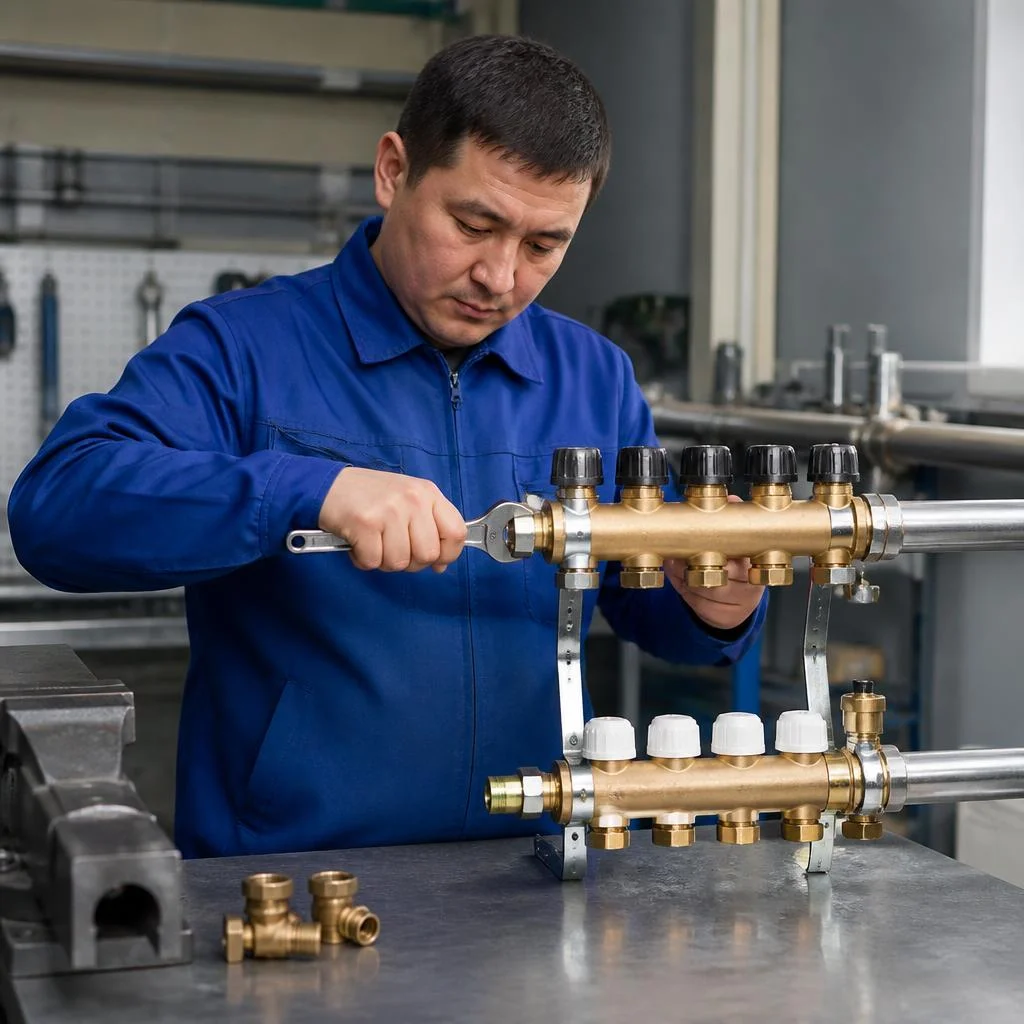
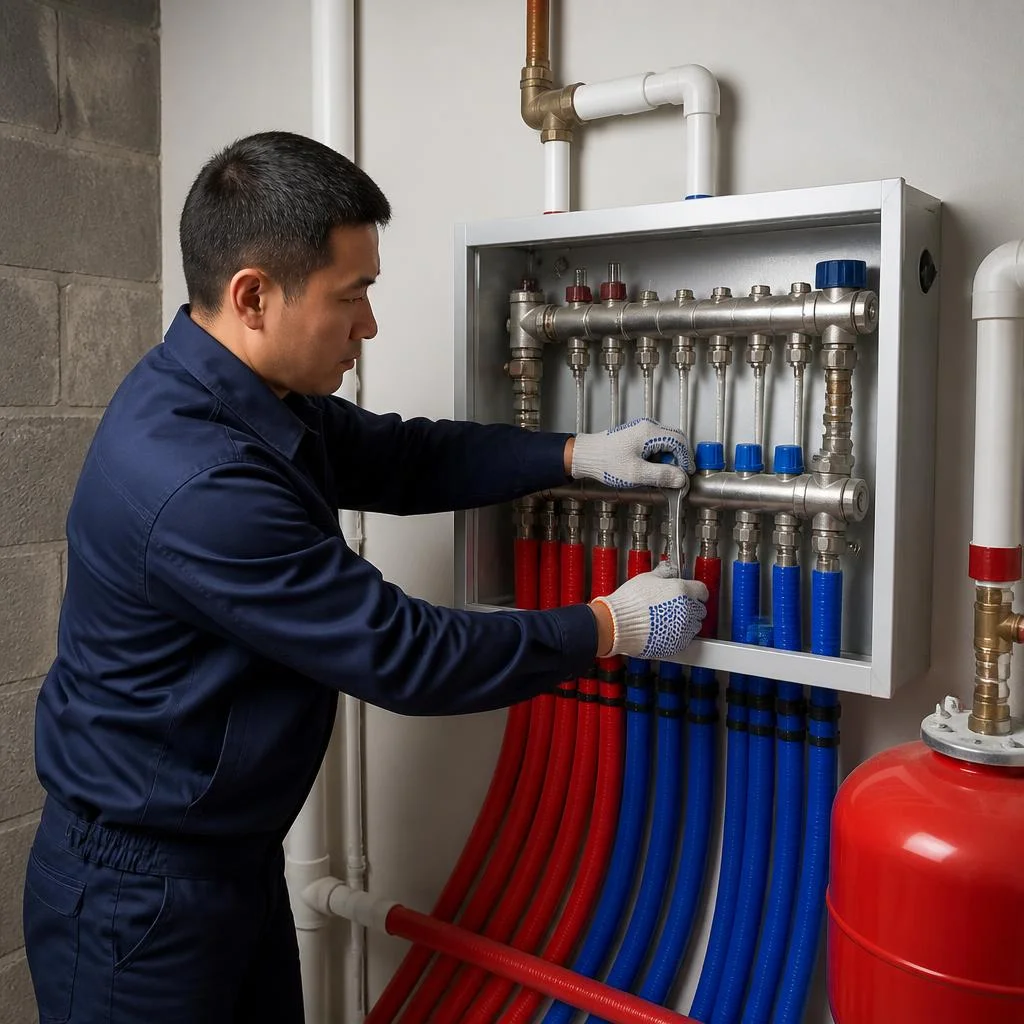
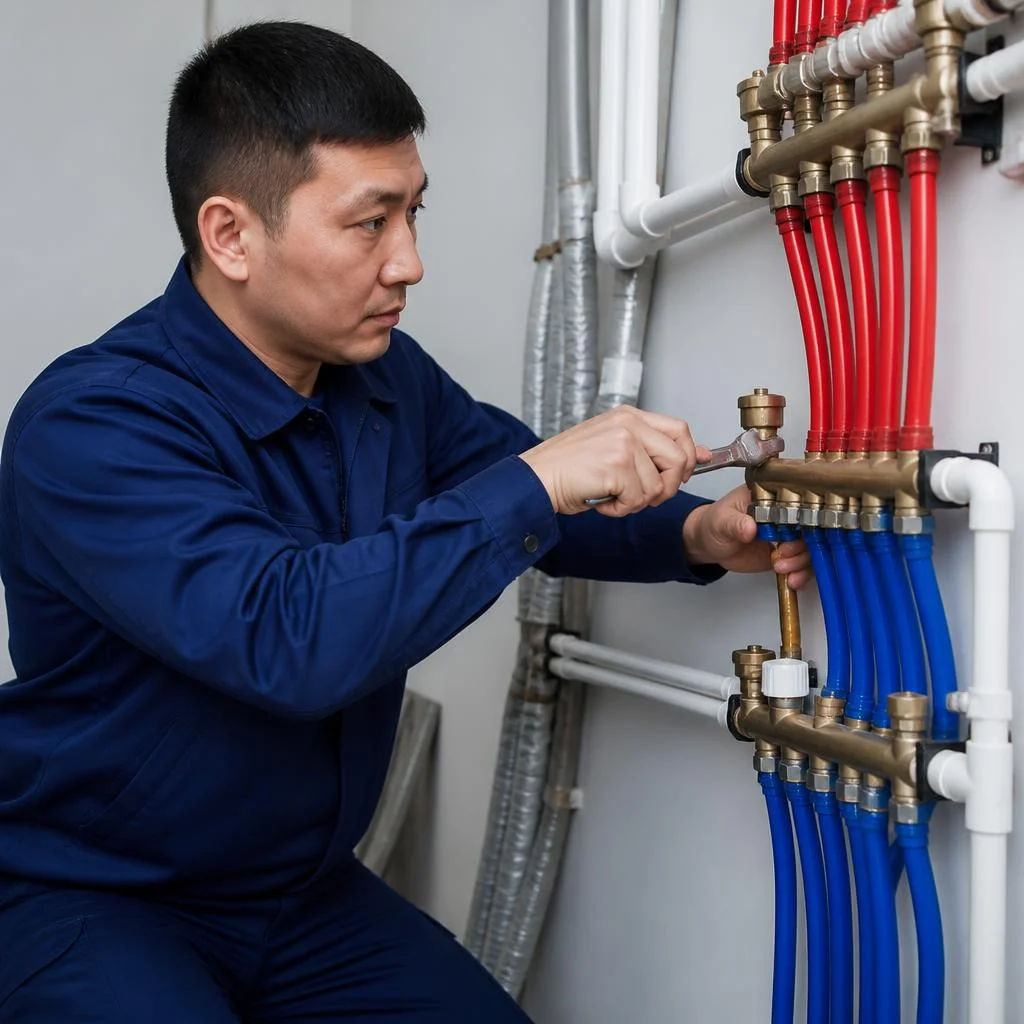
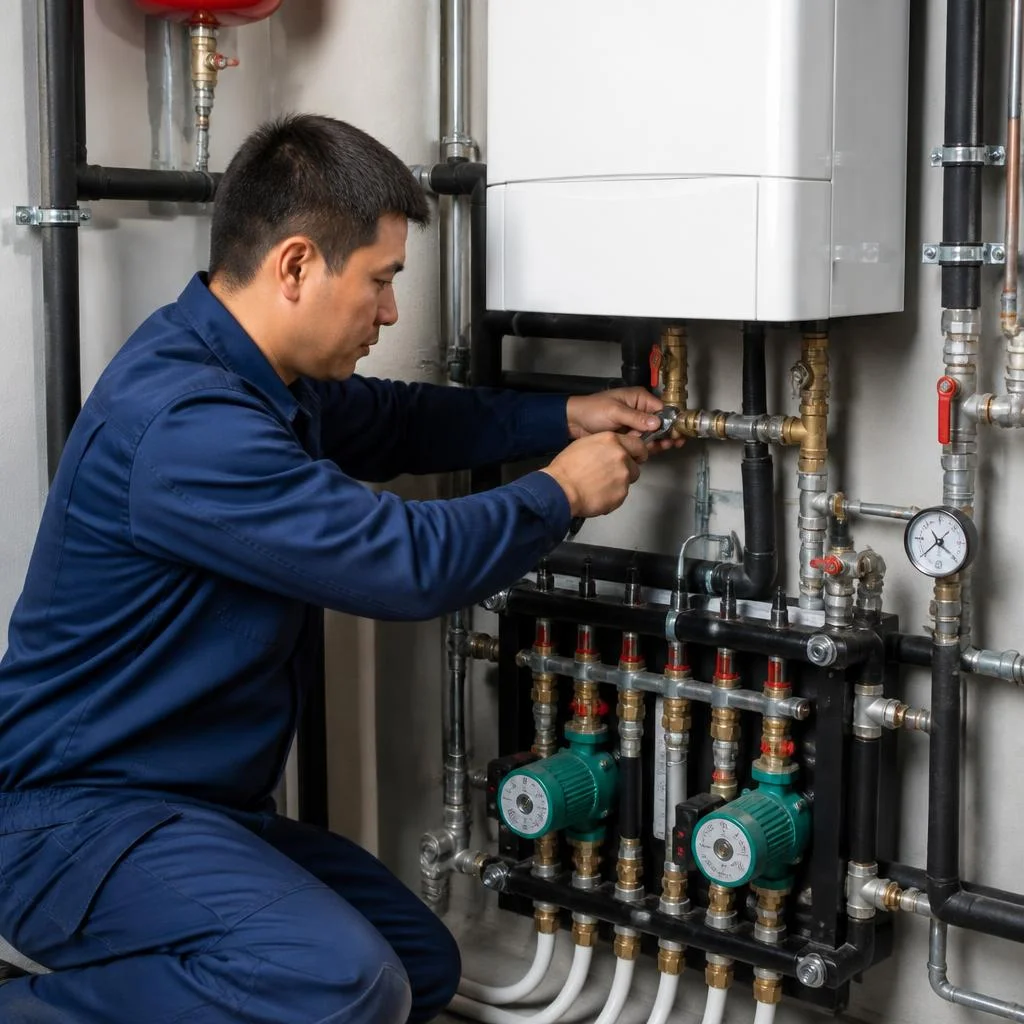
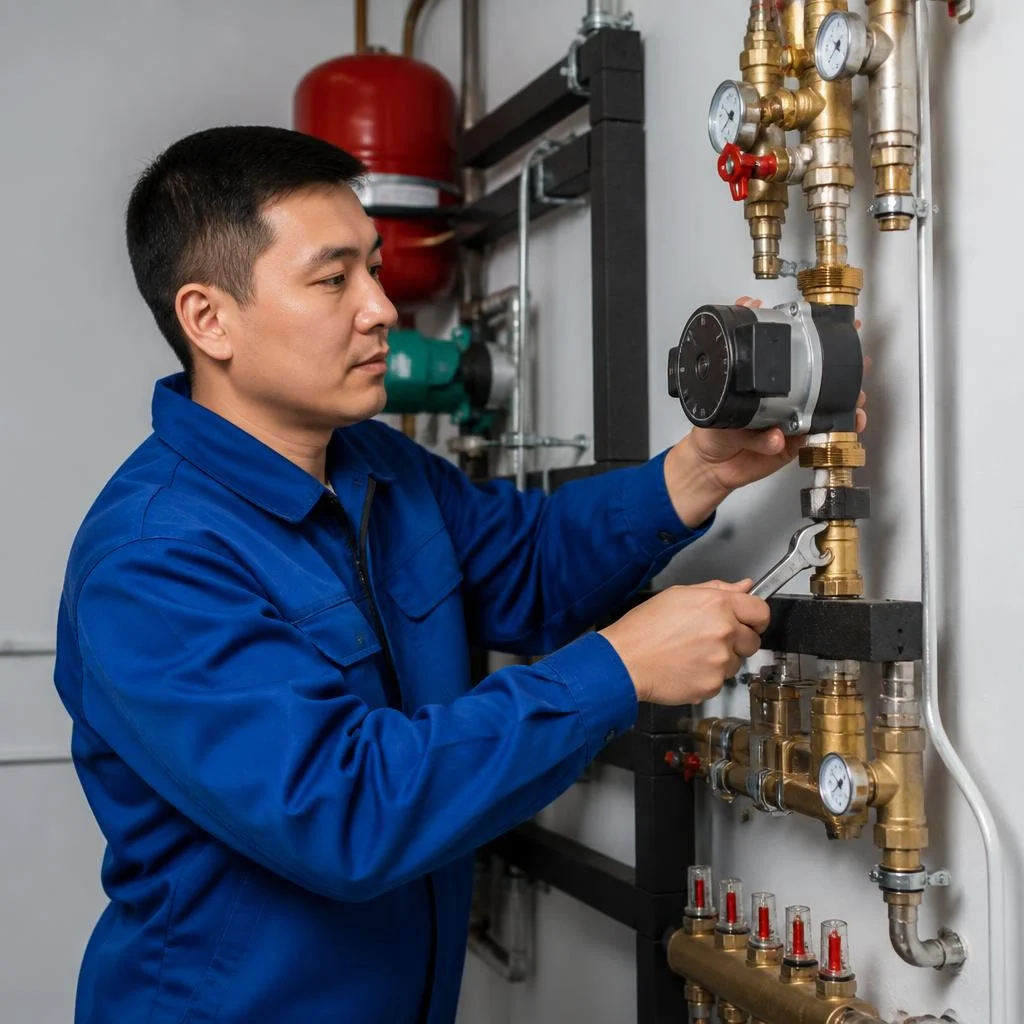
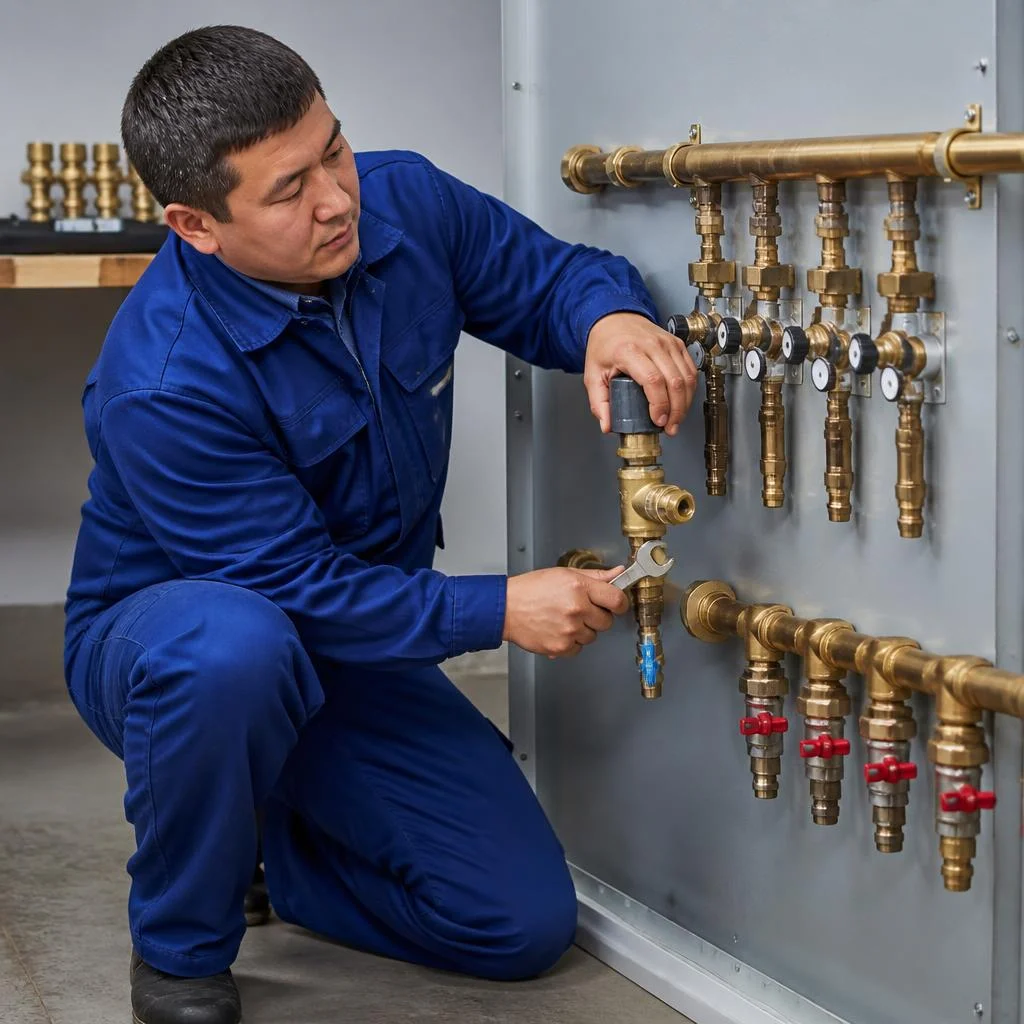








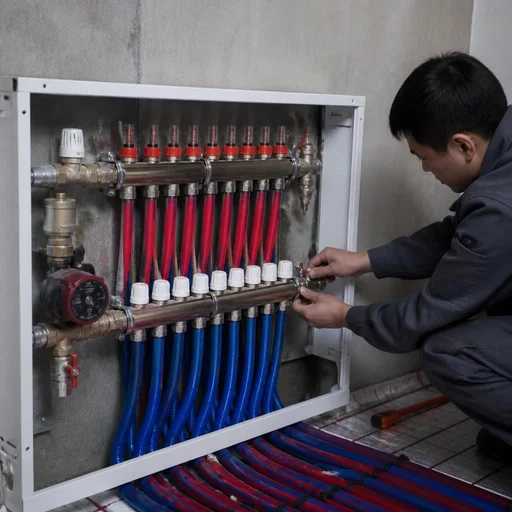
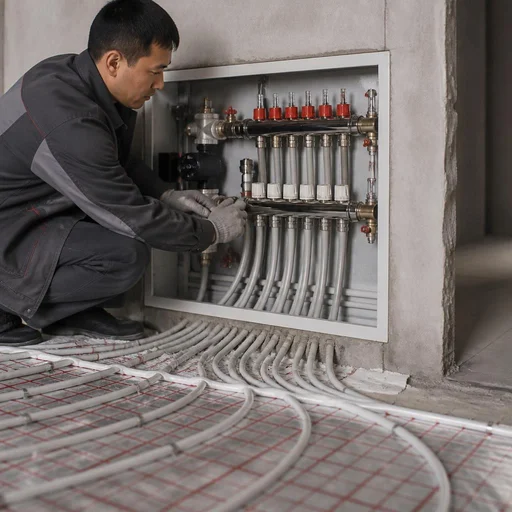
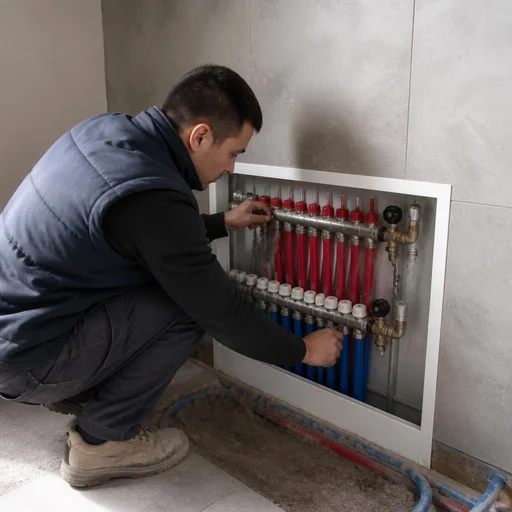
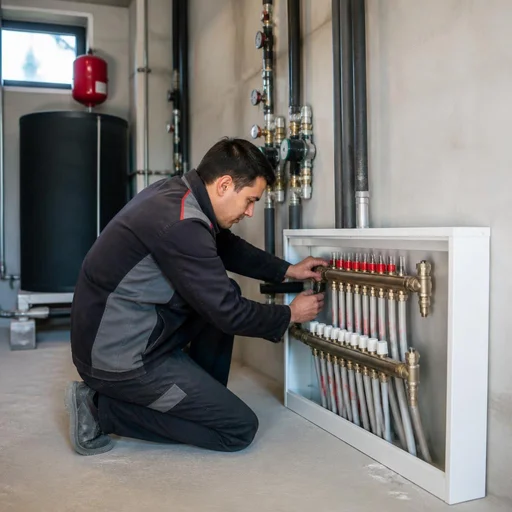
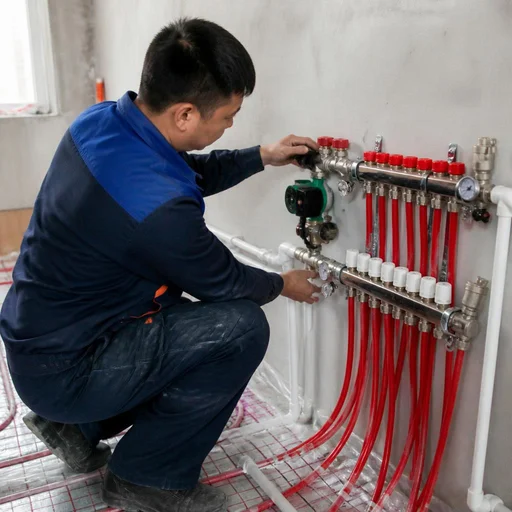
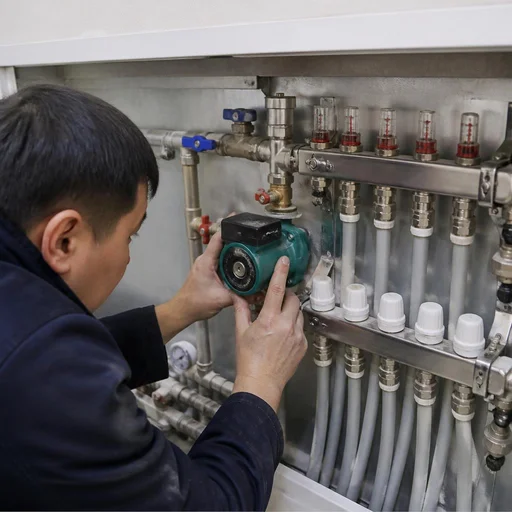
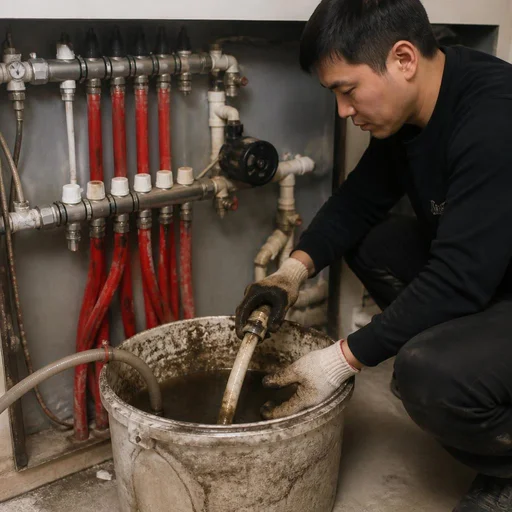
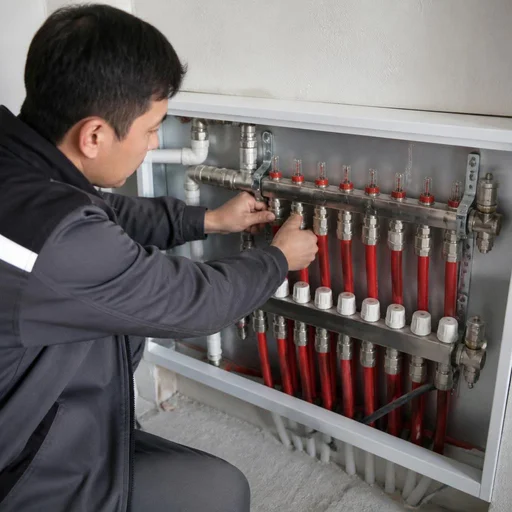
What a manifold assembly is and what it is made of
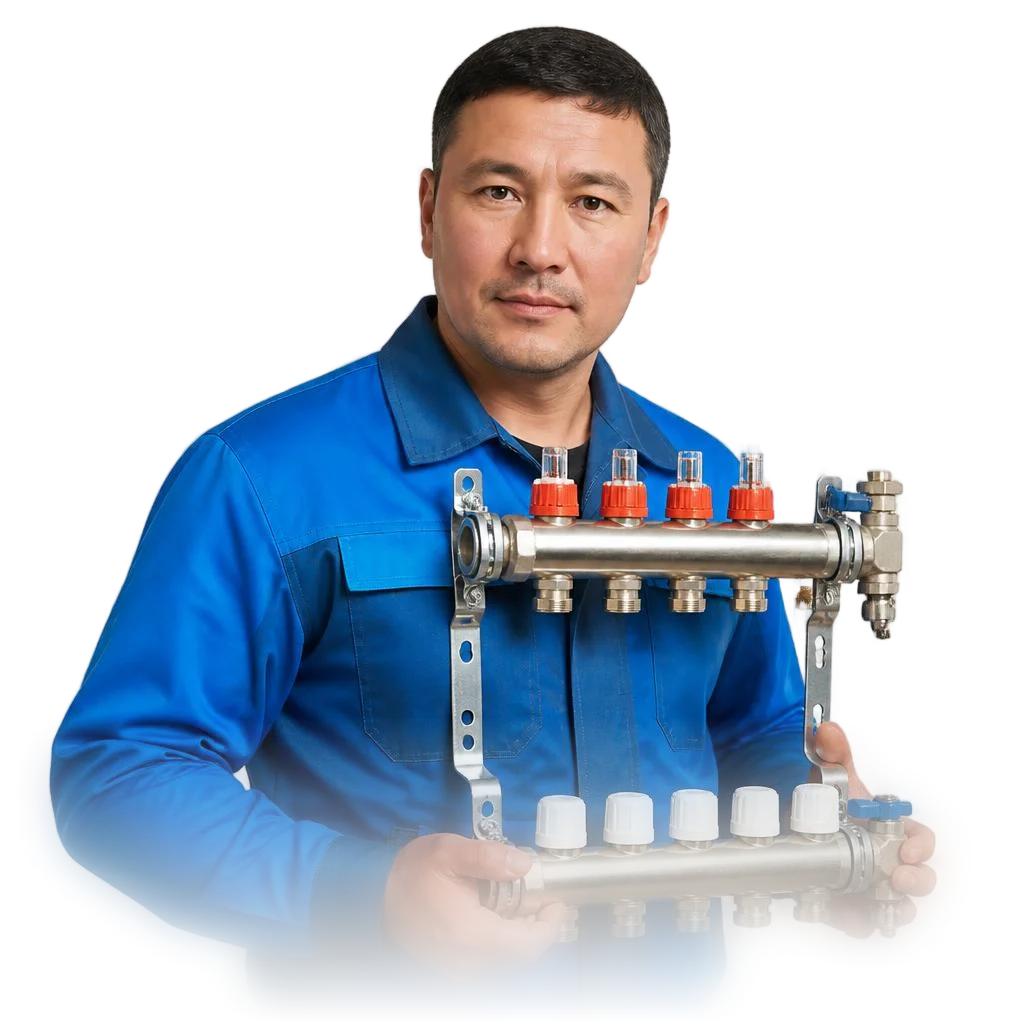
A manifold assembly is the distribution center of a system, from which each branch receives its own flow rate and temperature. Let's break down what elements it consists of and how assemblies for different tasks differ.
What is included in a manifold assembly
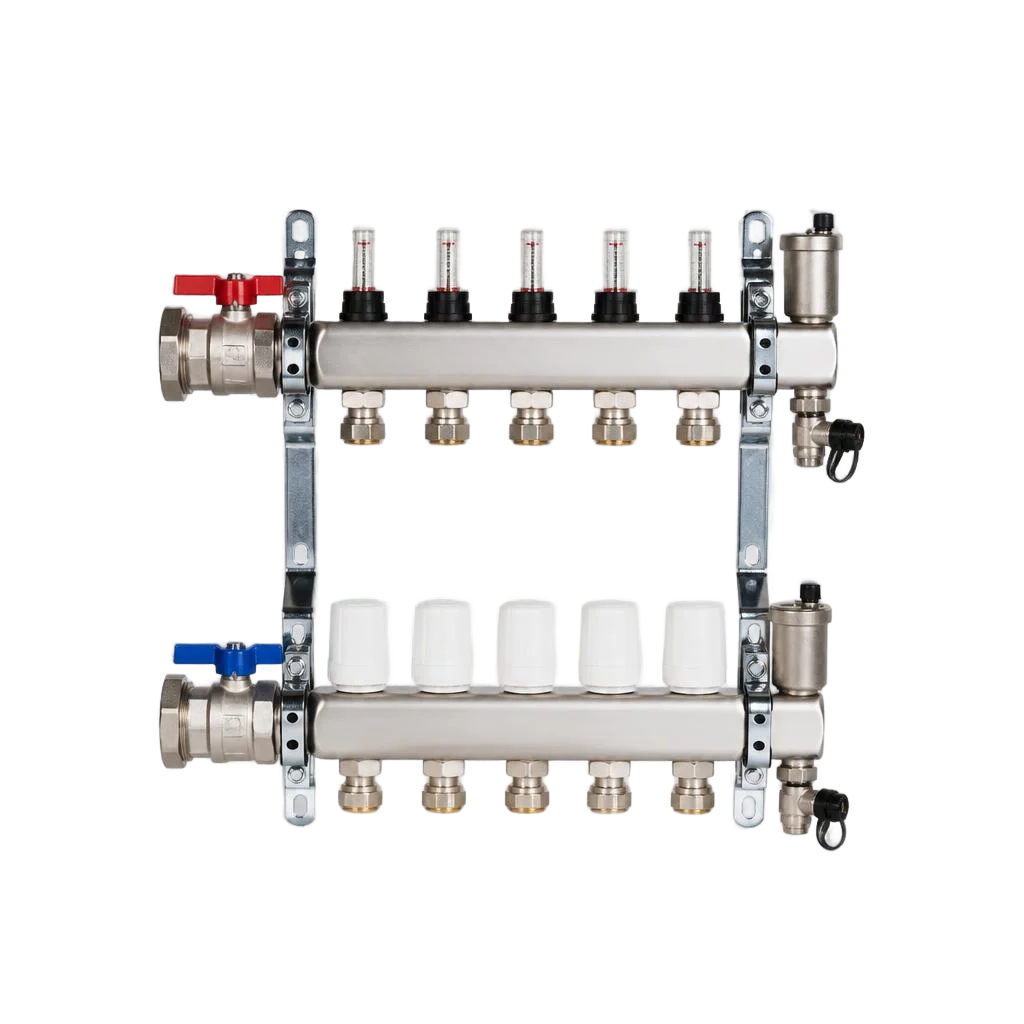
- Supply and return manifolds: two brass or steel bars to which all system circuits are connected in parallel.
- Shut-off valves: ball valves on each outlet, isolating an individual branch without stopping the entire assembly.
- Balancing valve: a manual or automatic valve that equalizes flow between long and short loops.
- Flow meter: a tube with a scale showing the actual flow rate through the circuit — essential for underfloor heating.
- Thermostatic head: an attachment with a remote sensor that maintains the set temperature in the room.
- Pump and mixing assembly with a circulation pump: a mixing unit that lowers the supply temperature to a level comfortable for the screed.
- Manifold cabinet: a metal box that protects the assembly and conceals it in a wall or niche.
How assemblies for heating, underfloor heating and water supply differ
| Assembly type | What it distributes | Key component | Where it is used |
|---|---|---|---|
| Heating | Hot water to radiators | Balancing valve | Apartments, private houses |
| Underfloor heating | Warm water to screed loops | Pump and mixing assembly | Houses, ground floors, bathrooms |
| Water supply | Cold and hot water | Shut-off valves | Apartments, bathrooms, kitchens |
A mistake is to install the same manifold for radiators and underfloor heating: without mixing, the circuits will receive 70-80 °C and quickly fail. For combined distribution, an assembly with a separate pump and mixing circuit for the screed loops is selected.
Brass or steel manifold: which to choose
For apartments and private houses in Bishkek, brass manifolds are more often chosen — they do not rust and last longer; steel ones are installed at industrial facilities and in high-pressure systems. A brass manifold withstands working pressure up to 10 bar and a coolant temperature up to 110 °C, whereas a steel one requires regular anti-corrosion treatment and careful welding during assembly. Assembling manifold units on a brass base takes less time: threaded connections are assembled faster than welded ones, and if necessary the assembly can be partially disassembled without replacing the entire bar. In our practice, installing a heating manifold on a brass bar with pressure testing takes one working day for an apartment with four to five circuits. The material of the bar is secondary to the quality of the pressure testing: even an expensive brass manifold will leak if the connections are not checked under pressure before pouring the screed.
How manifold assemblies are installed: stages of work
Assembling manifold assemblies goes from calculation and assembly to piping, pressure testing and balancing. We record each stage in a report so that the system reaches the design temperature on the first start-up.
Hydraulic calculation and manifold selection
We begin the installation of manifold assemblies in Bishkek with a hydraulic calculation — we calculate the flow rate for each circuit, select the diameter of the manifold and the number of outlets. We start with a hydraulic calculation: we calculate the flow rate for each circuit, select the diameter of the manifold and the number of outlets so that the coolant velocity remains within the working range of 0.3-0.5 m/s. For an apartment of 80-100 m² with underfloor heating, this is usually 5-7 circuits with a loop of 70-90 meters and a 1-inch manifold with flow meters; for a two-storey house — 9-12 outlets and a pump mixing unit with a three-way valve. We select the heating manifold assembly according to the heat losses of the property: at 90 W/m² and a delta of 10 °C, we take a circulation pump with a head of 4-6 meters. Without calculation, the manifold is often chosen "by eye" with a reserve of outlets — the extra circuits then have to be shut off, and the pump runs idle and makes noise.
Assembling the unit and installing the manifold cabinet
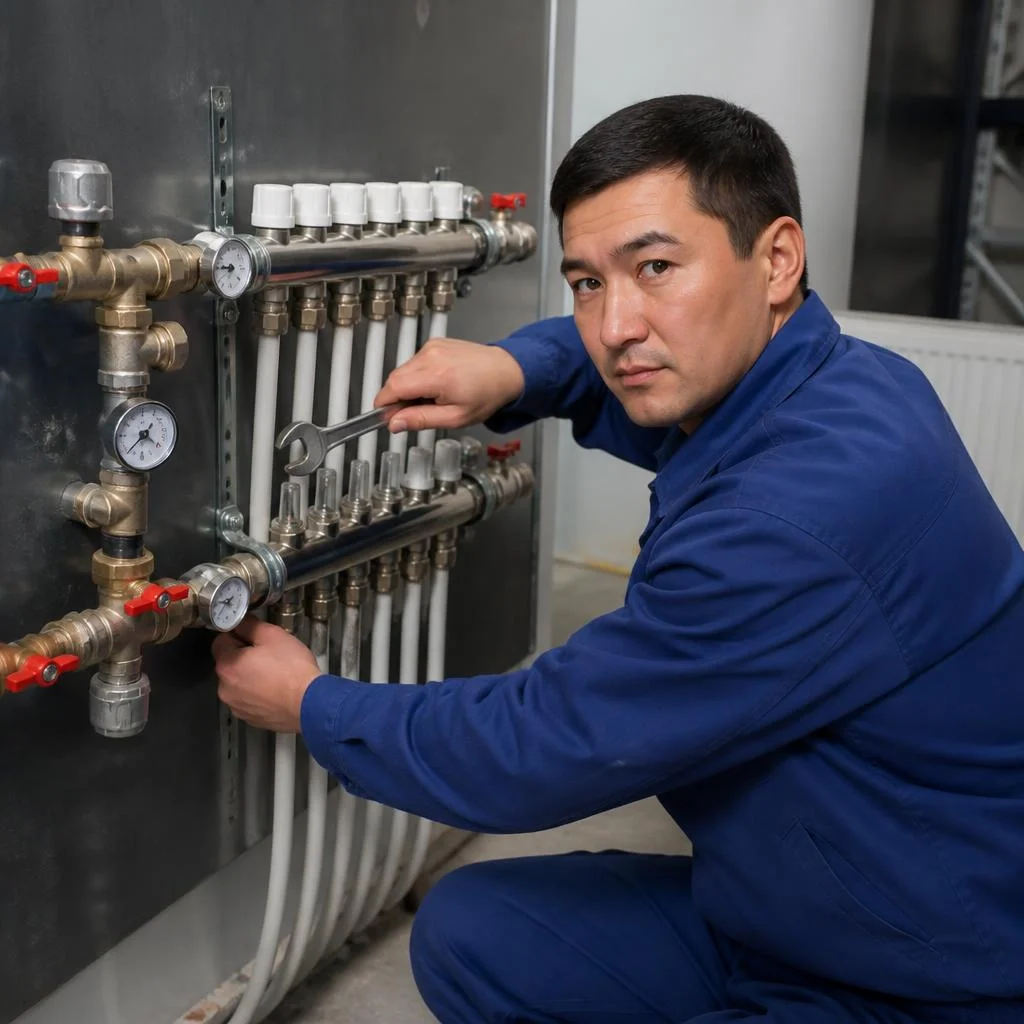
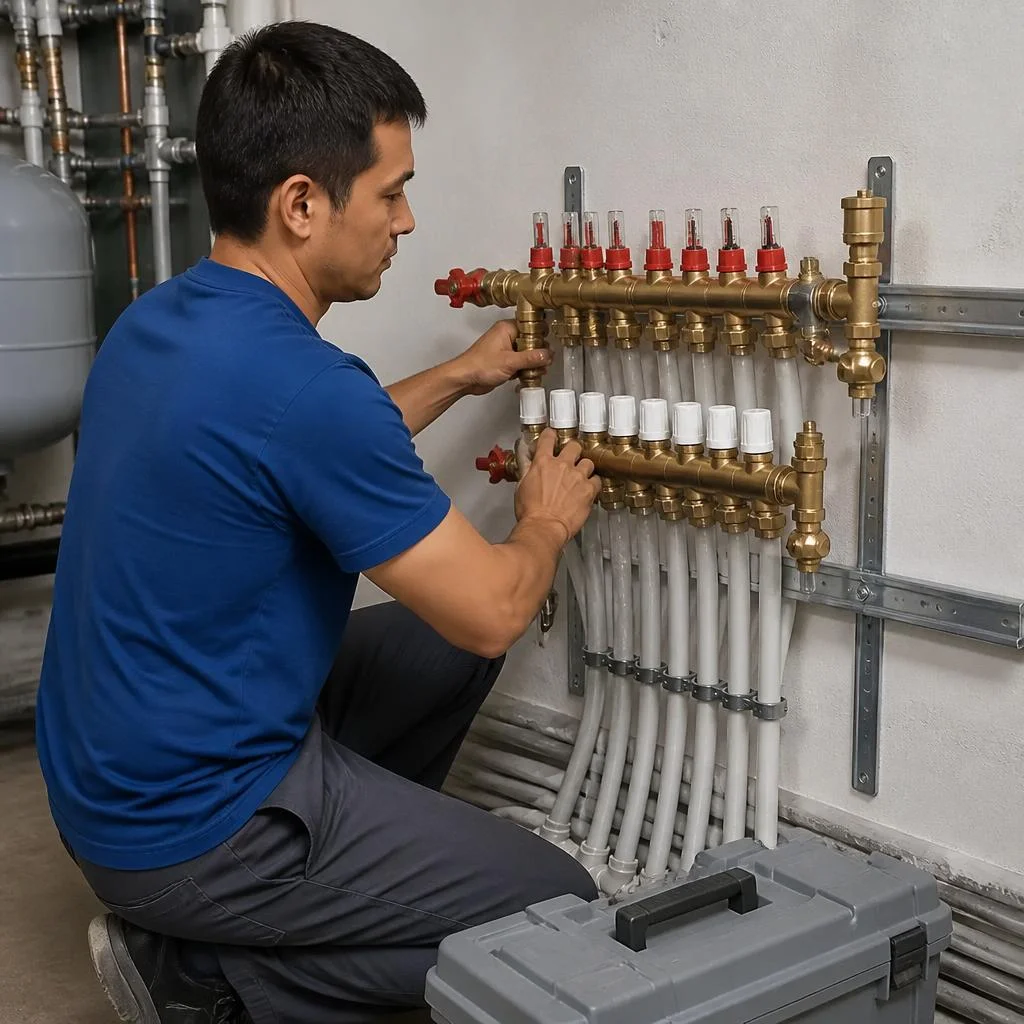
Eco-Service assembles the manifold on site: it mounts the shut-off valves and pump unit, installs the manifold cabinet and routes the circuits so that each one is accessible for maintenance. We place the cabinet in a niche or surface-mounted at 300-400 mm from the floor — at this height it is convenient to read the flow meters and tighten the balancing valves; in narrow bathrooms in Bishkek we recess it into the wall with a 400×400 mm inspection door. Assembling the manifold assembly includes installing ball valves on the supply and return, air vents and drain valves — without them, pressure testing and flushing turn into a hassle with buckets. The cabinet is selected according to the dimensions of the unit with a reserve of 2-3 outlets — when replacing the manifold or adding a circuit, you won't have to re-weld the housing.
Piping the manifold with pipes: PEX-a or PPR
For concealed manifold distribution we use PEX-a — it bends without fittings in the wall and withstands pressure; we use PPR for exposed sections and in water supply, where rigidity is important. Piping the manifold with PEX-a pipes runs from the manifold to each fixture in one continuous loop: a 16×2.0 mm pipe withstands 6 bar at 95 °C, and a bend radius of 5 diameters allows going around a corner without an elbow; for radiator branches we take 20×2.0 mm. We install glass-fibre reinforced PPR with a diameter of 25 mm on the main line to the manifold, where rigid geometry and soldering at 260 °C are needed. Every extra fitting in the wall is a potential leak point; PEX-a allows running from the manifold to the fixture with a single pipe without connections.
Pressure testing, balancing and commissioning
- Pressure testing of the manifold assembly: we hold at 1.5 times the working pressure — usually 6-8 bar — for at least 30 minutes, and do not allow any drop.
- Balancing the circuits: we set the flow rate using the flow meters to the design values, the difference between underfloor heating loops — no more than 10%.
- Commissioning the unit: we start the pump mixing unit, check the supply and return temperature on each circuit.
- Checking the automation: we test the thermostatic heads and the three-way valve for actuation in the range of 35-45 °C.
- Handover of the property: we record the flow meter readings and pressure in the report — this is the baseline for the next flushing.
Manifold assembly layouts for different properties
The assembly layout depends on the property: in an apartment, space is saved; in a two-storey house, circuits are separated by floor; and a combined system brings together radiators and underfloor heating.
An assembly for an apartment with limited space
For an apartment, we assemble a compact unit in a cabinet: a manifold with a shortened base, an integrated pump and a minimum of fittings, so that the unit fits into a niche or behind a false wall. Manifold assembly in Khrushchyovkas and panel buildings in Bishkek most often goes into the bathroom: the riser runs there, and the cabinet width fits within 400-600 mm across the front. For three or four circuits, a manifold with 4 outlets with flow meters and one circulation pump with a wet rotor rated at 25-40 W is enough. The unit is hidden behind a false wall when the meters and balancing valves are moved into a separate access hatch. In an apartment, the unit is placed in the bathroom or hallway — it is important to provide access to the flow meters in advance, otherwise balancing during maintenance will turn into tearing out tiles.
Combined layout: radiators and underfloor heating
In a combined layout, we separate the flows via a hydraulic separator: the radiators receive a high-temperature supply, while the underfloor heating receives a blend through a pump mixing unit. The hydraulic separator equalises the pressure between the circuits: the boiler operates on a single temperature curve of 70-80 °C, while the underfloor heating manifold receives 35-45 °C through a three-way valve with a thermostatic head. On properties in Bishkek, such a separation is found in houses of 90-120 m², where underfloor heating is on the ground floor and radiators are on the first floor. We install the pump mixing unit immediately after the hydraulic separator, and we carry out the installation of the heating manifolds on the supply line of the radiator branch. Without a hydraulic separator, the circuit pumps "pull" the heat transfer fluid from each other, and the radiators cool down while the underfloor heating is running — this is the most common complaint after a DIY assembly.
Two-storey house: how to distribute the circuits
In a two-storey house, we install separate units on each floor or one unit with balancing by risers — the choice depends on the length of the circuits and the available pump pressure. If the floor area is up to 80 m² and the circuits fit within 60-70 metres, one heating manifold unit in the boiler room with a couple of risers to the first floor is enough. With an area of 100 m² per floor and loops of 90-110 metres, we separate the units: one cabinet upstairs, one downstairs, each with its own circulation pump and flow meters. In this case, balancing of the circuits is done for each floor separately, rather than through one common manifold. One unit for two floors saves space, but requires a pump with a pressure reserve; if the circuits are longer than 80-90 metres, it is better to separate the units — otherwise the distant loops will not heat up.
Replacement and servicing of the manifold assembly
The manifold bar is not eternal: over time the valves seize up, the flow through the circuits drops, and the body loses its tightness. We explain when flushing is enough and when a complete replacement of the assembly is needed.
When flushing is needed and when the assembly needs replacing
Flushing the manifold assembly helps when the bar is clogged with sludge and the circuits heat unevenly; replacing the manifold assembly is needed if the valves have seized up, the body is leaking at the threads, or the number of circuits no longer matches the system. In Bishkek practice, most often assemblies made of black steel that have served 8-12 seasons are replaced: scale and sludge accumulate in the spindles of the balancing valves, the flow meters stop moving, and flushing gives an effect for only 1-2 seasons. We start with diagnostics: we remove the flow meters, check the travel of the stems, and assess the condition of the threaded connections. If the body is intact and the valves are movable, we get by with flushing and balancing the circuits. Flushing is done before balancing: if you first adjust the flow meters on a clogged assembly, after flushing the adjustment will have to be repeated completely. At Eco-Service, flushing and replacing the bar are different services, and we do not offer replacement where the system still holds its parameters.
Removal of the old manifold and re-soldering of the assembly
- Shutting down the system: we close the supply and return risers, drain the coolant into a prepared container so as not to flood the neighbors below.
- Removal of the old manifold: we take the bar off the brackets, disconnect the circuits, and record the marking of each loop on tags.
- Re-soldering of the assembly: we cut out the section of pipe for the new bar, perform the re-soldering of the manifold assembly on PPR or crimp PEX-a to the center-to-center distance.
- Piping the manifold with pipes: we connect the circuits to the outlets, install shut-off valves and thermostatic heads according to the project.
- Pressure testing: we check the assembly with pressure before starting the coolant — before removal we photograph the connection diagram in order to restore the layout of the circuits if the marking on the pipes has worn off.
Replacing the underfloor heating bar
The underfloor heating bar is replaced when the flow meters stop regulating the flow or the body has lost its tightness; we select the bar for the existing number of loops and preserve the pump and mixing unit. The underfloor heating manifold works together with a three-way valve and a circulation pump, so when replacing it is important to preserve the mounting dimensions: for brass bars with flow meters the center-to-center distance is standard, while budget steel models have deviations that force the piping to be re-sealed. Installing a heating manifold or part of it without checking the mixing unit often brings back the same uneven heating with which the replacement began. If you are replacing the bar, check the condition of the pump and mixing unit: with a seized three-way valve, a new bar will not solve the problem with the temperature of the circuits.
Warranty, timelines and how we work
Direct provider of the service: our own service center in Bishkek, in-person acceptance of devices and a 2-year warranty on the assembled unit and pressure testing. Below — what exactly the warranty covers, how long assembly takes, and how payment and communication are arranged.
2-year warranty on installation and pressure testing
Eco-Service provides a 2-year warranty on the assembly of the manifold unit and pressure testing: if within this period a leak appears at our connections or the unit fails to reach its design mode — we fix it at our own expense. The warranty covers threaded and press joints, installation of the manifold into the cabinet, connection of the pump mixing unit and the results of pressure testing the manifold unit. Brass fittings and PEX-a pipes carry a 2-year warranty, which we transfer to the client together with the acceptance certificate. The obligations remain in force when the design scheme is used: if after handover someone re-solders the circuits, replaces the circulation pump or thermostatic heads without approval, the warranty for that section is voided — the rest of the unit remains covered. Therefore, record any modifications after commissioning of the unit in writing, even if you change a single nut.
Installation timelines and how acceptance works
We carry out the installation of manifold units in an apartment within one to two working days, while in a two-story house with a combined scheme, assembling the heating manifold takes longer — we state the exact timeline after the hydraulic calculation. At our own service center in Bishkek, the unit can be brought in for assembly and pressure testing if the site is not yet ready for on-site work. The actual timeline is determined not by the scope of work but by the readiness of the site: if the screed is not poured and the walls are not finished, the work is postponed — the manifold is installed after the rough work. Acceptance is in person: the technician inspects the installation location, checks the embedded parts for the manifold cabinet and agrees on the connection point to the riser or boiler. If the screed is already poured and the cabinet was not embedded, you will have to chase the walls — this adds a day or two to the schedule.
Payment and communication: MBANK, O!Dengi, WhatsApp
- MBANK: the main channel for cashless payment of assembly and pressure testing, the receipt arrives in the app.
- O!Dengi: an alternative wallet for transferring prepayment for unit assembly and the technician's visit.
- WhatsApp and phone: consultation before the visit — send a photo of the current unit and the floor plan, and we will tell you whether the manifold cabinet will fit.
- 2GIS and Google Maps: customer reviews at the service center address, you can check the service area.
Errors in the installation of manifold assemblies
Most problems with manifold distribution are not factory defects but assembly errors: incorrect pump selection, lack of balancing, cutting corners on pressure testing. Let's look at two scenarios that most often lead to cold circuits and having to break open the screed.
Why the assembly doesn't heat: three common causes
- Pump without head reserve: the circulation pump is chosen based on nominal flow rate, without accounting for the resistance of long loops and fittings — on the farthest circuit the flow rate drops by half.
- No balancing of circuits: flow meters are turned to maximum on all loops, heat goes into the short branches, and the longest ones remain cold.
- Air in the system after startup: when filling through the top point, air pockets sit in the manifold and the pump mixing group, so some loops don't heat up.
- Dirt in the coolant: when assembling heating manifolds in an old house without flushing the circuit, scale clogs the flow meter nozzles within one season.
- Narrowed passage: a brass manifold with an internal cross-section of 3/4 inch on seven or more loops restricts the flow — on the far branches the temperature difference reaches 8-10 degrees.
Cutting corners on pressure testing and its consequences
Pressure testing is the only way to check the tightness of the assembly before pouring the screed; without it, a leak will show up under the floor, when repairs will require breaking open the covering. Installation of manifold assemblies is often done in a hurry, and the corner-cutting starts with the fittings: compression instead of press fittings, threads without flax and anaerobic sealant, a manifold without a service cabinet. Piping the manifold with PEX-a pipes with an uncalibrated cut creates a micro-gap in the sleeve — under operating pressure it shows up as a drop at the joint, and on a heated system the leak intensifies. Pressure testing is done in two stages: immediately after assembly and again before startup — on a cold and on a heated system, because some connections only reveal themselves at operating temperature. If the assembly is put together without a pressure gauge on the manifold, there's nothing to perform the second stage with — include it in the design in advance, otherwise a hidden leak will reveal itself after the tiles have been laid.
Conclusion
We've gathered the key points that determine the result of assembling manifold assemblies: from calculation and component selection to commissioning. Below are the conclusions worth keeping in mind before starting work on a site in Bishkek.
Main conclusions
- Design for the specific site: a manifold assembly is put together for a specific system — the set of components for radiators, underfloor heating and water supply differs, and there's no universal manifold here.
- Hydraulic calculation: it is what determines the number of circuits and the manifold diameter; without calculation the assembly operates with the pump overloaded or idling, not delivering the design heat output.
- Pressure testing and balancing: mandatory stages — the first confirms tightness under pressure, the second brings each circuit to the design flow rate; without them the system heats unevenly.
- Flushing or replacement: flushing restores a clogged assembly, while replacement is needed when the fittings are corroded or the number of circuits doesn't match the current system.
- Causes of heating problems: most often it's pump selection, lack of balancing or air in the circuits, not equipment defects — diagnostics start with these three points.


